


Saw an ad for a very 70's looking 10 speed, the price was right, so I picked it up.
Label on it said Mossberg.
In doing my homework on the bike, I learned that the company had wanted to make more than guns as the 70s began... They already had a history with bike making when the owner was young and I think that led them to buying into that market. They bought out the Snyder plant where Rollfasts were made and began selling bikes under their own moniker. As it turned out, the bike boom of that time began to wind down and they closed shop before the 80's began.
There are not alot of Mossberg bikes out in the world compared to other brands. Most people don't put the name into the hat of "quality" brands, but as I researched I found that many models were just re-branded Rollfast bicycles. This bike, is a sure twin to the Rollfast Super Deluxe 10 speed I found online.
I didn't feel like keeping it 10 speed would do any good at making it desireable for any one these days so I went the route of minimalist design and I think I like what it became...
Here is a little general info and then some before during and after pics.
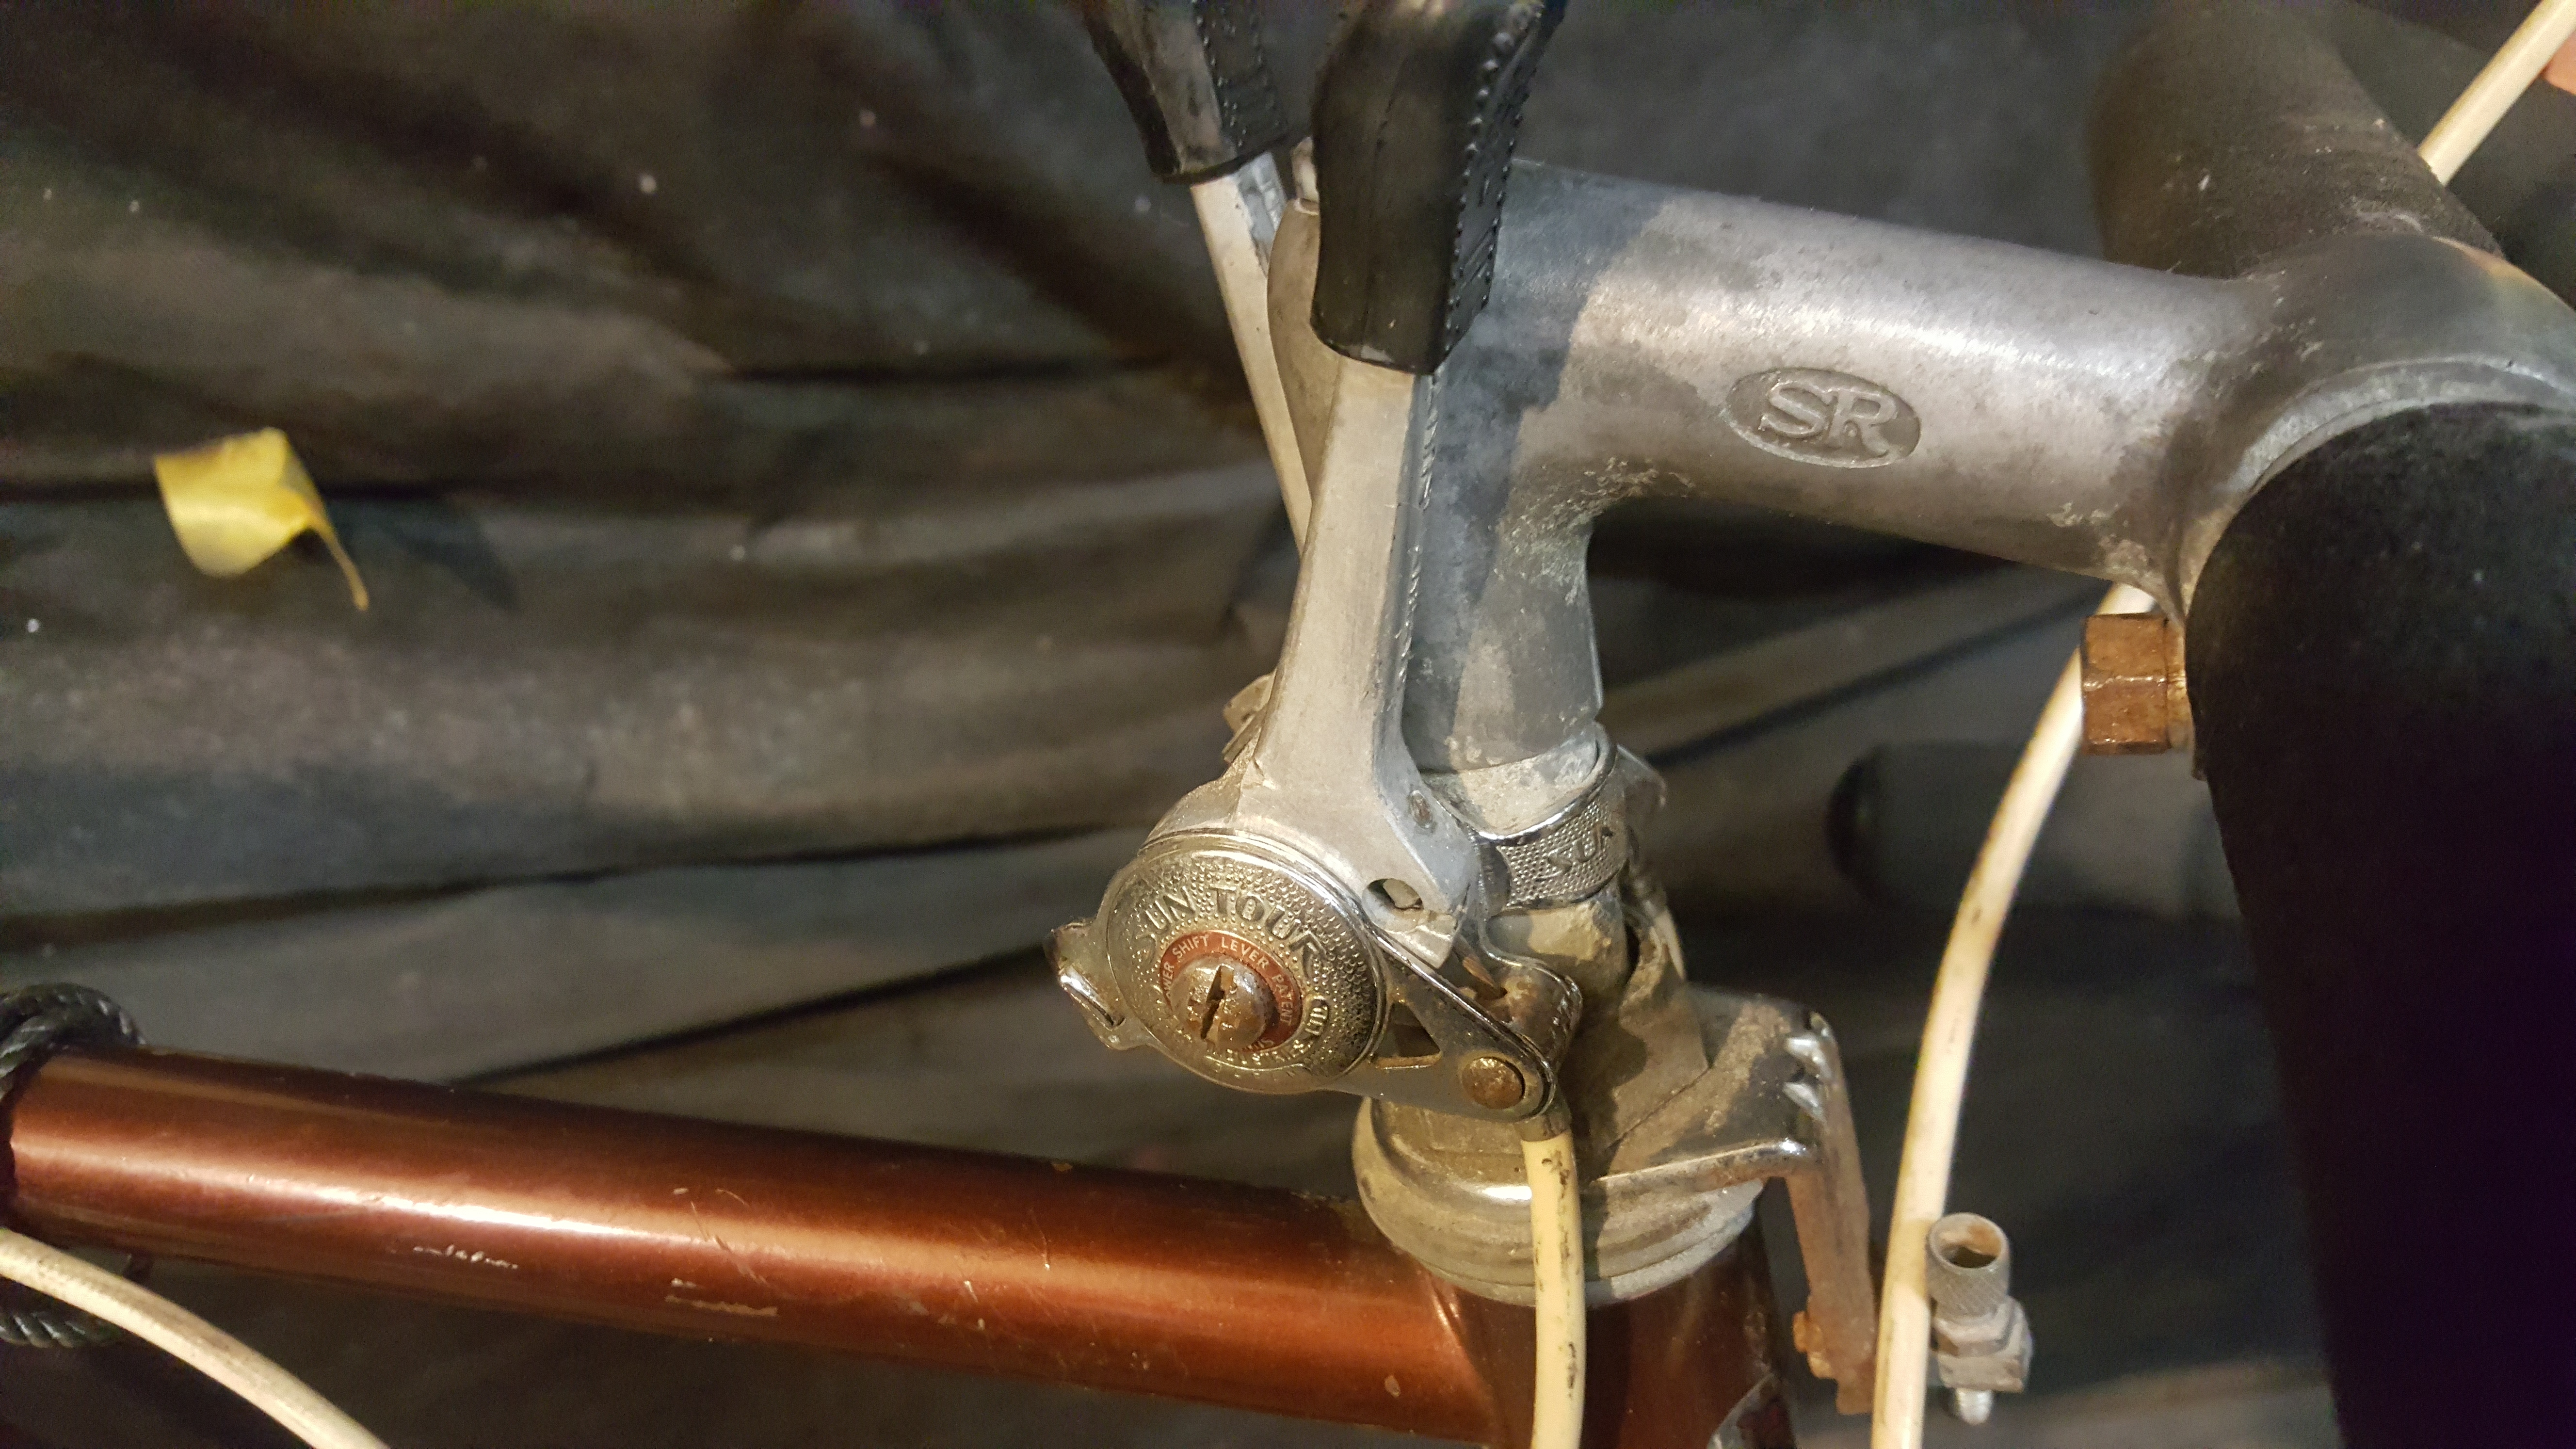
27" Chocolate customized Rollfast / Mossberg brand single speed
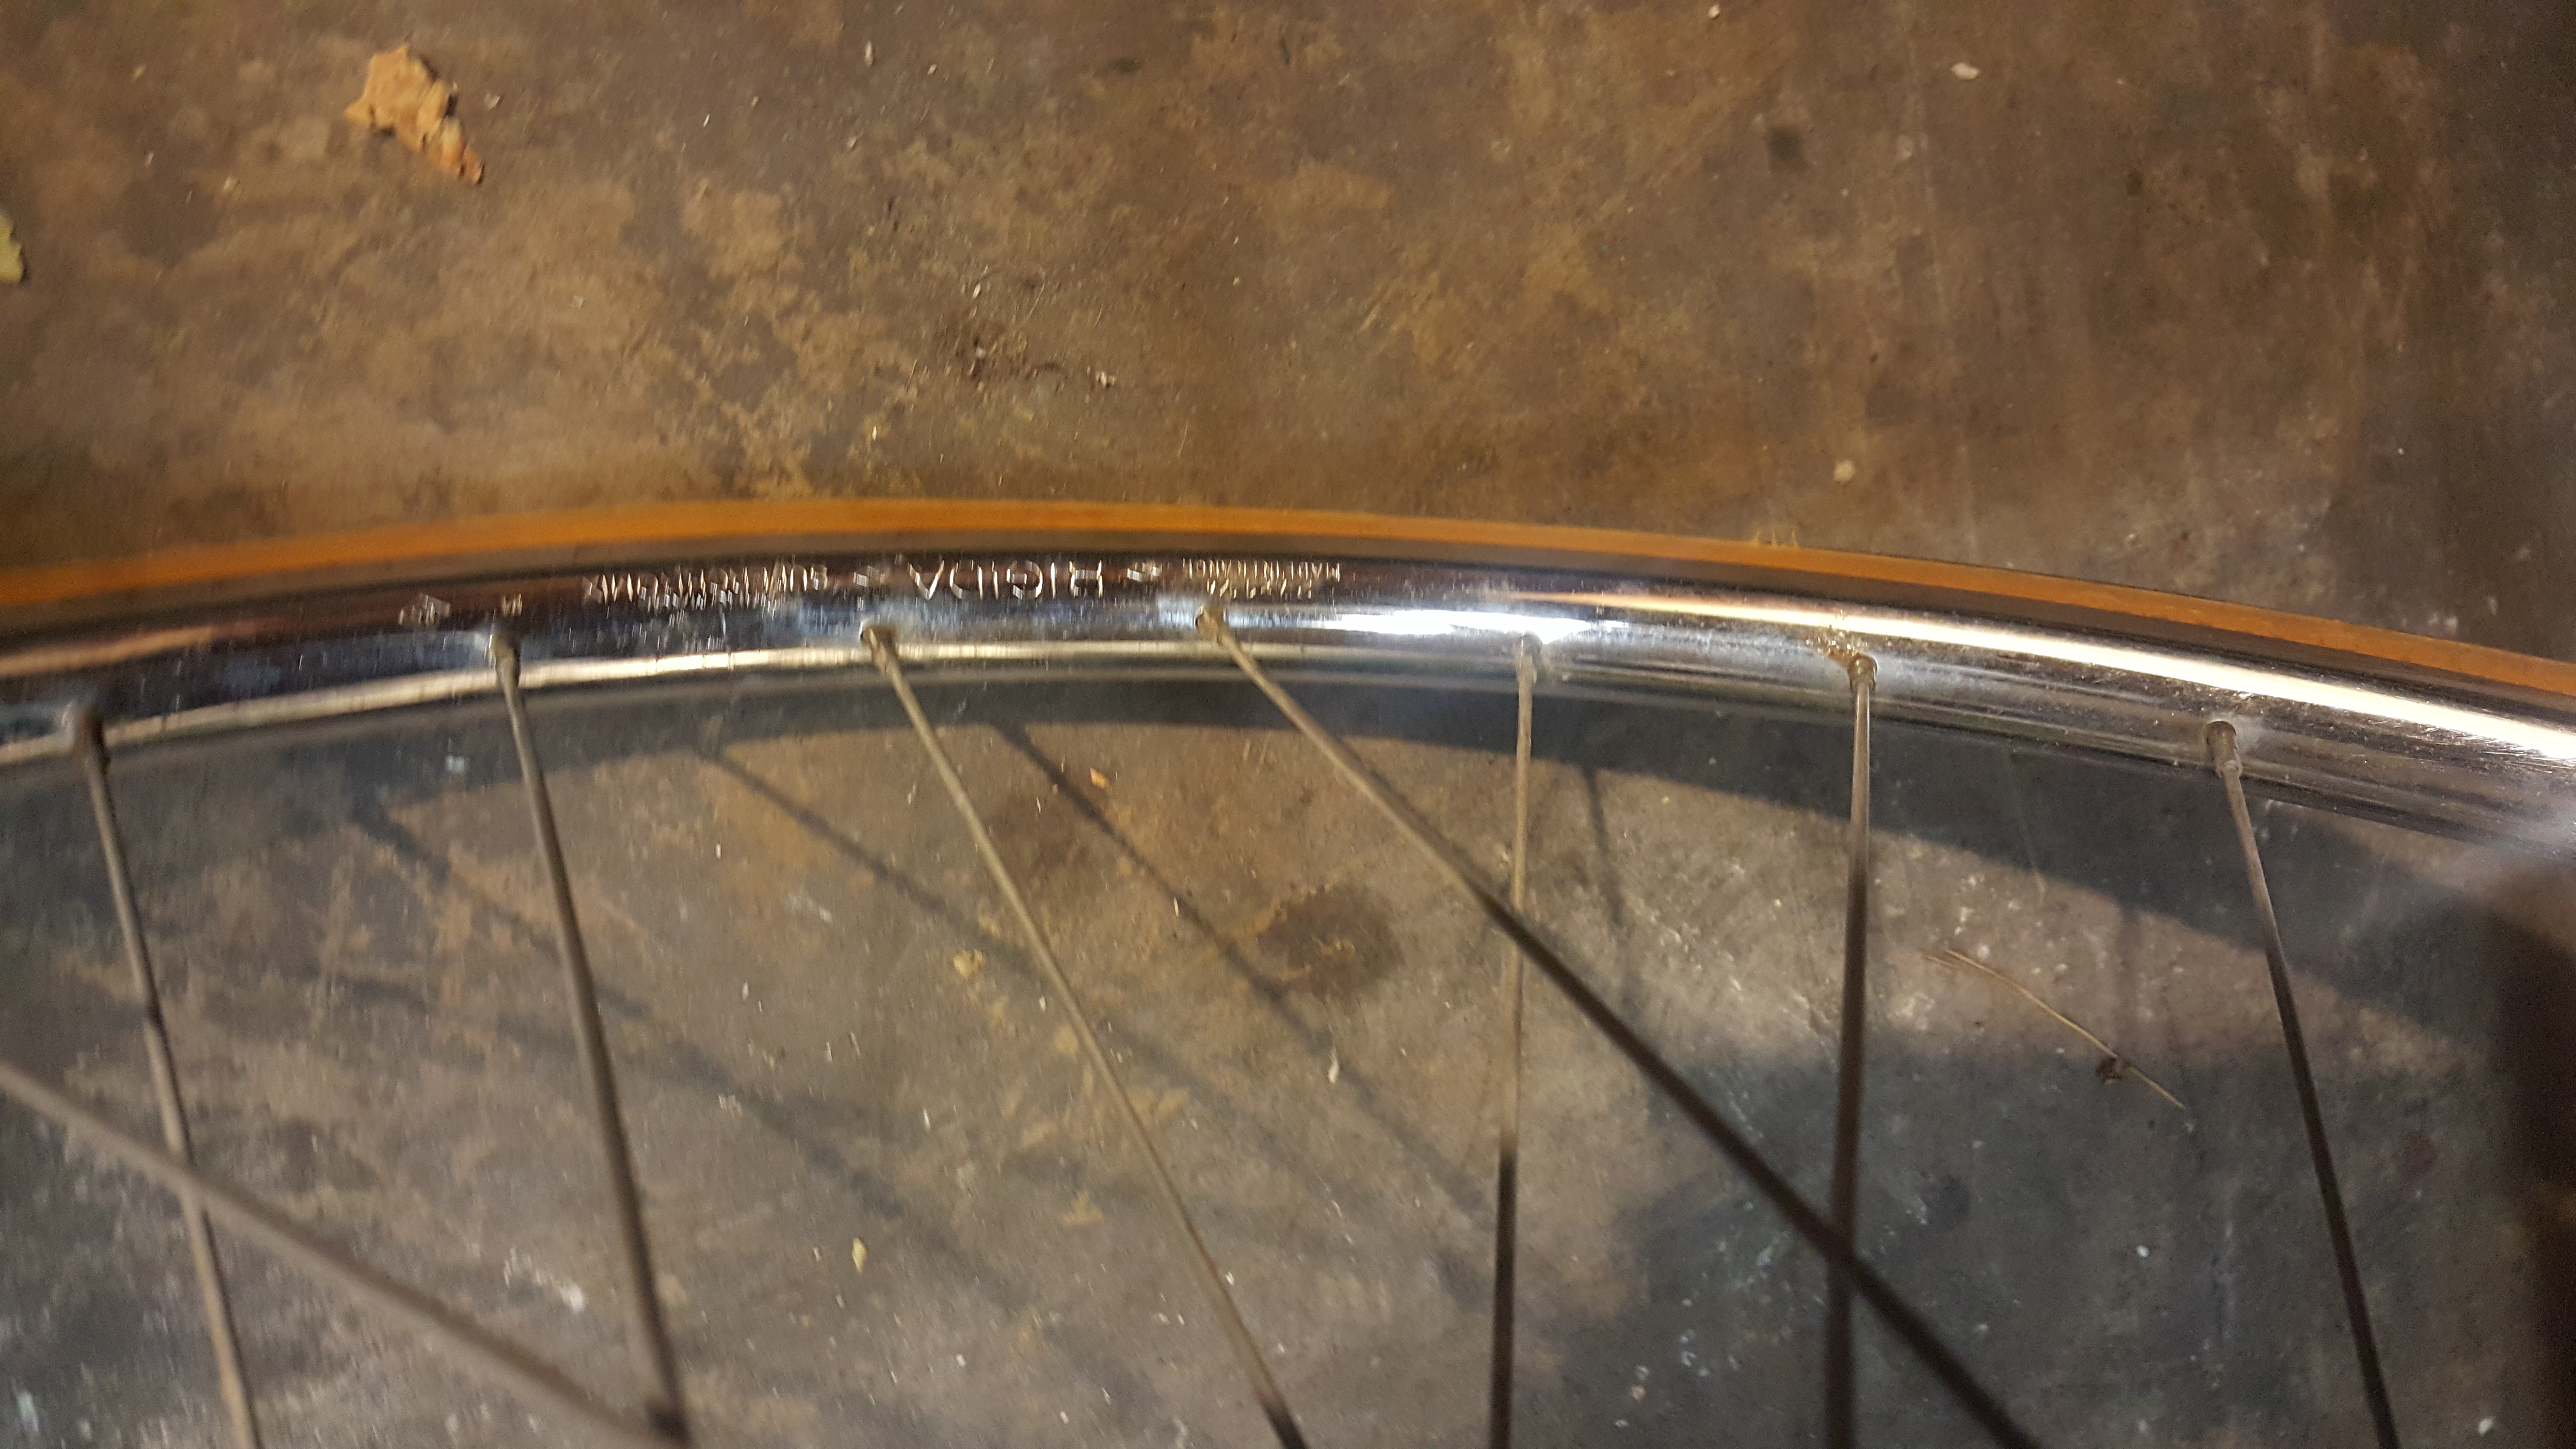
Rigida Superchromix 700C rim with Maillard hub
Shimano 7-speed cassette hub single speed driveline
Before
 20160502_233743 by shwsrvcs, on Flickr
 20160502_233757 by shwsrvcs, on Flickr
 20160502_233820 by shwsrvcs, on Flickr
 20160502_234012 by shwsrvcs, on Flickr
Label on it said Mossberg.
In doing my homework on the bike, I learned that the company had wanted to make more than guns as the 70s began... They already had a history with bike making when the owner was young and I think that led them to buying into that market. They bought out the Snyder plant where Rollfasts were made and began selling bikes under their own moniker. As it turned out, the bike boom of that time began to wind down and they closed shop before the 80's began.
There are not alot of Mossberg bikes out in the world compared to other brands. Most people don't put the name into the hat of "quality" brands, but as I researched I found that many models were just re-branded Rollfast bicycles. This bike, is a sure twin to the Rollfast Super Deluxe 10 speed I found online.
I didn't feel like keeping it 10 speed would do any good at making it desireable for any one these days so I went the route of minimalist design and I think I like what it became...
Here is a little general info and then some before during and after pics.
27" Chocolate customized Rollfast / Mossberg brand single speed
Rigida Superchromix 700C rim with Maillard hub
Shimano 7-speed cassette hub single speed driveline
Before
20160502_233743 by shwsrvcs, on Flickr
20160502_233757 by shwsrvcs, on Flickr
20160502_233820 by shwsrvcs, on Flickr
20160502_234012 by shwsrvcs, on Flickr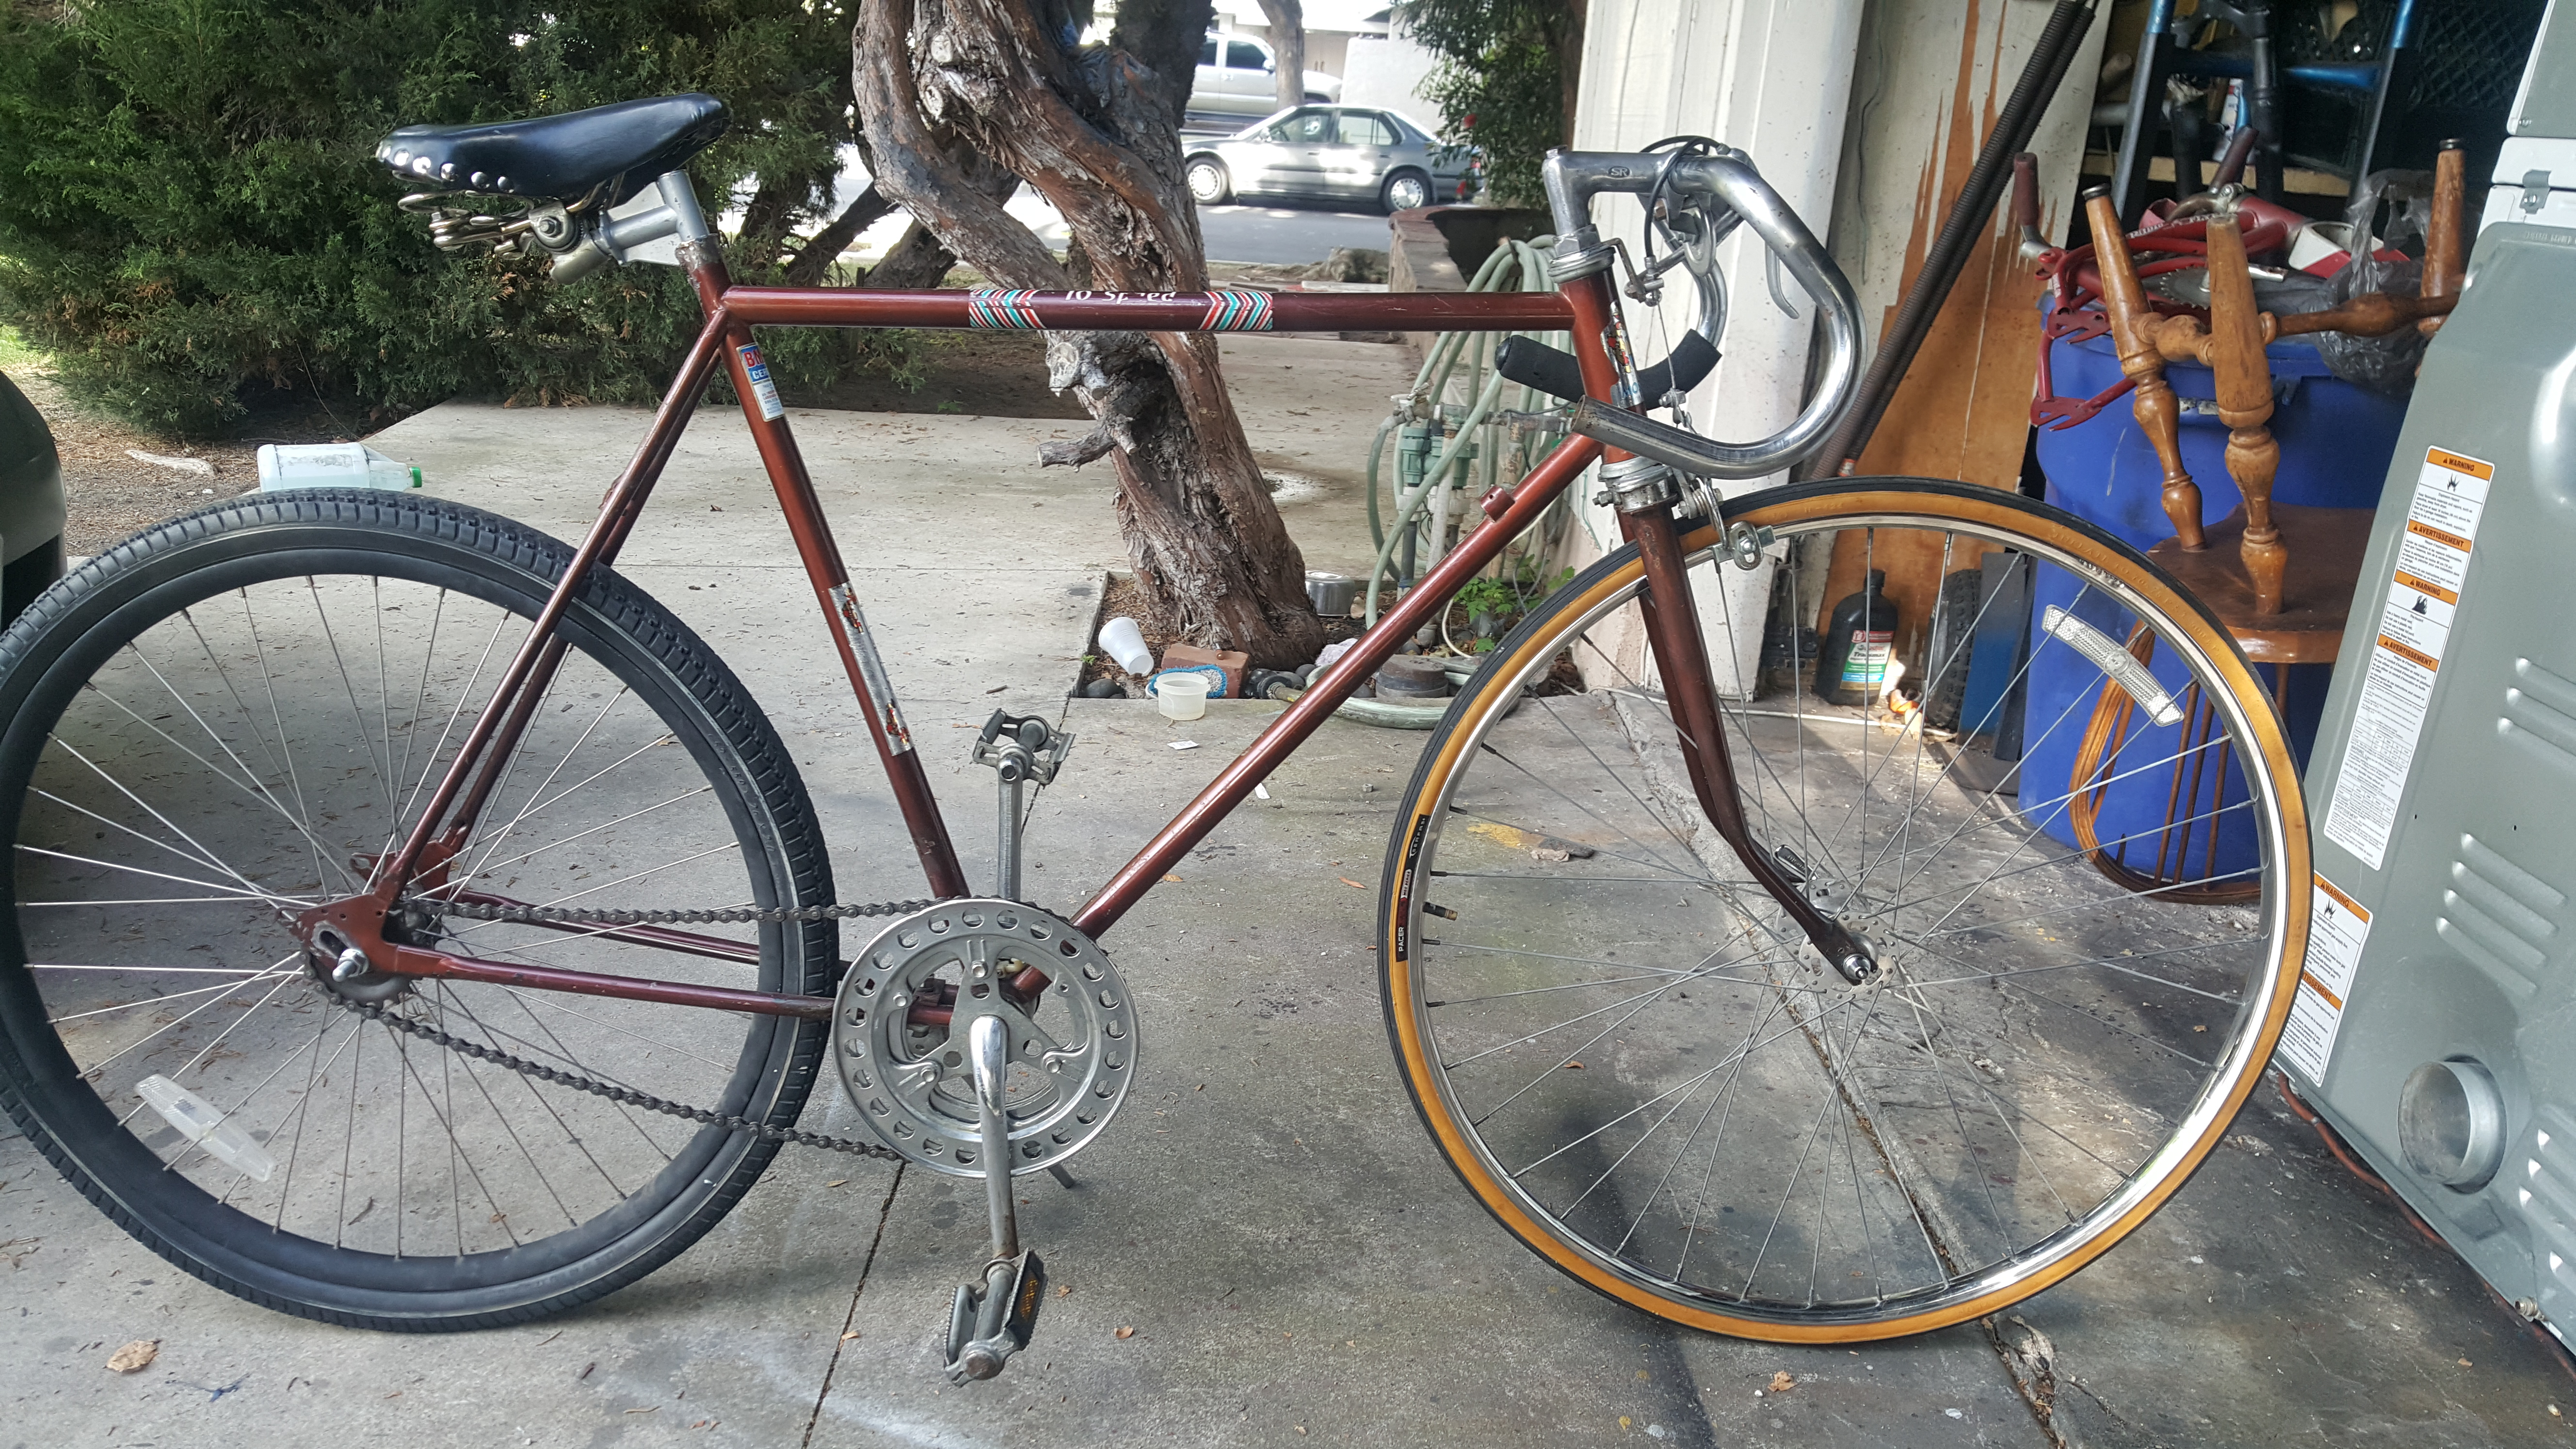 20160506_180007
 20160506_213937
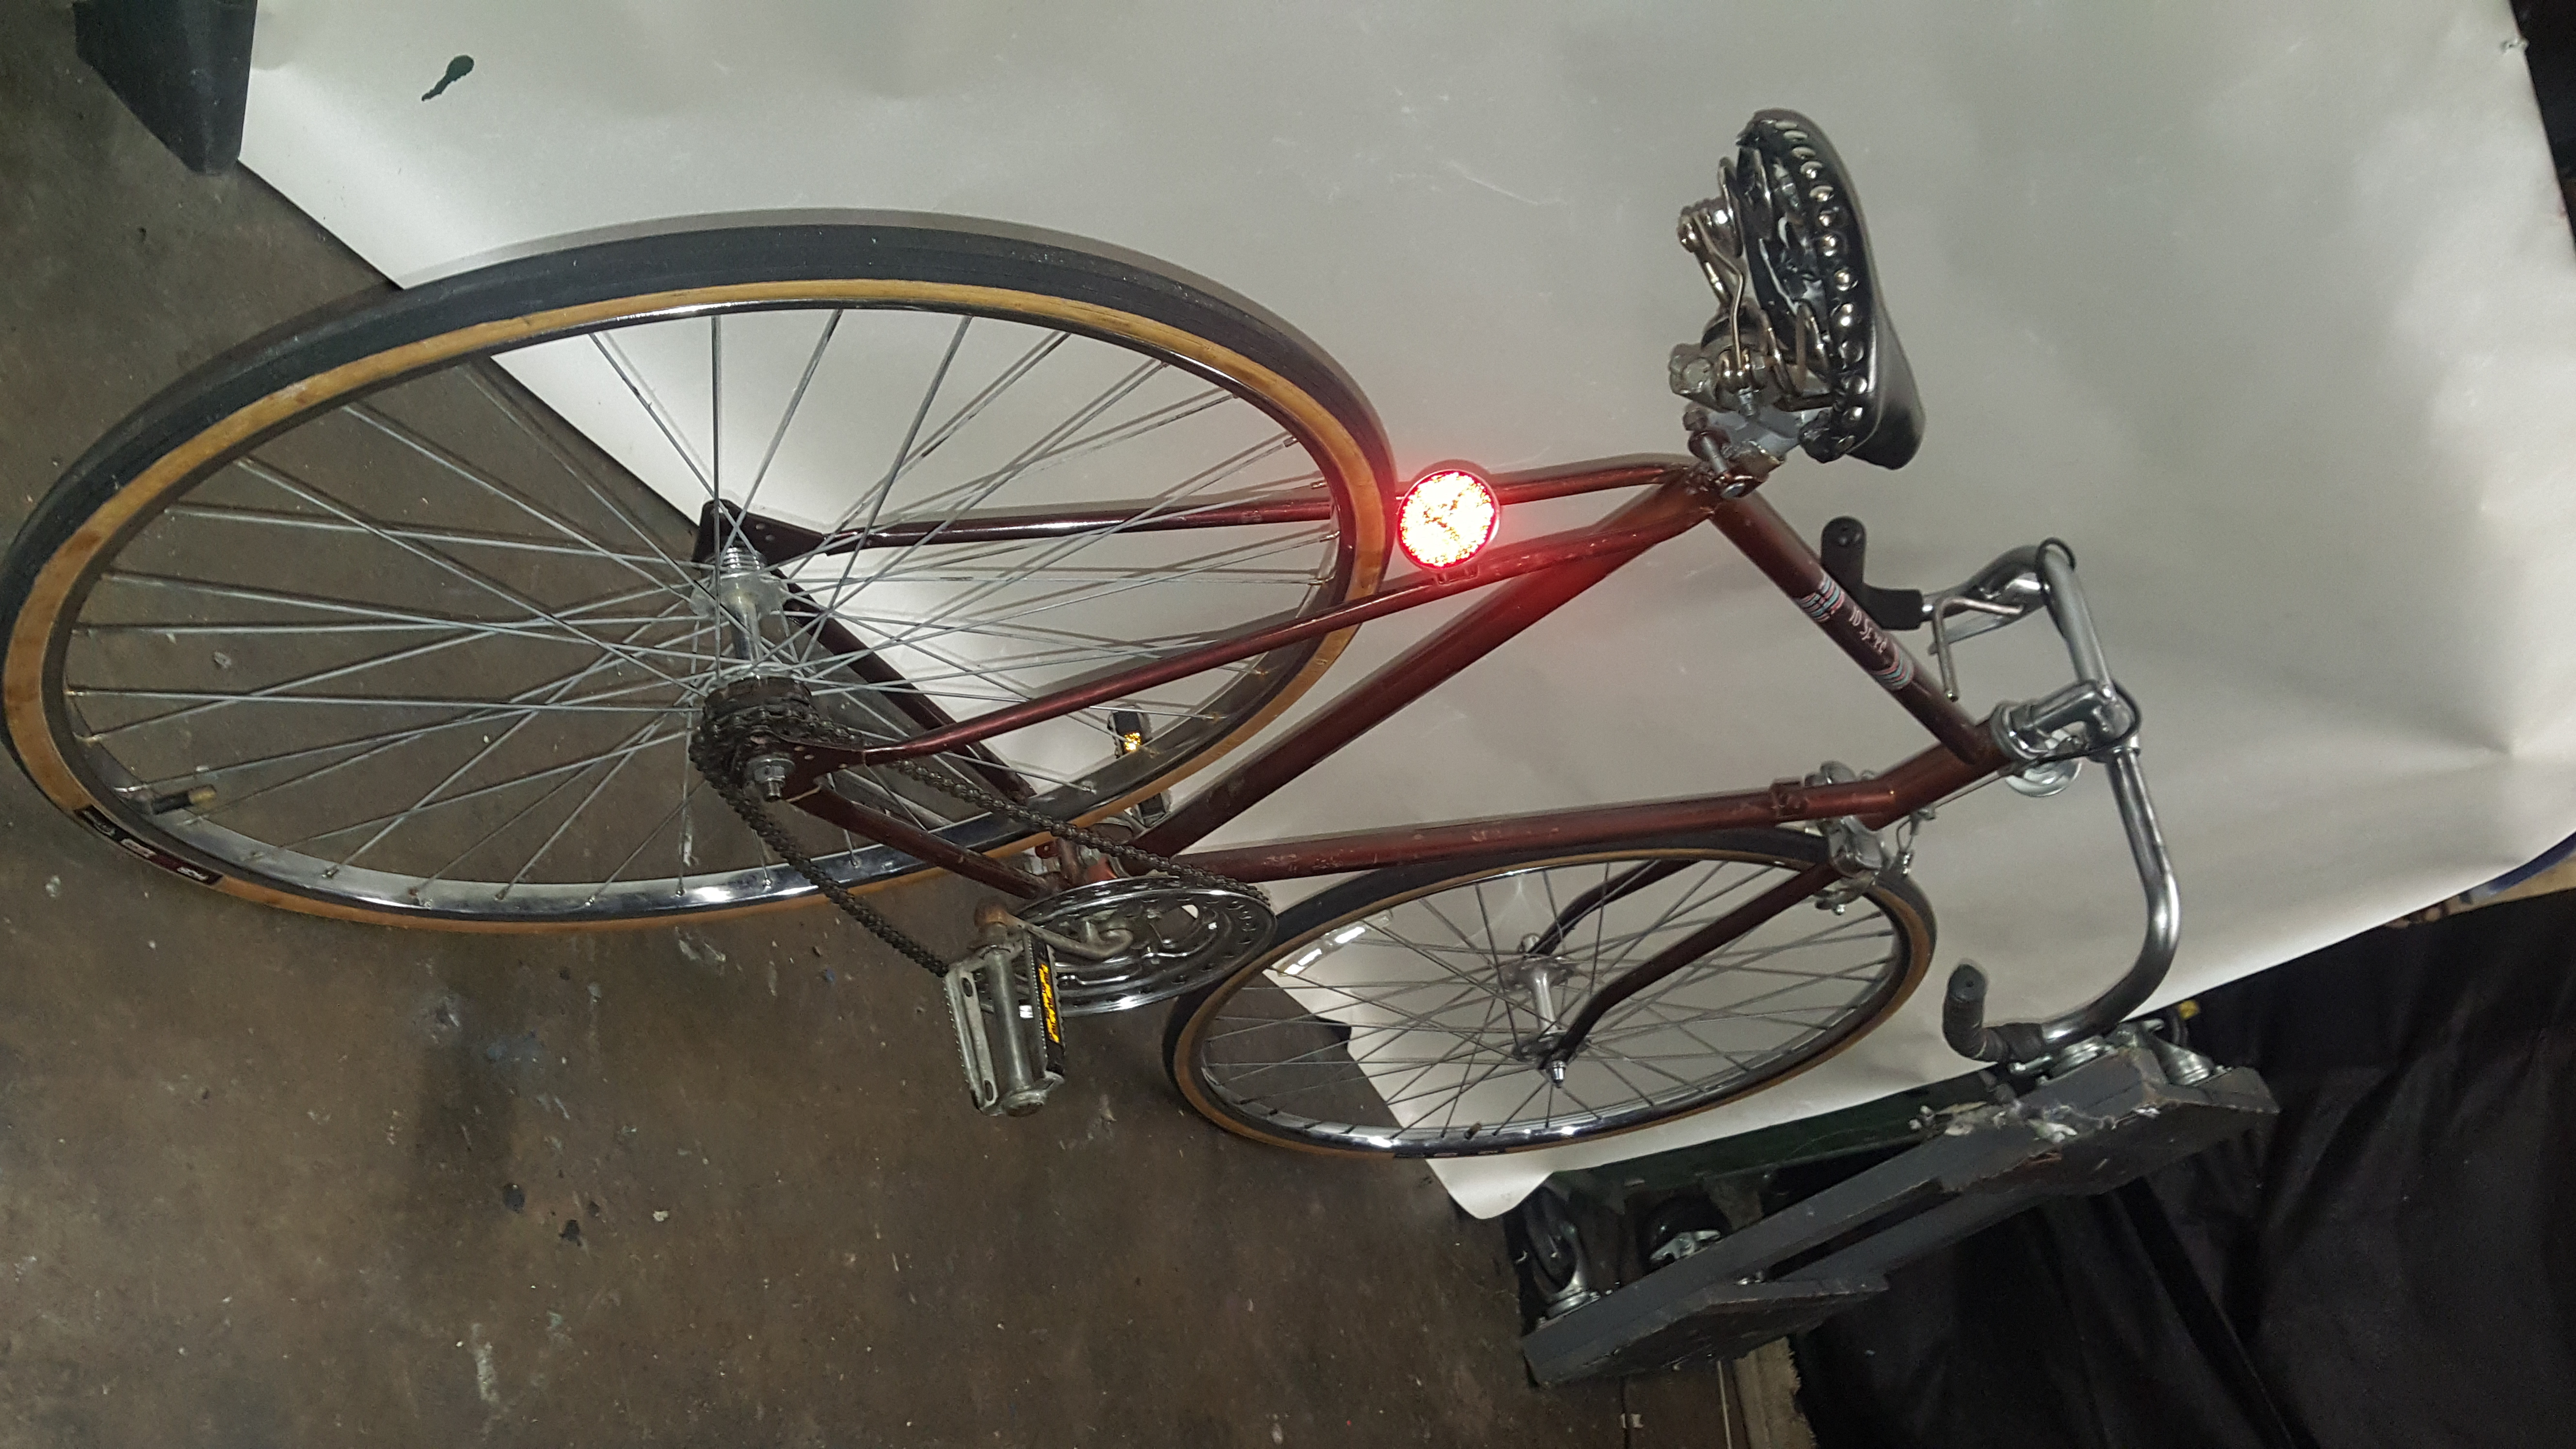 20160507_044611
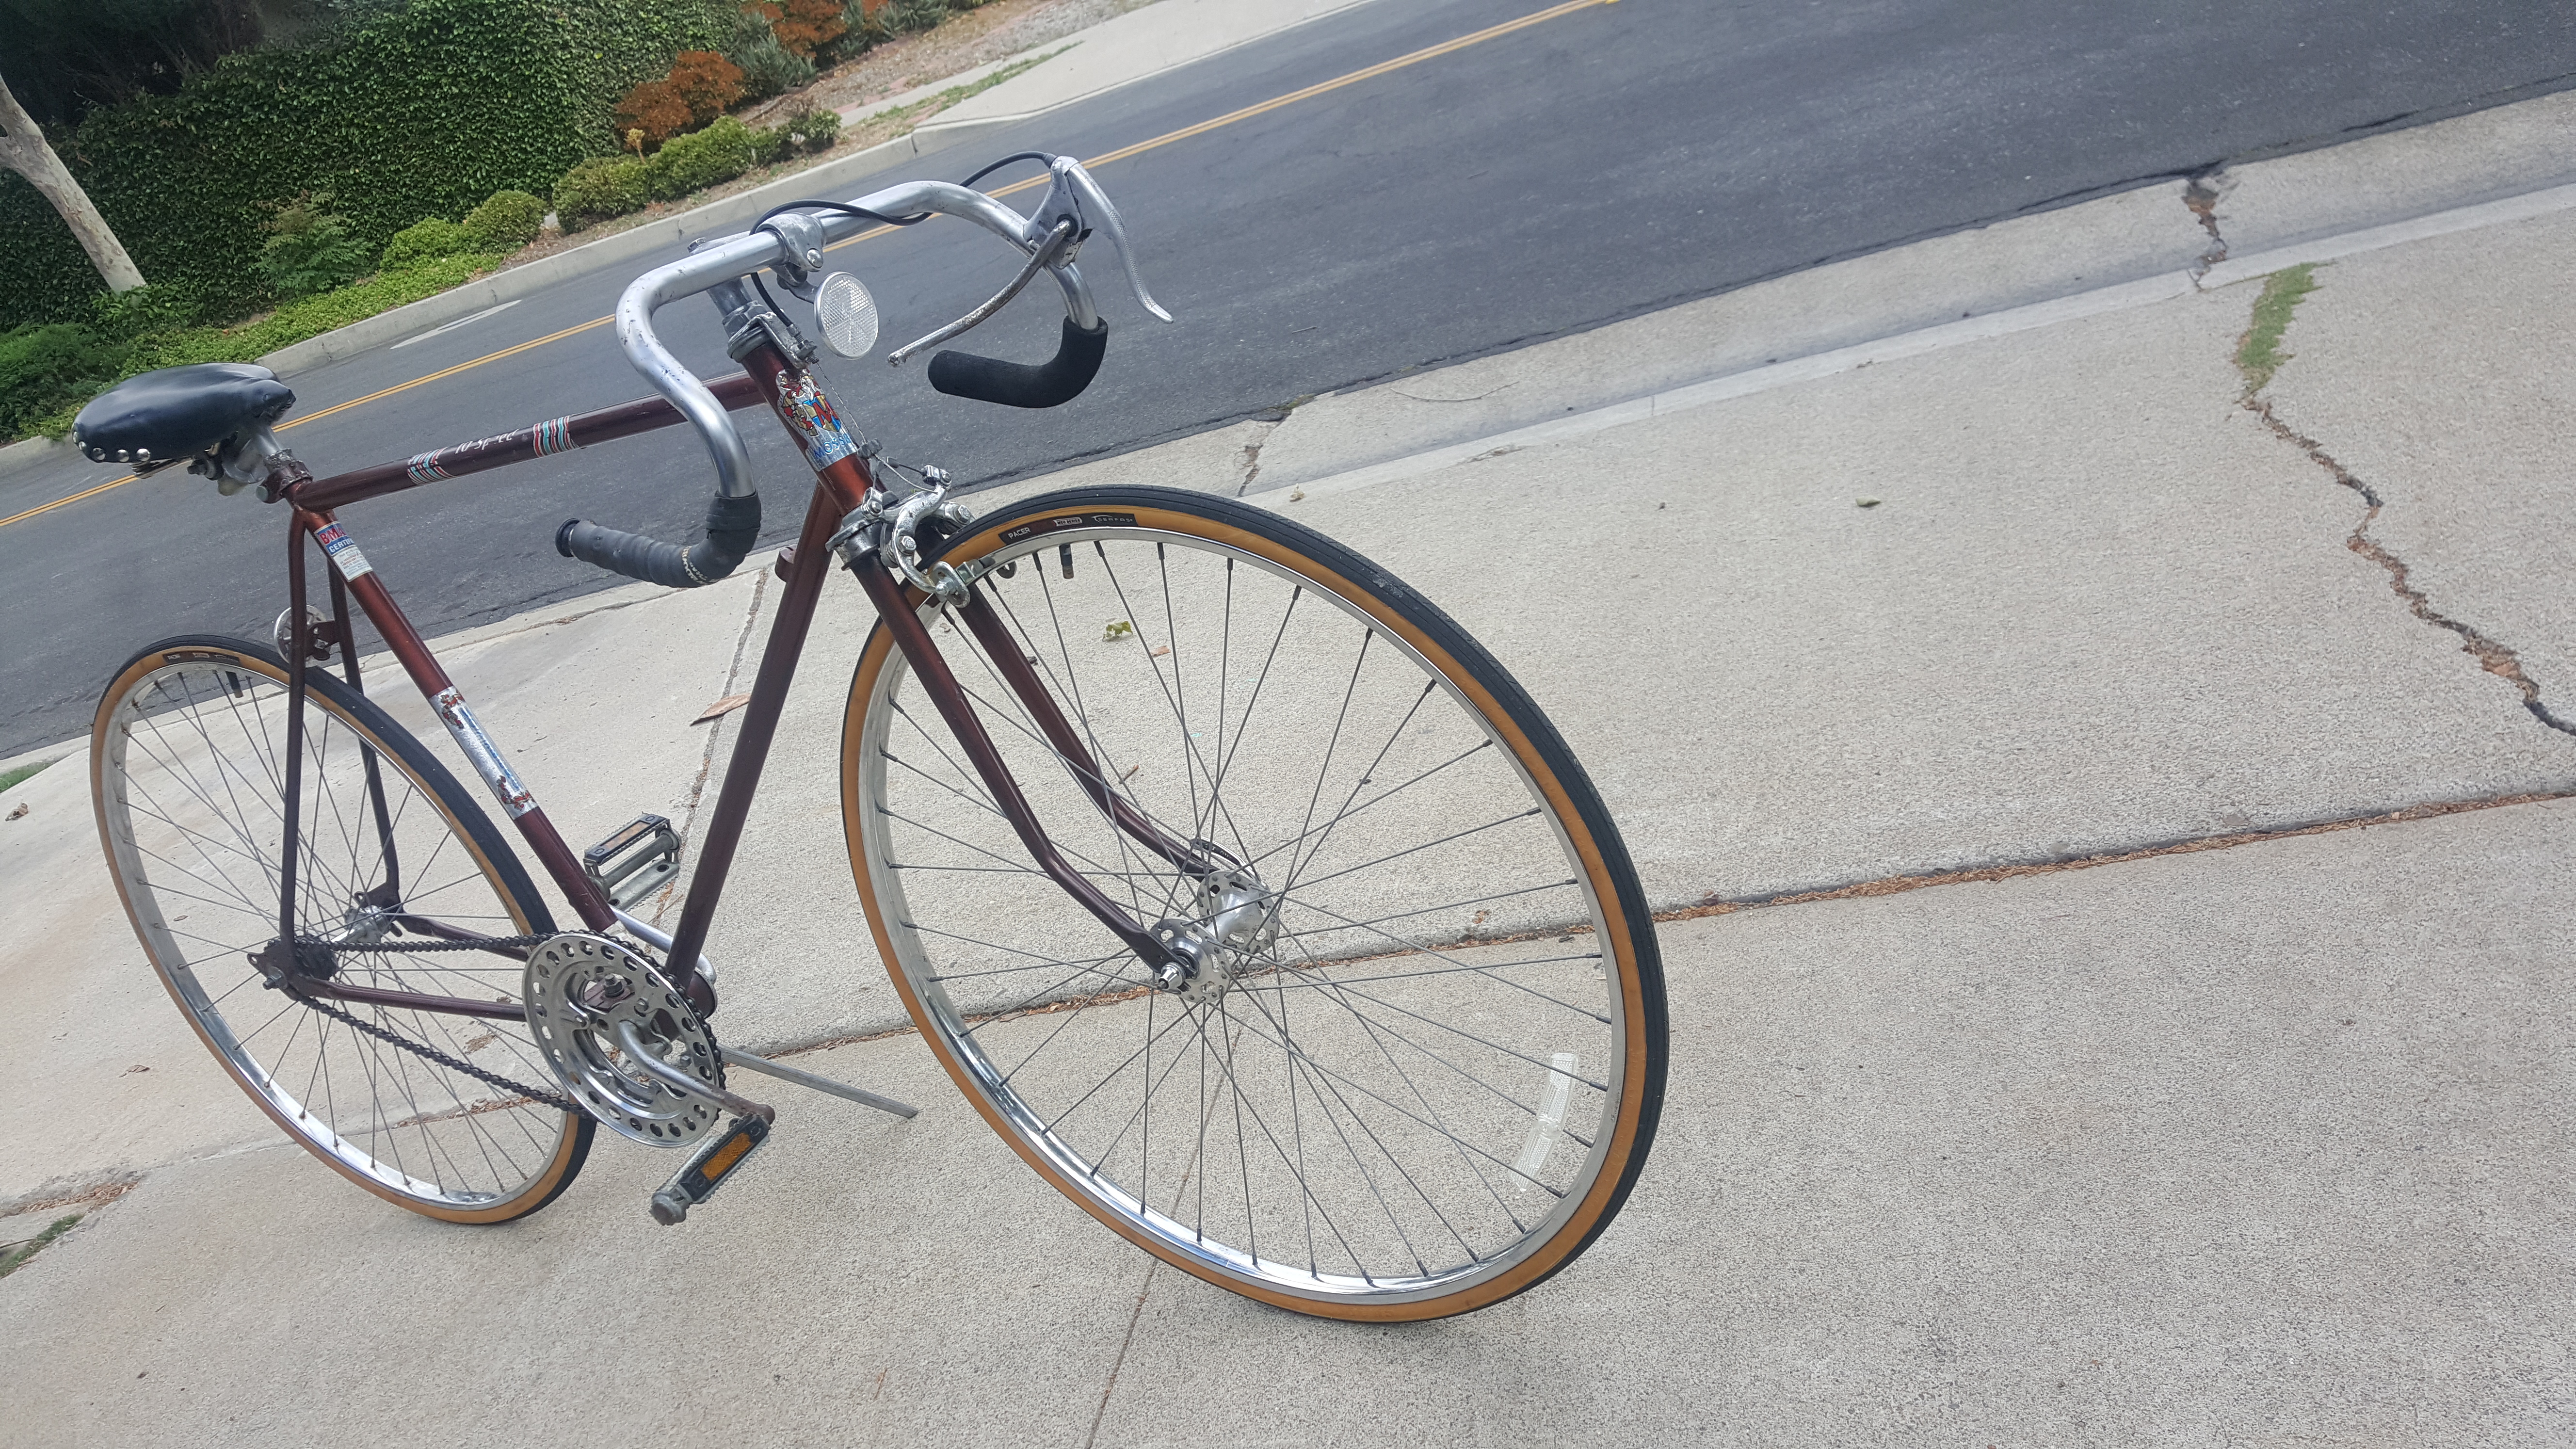 20160507_092417
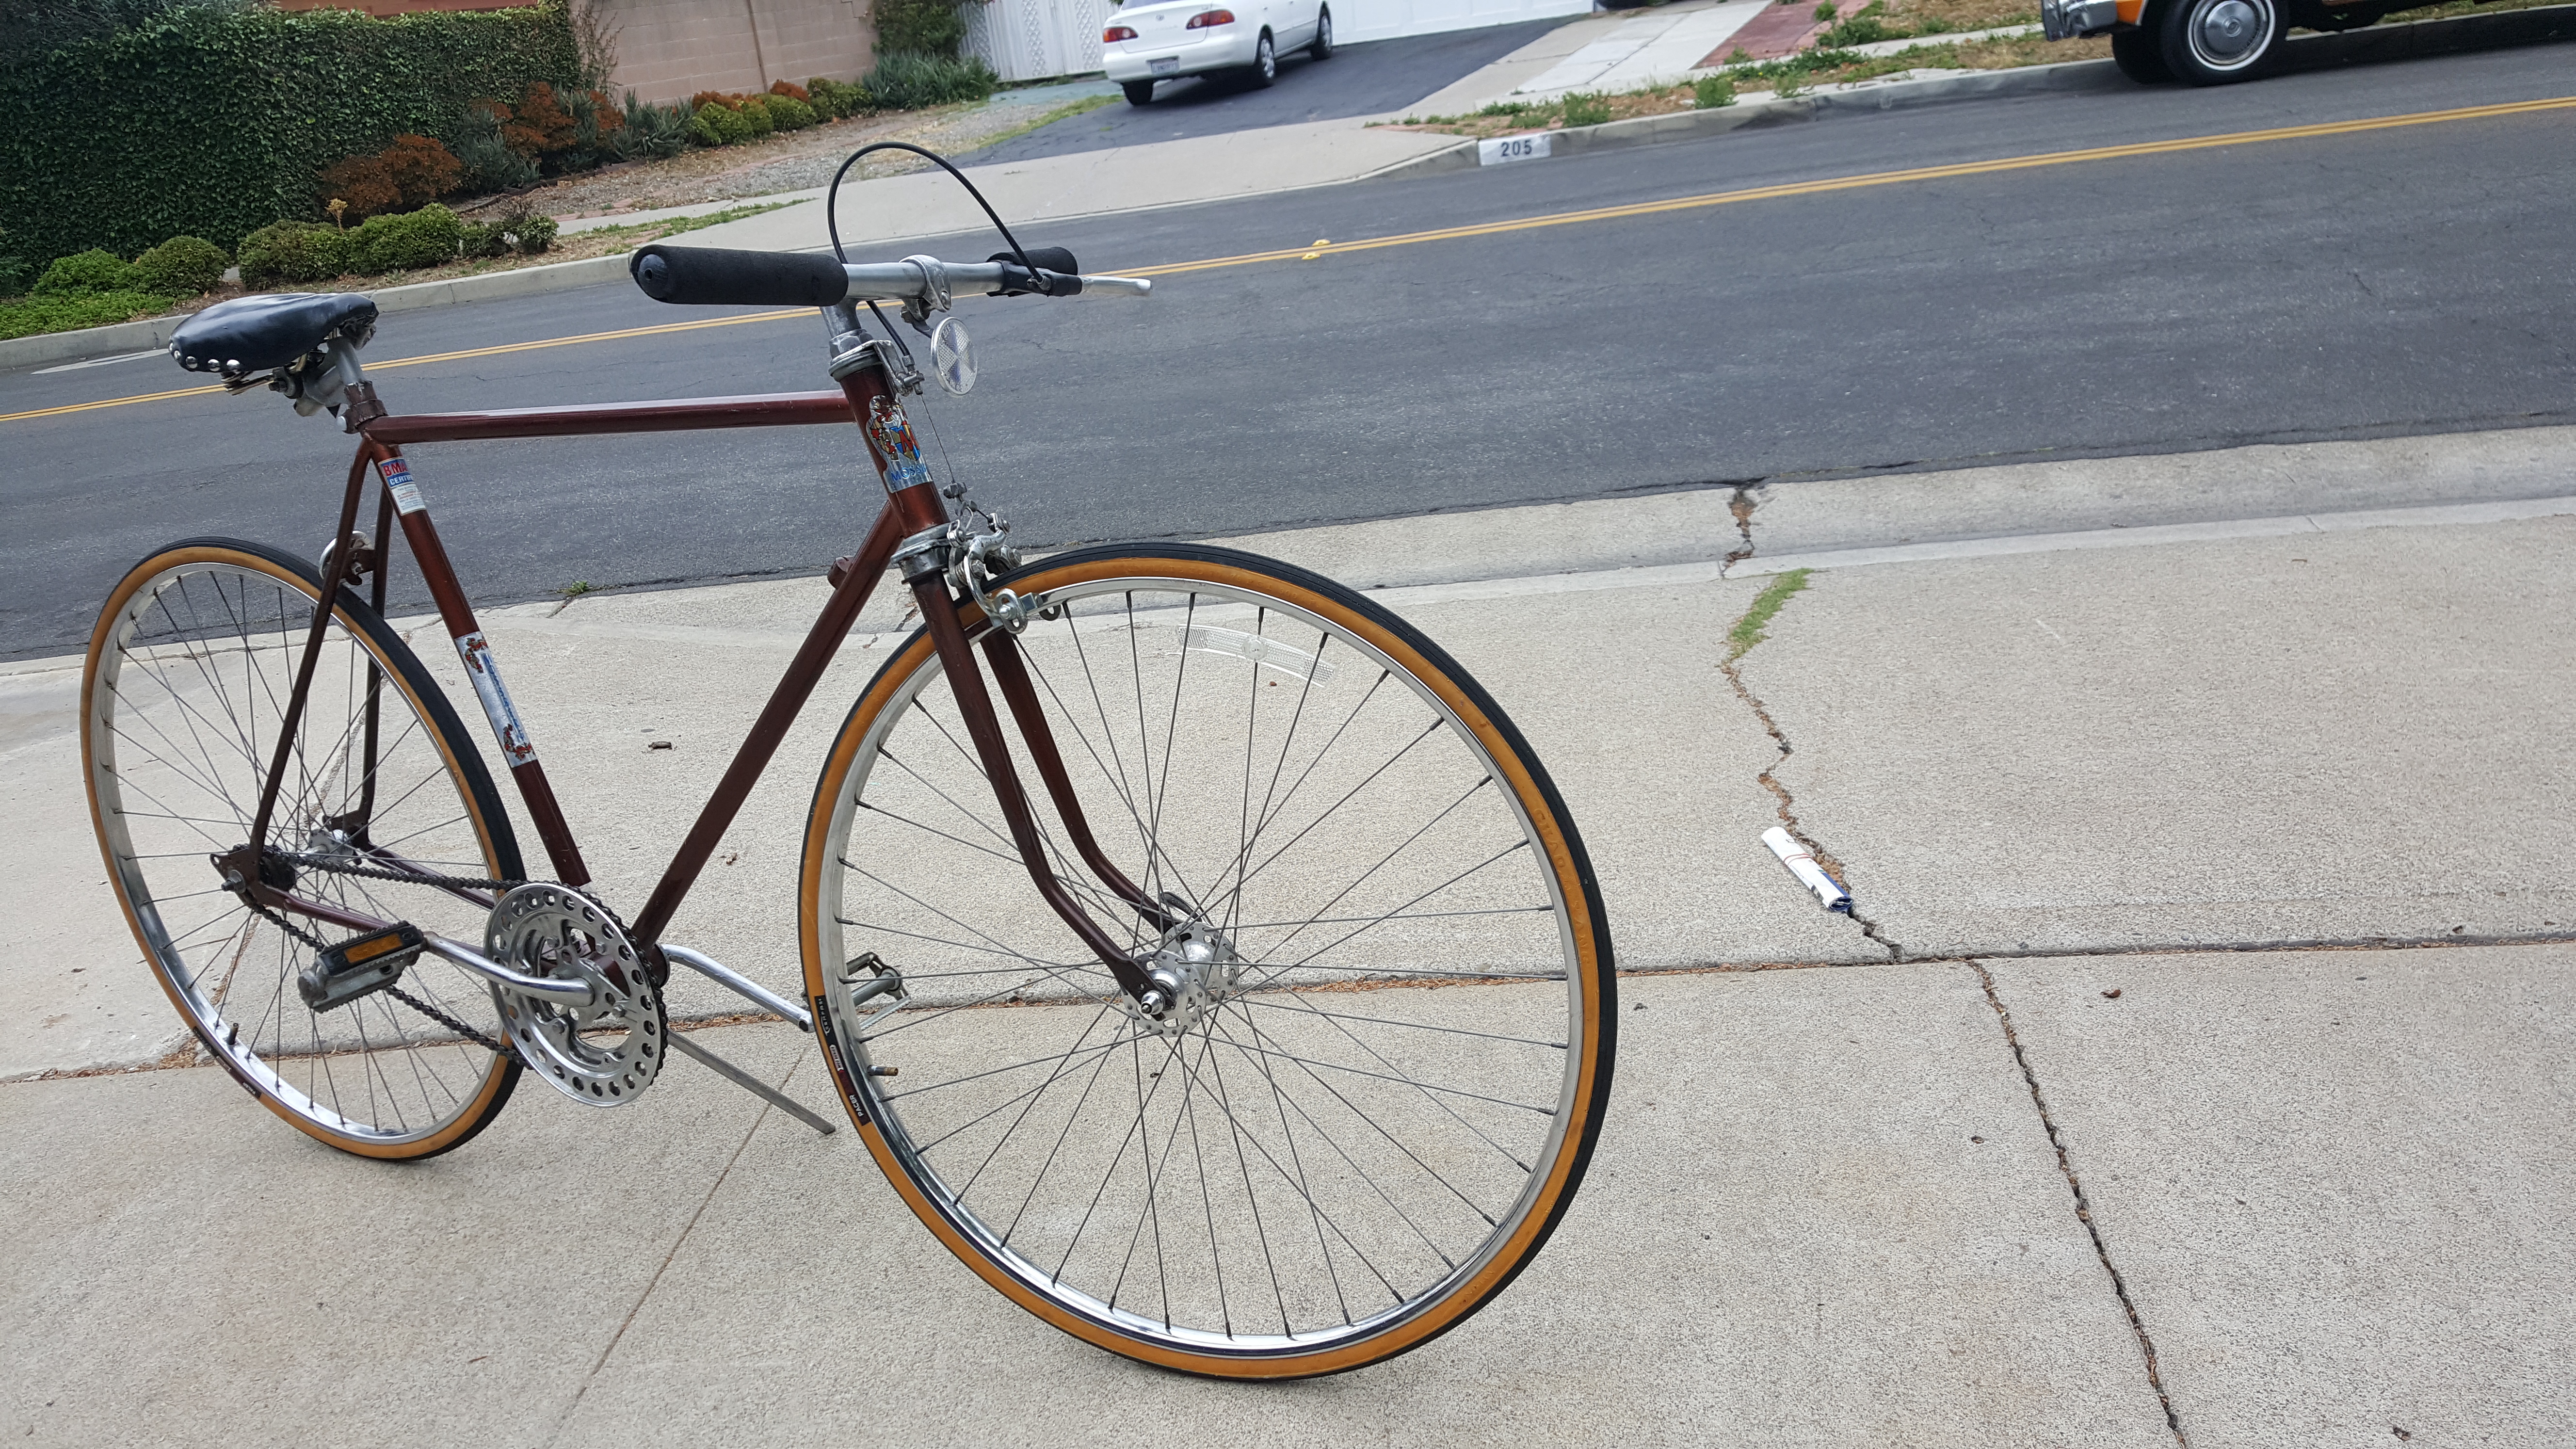 20160509_091949
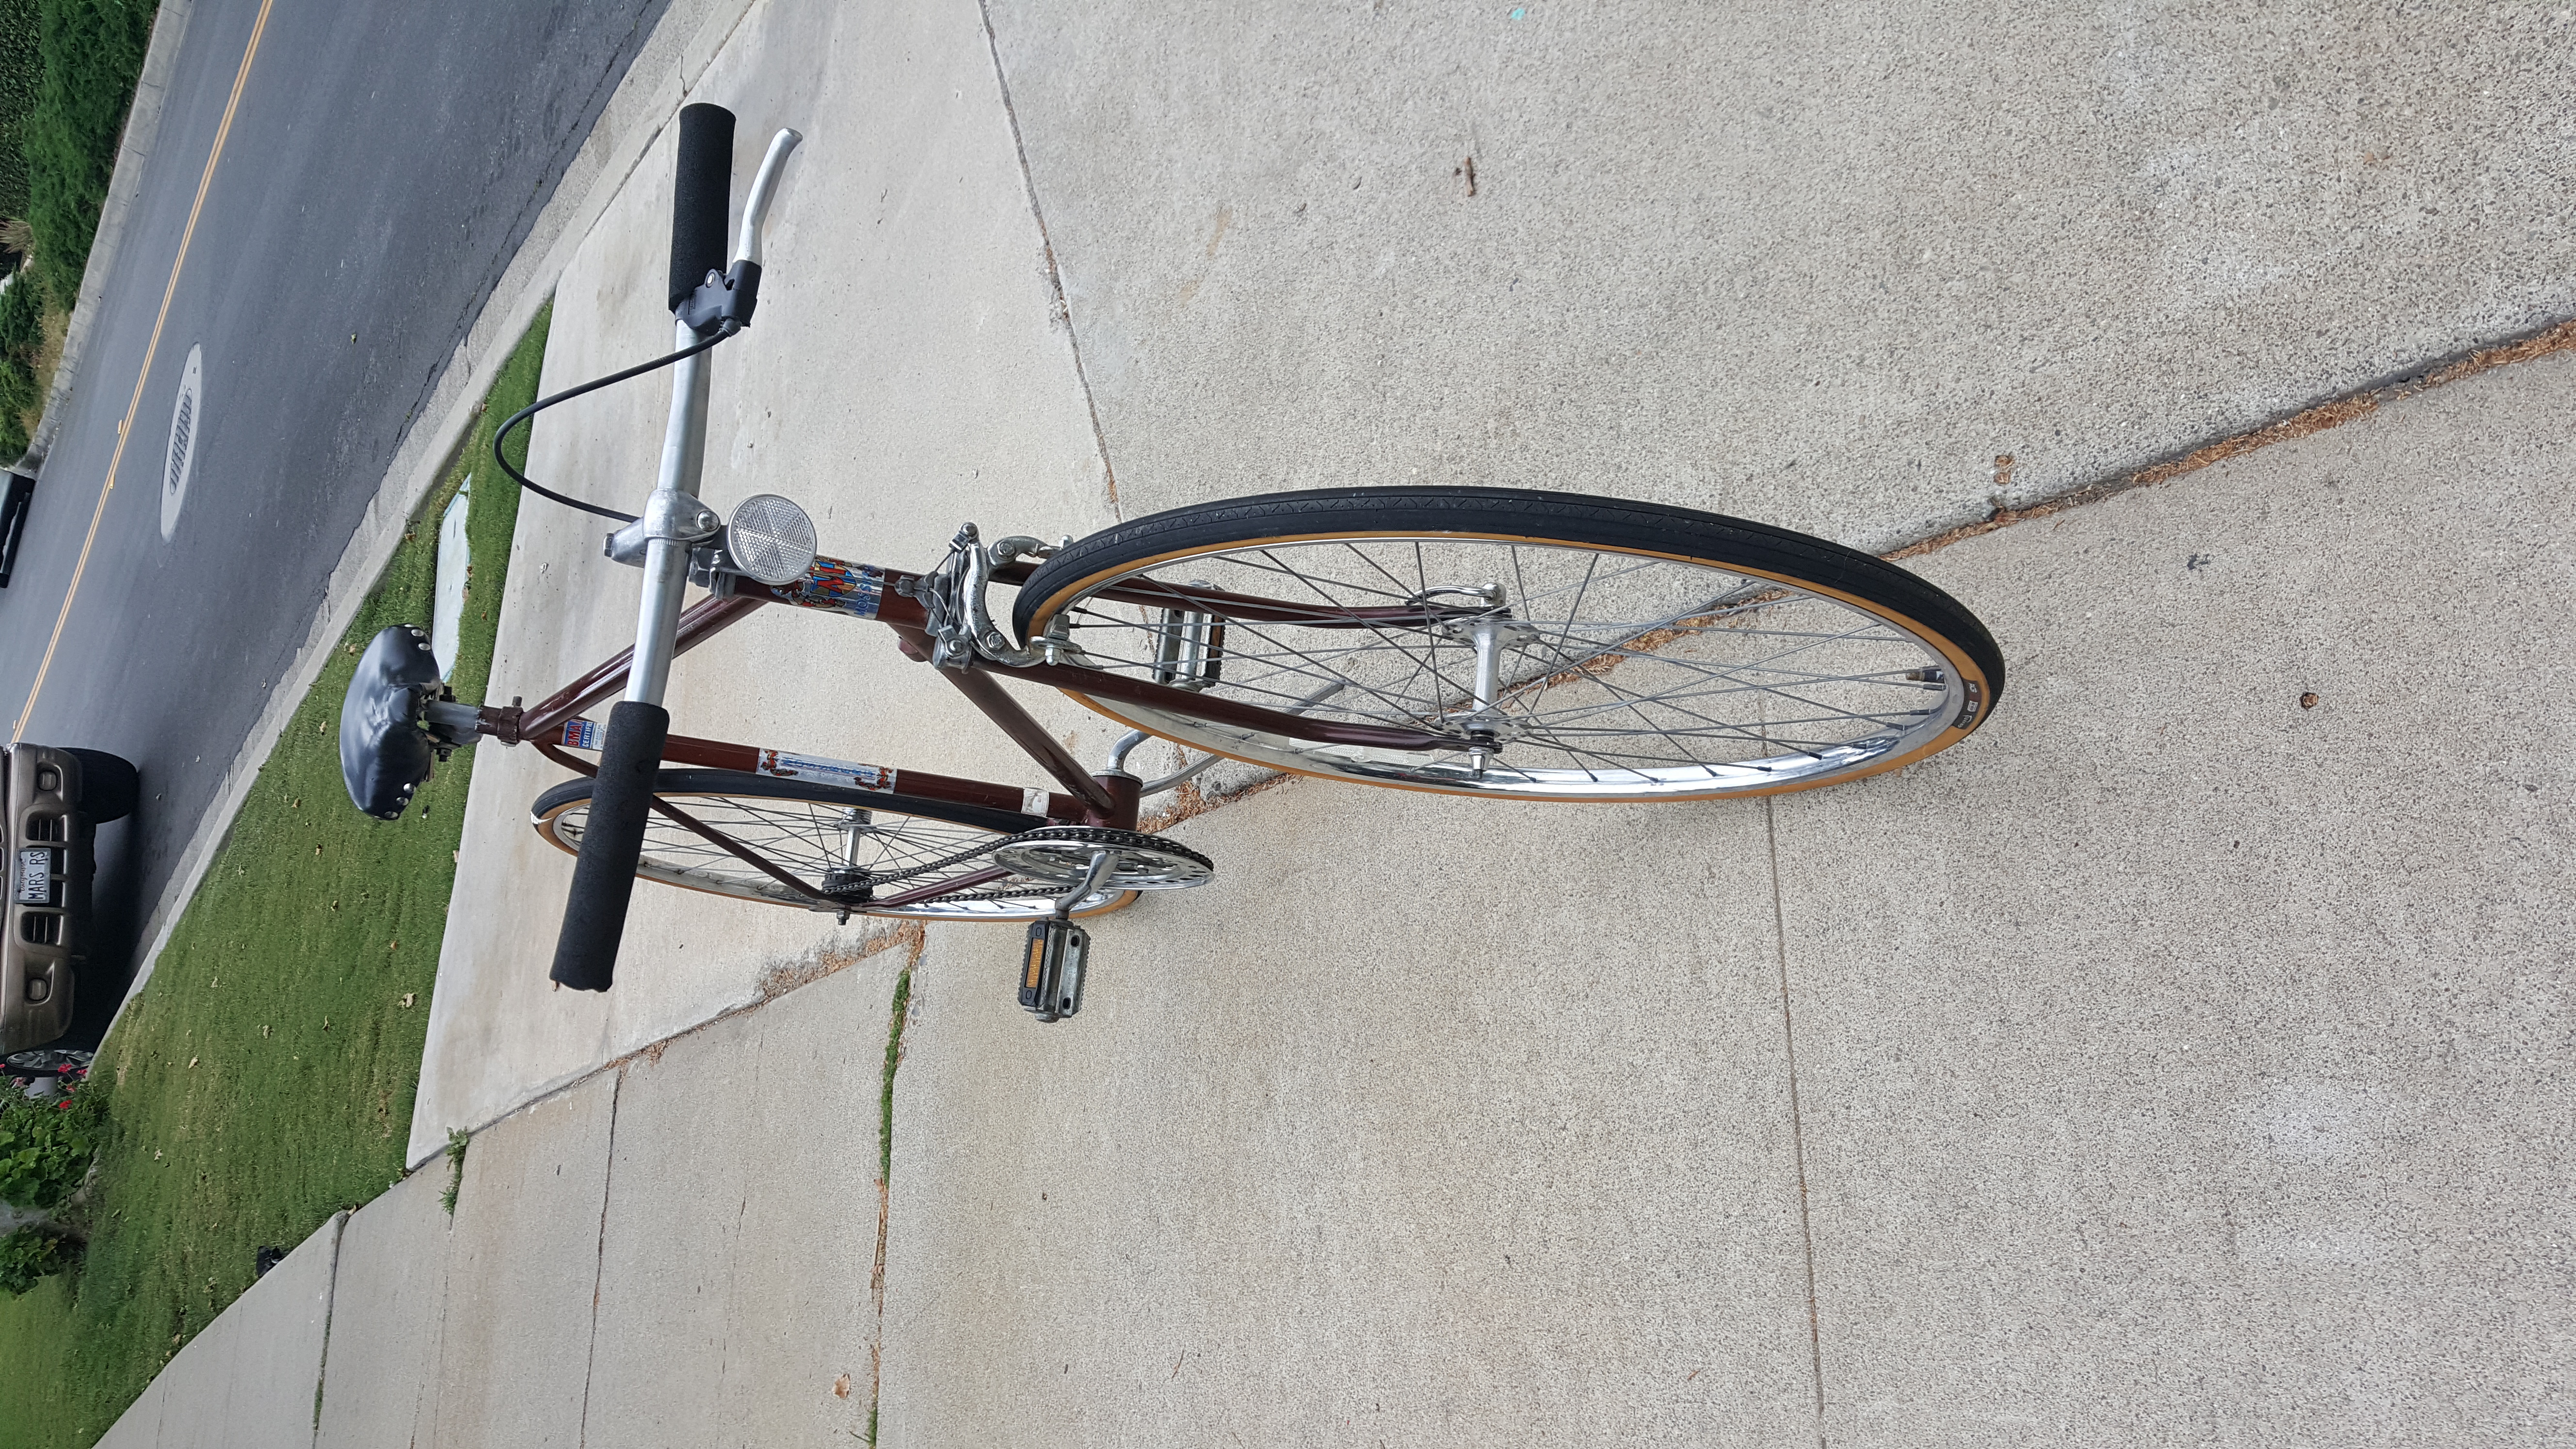 20160509_092049
 20160509_092116
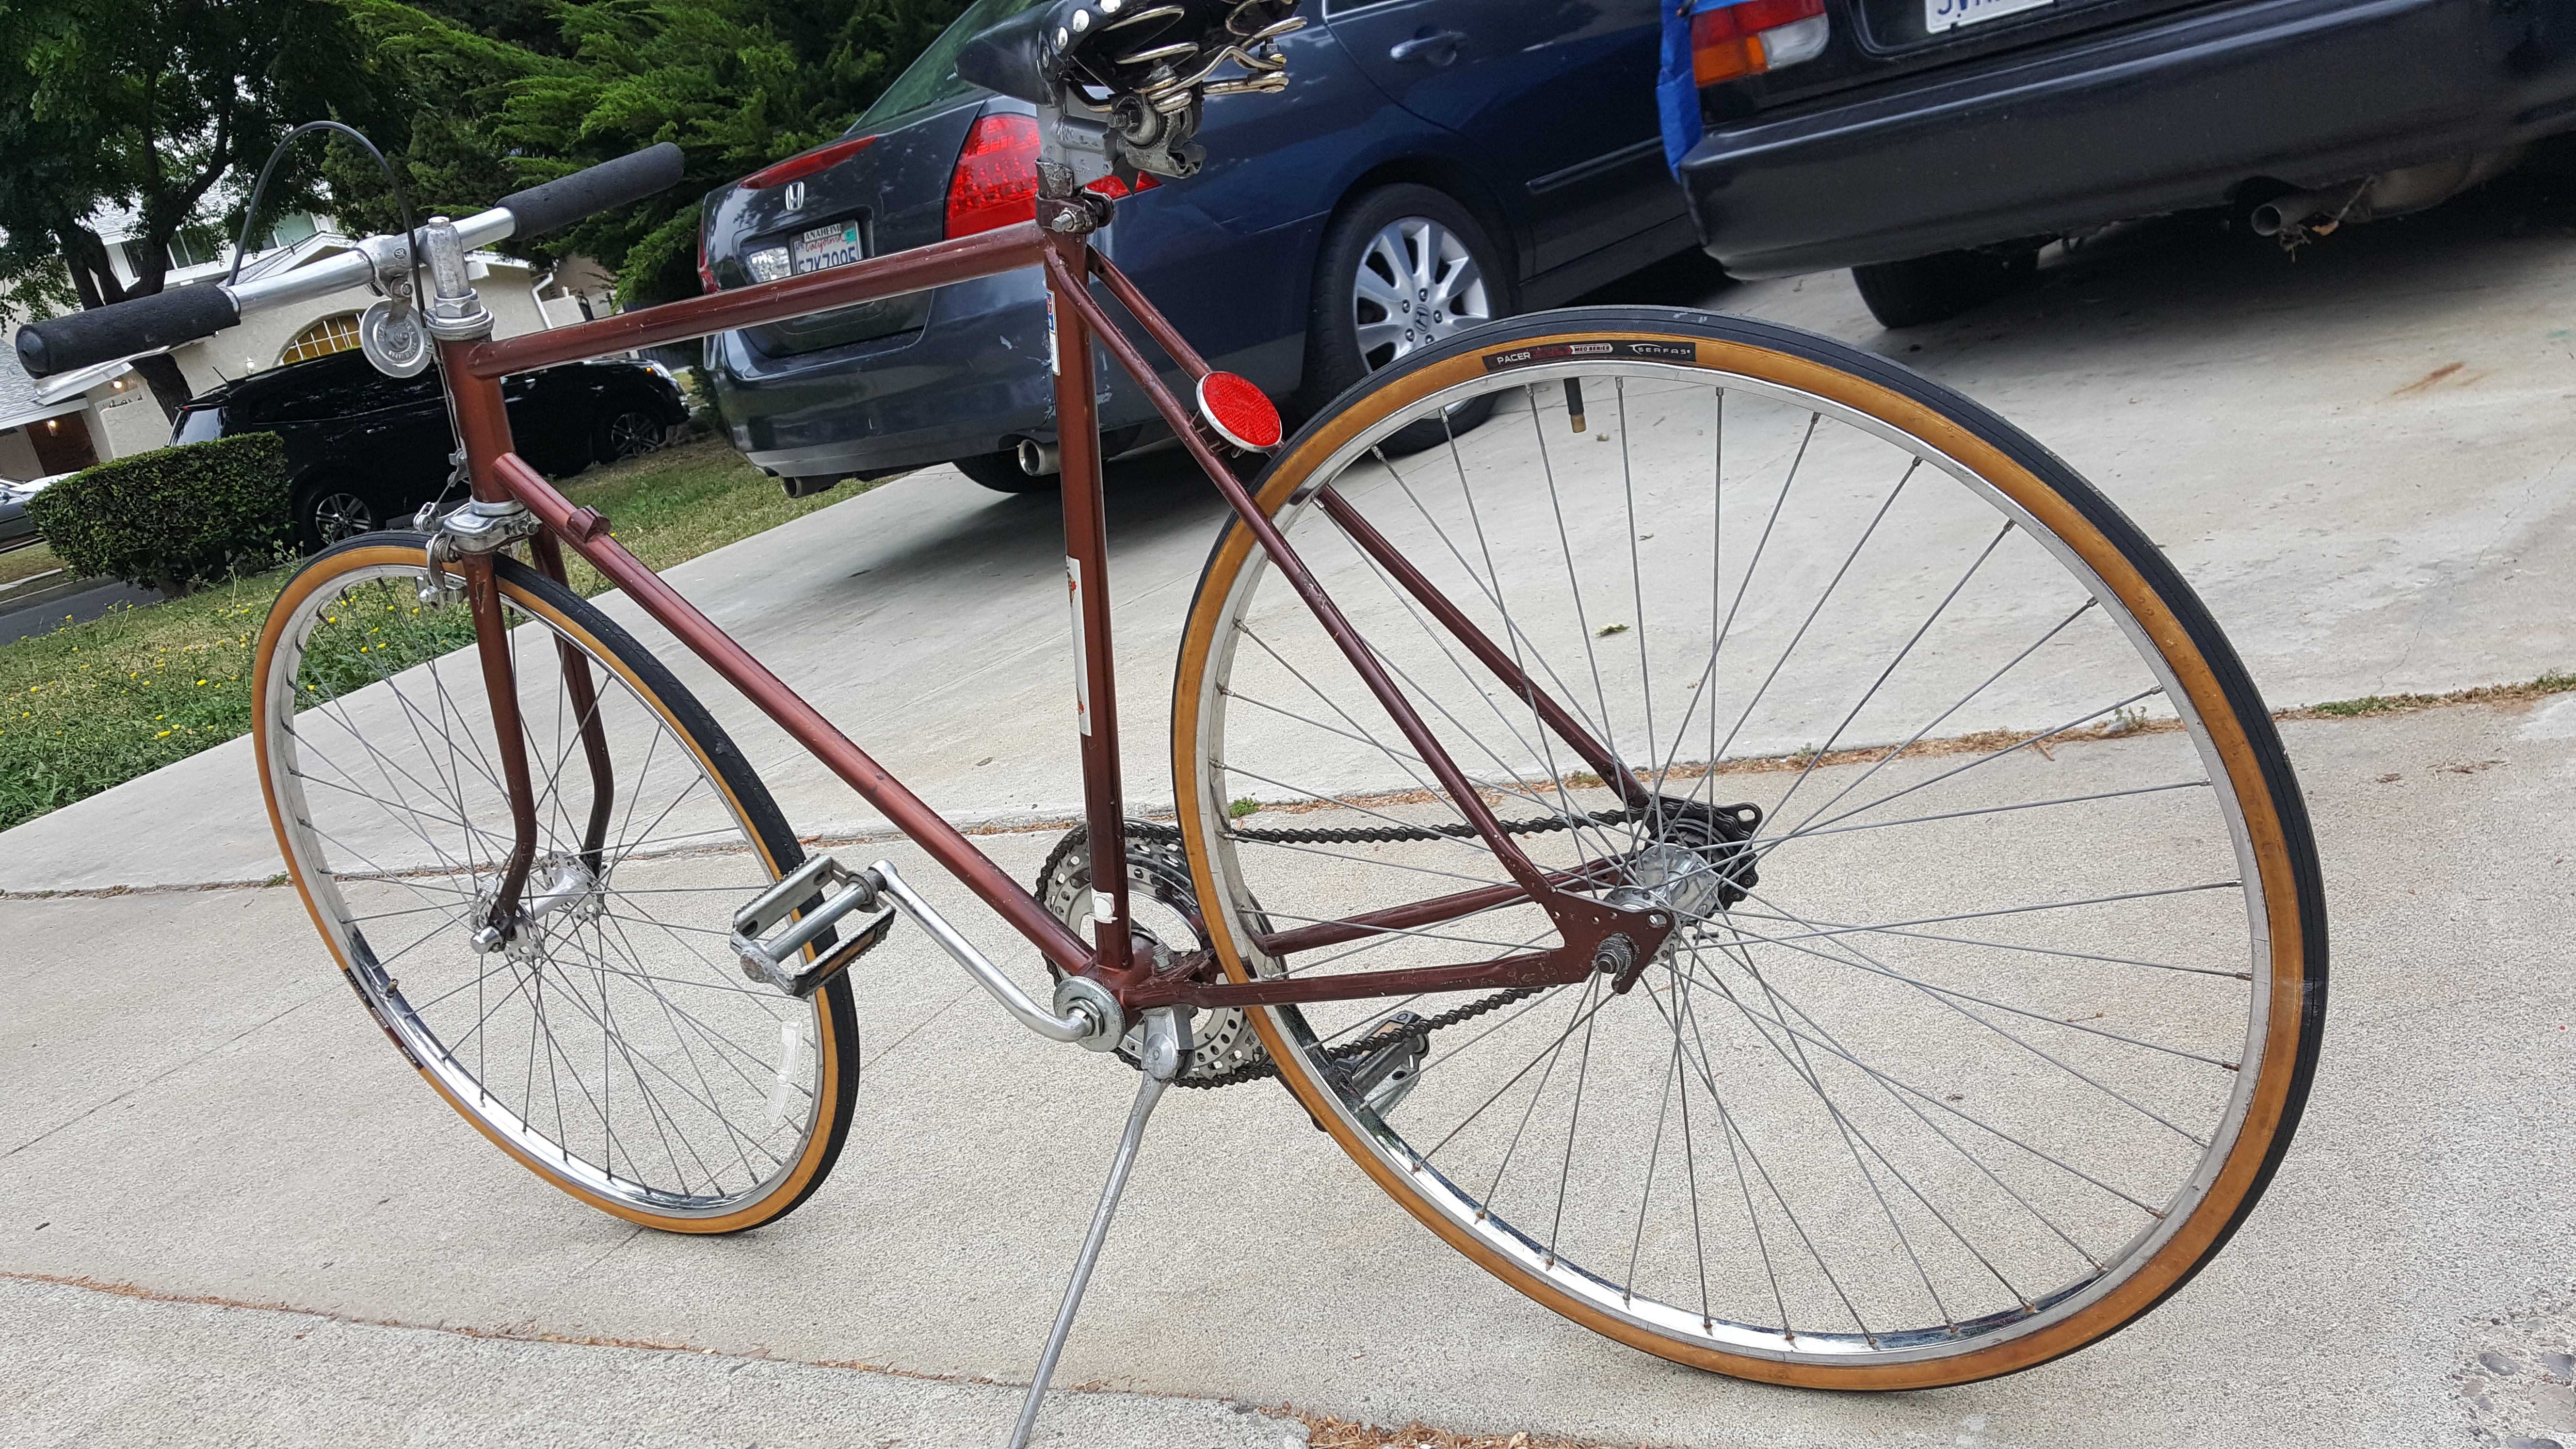 20160509_092133
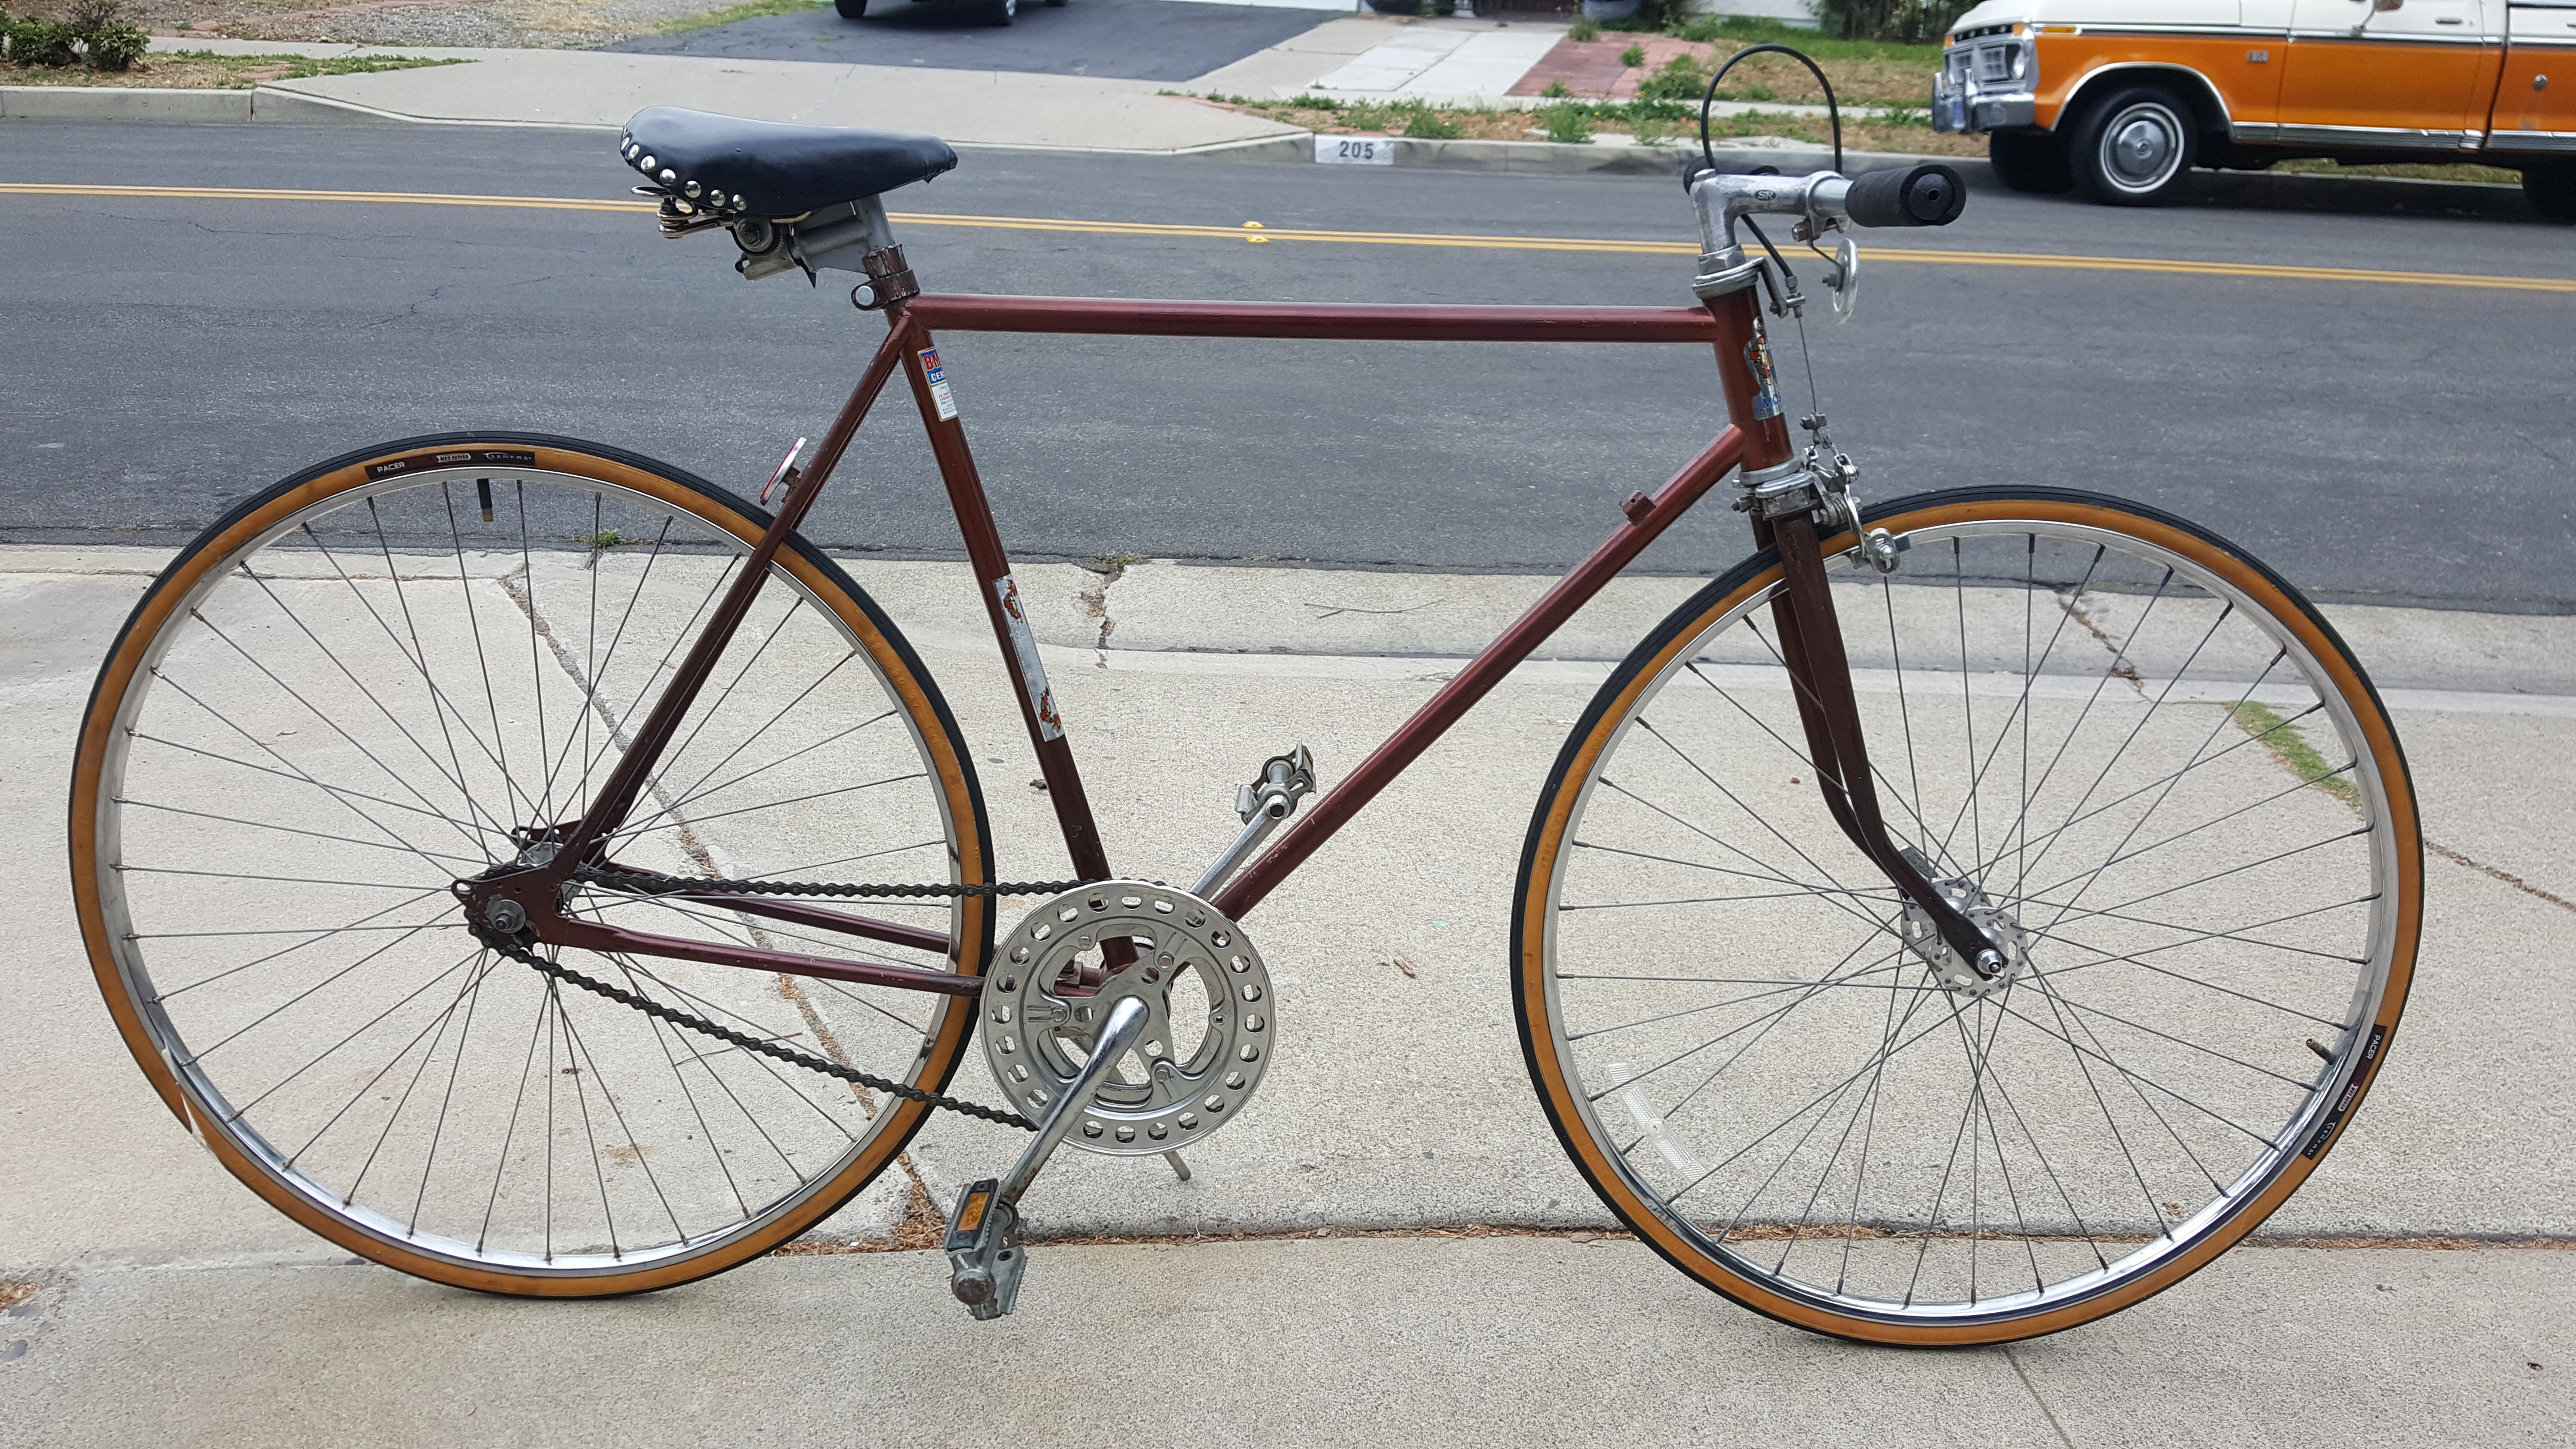 20160509_092145


