AMF 'Renegade 5'

Rat Rod Bikes Bicycle Forum

Help Support Rat Rod Bikes Bicycle Forum:

This site may earn a commission from merchant affiliate links, including eBay, Amazon, and others.
Found them. 3/4" fits.

5t9z.jpg


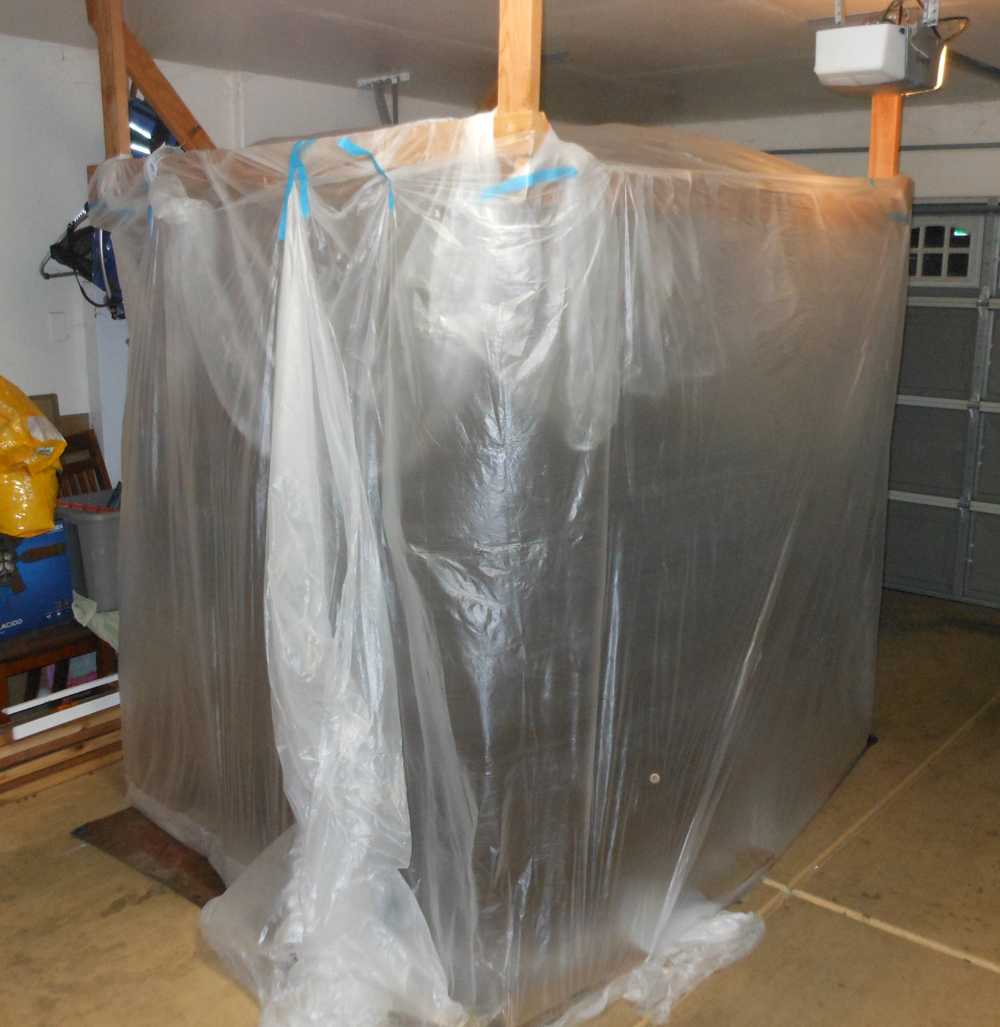
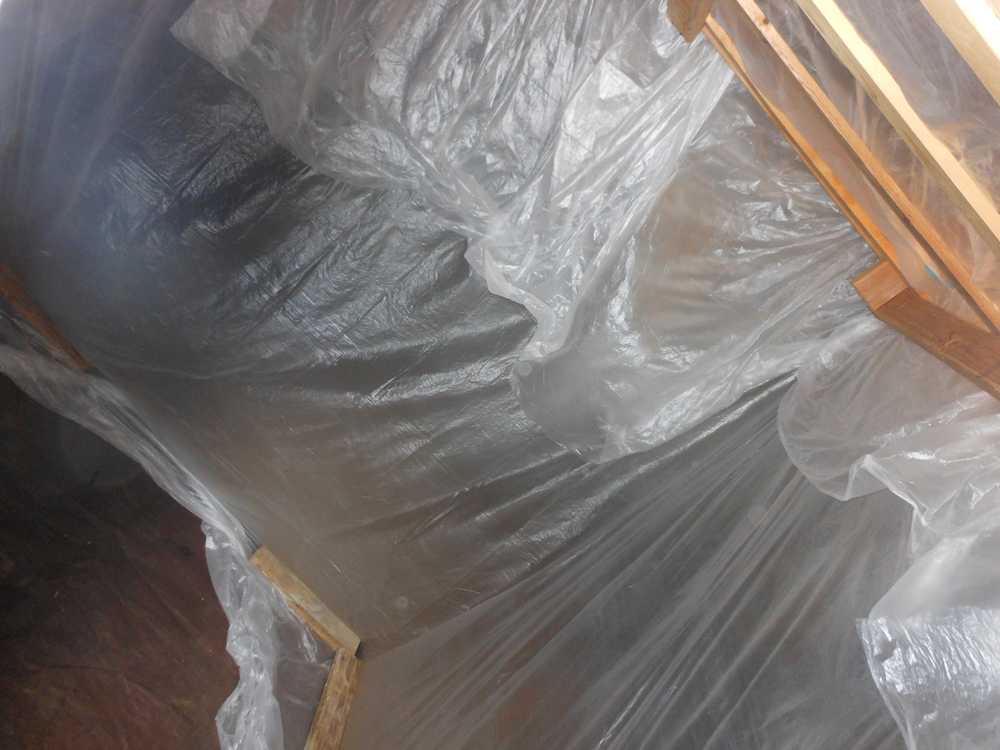
And wrapped them all up. Looking at this pic, they may not be even. I'll have to check that.

ktft.jpg


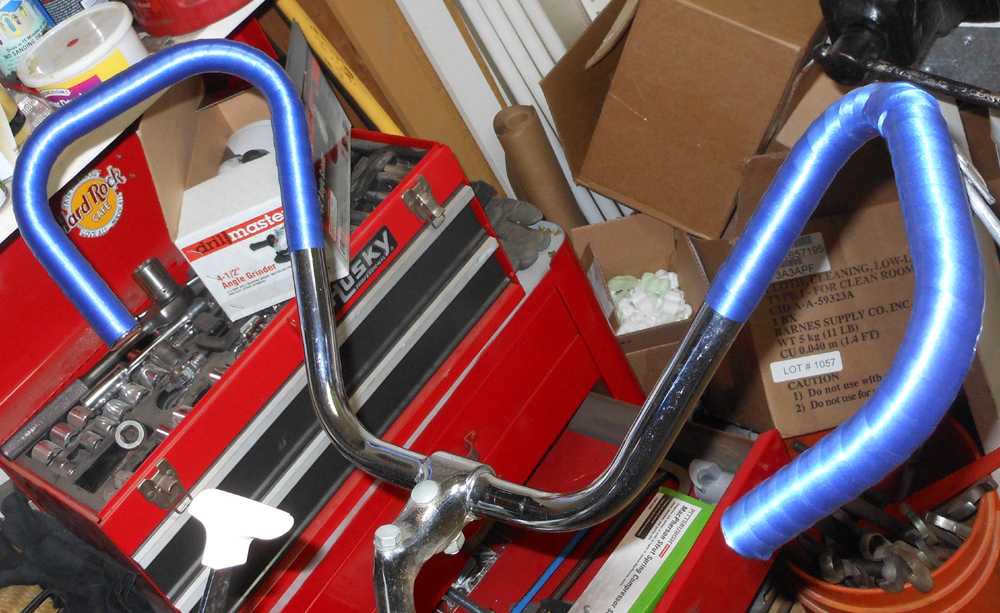
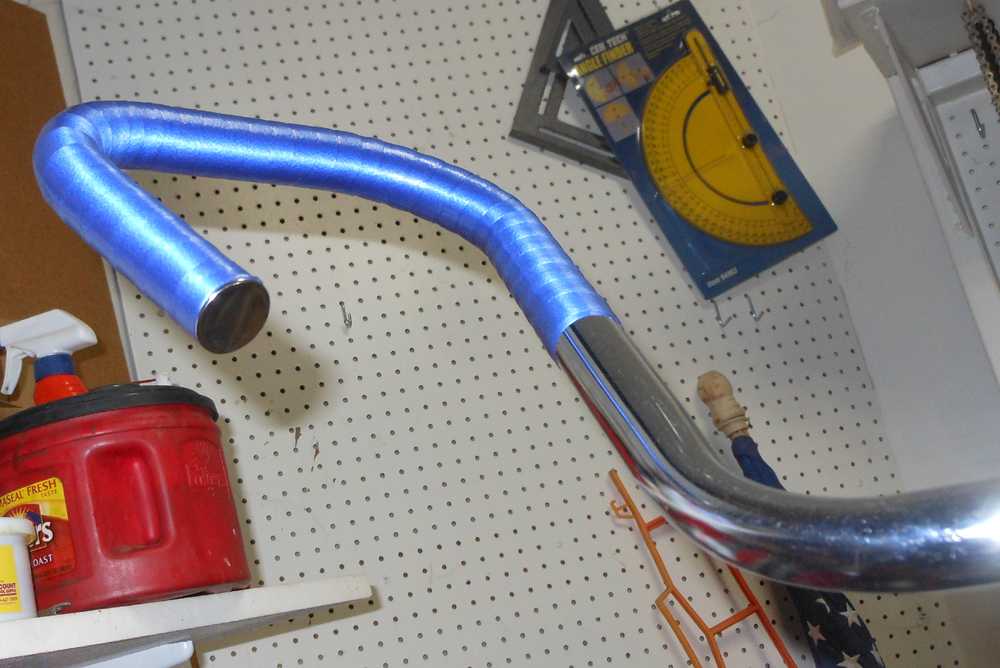
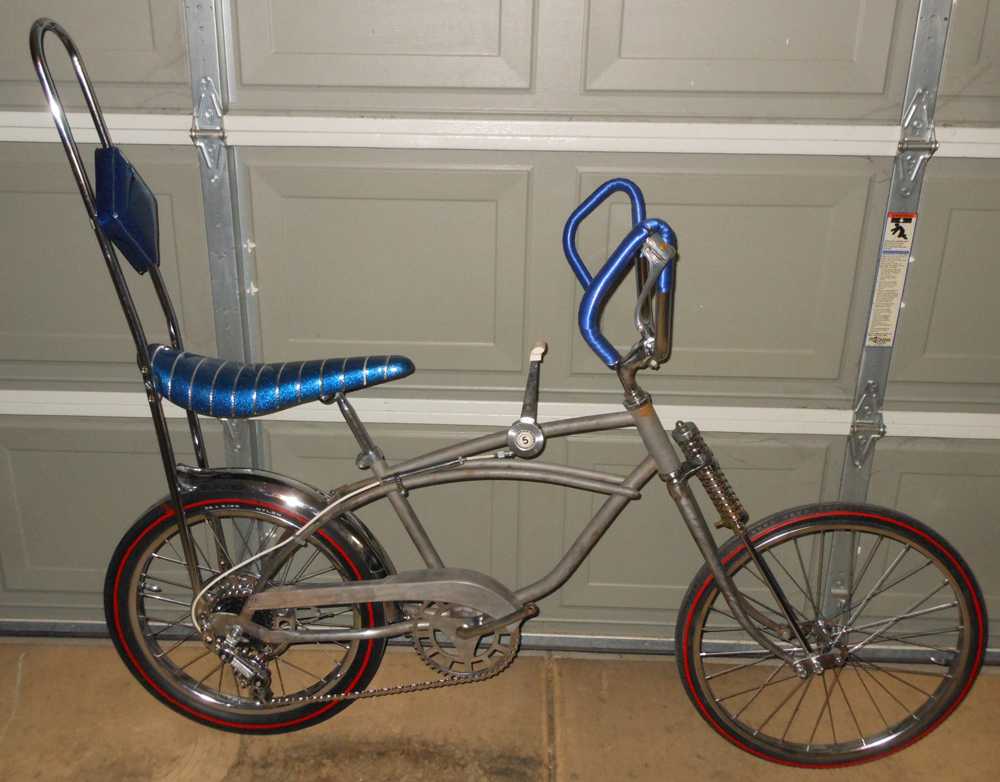
I got the front part of the fork back from the platers. The original plan was to be able to take it all apart so I could paint that inside rod. But long story short the bottom spring assembly had to be welded together. The builder suggested we plate it, so we did. But because they couldn't get into that rod, it didn't get shiny, and the acid they dipped the whole assembly started up some rust. So... I'm going to have to squeeze some primer and paint in there, and then take some thinner to the spring to bring back the pop of the chrome.
I put it all back together and set it down on its wheels for the first time. I've got a could of things to finish for the mock before tear down and paint.

li5o.jpg
 
First let me answer the obvious questions you are having:

1) No. I am not a professional photoshop artist, though I can see why I'm confused with one.

2) No. I will not do any professional-looking photoshop work for you.

I did this fantastic color rendering of what I think my fade job will look like. Really, I just wanted to see where I would fade the two colors. Also, the colors may not be entirely accurate.

Do you think the fade lines are in good spots?

vbpq.jpg
 
Well, this is my first time painting, so I don't want to get too fancy. And the concept is (was) that this was a bike that "could have been", although it's drifted from that a bit. But still, I like the fade of bikes of that era, so I'm going to stick to it. This is, after all, a '69 frame. It deserves to be brought back to some '69 glory.
 
I wish I could photoshop that well...:crazy:
Looks good brother.

Carl.
 
Christmas, but got a number of little stuff done: Finished setting up the brake. Cut and installed the rear fender spacer. Broke the bike down to prep for paint. Cut the edges off the drop outs because the fender spacer doesn't allow the rear tire to come out without letting out air. Prepped the frame for filler and primer.

Tomorrow I get a part of the fork fixed, build the paint booth, filler, and primer. More? We'll see. I still have to clean the tire paint up. Maybe I'll do that.

DOWN TO THE WIRE!! Every day must be huge progress on both bikes!
 
Looks good CRASH!

Just looked at these threads again after a little break for the holiday. Both your builds look great, nice work. I like the larger front wheel on this one, it gives it a chopper motorcycle look. Always wanted to try that and never have.

If you need any parts to finish send me a PM, I might be able to help. You're in the home stretch!
 
Today set my schedule back a bit. I hoped to finish tonight with the primer drying. However, I get a major change/upgrade done to my fork where I can now disassemble and reassemble the lower fork spring, so I can properly paint it. But that took the day and I wasn't home to work other stuff.
However, now that I know that filler putty is a PAIN IN THE REAR!! That's also slowed me down. I've never worked with the stuff, and I don't have time for the learning curve. I ended up power sanding a lot of what I put on right off. I thought it would be easier to sand. But a couple of frame points really need it, but it didn't dry fast enough, so that will be first thing in the morning.
Then etch,
then build primer. All hopefully by 11am when I have to take my family to see my parents for the afternoon. Ugh, this schedule....
I did manage to get this "build" tonight. This is my paint booth. I tested my heater in there, and it gets toasty. So... should be good for paint.

ybj7.jpg


Askew shot of part of the inside. (lean your head to your right)

9z9a.jpg
 
BAD NEWS: The house has some paint fumes in it. The wife is unhappy. She said I better win this thing to justify putting her through this. So... I don't mean to influence future voting, but my wife says you have to vote for both of my bikes. I hope you understand. :113:


In full swing, but it's going slower than I thought. Not only is filler a pain, it also wipes off with acetone. I read that I should wipe the metal down with acetone prior to primer to ensure the best adhesion, and it wiped off my filler.

ugh.

So, I got the etch on, and I got one coat of build primer. But the can, which was supposed to give me at least 3 coats, gave me one. So... off to the store tomorrow for another can. But, before I put on another coat, I've got to give the filler a go again.

Why so important? Well, remember that hole in the frame that I had to fill? It needs built up. The Monster had those cable guides I had to grind off. One fell off and left an indent, so that has to be filled as well.
 
I'm shooting rattle can, but I'm using a gun attachment, which makes it a little easier and fluid to shoot smooth. Well, the green's can, which is the first color, kept breaking away from the gun. So I had to shoot it like a regular rattle can. Which I didn't do well, and got some runs on the frame. After I shot the second coat which was the last of the can I was inspecting the runs and bumped into the fork, knocking it off it's hook. It fell to the floor and hit the lid to the rattle can, splitting it, which wrapped around the fork leg. The paint was munched. It also kicked up a bunch of primer dust which settled over all the other parts.
The paint store that made the paint usually takes a couple days. I'm going to call first thing in the morning and try to get an emergency can made by the afternoon. If I can, I may be able to finish in time. Or I may not.

Both my builds may not make the deadline due to paint problems. FML.
 

Latest posts

Back
Top