~~~BLACKJACK~~~ <<<FINISHED>>>

Rat Rod Bikes Bicycle Forum

Help Support Rat Rod Bikes Bicycle Forum:

This site may earn a commission from merchant affiliate links, including eBay, Amazon, and others.
Re: ~~~BLACKJACK~~~ Ready for Christmas ( but not done yet)

So find a color that matches the pinstripe and fix it or meet up and have it fixed. Its to easy to microfocus on the little details. Most likely he will have a blast and beat it up, unless you limit his ventures on it with you. Enjoy it for what it is and appreciate he realizes what you did. Will it really matter 20 years from now when you guys talk about the bike you built for him? Have fun.
 
Re: ~~~BLACKJACK~~~ Ready for Christmas ( but not done yet)

scratches happen. just do and u do realize your name is crash right? aybe try swapping the back to a 22
 
Re: ~~~BLACKJACK~~~ Ready for Christmas ( but not done yet)

hey crash!
just curious if you ever installed the other chain guard you mentioned in your posts ? do you have post-christmas pics of the bike ?
have you tinkered on it " father and son " like you talked to santa about :wink:
 
Re: ~~~BLACKJACK~~~ Ready for Christmas ( but not done yet)

All I've done to it is secured the rear fender. It kept moving and rubbing, so we had to secure it. The final chain guard isn't done yet. I need to get an update to find out. Hopefully it will get to karfer67 before too long.

He did complain about the gearing. I put a 46/18 ratio on there for speed and long term ridability for him, but I think it's a little tough for him in the near term. I'm toying with the idea of making it a 5-speed, but that will entail a new rear hub/cluster, adding a derailleur, and adding caliper brakes front and back. (Or disk, or drum). So... I may just drop his chainring down to a 36... or I may tell him to suck it up! :lol:
 
Re: ~~~BLACKJACK~~~ Ready for Christmas ( but not done yet)

try a 22 out back but a 36 in the front is what my son has. it works sweet
 
Re: ~~~BLACKJACK~~~ Ready for Christmas ( but not done yet)

I think I'll just put the 36 up front for now and see how that goes. I'll swap it when I get the chain guard in.

Meanwhile... boys are out riding yesterday. My 8yo is riding the old bike, not his new cool one. I ask why: "Because it squeeks like crazy when you pedal!" Me: "You've gotta tell me these things for me to fix them!" Turns out the old pedals are squeeking like mad. New pedal time!!
 
Re: ~~~BLACKJACK~~~ Ready for Christmas ( but not done yet)

Update: I found a guy who converted a 5-speed muscle bike back to the original coaster, so I bought all his 5-speed equipment! It has a top bar stick shift, that I obviously can't use as intended. So, here's my dilema: I have a great idea (that I stole, of course). Take that top bar shimano shifter and put it on the down bar right in front of the bottom bracket behind the chain guard. Put a long shift stick on it with a chrome skull as the knob, and make it a suicide shifter.

But would that be too complicated for an 8 year old? The wife thinks although it's a cool idea for an adult, it may be too complicated for him and may result in crashes.

Is there a 5-speed grip shift?
 
Re: ~~~BLACKJACK~~~ Ready for Christmas ( but not done yet)

I would suggest mounting the shifter on the downtube just below the tank bar. The only issue I can think of with the shifter here is that the shift knob may have to be broken off and replaced with a side mount knob. I used a 7 ball drawer pull for my Flexy shifter. You could use a poker based drawer pull like the one I found below.

Your boy will pick up on what ti takes to shift pretty easily I bet.
I don't think a modern grip shift would work, because it will be indexed and your old school derailleur won't be.
All of the old twist grips that I have seen were for 3 speeds.


$(KGrHqF,!oUE8Vws2sK!BPSnK+P72g~~60_1.JPG
 
Re: ~~~BLACKJACK~~~ Ready for Christmas ( but not done yet)

That could work. I'd be concerned about it getting the way of the graphics (stupid, I know). So that is a drawer pull knob? I wouldn't think those would be big enough? Or is that one really big? Where did you find it?
 
Re: ~~~BLACKJACK~~~ Ready for Christmas ( but not done yet)

If you use a baby pool ball drawer pool, they are 1.5" diameter and are plenty to hold onto (see my Flexy shifter below).
I would guess most drawer pull would be of similar size. I found that spade one on ebay.
Maybe a black 8 ball pull would work for you. I don't think it will interfere with the graphics.
Installation is a breeze too.

aIMG_8010.jpg
 
Re: ~~~BLACKJACK~~~ Ready for Christmas ( but not done yet)

The next mod step is underway. I've got a couple more parts on the way, but I'm starting to work on some ones I have. Here are 3 cogs to the 5-speed cluster. 2 "before" and 1 "after". It was pretty rusted. I've got another cluster to take apart and clean which has got a big skiptooth cog, but I broke a tooth on the small cog trying to tap it loose. So, more soaking on that one and try again. I'll obviously have to replace that cog.

dsc1490c.jpg
 
I am not winning any Dad of the year awards this year. :?

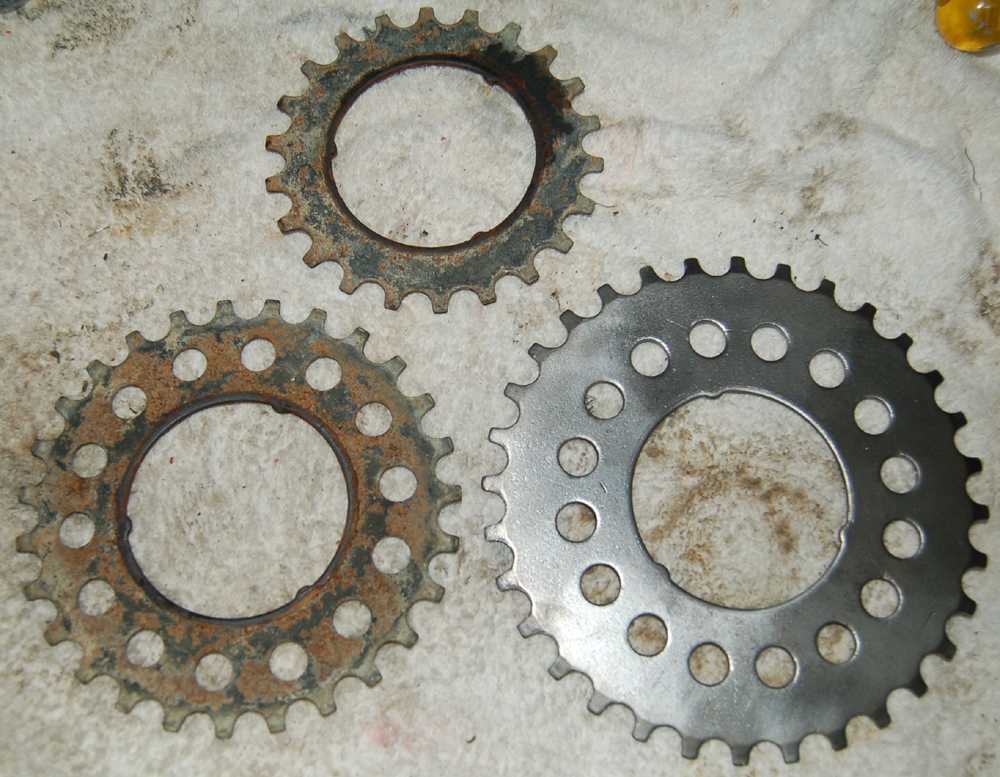
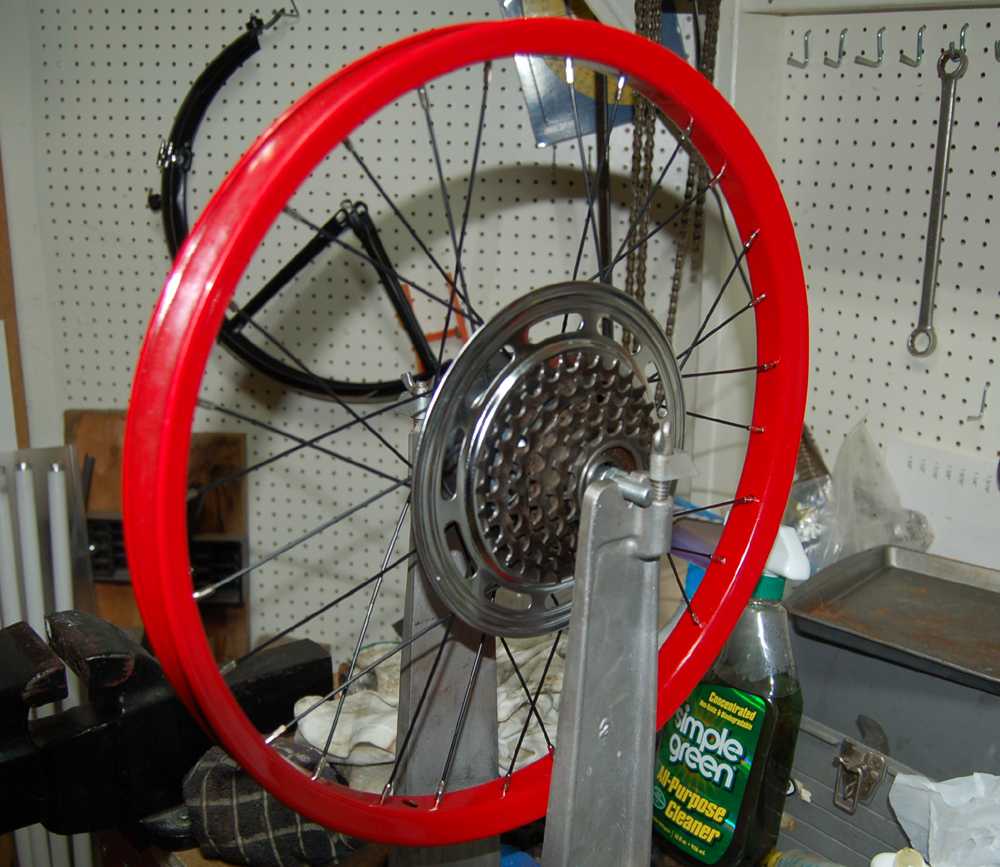
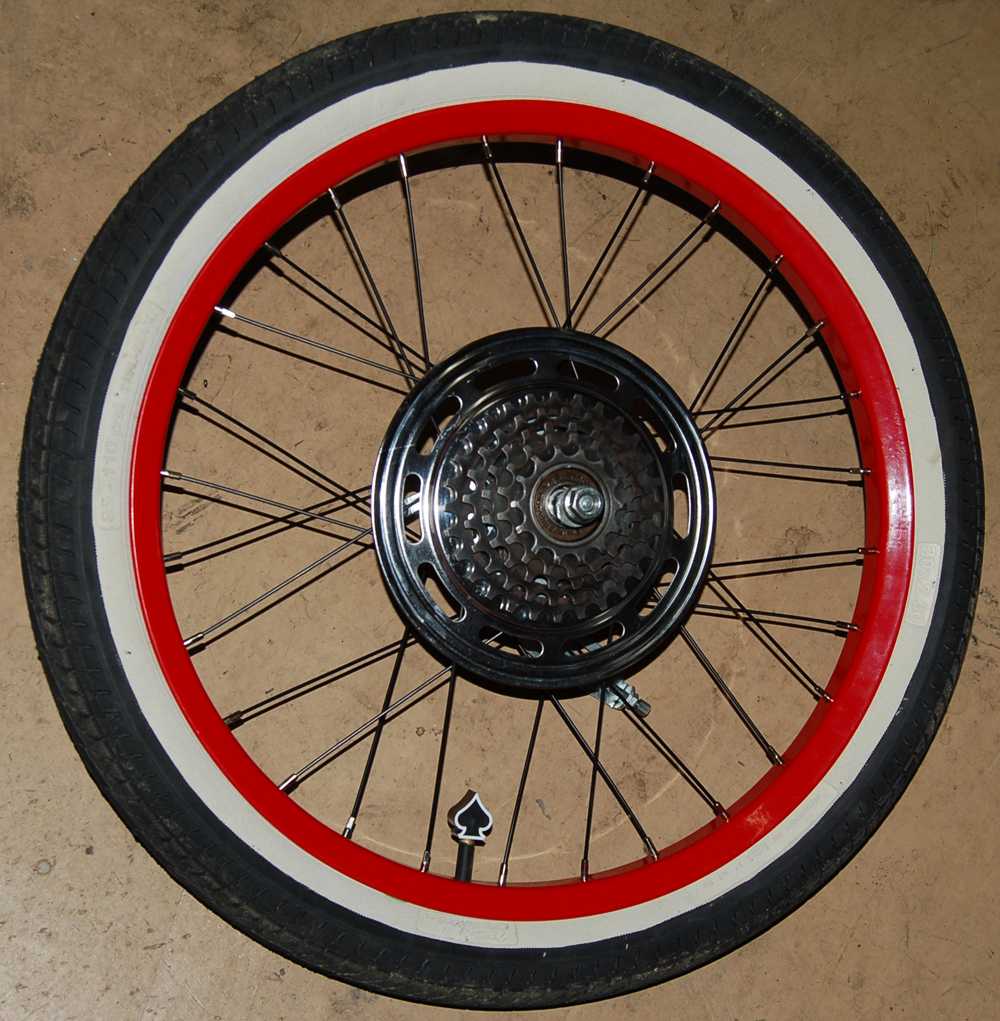
This final build has spanned for months... all in waiting. The bike waiting for me to work on it! Numerous reasons have kept me from it, but now I'm re-engaged, and moving forward. So, my update in May said I had rebuilt the wheel and was spreading the frame. (rebuilding that wheel was a pain paying to get the spokes calculated) I got a better spreader from Harbor Freight (seen below) and it worked like a champ. However, the adapter I had for the rear brakes didn't fit right, and rear brakes would have taken a major modification. So, I asked for solutions, and an idea that a rear drum brake hub would work, and one was shown to me on E-bay, so I got it for under $30. I had to work closely with Robert at Wheels by Fleming and he walked me through how to measure for spoke length. http://www.mrrabbit.net/wheelsbyfleming.php His custom spokes went on with a 2-cross lesson from him over the phone. So... now we move forward.


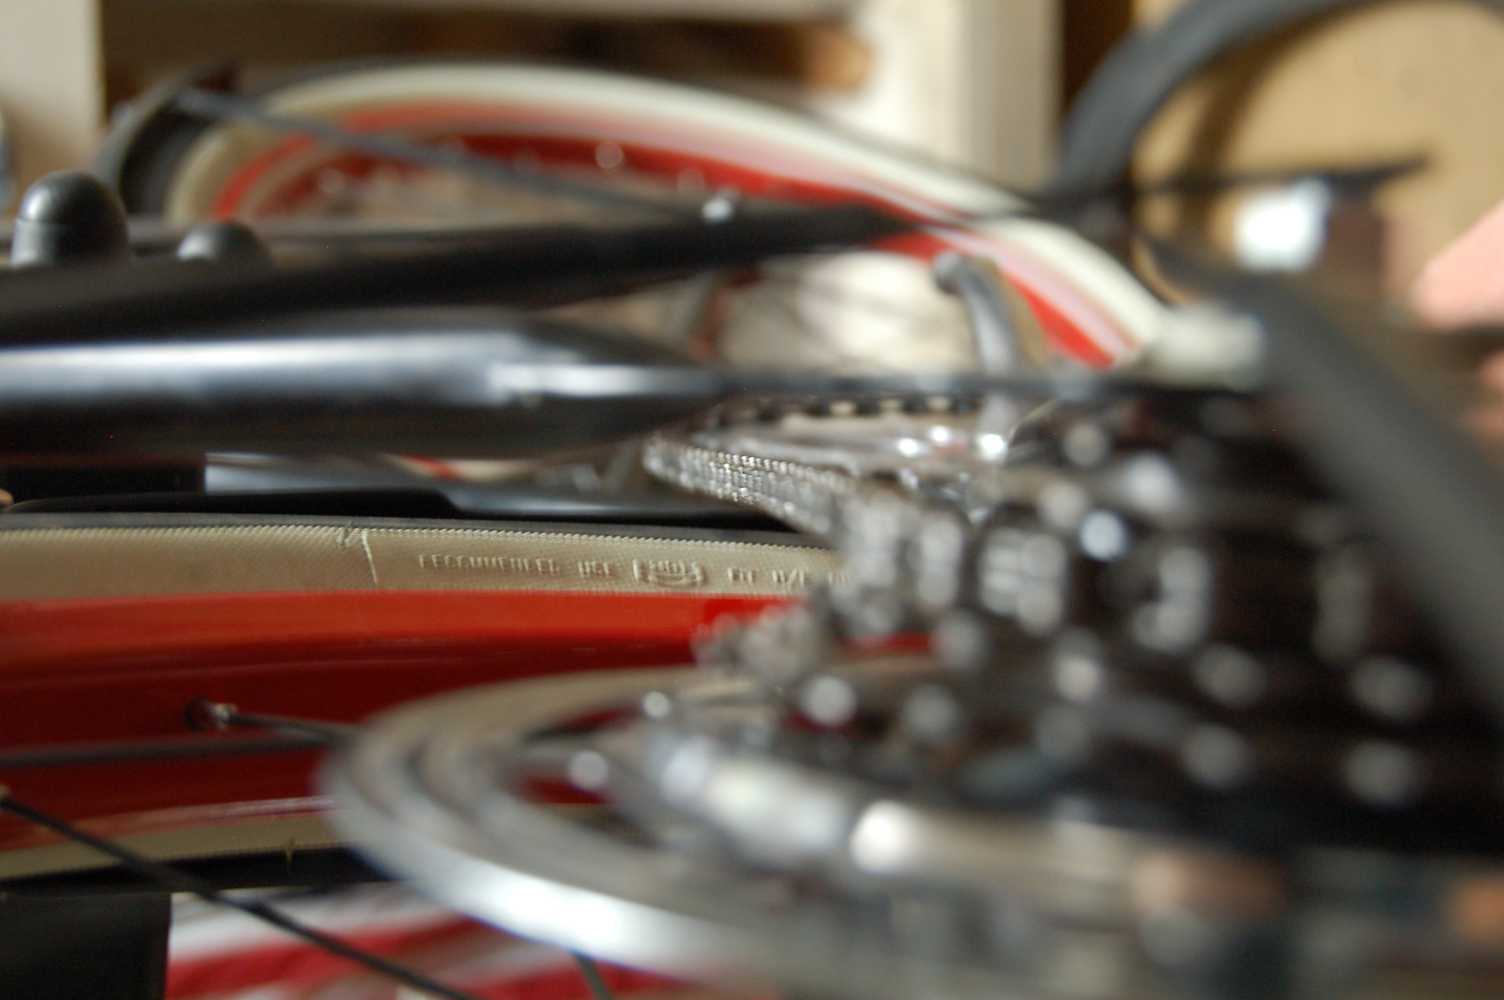
Here is the... built for the 3rd time... rear wheel. Notice the absense of the reflective tape stripe. The heat over the summer cracked the tape breaking the line! What the heck? So I'm replacing it. I think the front wheel is still all ok though. Very strange.

ok1z.jpg


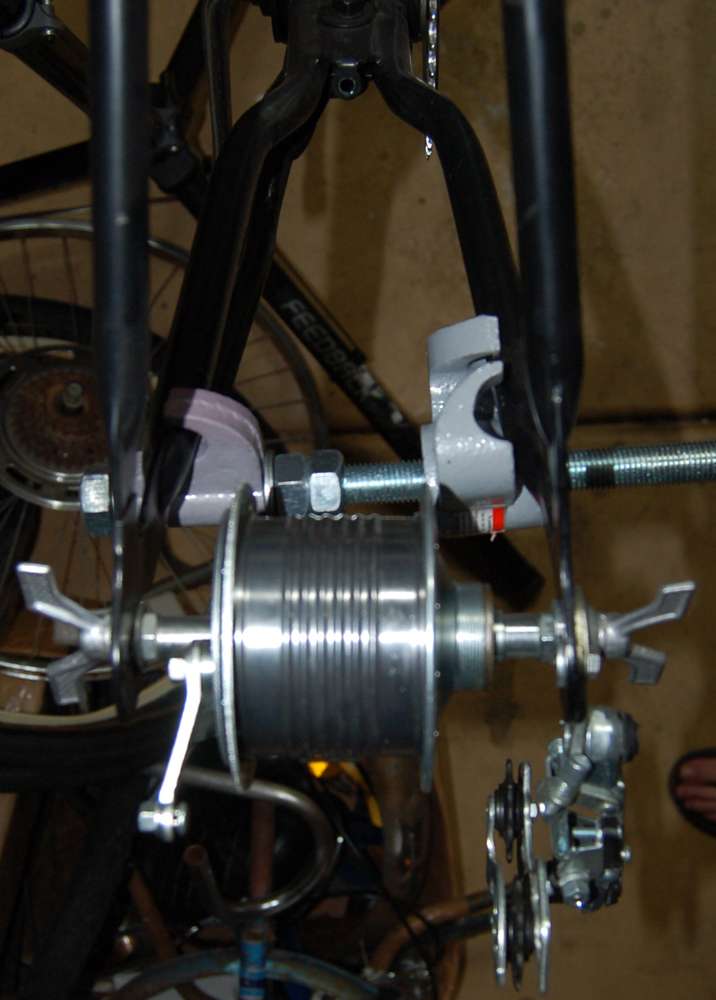
Here's the rear drop outs with a second drum brake hub I bought for a different build. The stays were having trouble keeping open to that width, so I decided to spread it, fit the hub in and tighten it down, then put even more pressure on the stays with that spreader while the hub keeps the drops where they need to be. I'm hoping after 3 days the stays will learn where they need to stay with the hub not in there.

7qmo.jpg


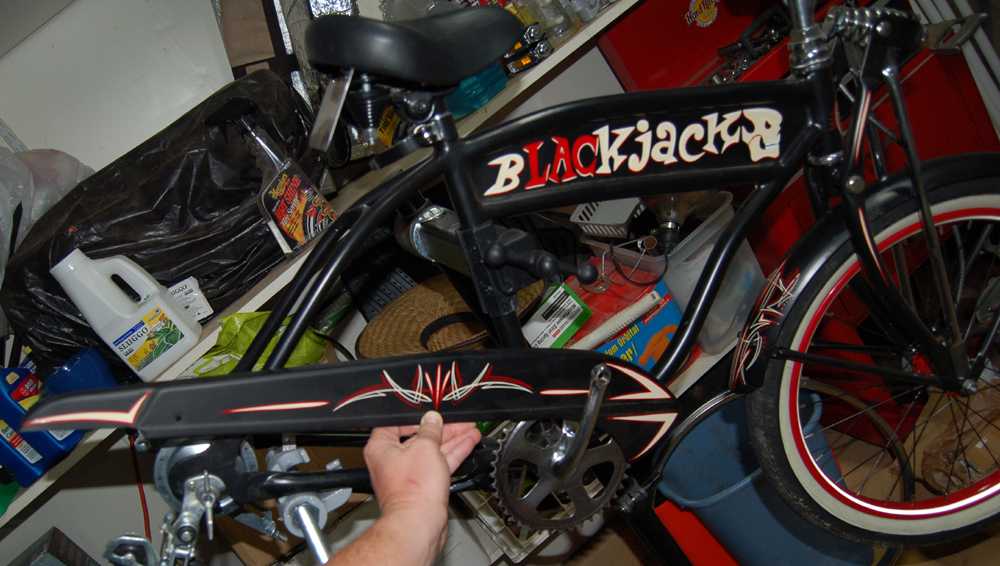
This is the 26" Monark chain guard I orignally got for the build. It took a while for Adam to pin stripe it due to real life issues, but I finally got it for the second iteration of this build.

3x9h.jpg


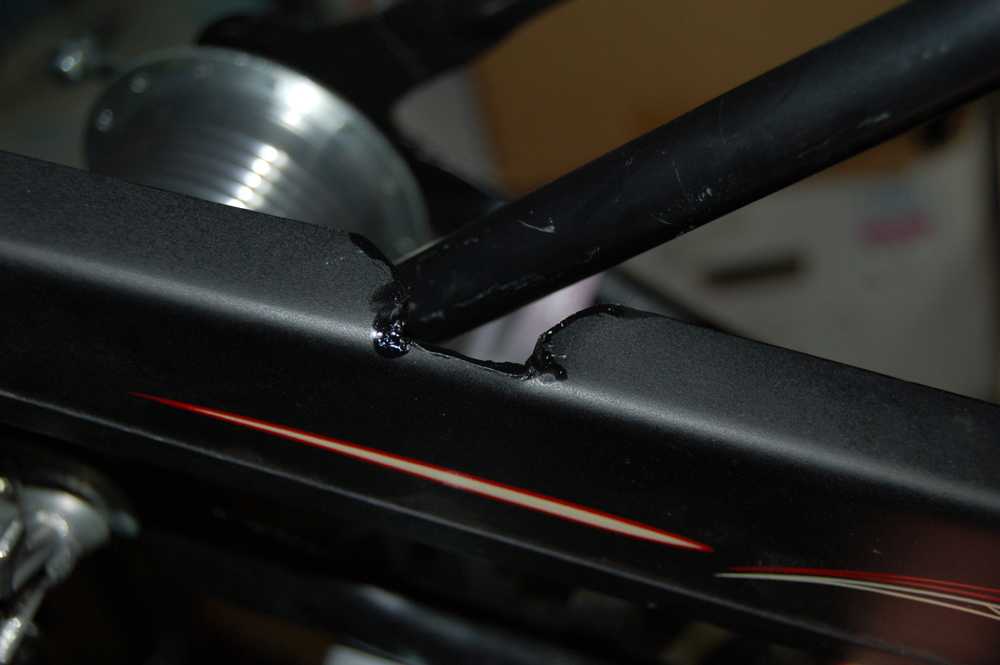
This is the cut I made tonight, then tried to smooth and touch up paint (still a little wet). I am no metal smith. :oops: I still need to devise a way to attach it to that stay. But first I have to get the attachment to the down tube figured out, then I have to see if I'm going to cut and attach the fender brace to it. We'll see.

6sbj.jpg


Steps forward:
- Getting the fender back on and situated with the new wheel's width.
- Getting the chain guard installed and looking like it's supposed to be there.
- Installing the shifter in a spot it will work and not kill my son trying to shift gears.
- Housing and cables.
 
Hey Crash,

I think the issue is that you ned to go past the "spring-back" point on those dropouts. The metal won't "learn" where it needs to be and it won't stretch over time the way a pair of your favorite jeans will. You have to think of it more in terms of "bending". As of yet you have not bent the metal because you are still flexing the dropouts out within their spring-back threshold. You need to put the spreader tool in there and open them up PAST the dimension you want. Remove the spreader, measure and repeat if necessary. The change will be instant once you spread them to the bending point. So there is no need to wait a week because it really won't help. The real important tip is to make these adjustments slowly in small increments so you don't go too far. If you spread them out and remove the tool right away but there has been no change in the dropout spacing then you simply did not spread far enough. It is not a factor of waiting longer. I hope that helps. It can be a little scary doing this on a nicely painted frame but I think you will be fine. Steel frames are pretty resilient. I did this on my chinese schwinn frame with a scissor jack from a car and it worked fine.

BTW I love this bike and I think the classic rat rod color scheme looks awesome. You have a lucky kid.
 
Well, I got it spread... again. And this time it stayed spread long enough for me to get the wheel in there. Now, whether it stays like that is another story. I just hope he doesn't EVER get a flat! So, moving forward.

The good news: This is a fantastic looking rear wheel!! I'm a sucker for 5 speed wheels with chrome chain guards. I don't know why. Doesn't it look like the wheel up there on the RRB logo? :mrgreen: The reflective pin stripe tape cracked over the heat of the summer, so I plan on replacing it.

yqnv.jpg


The bad news:

1) The highest gear (smallest cog) is too close to the frame.
2) The chain line is not straight.

So... #1

See how close that small cog is to the drop out? Is there a tool or technique I can use to twist that dropout out to give the chain more clearance?

3uvs.jpg


#2. This chain line is off. The front sprocket is set in a bit. Is there a way to adjust/move sprockets out? Like a spacer or something? This is a little blurry and doesn't show how much it's off very well (and it's turned on its side) but hopefully you can see what I'm seeing.

acth.jpg
 

Latest posts

Back
Top