BonniRocket - Pretty much done at this point

Rat Rod Bikes Bicycle Forum

Help Support Rat Rod Bikes Bicycle Forum:

This site may earn a commission from merchant affiliate links, including eBay, Amazon, and others.
Re: BonniRocket

One more update: the quadrant levers, mount bracket, and the rear bumper are all welded up. I should get them back tonight.
P1010177.jpg
 
Re: BonniRocket

expjawa said:
One more update: the quadrant levers, mount bracket, and the rear bumper are all welded up. I should get them back tonight.
P1010177.jpg

Okay, I know what a bumper is, but I have no clue where the other parts are going. :shock:
 
Re: BonniRocket

The rest of the parts pictures are for the tank shift assembly. Well, that and a broken end mill, and the remaining piece of unused 1/8" steel strip. Some of the parts are internal, so they won't be seen in the final product. I'll become more apparent as it comes together, I promise. Or, at least, it all makes sense to me... :mrgreen:
 
Re: BonniRocket

expjawa said:
The rest of the parts pictures are for the tank shift assembly.

Tank shift assembly????
I understand now, you are building a freaking Transformer. Pull this lever and twist that one and all of a sudden your tank shifts out and becomes wings and your bike looks like this.


800px-Boeing_P-26A_USAF.jpg
 
Re: BonniRocket

Peatbog said:
That rear bumper idea is petty cool. The whole bike looks to be coming together well.

Well, so far so good...I'm sure that mounting up the shift assembly will present a few complications. But if I've designed it properly and the parts are made right, it should go together...

kingfish254 said:
Tank shift assembly????
I understand now, you are building a freaking Transformer. Pull this lever and twist that one and all of a sudden your tank shifts out and becomes wings and your bike looks like this.

Wouldn't that be cool? Then get both wheels to jump up to underneath the tank-wings, and presto, instant P-26. I mean, it already has the gunsight and windscreen, right? :wink: But seriously, its a jockey shifter mounted on the tank, combined with a lever for the brake. Might not be the most intuitive thing to use, but it should all work.

MplsCoaster said:
Over the Top! It'll take me days to sort all the details
Me too. But I'm sorting out putting them in place. It seems to be in a continuous state of flux at the moment as I try to figure out how I really want it shape up...

Anyway, thanks all. I'll get you guys posted on last minute progress...
 
Re: BonniRocket

Drats!!!!

Its still a cool build even if it doesn't transform into an airplane.
 
Re: BonniRocket

Maybe for next year's build I can do the airplane thing. Or perhaps I'll leapfrog that and go right to a spaceship - but I think I'll need a Spaceliner frame for that... :mrgreen:

Well, yesterday I got the quadrant parts back from Jason. Here is the mount base, welded, formed, drilled, with the bronze bushings installed:
WP_000222.jpg

This goes inside the tank, with just the chrome tube protruding out of the side for the shifter to slide onto. The angled tab on the end gives me a place for a cable housing stop barrel adjuster to thread into, so I have some brake cable adjustment at this end. It's as long as it is so that the cable line from the barrel adjuster to the lever arm is as straight as practical between the three adjustment positions. Also pictured are the lever arms themselves for the shifter and brake, also welded, formed and assembled. I'm still deciding on painting versus brushed finish. It doesn't look like I'll be able to punch the holes in the levers like shown in the CAD rendering. The material is too thick for the radio chassis punches, and drilling and using a hole saw won't give very neat results. Realistically, I'd have to mill them in to get good clean holes. Maybe later, I don't have time to do it now...

Also, I installed the bumper and adjusted the fender stays so that the fender gap to the tire was a bit more consistant. It looks much better like this, I think.
WP_000224.jpg

WP_000225.jpg

And one more from the front:
WP_000223.jpg


Tonight, I'll take it all part again for clearcoating. Also, I'll stitch the leather onto the toe clips so I can put the pedals on, and then I'll be ready to reassemble it all tomorrow evening. Just in time for the weekend to sort it all out and take pictures...
 
Re: BonniRocket

ruddigger said:
Glad you took the time to fix that fender gap, it really stuck out before. Looks 100x better now.

Oh, I agree. I didn't particularly like the way it was from the time I first installed it. I had to change the way the fender was mounted (axle mount instead of carrier mount), but to get it to go there required rebending it a bit. I tried to justify the way it looked before with myself, but wasn't able to convince me. Anyway, all the better now. At the moment, the brushed and painted parts are all being clearcoated, I'm waiting between coats while I write this...
 
Re: BonniRocket

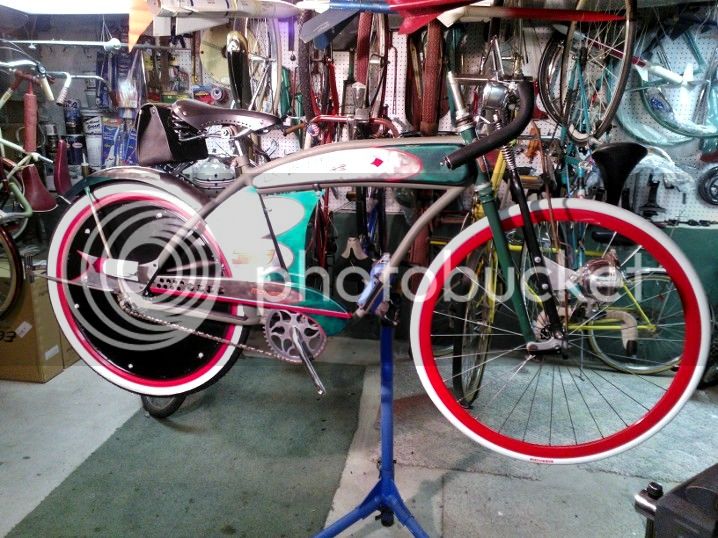
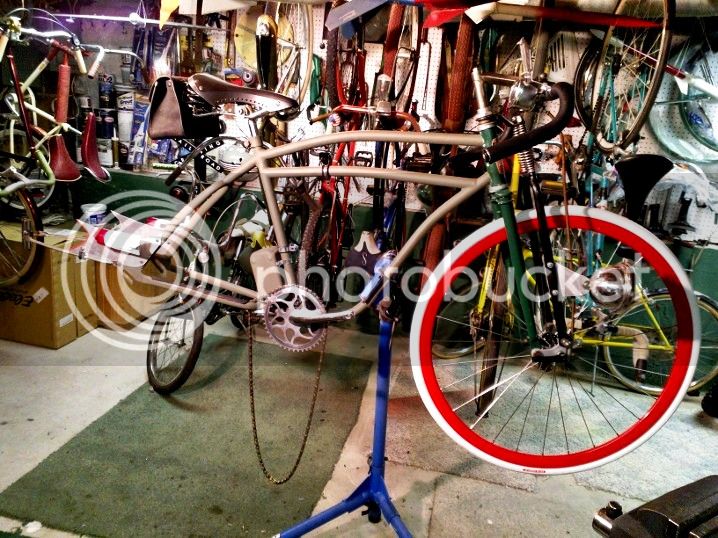
OK, the clearcoating is done. When I got home this evening, I stripped the bodywork off the bike to prep it for spraying the clear coat.
WP_000228.jpg


Then after sanding the parts briefly with 600 grit to improve adhesion of the clear, I then had to figure out where to spray them. I've decided after recent experience that painting outside on the ground wasn't ideal; the paint cans don't like to spray pointing down and the breeze blows a lot of the paint away. OTOH, I don't want to paint in the shop, which I was doing over the winter. But I have to remove or cover pretty much everything in there to prevent getting overspray on it, and I still can't really ventilate it well enough to keep the fumes out of the house. Then it occurred to me: I could put the parts on the outside basement steps under the Bilco doors.
WP_000229.jpg

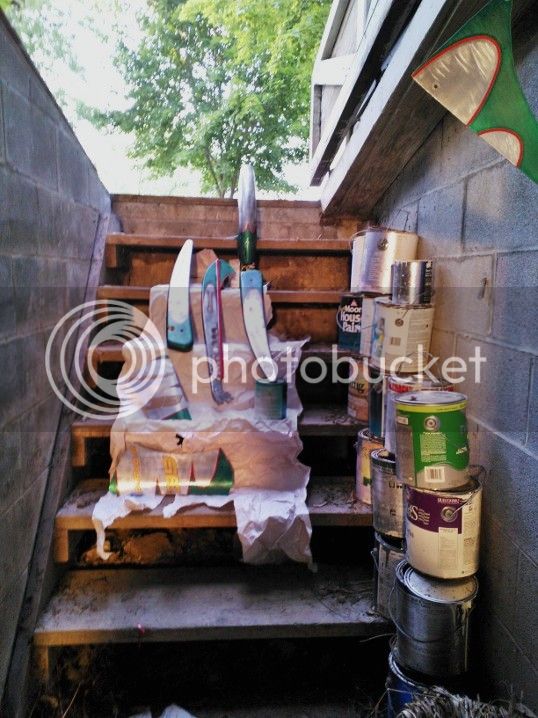
The steps let me prop the parts up so I'm spraying horizonally, it was outside enough for ventilation purposes, and it was sheltered from any wind. Brilliant! It worked great, except it turned out that it was also right under an open bathroom window. So, still fumes in the house. Have to remember that next time. At least the bathroom has a vent fan...

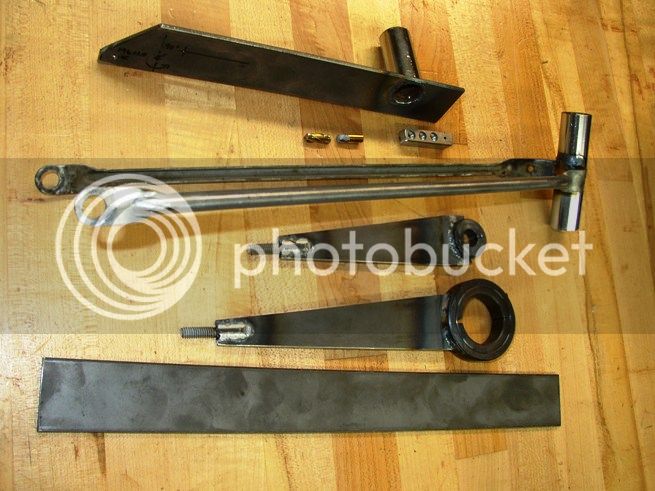
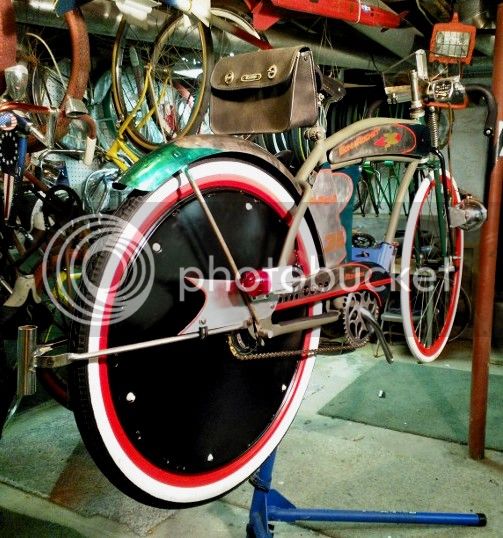
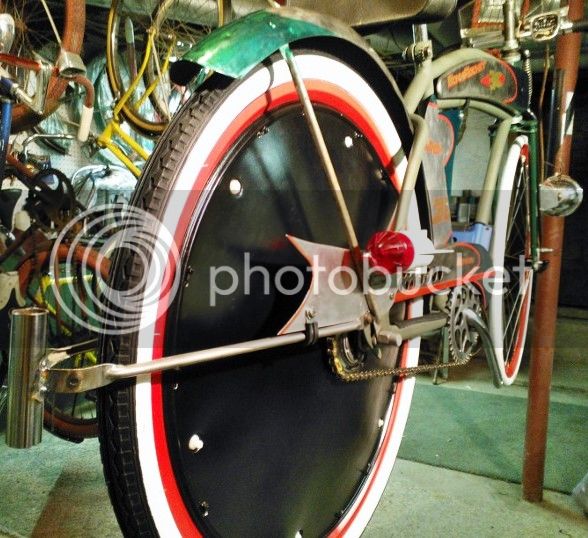
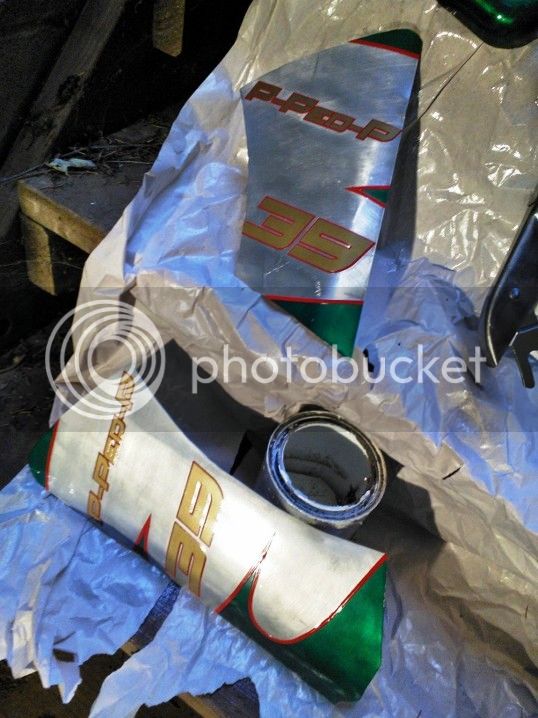
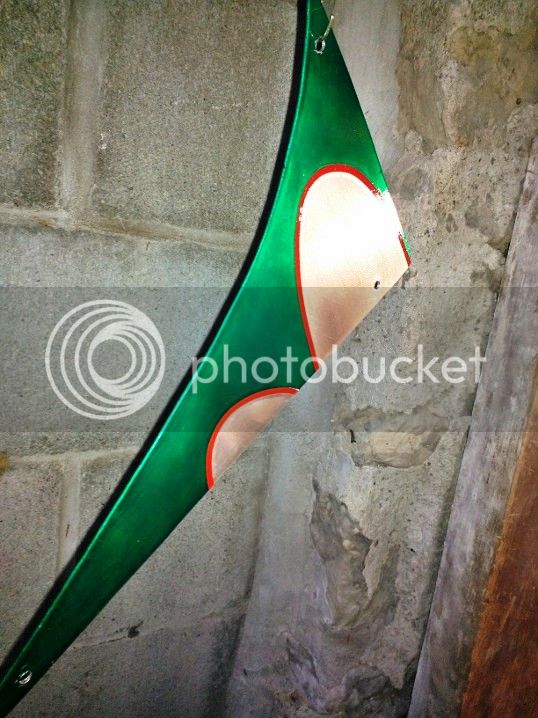
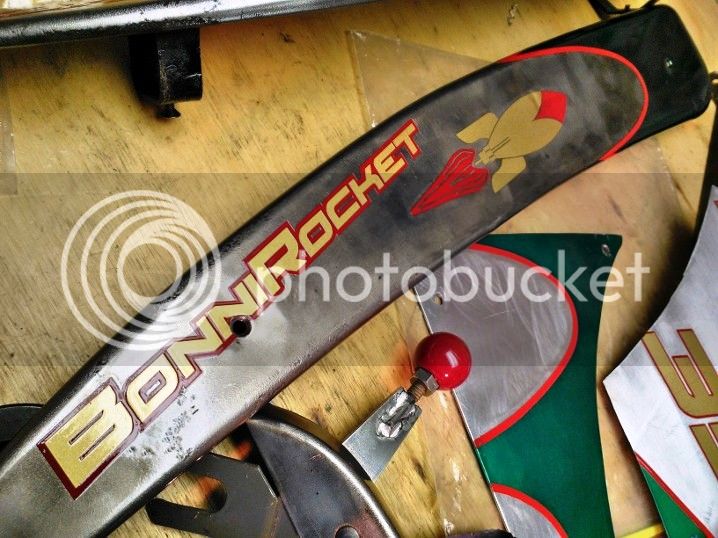
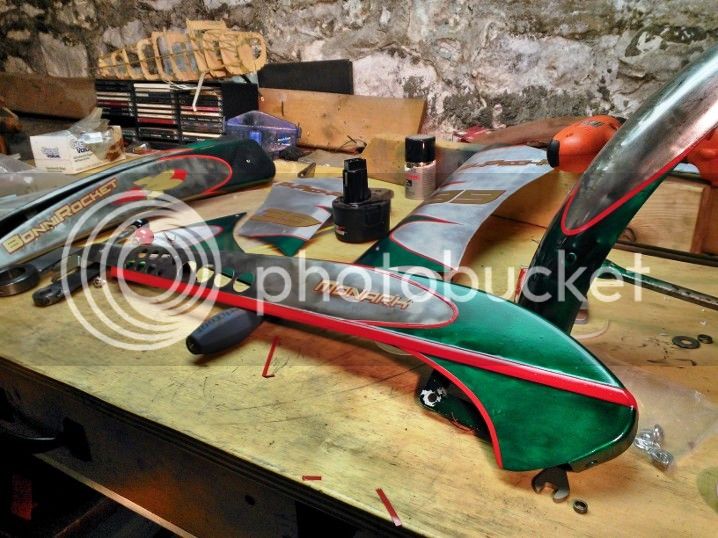
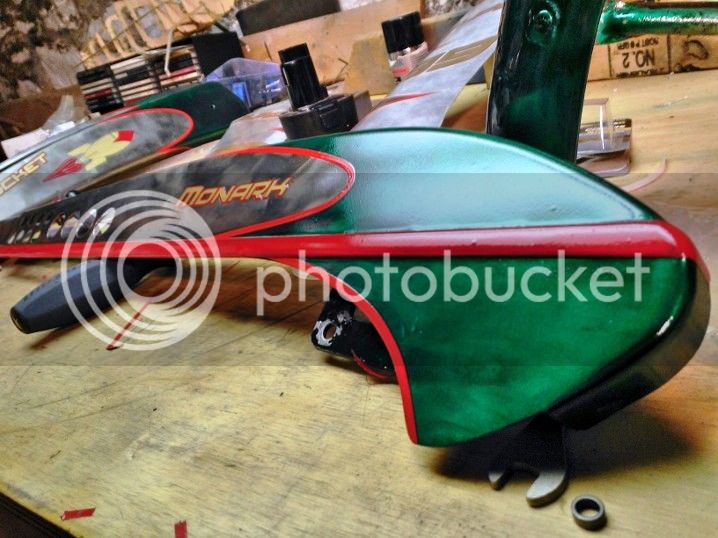
Anyway, 6 coats of Spraymax clear later (and one on my hand due to misjudgement of the spray angle), the parts looked like this:
WP_000231.jpg

WP_000230.jpg

WP_000235.jpg

WP_000233.jpg

WP_000234.jpg


The pictures don't really do justice to the glossy finish. Again, that Spraymax clear coat is great stuff. Fast drying too, although the parts continue to look wet due to the gloss. It went on well enough that I really won't have to spend much time mucking about wetsanding and polishing the paint. There's only one or two spots that need it, and they're minor enough that I might not do it right away.

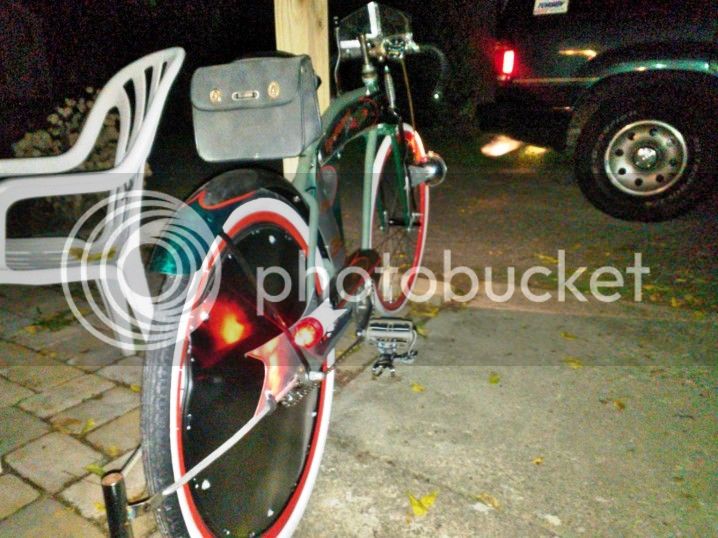
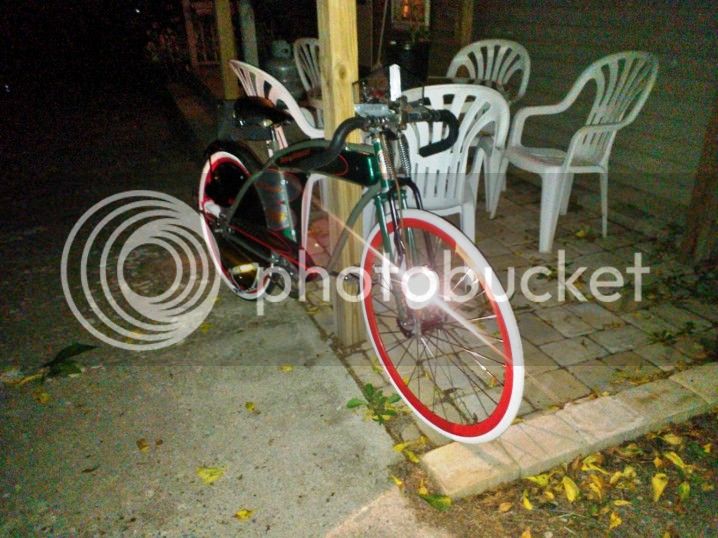
Next stop - final assembly!
 
Re: BonniRocket

Looks good buddy!!
Git busy assembling now!!
 
Re: BonniRocket

Thanks guys.

I'll be putting it back together tonight, after I stop up to Jason's house to pick up a piece that was forgotten before. It's the brake cable clevis, so it's important (at least if I want to have brakes). So, put the bodywork back on, assemble the shifter unit, then its jiggery pokery with the cabling and wiring until I've got it all to work. No problem! :mrgreen:
 
Re: BonniRocket

Wow...this is going to be an awesome bike. Everytime I think I have started to narrow down my favorites, another bike forces its way onto my list!
 
Re: BonniRocket

Thanks for the compliment, I hope it comes out that well. I know what you mean regarding trying to narrow down favorites. I didn't really have time to look at any of the posts for other builds until this week, so I'm sorta playing catch up on that. Every time another cool bike shows up in the finished section, I have to rethink it all...
 
Re: BonniRocket

Guys like you are making it harder and harder to decide what my favorite bike is, you know that? Looking awesome!

--Rob
 
Re: BonniRocket

this ride is looking cool cant wait to see it done
 

Latest posts

Back
Top