Building a Fiberglass Tank

Rat Rod Bikes Bicycle Forum

Help Support Rat Rod Bikes Bicycle Forum:

This site may earn a commission from merchant affiliate links, including eBay, Amazon, and others.
Joined
Jul 1, 2009
Messages
77
Reaction score
0
Rating - 0%
0   0   0
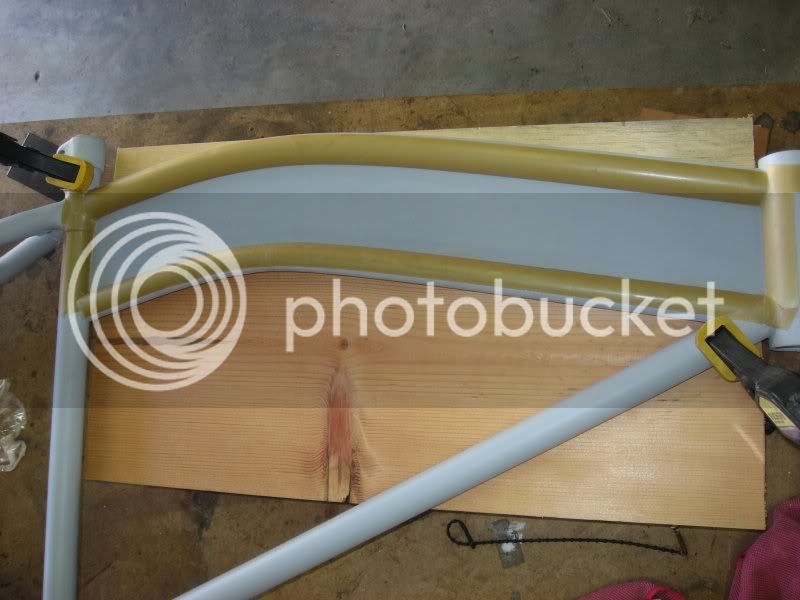
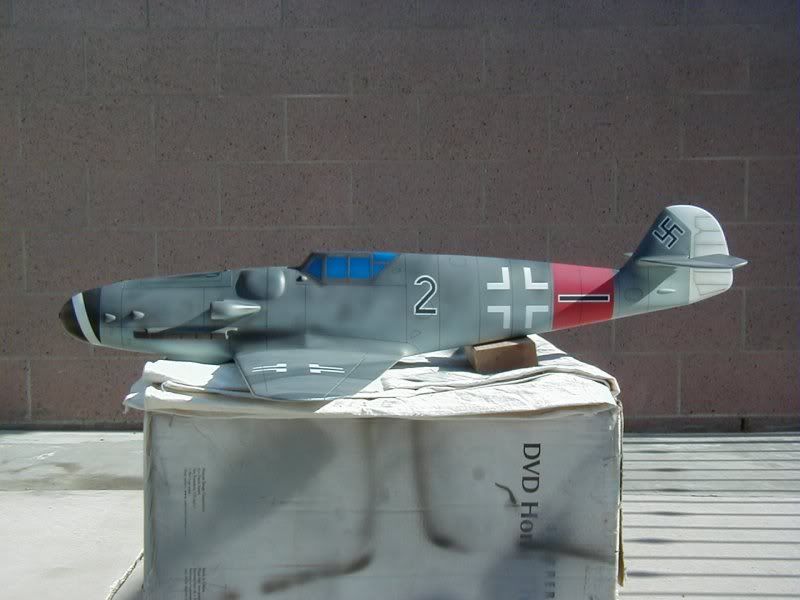
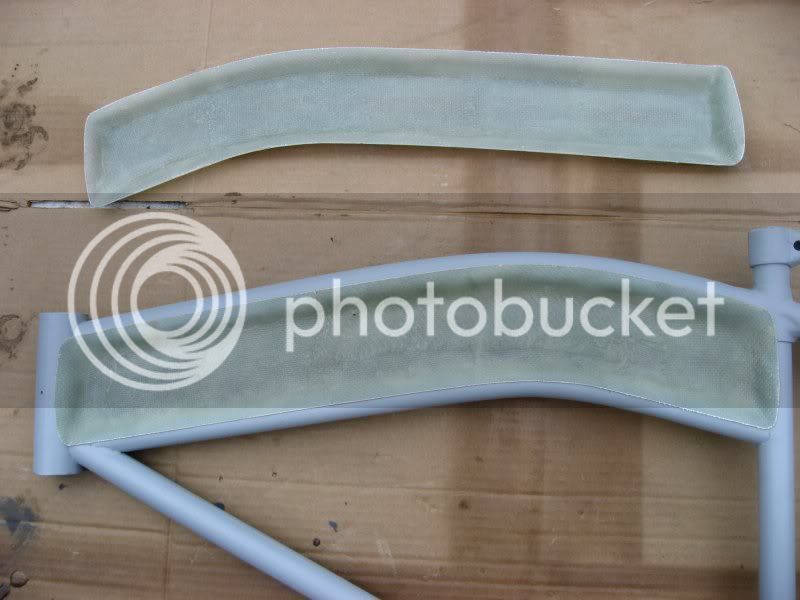
I recently decided to build a tank for my “Strand Shark” project which is a 1938 Rollfast or Hawthorne Zep frame. The original tanks for these bikes fit completely inside the opening and did not cover the bars at all. I want this tank to partially cover the bars so it looks a little more streamlined.

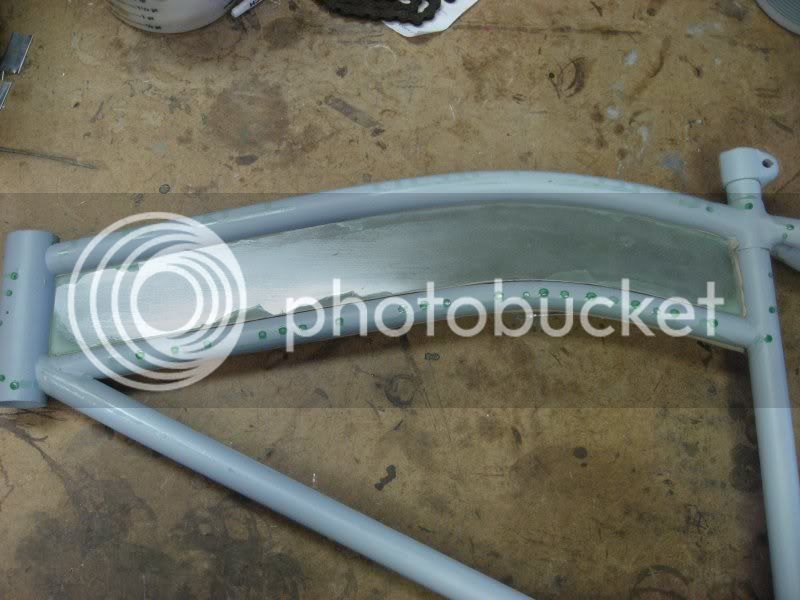
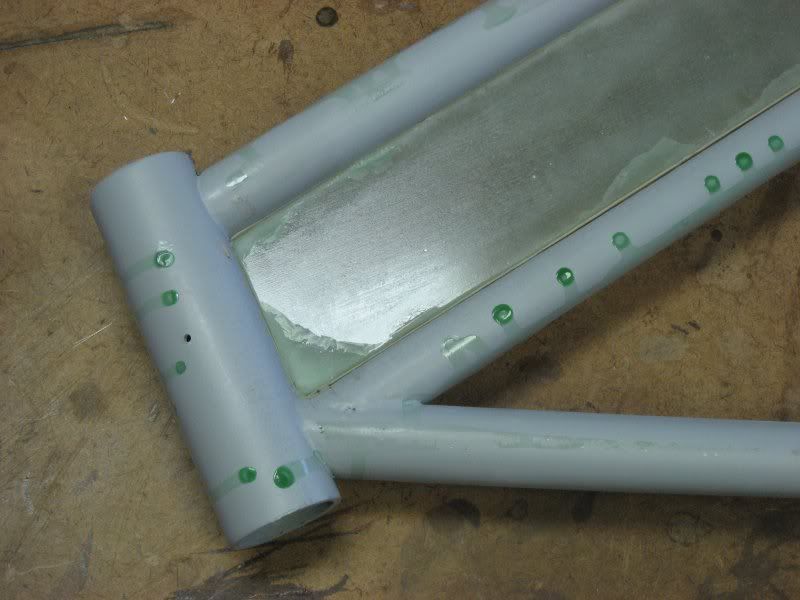
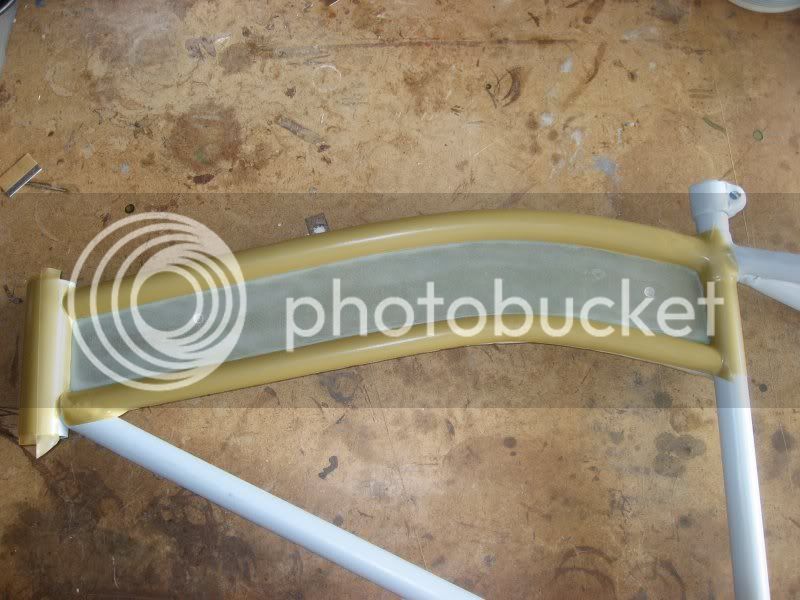
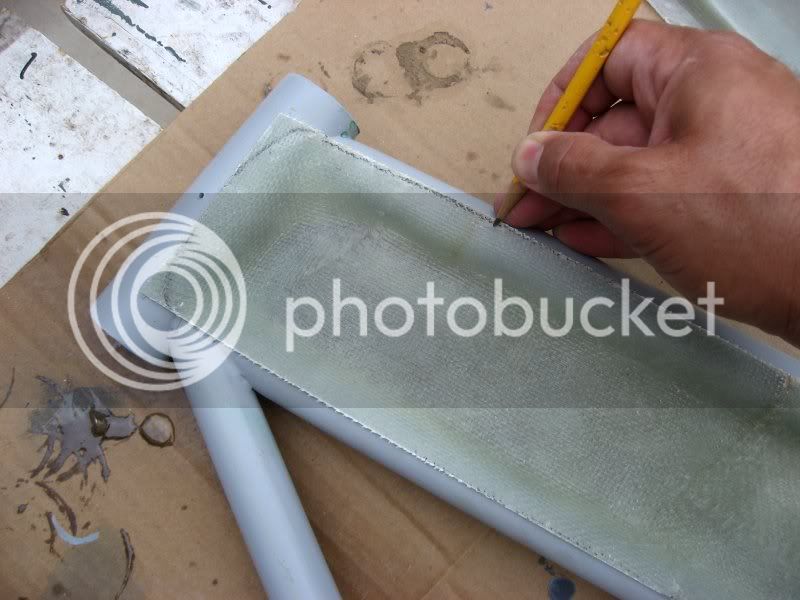
What I am working on now will become the inner plates for the tank halves. These two plates will meet in the middle and the tank halves will be built onto them.

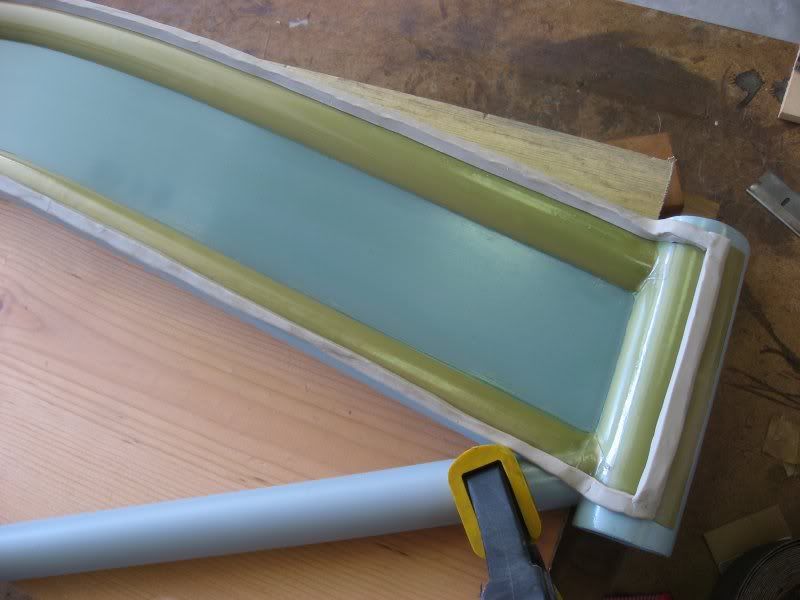
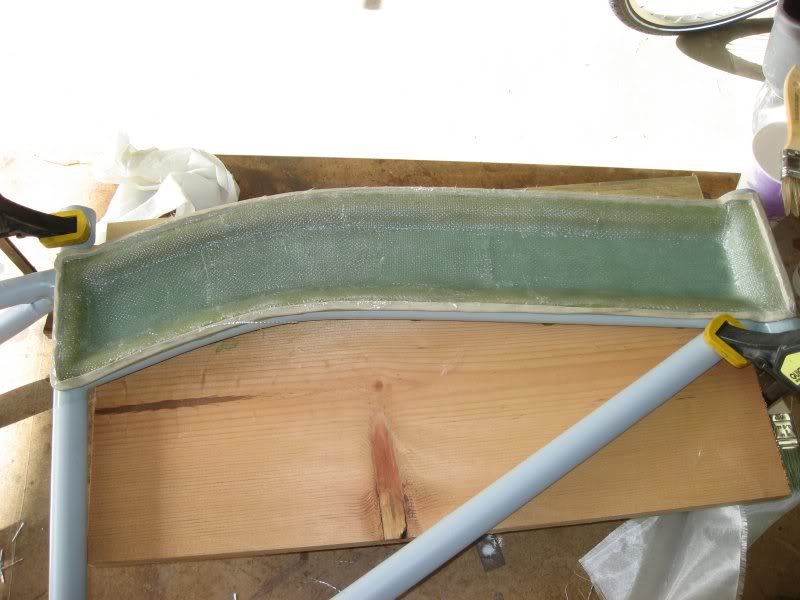
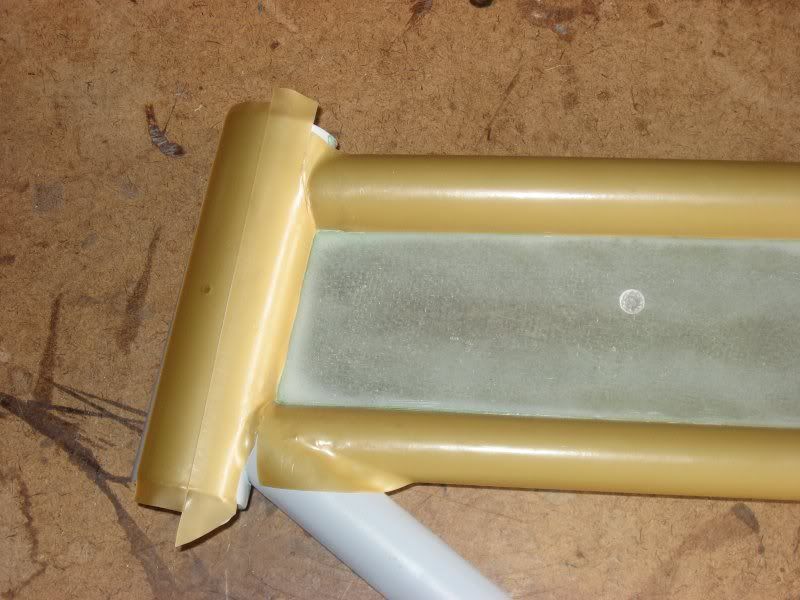
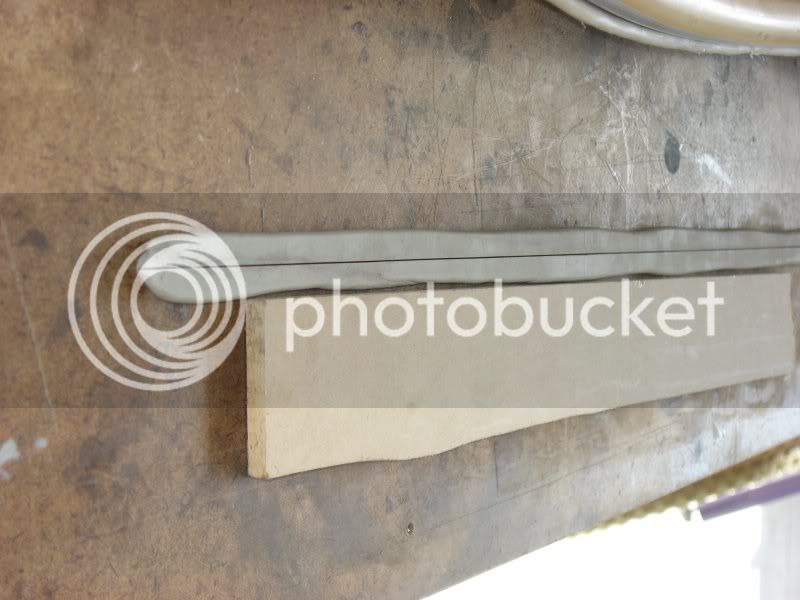
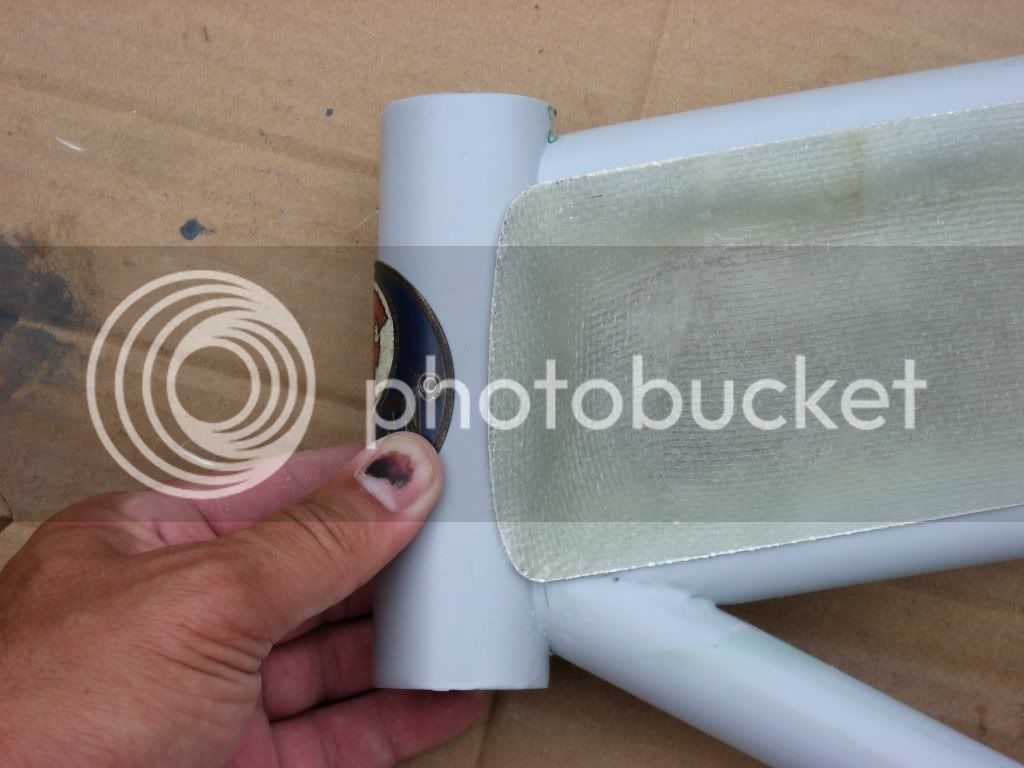
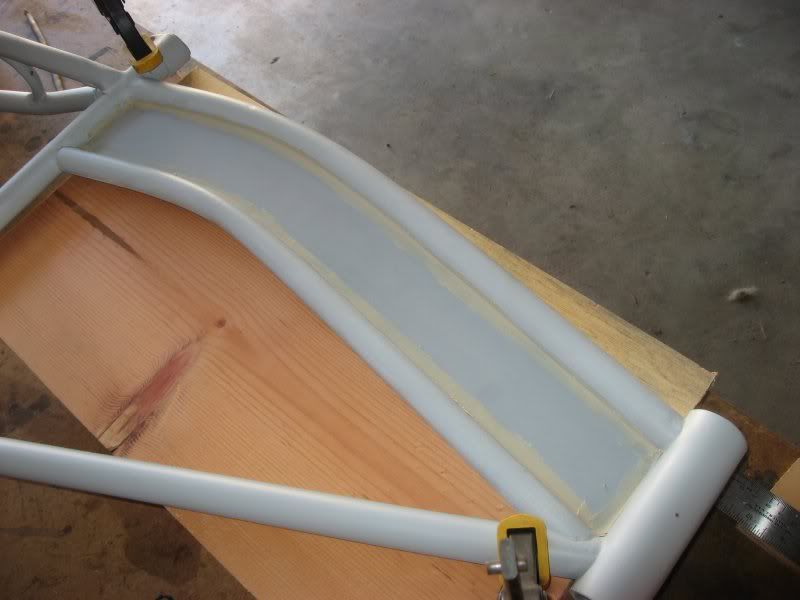
Here I have clamped a piece of wood to the back side of the frame to give me a surface to work on. I have placed some blobs of modelers clay on the wood to support the parting board.

tank1.jpg


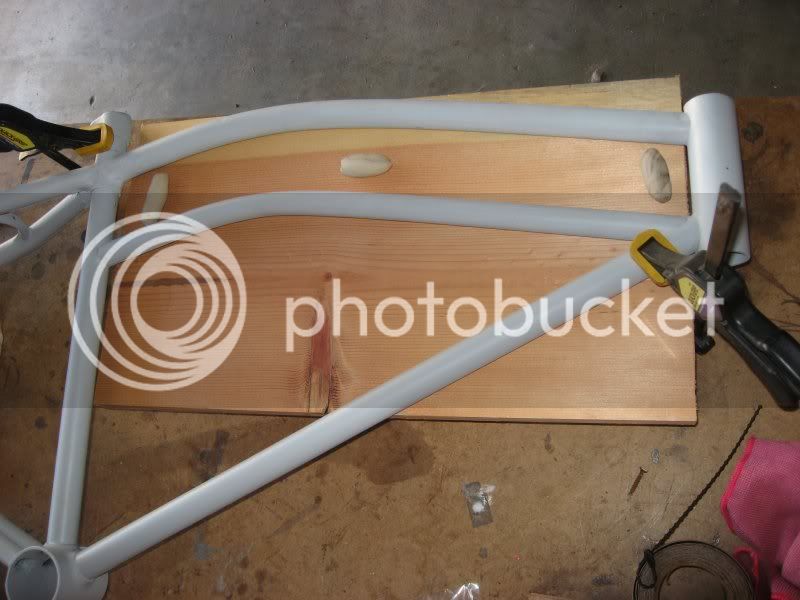
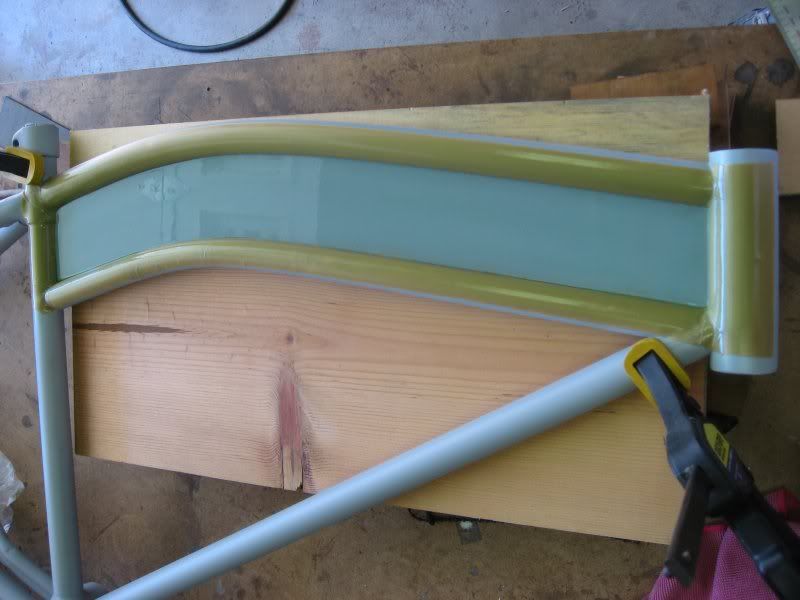
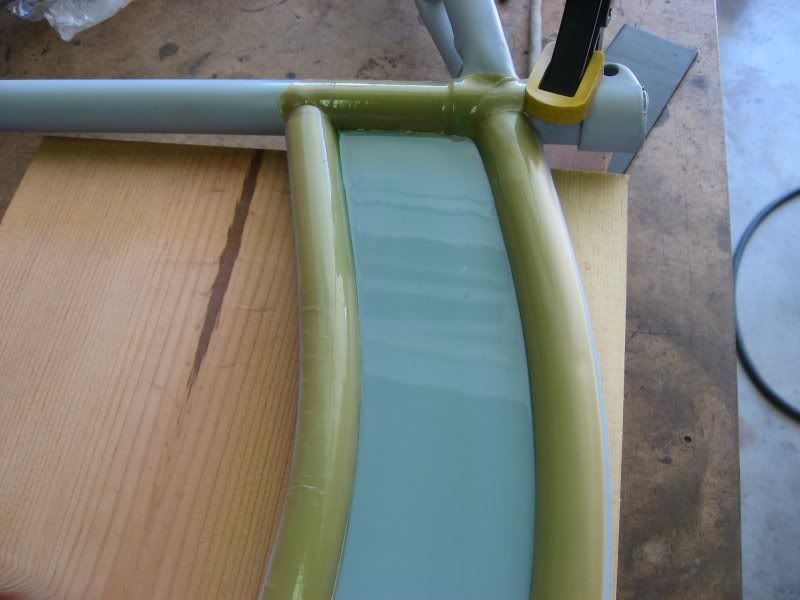
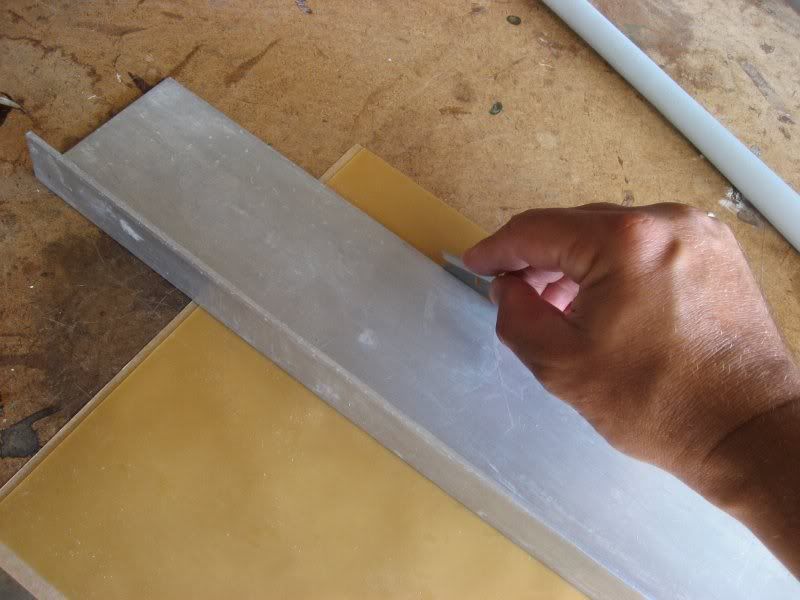
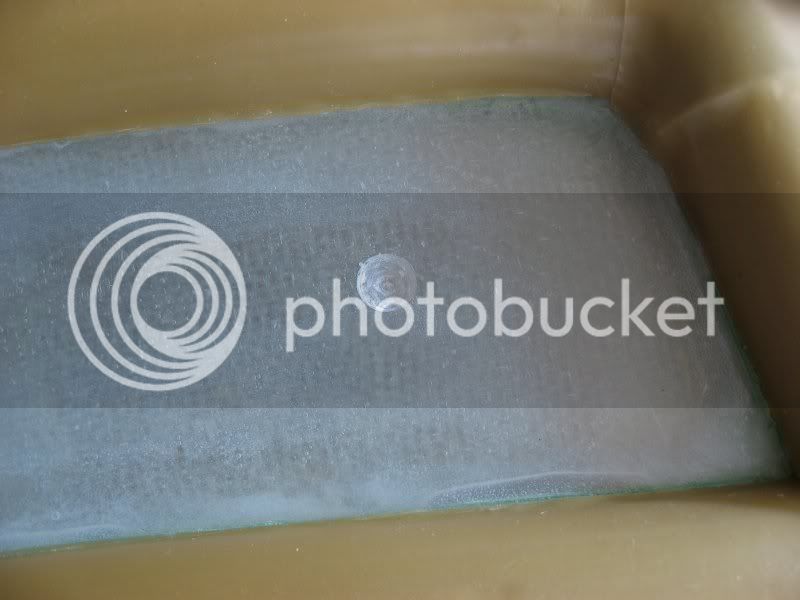
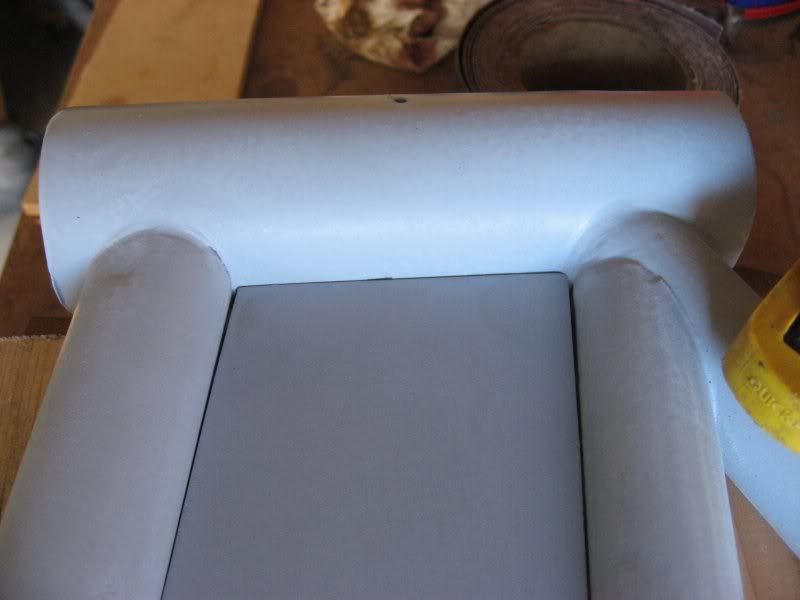
The parting board is just a piece of 1/4” hardboard cut to fit in the opening. I sprayed some scratch filler primer on one side and then sanded it smooth. Here I have squished it down onto the blobs of clay until the top surface is even with the marks I made on the centerline of the frame.

tank2.jpg

tank3.jpg


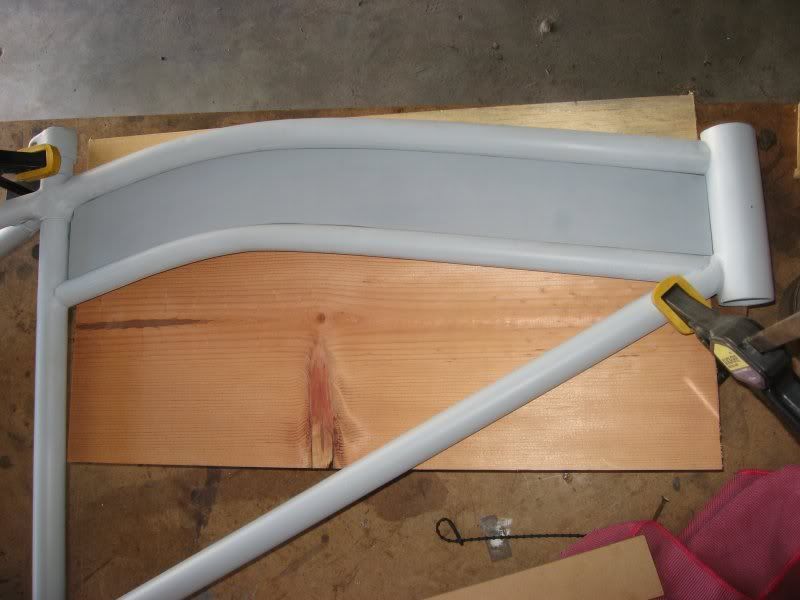
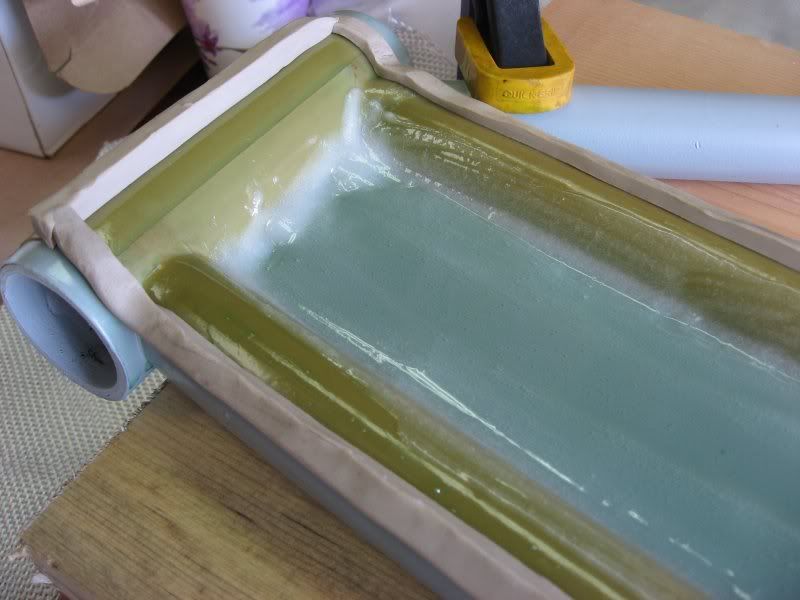
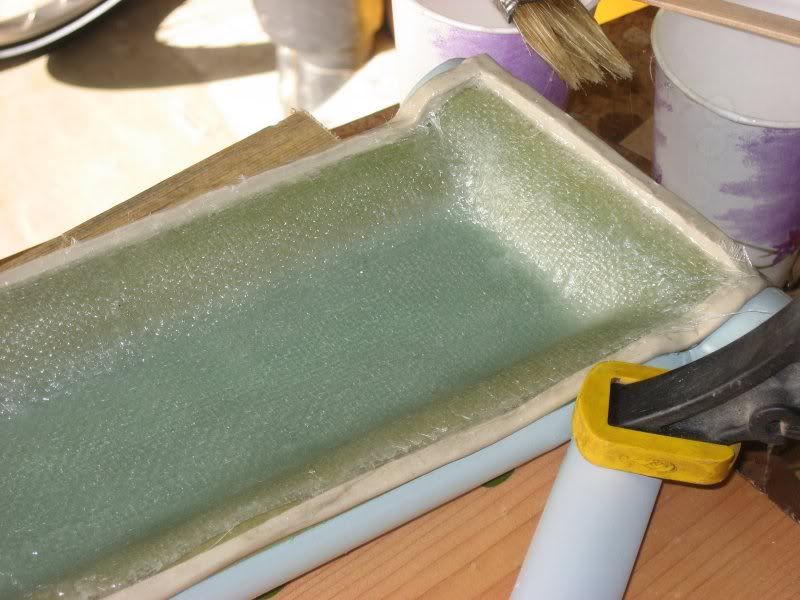
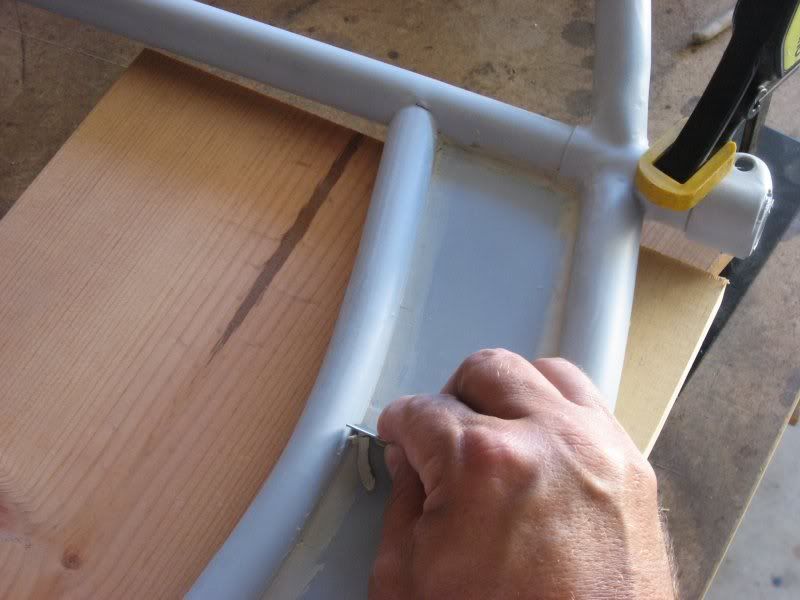
Next I filled in the gap with some modelers clay and then scraped off the excess with a razor blade.
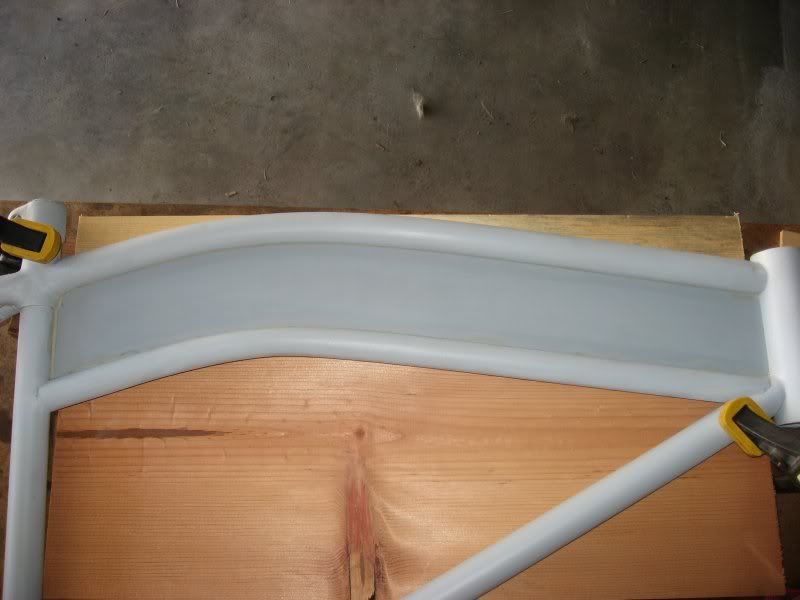
tank5.jpg

tank6.jpg

tank7.jpg
 
Here I have applied some .020 thick sheet wax to enlarge the diameter of the frame slightly. This is just to give the parts some clearance so that they will not be line to line with the frame.
tank8.jpg


Next I sprayed a few coats of PVA which is a mold release.
tank25.jpg

tank9.jpg

tank10.jpg


After the PVA was dry I decided to build a clay dam around the edges just to keep the resin from running all over creation. This probably should have been done before spraying the PVA. Oh well. :mrgreen:
tank11.jpg
 
Thanks hewey. More on the way...

Good to go! Time to mix up some resin and get started. I use West Systems with 206 hardener. The 206 will give you about a 20-30 minute potlife depending on the temperature. The first thing to do is fill in the sharp corners to help reduce bubbles. For that I mix in some Cabosil to thicken up the resin so it will stay put.
tank28.jpg

tank31.jpg

tank12.jpg


Next I laid up 3-4 layers of 8oz cloth and let that kick overnight.
tank14.jpg

tank15.jpg


The next morning I removed the wood backing, turned the frame over and popped off the parting board. The green stuff is PVA. It is water soluble and wipes off fairly easily with a damp cloth.
tank16.jpg

tank18.jpg

tank19.jpg
 
Uncle Stretch said:
Hummm from the skills and knowledge of materials ....Look like an old surf board builder. :roll:

Yes, I surfed for many years, but was not a board builder. I have also been doing RC planes for many years. It was in the airplane hobby that I started working with glass, building molds and laying up fuselages. Here is one I did a few years ago. Haven't had much time for building since my kids were born though. :mrgreen:

panellines1.jpg
 
After I got the first half done, I realized that I would need some alignment pins in order to sand the two halves to the same shape after I remove them from the frame. I usually use those little stick-on rubber cabinet door bumbers but since it is too late for that now, I just made a couple of indentations with the tip of a drill. When I layup the other half, it will fill in the hole and make some little alignment features.
tank23.jpg


To build the clay dam I just roll out a long worm of clay and then flatten it by rolling a spray can over like a rolling pin. Then I slice it down the middle with a razor blade to get a straight edge.
tank24.jpg


Clay dam on. Now for a few coats of PVA.
tank26.jpg


Don't tell my wife I am using her hairdryer. :mrgreen:
tank27.jpg


Break time. My 6 year old daughter. She's the one that took the picture above.
tank29_breaktime.jpg
 
Now to layup the second half. I like to "roll" the cabosil into the corners so I don't trap bubbles.
tank32.jpg

tank33.jpg


A few layers of cloth and its Miller time. :D
tank34.jpg
 
cman said:
Very cool. Great tutorial. Gonna "sticky" this for the How to Manual.

Sweet! :mrgreen:


The next morning I popped the halves loose and cleaned up the frame. I used a jigsaw to saw off the outer edge to get rid of the clay.
tank35.jpg


Here is the little alignement thingie.
tank36.jpg


Next I clamped the two halves together and sanded them to the same shape on my beltsander.
tank37.jpg

tank38.jpg
 
Some fine tuning.
tank39.jpg


Also need to make sure there will be enough room for the headbadge.
tank40.jpg


And that's it for the inner plates! Next thing to do will be to pour some AB foam on them so I can shape the tank halves.
tank41.jpg


That's all I have for now. More to come next weekend. :mrgreen:
 
Yeah... I like this. Been thinking about building some 'glas tanks, too... got my own ideas but I'll watch to see how you do. Always better to learn from others than to make my own mistakes.
 
UncleKudzu said:
oh, man, this is awesome! can't wait for next week's installment!
jondutch46 said:
Yeah... I like this. Been thinking about building some 'glas tanks, too... got my own ideas but I'll watch to see how you do. Always better to learn from others than to make my own mistakes.

I agree! lookin' good!
 
Thanks for the kind words guys.

I thought I had foam but then I realized that the stuff I had, had gotten hard in the can. So earlier today, I ordered some more from Fiberglass Supply (.com). I have to say that those guys are just awesome. He said it would go out tomorrow. Then I asked if there was any way he could get it to me by this weekend and he said he would make sure it went out today. I get great service from them every time I call. I cannot recommend them highly enough.

I also just ordered some of these Rare Earth magnets. I plan to use them to hold the finished tank halves together. These have 10lbs of pull (20lbs magnet to magnet). I think that should be enough but I will have to do some testing.

Finally, I got two of these lights. I plan to remove the mounting brackets and will have to figure out some way of mounting them on either side of the forks. Should look kewl.

Rusty.

lights1.jpg
 
Hey Rusty, where do you get the sheet wax? I need some, it makes perfect sense I don't know why I haven't thought of it sooner. Thanks man, Later Travis
 
UncleKudzu said:
hey Rusty, is what you've done so far going to be a mold, or will it end up being the final tank?

thanks!

Hey UncleKudzu,
What I am working on now is the plugs from which the molds will be made.


IronSpadeCycles said:
Hey Rusty, where do you get the sheet wax? I need some, it makes perfect sense I don't know why I haven't thought of it sooner. Thanks man, Later Travis

I got the sheet wax from Freeman Supply. It comes in various thicknesses. I use the Thermo-Stable stuff so it won't melt while sitting in my garage. It is also nice for creating fine details. I used it to create the canopy lines on a Focke-Wulf P.I. that I built a while back.

http://www.rcgroups.com/forums/showpost ... tcount=108

Rusty.
 

Latest posts

Back
Top