"Chunkpunk" Doneski!

Rat Rod Bikes Bicycle Forum

Help Support Rat Rod Bikes Bicycle Forum:

This site may earn a commission from merchant affiliate links, including eBay, Amazon, and others.
Every good time traveler needs to break the speed of light. Lightsaber speed that is.

Hyperdrive is engaged.
Ludicrus speed, go!

But will it go to "11"??????
WP_000134.jpg
 
So, just buttoning up a few odds and ends before I begin initial assembly. Then I can begin fitting and finishing the fenders, and can place the sweet lightsaber exhausts in place and start the inner triangle construction. I don't yet have anything more than this to work with.


So I covered up a gas mask with vegtable tanned leather scraps I had and put a little flavor inside.

I had been trying to incorporate a plasma ball into my build somehow, but nothing I could think of would give me the right combination of looks, ease of construction without risking breaking it.

I stumbled onto some flat plasma balls discs on amazon. These guys are a few inches diameter by inchish tall. Pretty sturdy and easily mountable with a battery pack. Straight up green lighting is what I went with. Another cool thing is that the use the same kinda technology as that EL light rope you may have seen on bikes, clothes, etc.

I'm trying to adhere to a basic philosophy here for steampunking the bike. That is, no silly stuff that serves no apparent purpose. Also, it must look as if it would really work.

By this I go by: Power source > magic box > output. In my case here, I have my Tesla element with the plasma balls, doing some stuff, then going out through the Jedi powered Ion engines. Which I absolutely love by the way! I Did up some more paint on em too. Roughly 7 hrs invested in just the exhaust.


While I was at it, I put alittle finish on some cheapy ebay "leather" grips. Some spanish copper rub and buff gives these the a slight metallic sheen and some uneven wear marks from sweat dripping from your hands as you fly through time and space. Heres a before and after, but it does't get the shine well enough imo.


The little stuff man. Speaking which I got alot of. I don't think many are doing brakes other than coaster wheels, as well as no derailers, no shifters, no cables, no brake levers. All kinds of stuff I had to think about how to incorporate while keeping with a general theme.

Sent from my SCH-I535 using Tapatalk
 
This is really coming alone nicely. Doing steampunk is challenging, but it looks like its a piece of cake for you?

I'm not really sure its a piece of cake exactly, but that I am very good at creative and abstract thinking in general. Also, I think this is abit more open imaginatively than a straight steampunk bike would be, as I don't have a rigid set of guidelines I have to follow. heck, I didn't even know what steampunk was until I read up on it after seeing Enigma just browsing through the site here.

When I started thinking up this project, I intended to make something very different than anyone else has done. On a traditional build, I'm sure I couldn't hang with people on this site.

I have no welding or machining tools, or experience, and probably a lot less of technical skills. The one thing Ido have in my favor is my creativity and imagination.

I've needed to adjust the build to fit into something that is feasibly possible for me, without costing a lot, for example the fenders out of craft foam and plastic folders, I'd love to get some copper or brass sheeting and roll and hammer them out properly, but again no tools, experience, or the capitol to do them.

Hopefully in time I can step up my game, as I think I'm on the younger side of the population here(34). I really have let my creative side pretty much lay dormant the past 15 years, and this is a great outlet for me at this time. I'm having a ball with this project, and I feel like I already won, cause there isn't any other bikes out there I'd rather have, even though there are plenty of other bikes here that are better, rarer, more expensive, with a lot more technical skill put into them, but I didn't build them!

Anyways, back to the build!


I lied. Sorta.

I did have some other parts to use. Just not sure if this is a tank thing, or for something else just yet.


Just your standard Lime green EL rope. I wanted to have a night mode also, as there are some night rides that occur here on the towpath up in Cuyahoga National Park during the summer.

And for you ladies out there, here's some shiny bling on the wheels that are all finished.


A shiny gold 9 KMC chain, we can't have no stinky cheapo steel chain, or really anything that color in general on the bike. I also upgraded the freewheel to a Shimano 7 speed from a 700c hybrid I butchered. Stripped off the Shimano writing with some ctri strip and some Qtips and did alittle rub and buff on the big sprocket to get ride of the straight black.


While I was down there, if you read my review of the Dolomite, the stock brakes are absolutely junk. I had to upgrade those. Went with a set of Avid BB7's, with new 160mm rotors.


Just need to strip off the overspray on the tires and those all are set.
Hopefully knock out the paint on the crankset, headset spacers and stem and have a rider next week. Then I get to start the fun stuff.
 
I'm thinking of using some EL wire on my build but have never worked with it. Whats the best way to surface mount it and have it look clean?
 
No idea, I haven't tried to mount it just yet. I come up with the idea first, then have to figure out how to make it work.

I have some EL Wire for this, as well for a "Tron" trailer for the kid, but I've yet to actually fasten it. I'm thinking JBweld epoxy, contact cement or zip ties. Zip ties won't work for my build here however.
 
I can't get enough of this build! You're doing great, especially with no major tools. Your imagination is really making this one of my favorite builds. Keep it up, I'm excited to see it finished.
 
Happy Monday fellow builders. Hopefully everyone got some stuff done over the weekend. Not a whole lot of major stuff done, just finished up some more little stuff getting ready to get assembled here.

However, I finally finished up my first ratrod build and had to take it over to the park a couple times on Saturday. A snazzy Transformers Decepticon themed vintage folding bike I garbage picked out last year.


Did some paint work, and butchered up a Brats' cruiser and some Walgoose Mags. All my friends I show my collection to says this one is the coolest.


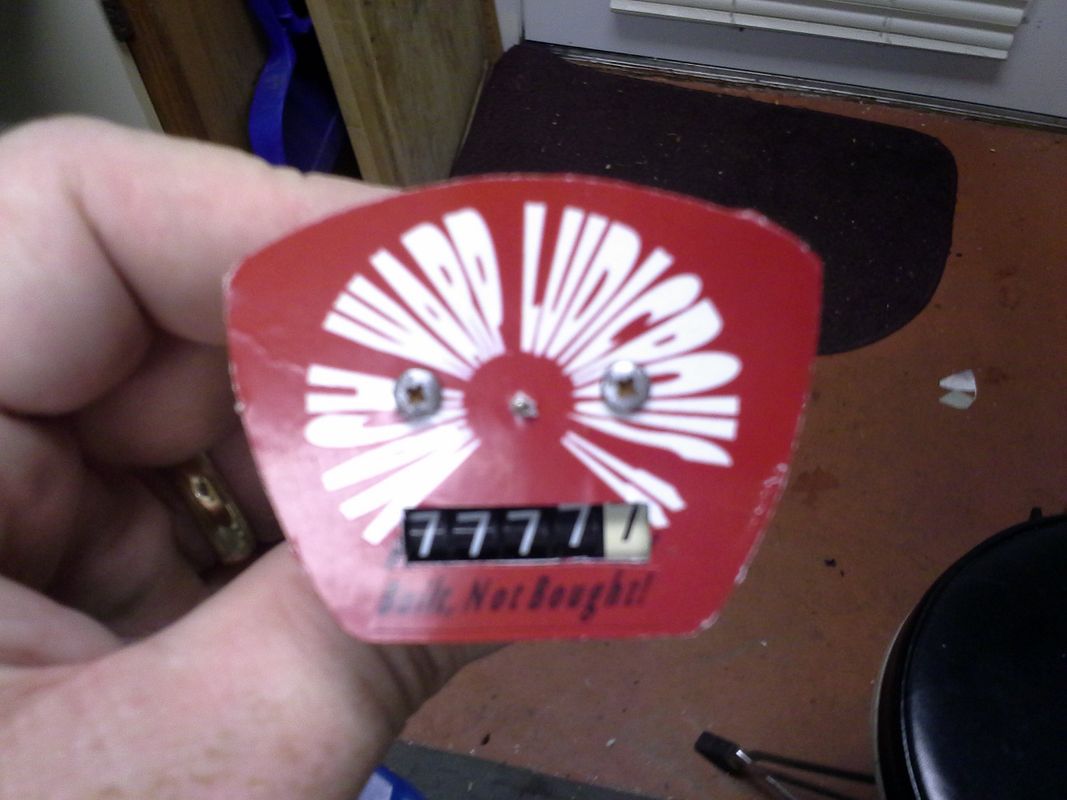
No major mods here, just a custom headbadge logo.


Yes, Chunkpunk is only my 2nd bike build I've done up with paint and such, everything else was just swapping parts around.

So, my goals for this bike and build were to try and build something that would defy imagination. Something that looked like a bike initially, but something that required a second take, then followed by a thorough look over to make sure what you were actually looking at. I really want people to think a legit time traveler actually whizzed by, or at the least that its a movie prop.

To do this, I had to tune every minute detail I can find. Some might say I am abit weird, or that this level of detail is excessive (painting washers?) but I want *EVERYONE* that looks at this to not find one part that hasn't been made to look the part of a post apocalyptic, highly stylized, baby eating time machine. This includes anyone that might even take it apart.


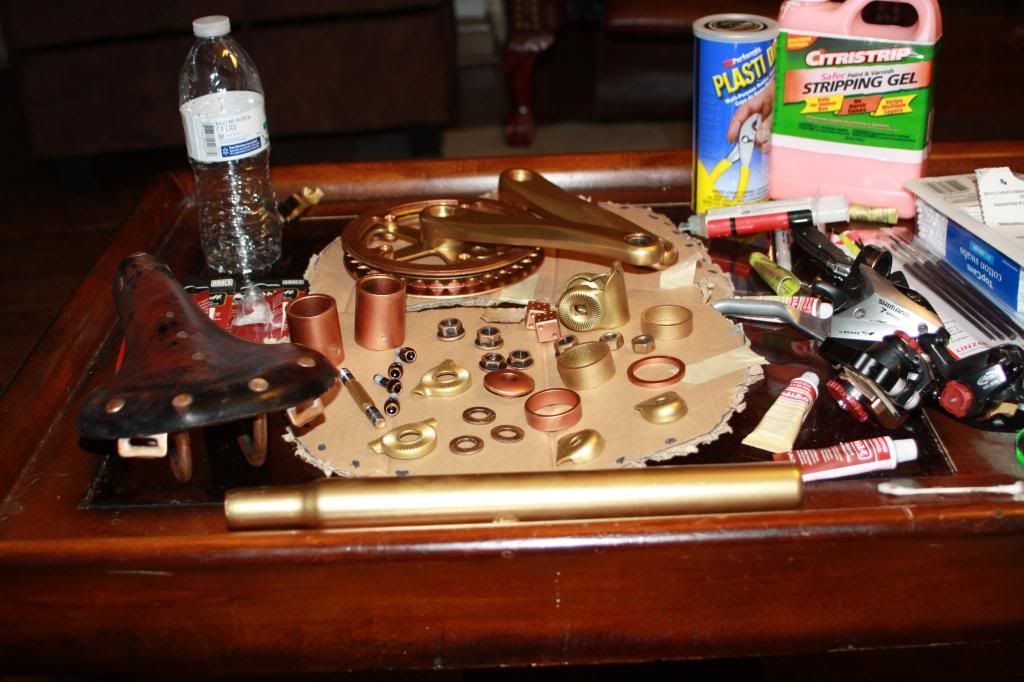
First off, the seat I'm using. It had steel rivets which were starting to rust out, as well as chrome bars. Can't have that. I want no part of those metals. Painted the rivets with some gold paint and a Qtip, leaving the rust Patina there and only going over the steel, as well as giving the bars a brass luster.


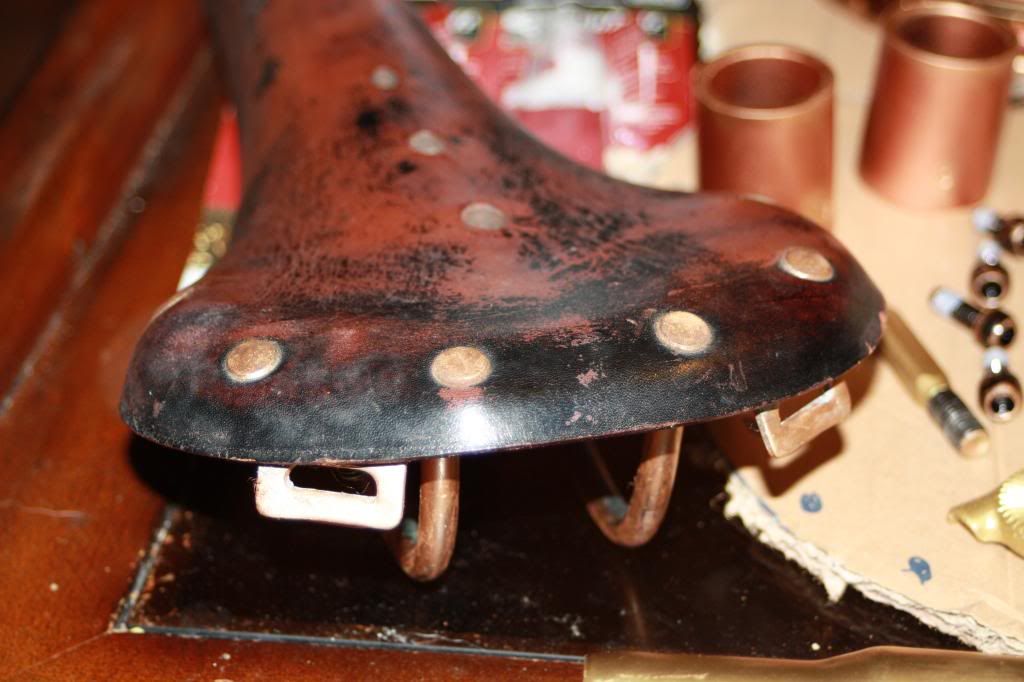
OCD? Maybe? But I plan on putting paint details on every nut, bolt, washer, crank plate, etc. Nothing on this bike can say that its a 2014 Walmart bike.


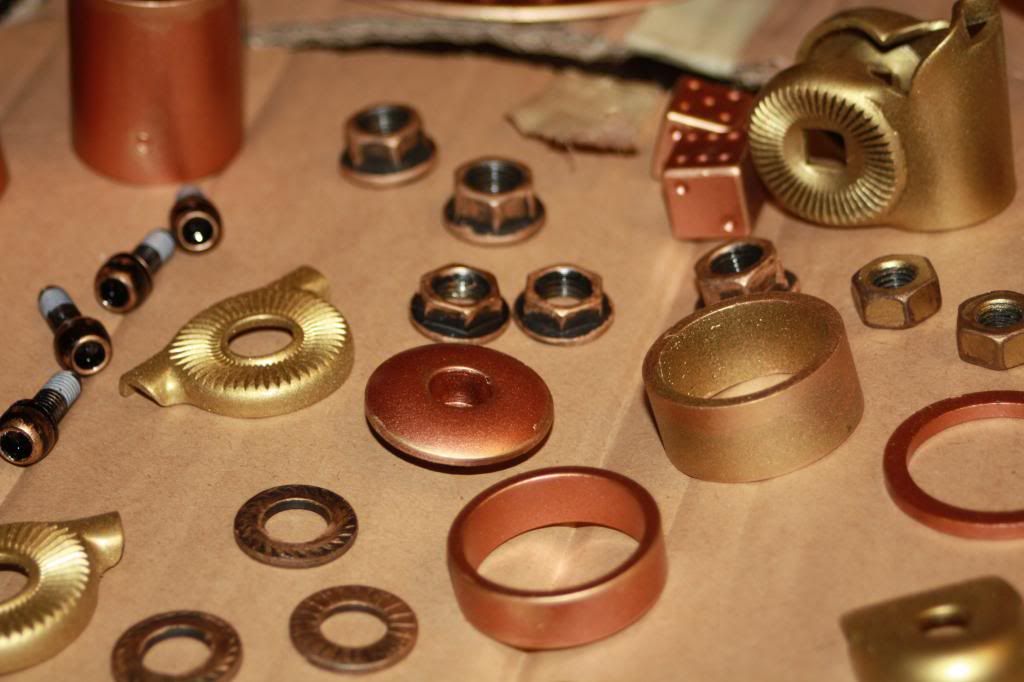
I had toyed around with a different color for the cranks, but with the predominately copper colored frame, I've found that having all of the additional pieces and parts contrast best in golds tones.

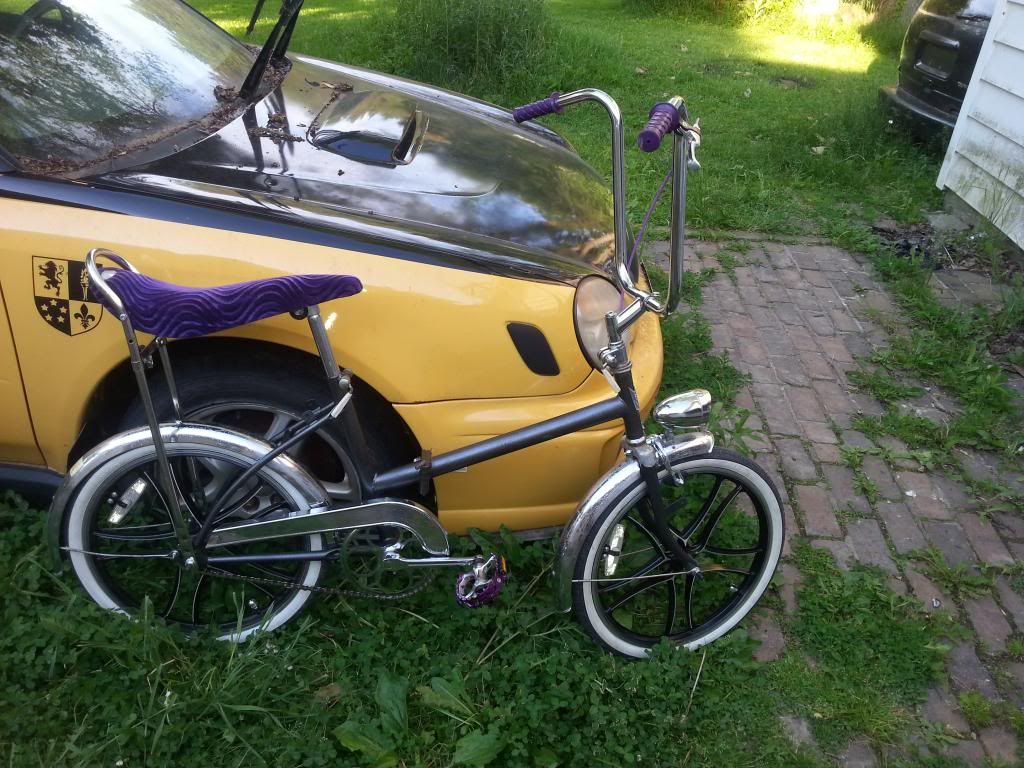
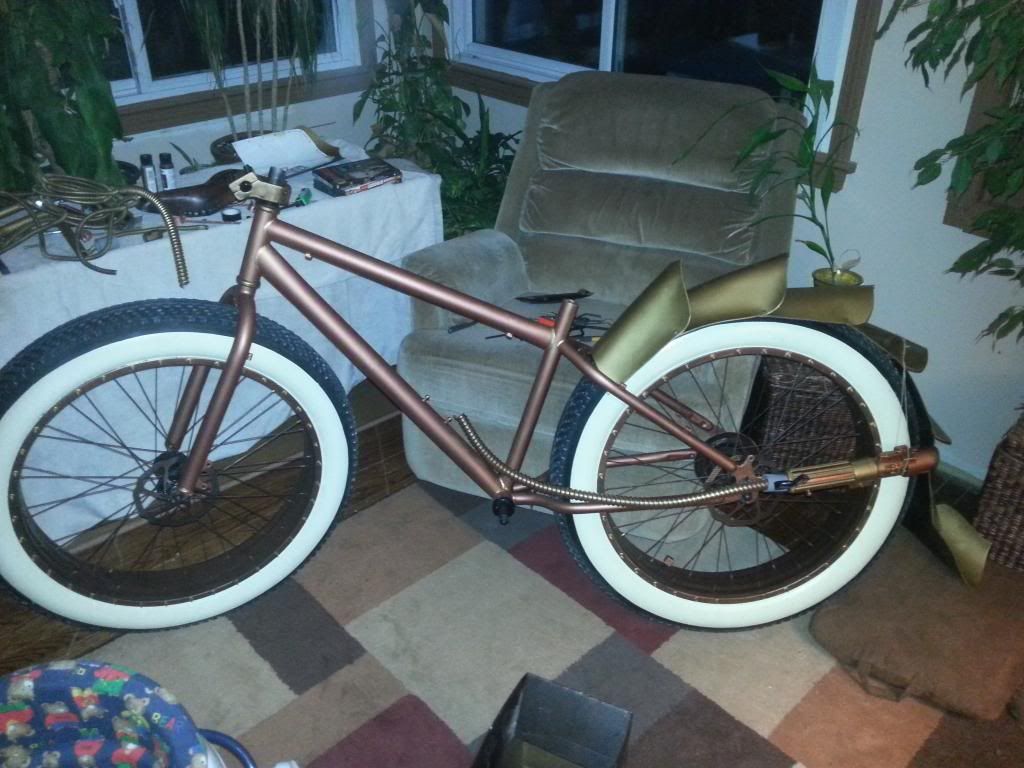
So, one of the biggest issues I'm trying to deal with on this build is to try and fool your eyes into thinking this is something more than a bicycle, let alone a brand new bike with completely modern MTB geometry. This bike in general has a bit longer wheelbase than a typical bike, but just looking at it in its unmolested state, its nothing special at all.

My plan to with this is to take your main visual focus away from where it typical would fall in on a bike, which is the main triangle area, with your eyes slightly moving to the front and back to get a complete picture. What I am going to try and do is to take that focus area and stretch it out all the way from the very rear of the bike, going up to the front of the bike.

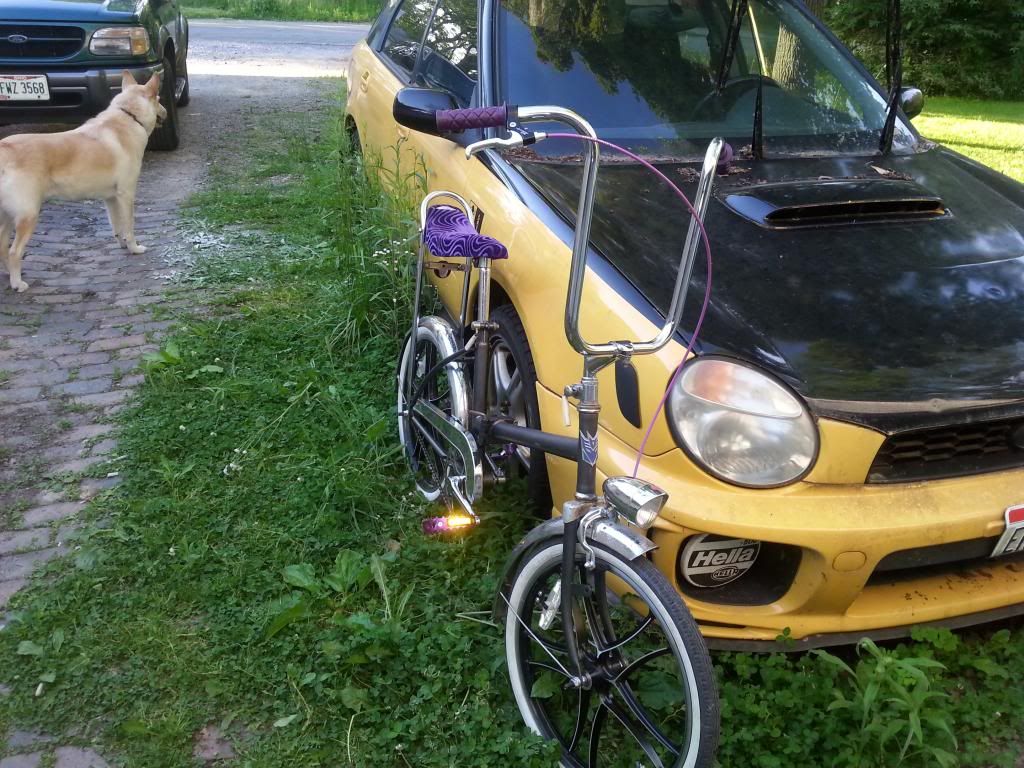
By putting highly stylized elements at either end of the bike, it will not allow for you to just glance at it quickly. I want it to follow a logical flow of how something "could" work. Once it looks like it could work, then it has to be made to look fantastical, something out of this world or time and place.

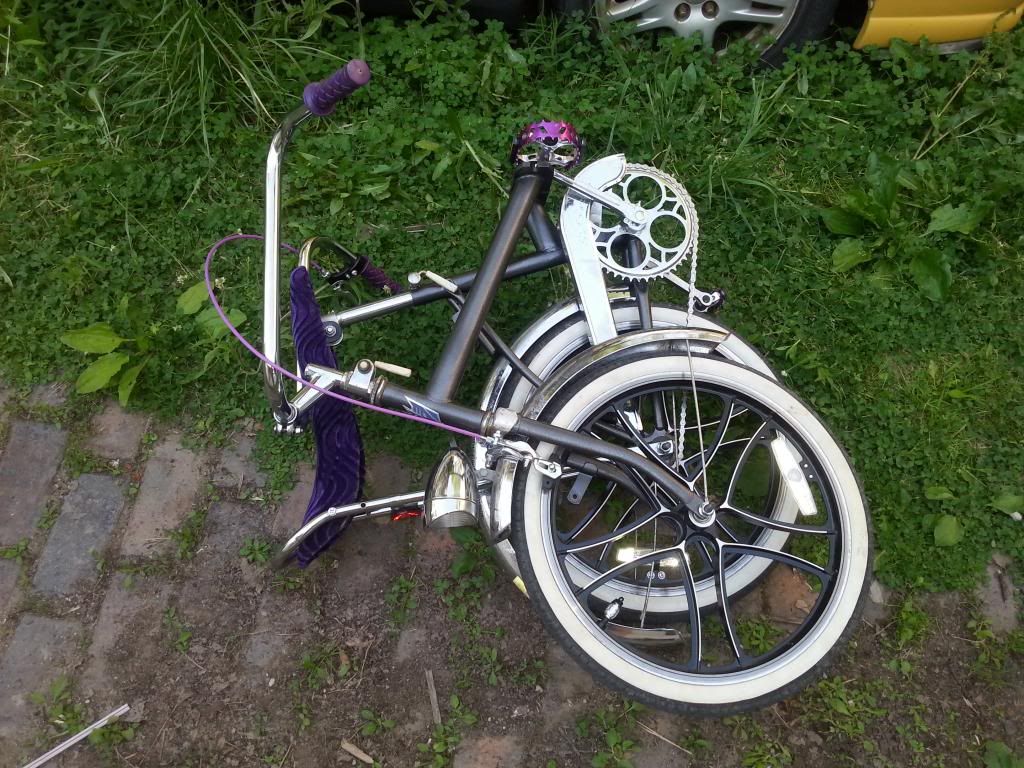
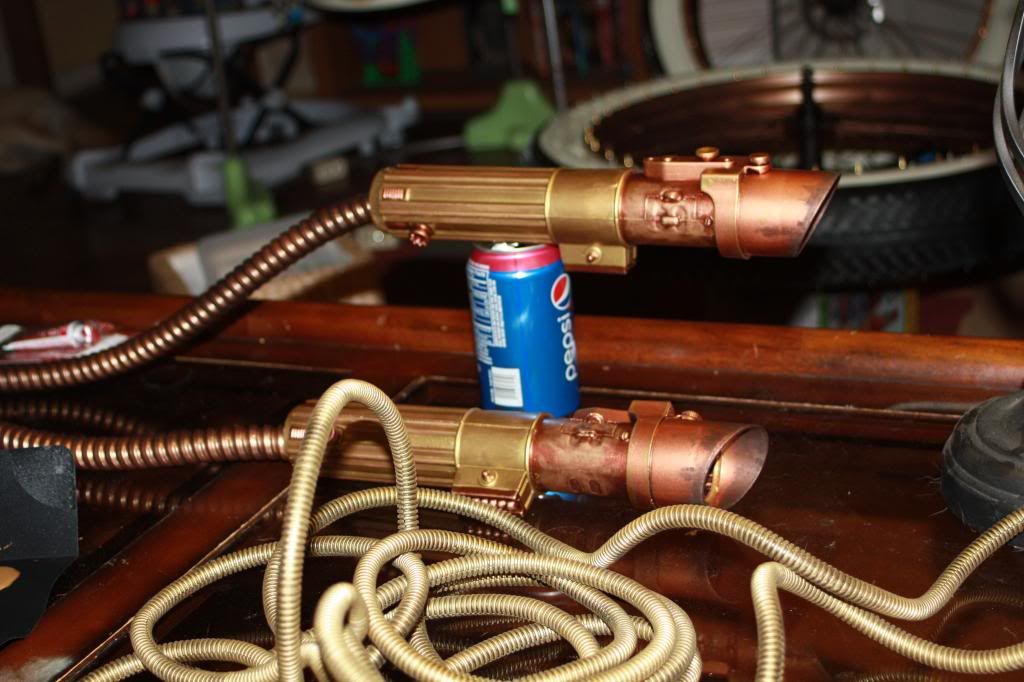
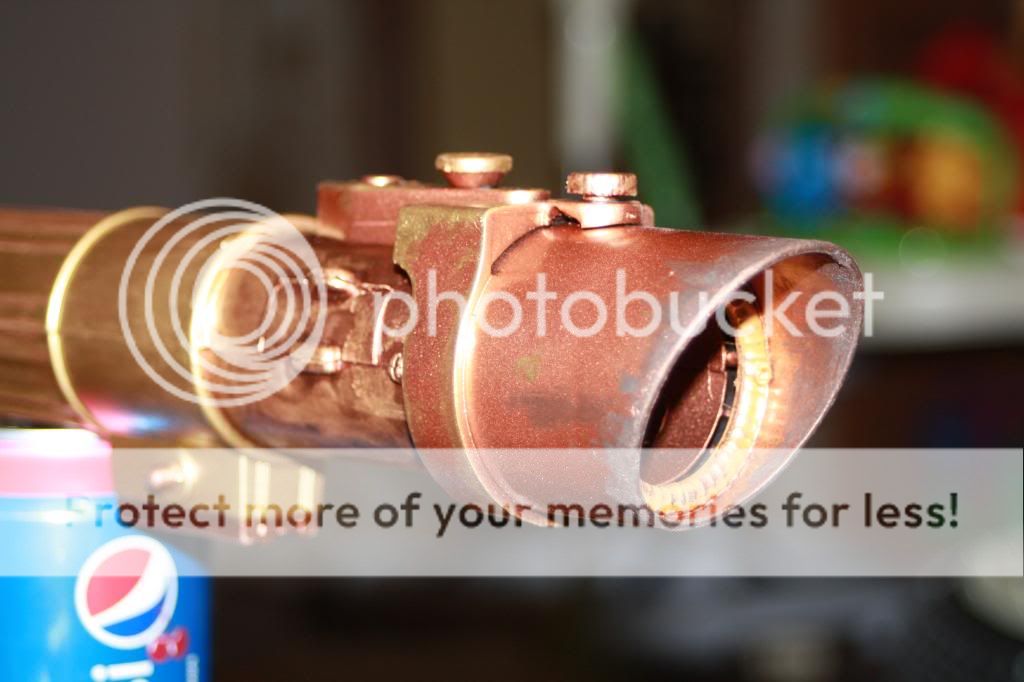
Heres a quick mock up of the progress so far.


I have a few more tricks and styling elements up my sleeves. I just need to find the materials to make what I need. I find myself drifting more towards a Mad Max type Genre as opposed to the original steampunk I set out to do. I may or may not use some of the design elements I put in the thread already. I'm starting to think the EL wire and/or the Plasma Ball might throw off the general stylistic principles I'm going for.

What is to come of this bike? Find out next week!
Same fat time, same fat place!
 
More little stuff! I have so many little details I'm putting into this the man hours are going through the roof on this one!

It doesn't help that I like to get out and ride on a daily basis, whether its around the block, or the park across the street. It also doesn't help that I'm a dang bike addict and have to peruse Craigslist daily, it was hourly before I started this project!
Ended up finding a bike I've wanted for some time now, and well the price was too good to pass on. Had to take this baby out for a stroll a few times so far!


Anyways, back to the build!

Seat post clamps, brake calipers, seat post, all finished painting up and assembled. Need to paint up the rear derailer, brake lever, and combo lever, then get strung up.

Progress shots of the calipers:


Just a few hours and some gold Rub and Buff with some Q-tips and my fingers and now we're cooking up some steamy looking brakes. This paint is strong enough to not rub off once dried. Really easy to touch up with as well, and gives a nice uneven luster showing finger/brush/swab strokes as well as being semi translucent, so you can still make out the Avid BB7 Logo, the arrows and sizing information if you get up really close to them.

I painted up some plastic 1/4" wire loom with black krylon fusion followed by a mid range metallic brass to cover up all my needed brake and shifter cabling. Putting the fusion down as a primer gives the brass a good enough sticking power than I can easily bend it without worrying about it cracking or peeling off.


So, spent some time last night working on the fenders. I'm kinda meh on them currently. They don't have the structural rigidity I need to stay "held up" in place with just the rivets. I may have to revisit my design on these and figure out some way to get these to keep from collapsing. Spent a few hours testing out heating and bending pvc tubing, but not long enough to make a perfect semi circle+ that I need.

Also, I think I went abit overboard on the finish. Wanted to give it that aged look, and how it would get dirty and rust in the overlapped areas.


Think I have to abort this monstrocity and start over...
 
Ok hobby store had copper and gold leafing supplies 1/2 off, as well as Rub N Buff. I felt the need to have more of this stuff after this build.

So, I think the hardest thing for me going forward is to actually wait for the next build off to start my next major build. It makes this one look tame in comparision.
 

Latest posts

Back
Top