


I wanted to make a 26" and thus rideable version of the iconic 1970's era Mongoose MotoMag BMX Bike. I know someone else has already done this before but it was not my main goal to be the first guy to make a 26 copy of a 20" BMX, that is happening a lot now a days...
While I could have paid to have the dropouts and other sundries made my main goal was to use the tools I already had at my disposal. I wanted to make 1 but figured if I could make 1, I could do 10. As I go along I need to improve upon my TIG skills and making 10 bikes at the same time would be a great way to force some long practice stints.
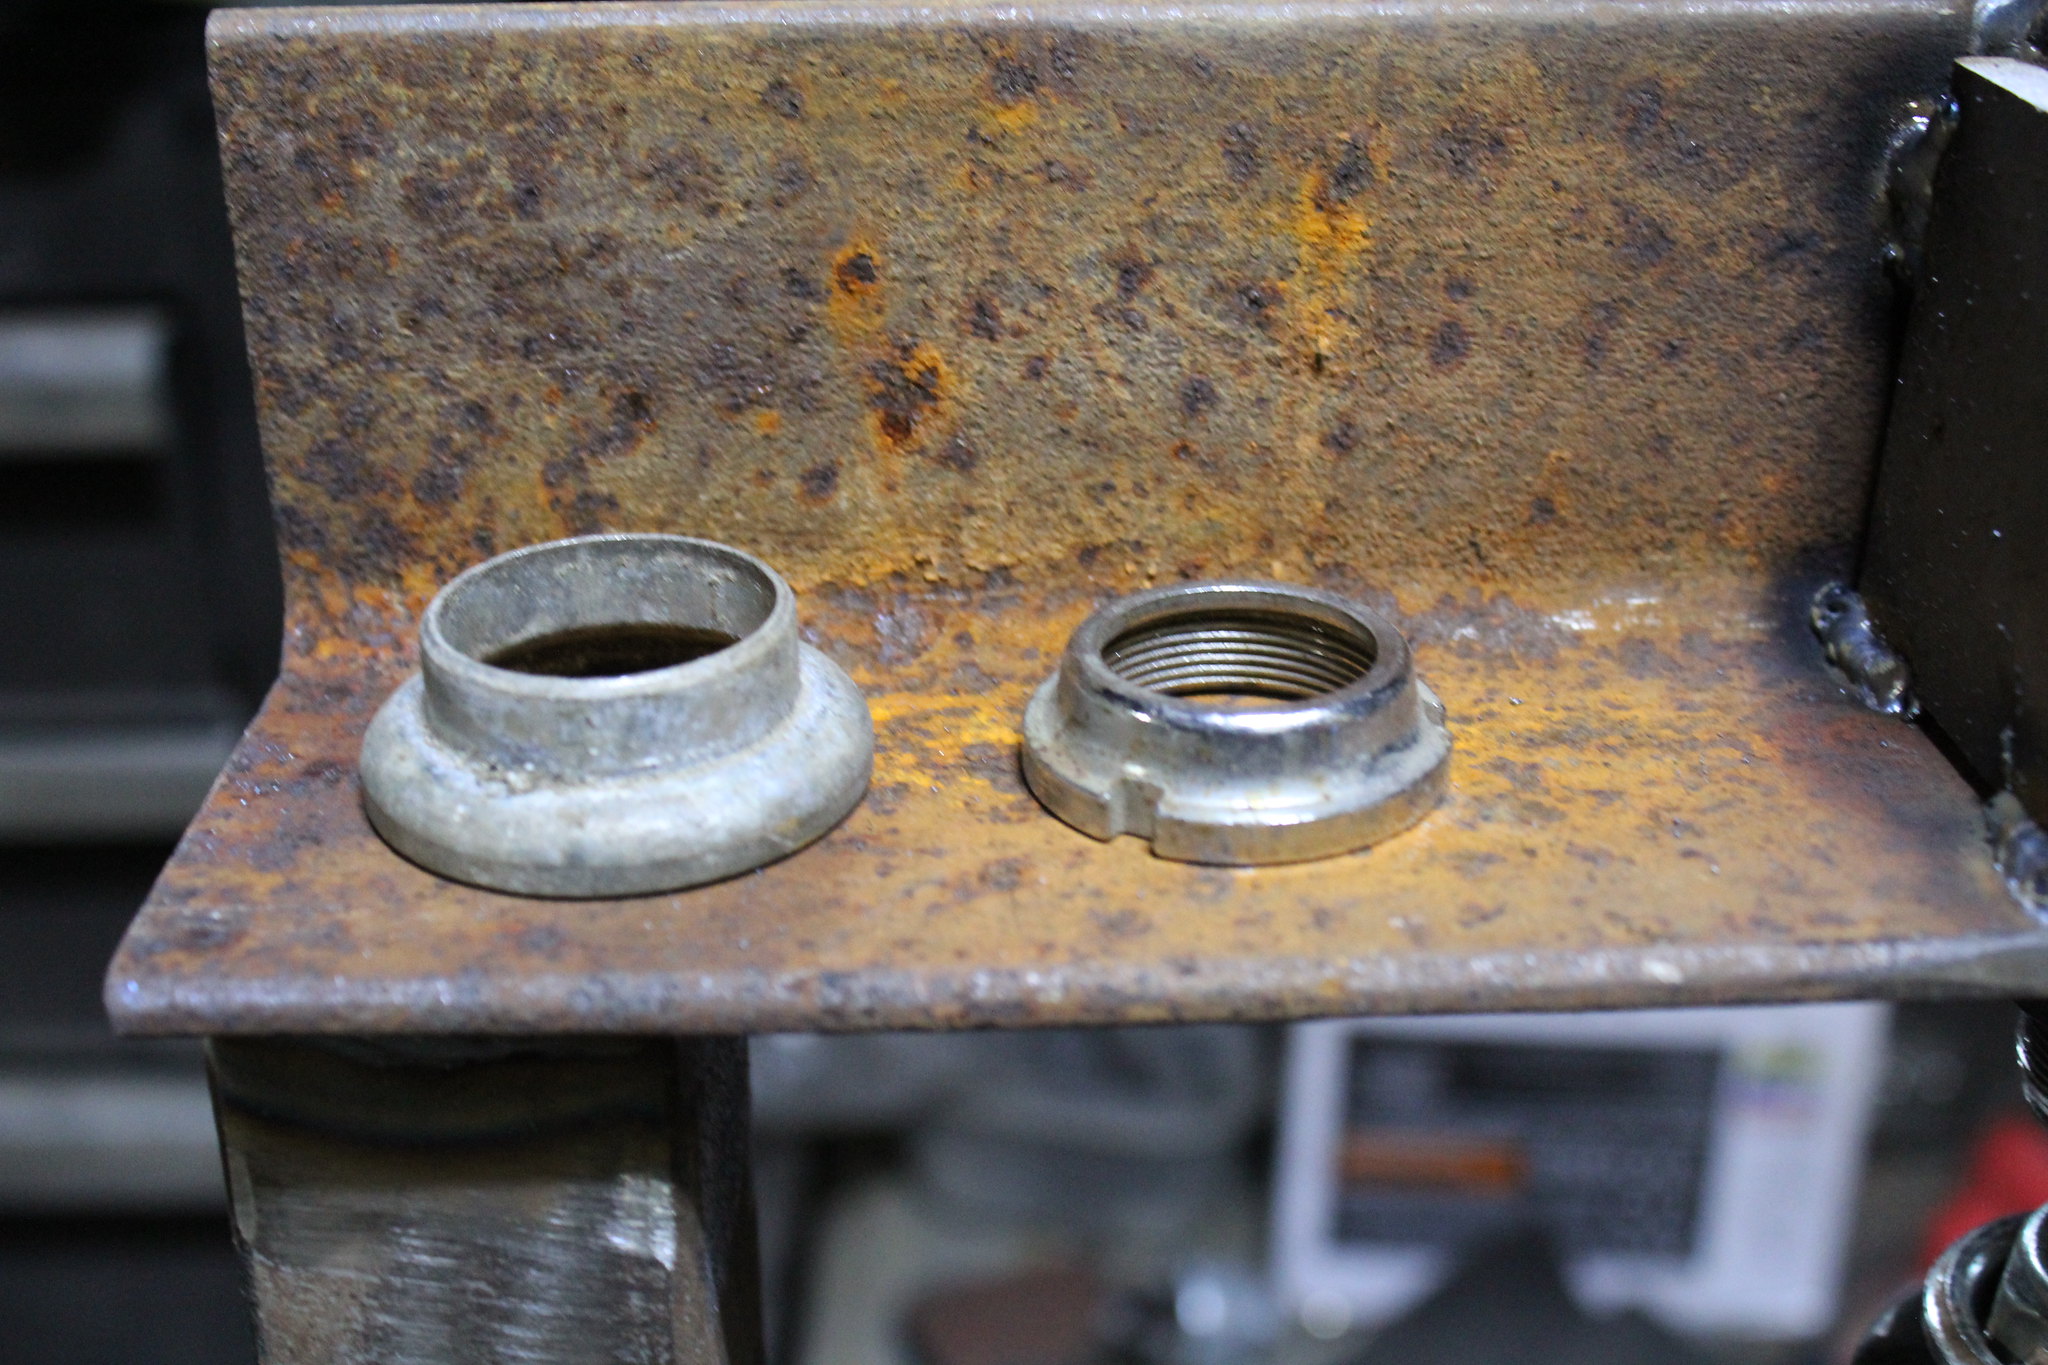
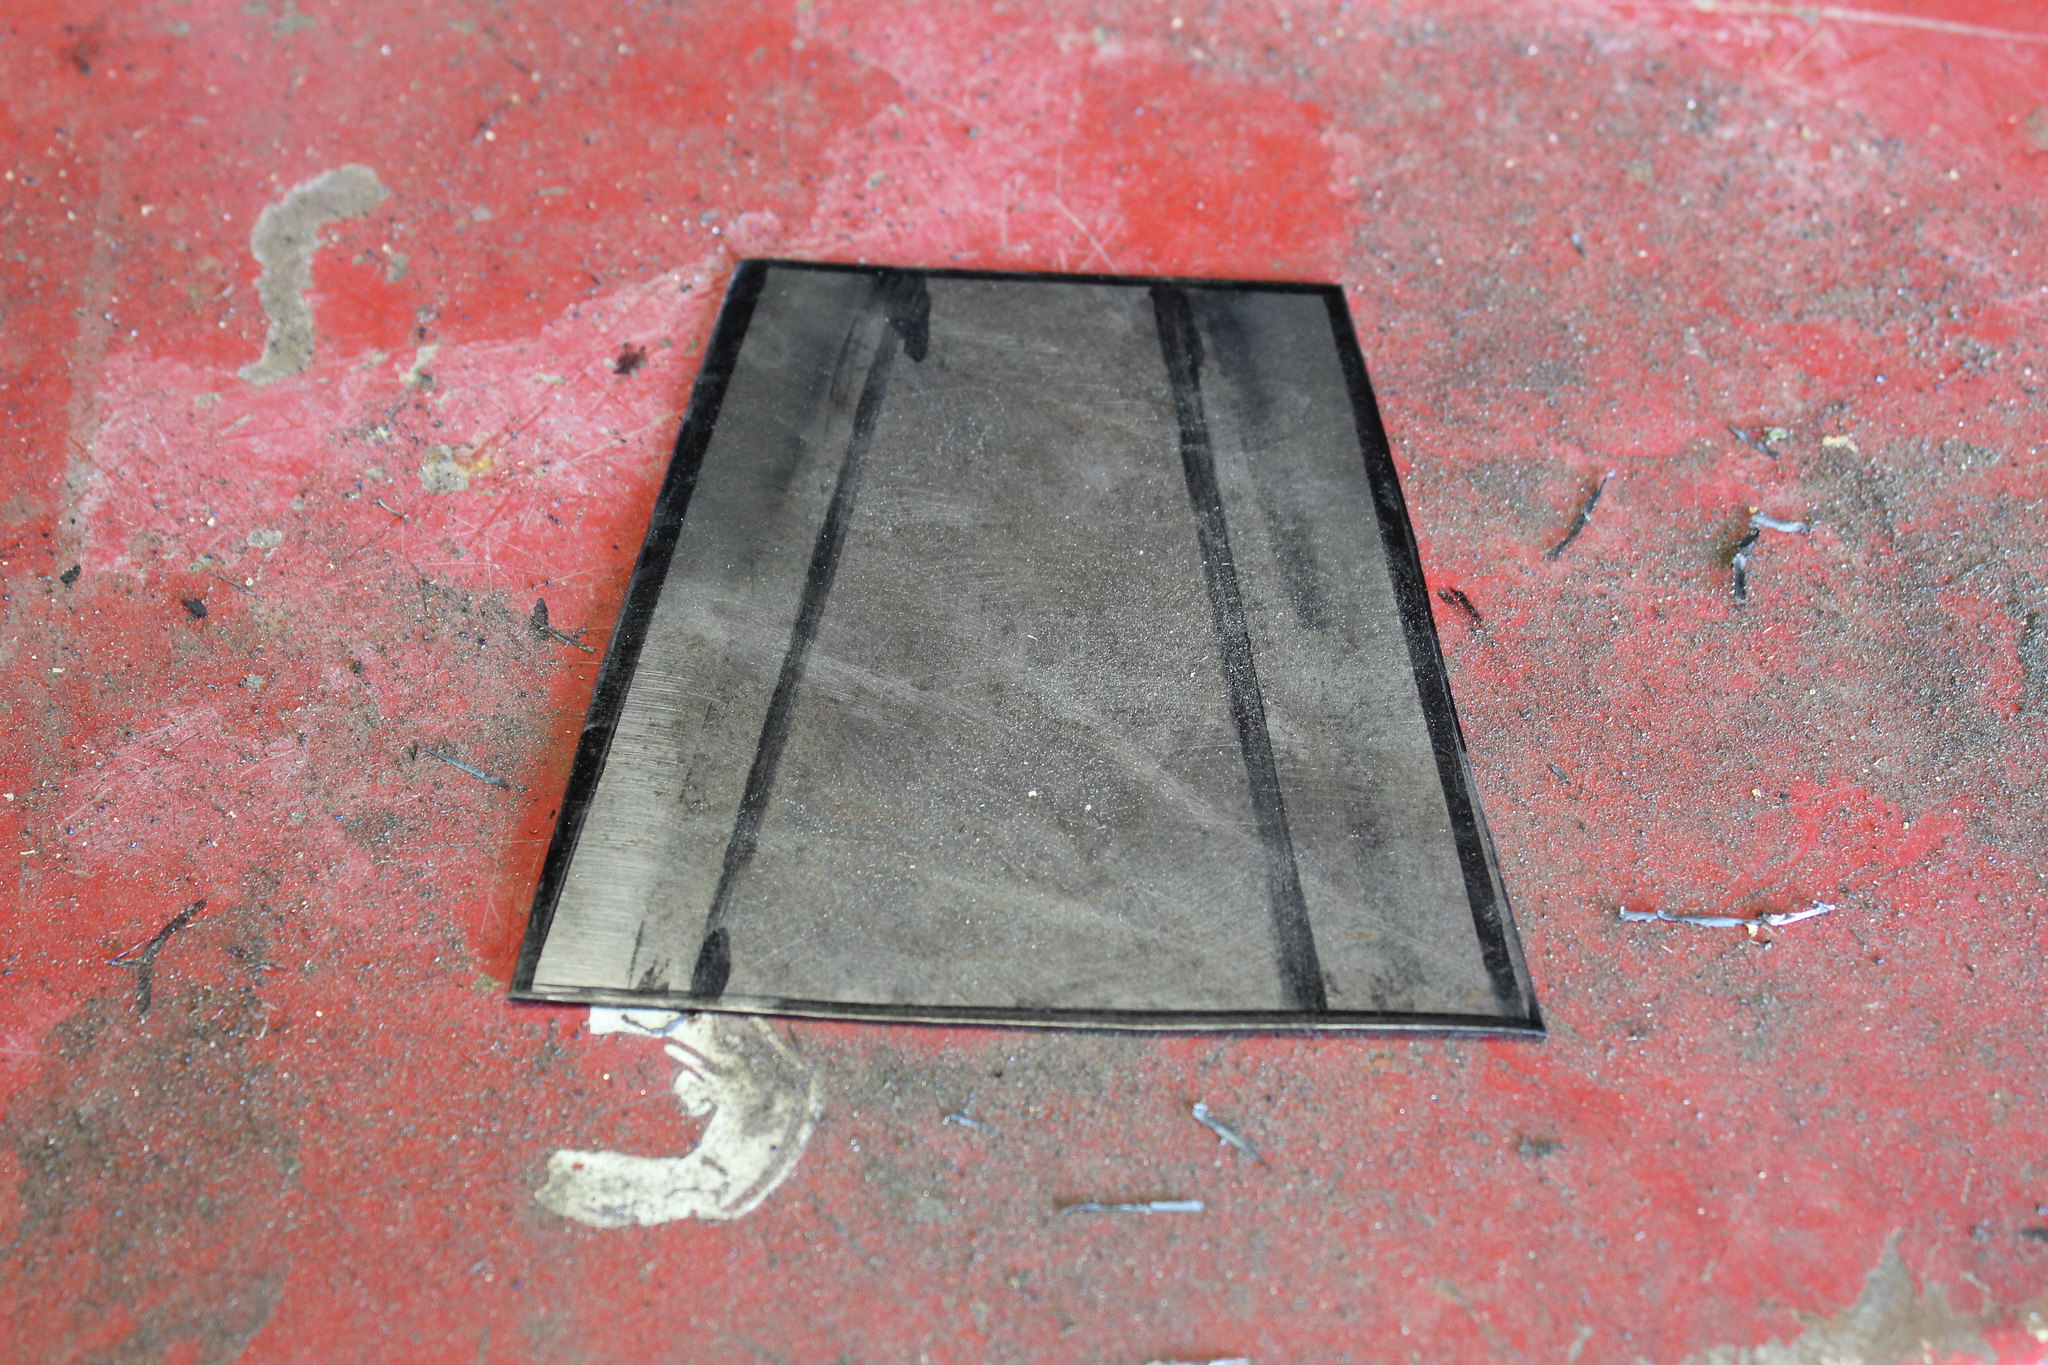
First I was playing around with a sheet metal sheer and break to figure out the rear triangle piece. I was using a thinner piece of metal to work out the shape as I plan on making it about 1" longer than the 20" version so it scales up to 26" nicely. One snag was the the head tube gusset and rear triangle bracket were dimple died. A full set of dies was 350 bucks about so I did not want to spend that kind of coin on something I'd most likely never use again. But hey, I have metal, and bearing races all over the place. And I happened to have a couple bottle jacks laying around from a home improvement projects so why not make one?
 Non Goose Project by Paul de Valera, on Flickr
I played around with a bunch of different bearing races until I got a good one.
Made a frame, the jack kept bending it and it took a while to get the metal to guide well enough to come out ok. Keep in mind it is not as nice but is a zero dollar tool and the jack is not ruined in the process.
 Non Goose Project by Paul de Valera, on Flickr
 Non Goose Project by Paul de Valera, on Flickr
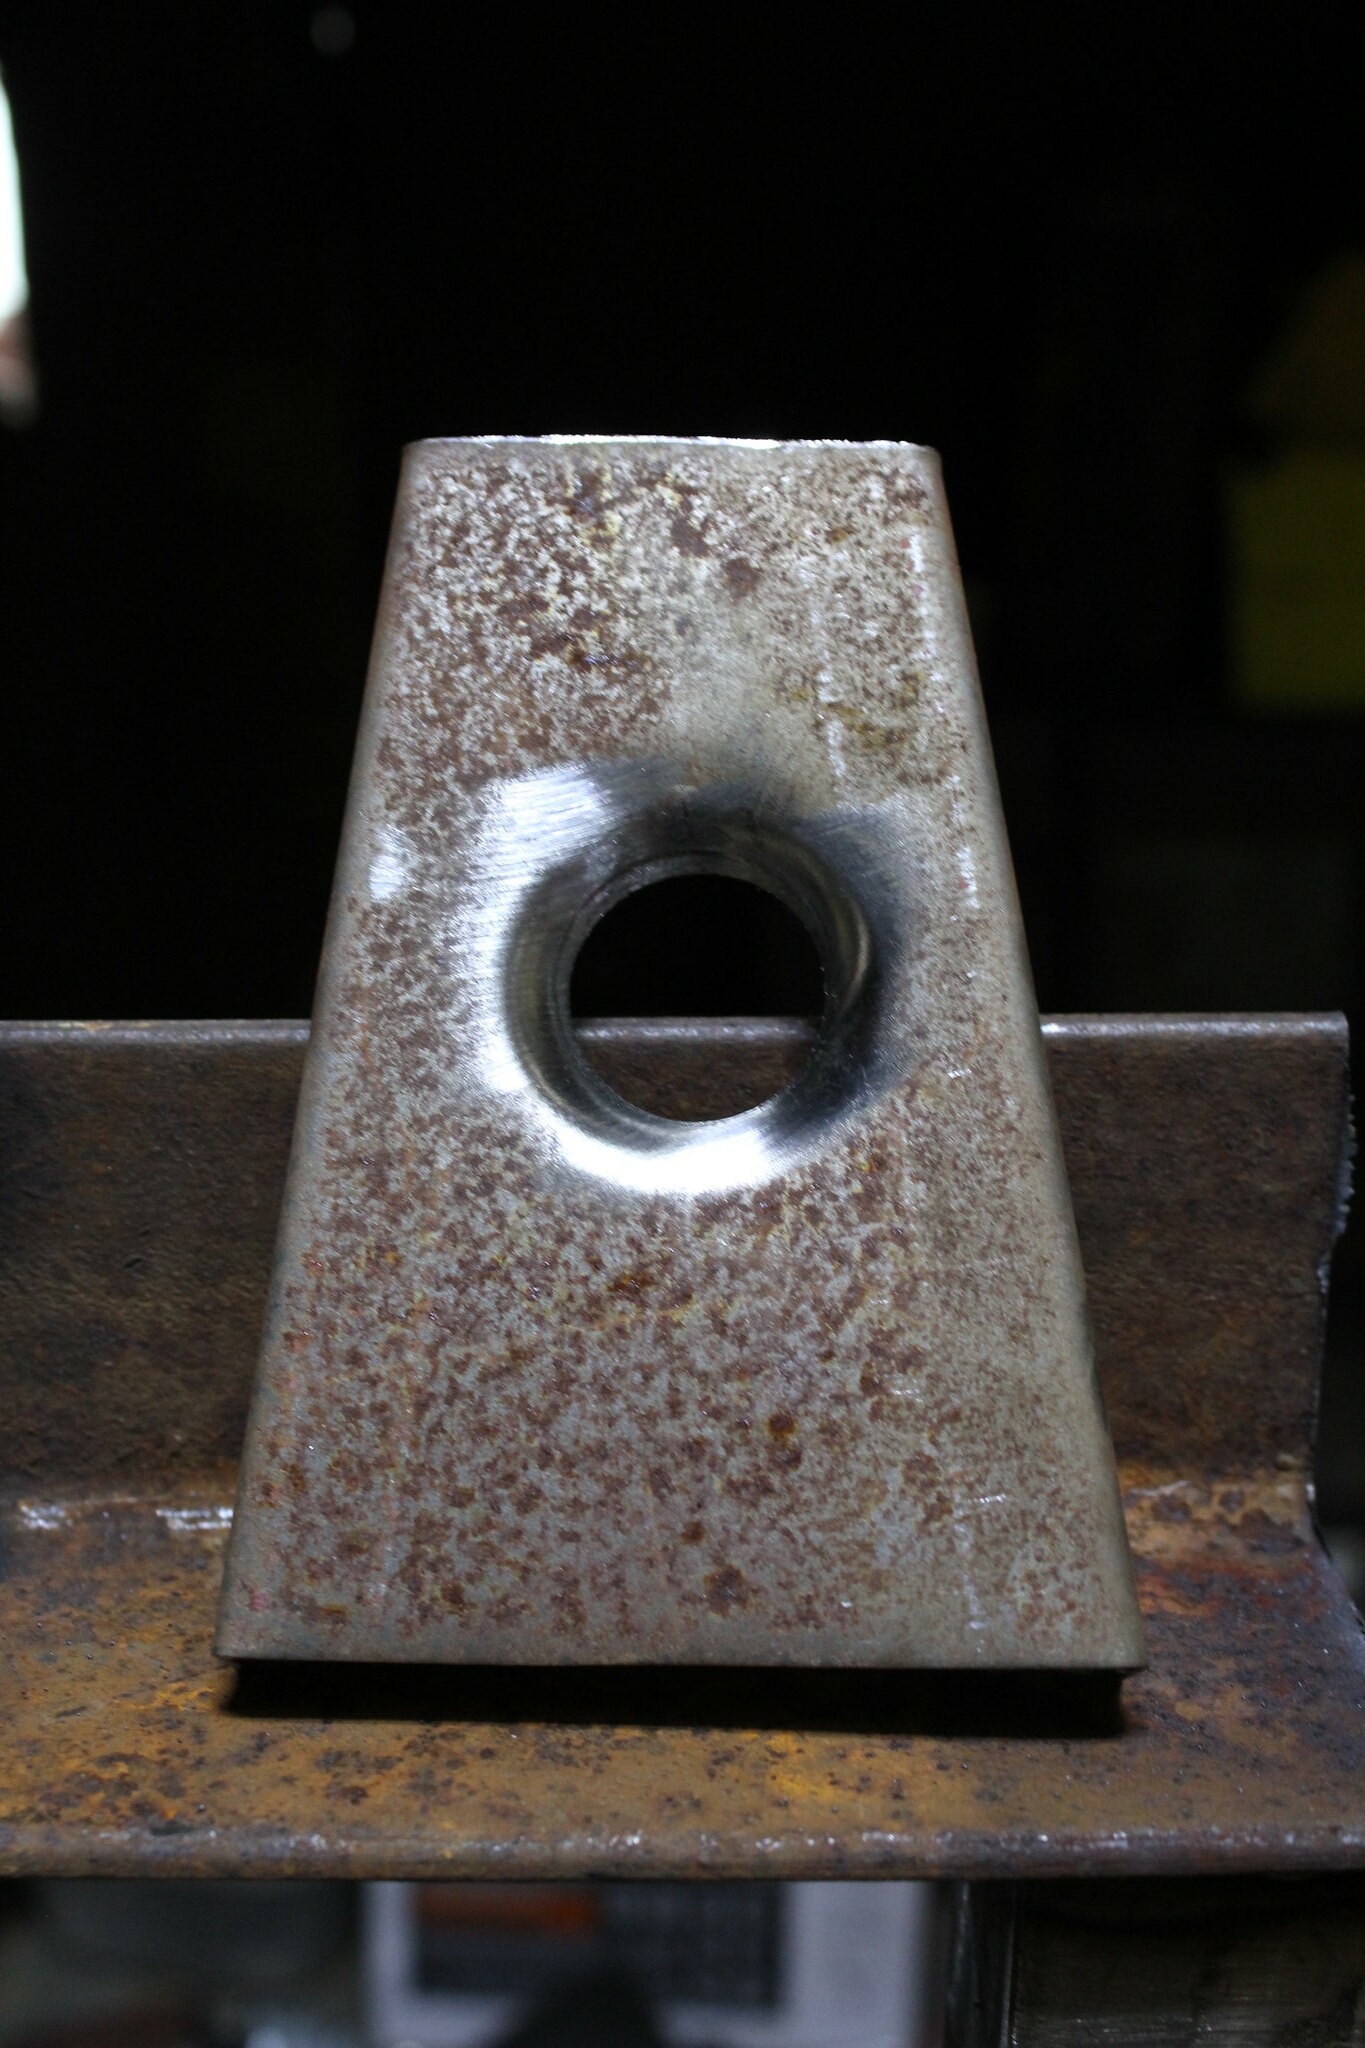
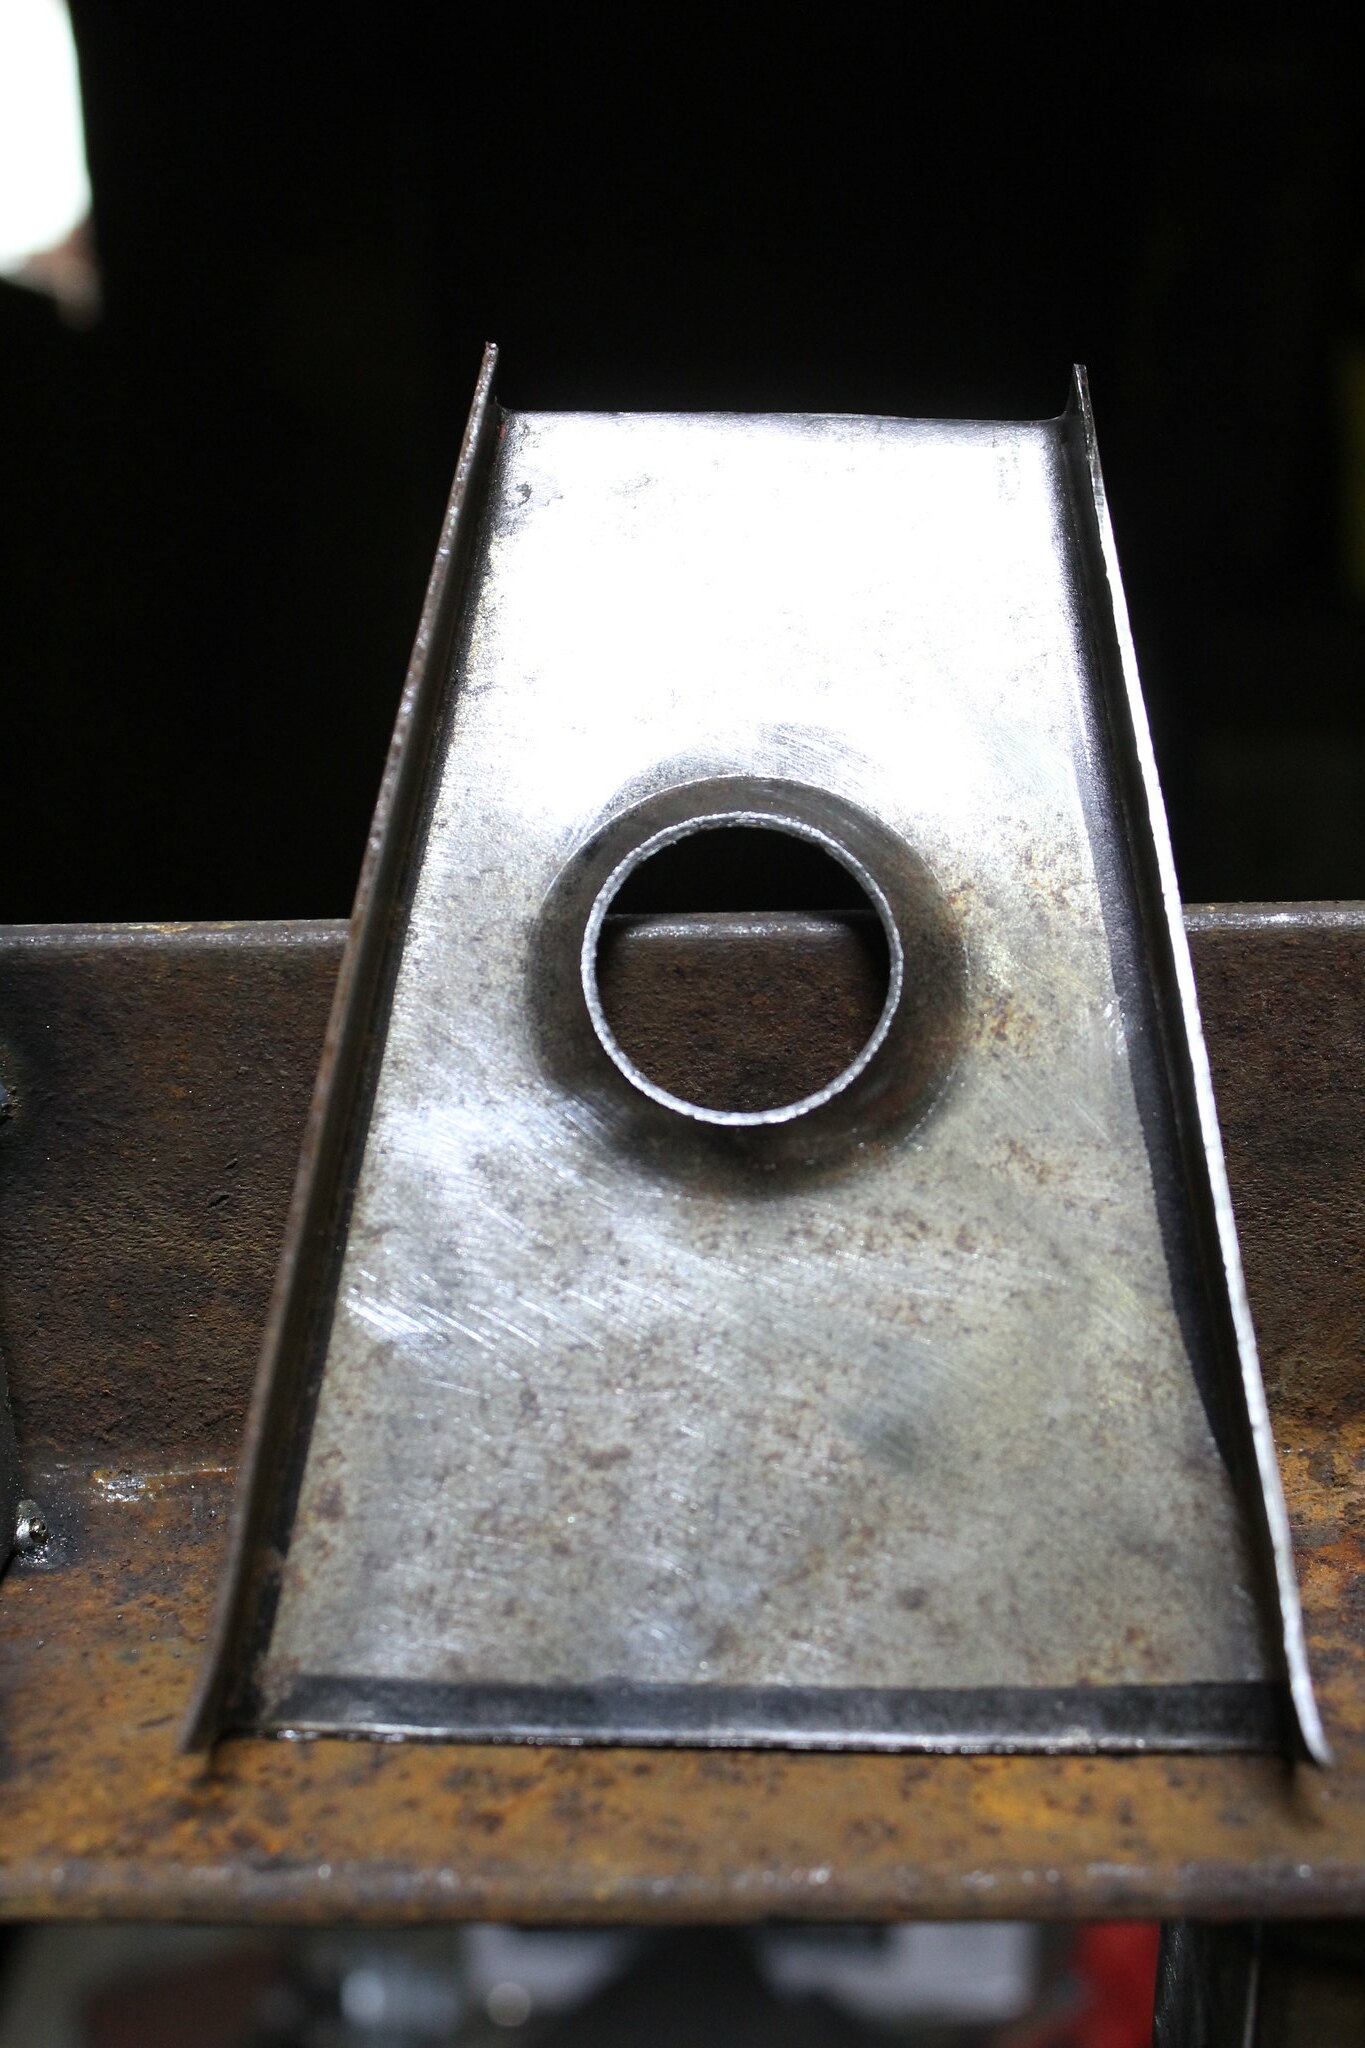
Not so bad! Thicker metal will most likely behave differently. I will see on that one. These are for seeing the shape of the hole only, I know they are not centered.
 Non Goose Project by Paul de Valera, on Flickr''
 Non Goose Project by Paul de Valera, on Flickr
So I need to get the shape just right on that one, not there yet.
Today I tired to get the dropouts done since I figured it would be the hardest part.
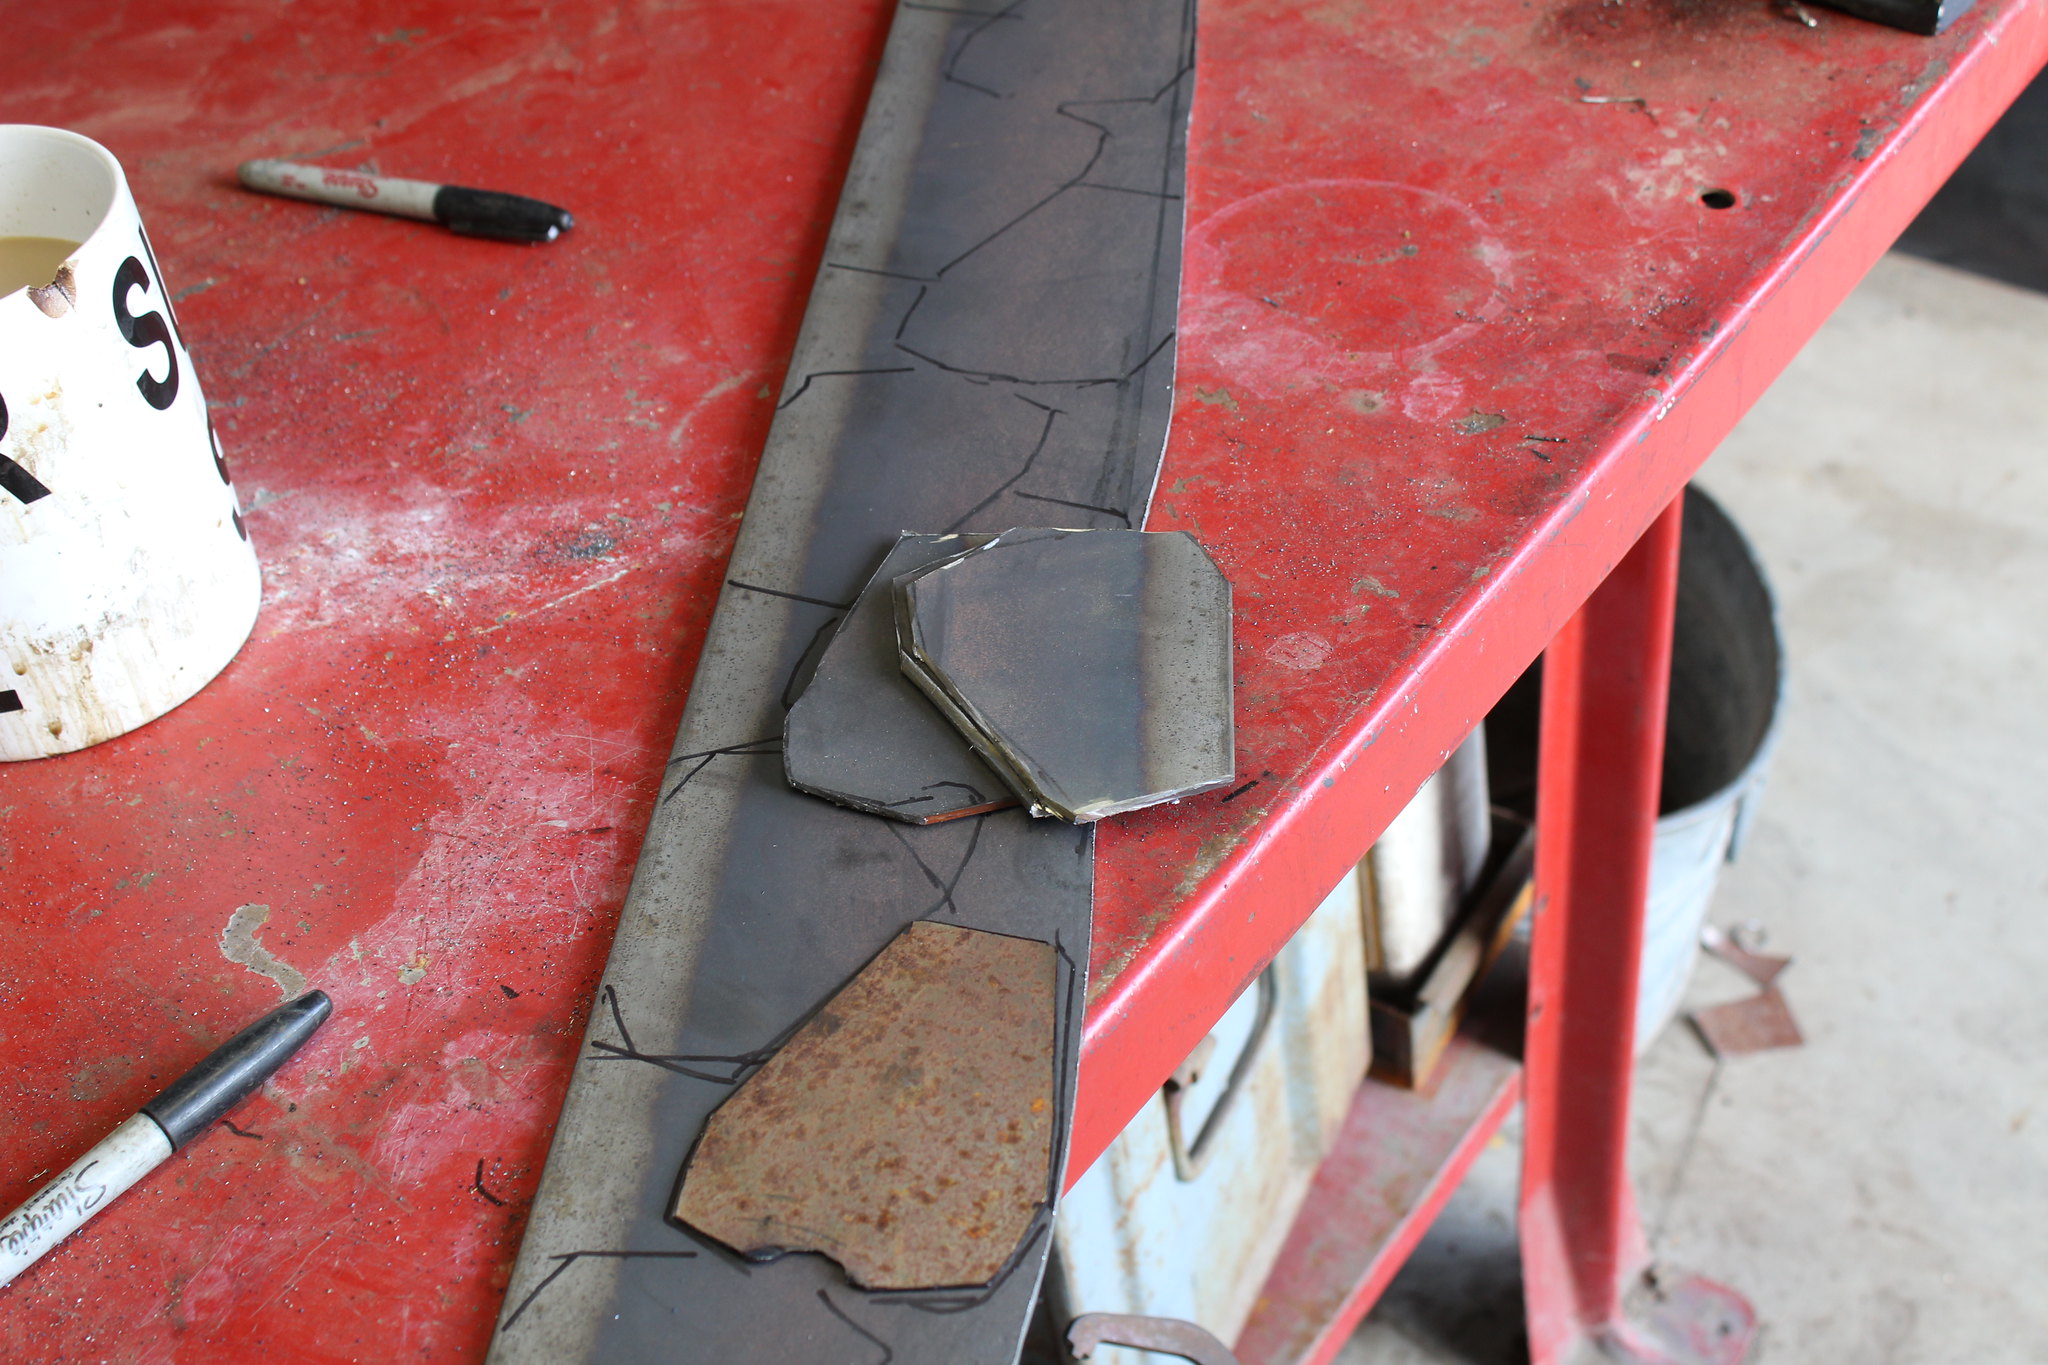
I took some thin metal and made a template:
 Non Goose Project by Paul de Valera, on Flickr
After I traced them out on some thicker sheet. I tried to cut this stuff with the shear but it was too thick. I made a cheater bar but could feel my mid section tearing from pulling so hard so I went with skinny cut off wheels and burned through about 15 of them to get the rough shapes.
 Non Goose Project by Paul de Valera, on Flickr
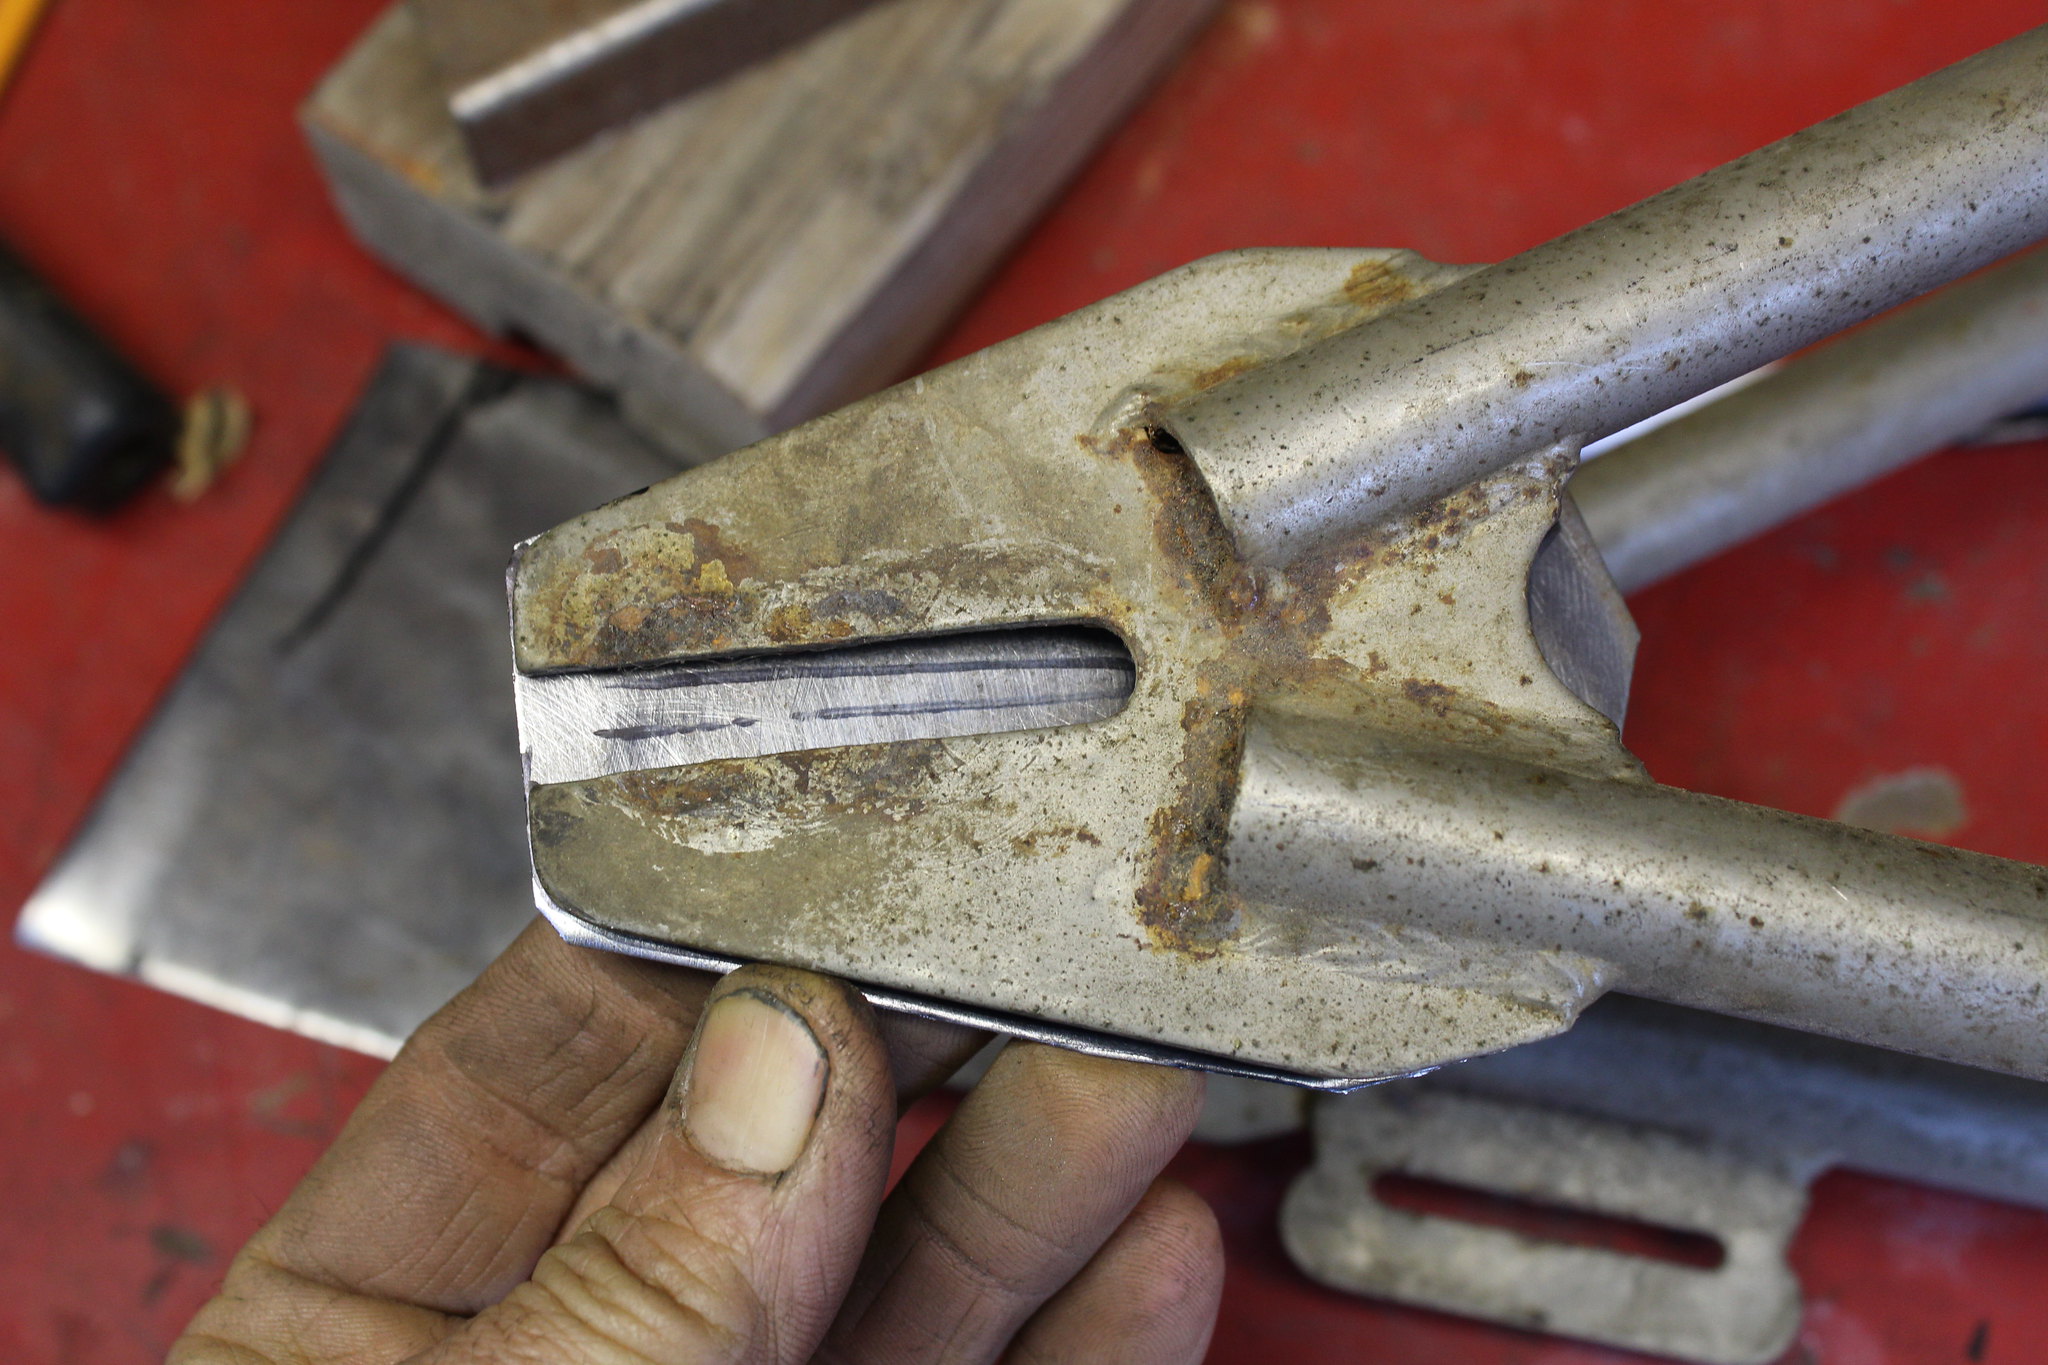
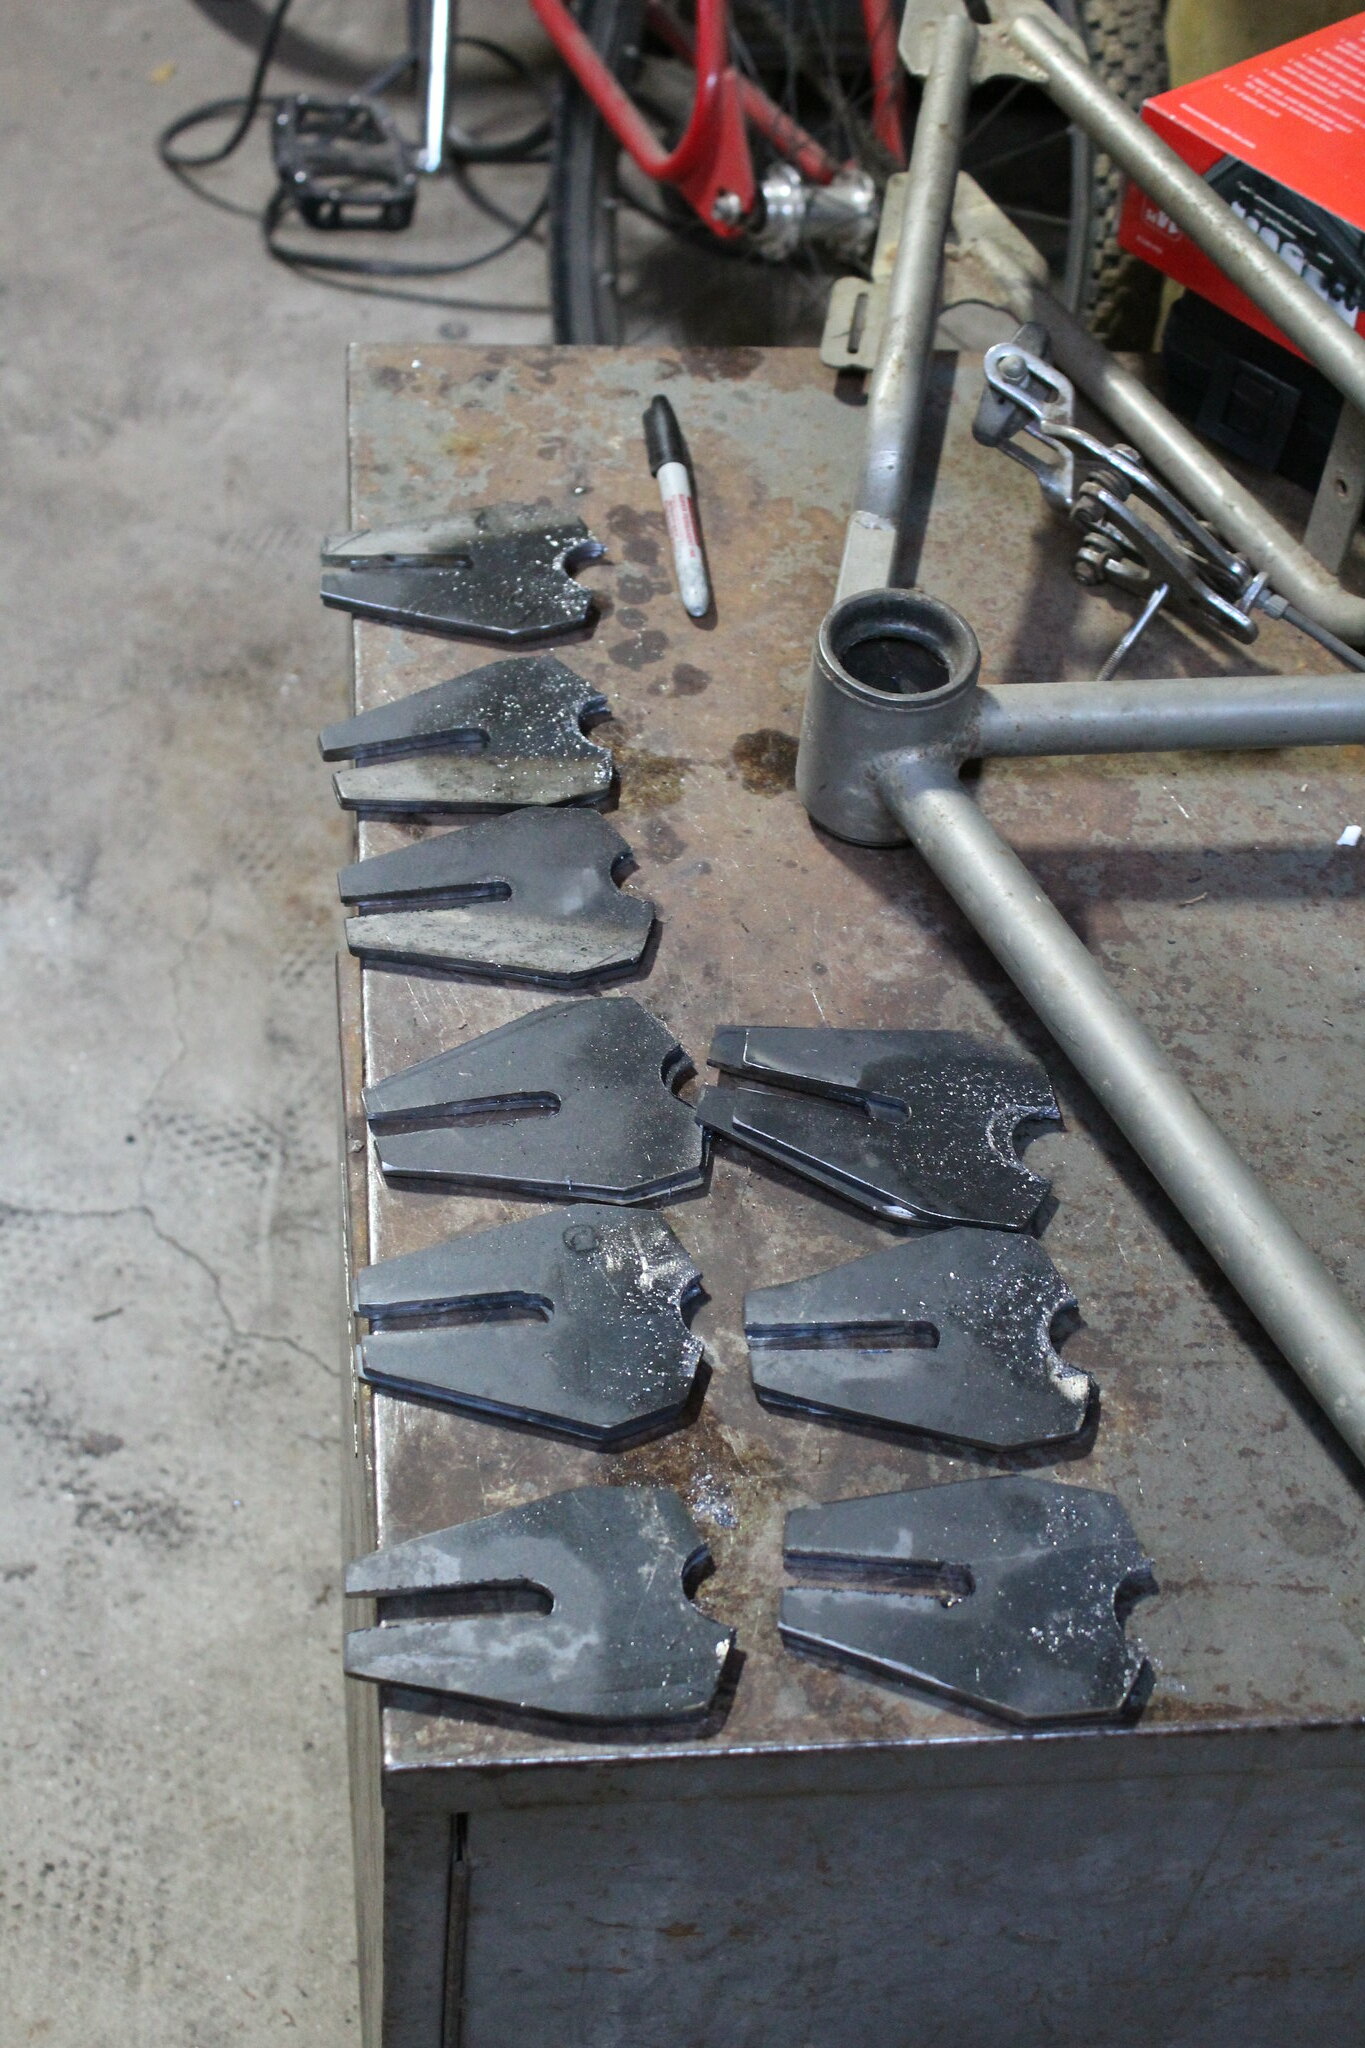
After that I paired them up and made them even to each other with a flap-wheel. While they all don't match each other, I have 10 matching pairs so each bike they will look ok on. I drilled a hole for the dropout and then made a tool to hold them in my chop saw where I finished the rough cut of the dropout. Some filing was needed to get them evened out and then over to the drill press with a hole saw to make the back round cut. The OG factory ones were made with a stamping die and mine are done by hand so they are not perfect but will do the job. Much thicker then the factory ones.
Anyway, that took a while.
I have each set in my polisher to de-burr them.
 Non Goose Project by Paul de Valera, on Flickr
My plan is to make all the brackets first. Next up should be the finished rear triangle piece.
While I could have paid to have the dropouts and other sundries made my main goal was to use the tools I already had at my disposal. I wanted to make 1 but figured if I could make 1, I could do 10. As I go along I need to improve upon my TIG skills and making 10 bikes at the same time would be a great way to force some long practice stints.
First I was playing around with a sheet metal sheer and break to figure out the rear triangle piece. I was using a thinner piece of metal to work out the shape as I plan on making it about 1" longer than the 20" version so it scales up to 26" nicely. One snag was the the head tube gusset and rear triangle bracket were dimple died. A full set of dies was 350 bucks about so I did not want to spend that kind of coin on something I'd most likely never use again. But hey, I have metal, and bearing races all over the place. And I happened to have a couple bottle jacks laying around from a home improvement projects so why not make one?
Non Goose Project by Paul de Valera, on FlickrI played around with a bunch of different bearing races until I got a good one.
Made a frame, the jack kept bending it and it took a while to get the metal to guide well enough to come out ok. Keep in mind it is not as nice but is a zero dollar tool and the jack is not ruined in the process.
Non Goose Project by Paul de Valera, on Flickr
Non Goose Project by Paul de Valera, on FlickrNot so bad! Thicker metal will most likely behave differently. I will see on that one. These are for seeing the shape of the hole only, I know they are not centered.
Non Goose Project by Paul de Valera, on Flickr''
Non Goose Project by Paul de Valera, on FlickrSo I need to get the shape just right on that one, not there yet.
Today I tired to get the dropouts done since I figured it would be the hardest part.
I took some thin metal and made a template:
Non Goose Project by Paul de Valera, on FlickrAfter I traced them out on some thicker sheet. I tried to cut this stuff with the shear but it was too thick. I made a cheater bar but could feel my mid section tearing from pulling so hard so I went with skinny cut off wheels and burned through about 15 of them to get the rough shapes.
Non Goose Project by Paul de Valera, on FlickrAfter that I paired them up and made them even to each other with a flap-wheel. While they all don't match each other, I have 10 matching pairs so each bike they will look ok on. I drilled a hole for the dropout and then made a tool to hold them in my chop saw where I finished the rough cut of the dropout. Some filing was needed to get them evened out and then over to the drill press with a hole saw to make the back round cut. The OG factory ones were made with a stamping die and mine are done by hand so they are not perfect but will do the job. Much thicker then the factory ones.
Anyway, that took a while.
I have each set in my polisher to de-burr them.
Non Goose Project by Paul de Valera, on FlickrMy plan is to make all the brackets first. Next up should be the finished rear triangle piece.
")
 IMG_0647
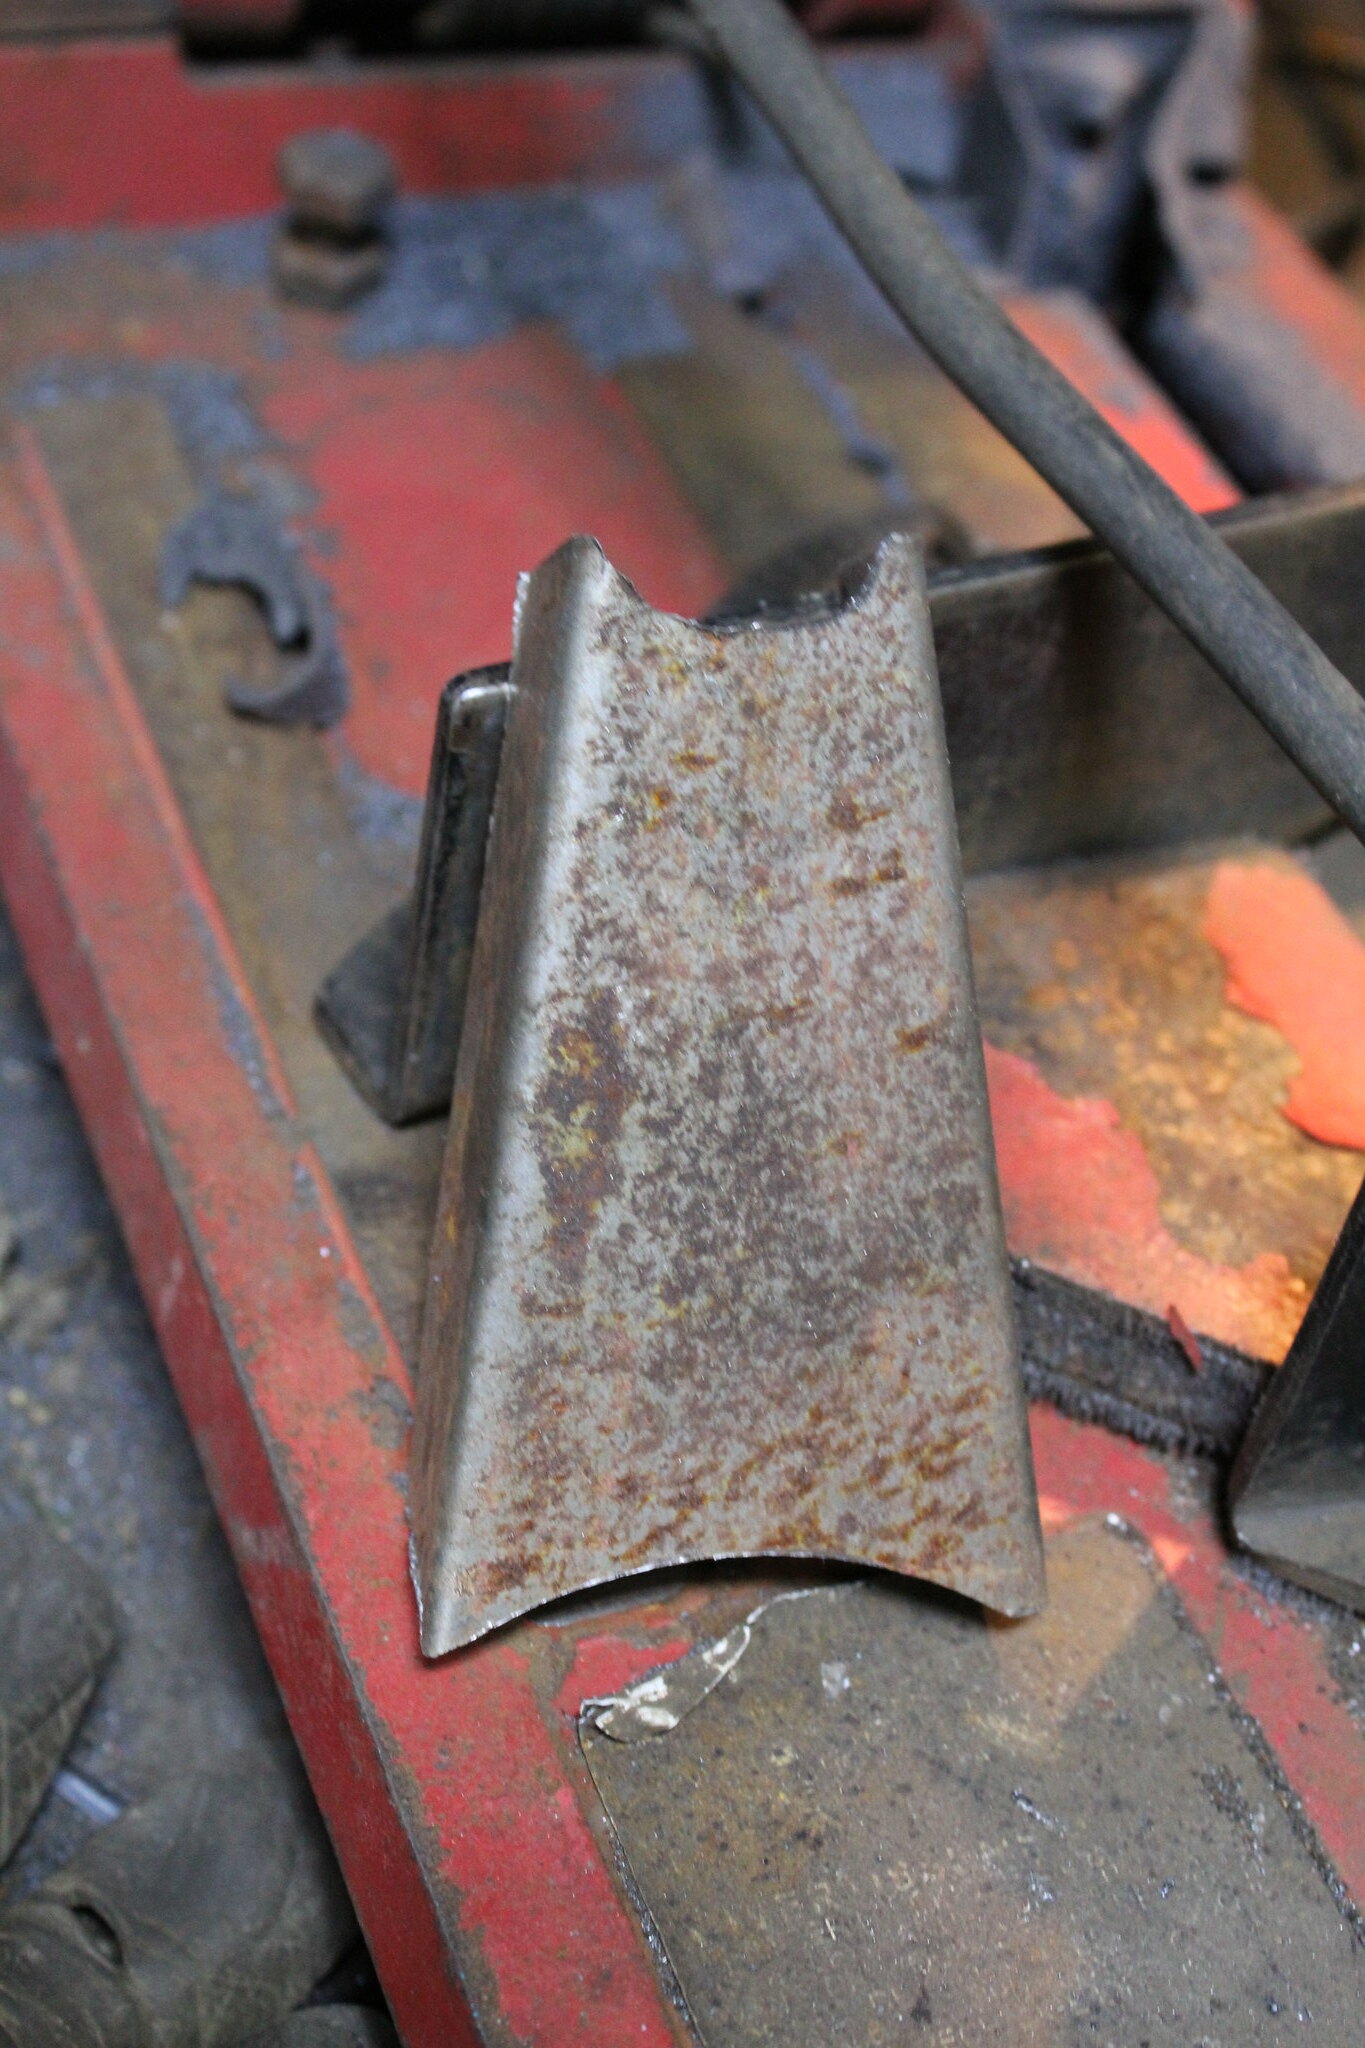 IMG_0648
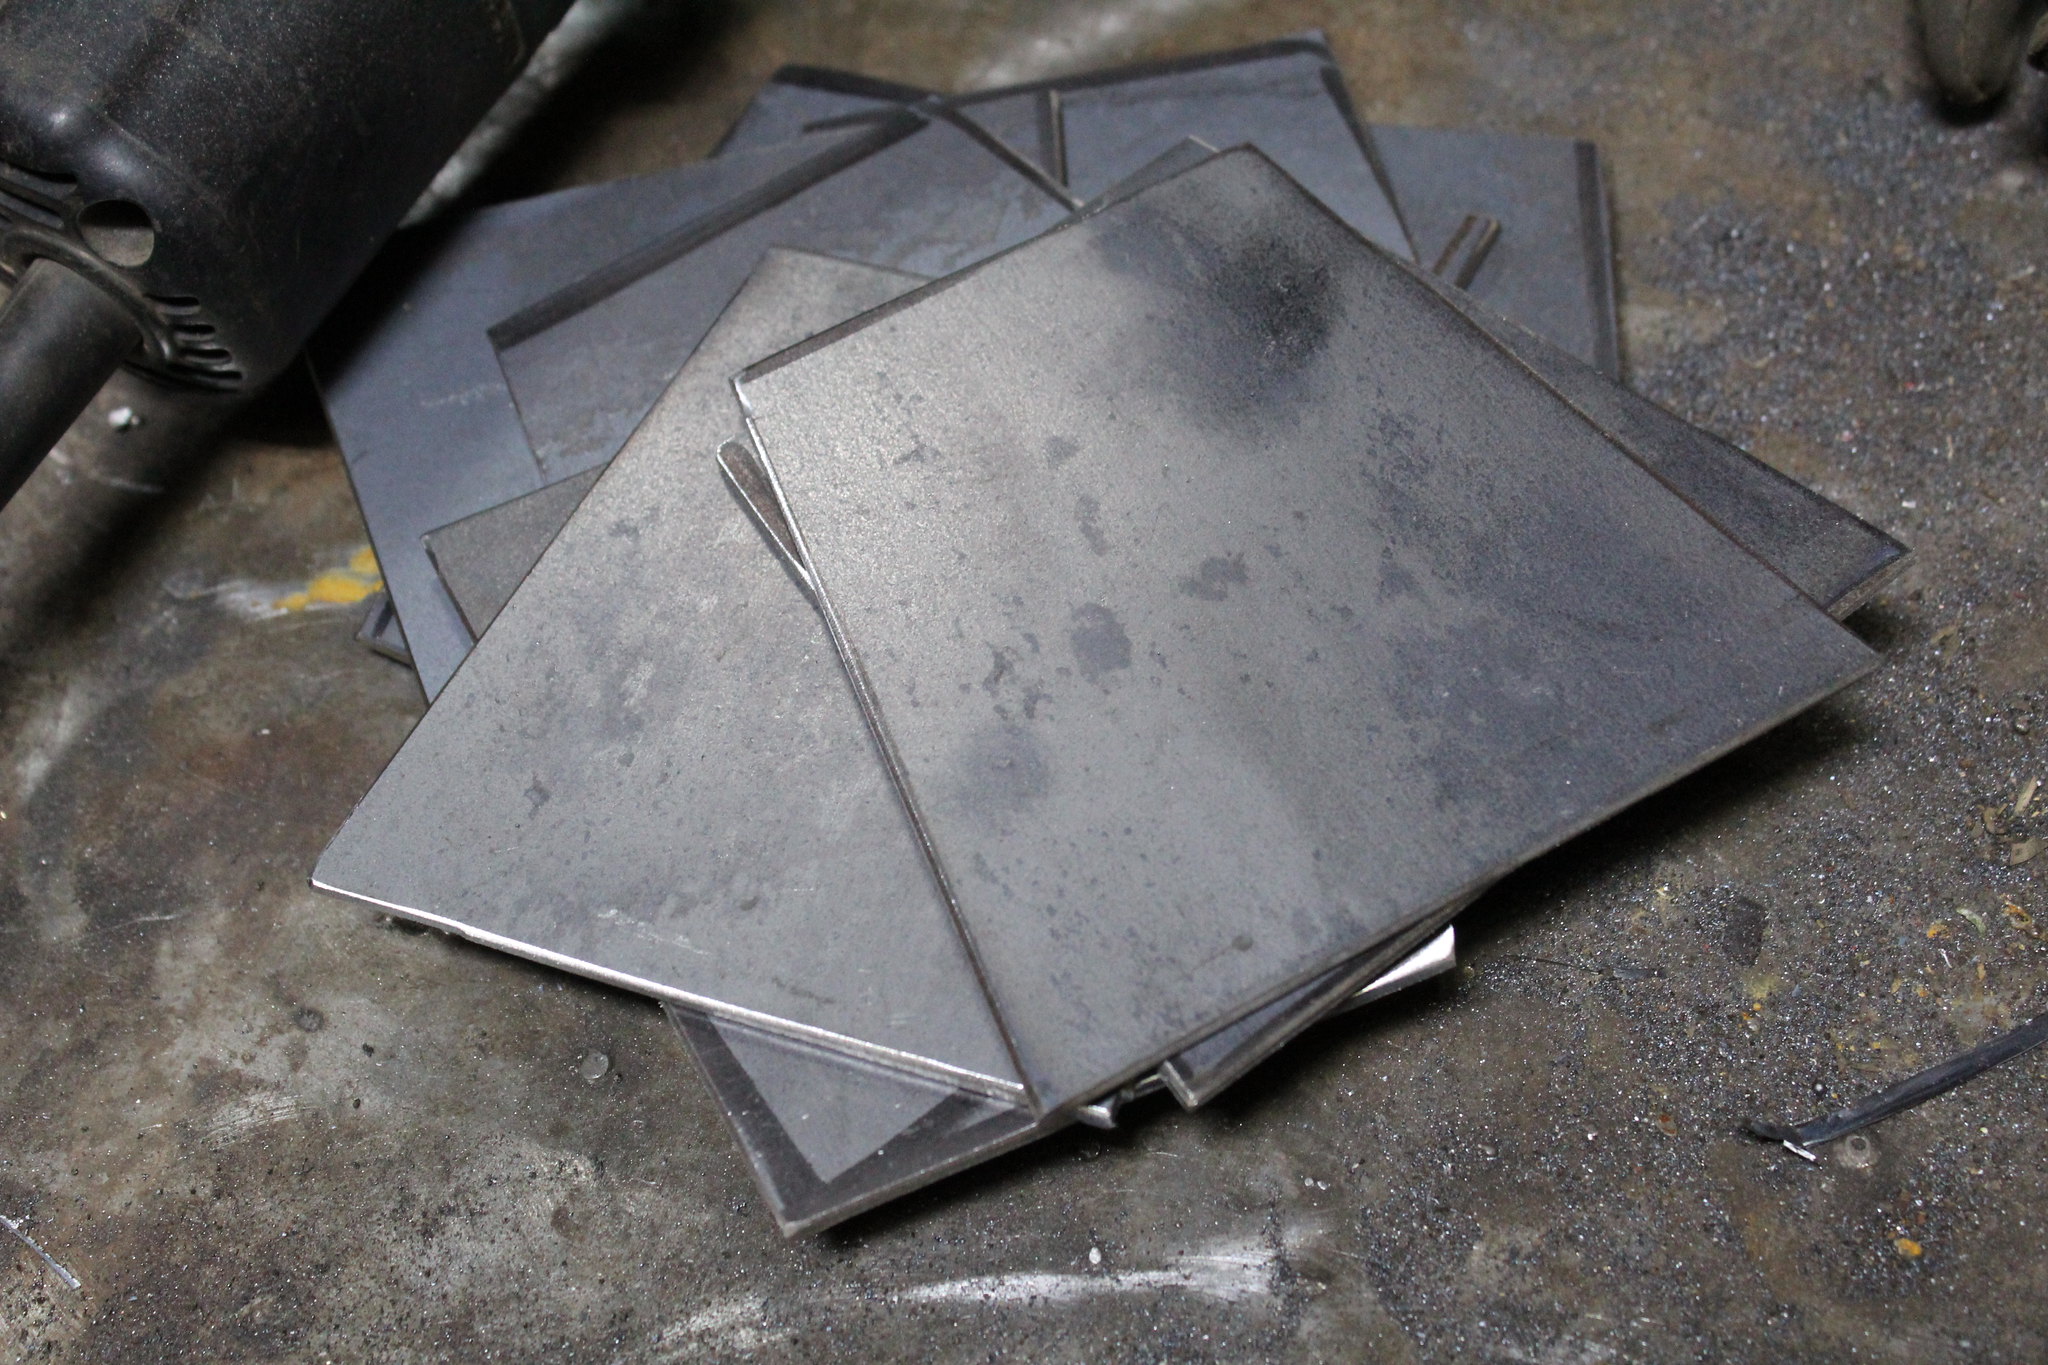 IMG_0649
 IMG_0653
 IMG_0650
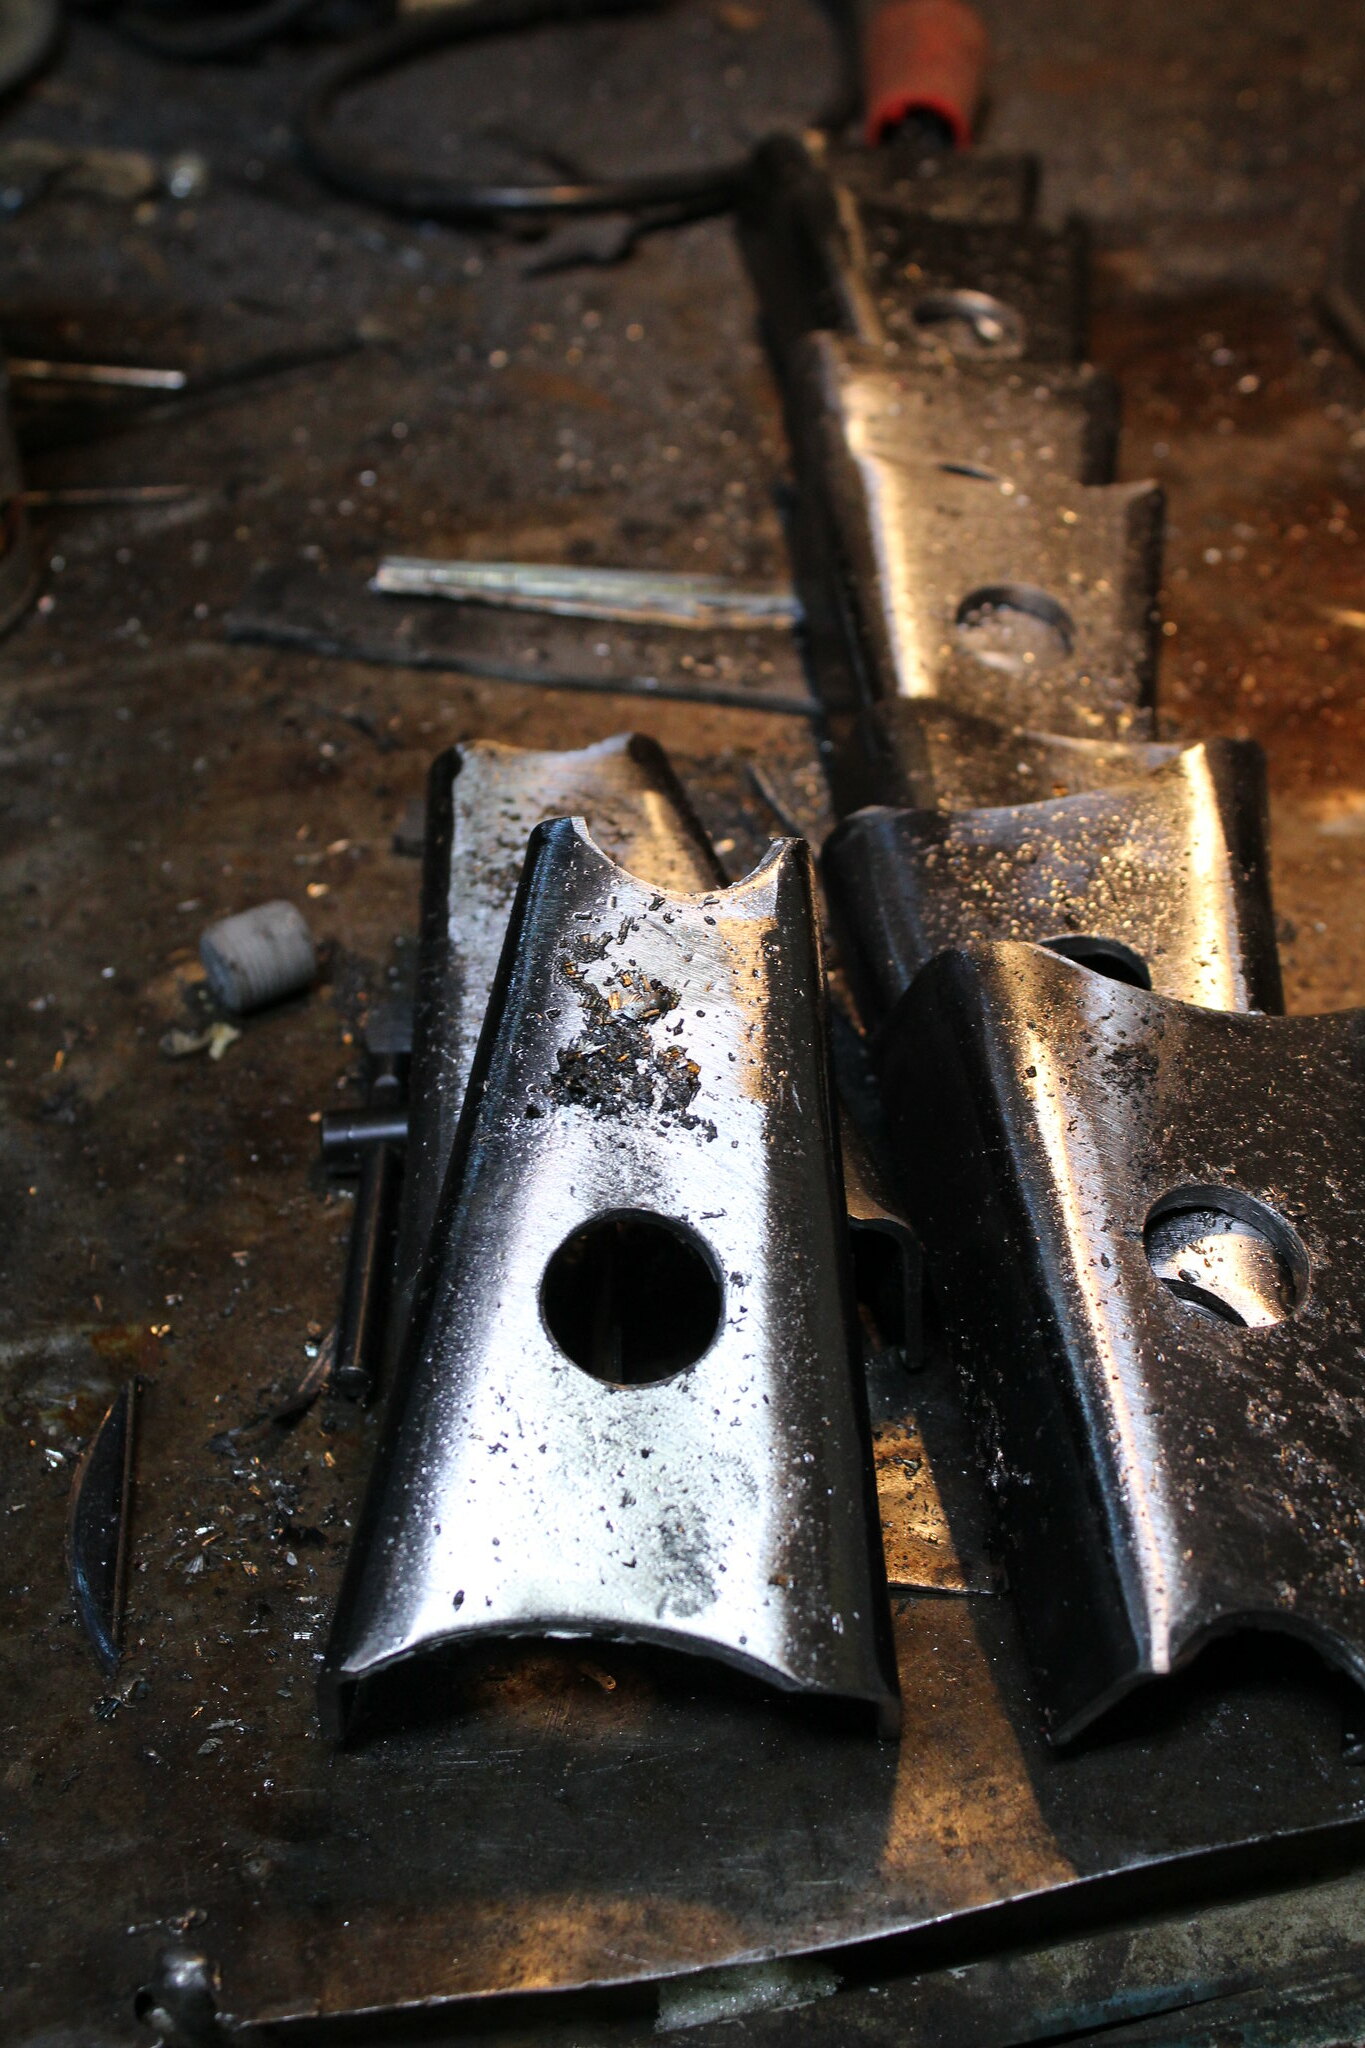 IMG_0651
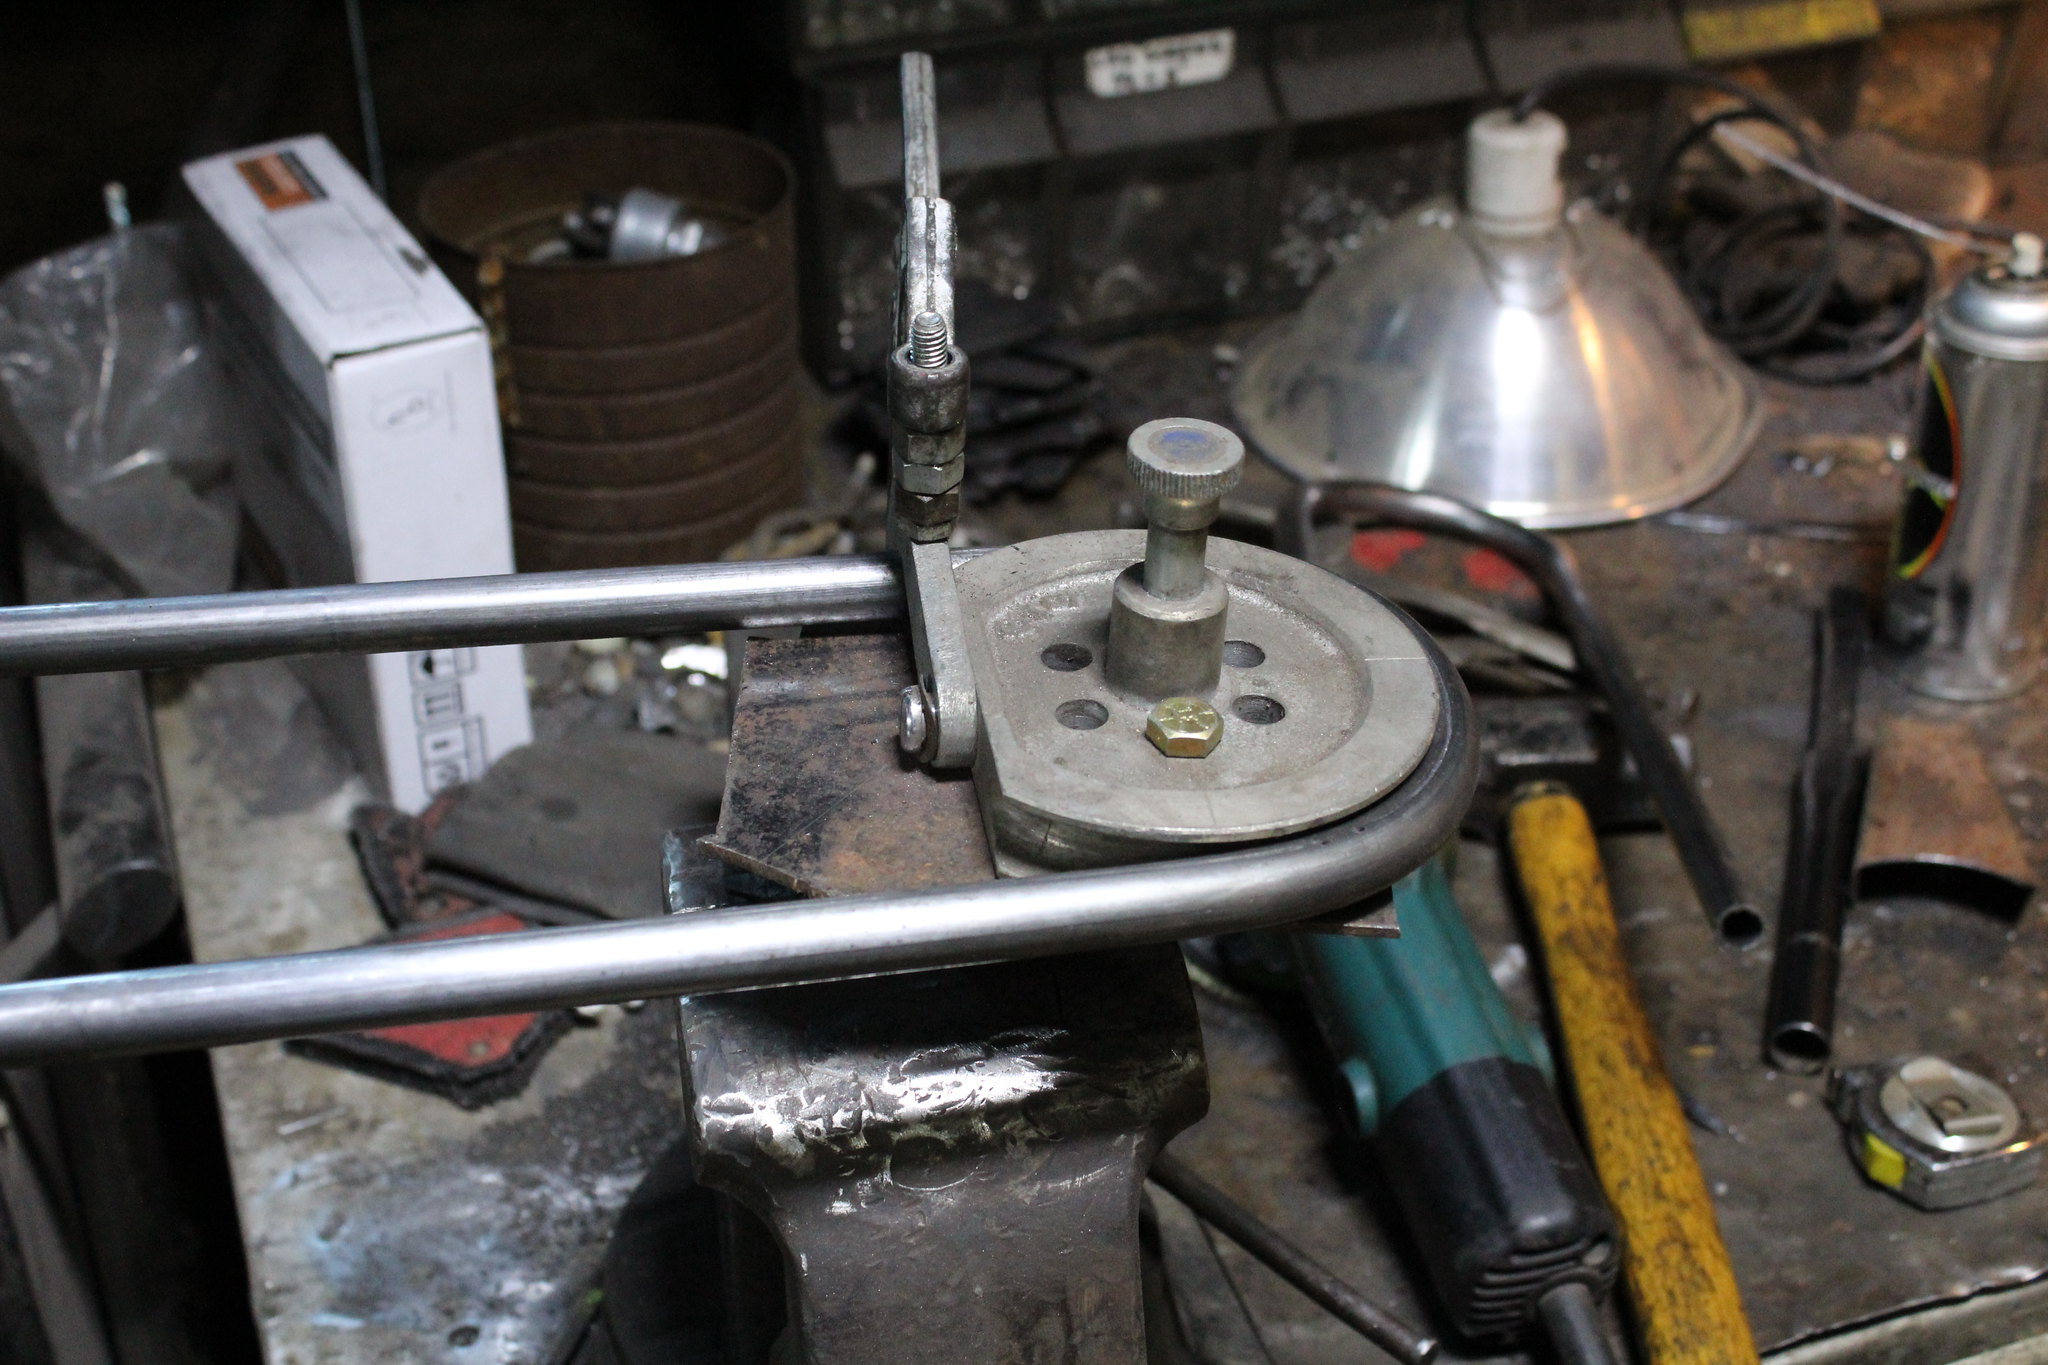 IMG_0652
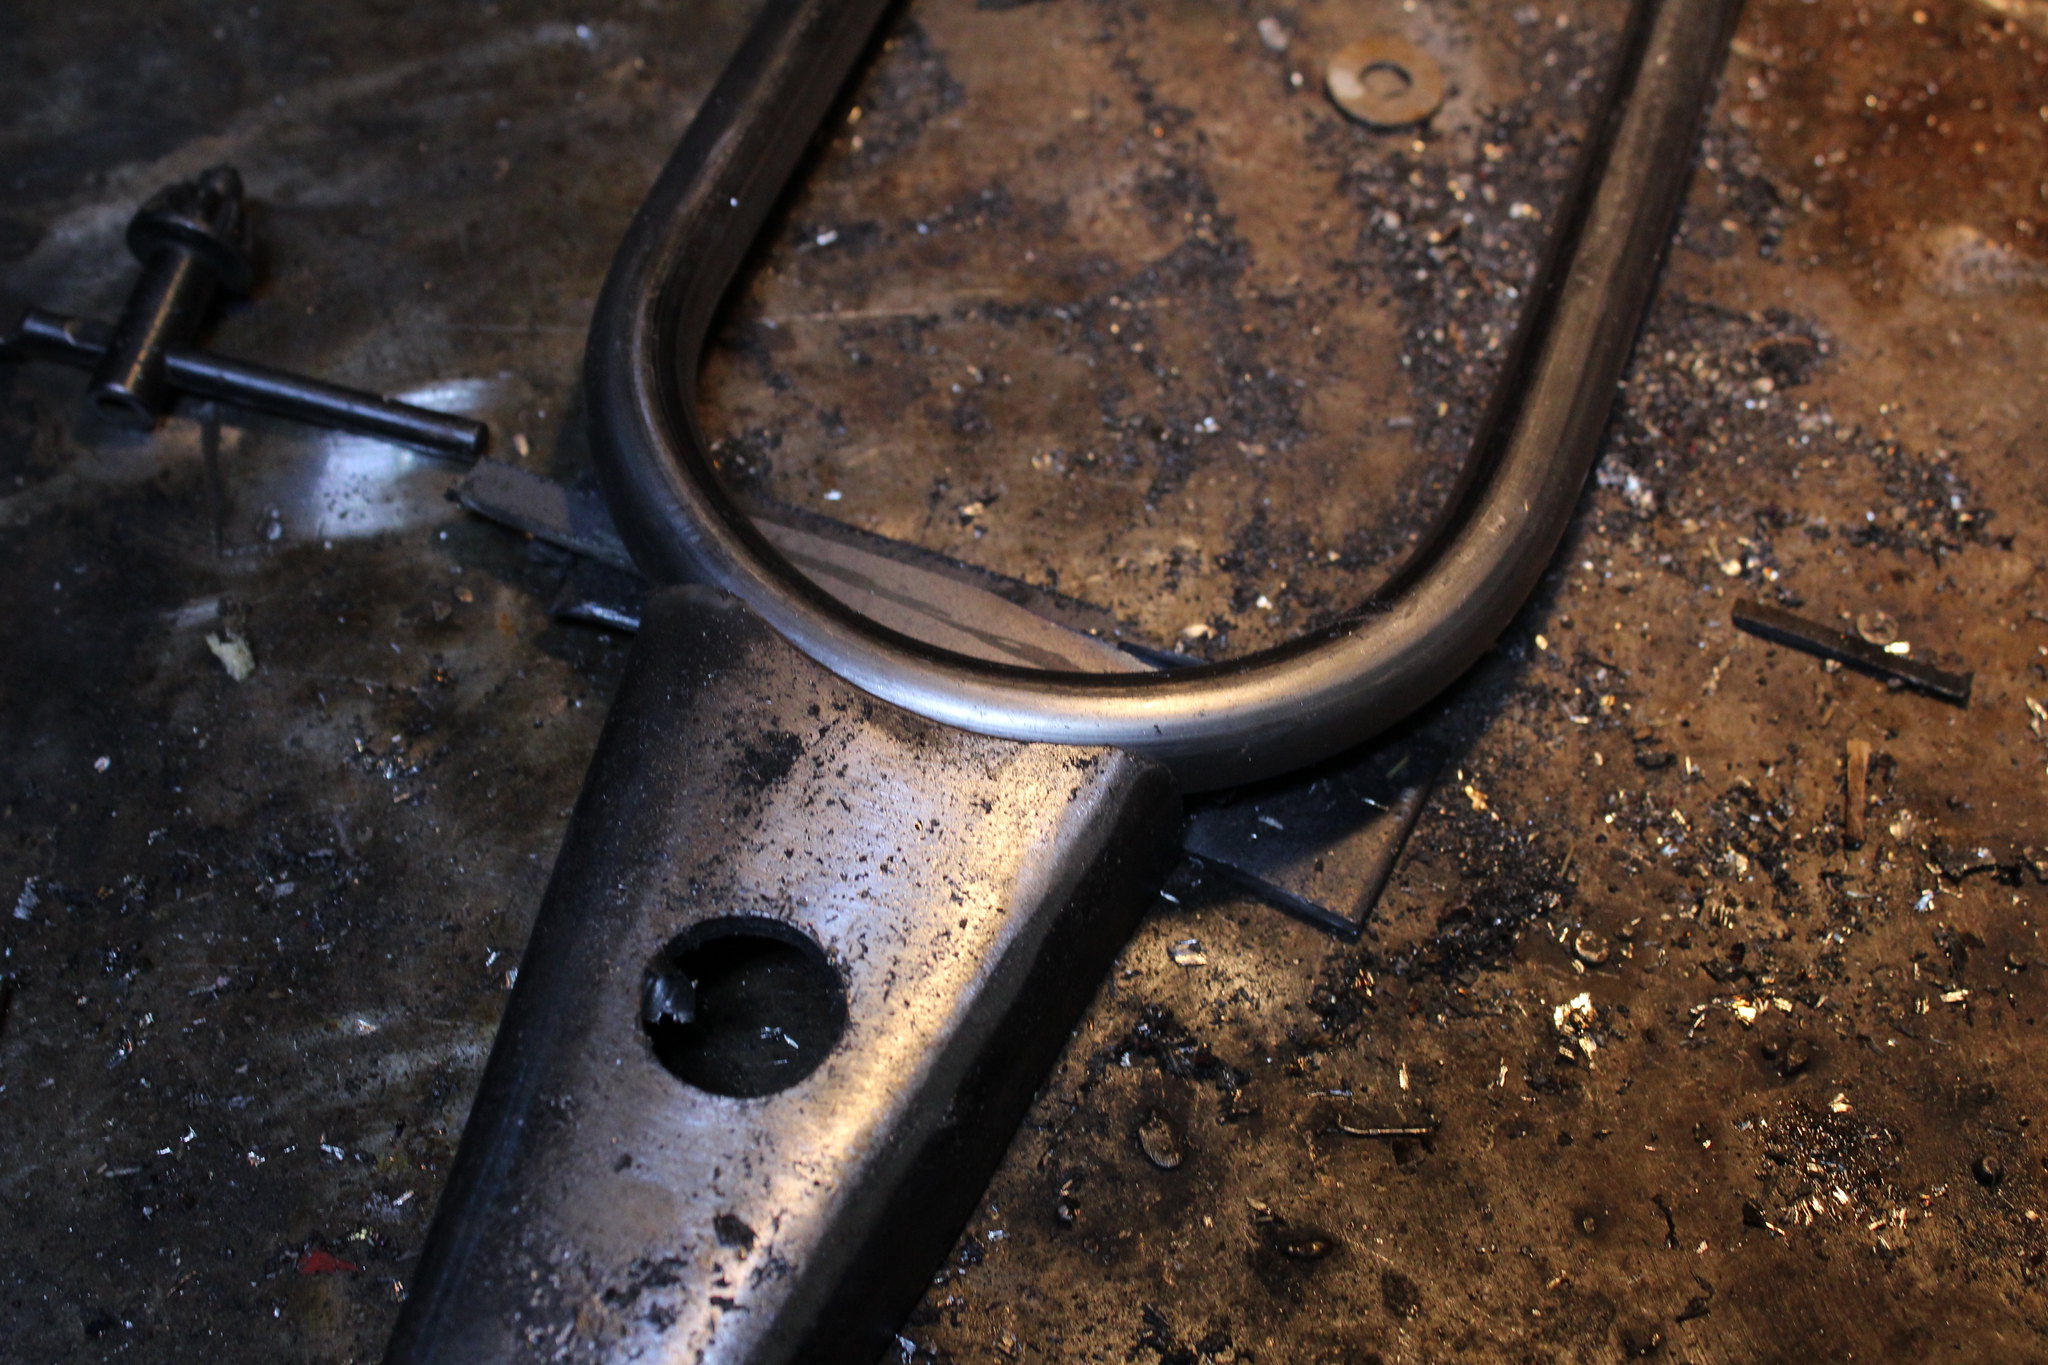 IMG_0654
 IMG_0675
 IMG_0678
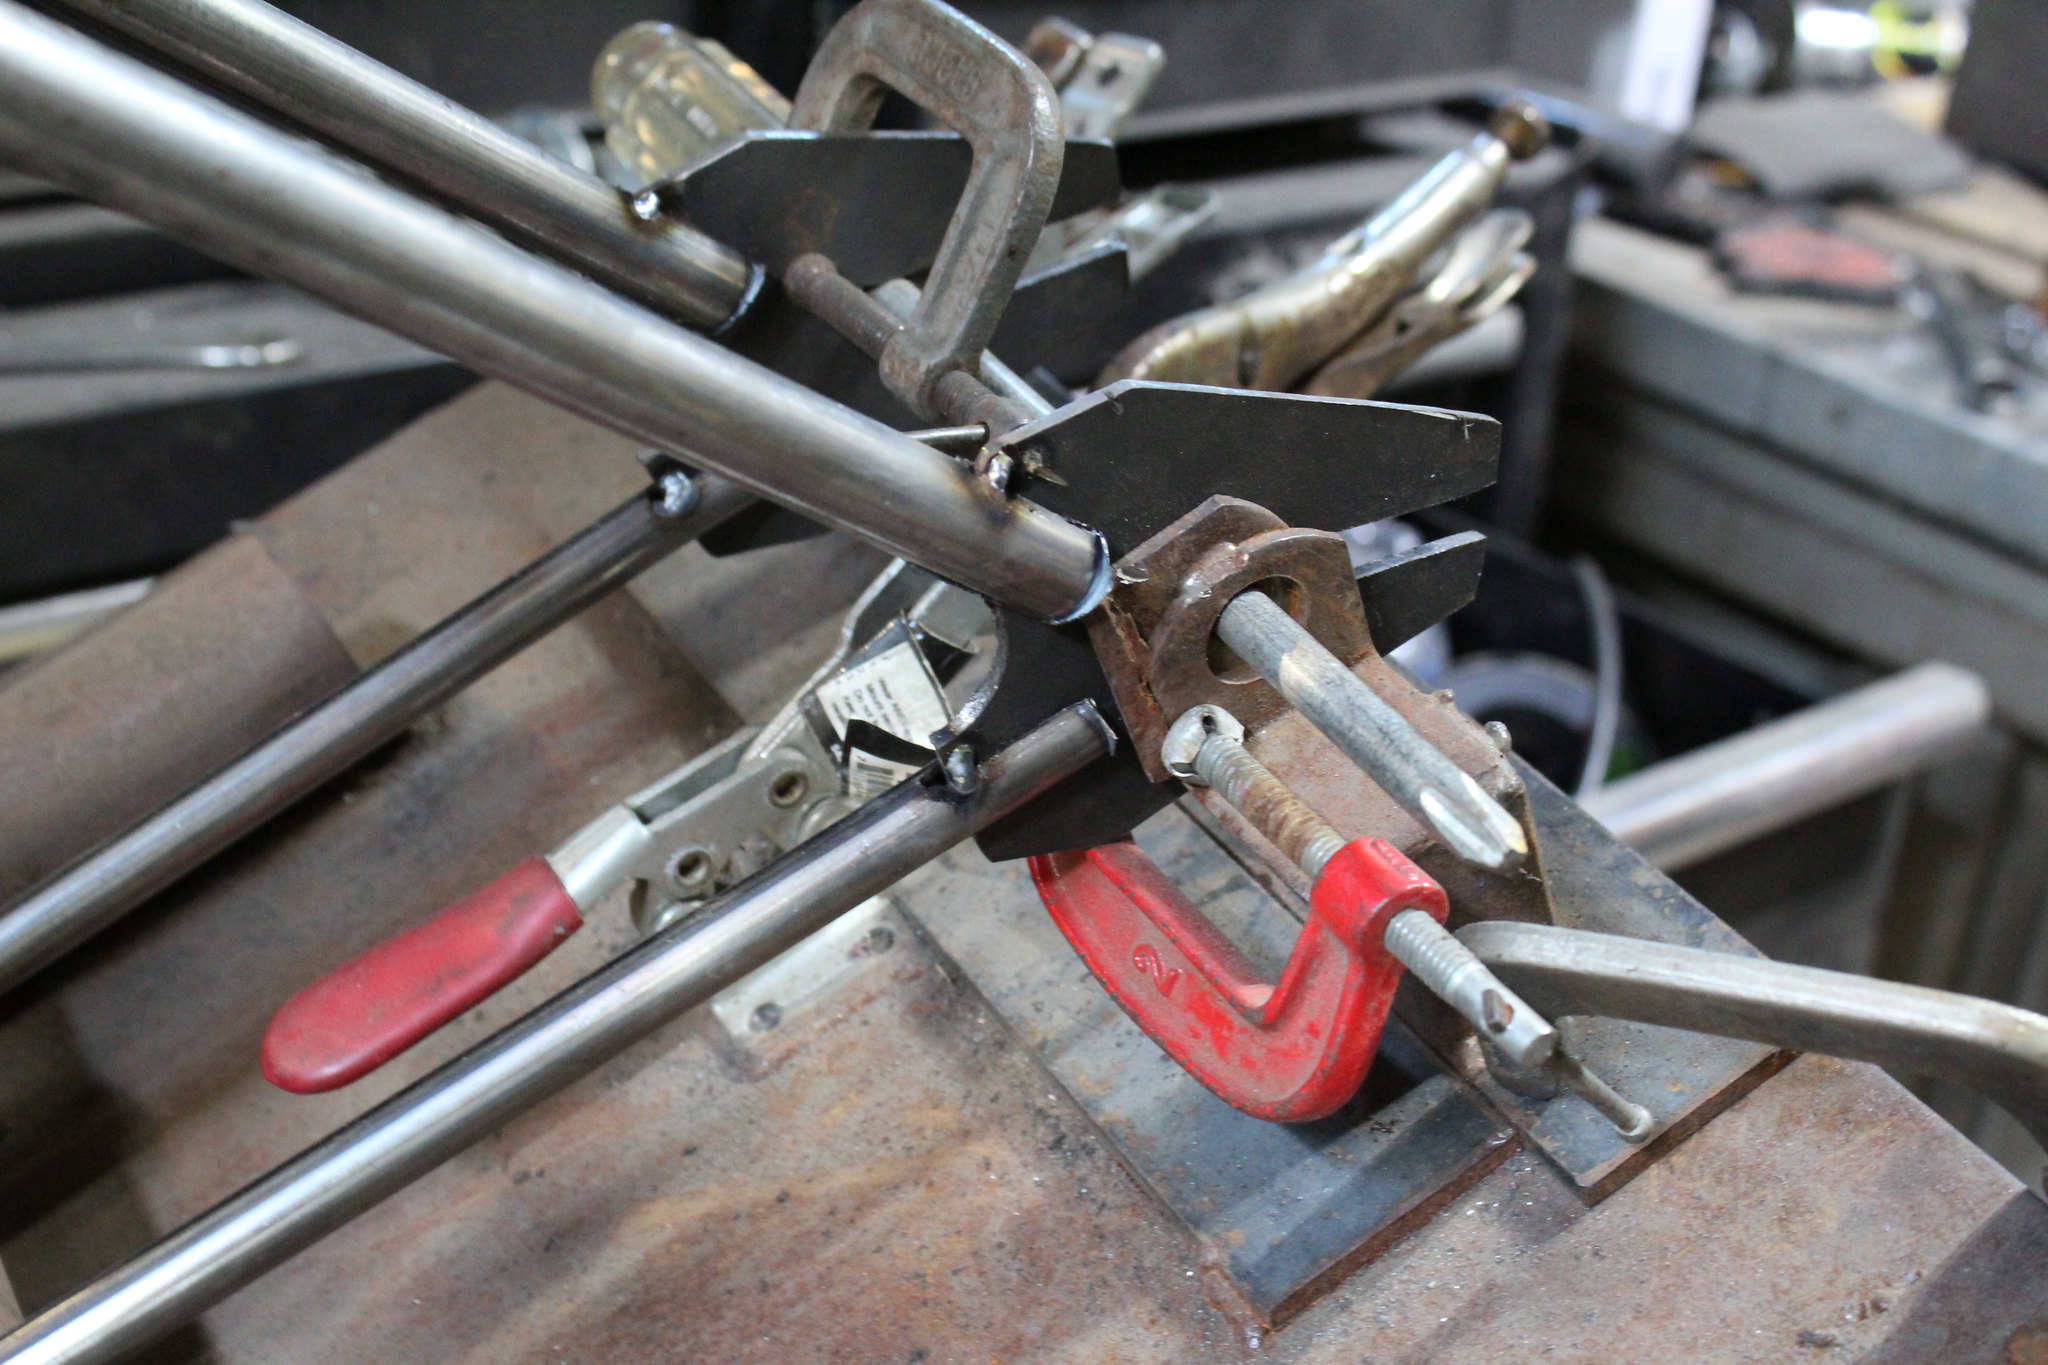 IMG_0682
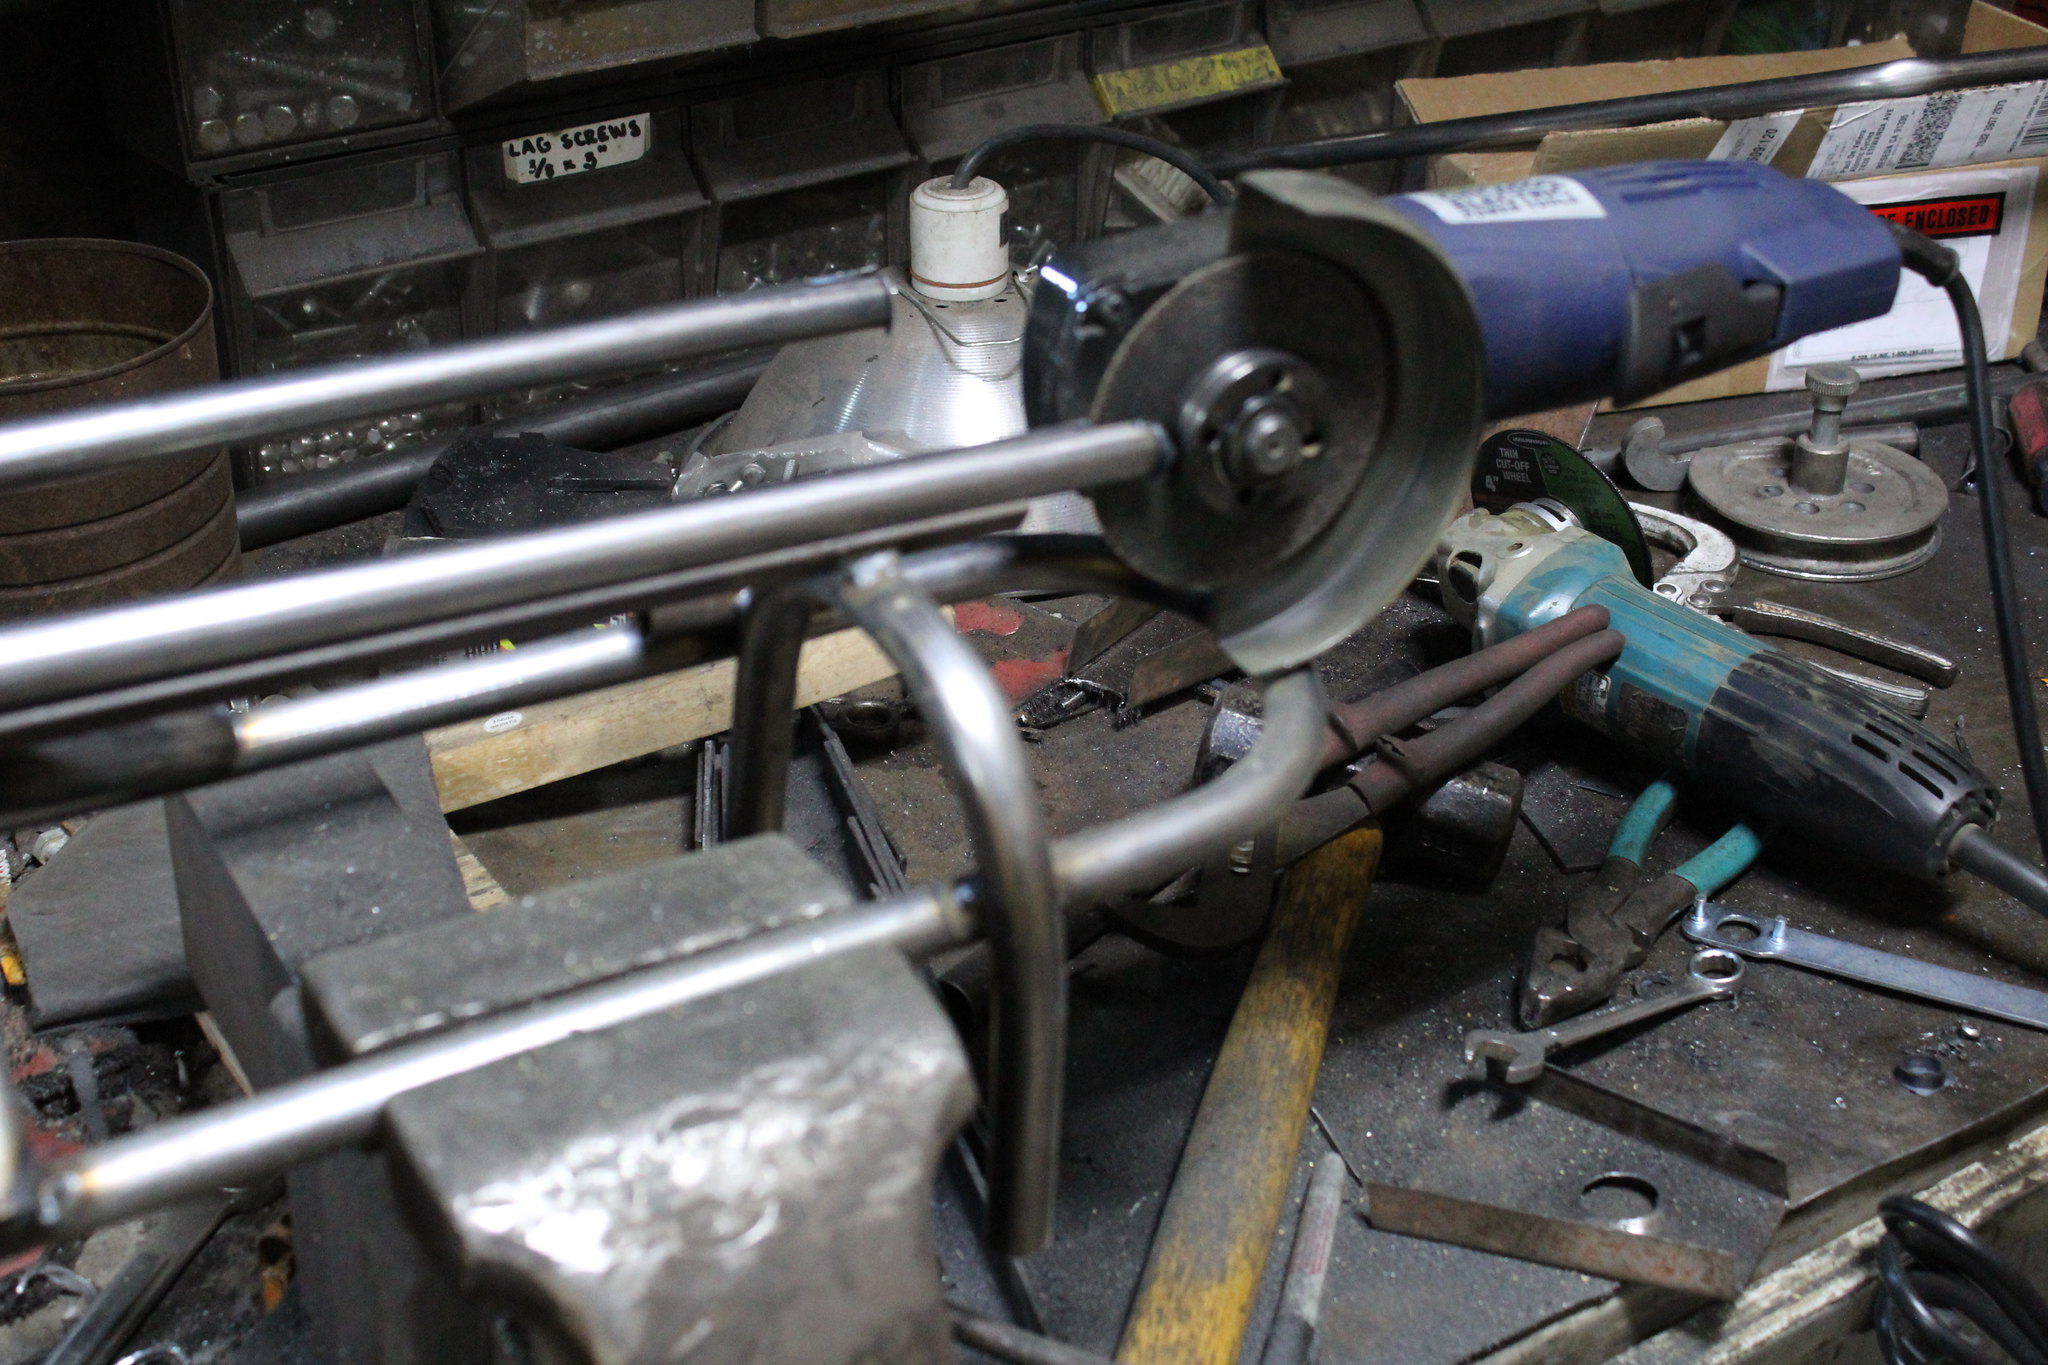 IMG_0676
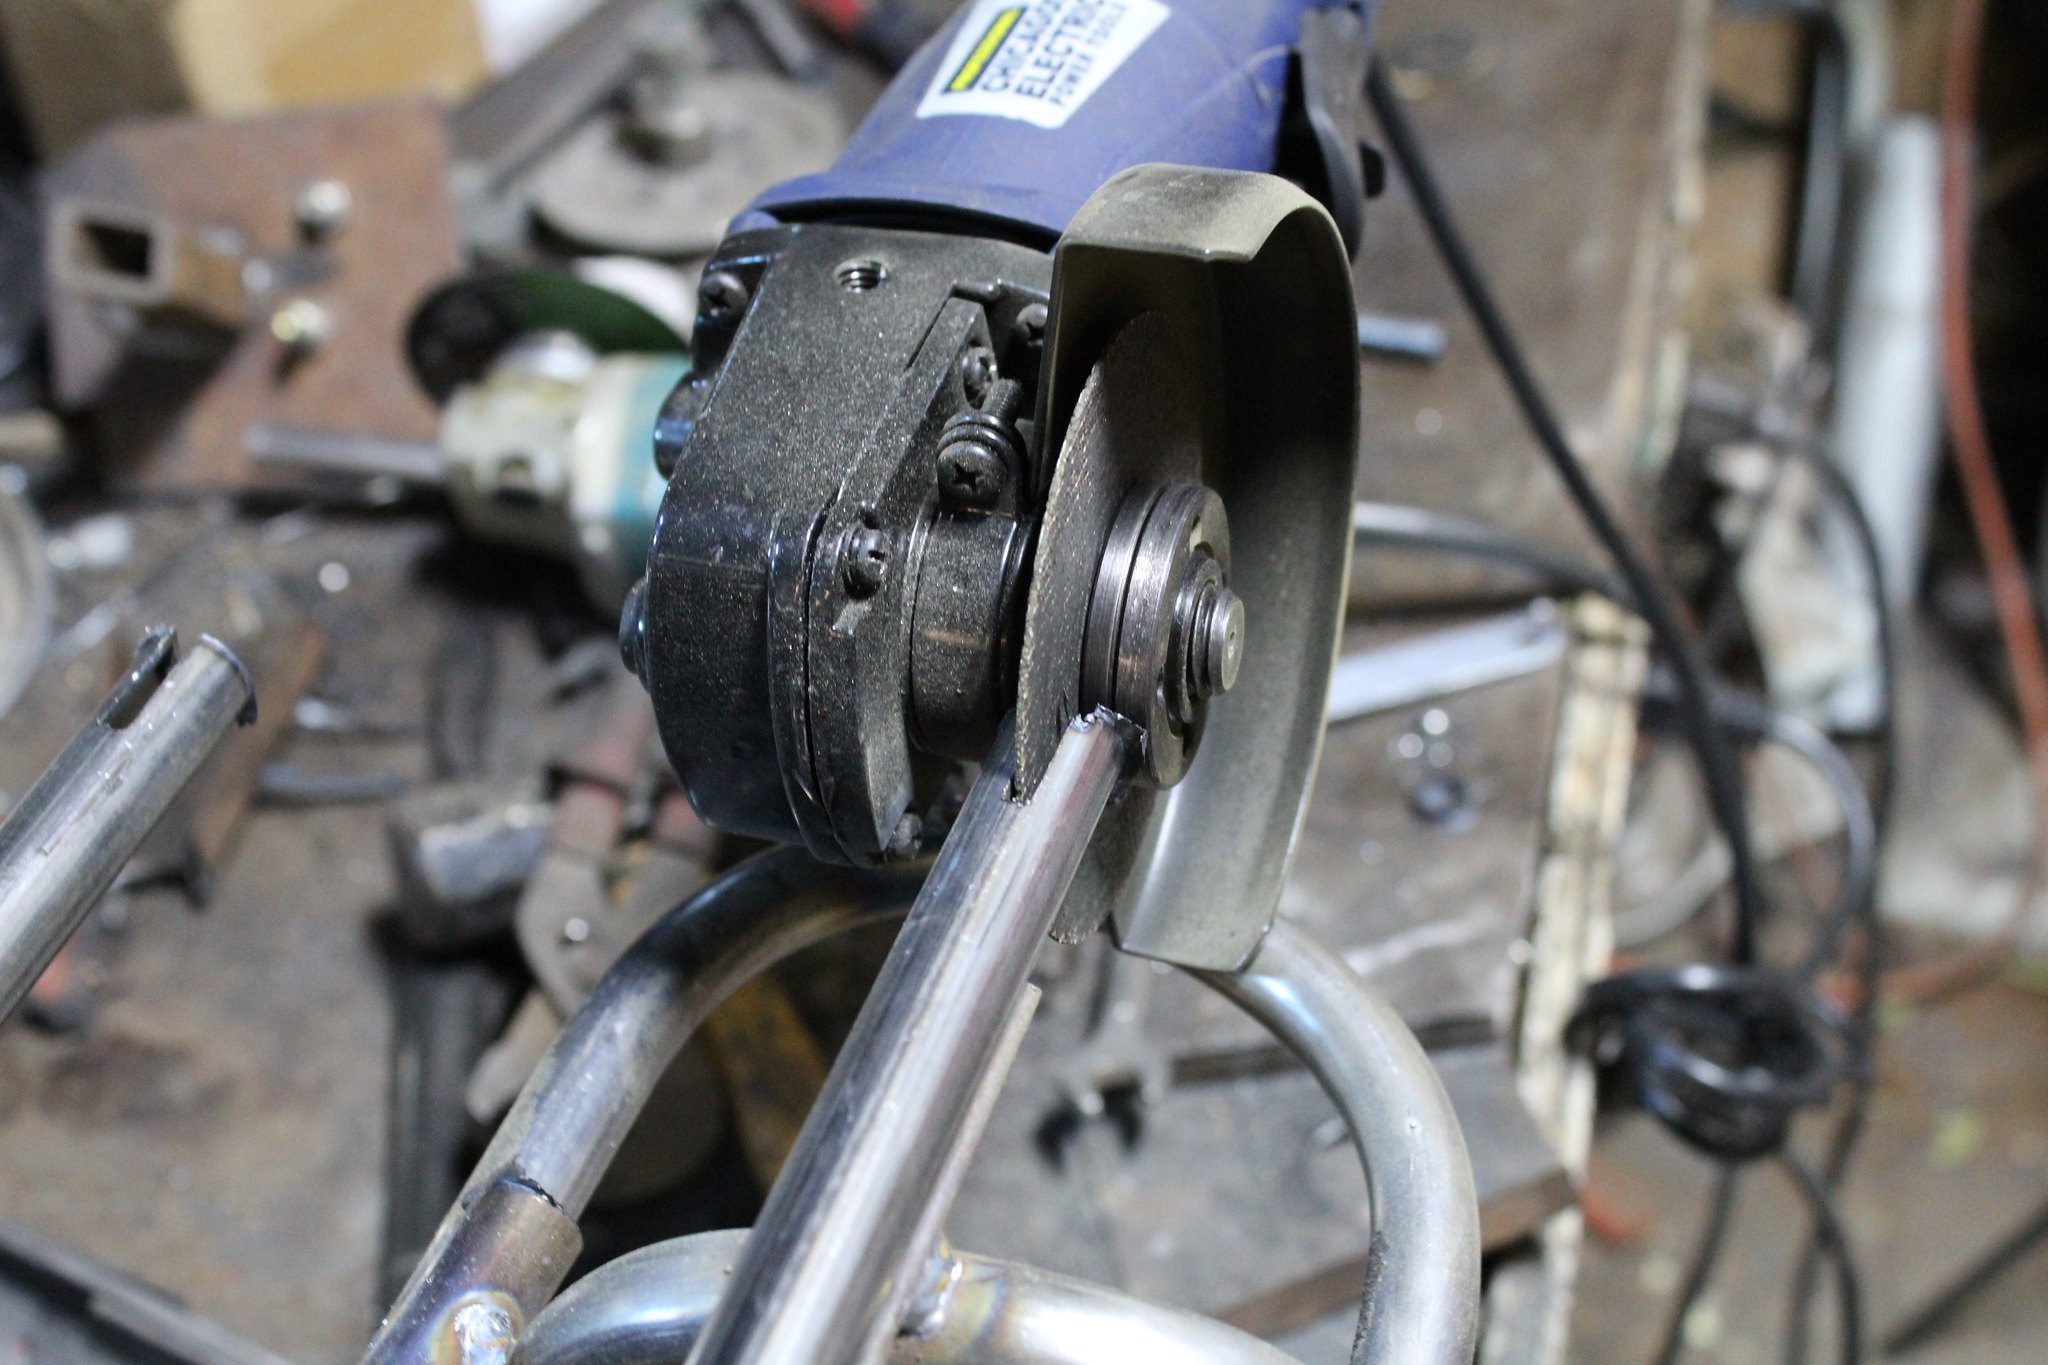 IMG_0677
 IMG_0679
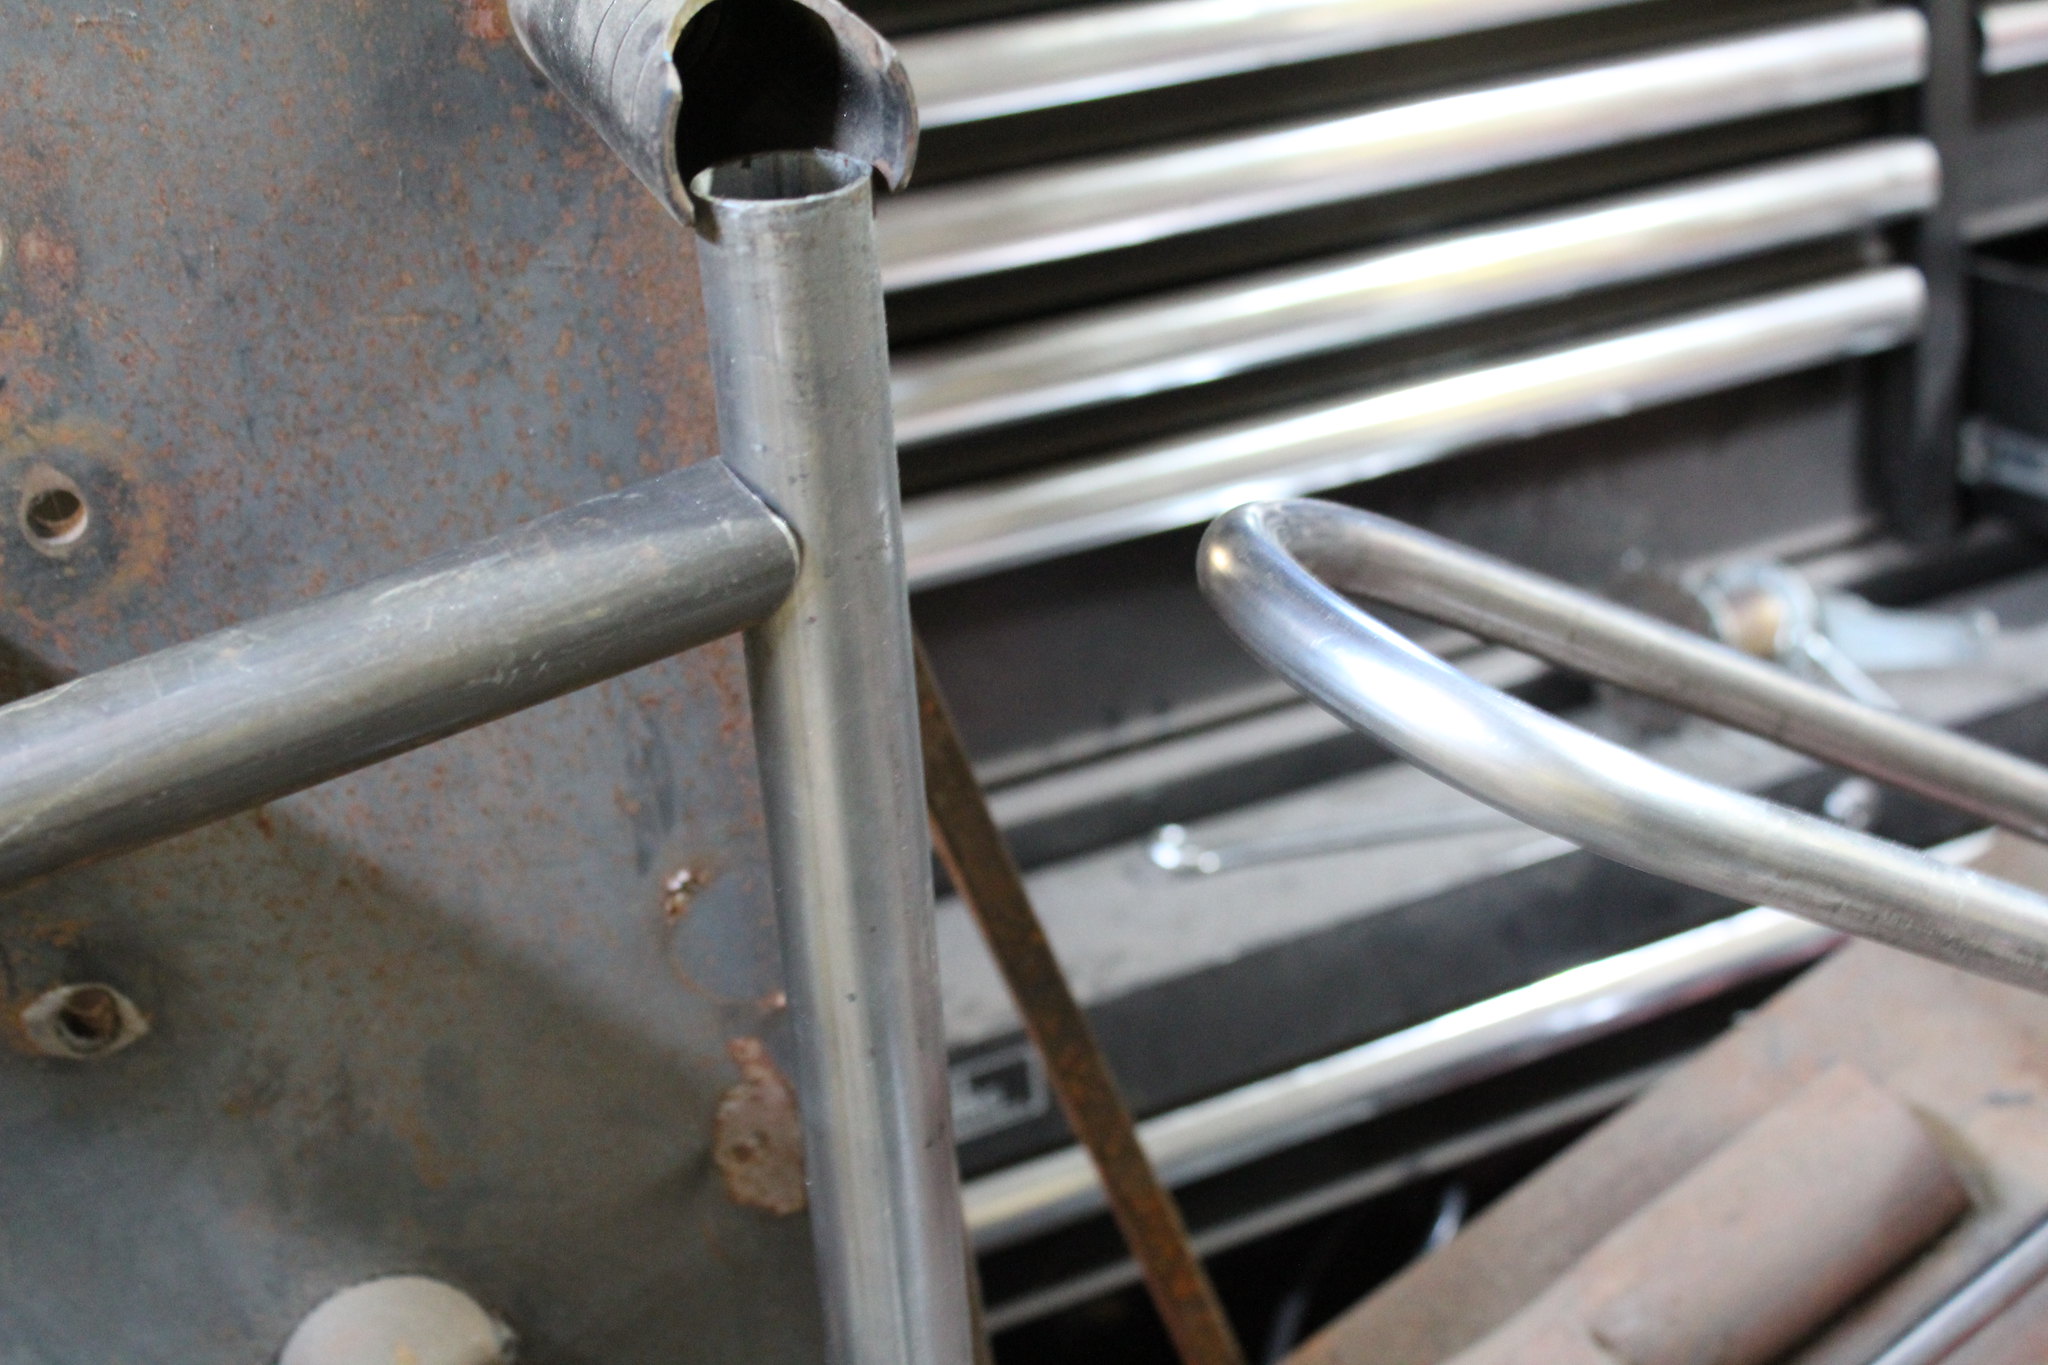 IMG_0680
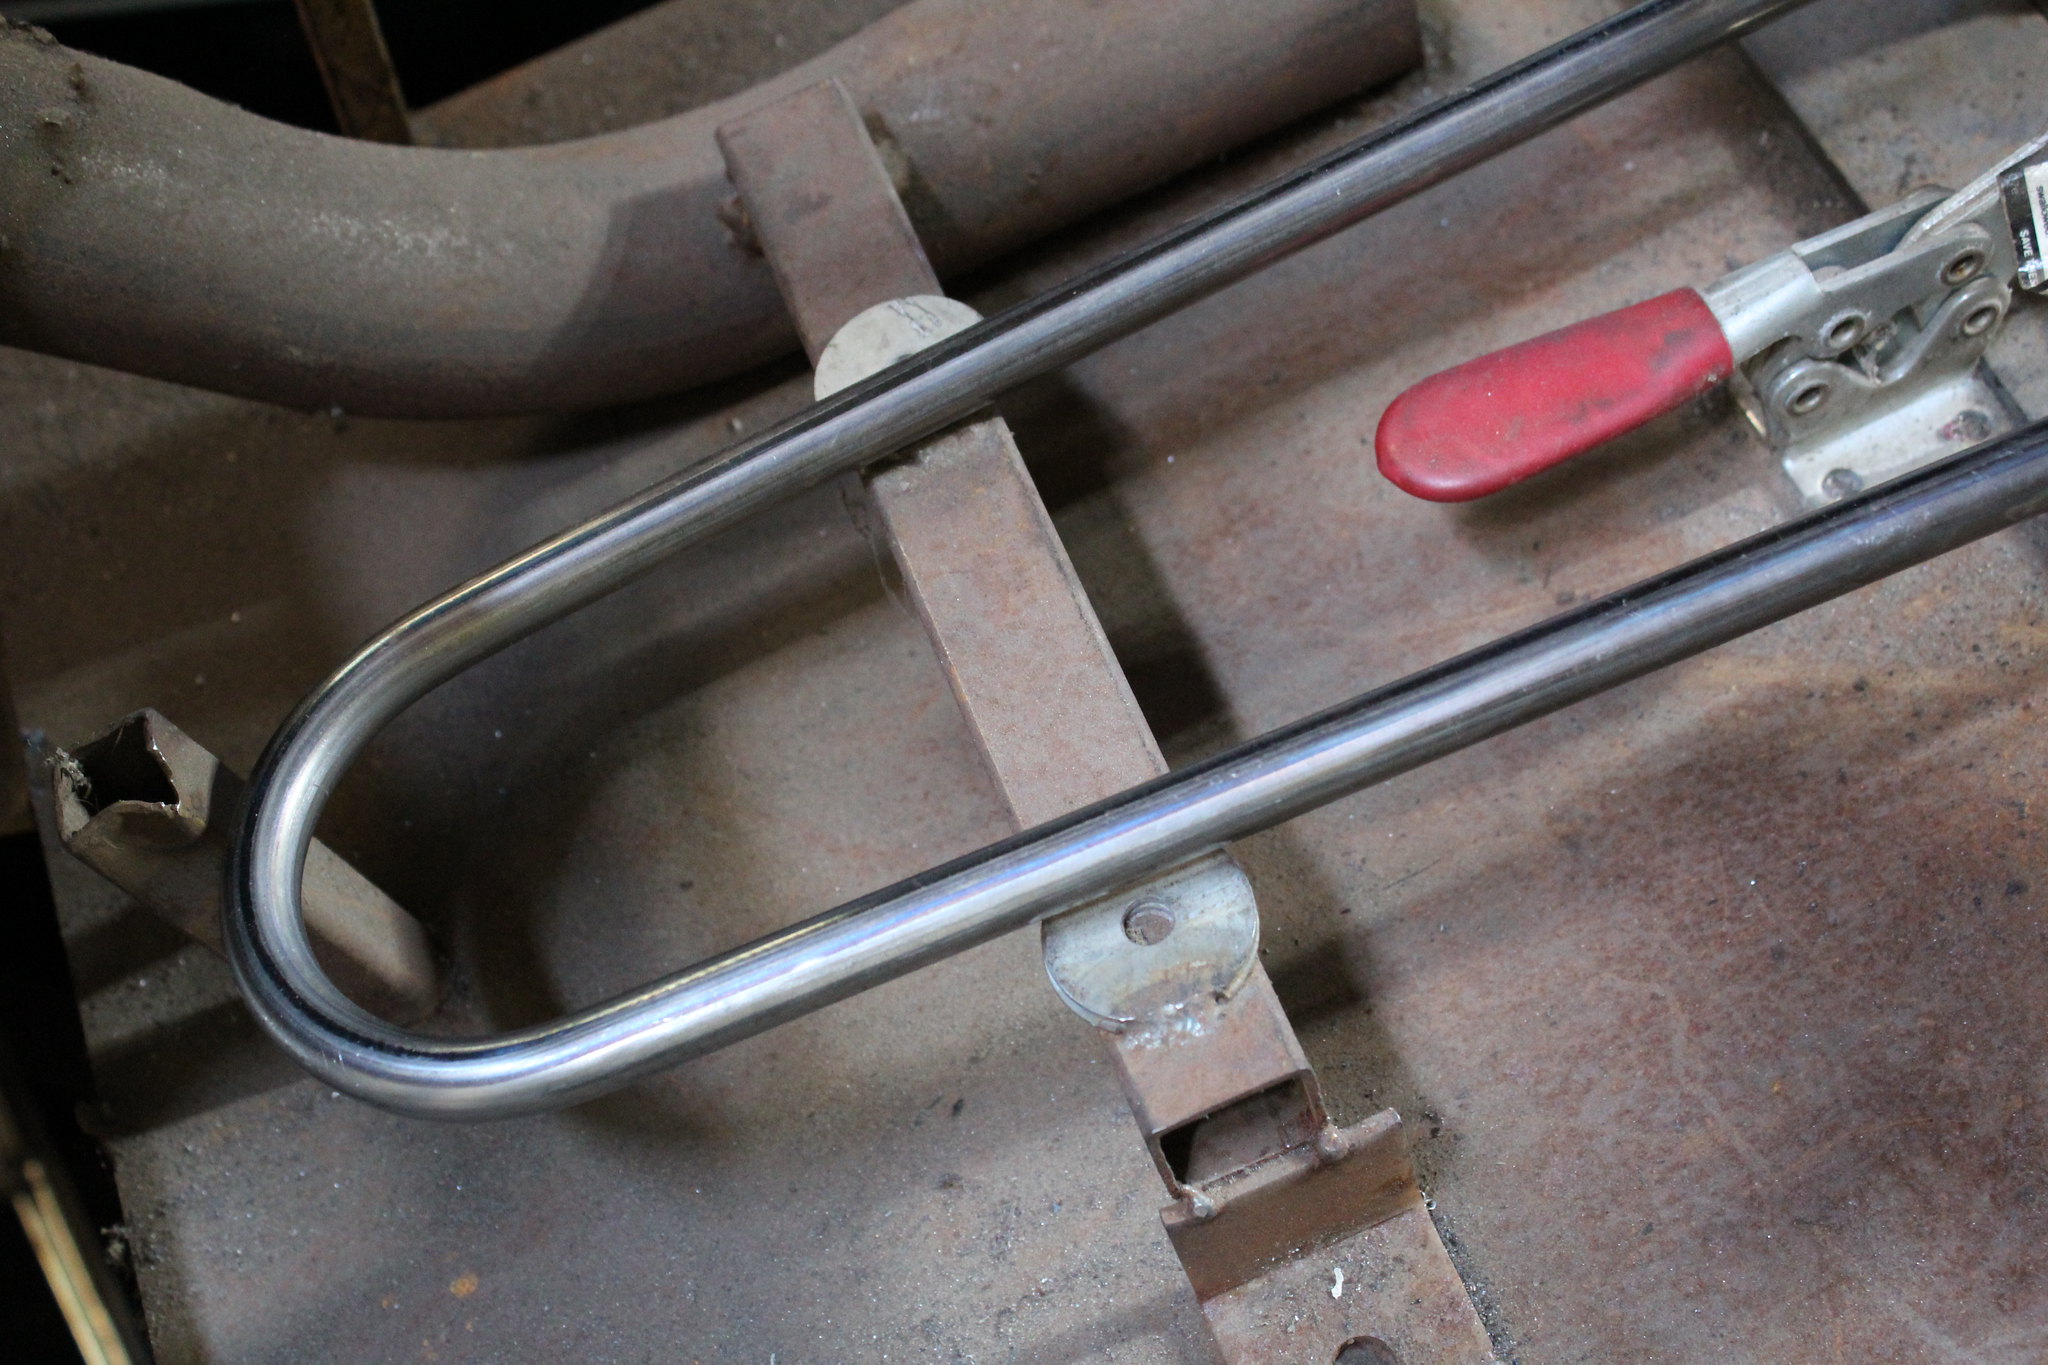 IMG_0681
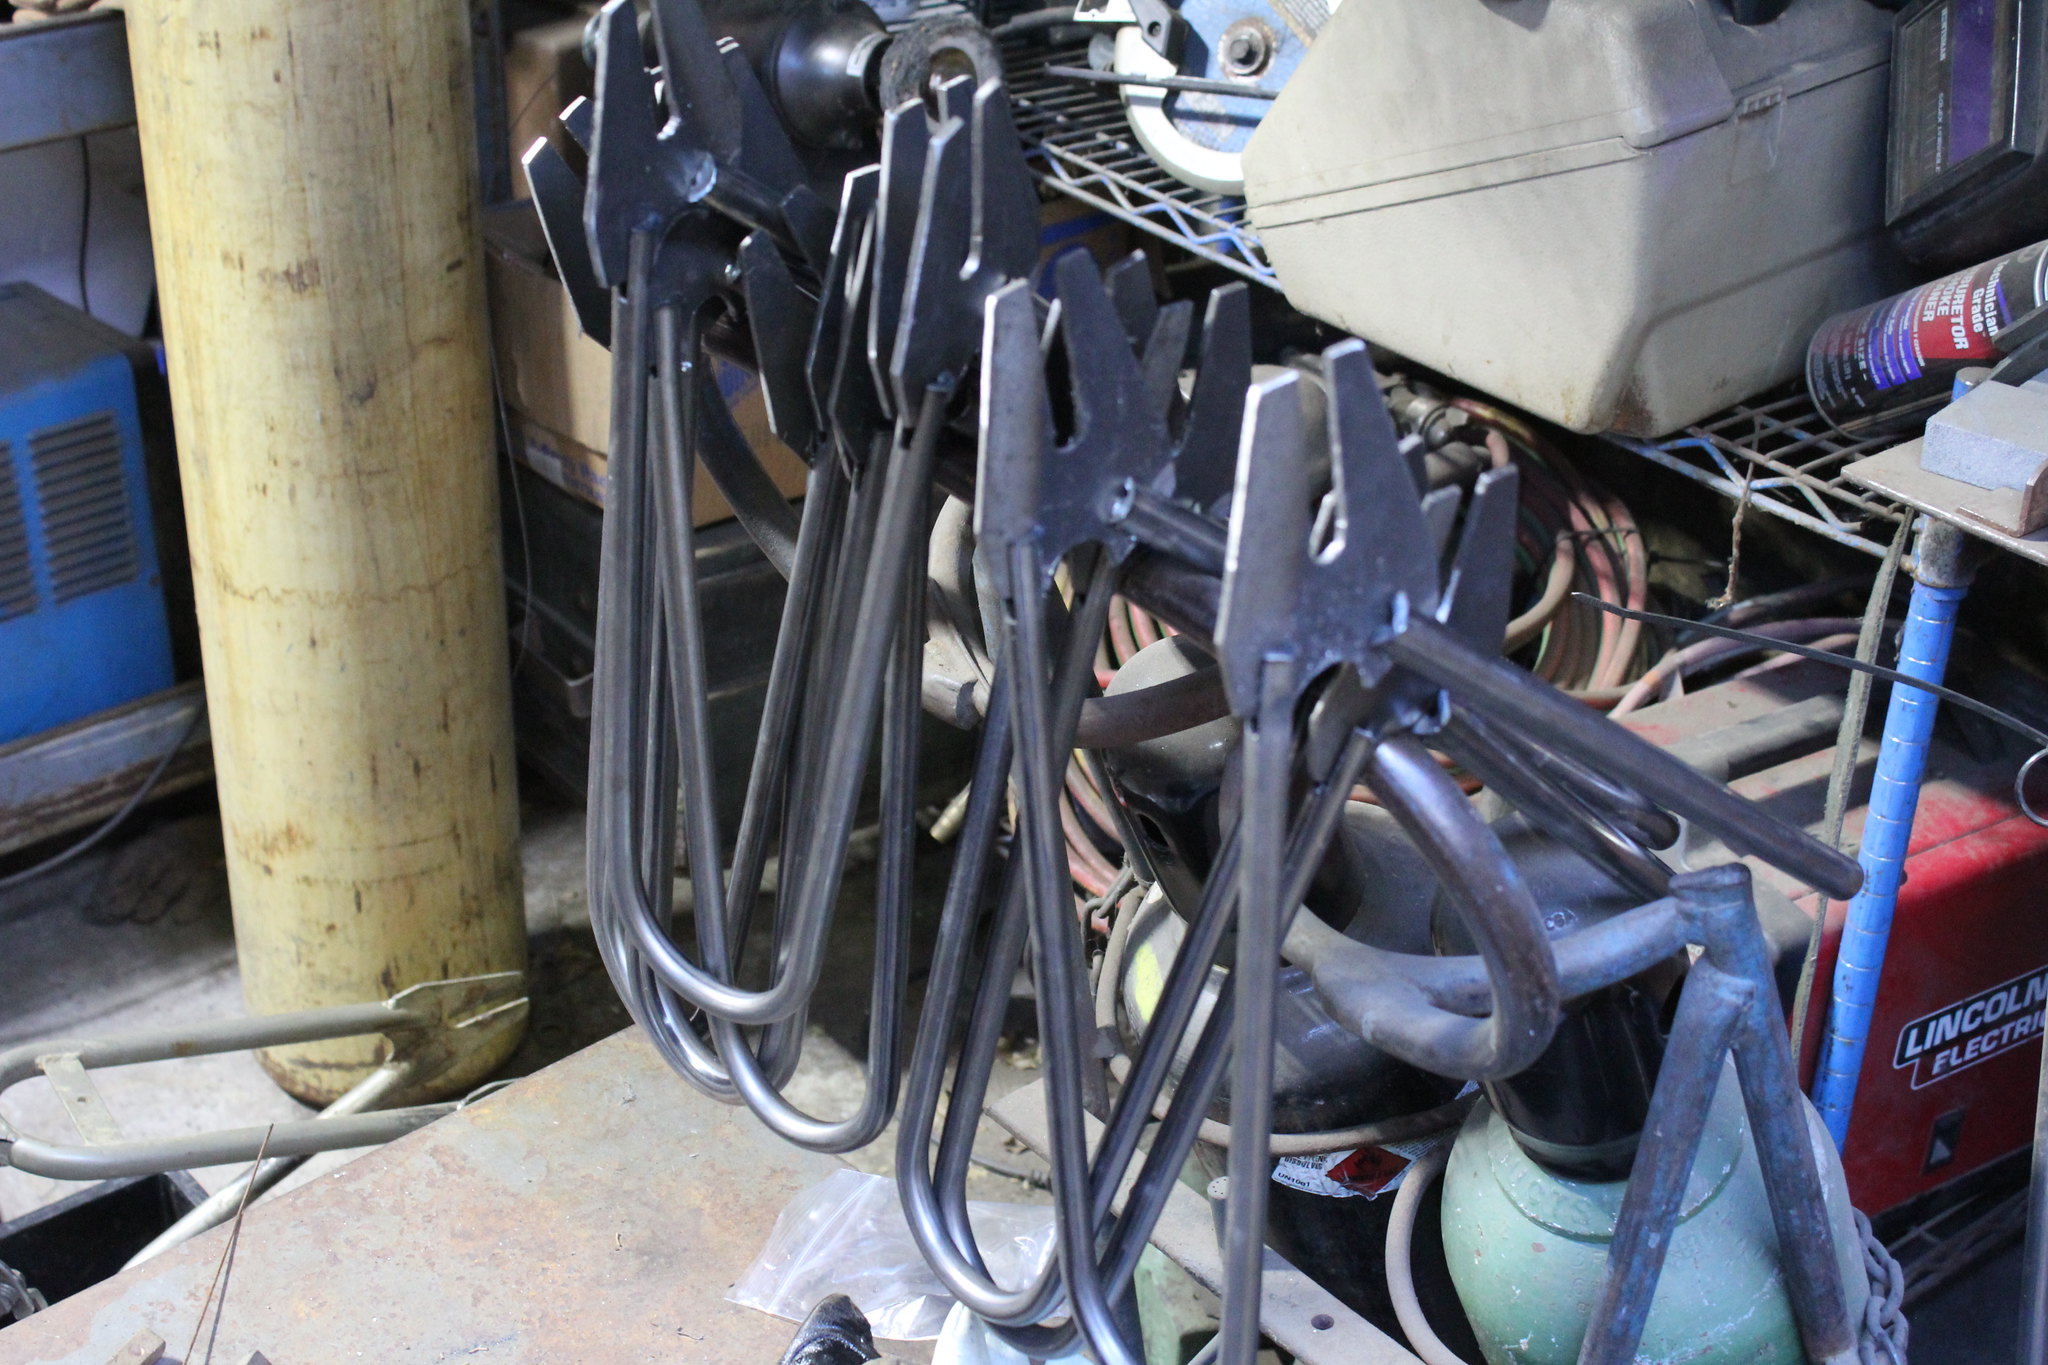 IMG_0696
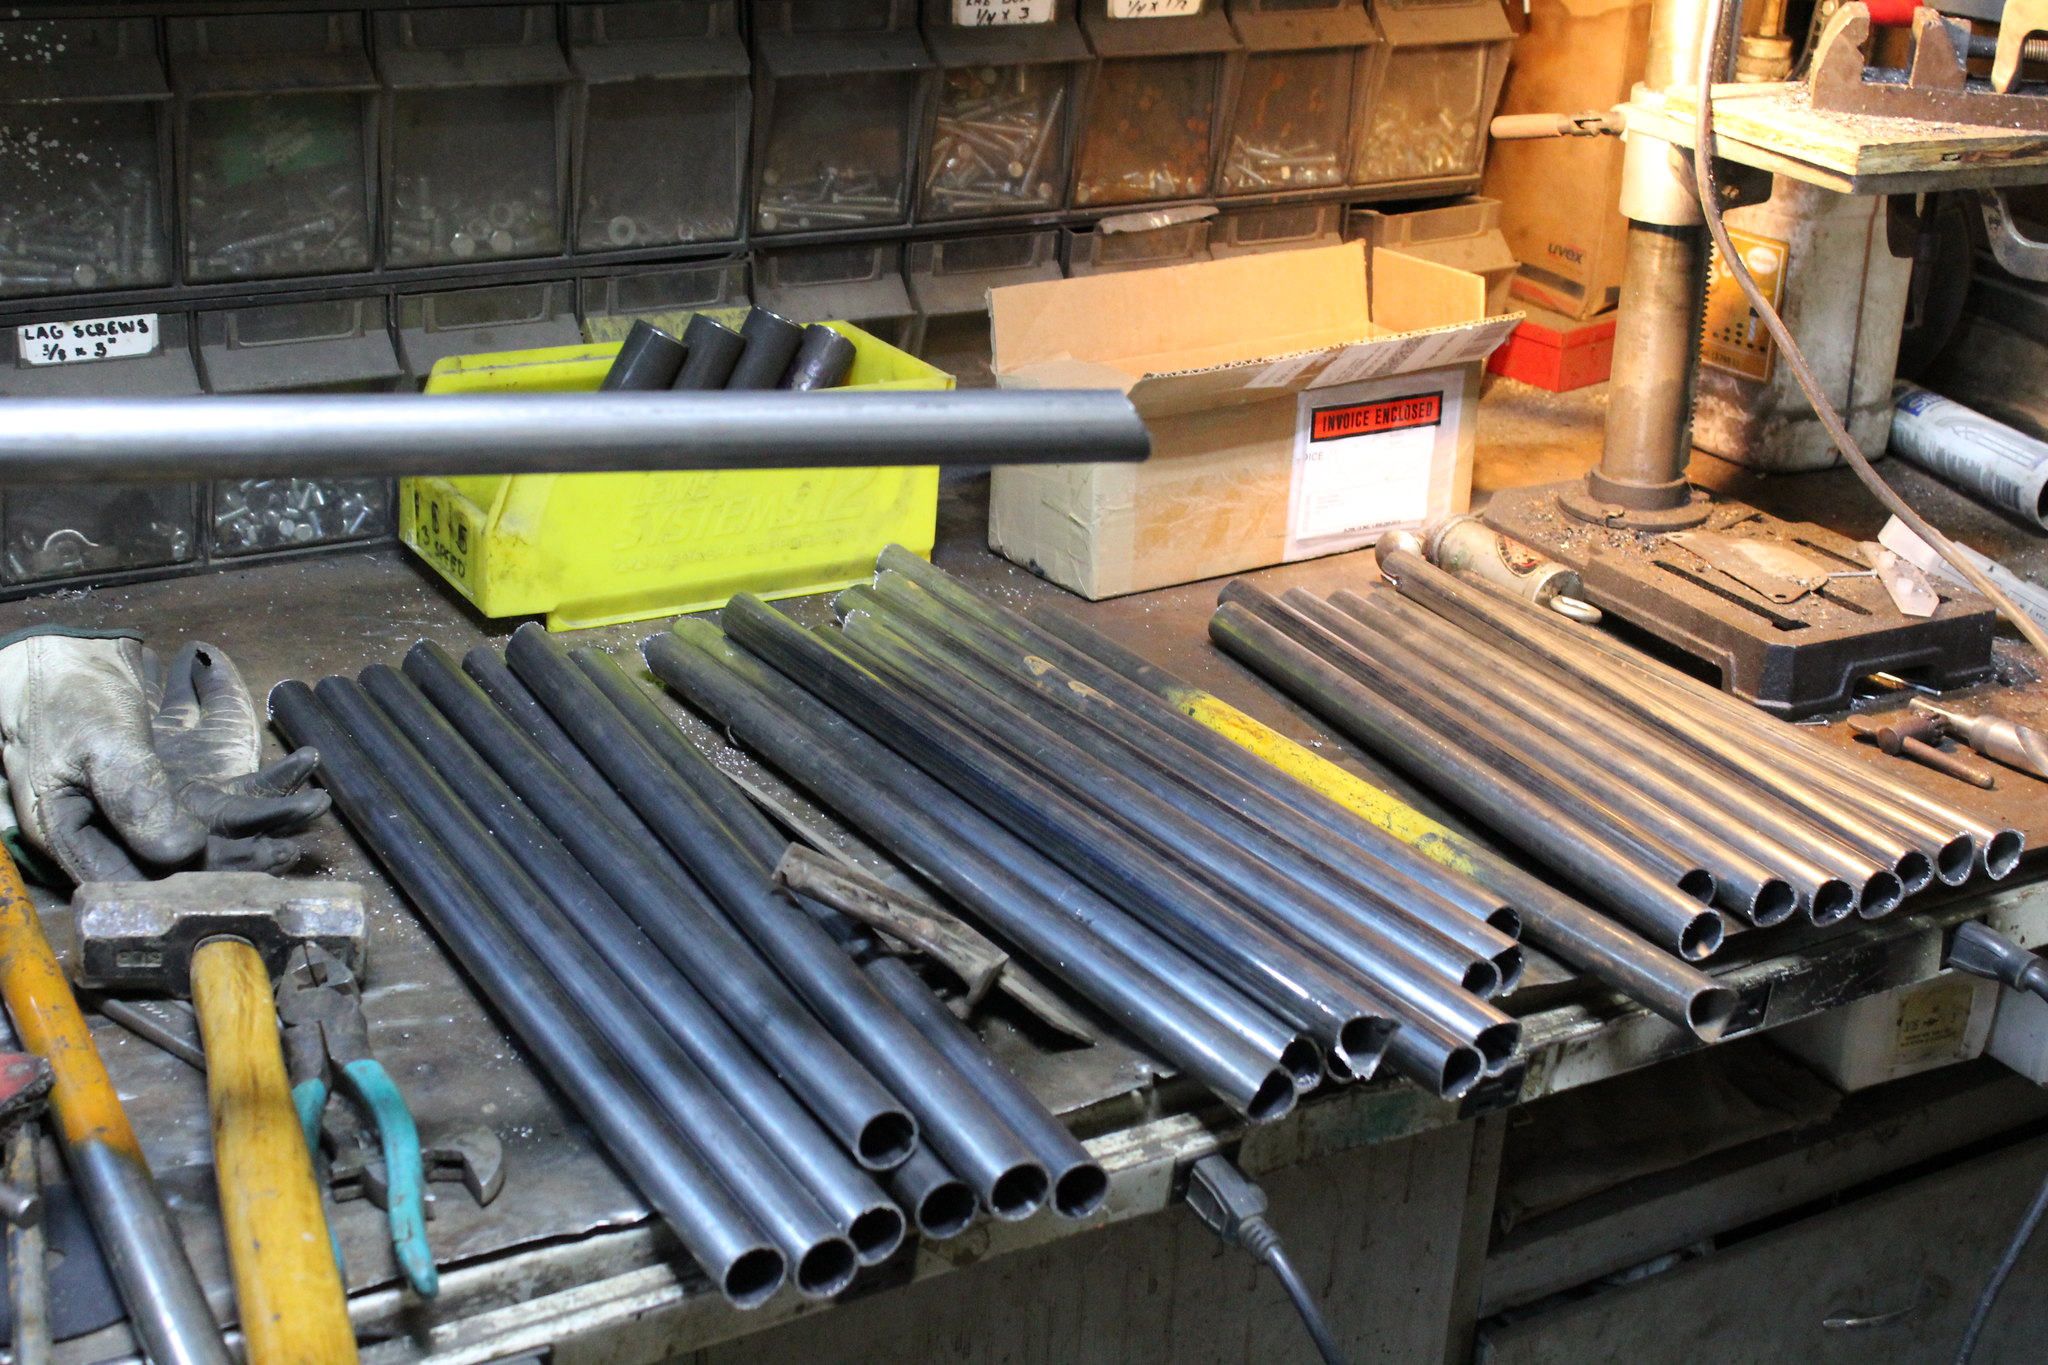 non goose
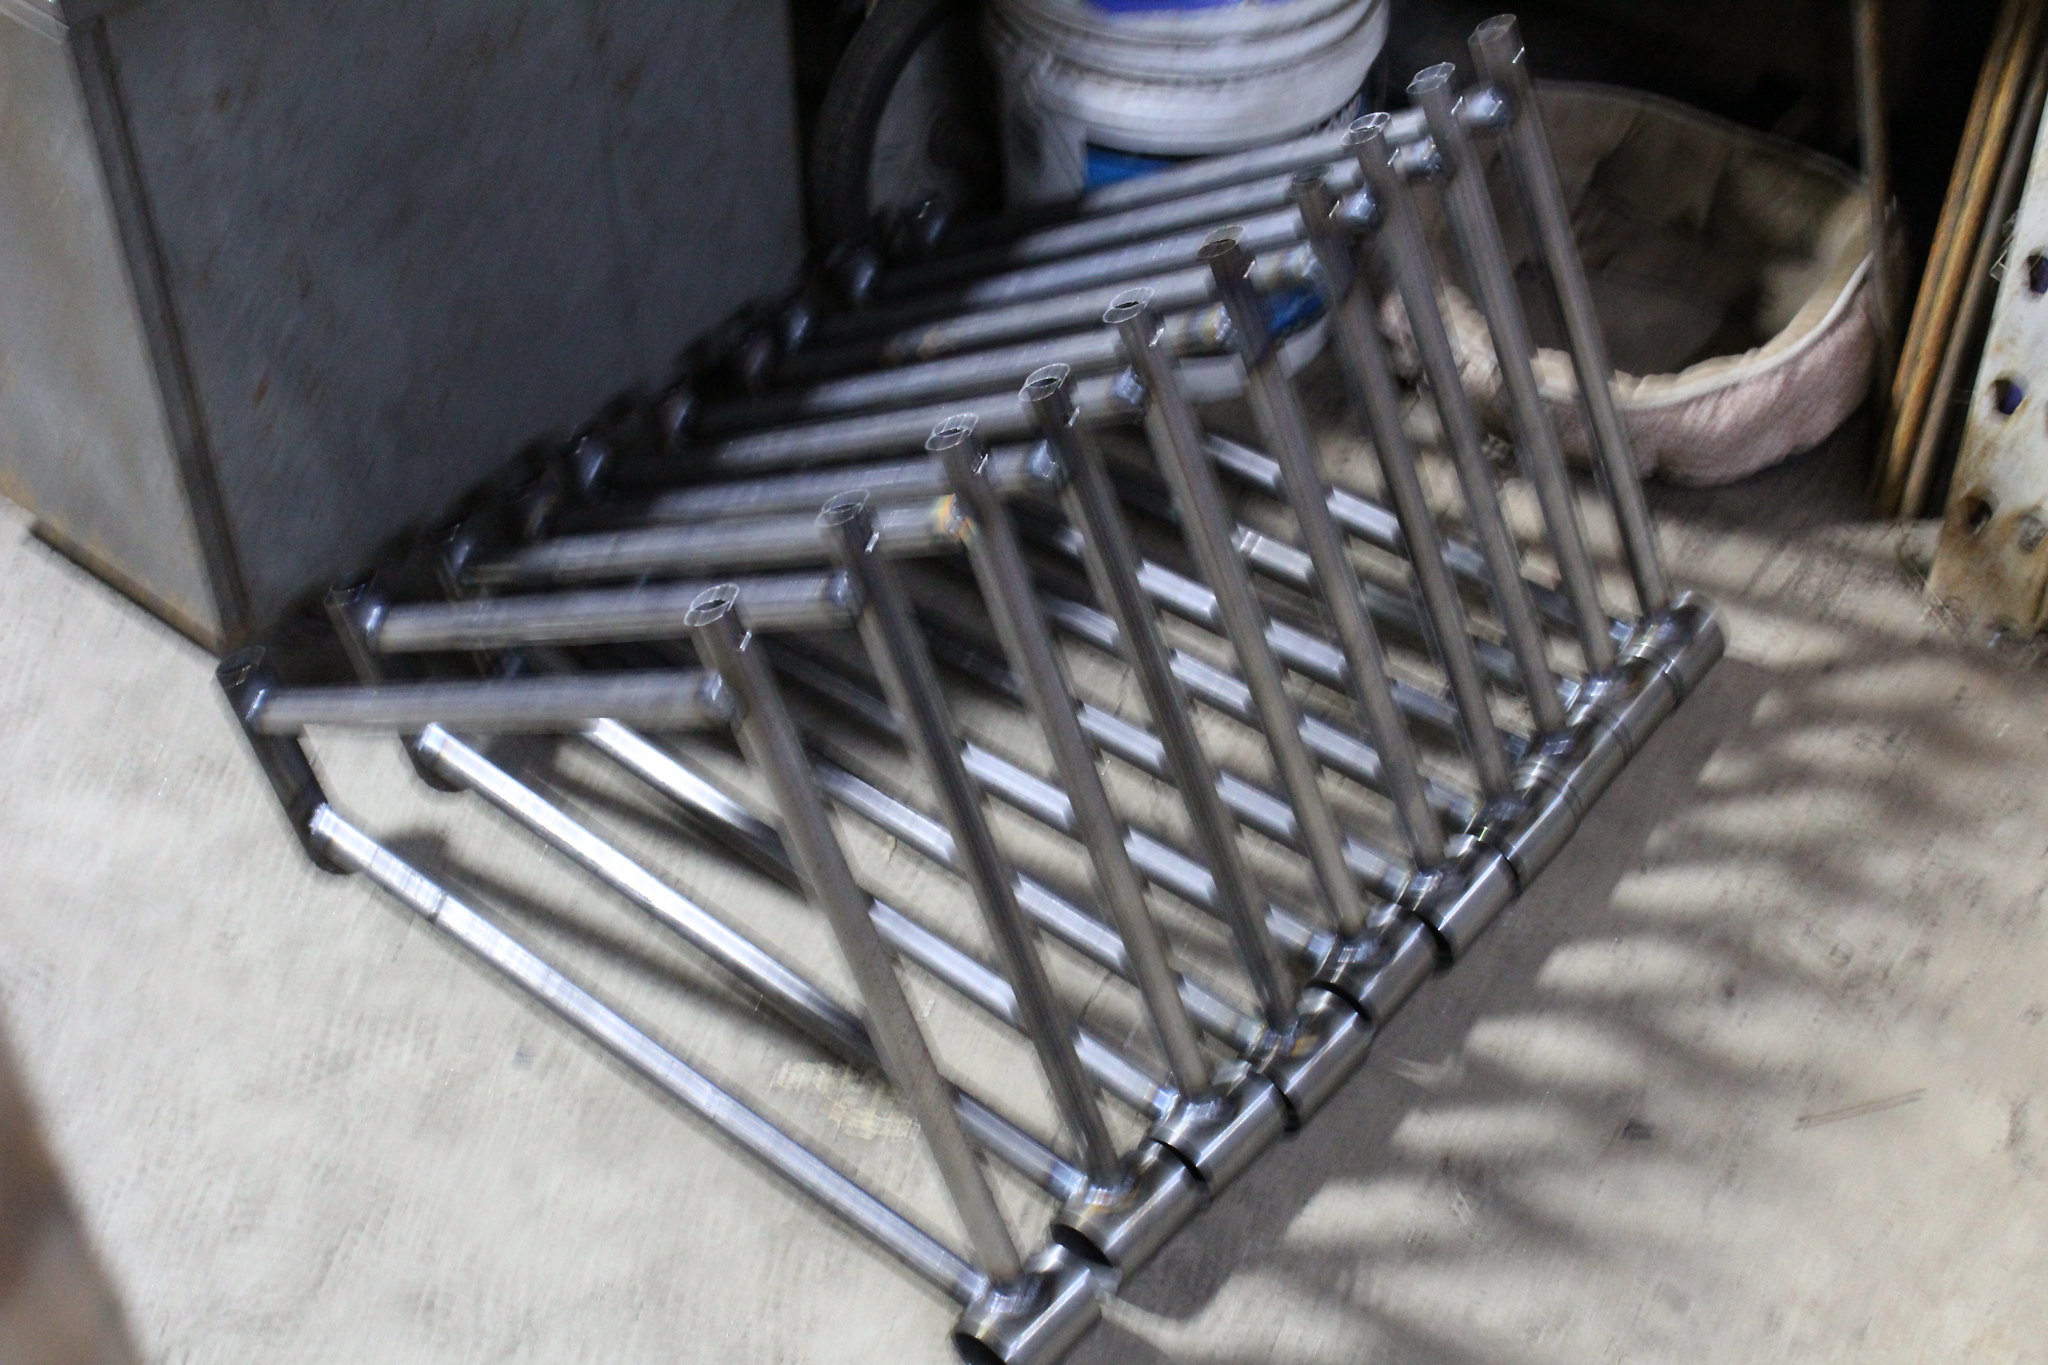 non goose
 non goose project
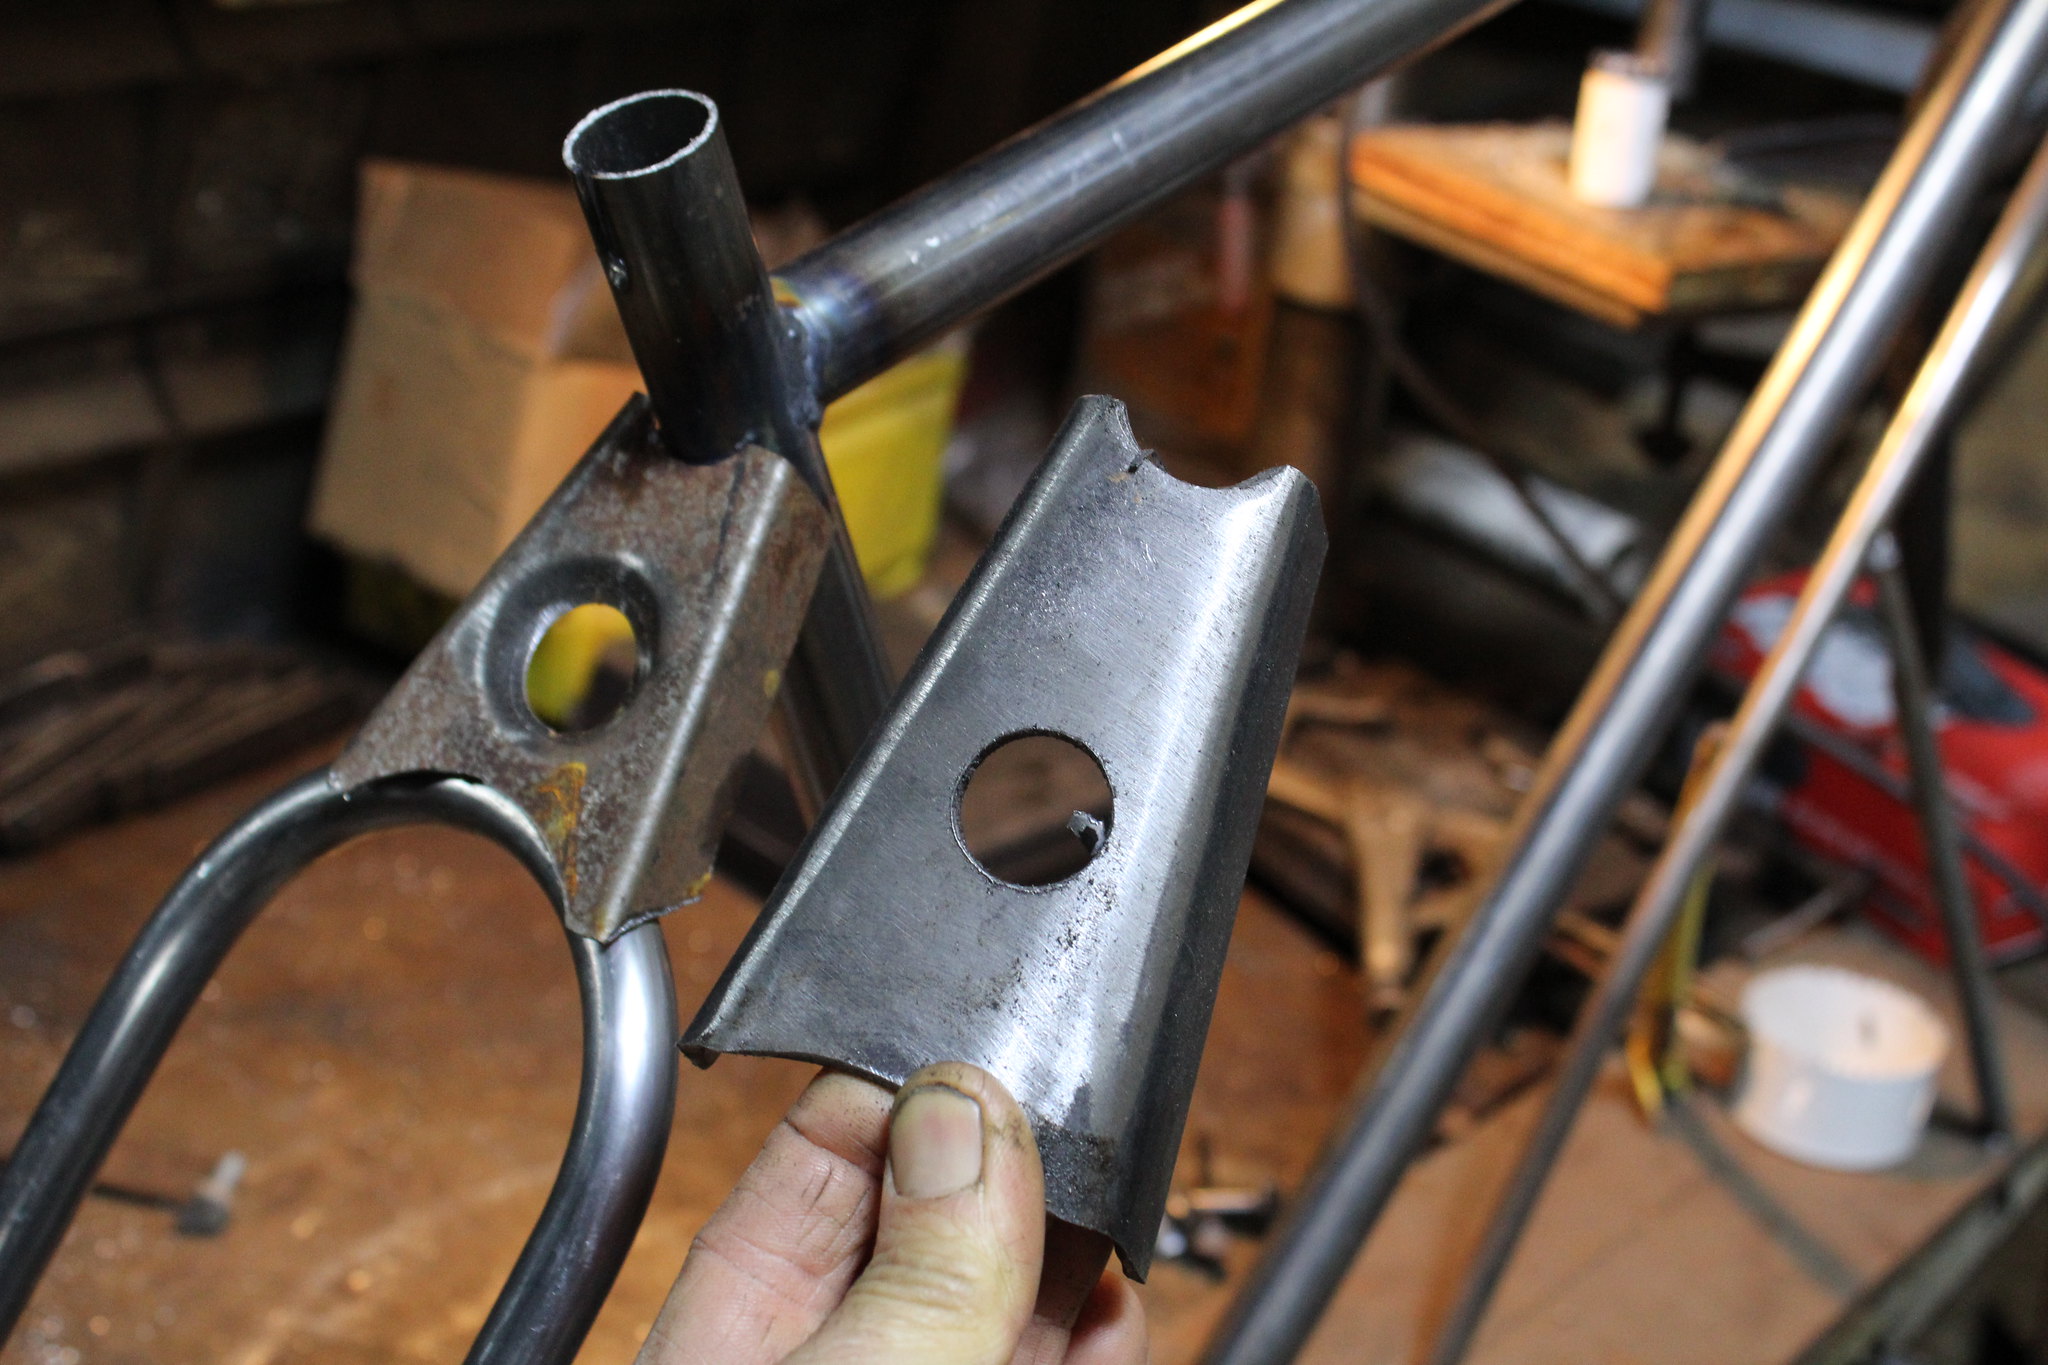 non goose project
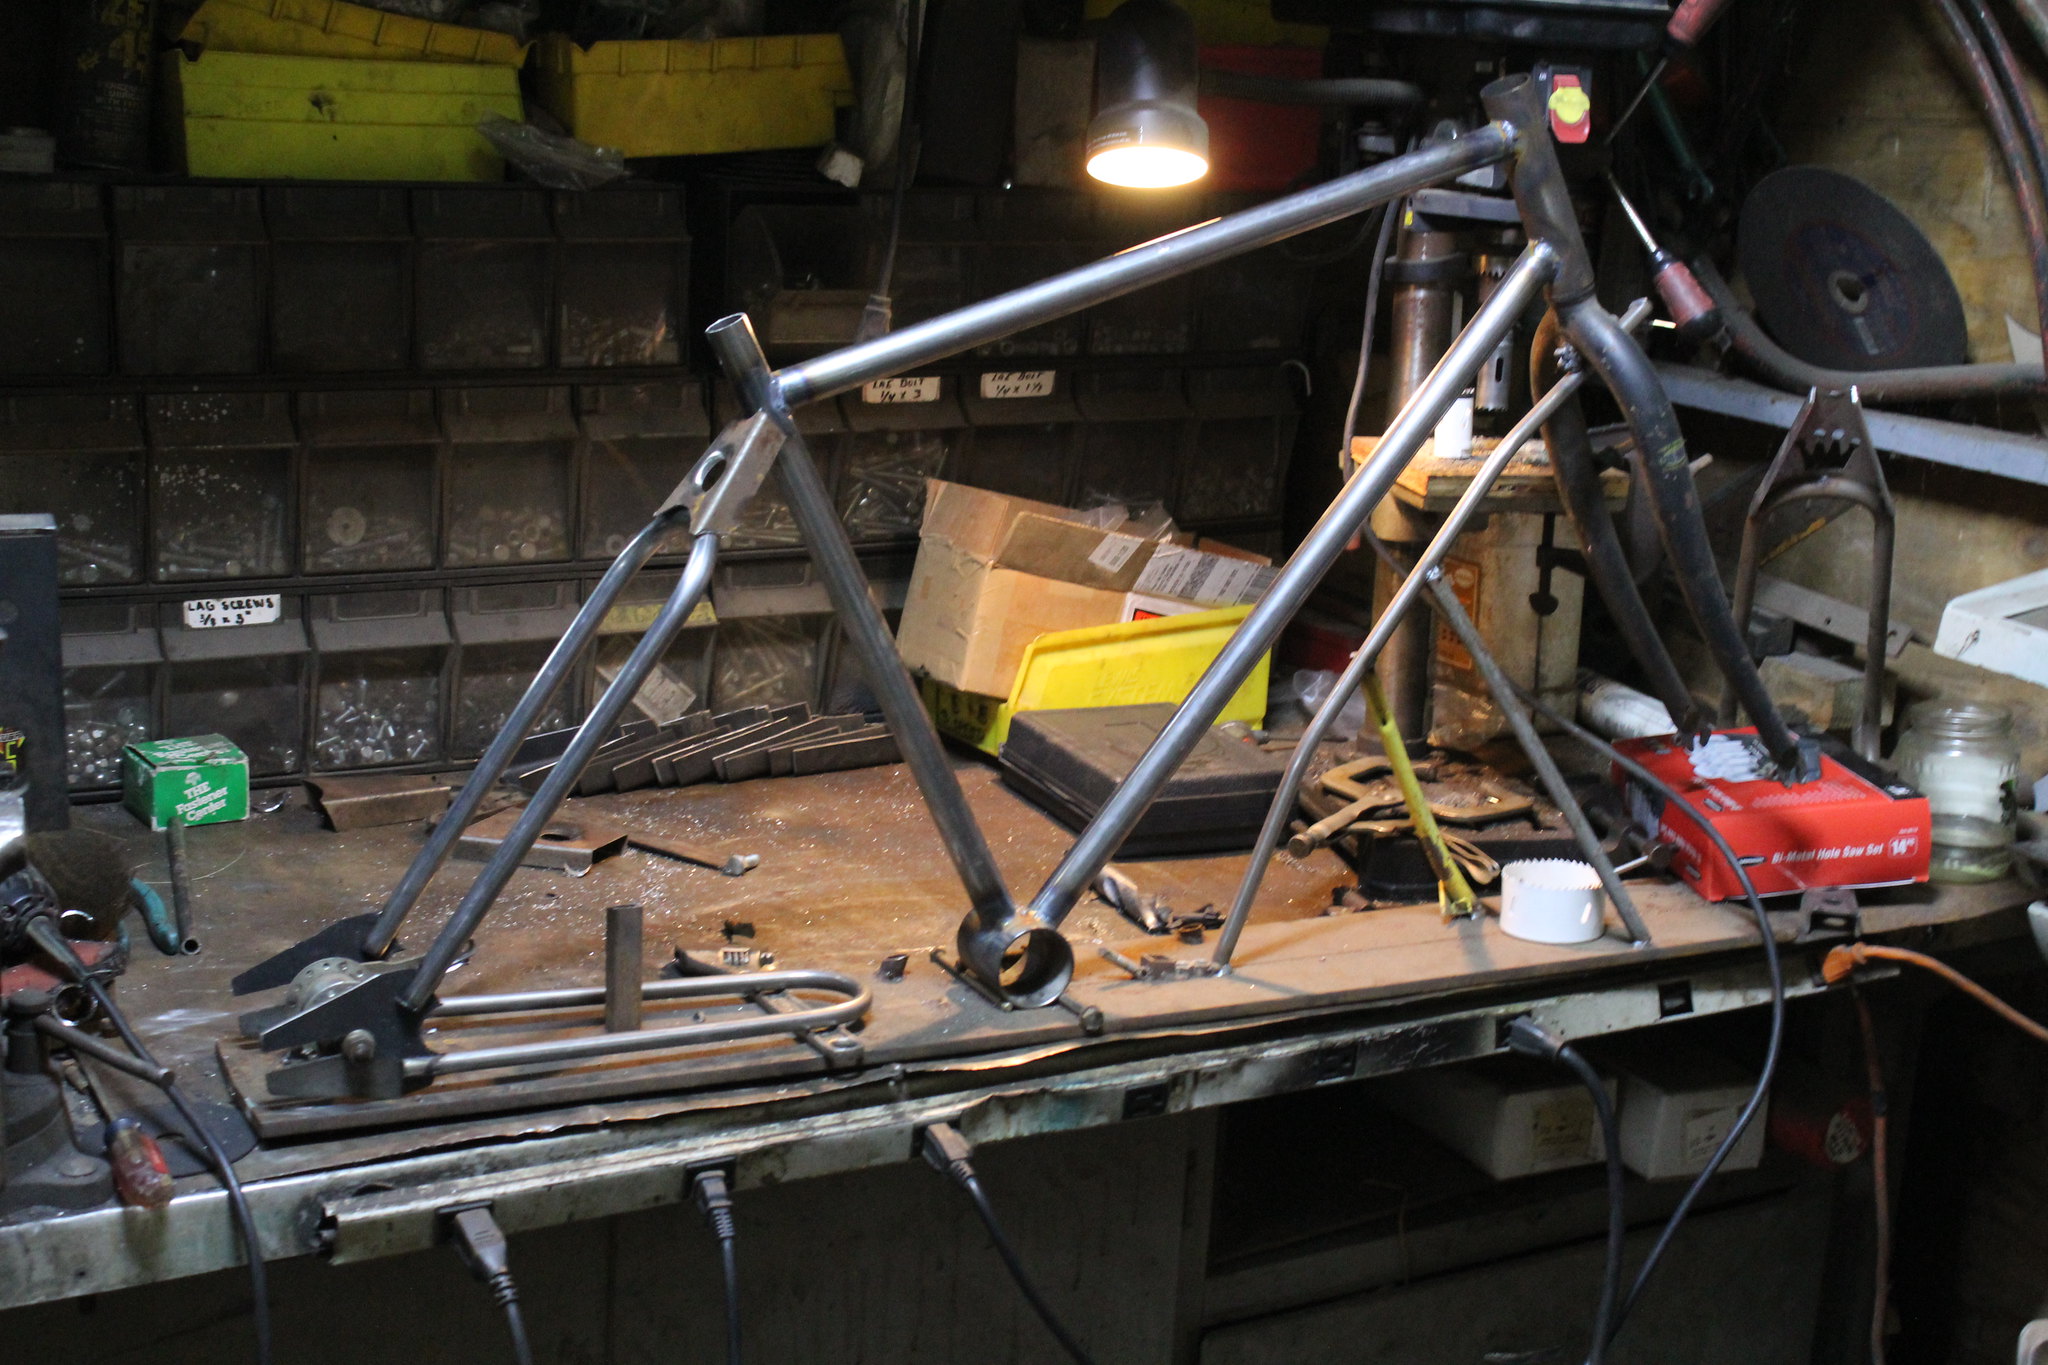 non goose project
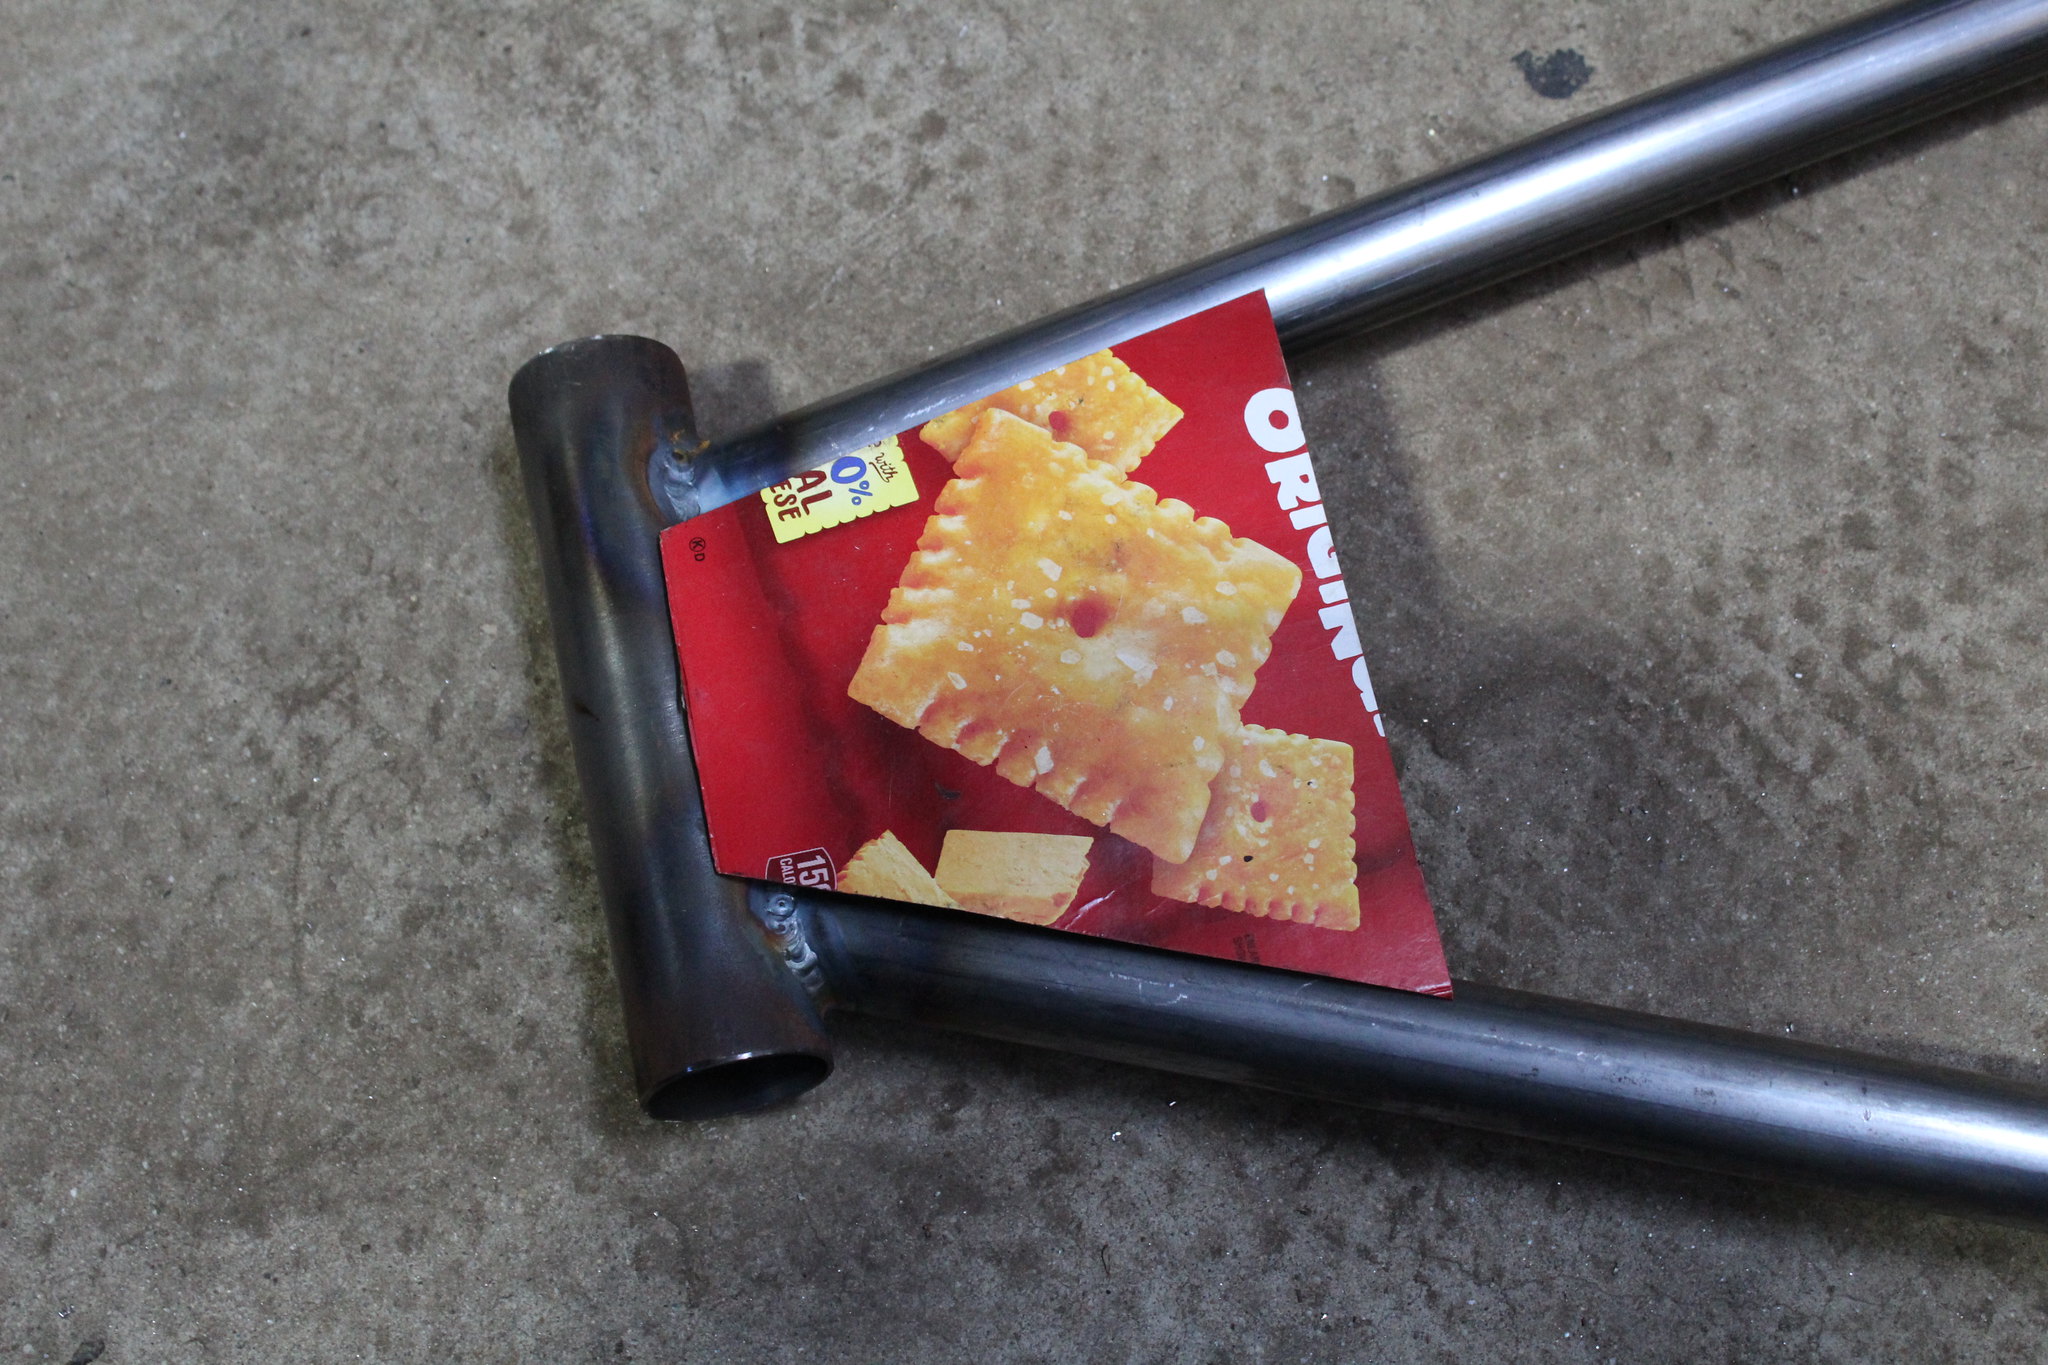 non goose project
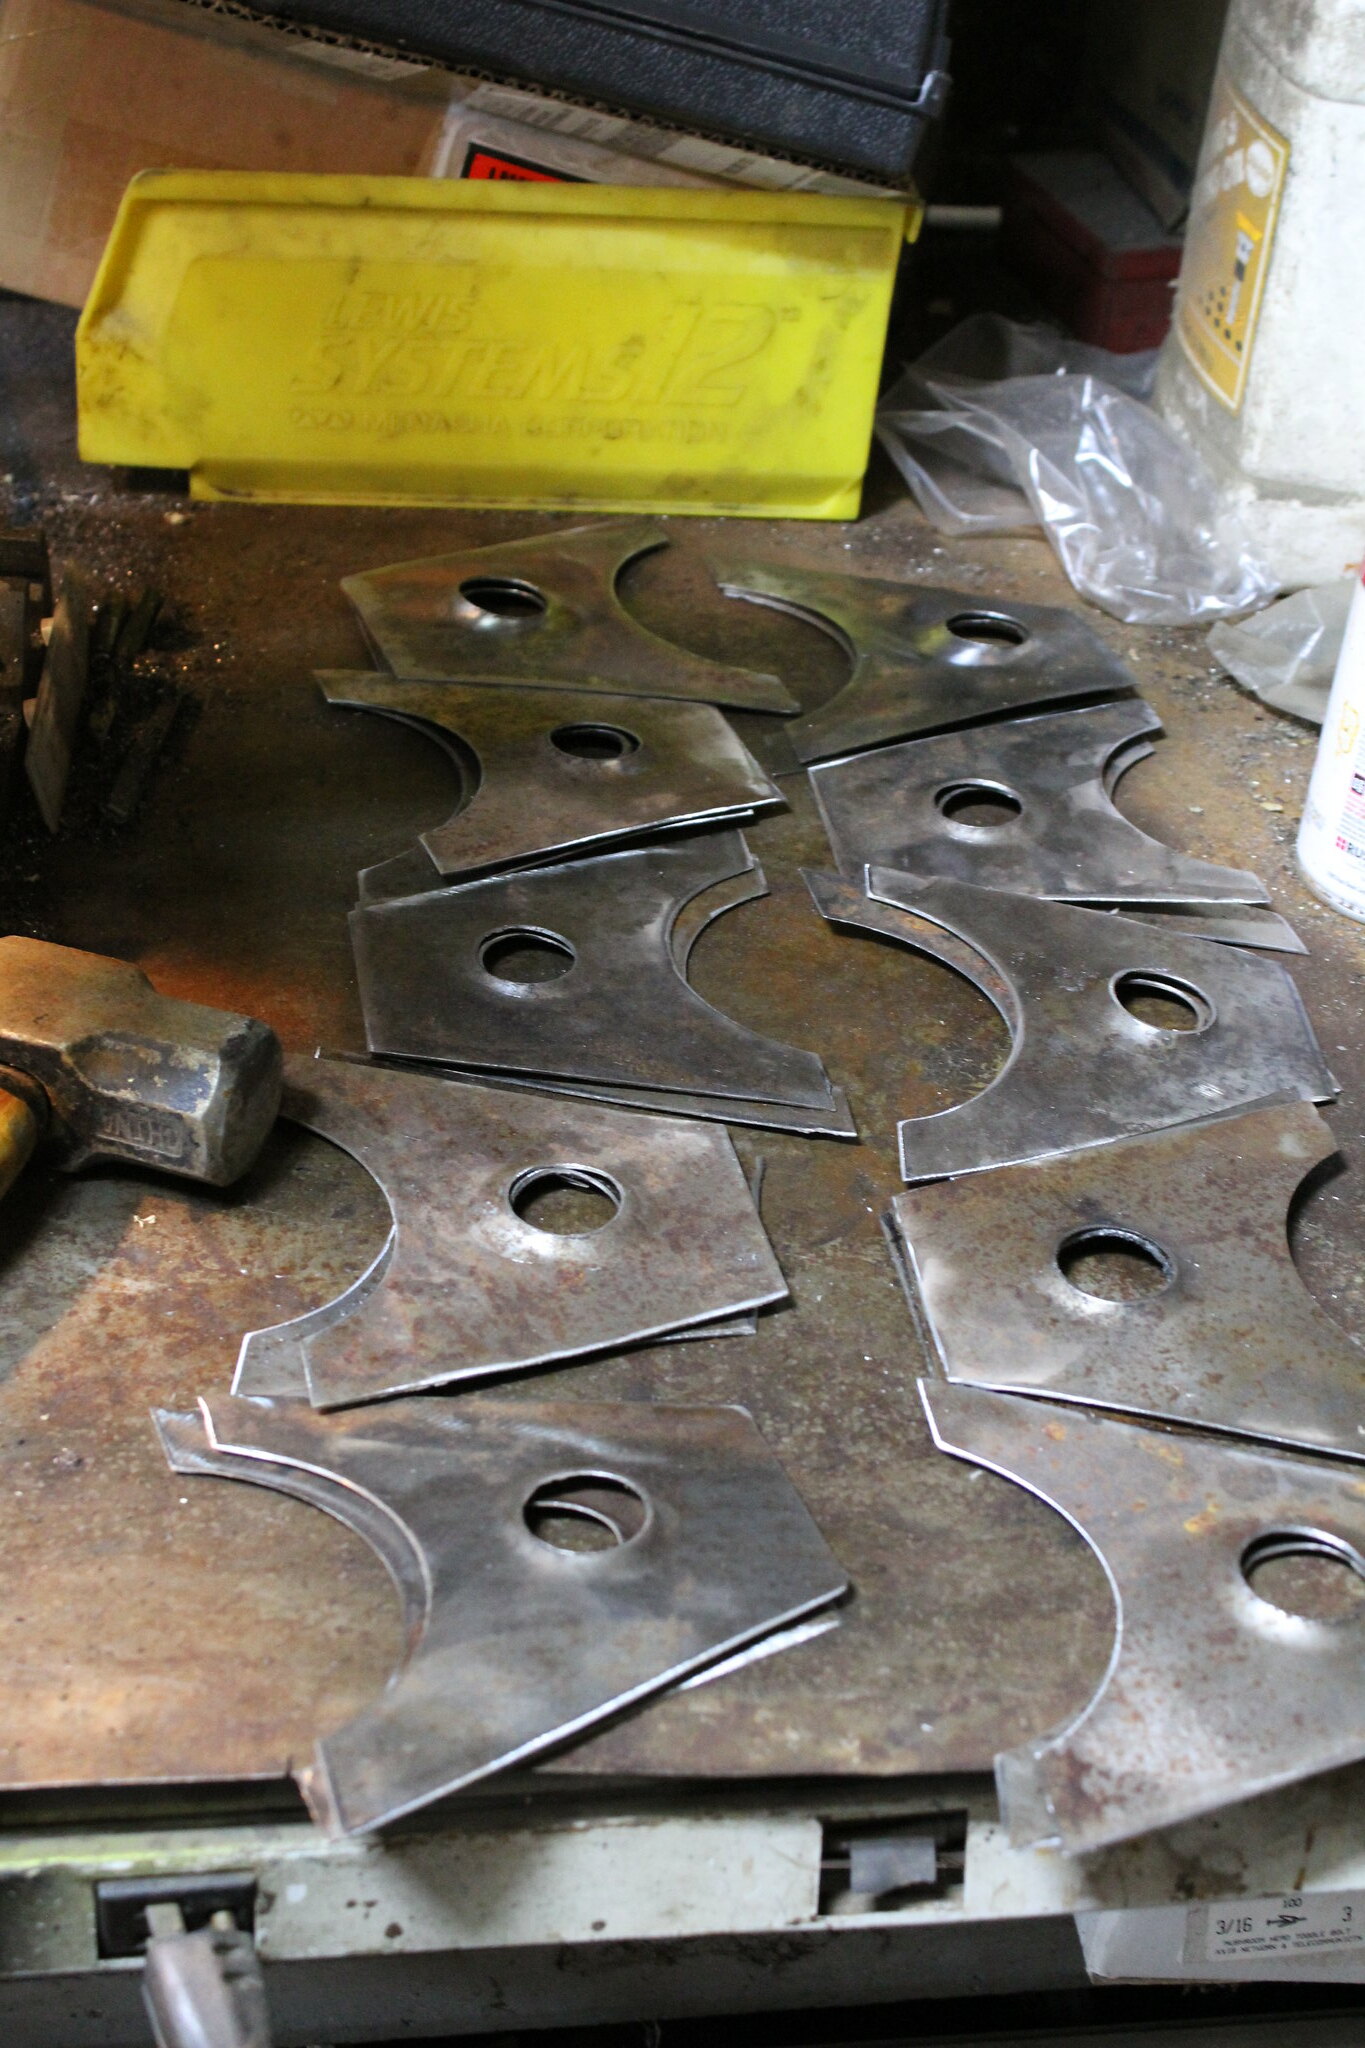 non goose project
 non goose project
 non goose project
 non goose
 non goose
 non goose
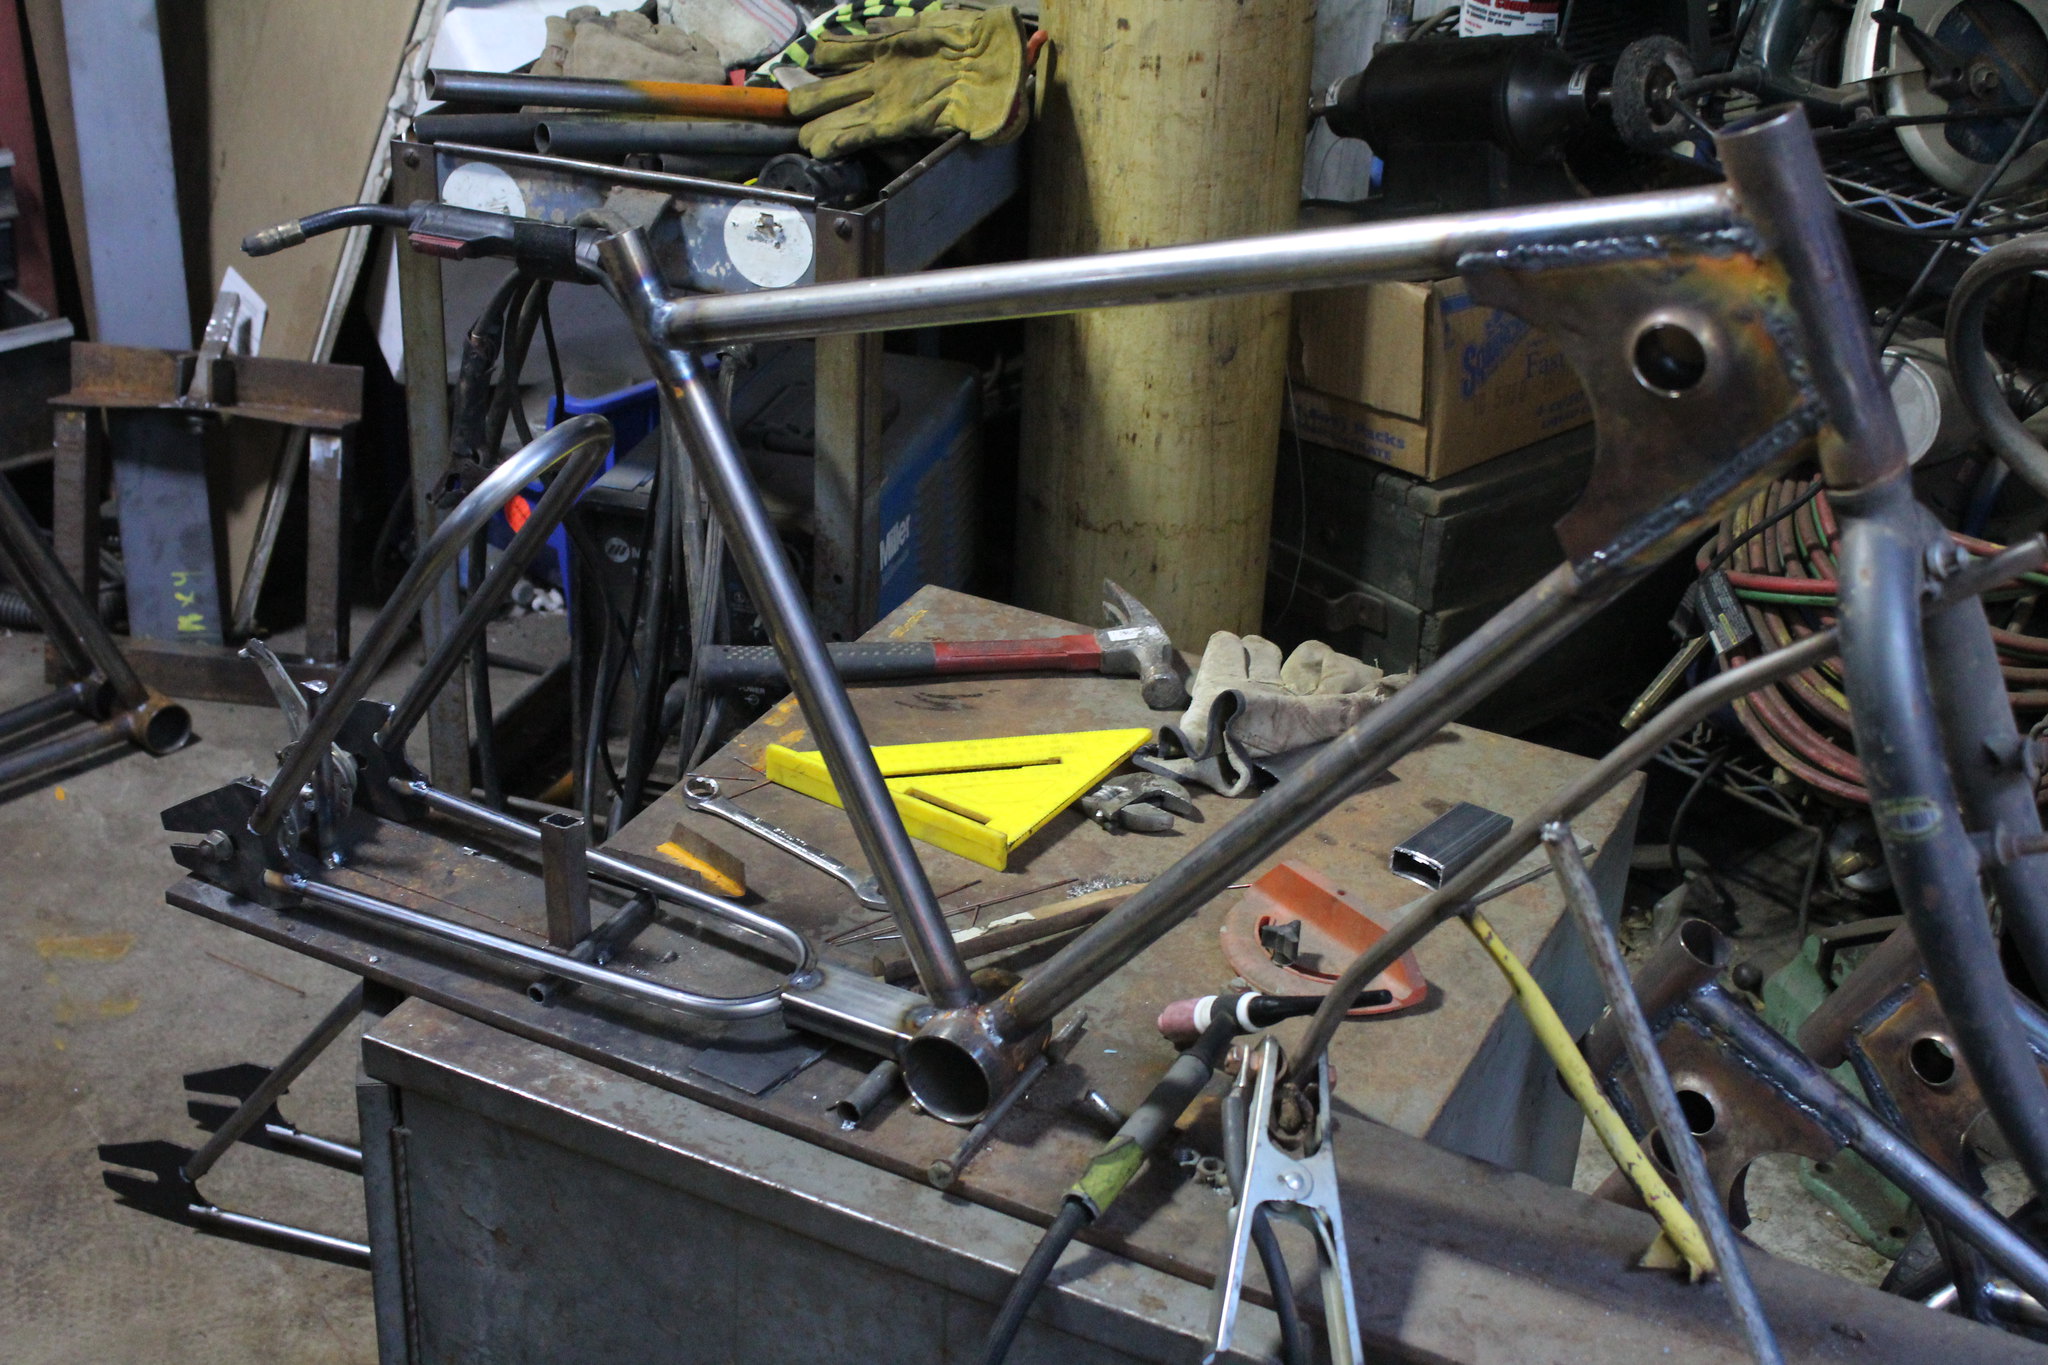 non goose
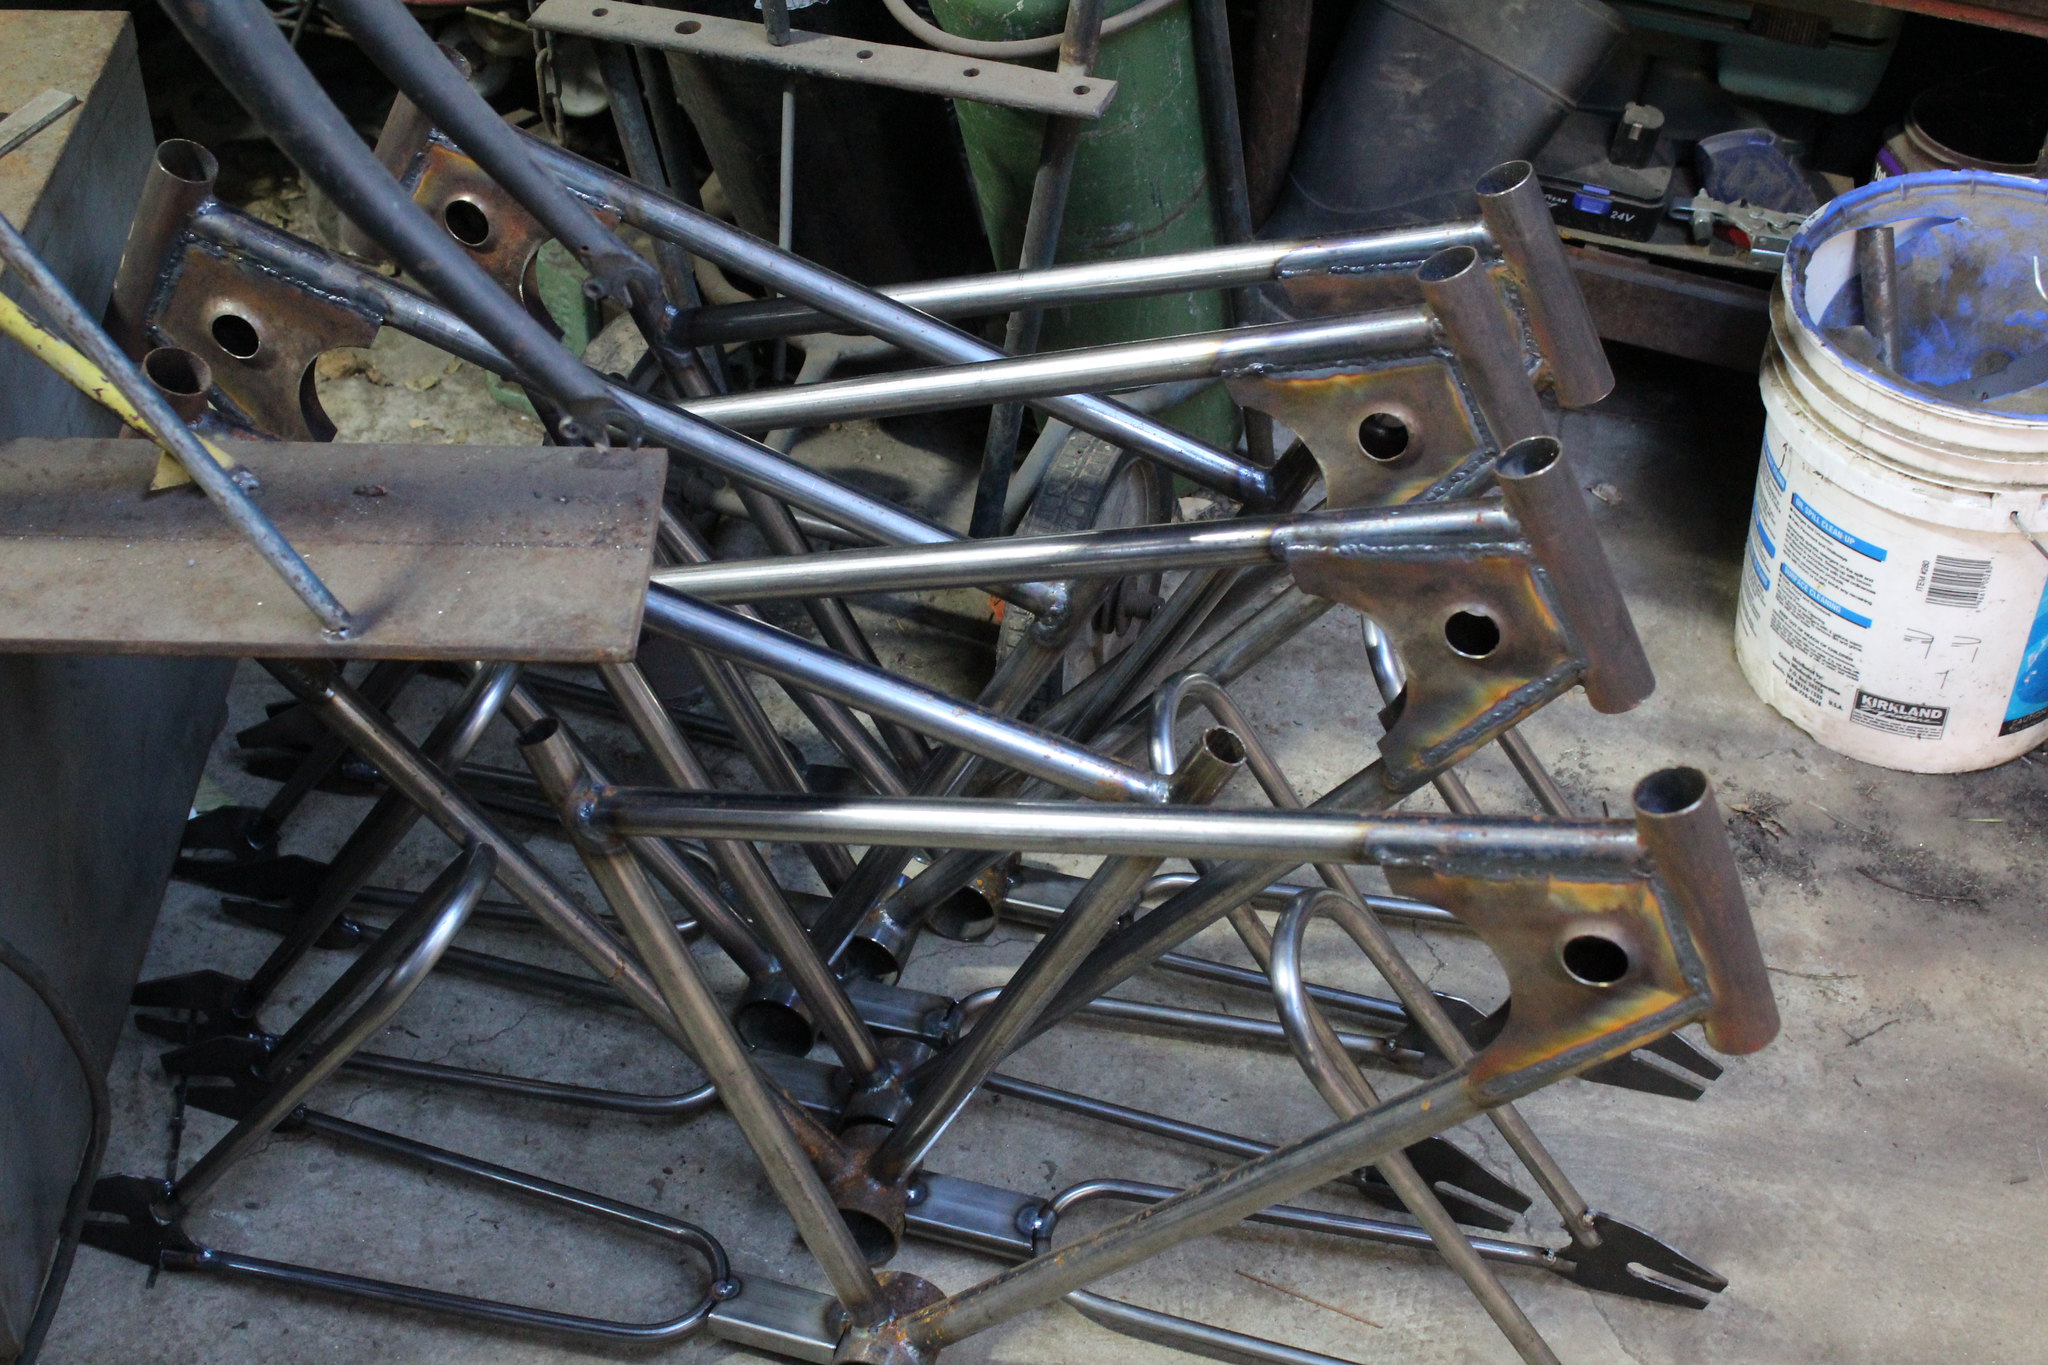 non goose