I so hope u do the tank. It's so opposite of myself so I love ir
Sent from my PG86100 using Tapatalk
Sent from my PG86100 using Tapatalk


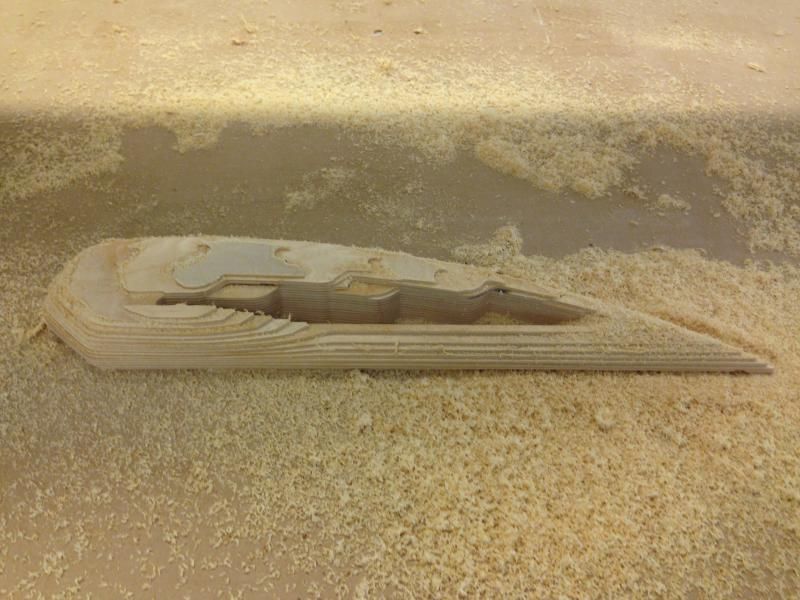
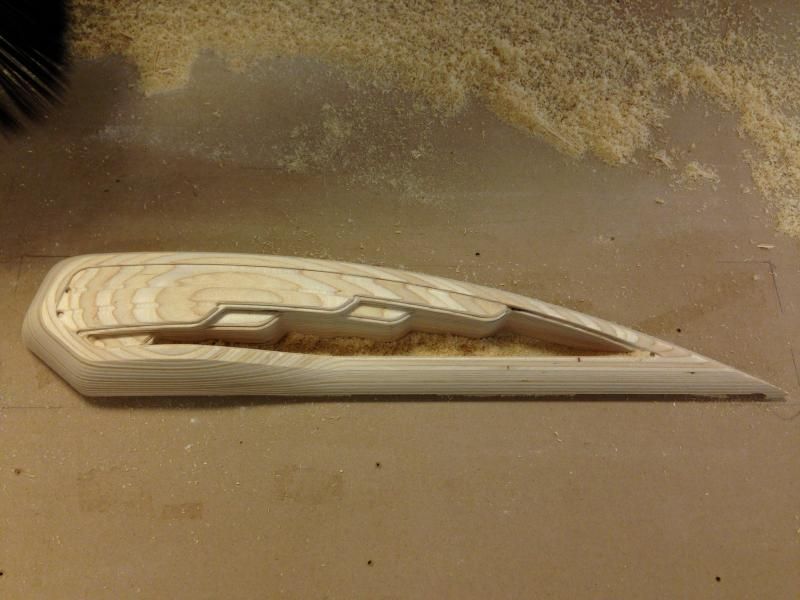
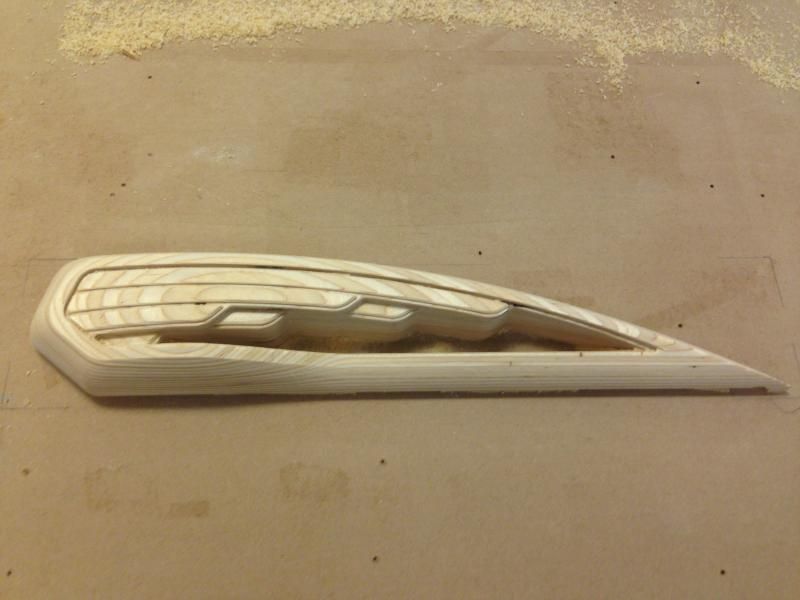
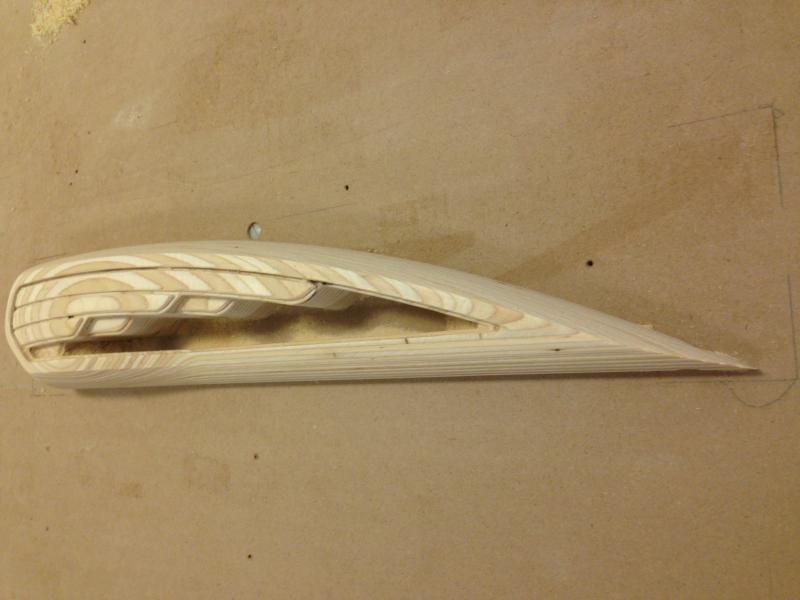
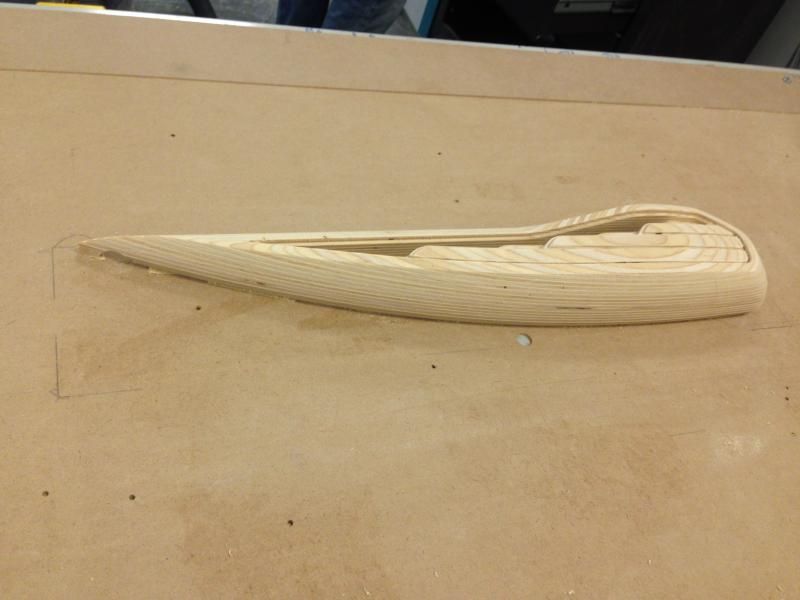
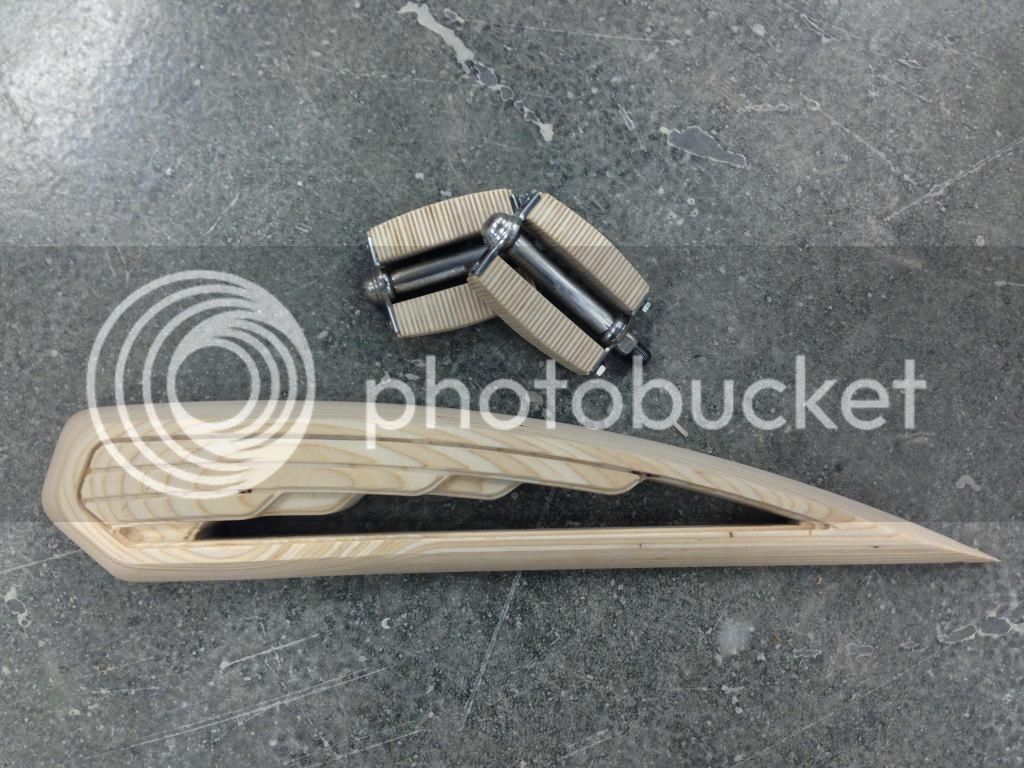
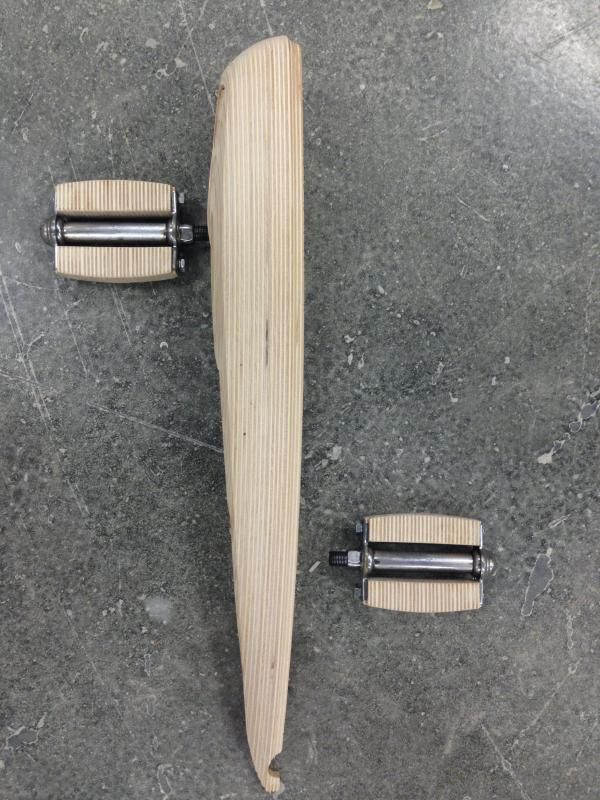
Wood grips?...the last piece is a new addition. It will be subtle, but a nice touch I think. Stay tuned to see where it goes....
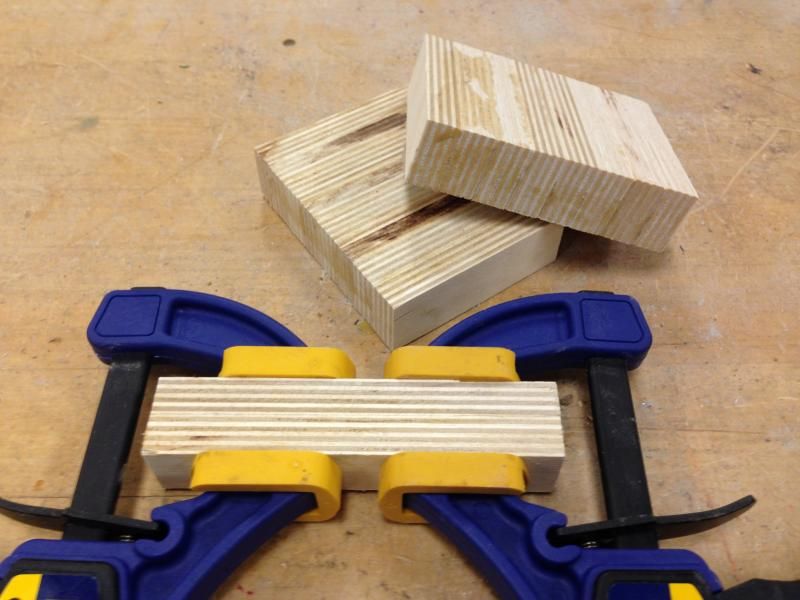
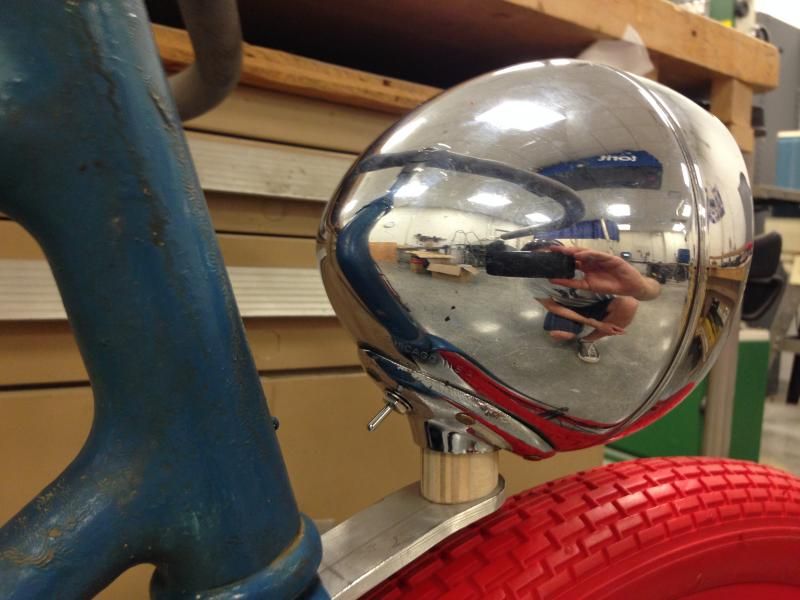
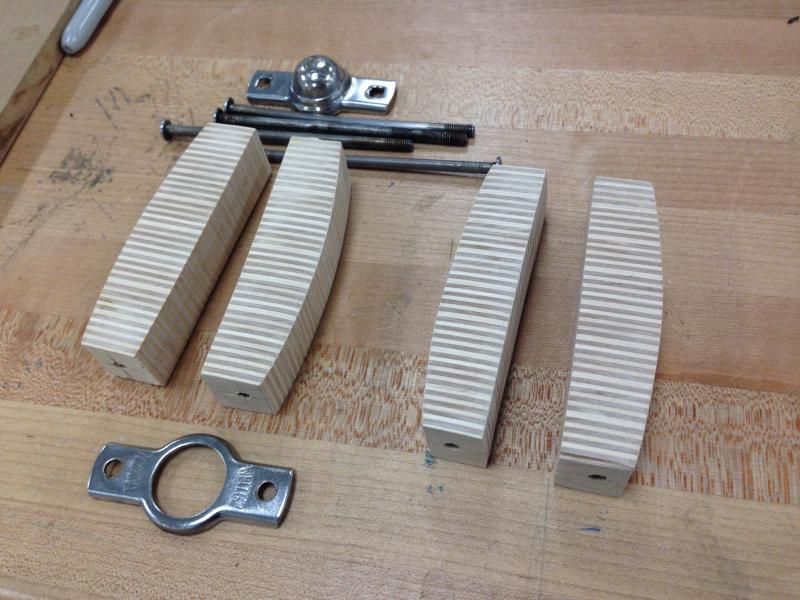
Nope, more subtle... the ply is in the same direction it will be in for the tank and pedals. I needed a spacer that would raise the light a little and point it in the proper angle. I wanted the mounting bracket to stay basically parallel with the tires so I made a cylinder then cut it at an angle to point the headlight forward rather than up. I'll probably polish up the aluminum as much as I can to get it looking closer to the chrome on the headlight.Wood grips?
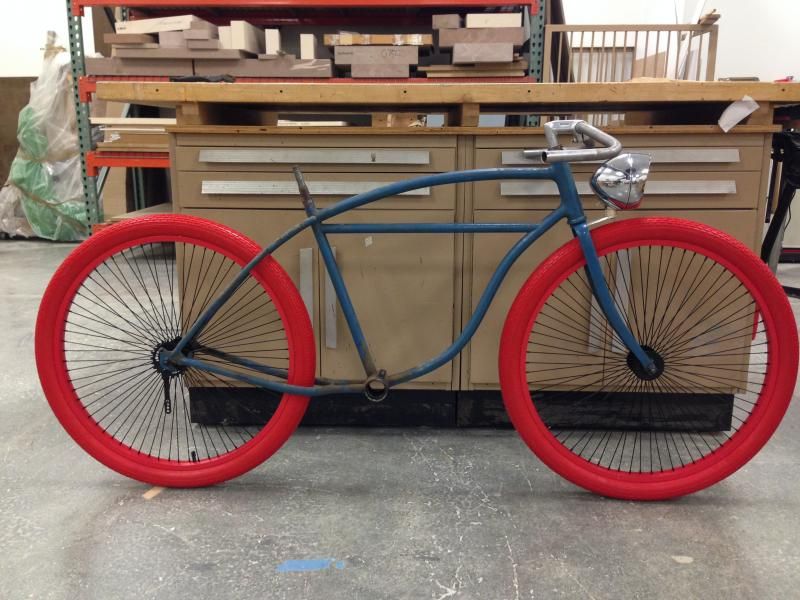
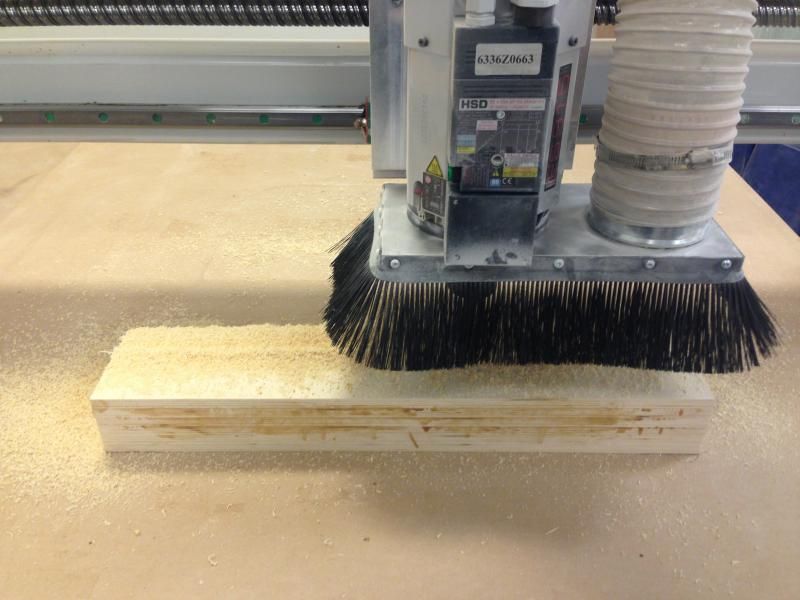
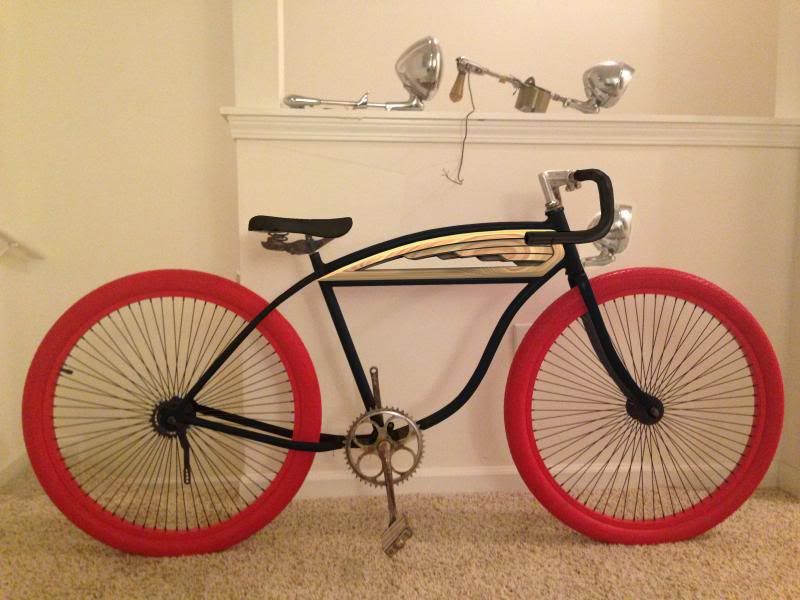
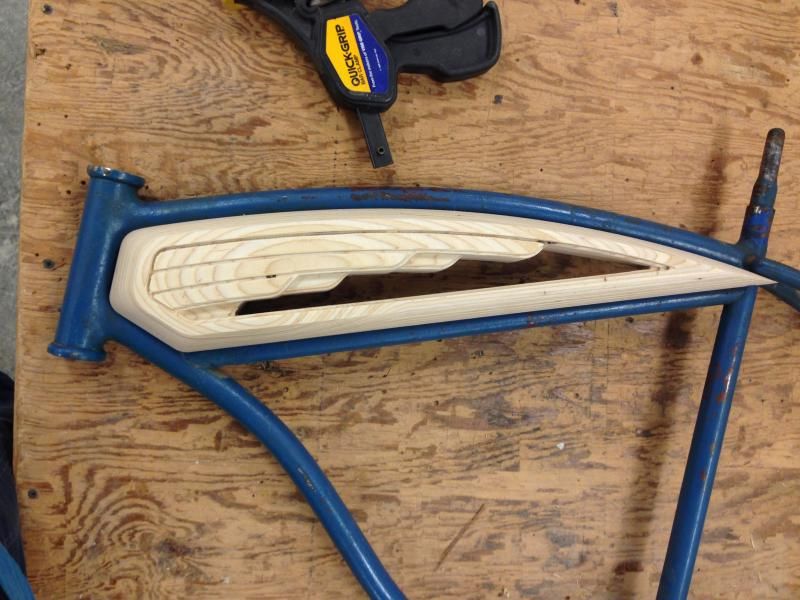
That's still the CG tank. Flipping it on the mill today so hopefully I'll have half a tank by tonight.I see what you mean about the silver fork. I think I like that better too.
Is that the finished tank or still the CG tank?
Thanks, I'll probably give it a try and see how it looks. If I would have thought of it sooner maybe I would have tried to pick up a spaceliner fork or something.This is looking sweet! I've polished metal before...it looks nothing like aluminum when done.


Enter your email address to join: