The Copper Chopper!

Rat Rod Bikes Bicycle Forum

Help Support Rat Rod Bikes Bicycle Forum:

This site may earn a commission from merchant affiliate links, including eBay, Amazon, and others.
You'll need to install a holodeck or a suicide booth to achieve full sci-fi cred.

Spaceliners are awesome foundations; the painted ones offer more possibilities than the chrome ones, imo....


Good luck; you're sure to make something awesome.
 
Thanks for all the comments, guys. I've got the bike up on the stand today, and before starting to break it down, I've been trying to imagine what I want to do with it. I've got some ideas, but haven't necessarily figured how to actually make them yet.

I will add that I have these lights that I'd like to use:
WP_002346_zps46318eb4.jpg

I think that the yellow lenses would look cool with the yellow paint. The chrome trim should clean up well. I'd thought about using the two smaller yellow ones as double headlights, and the larger amber light as a tail light (with a red LED bulb to make it light red). The trouble is that it doesn't have a removable bulb, its a sealed beam. I don't really want to cut it up, so I might save it for something else and rethink the rear light.
 
Could you maybe make a red lense that goes on the outside of the light for the rear? Based on the yellow covers on for lights.
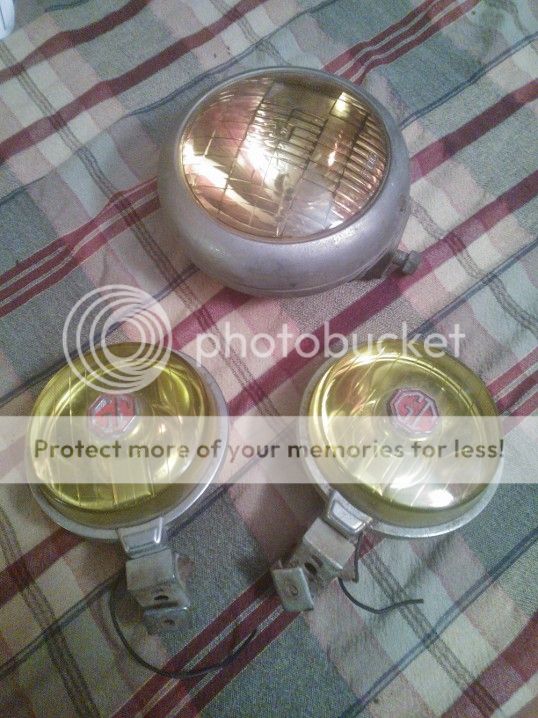
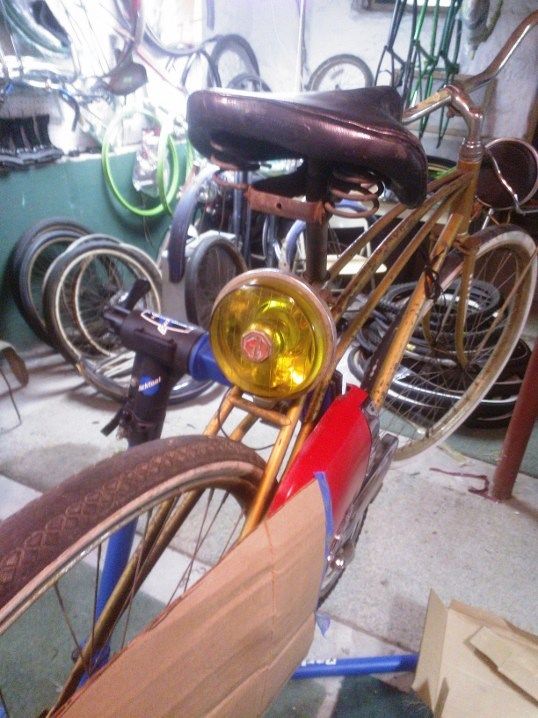
The trouble with that is that I want to have the yellow lenses to tie into the color scheme.

I guess I owe an update here, its been a while since I've been on the site and I am now woefully behind in trying to keep up with everyone's progress. Though I haven't posted, that doesn't mean I've been entirely without progress. I drew up this cool sketch to sort out the design ideas I had. You don't get a sense of color with this, but it'll use the yellow shown above, with a wrinkle-finish brown as a second color, plus I'm thinking chrome and copper accents.
sketch_zpsf381967e.jpg

I want to keep the frame's upper truss work open as possible. That's what distinguishes a Spaceliner frame, so it'd be silly to obscure it. My plan is to use the bigger amber lamp as a central, fared-in headlight, with the smaller yellow fog lights in pods offset from it on the either side. They'd be visually connected with copper tubing, which I could run wiring inside. Part of the design theme is to use the copper tubing as external conduits in several places. I'll make the fairings out of aluminum, as well as the tail section with the fins and "rocket engine", which would have LEDs in the tail cone.

Then I realized that I have to disregard a bunch of it because they don't work in the mock up. Particularly the lights - they're all too big to fit and integrate the way I've drawn them. So I'm back to the drawing board, as it were. But I have some ideas, and I think that I'll just have to figure out some of it as I go.

I dug out a chrome & red Spaceliner chain guard that I bought to use on this frame a while ago. I also found this Murray tank that I might be able to use as the basis of the headlight fairing:
WP_002350_zps67a24902.jpg


I also took delivery of a box of awesome, in the form of a pair of side covers for an early Kawasaki KZ400:
WP_002353_zpsf9fc6f5b.jpg


The scoops on these covers are perfect for my rocket engine scoop. What's more is that, inverted, it fits nearly perfectly in the rear triangle above the chain guard, and the scoop inlet is nearly parallel to the seat tube. I'll have to trim the back to allow me to set them into the frame, but they work well for the front half of the rear bodywork. Mock up pictures:
WP_002351_zpsadd3cb0a.jpg

WP_002352_zps4376e349.jpg


I'm thinking about using the yellow fog lights as front and rear lights, and maybe use red & green Delta rocket lights as the offset light pods on either side of the headlight. That isn't exactly the same the sketch, but it keeps the idea intact. The next step - after giving the workbench a good cleaning up - is to strip the bugger down and getting the body details worked out...
 
Great man!! I dig it!


Sent from my iPhone using Tapatalk
 
I plan to make it from sheet aluminum. I watched a video on hammer forming, so I'm dangerous now (mostly to myself)... :crazy: 
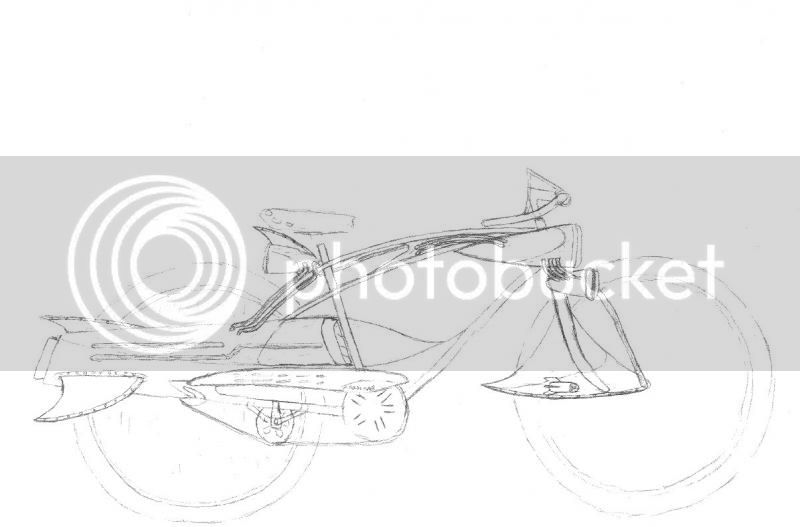
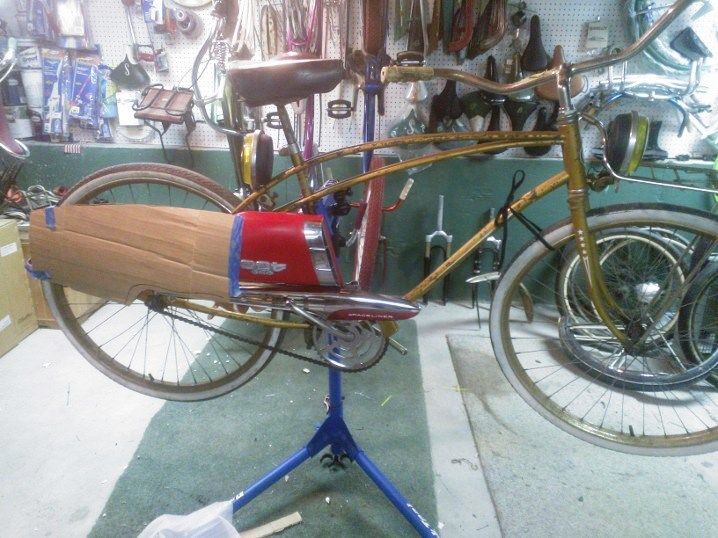
I'm going to try to break the design down to simple sections and rivet them together; I think that lines of rivets will add texture and detail, like what I did last year. But there's a lot of this that I have to figure out yet...
 
That concept is bizarro world cool!!!
Major Tom and Buck Rogers would be proud!!!!
If anyone can pull this off it's you!
 
That concept is bizarro world cool!!!
Major Tom and Buck Rogers would be proud!!!!
If anyone can pull this off it's you!
Thanks! I had that in the back of my mind, as you might infer from the thread title. I was actually toying with the idea of lettering "Maj. Tom" on one side of the tank (in fighter plane fashion) and maybe Dave Bowman on the other... :D
 
Good luck on the hammer forming. I wish I had the skill level to do that, but a lack of time and tools prevents me from doing what I'd like.
 
Good luck on the hammer forming. I wish I had the skill level to do that, but a lack of time and tools prevents me from doing what I'd like.
Thanks. It'll be an experiment, and if it doesn't work out, I have other ideas to achieve the same basic thing (though it might not be as cool looking). But, over the past several builds, I've been kind of developing some fabrication skills in this direction and this seems like the next step one way or the other...
 
Thanks! I had that in the back of my mind, as you might infer from the thread title. I was actually toying with the idea of lettering "Maj. Tom" on one side of the tank (in fighter plane fashion) and maybe Dave Bowman on the other... :D

If you really want it to be a Space Oddity, you could do Ziggy as Memphis-Belle-Pinup bomber nose art:21:

EDIT: I removed freaky ziggy pic I posted as a joke. It was freaking me out and a distraction to this cool build.
 
Last edited:

Latest posts

Back
Top