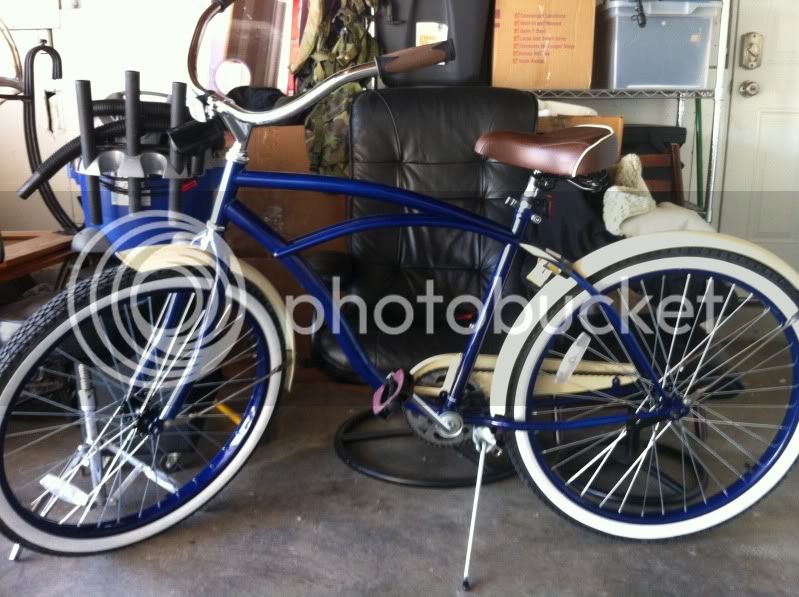
I'd been searching for a decent frame for a build, and for the life of me I couldn't find a frame that a) was within a reasonable price point or b) I wouldn't mind completely modifying. I suppose I'm something of a purist, and I couldn't bring myself to do a complete modification to a Dyno or something pretty like that. Then, I stumbled upon the Huffy Cranbrook thread here in the forums, and it was on.
That very afternoon, I stopped by Wally World to pick up one of these cheap, sweet (chweet?) rides, and later that evening I stopped by Lowe's to pick up the rest. That's right, Lowe's.
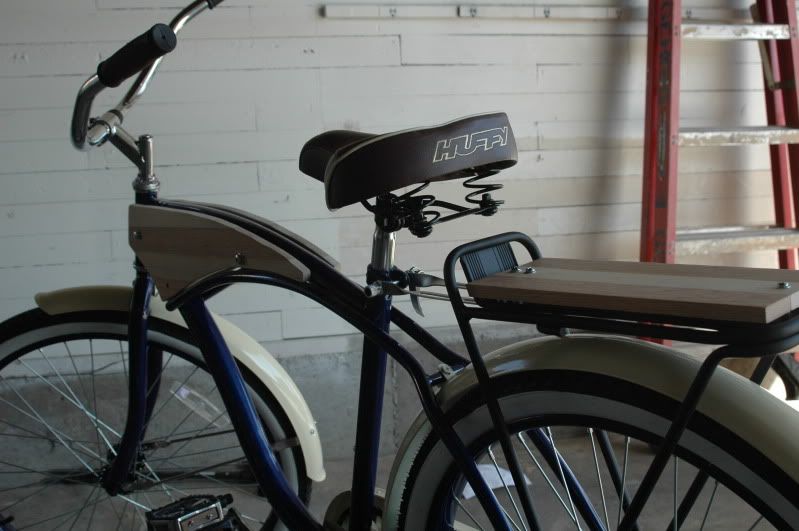
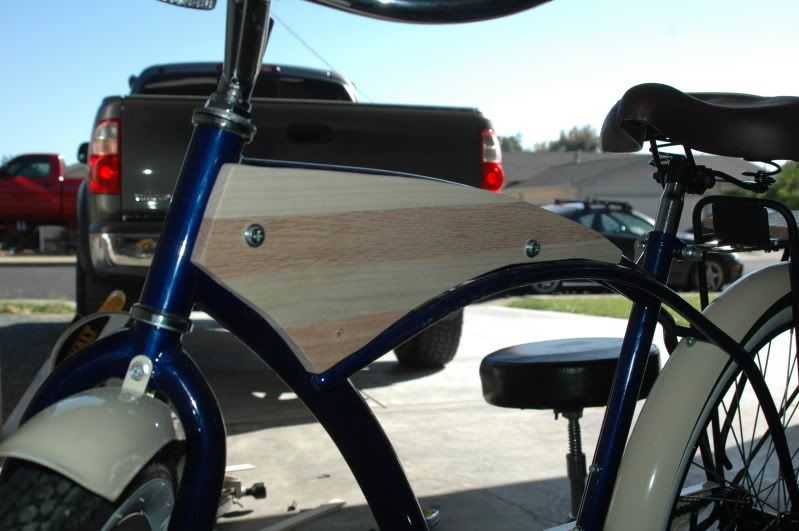
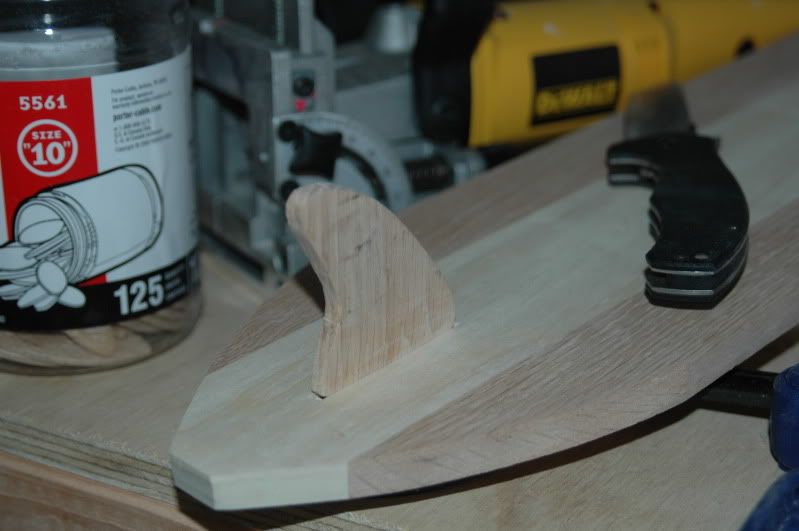
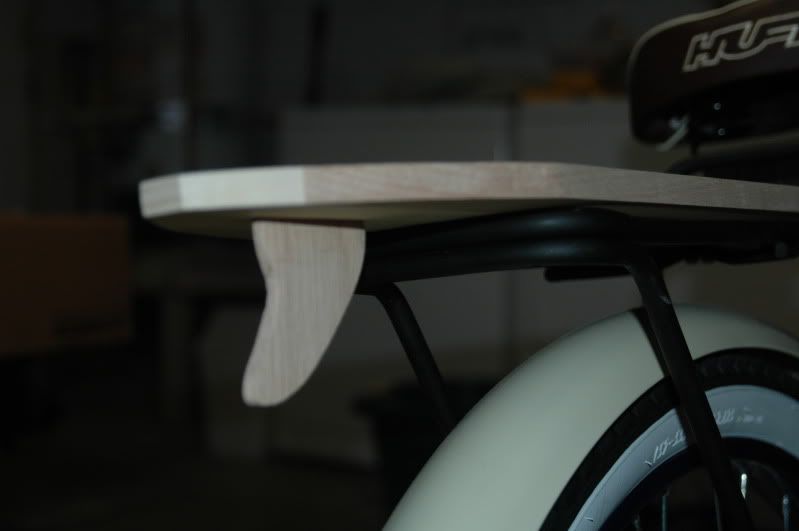
One of the things I was bent on getting was a rear rack with a wood deck, but everything I found online was too expensive and too boring. I figured, what the heck, if I'm making a "beach" cruiser, then I might as well make it interesting and give it a cool, vintage longboard look. Taking that and running, I figured I'd go ahead and make a "tank" with the same technique, and this is where I begin my build.
The Cranbrook: A Blank Canvas
-=-
My starting supplies: Some glue, slats of poplar wood and red oak, and clamps. Not pictured here: A new buscuit join cutter, wood biscuits, wood stain.

-=-
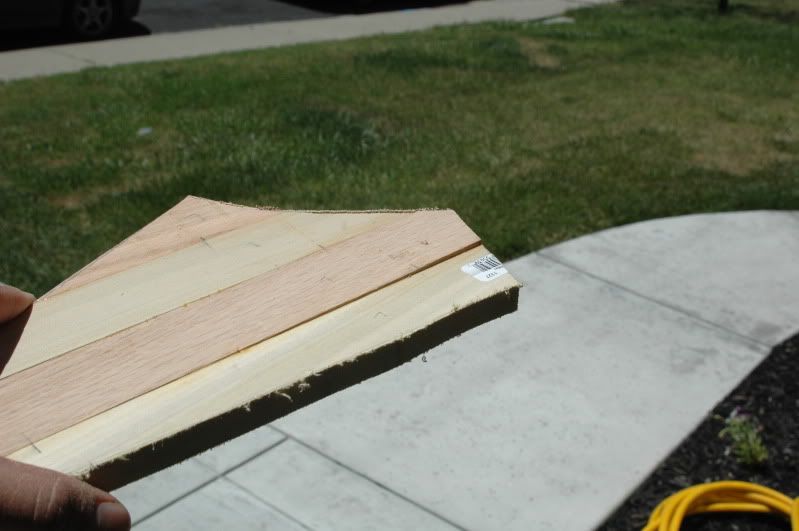
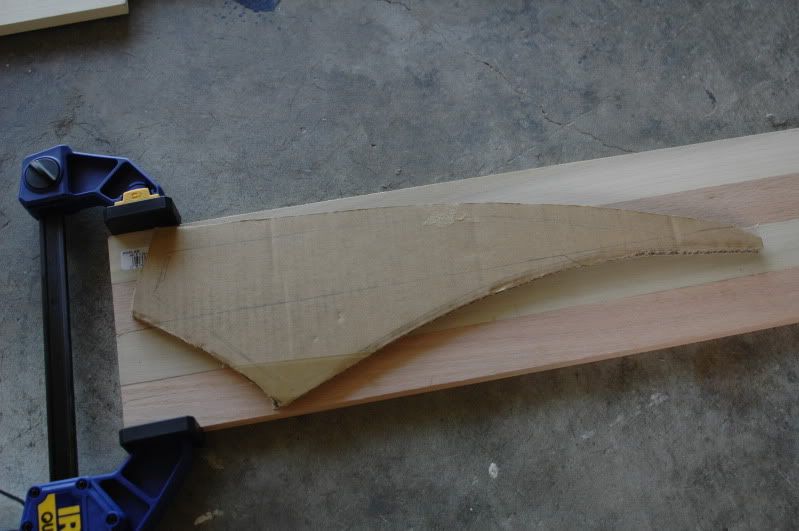
Creating a pattern

-=-
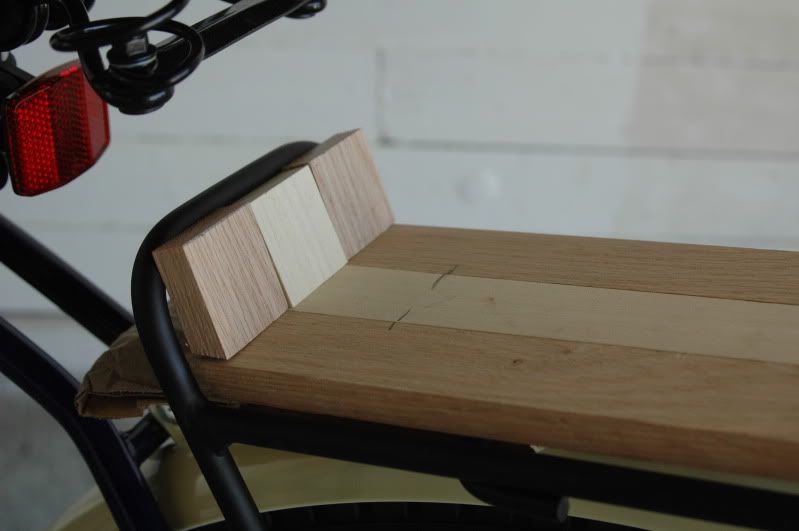
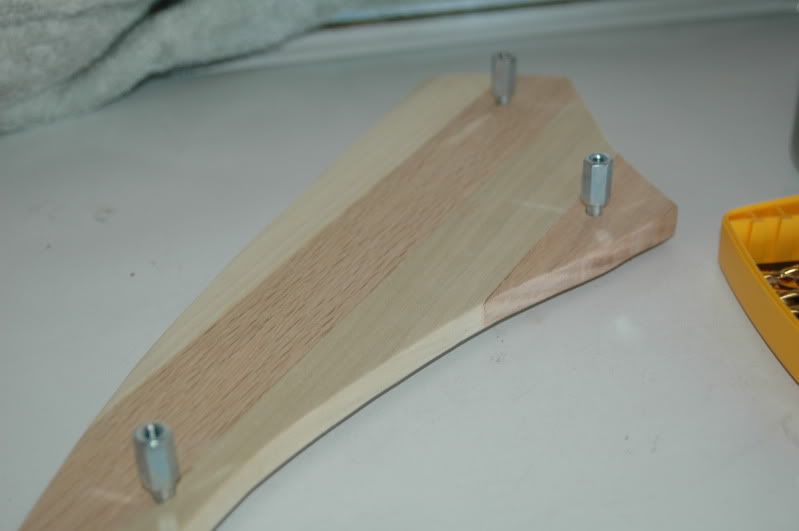
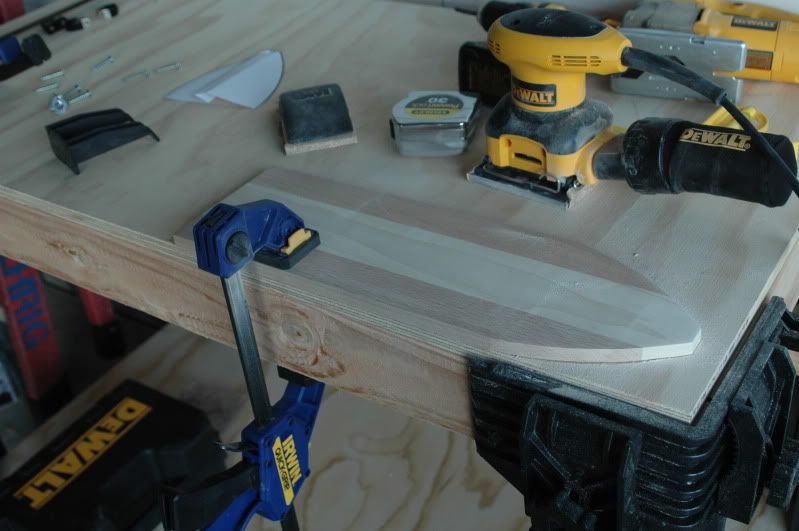
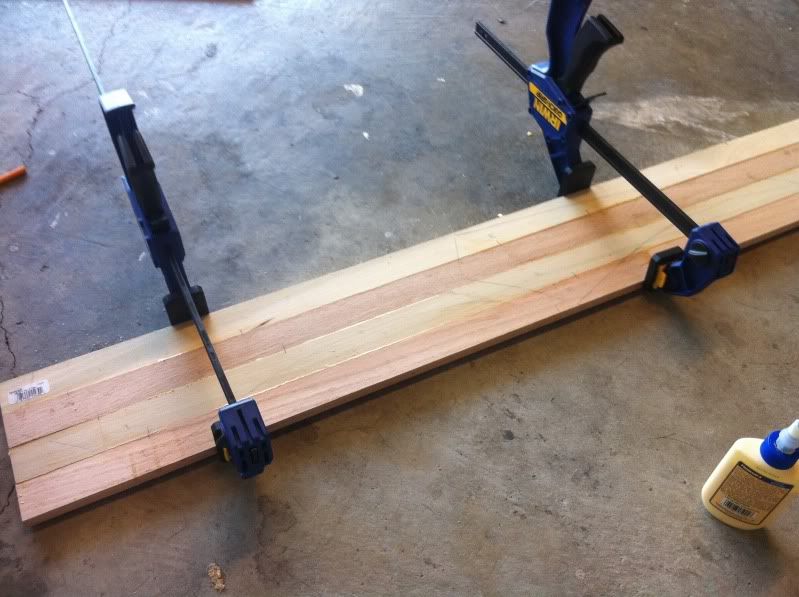
Doing a size test. Turns out I needed four slats instead of three. Good thing I bought extra!
-=-
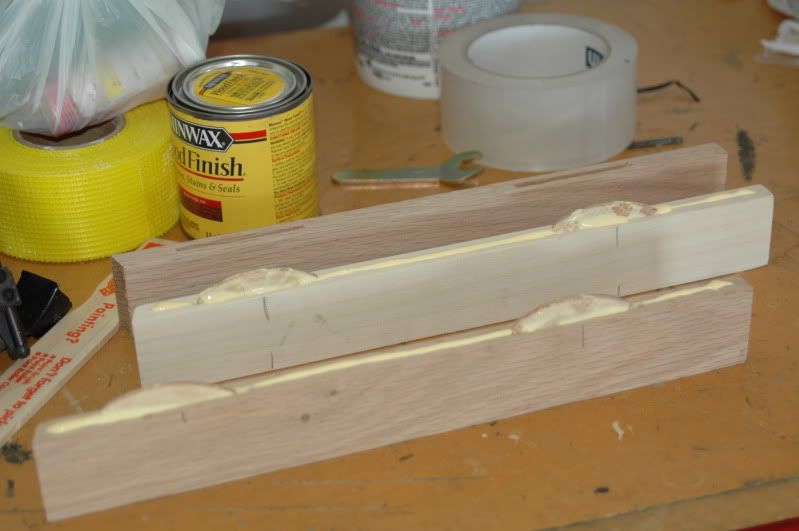
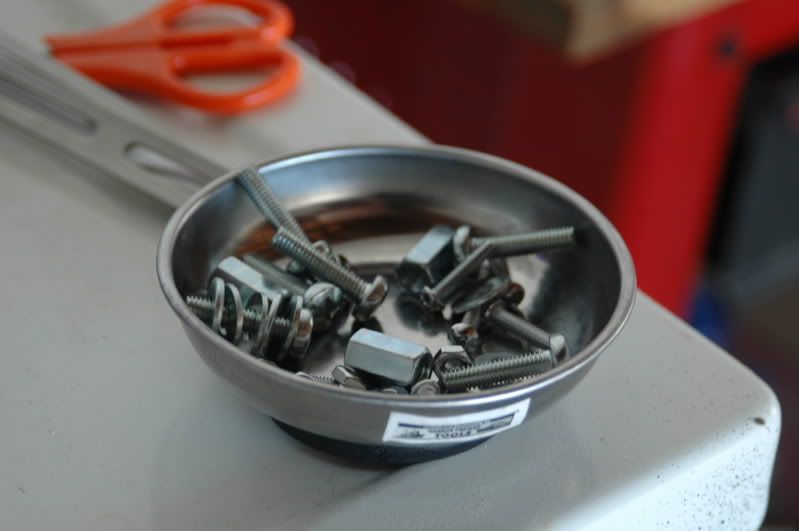
Biscuit cuts complete! That was fun, learning how to use the biscuit cutter for the first time.

-=-
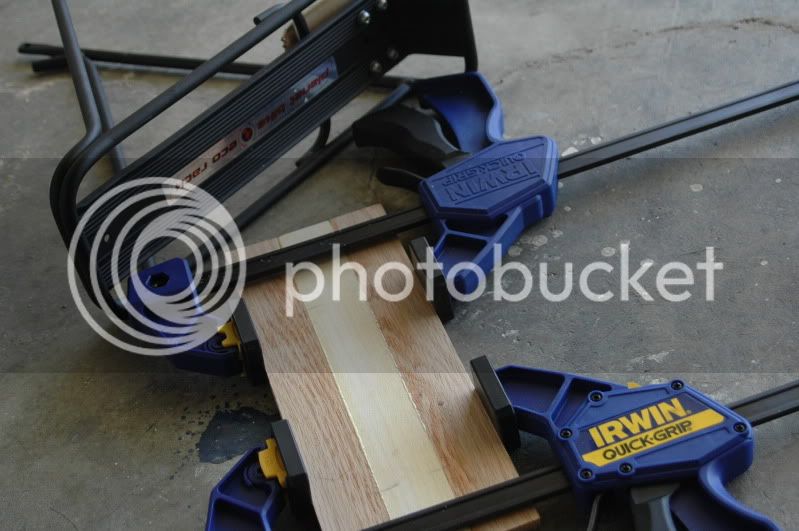
I am literally watching the glue dry.
-=-
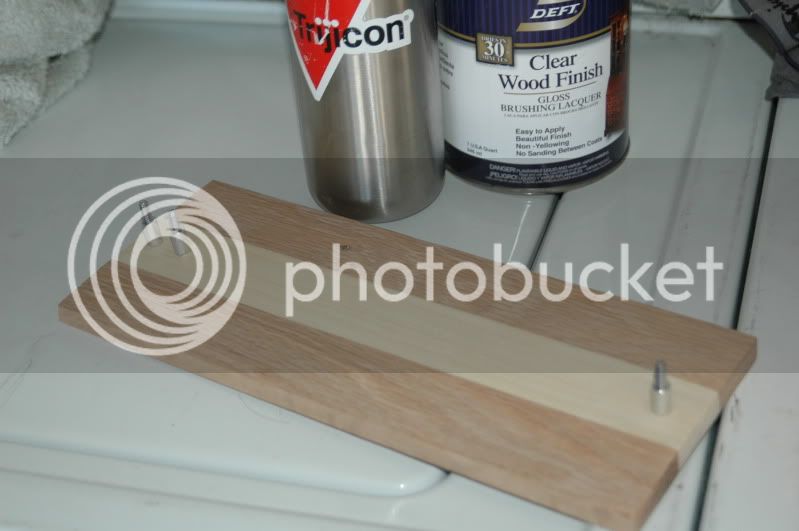
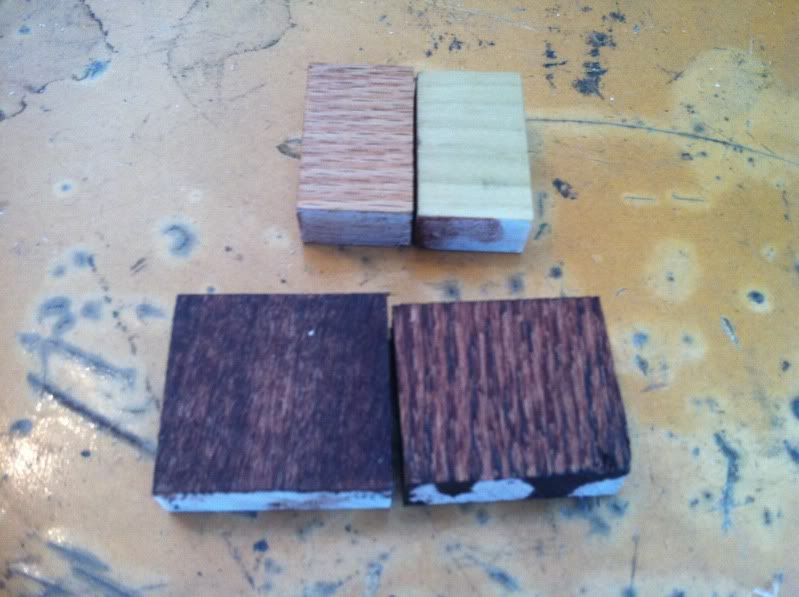
While that was happening, I tried two different stains I'd bought. One was "Red Oak" (bottom) and the other was "Natural" (top). The Red Oak stain hid the colors and quality of the wood, and all but obscured the grain. So I tried the Natural wood stain, and that guy, well that guy is the chicken dinner winner.
-=-
So, while I wait for glue to set enough for me to set the jigsaw loose on the plank, I'm off to the local bike shop to look at some rear racks and finger the cruiser goodies.
That very afternoon, I stopped by Wally World to pick up one of these cheap, sweet (chweet?) rides, and later that evening I stopped by Lowe's to pick up the rest. That's right, Lowe's.
One of the things I was bent on getting was a rear rack with a wood deck, but everything I found online was too expensive and too boring. I figured, what the heck, if I'm making a "beach" cruiser, then I might as well make it interesting and give it a cool, vintage longboard look. Taking that and running, I figured I'd go ahead and make a "tank" with the same technique, and this is where I begin my build.
The Cranbrook: A Blank Canvas
-=-
My starting supplies: Some glue, slats of poplar wood and red oak, and clamps. Not pictured here: A new buscuit join cutter, wood biscuits, wood stain.
-=-
Creating a pattern
-=-
Doing a size test. Turns out I needed four slats instead of three. Good thing I bought extra!
-=-
Biscuit cuts complete! That was fun, learning how to use the biscuit cutter for the first time.
-=-
I am literally watching the glue dry.
-=-
While that was happening, I tried two different stains I'd bought. One was "Red Oak" (bottom) and the other was "Natural" (top). The Red Oak stain hid the colors and quality of the wood, and all but obscured the grain. So I tried the Natural wood stain, and that guy, well that guy is the chicken dinner winner.
-=-
So, while I wait for glue to set enough for me to set the jigsaw loose on the plank, I'm off to the local bike shop to look at some rear racks and finger the cruiser goodies.