Re: Yard Ornament -7/23 New Parts & Ready for Assembly
Can't wait to see this one done!....Great job!
Can't wait to see this one done!....Great job!


z-bikes said:
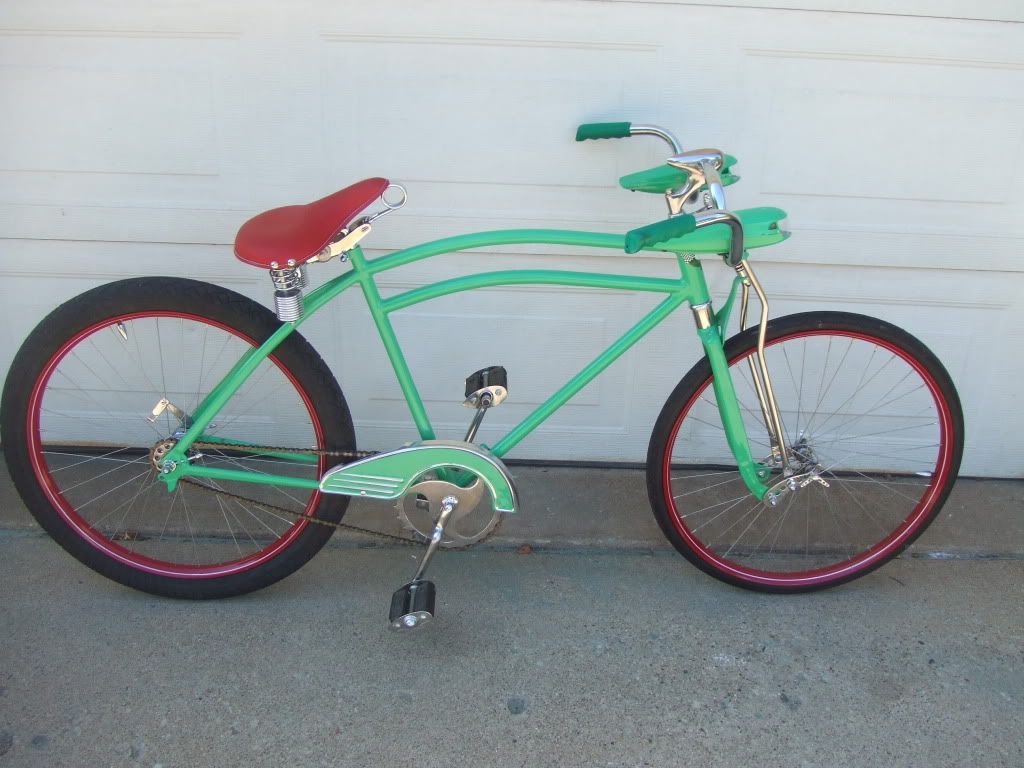
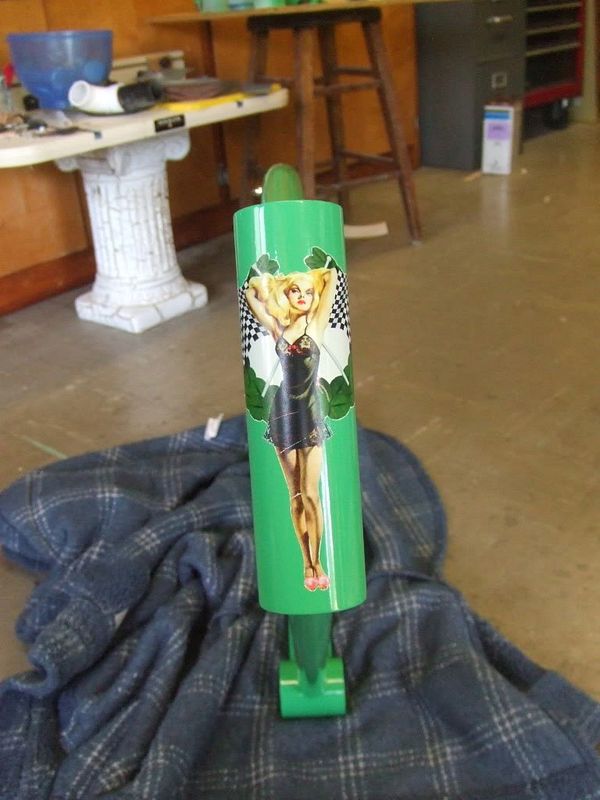
Critter1 said:I let out an audible "sweet" when I saw this! Looking good. This one has came a looong way! Are you gonna take back and let the old owner see it?
z-bikes said:
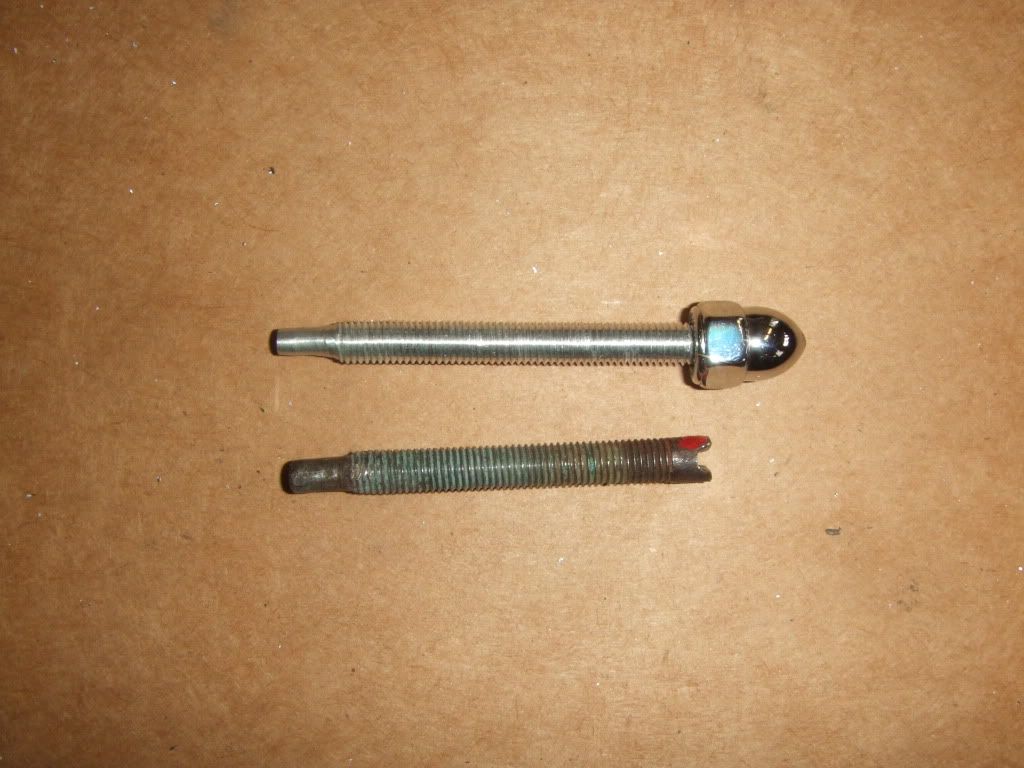
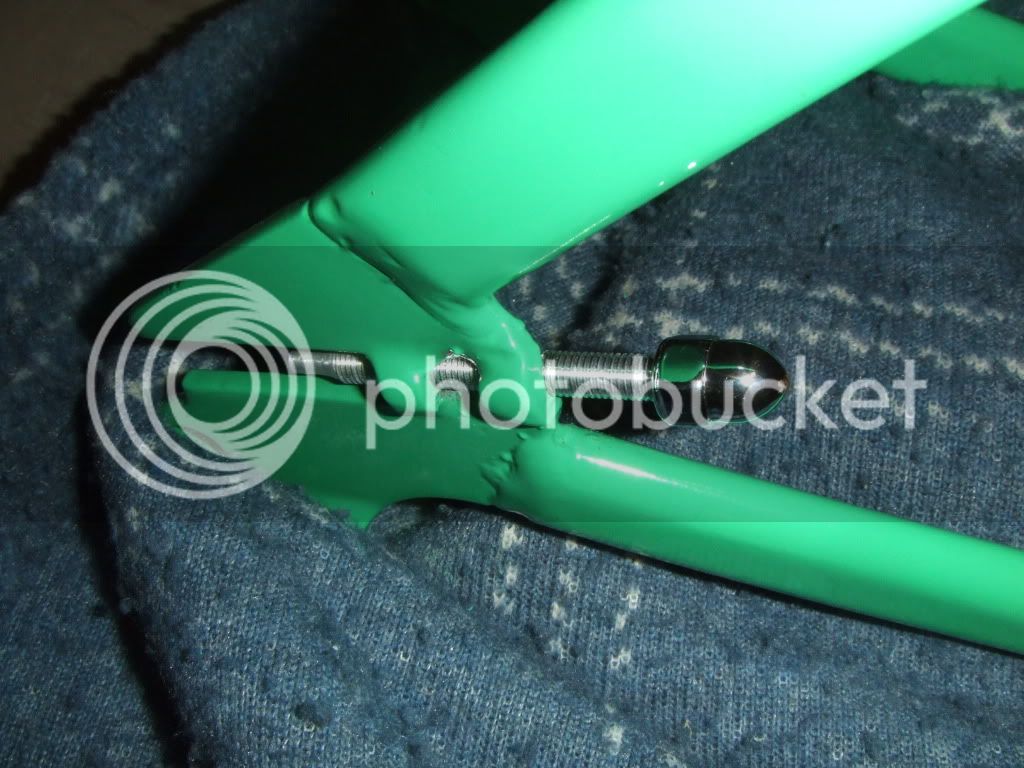
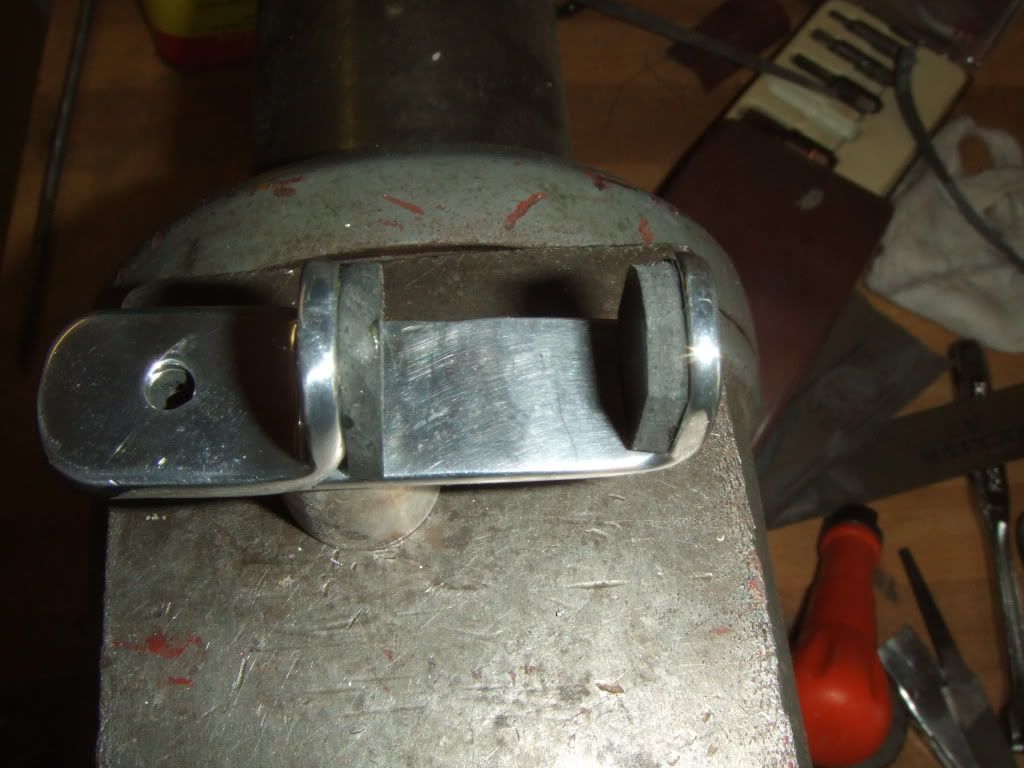
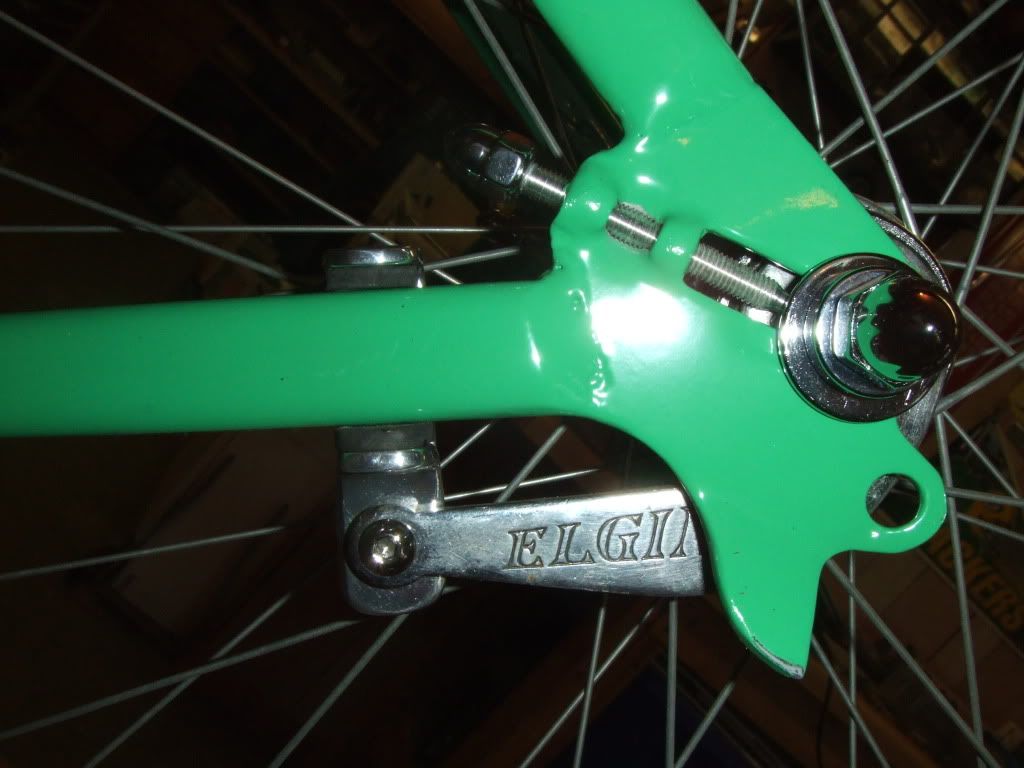
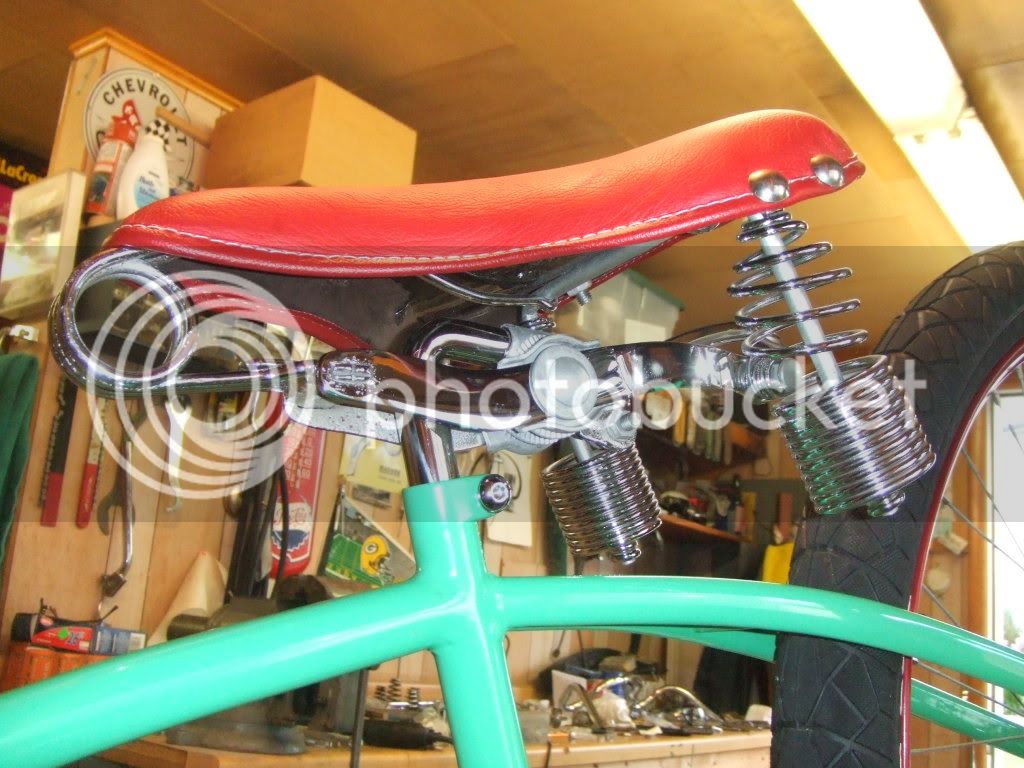
Haven't done anything yet because they' turn so easy but locktite will be applied.yoothgeye said:What did you do to lock on the acorn nut so that when you go to loosen them they actually loosen and the nut doesn't just come off?
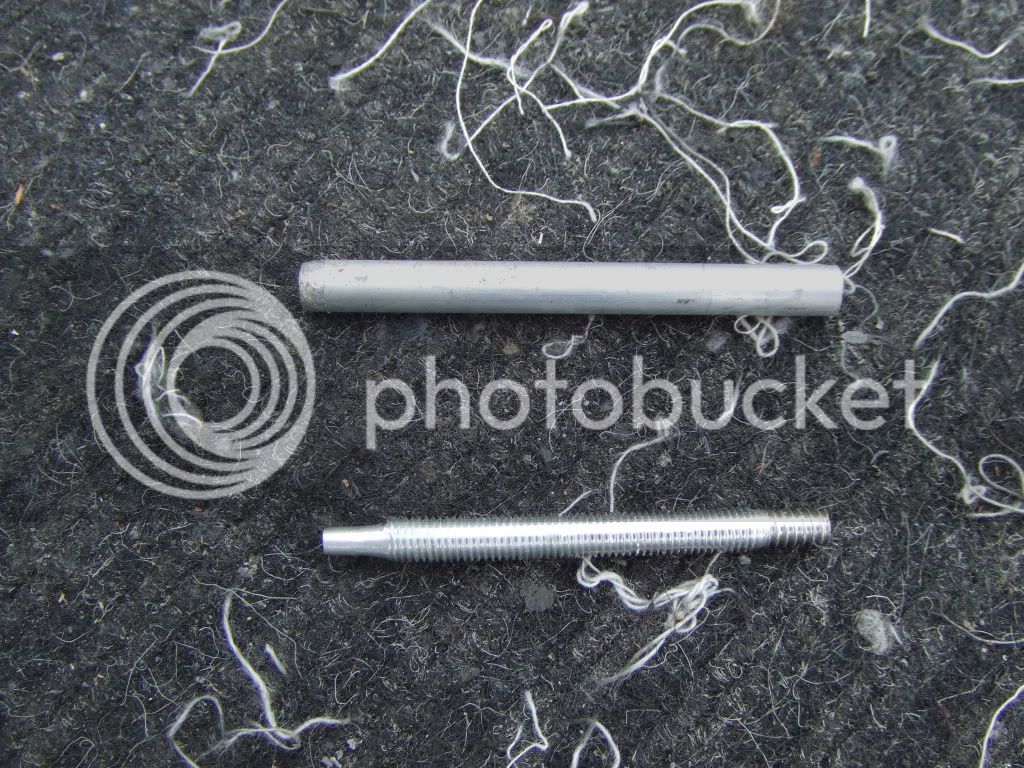
That's what I did for the studs that go into the top of the strut rods so I could adjust wheel centering but these nuts will just be locktited.imagearchy said:i think he notched the treaded rod then screwed the nut over the top. the nit will have to come off to adjust it. am i right?
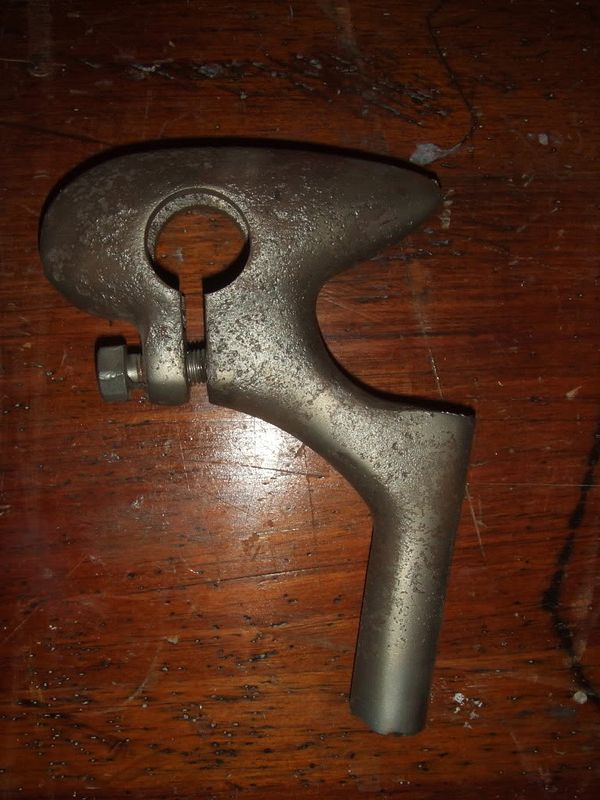
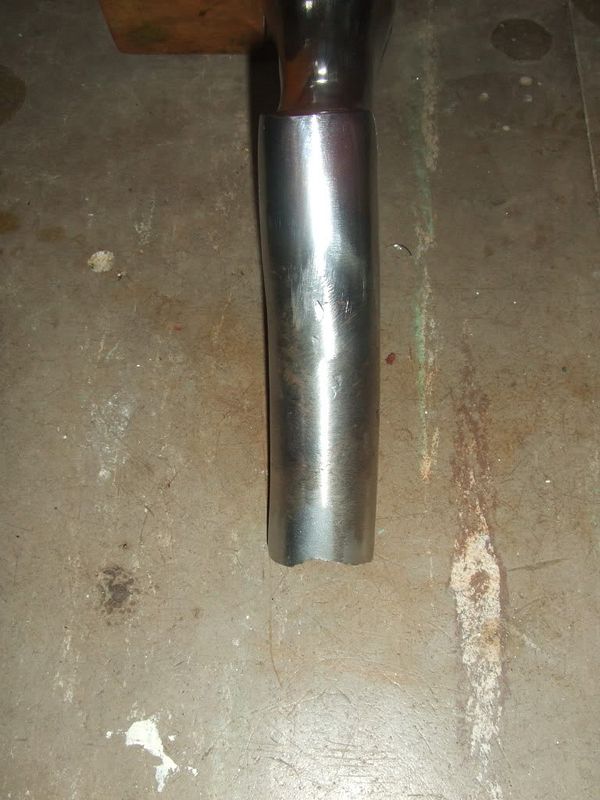
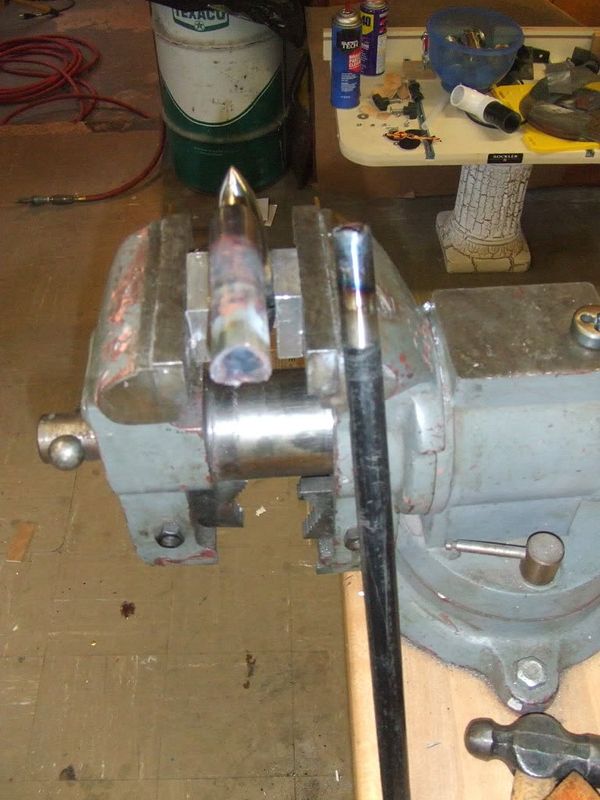
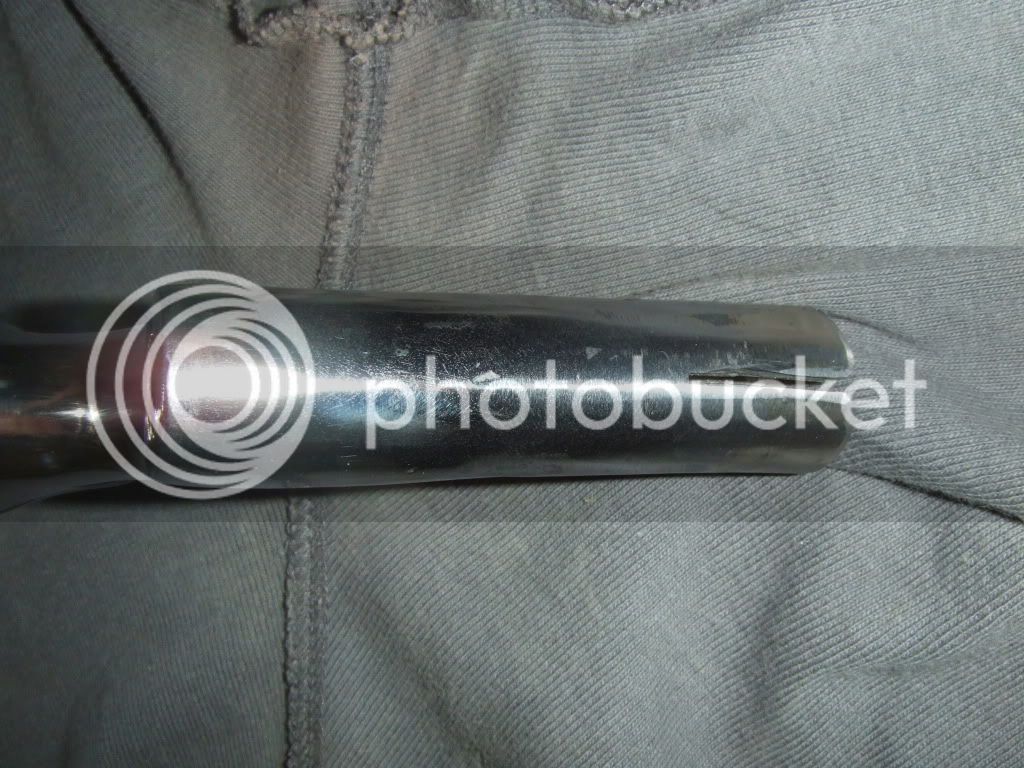
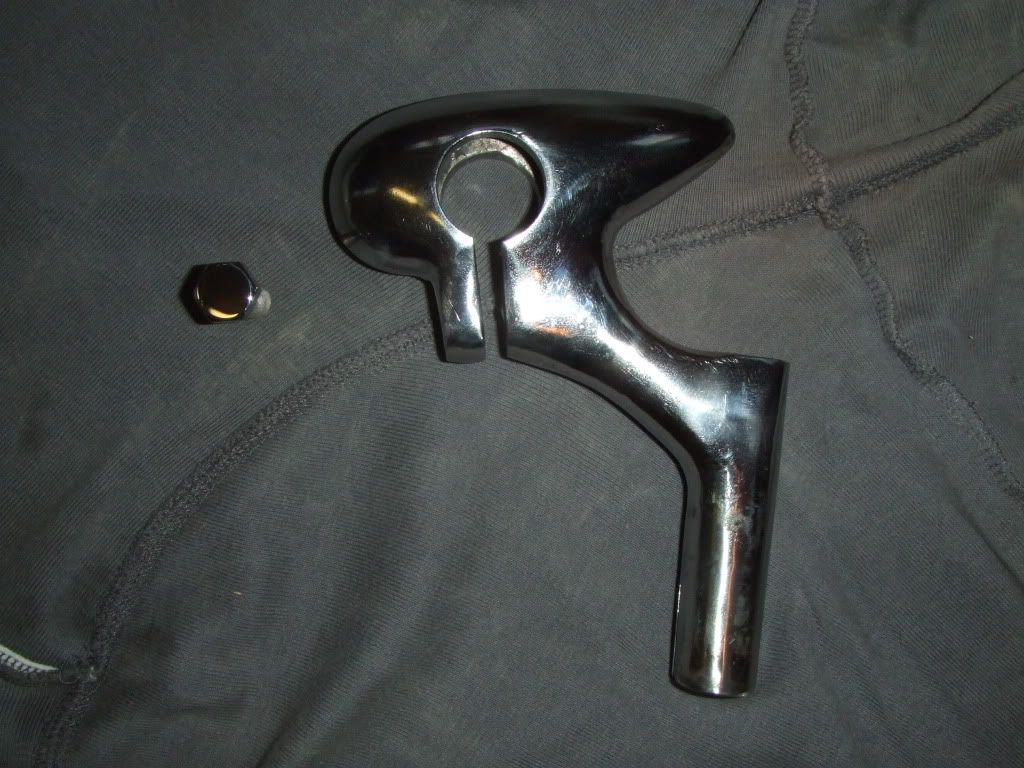

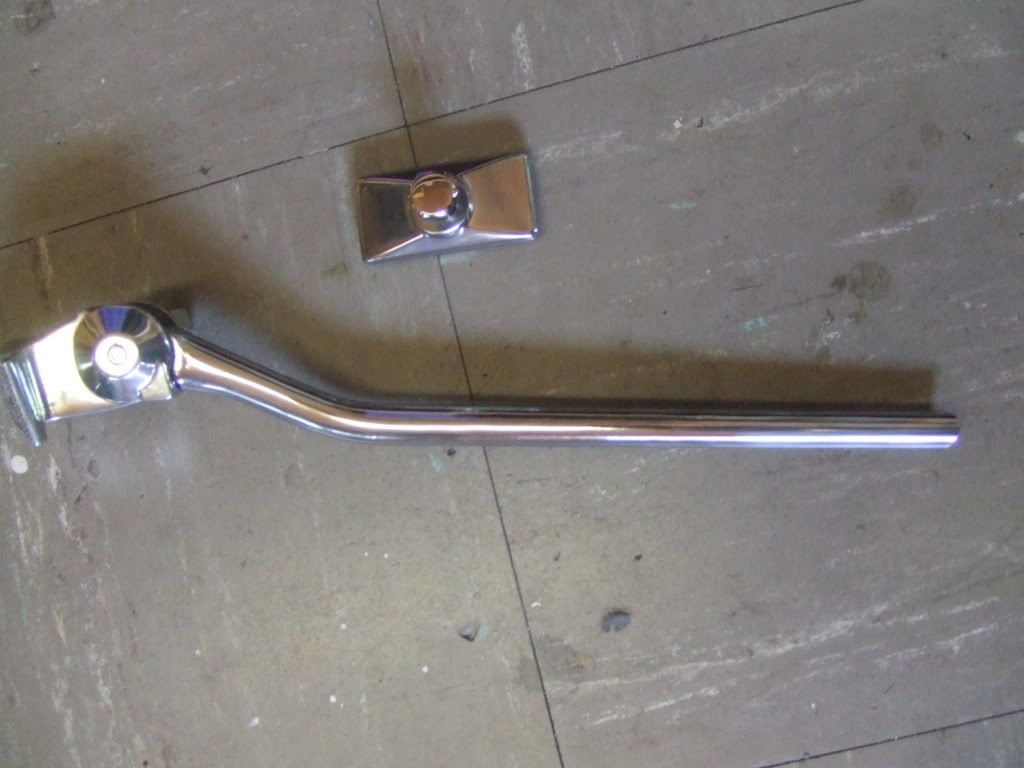
I removed it from a prewar mens Schwinn. It's somewhat rare so I really wanted to preserve it. When I have more time I'll cut off the damaged part and braze on a new extension then have it plated.scott brownsey said:that stem is so COOL what is it from ?
its very cool i have never seen 1 b4z-bikes said:I removed it from a prewar mens Schwinn. It's somewhat rare so I really wanted to preserve it. When I have more time I'll cut off the damaged part and braze on a new extension then have it plated.scott brownsey said:that stem is so COOL what is it from ?
I believe it's a Wald #4.
Enter your email address to join: