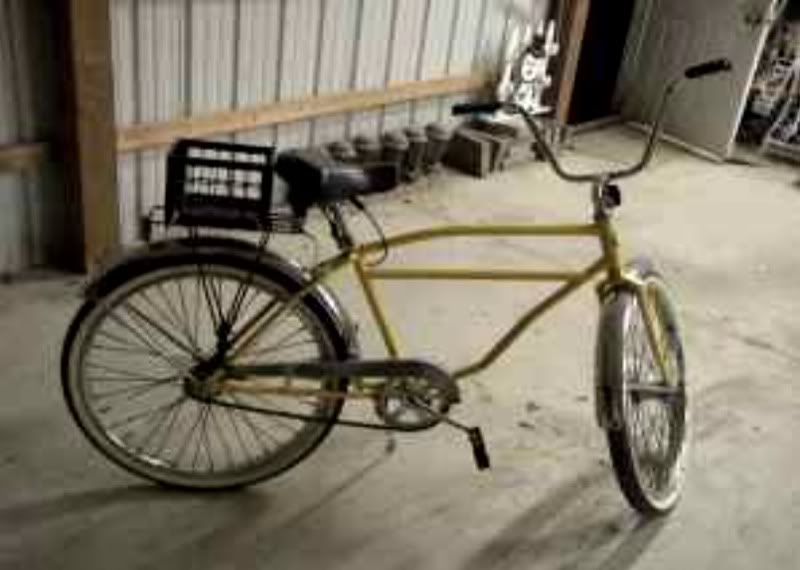
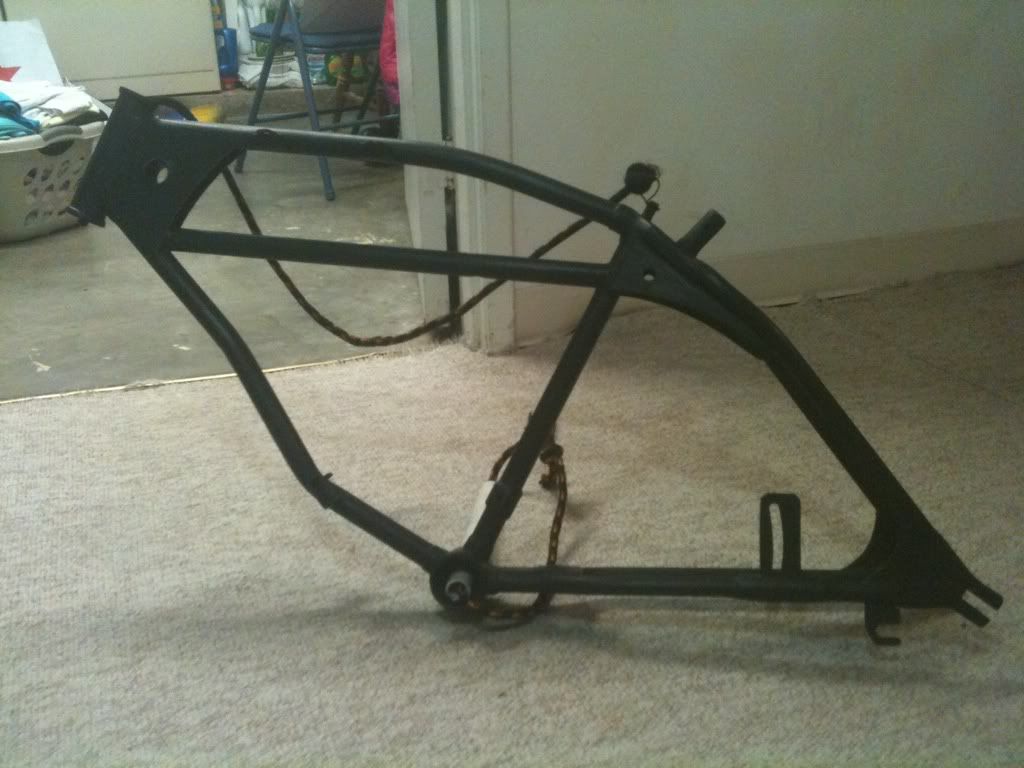
This is the starting point .. Craigs list find
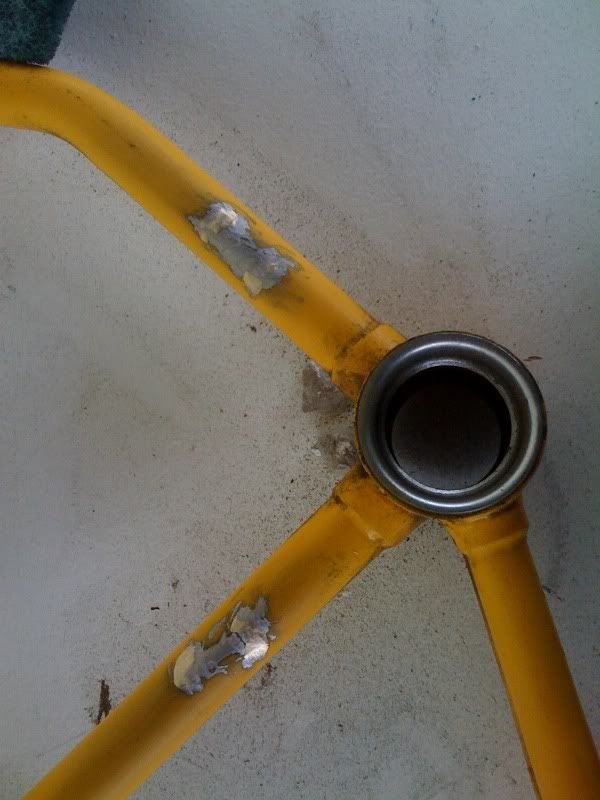
First mod - grinding off the chainguard tabs for engine clearance
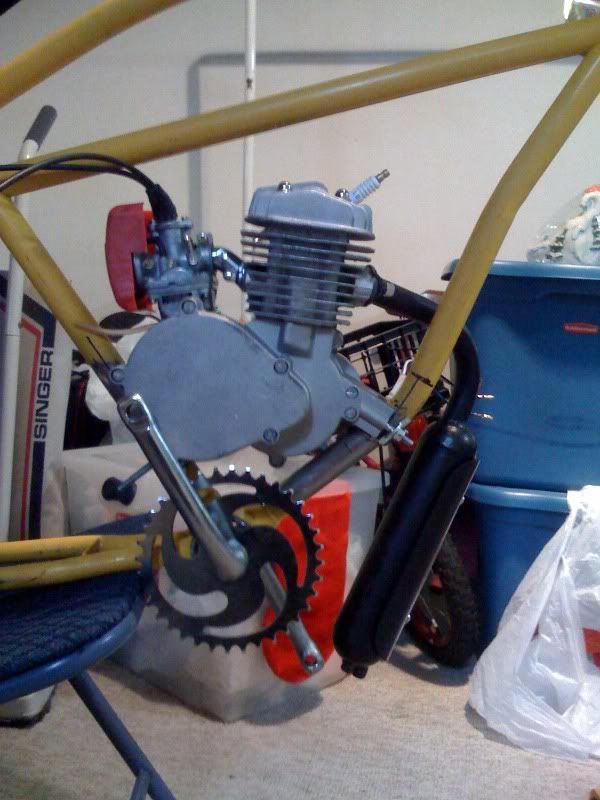
Here's the engine area mock up;
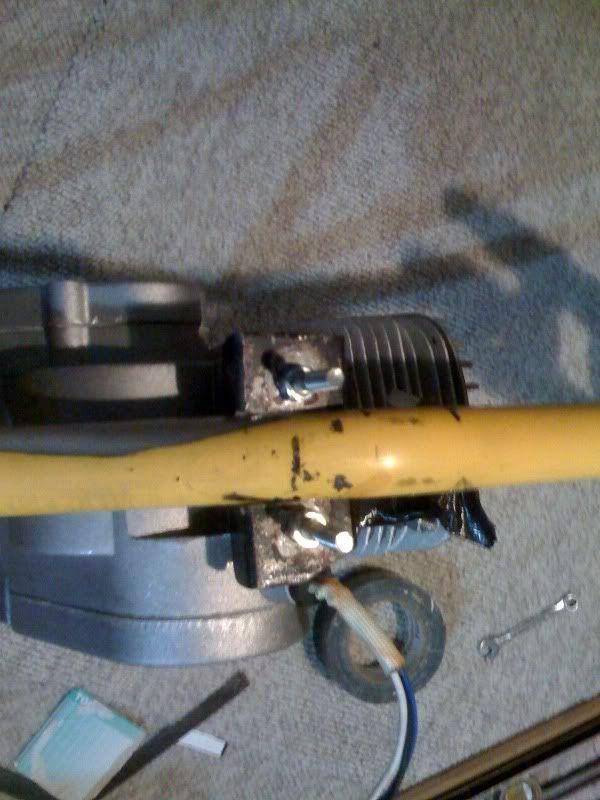
First issue is getting the motor low enough that the plug and carb clear, while maintaining clearance for the chainring. I'm using a 36T or smaller chainring & flipping the head to make this happen... I'm going to fab motor mounts front and back to make it rock solid. I'll put a tube through the straight bar for the throttle cable to prevent wear on the carb.
Here's a shot of the prewelded front mounts, they're made from channel so
There almost like shoes ... Once fabbed , I leveled the bottom bracket and then leveled the motor (drive sprocket) to keep it aligned. I also put tank tabs on the top tube at this point. To make sure I had the proper clearance I threw the front end on so I could see where the tank needed to be to clear the bars on a tight turn.
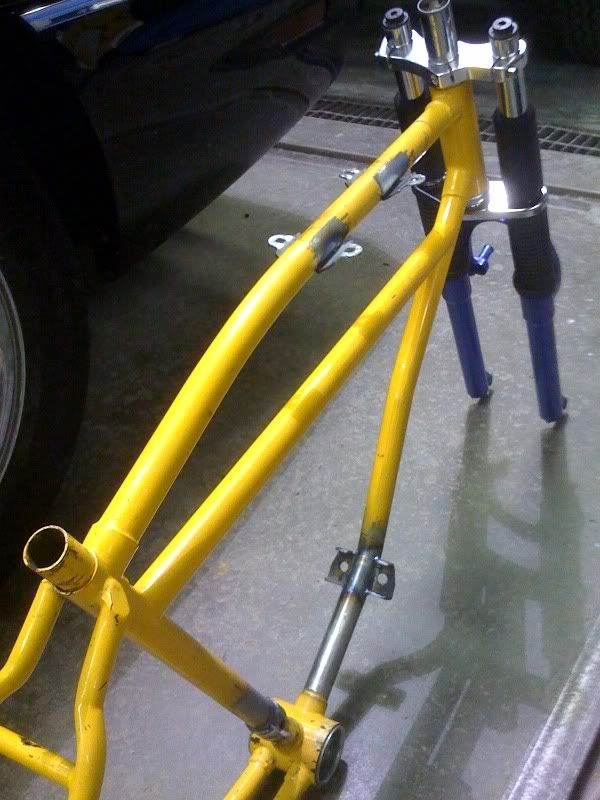
Here's the frame with the tank tabs and motor mounts in place
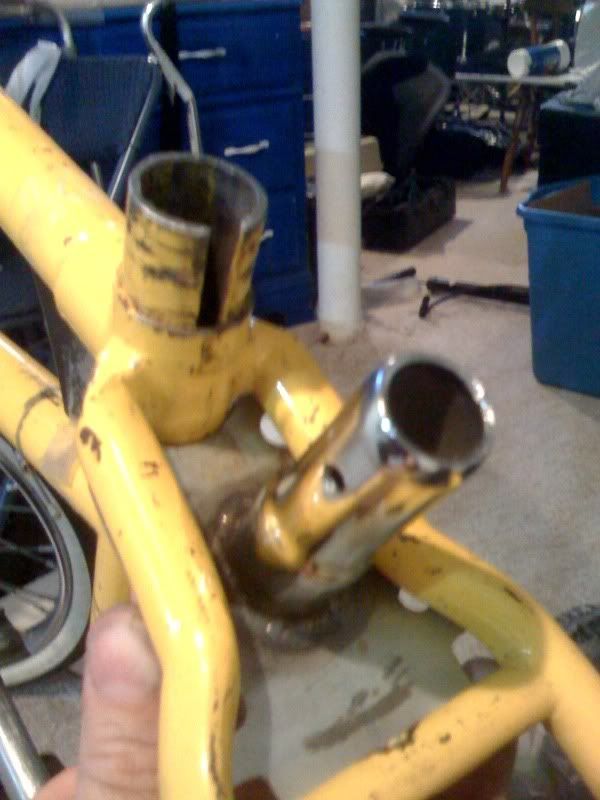
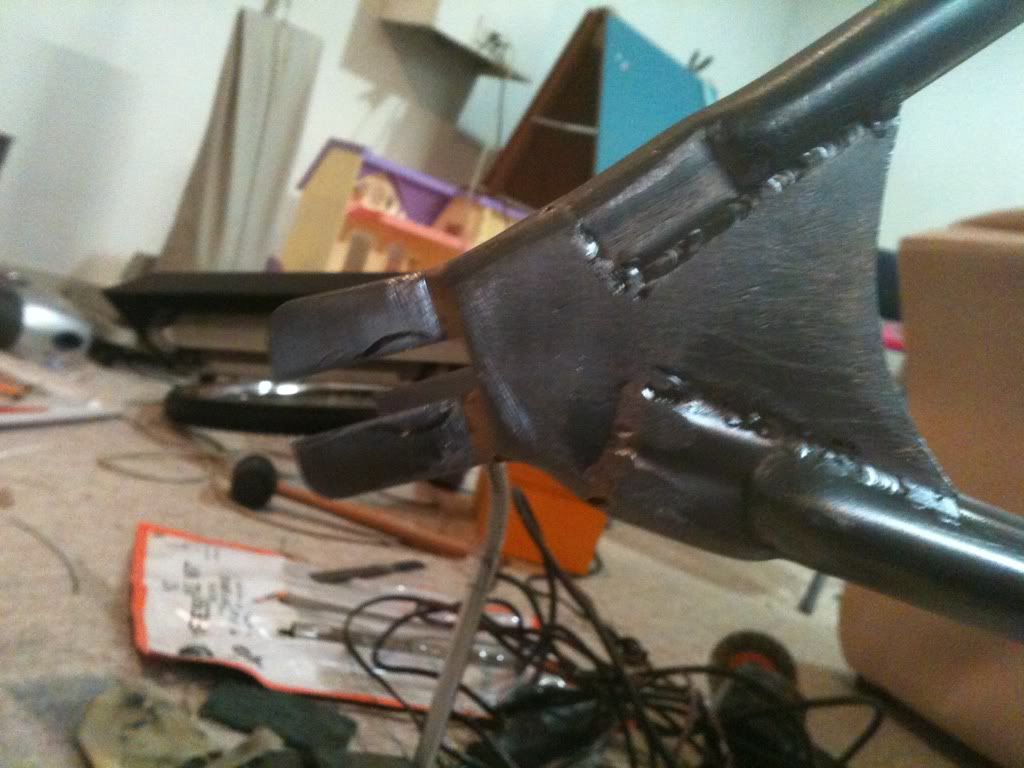
Next up the fork tube gussets

Here's a shot of the fork tube gussets before I cleaned them
Up. The trick here was to get the plate flush with the fork tube,top tube, straight bar & simultaneously and then get the lightning holes to line up to put the DOM through.
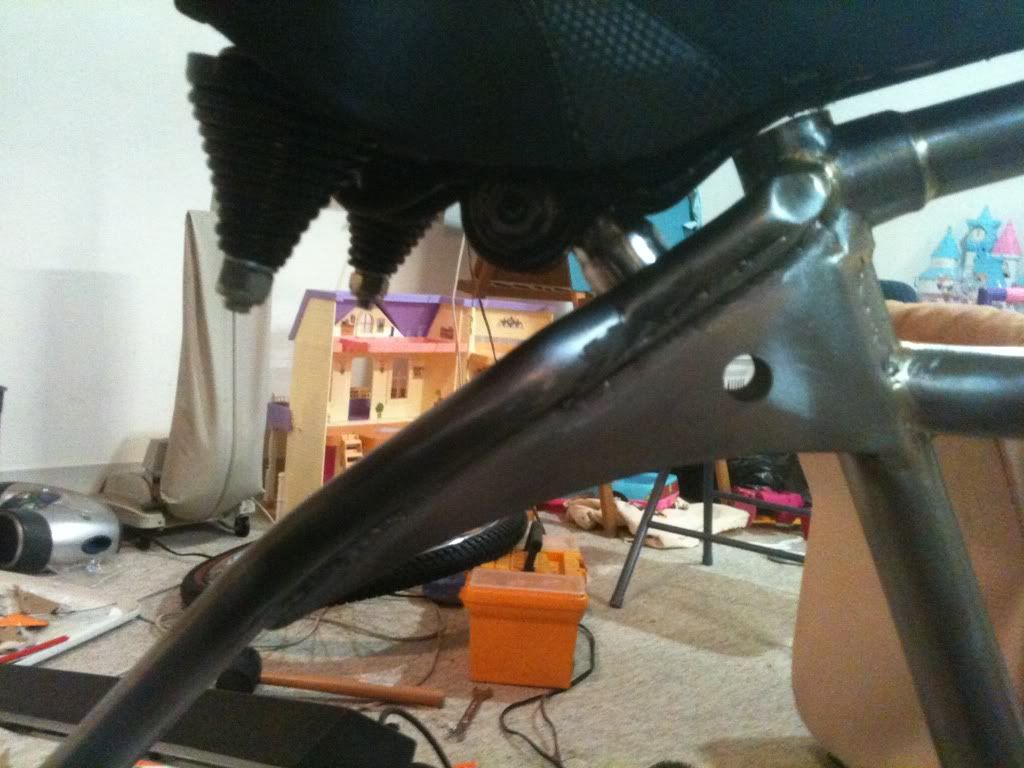
Next - move the seat

To move the seat back an old piece of seatpost was welded onto a plate shaped to fit between the chainstays
This is what it looks like when welded in place
I wanted to put supports under the plate for the seat that would act as gussets for the seat stays and help tie in the line of the top tube with the stays,at the same time,fab a permanent mount for my centerstand that acts as a chainstay support. I also made gussets/supports for the stays at the dropouts.
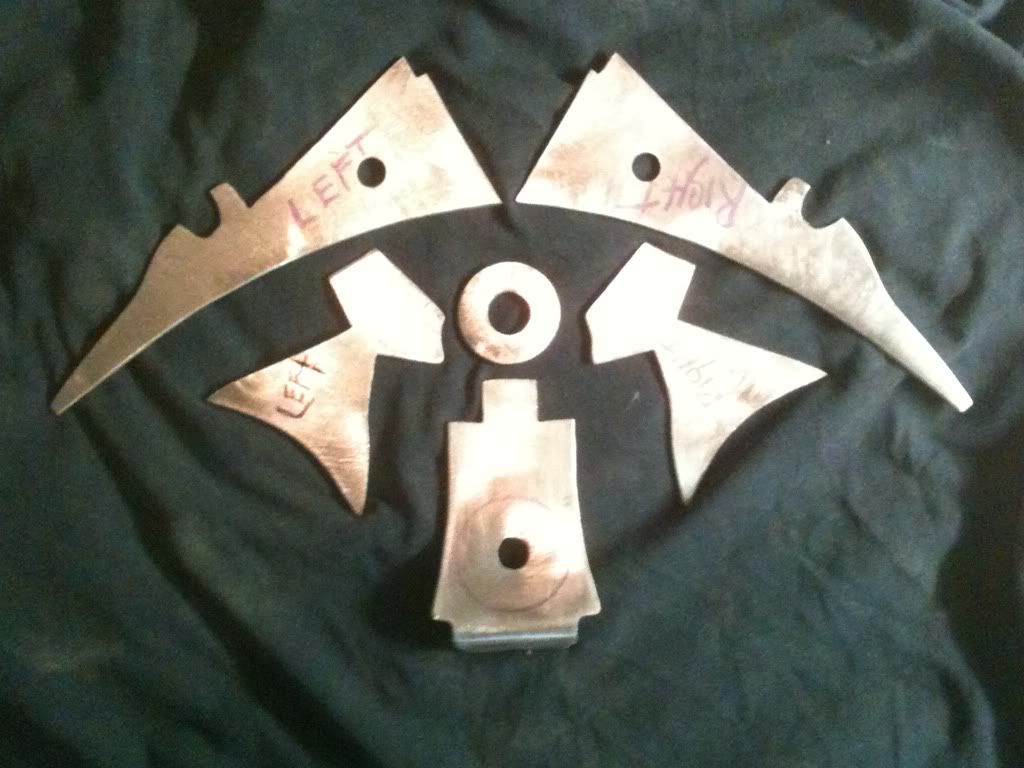
These are the fabbed pieces
Seatstay support
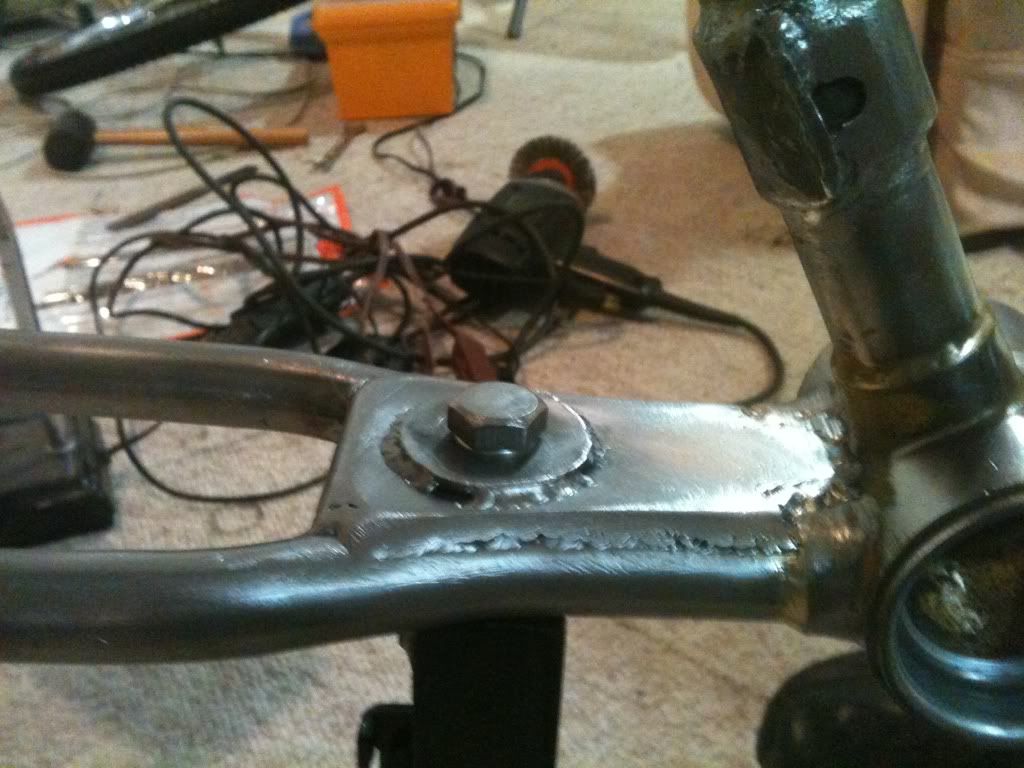
Centerstand mount
Dropout/stay support
Next comes the idler and brake tab;
most idlers are bolted onto the chainstay which is at a different angle than the chain line from hub to motor.
I wanted it to be parallel so I put a laser level on the motor side hub cog and marked the line on a pipe nipple that was cut and placed over the chainstay. Then a slot was cut in the nipple a piece from an alternator bracket was welded in.
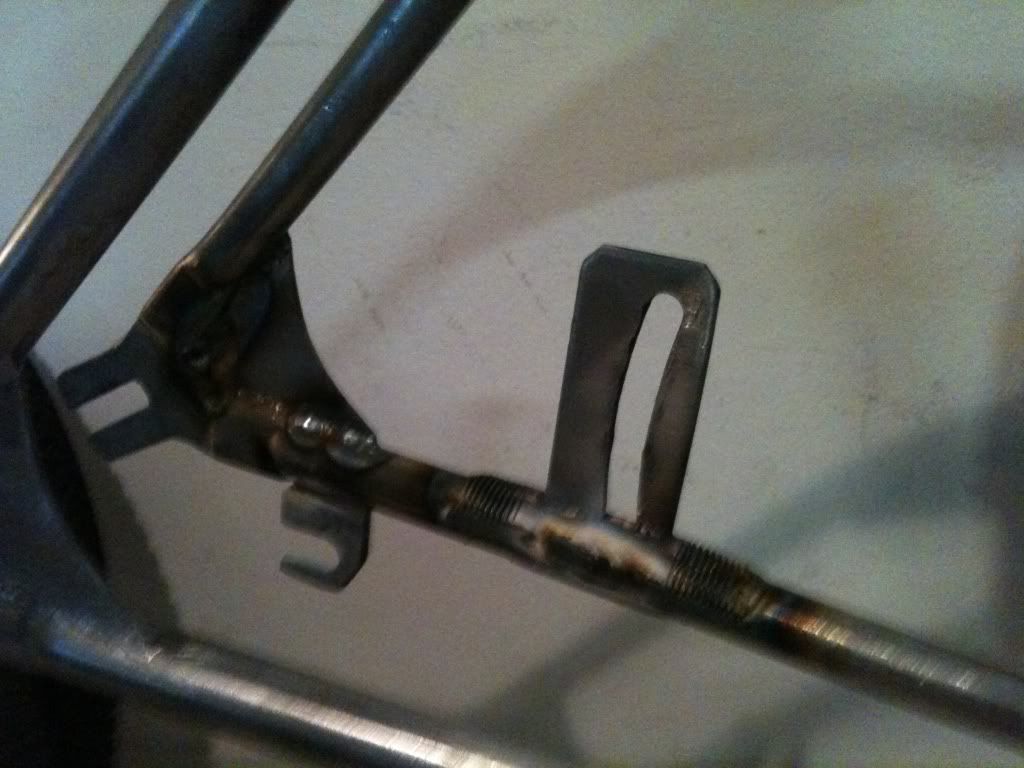
The completed piece was the welded in place along with a tab for the brake arm

Here's a good look at the idler , dropout Gusset & brake arm tab
Next is primer and then truck bed liner
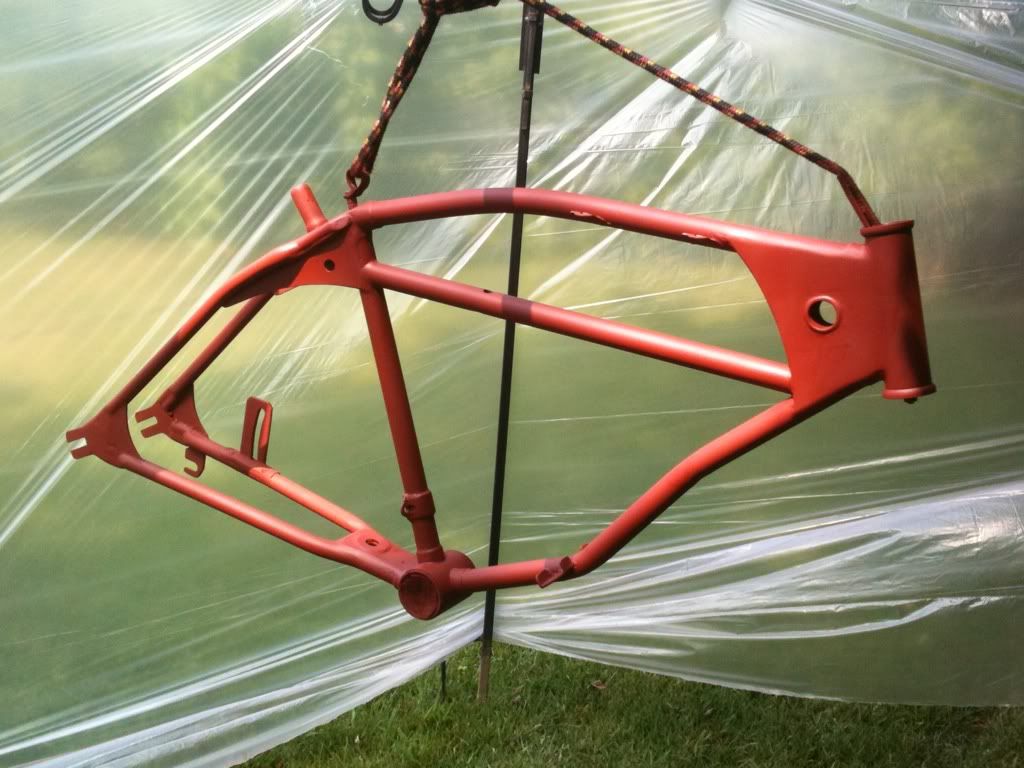
Back soon!
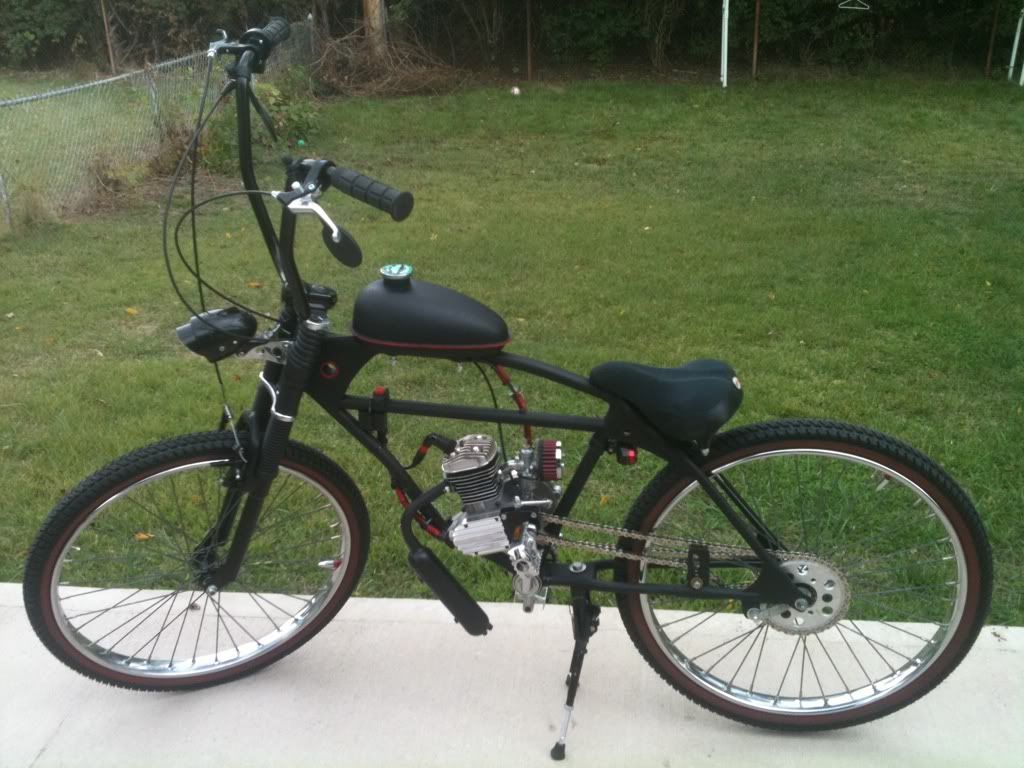
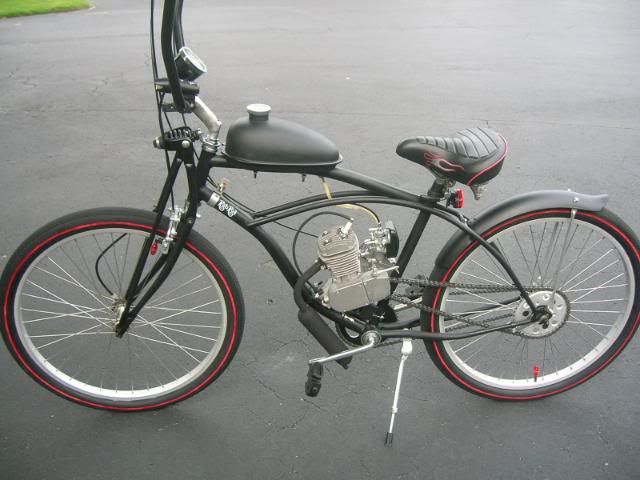
Here's where we end up.