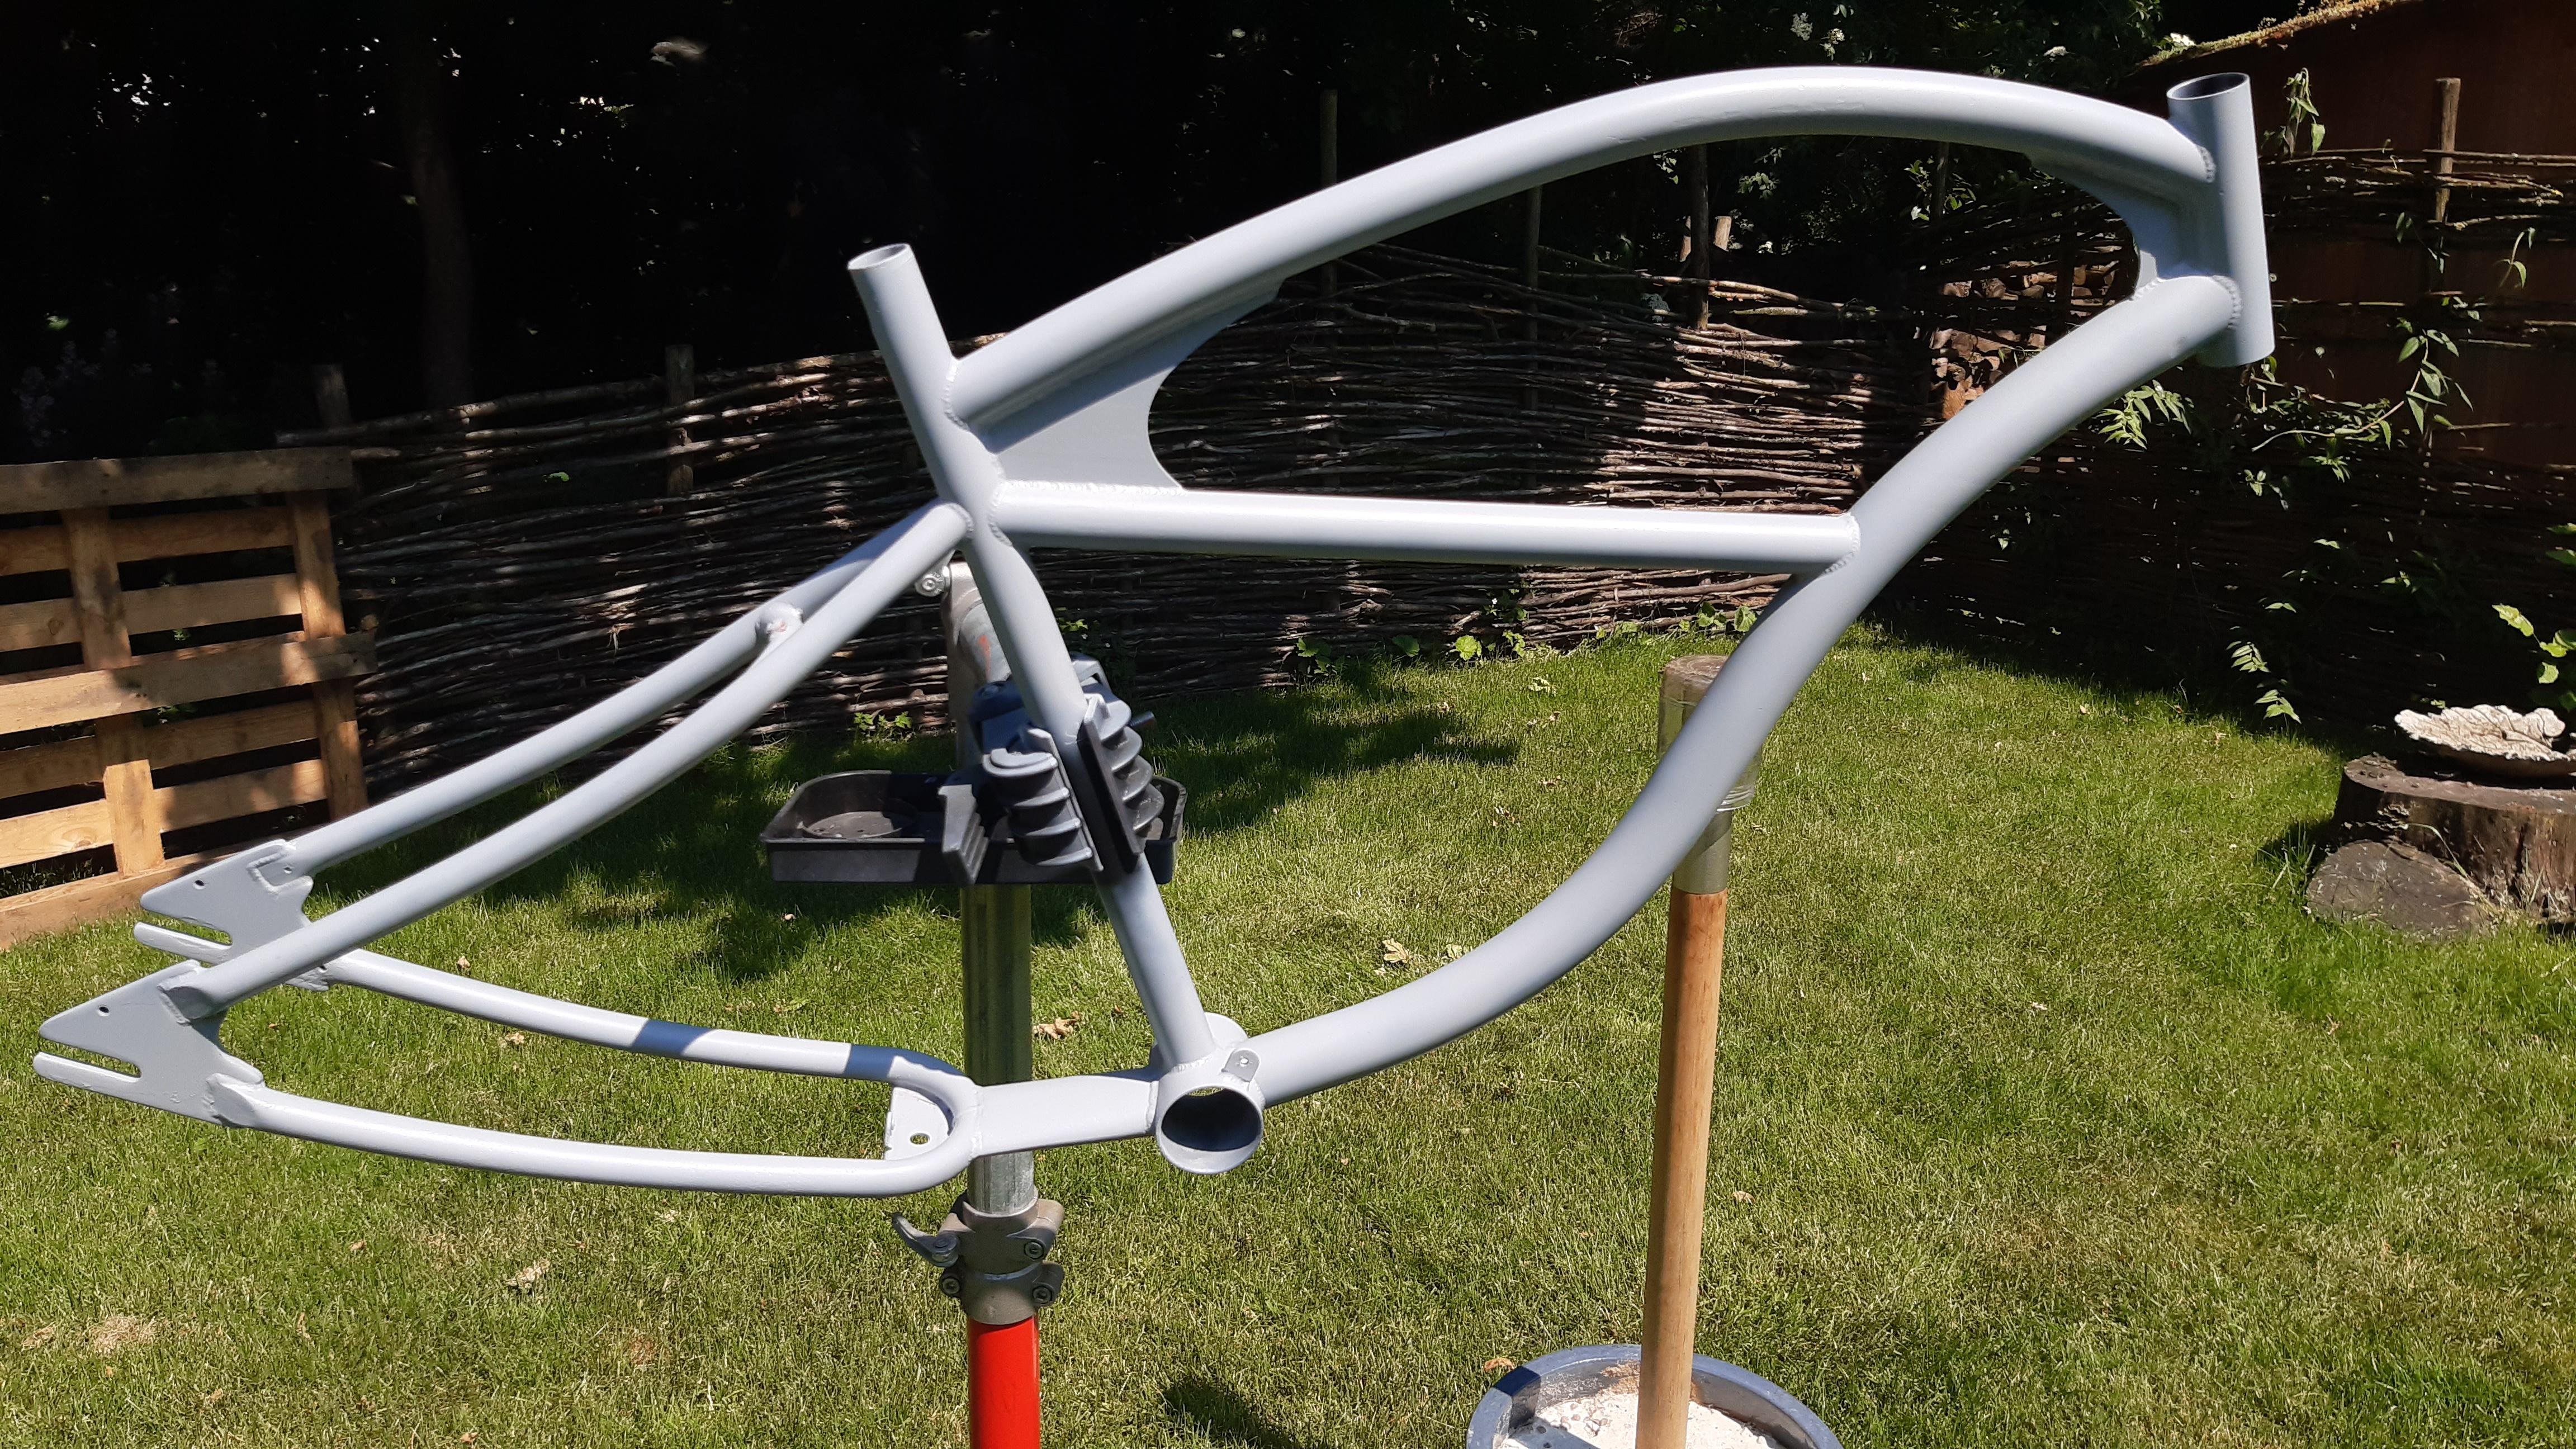
Frame primered, needs a bit more crusty paint removal in some corners:
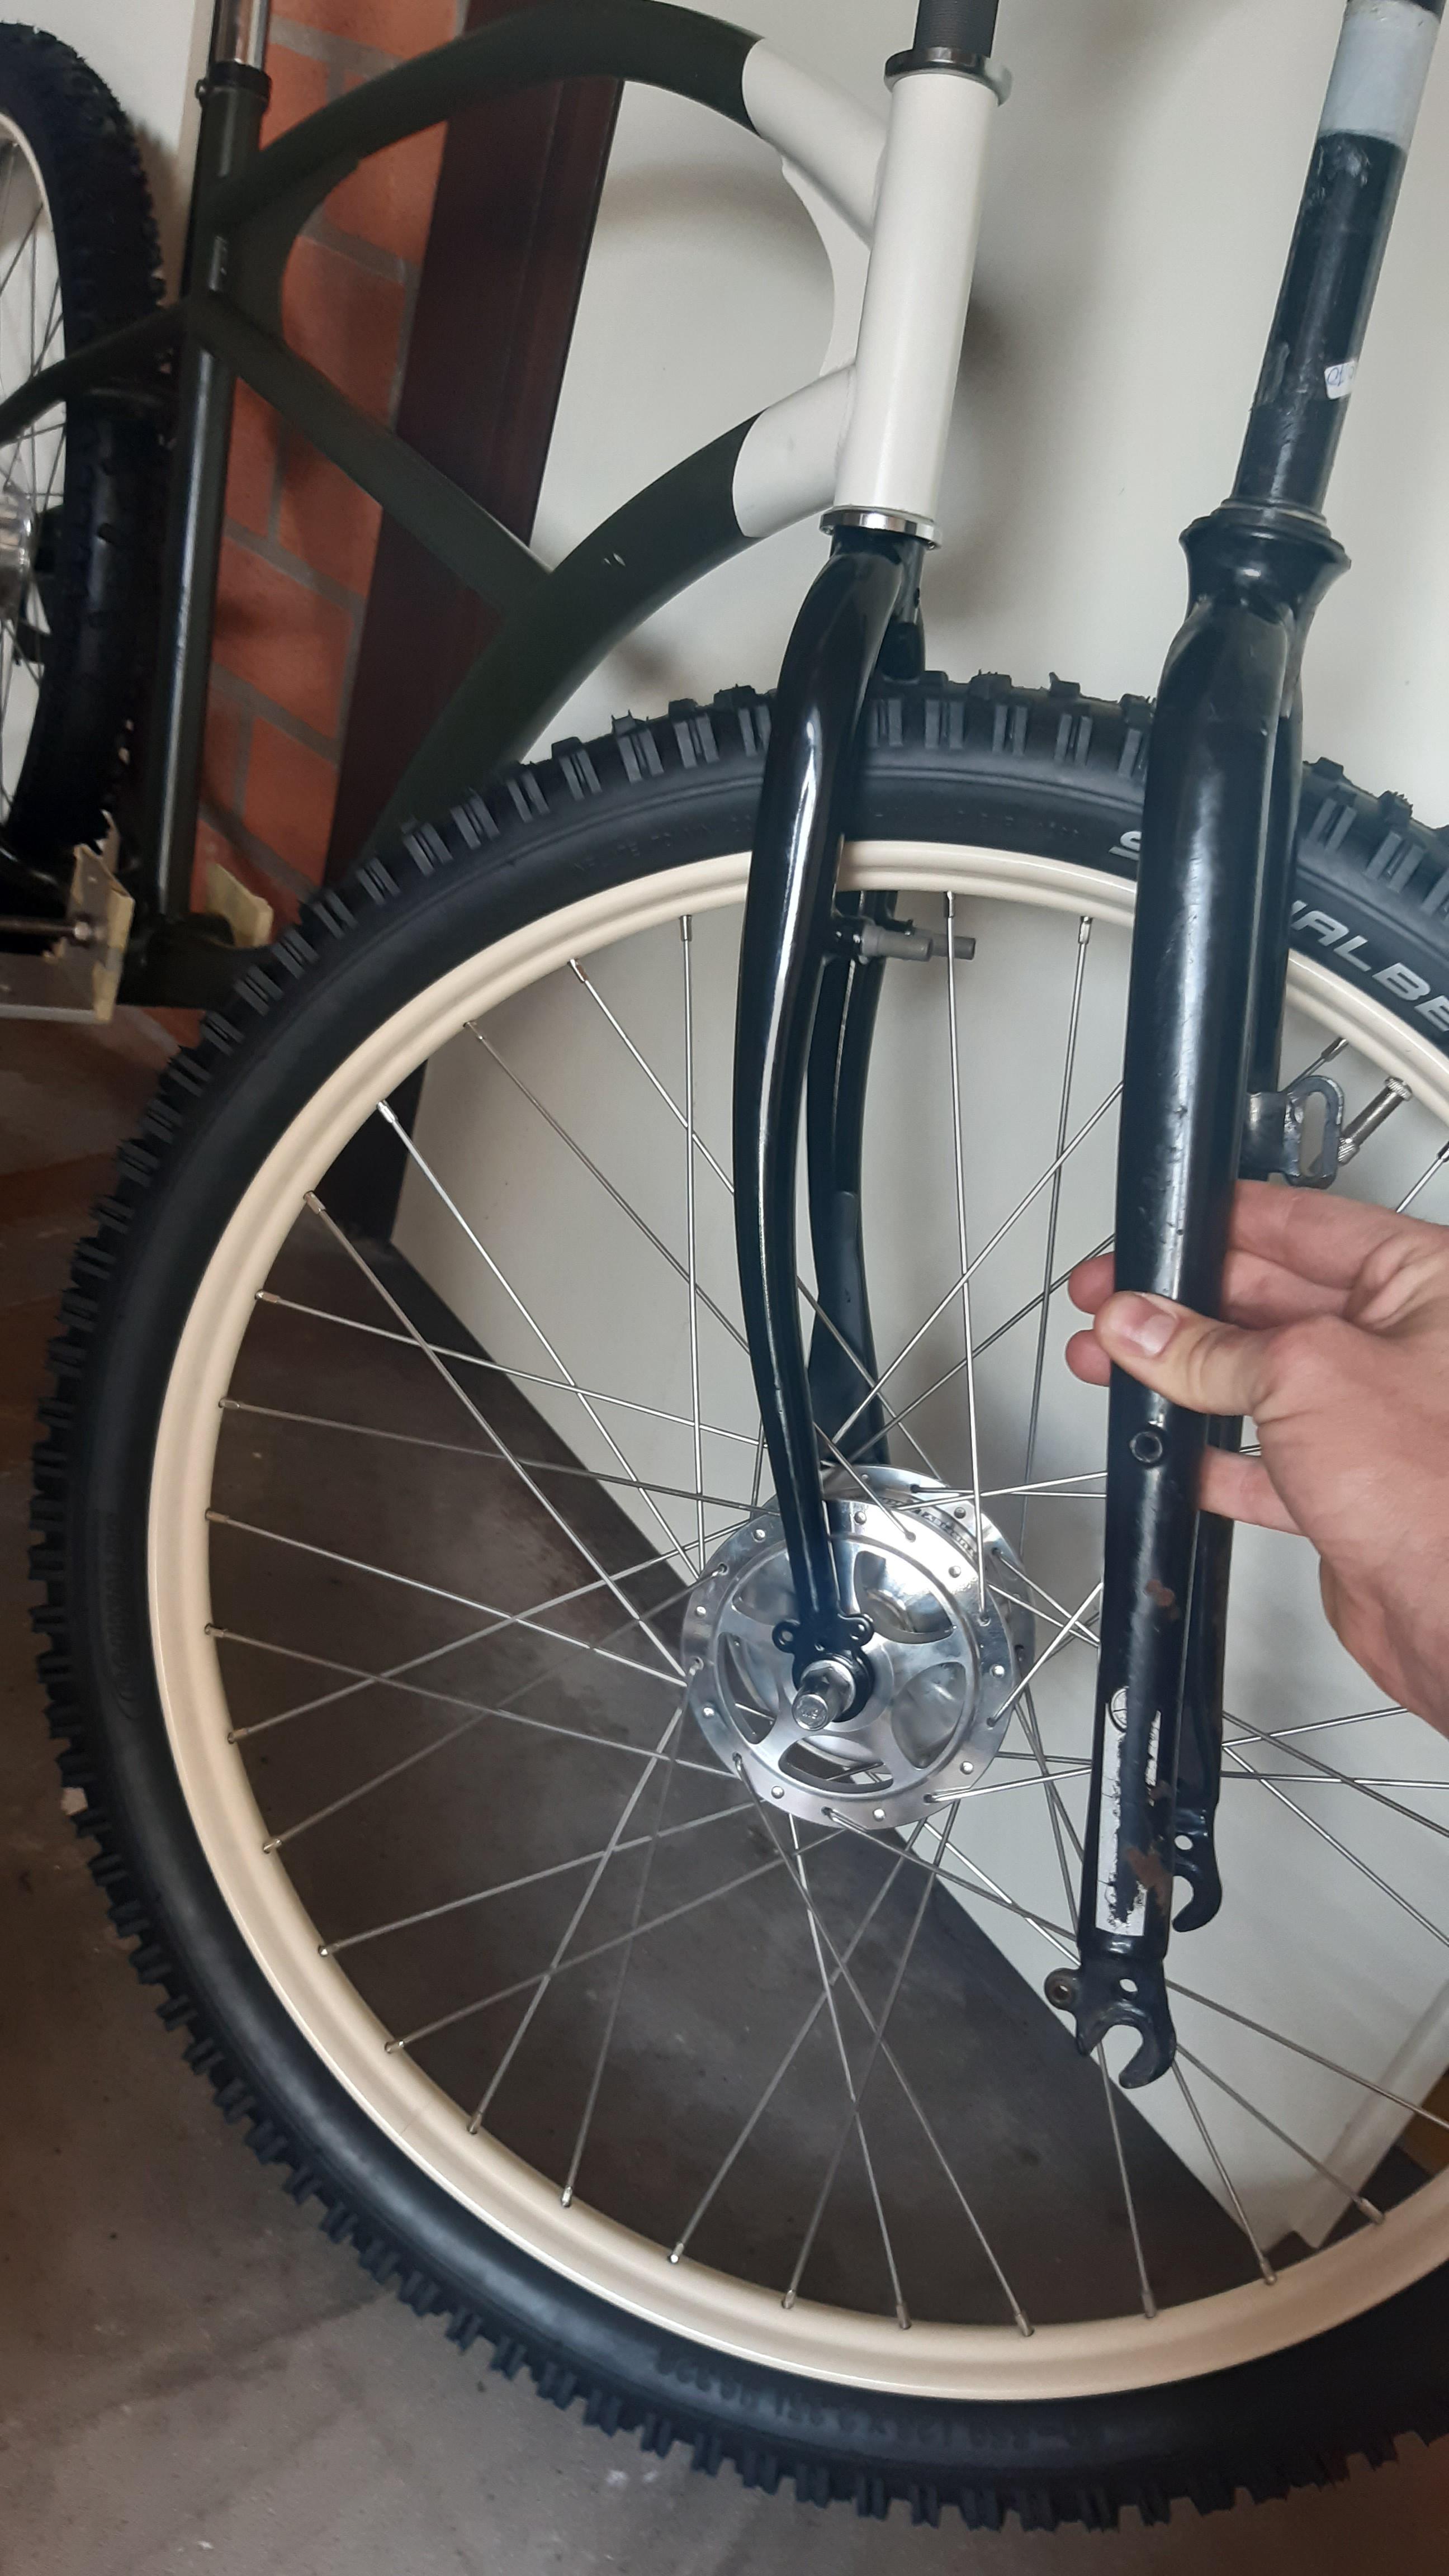
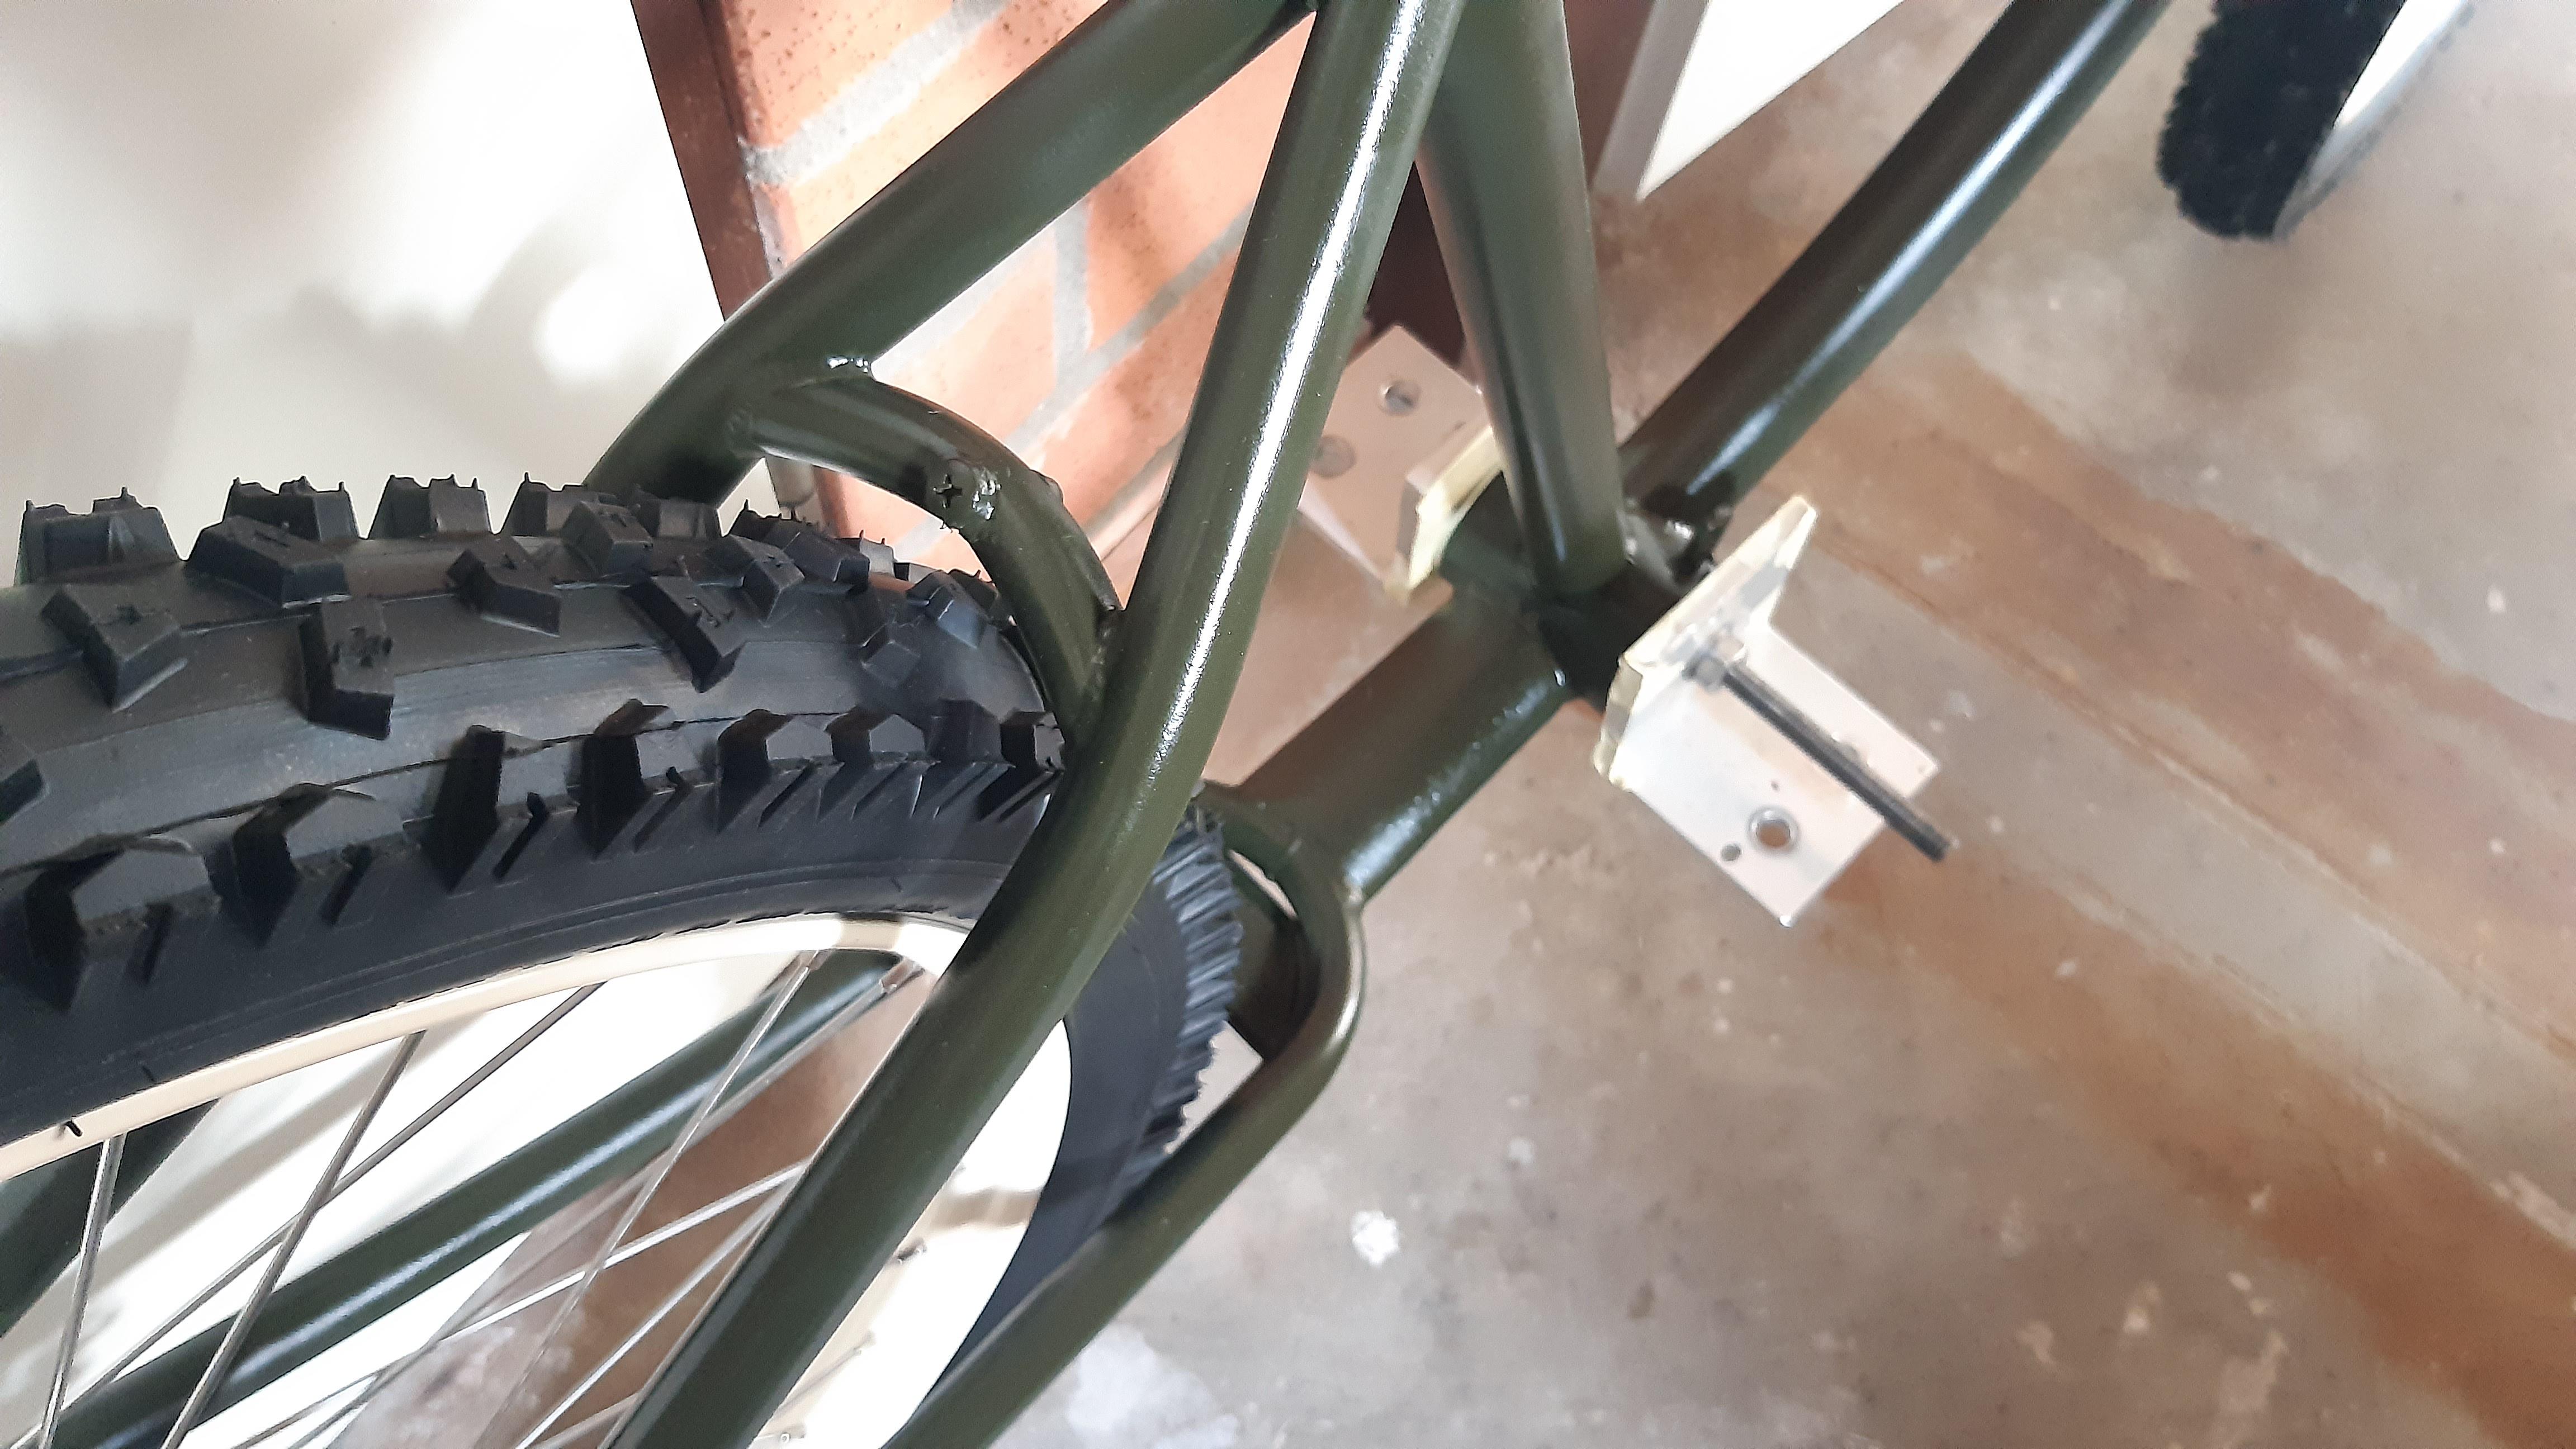
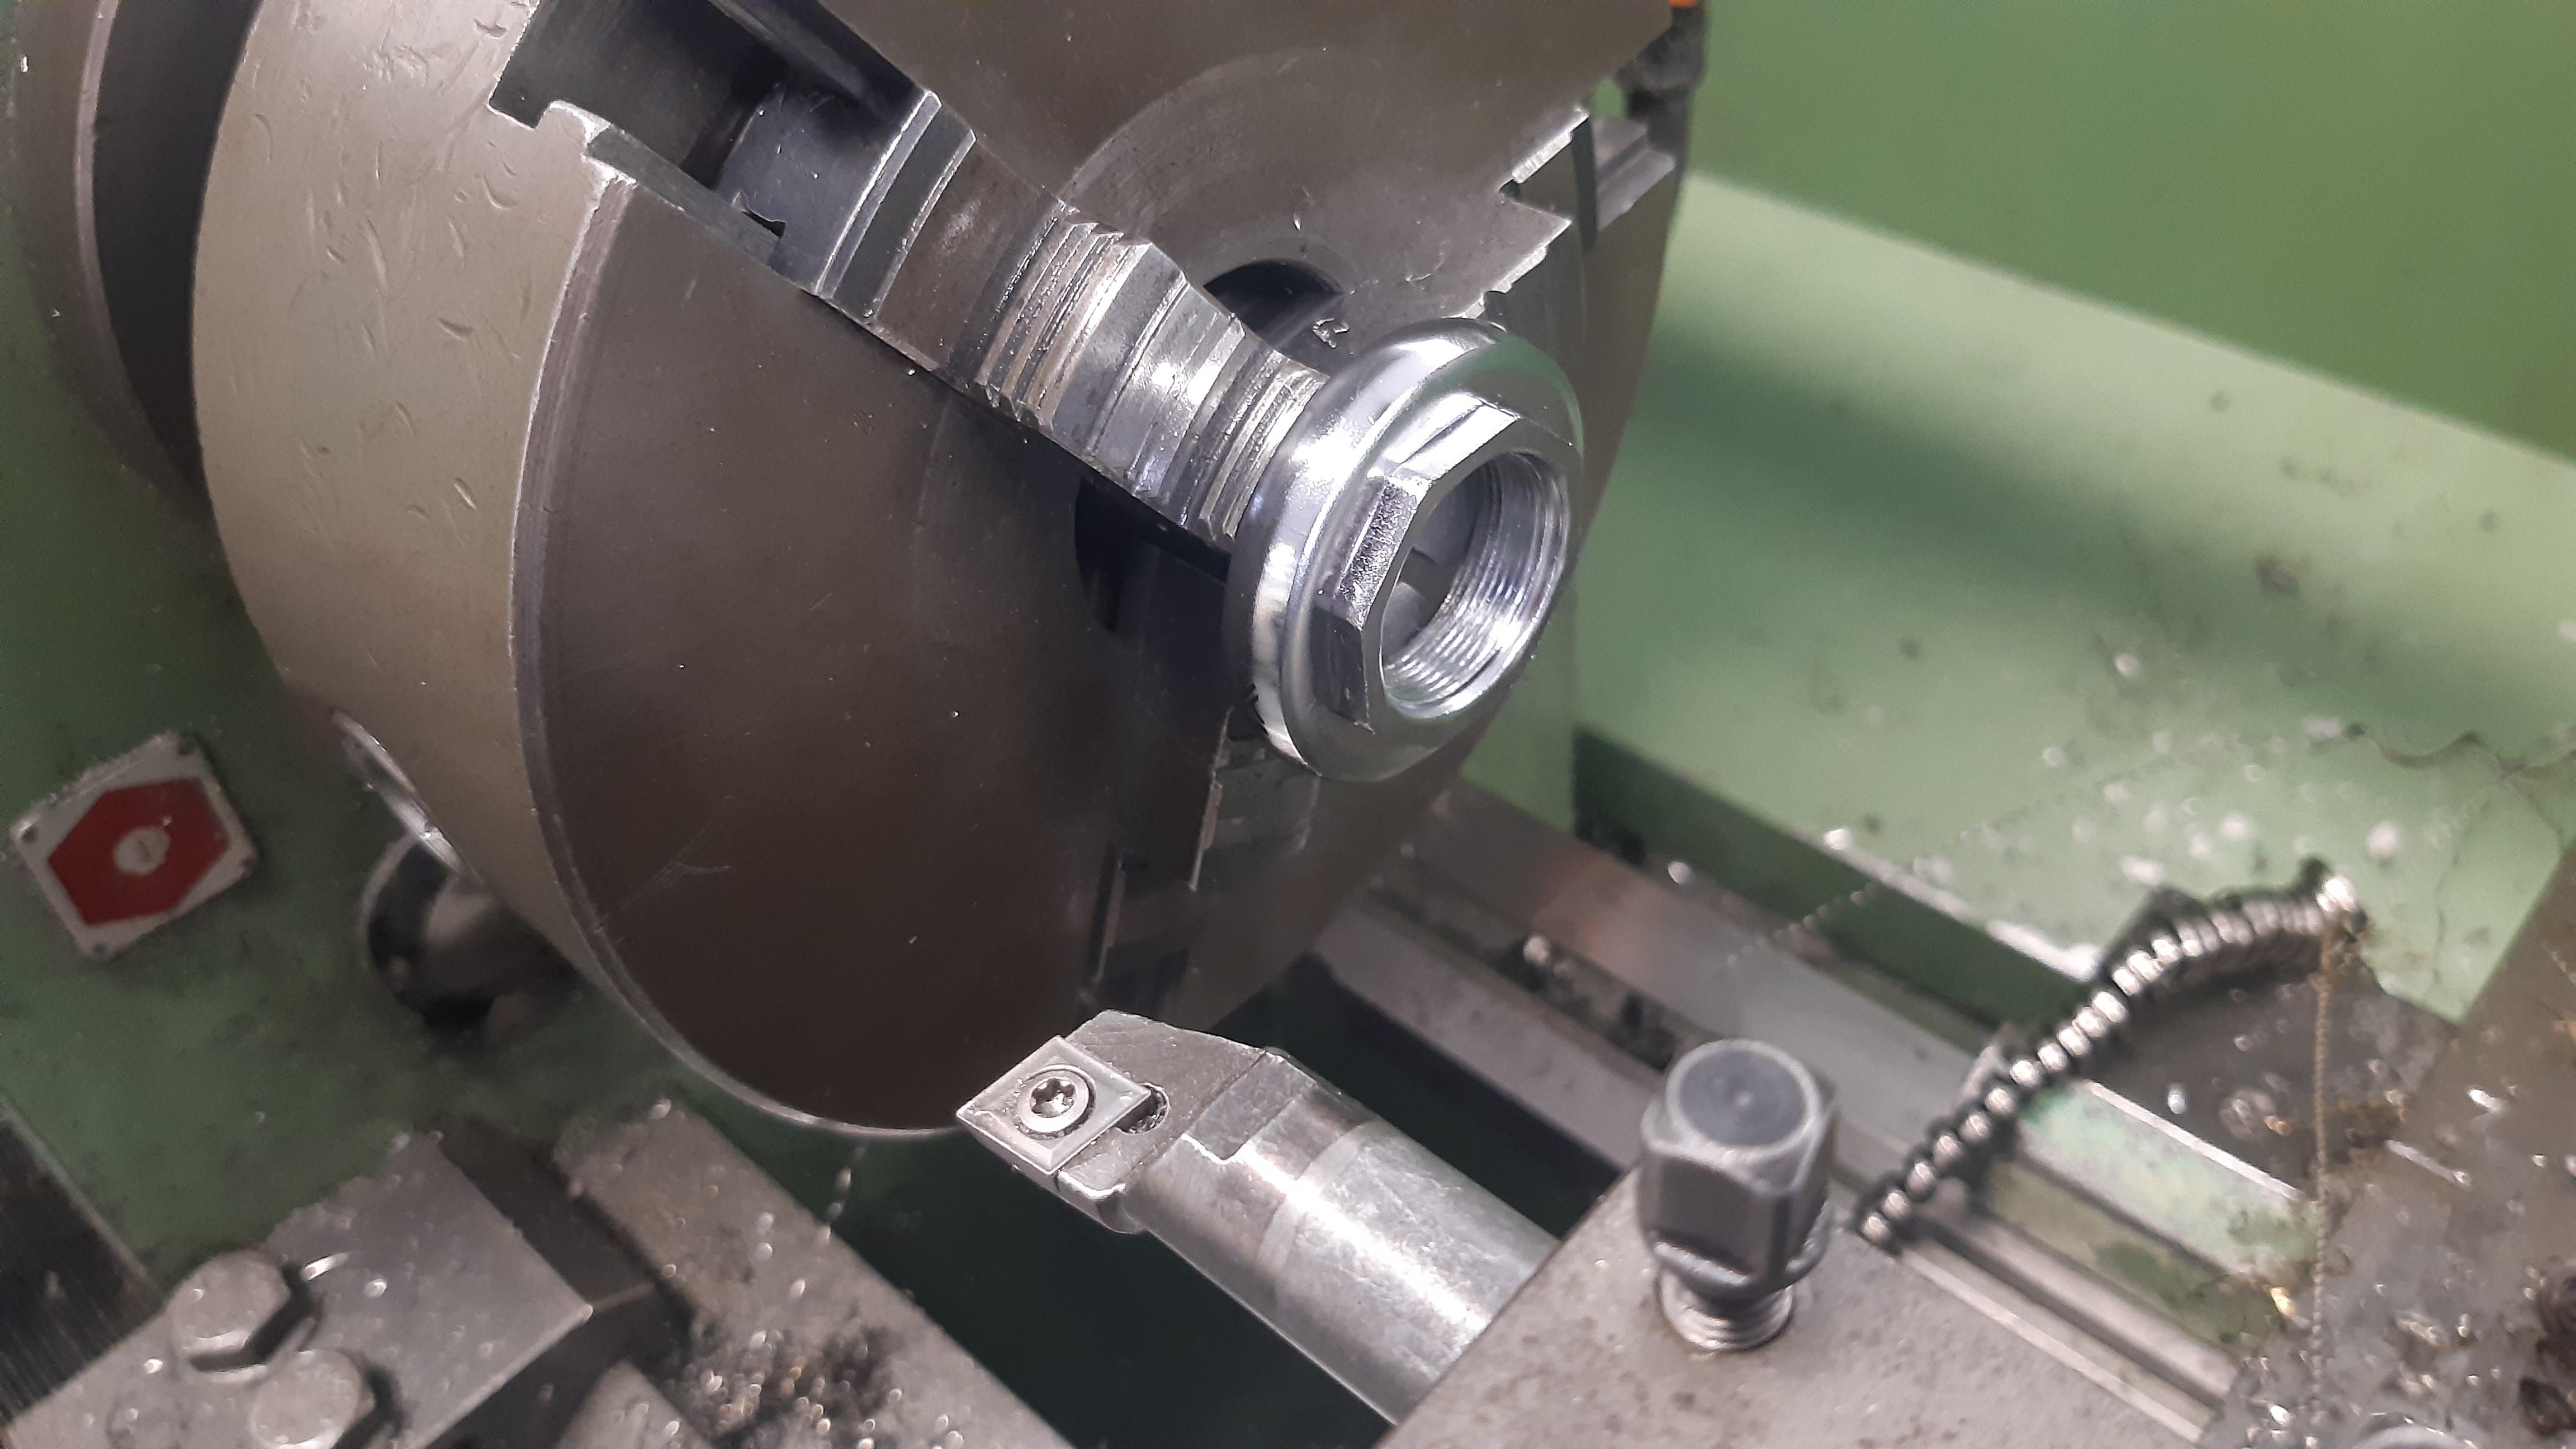
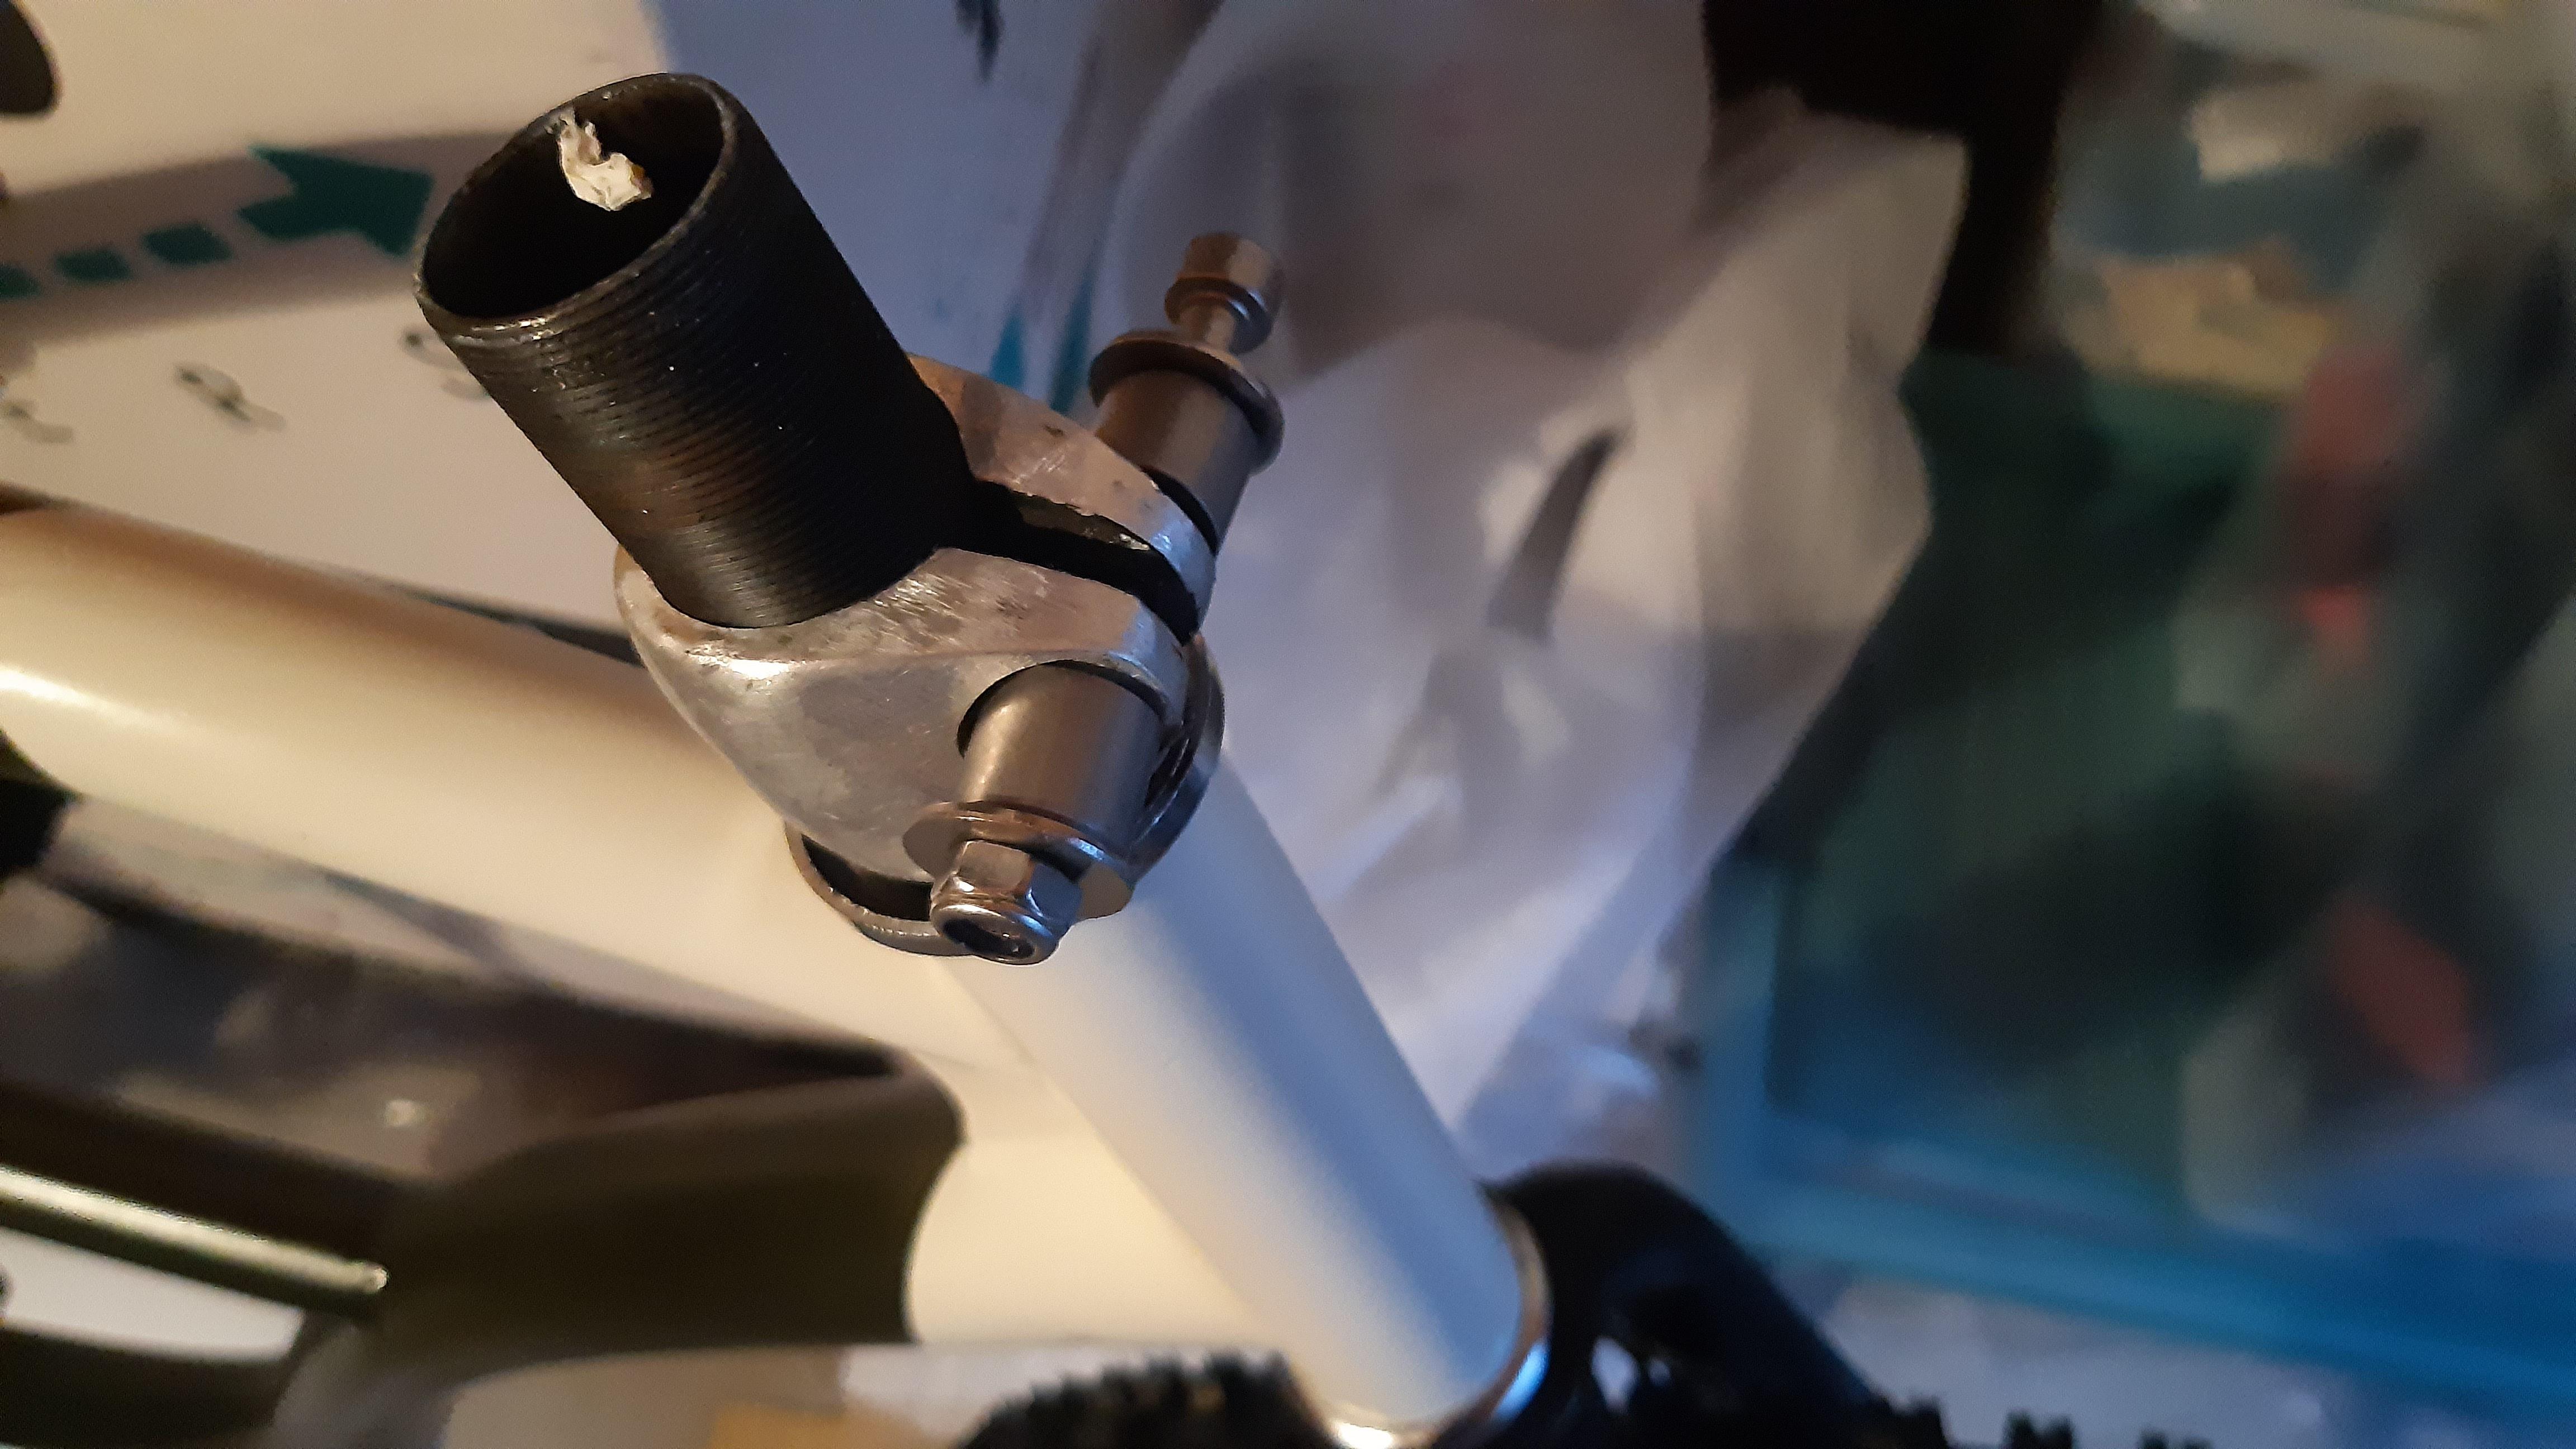
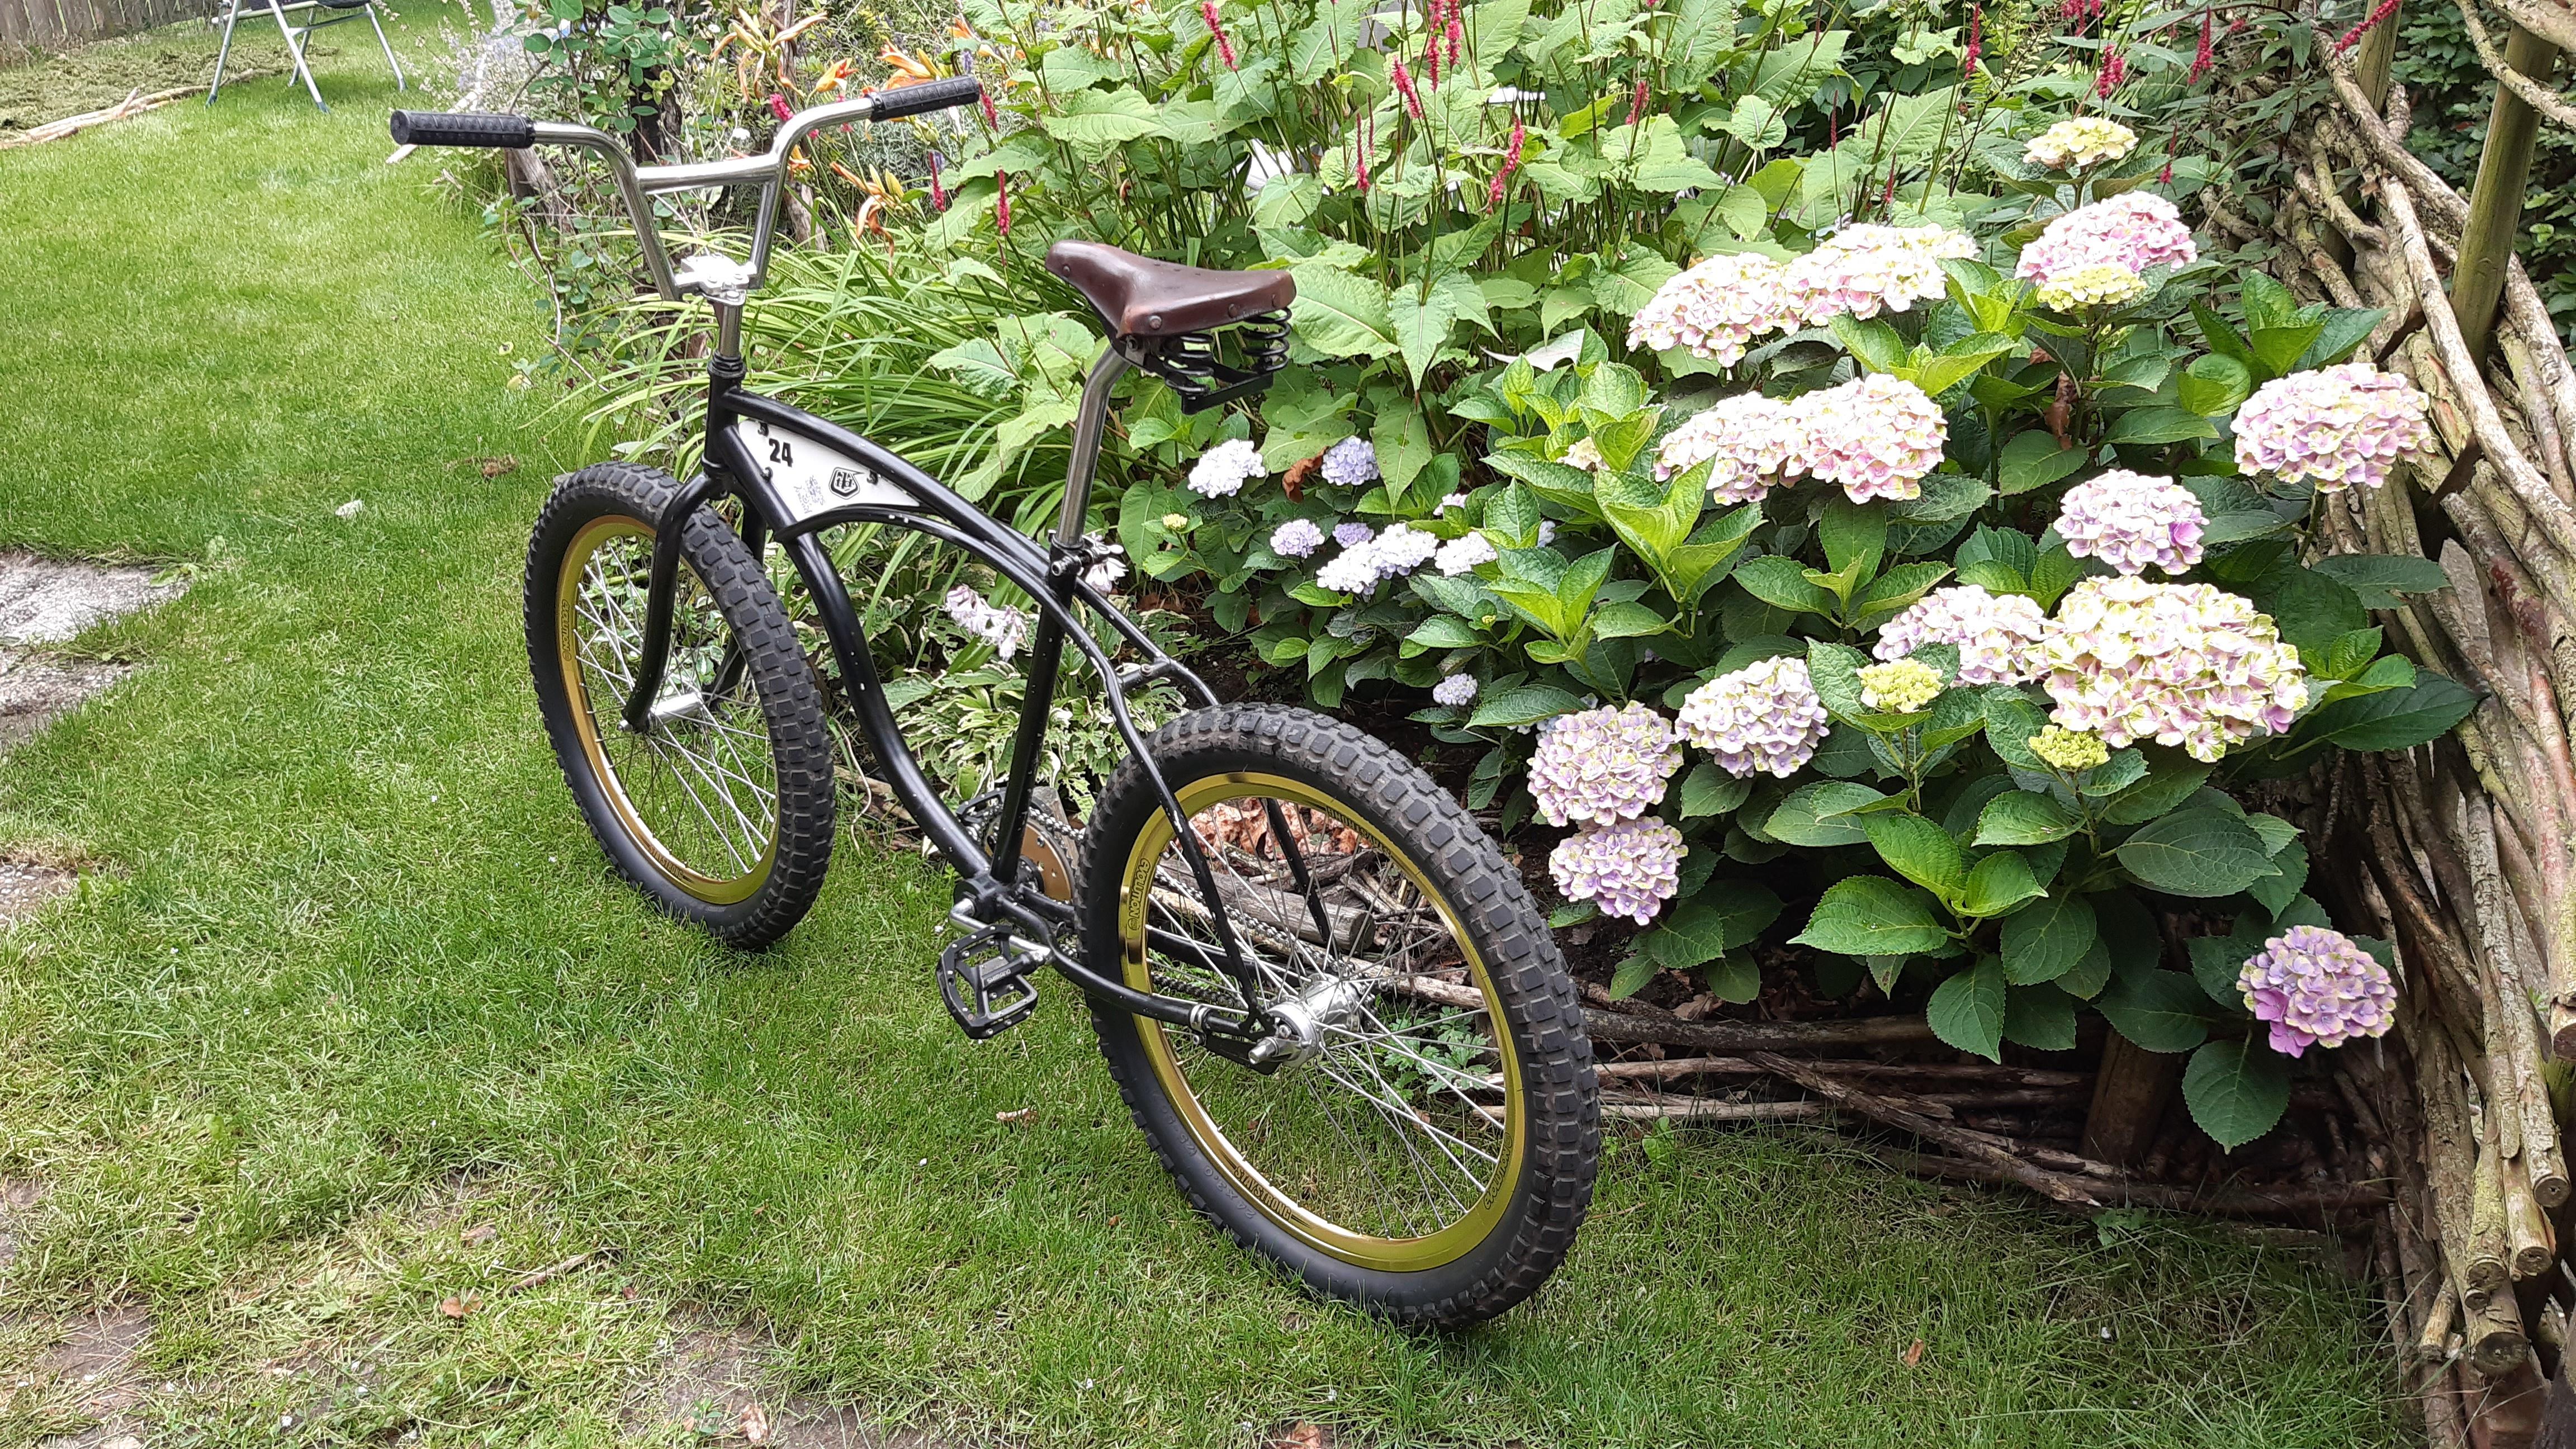
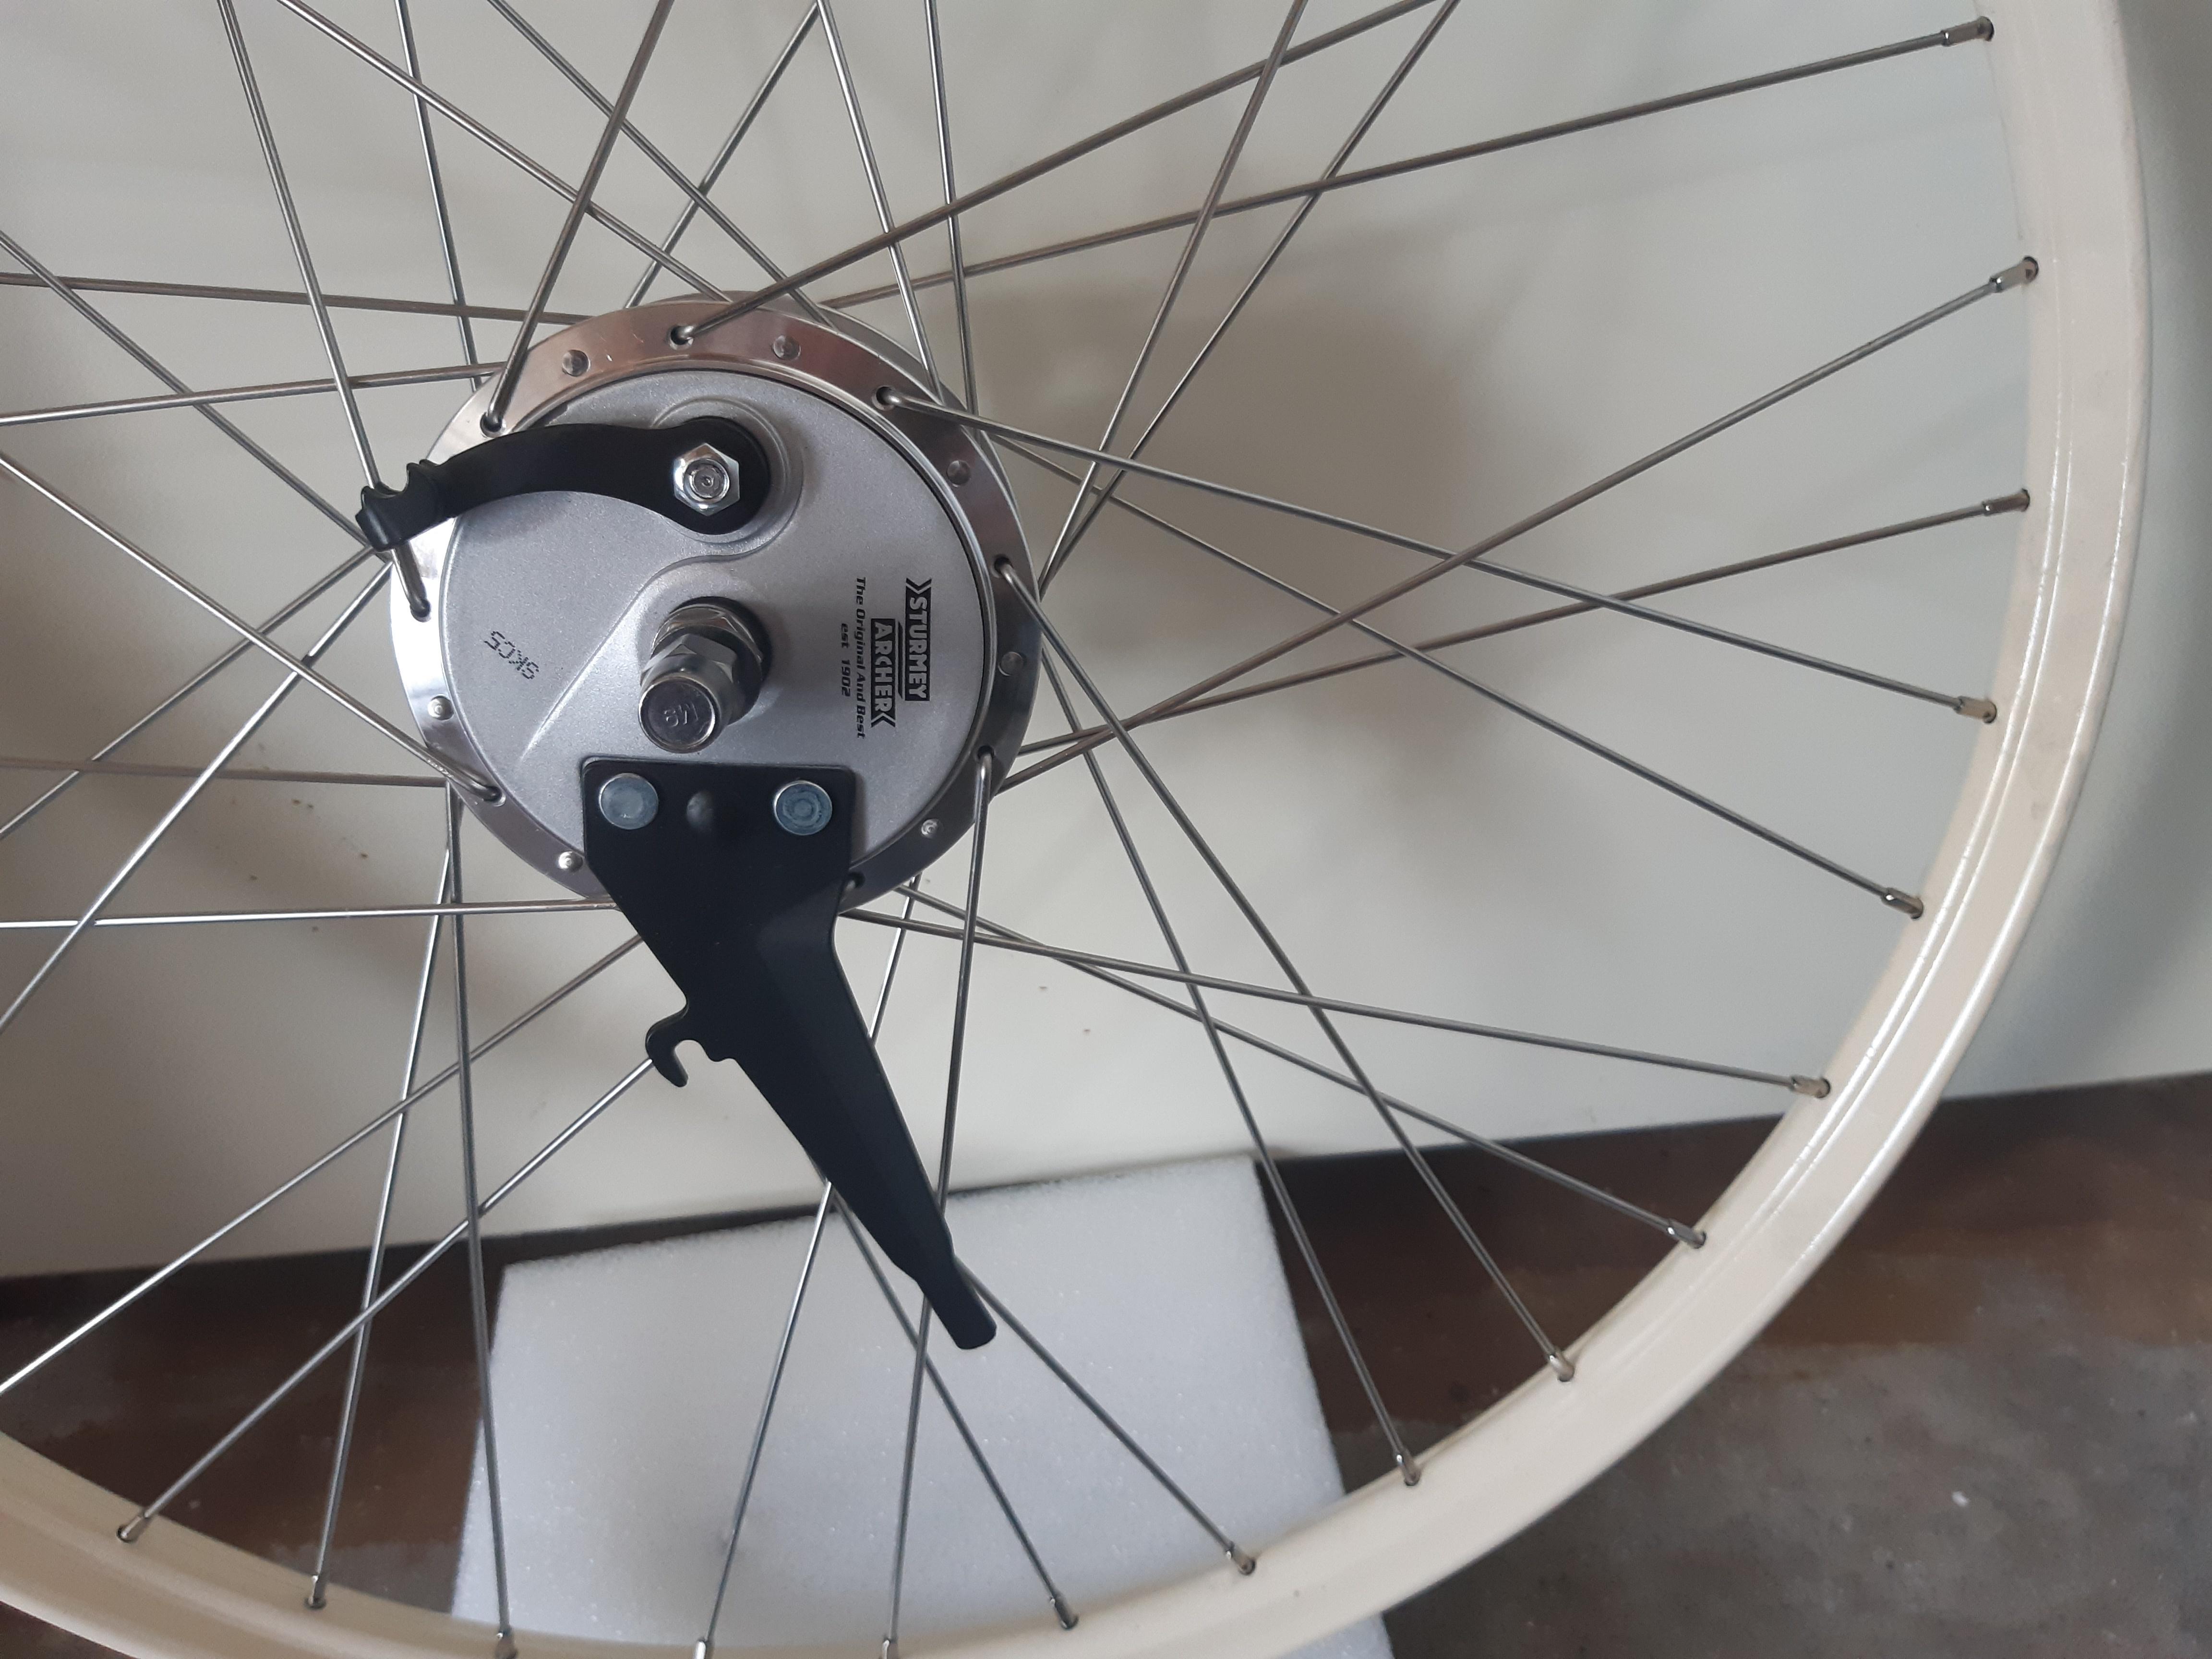
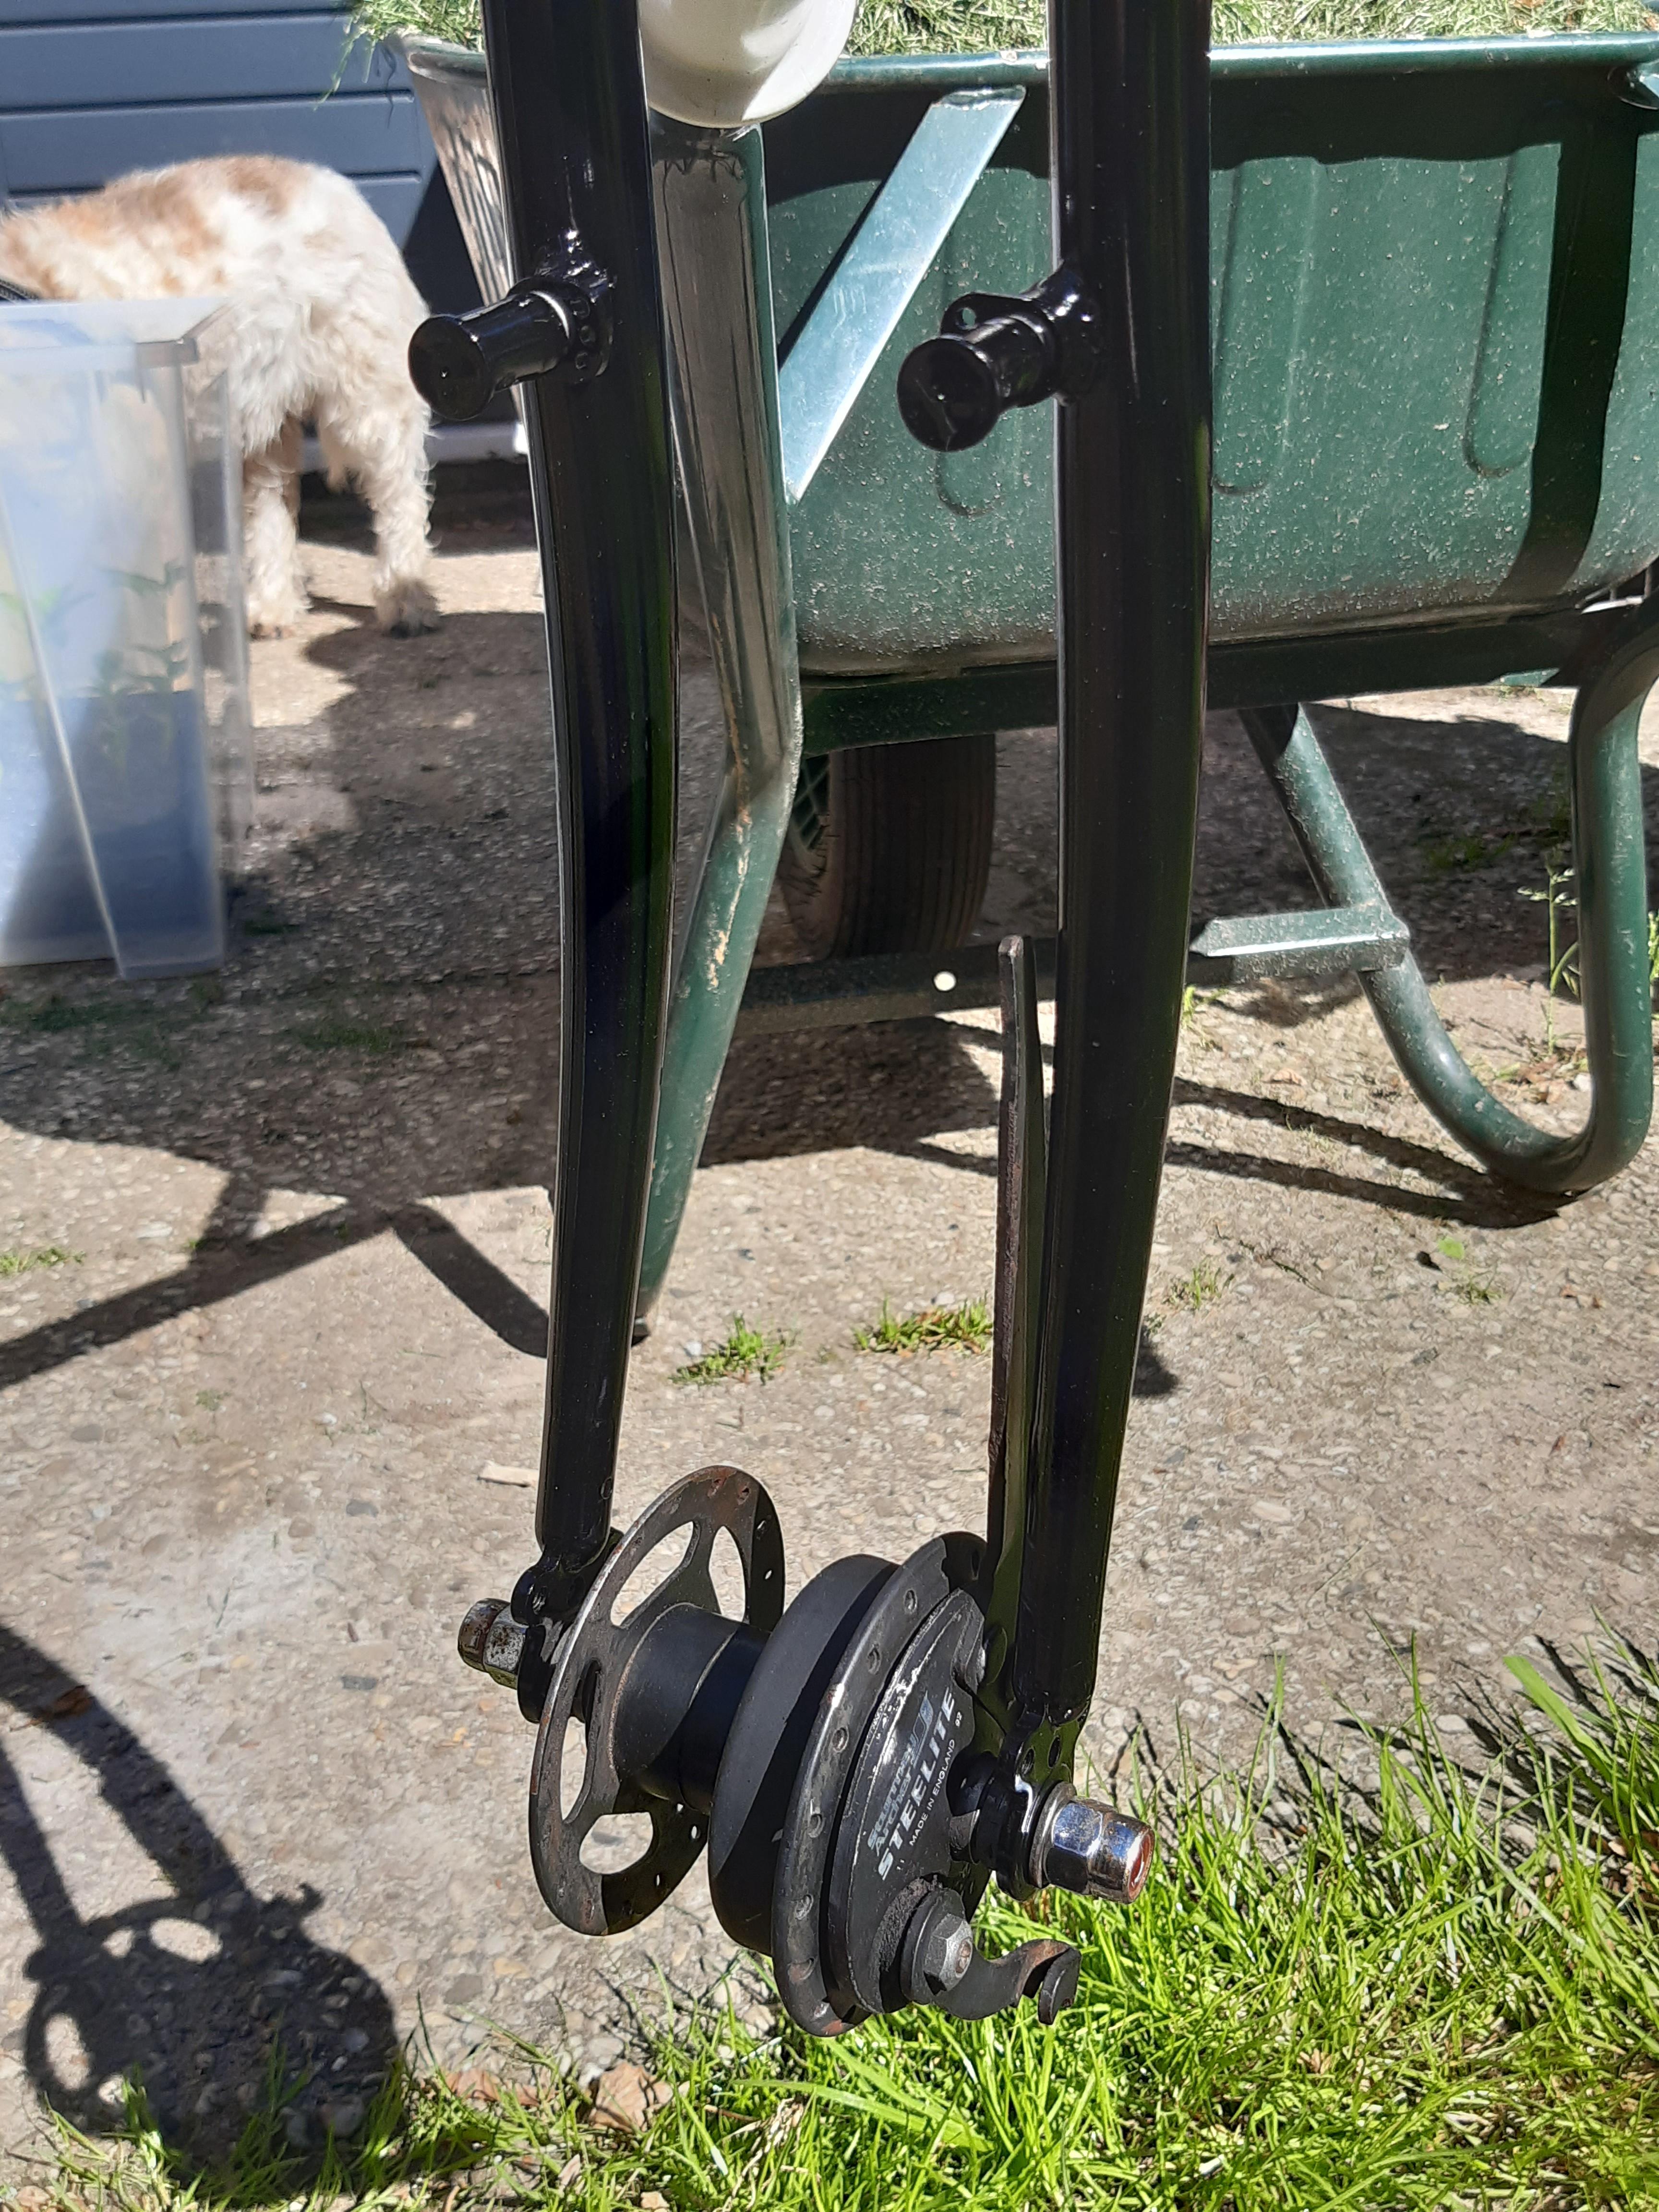
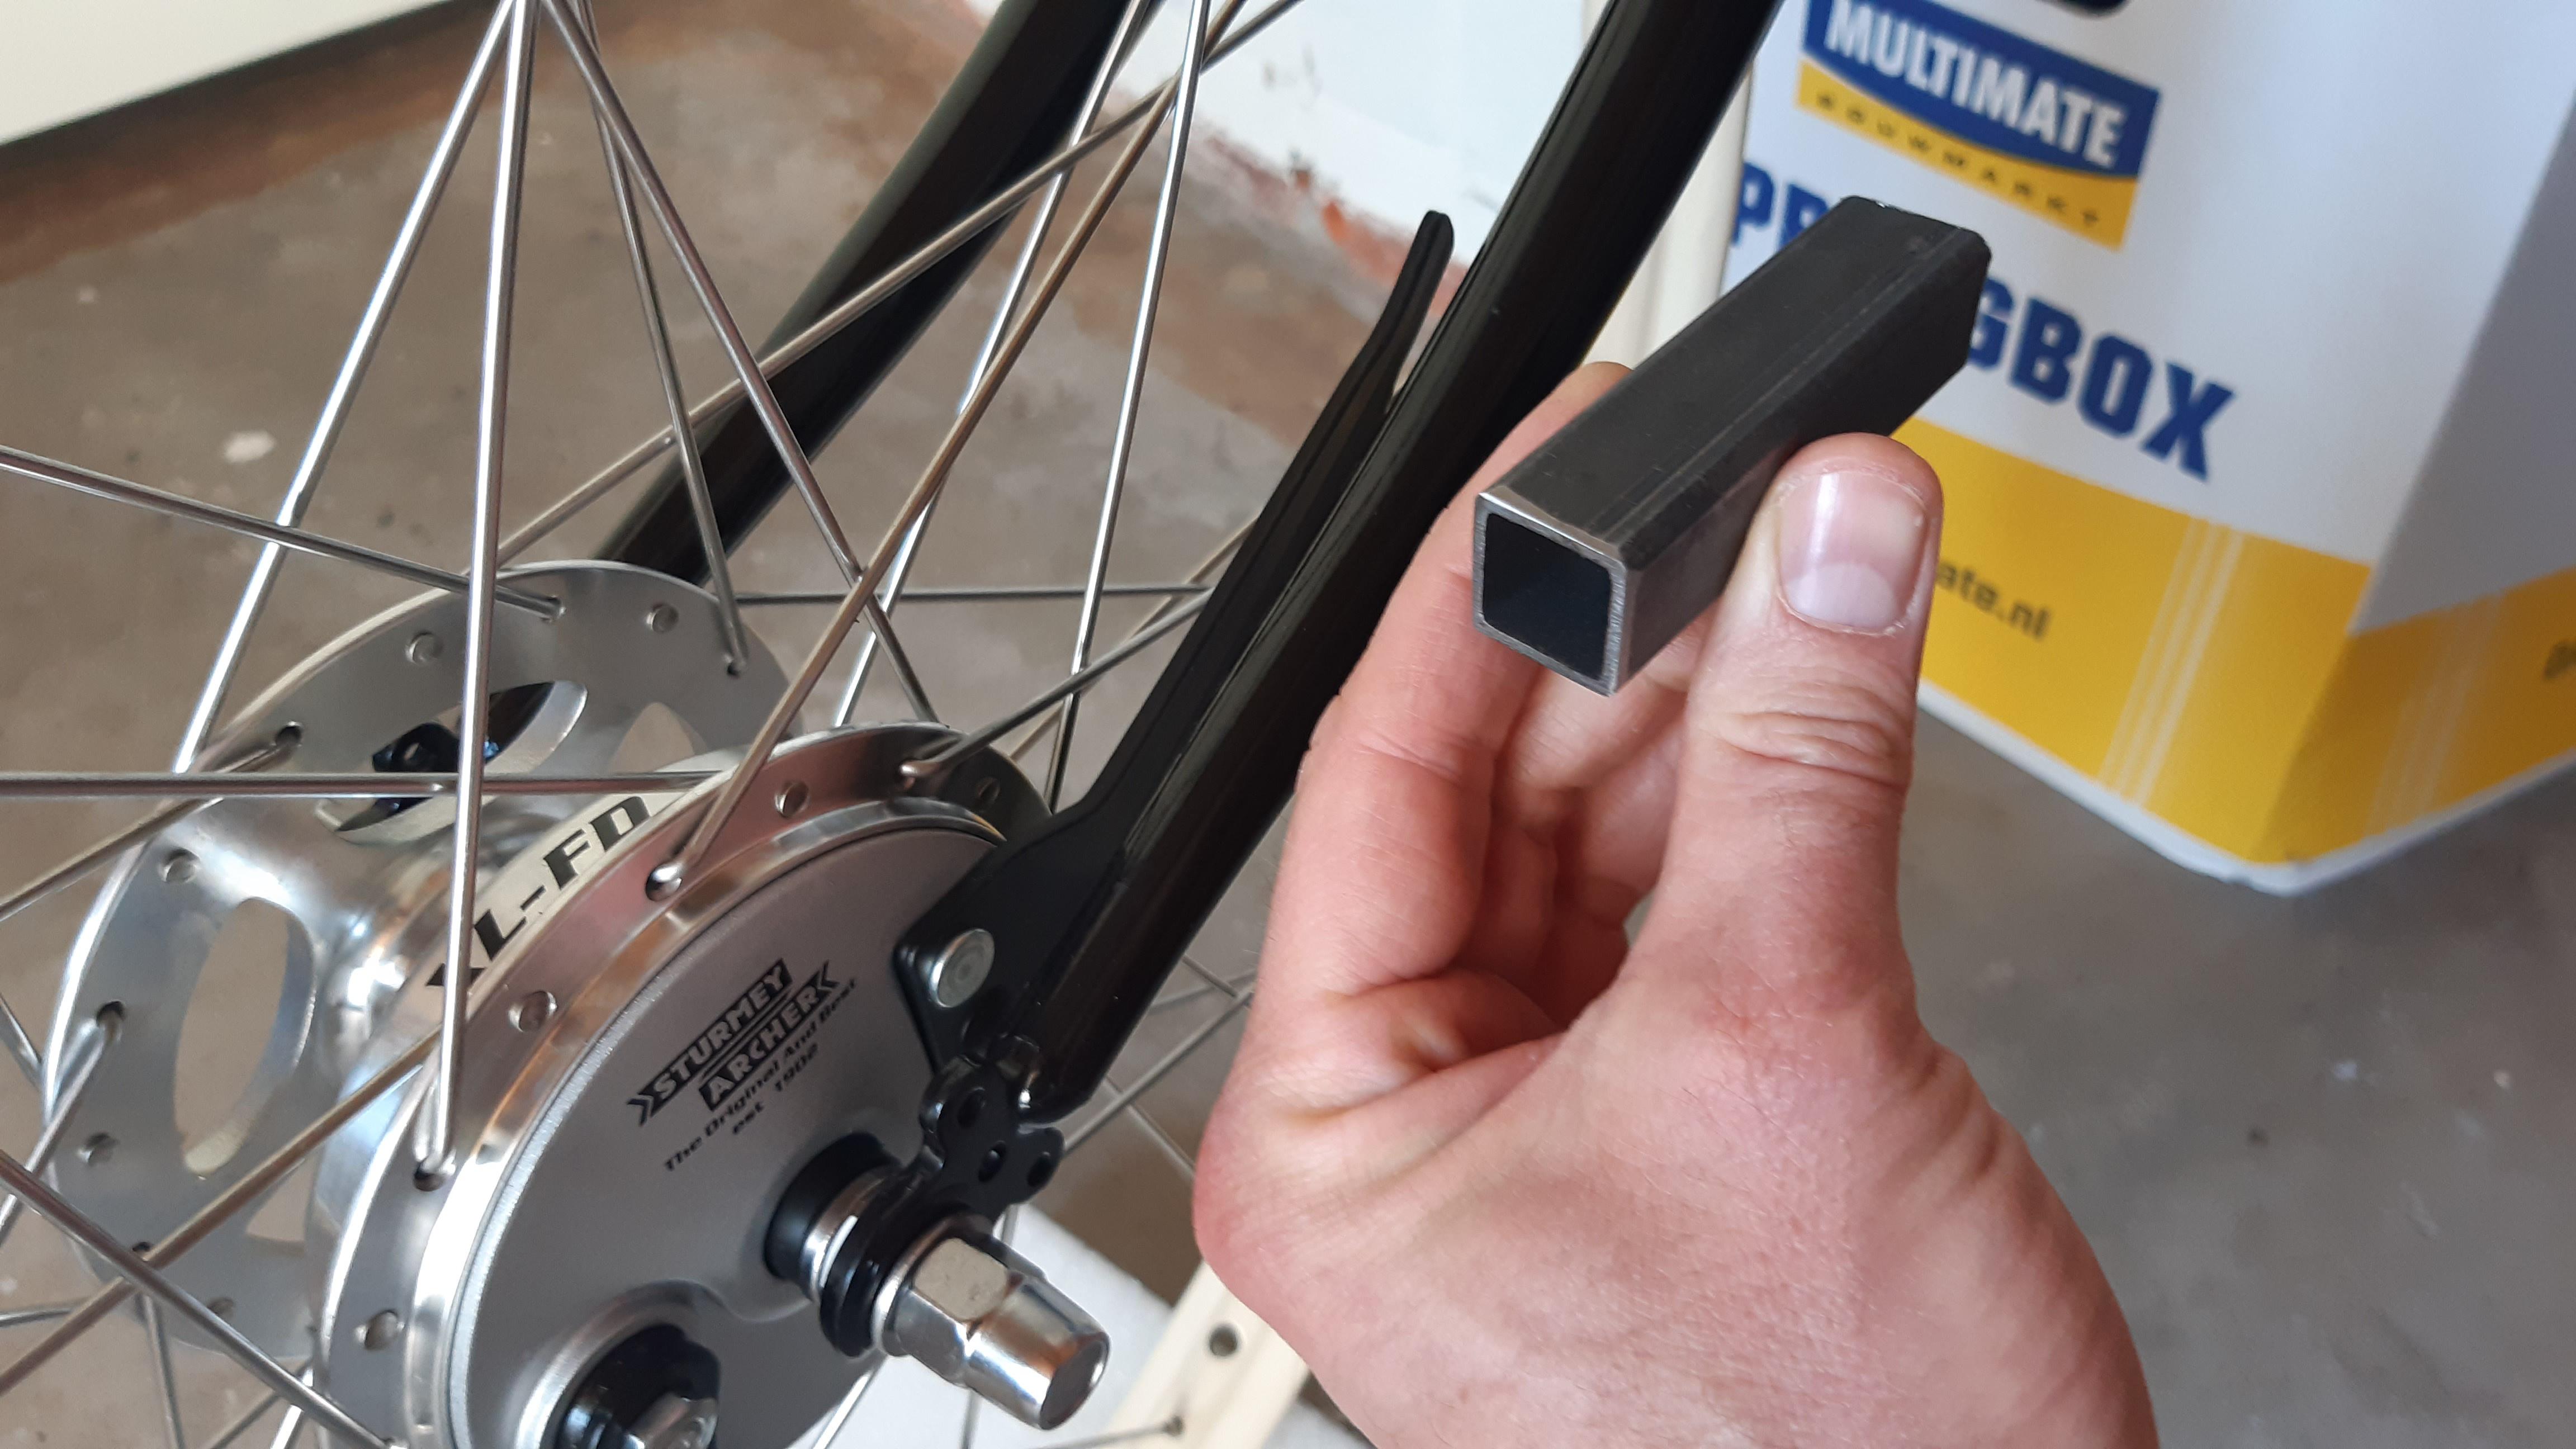
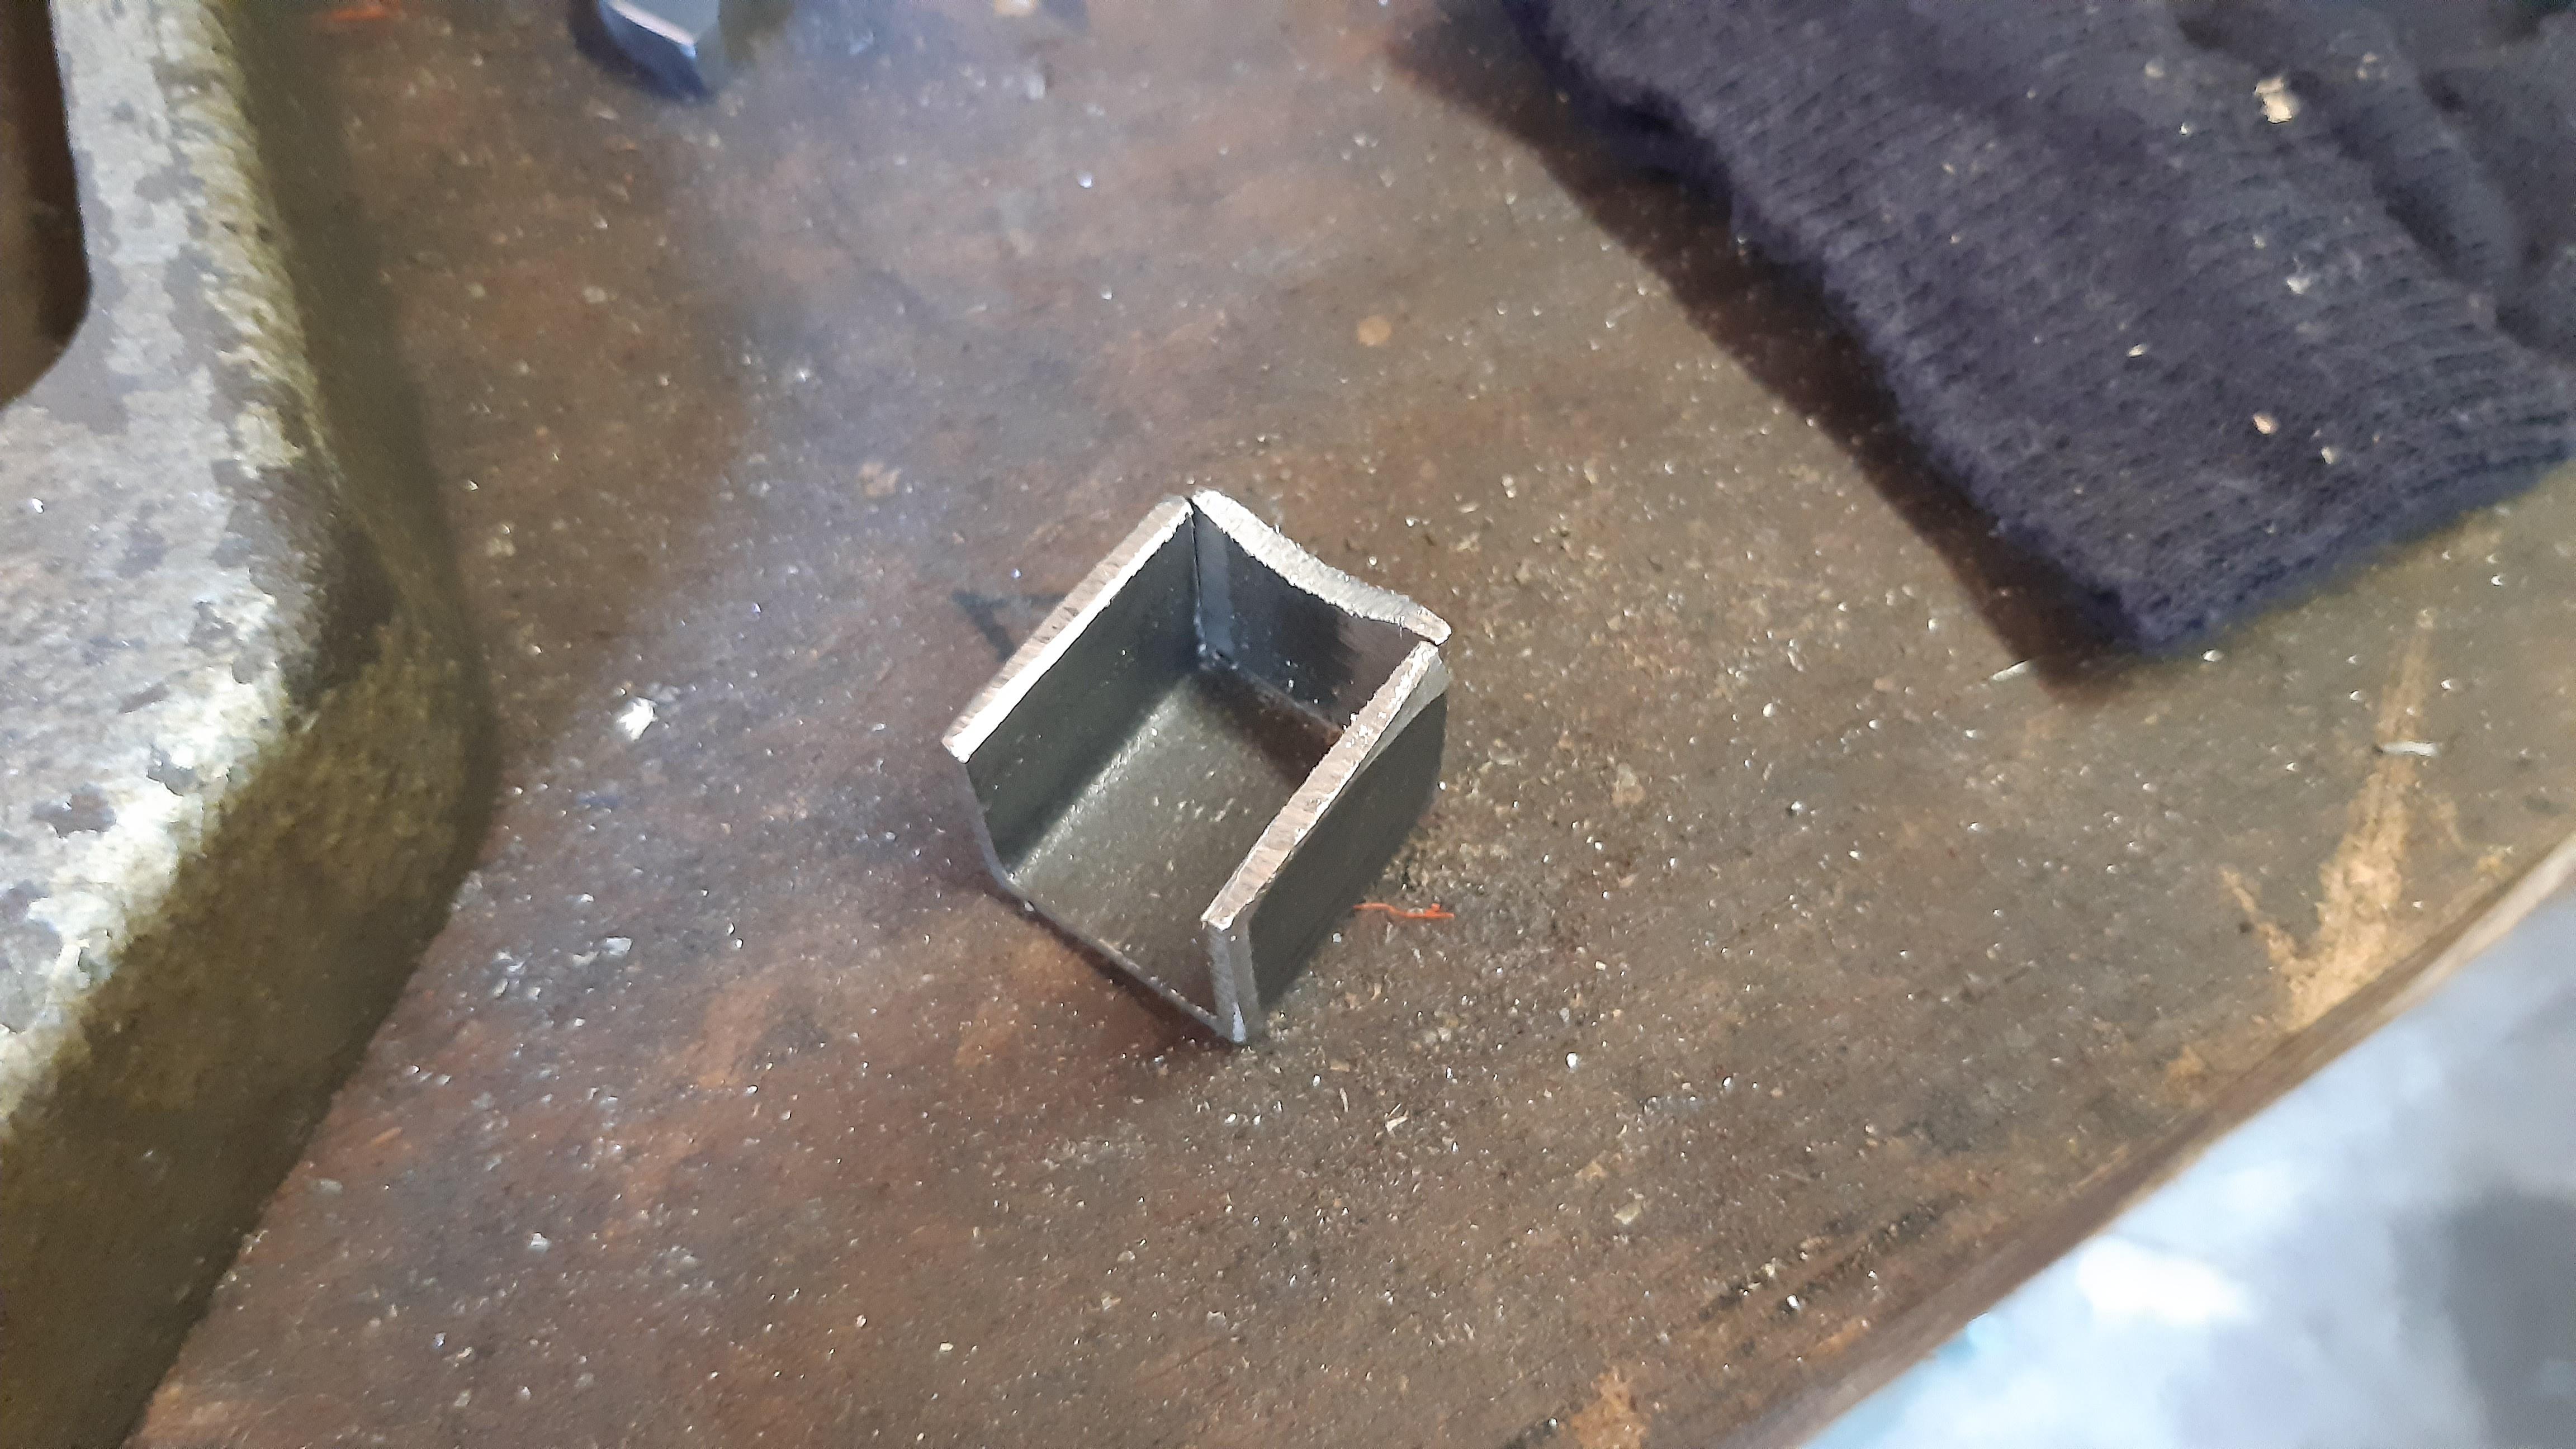
Fitting the truss pipe and fabricating an "anchor" for the drum brake. I started out with a piece of square tube.
Most drum brake anchors have a "C" shape welded to the fork, but I wanted it boxed because I can.
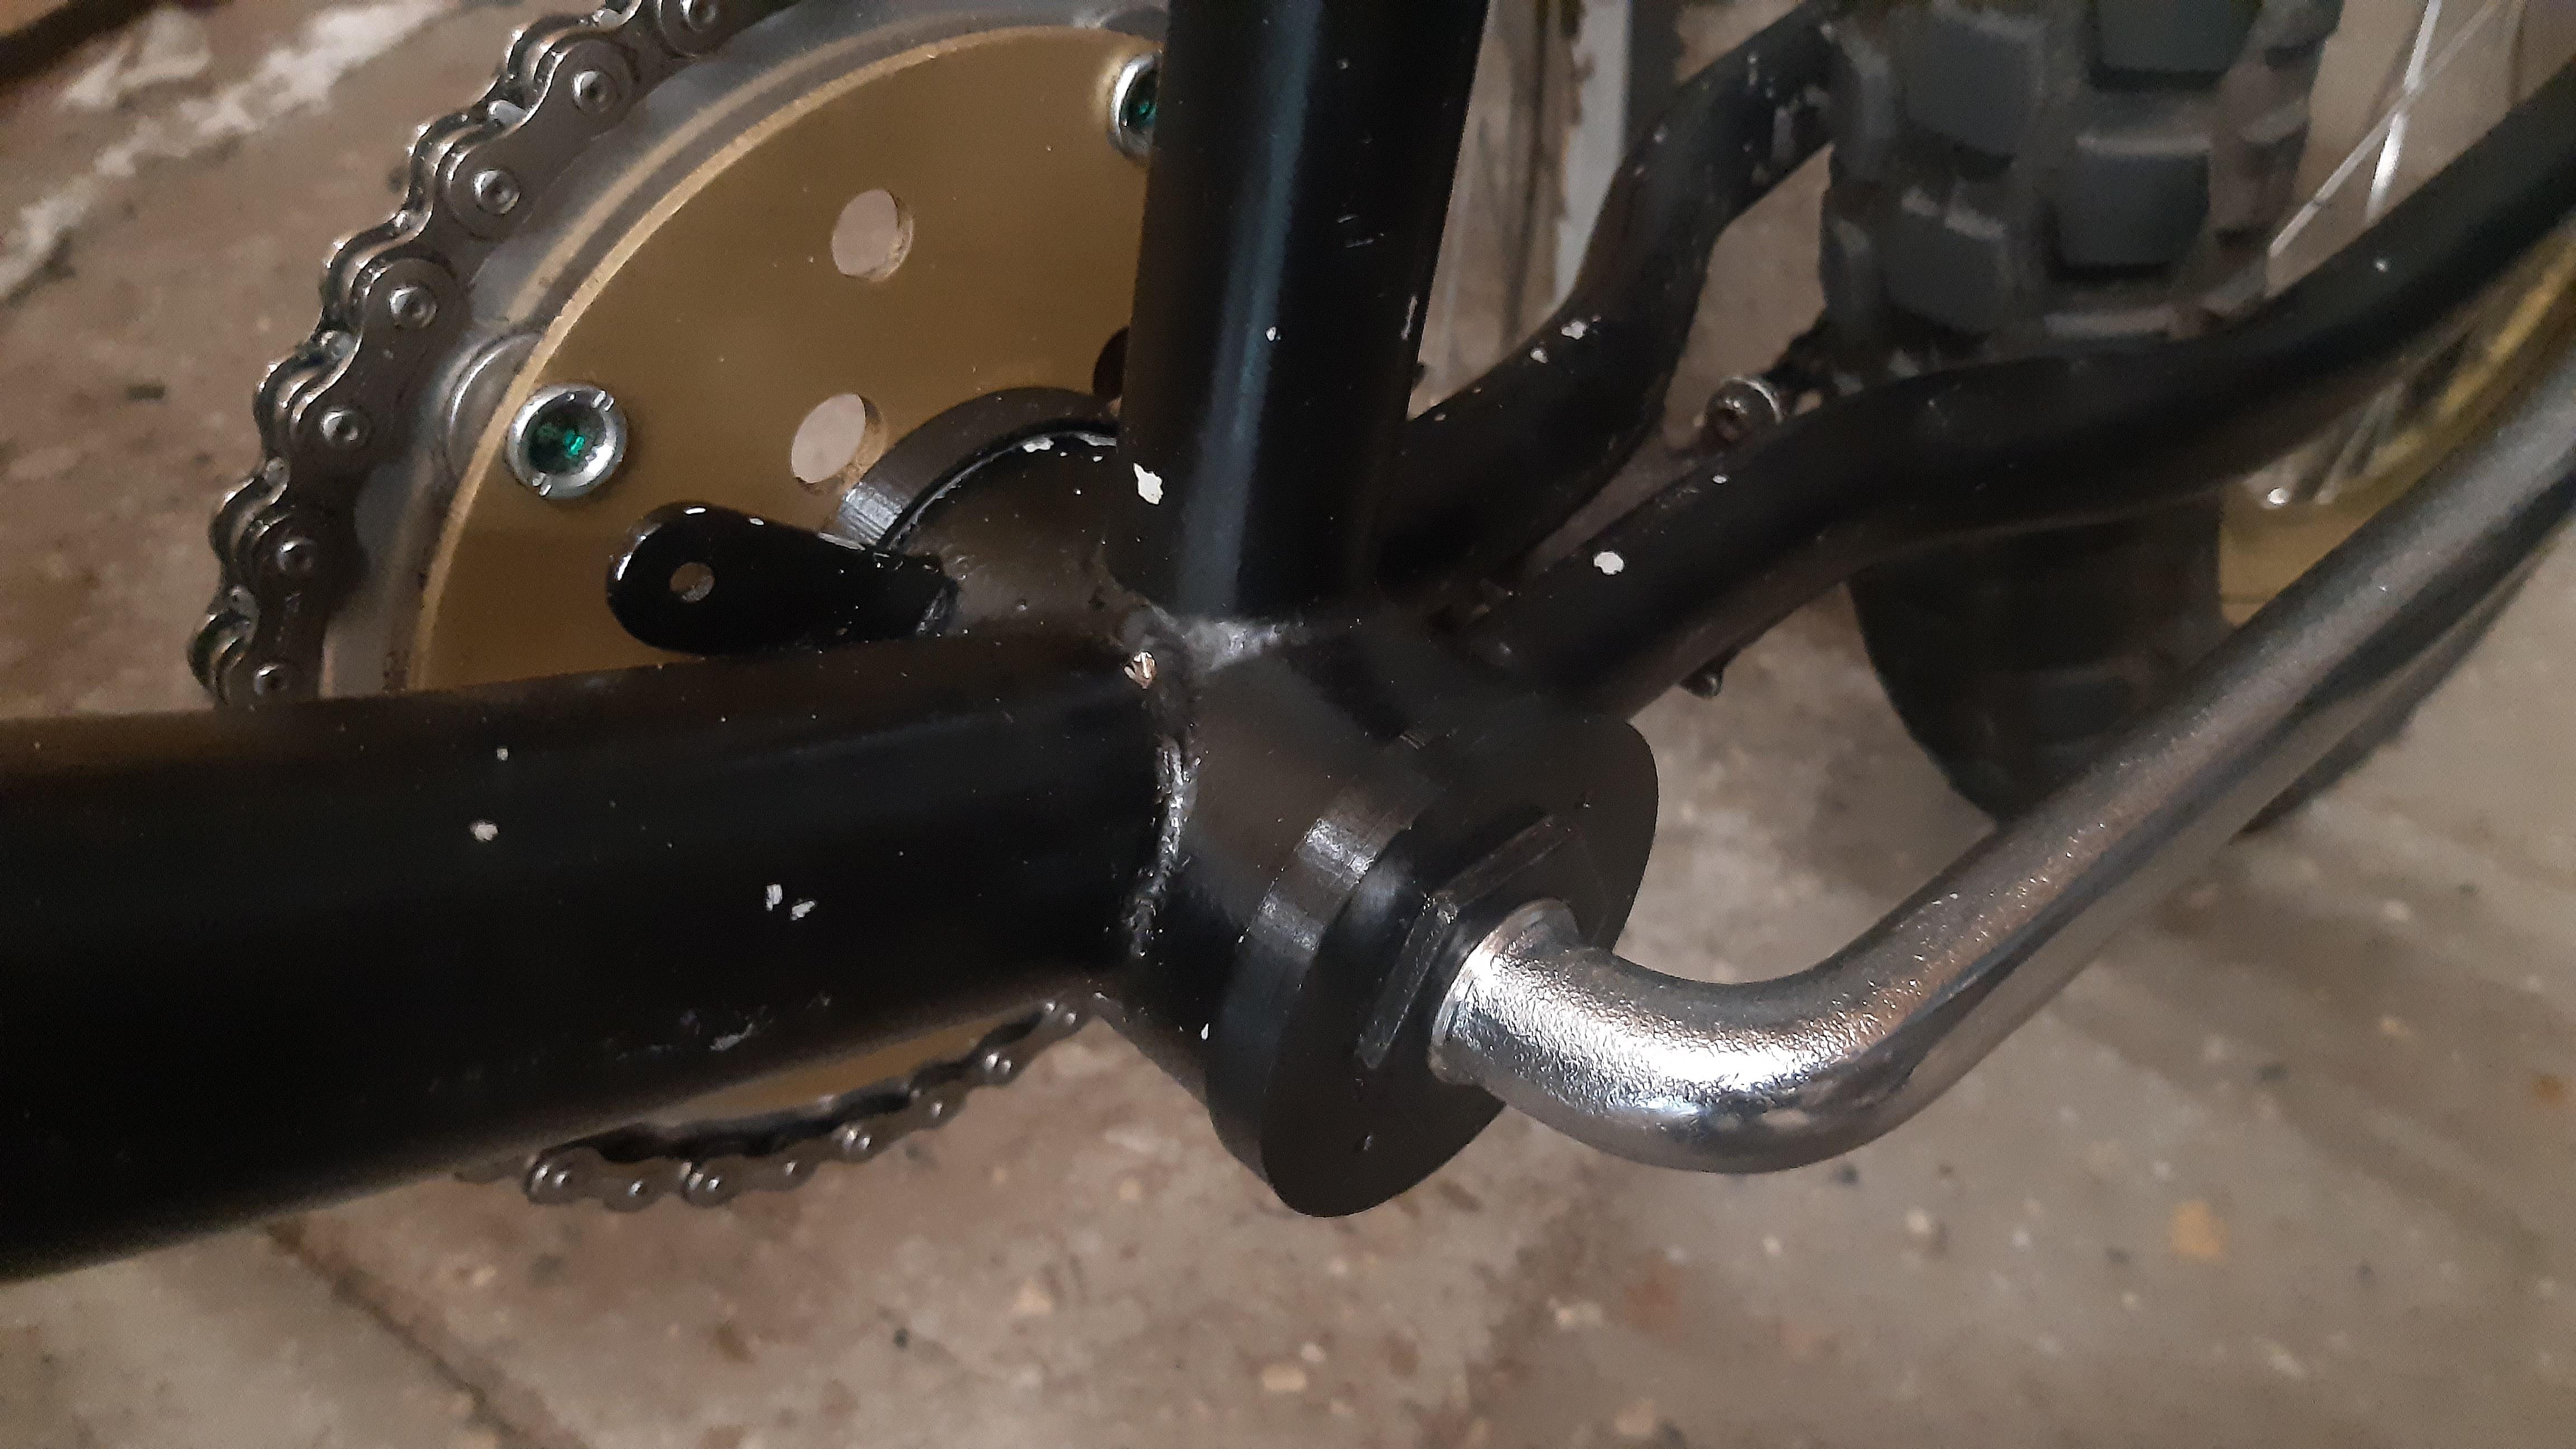
The section is a bit larger than the arm, but I had the following thought: To tap thread (M6 metric or so) in the rear of the ancher after welding.
Why you might ask? Well, I do not like it when I hold the front brake and the drum brake arm has a couple of milimeters of play in the "C" shape mentioned earlier. I kind of feels like you removed tension of your front nuts if you know what I mean.
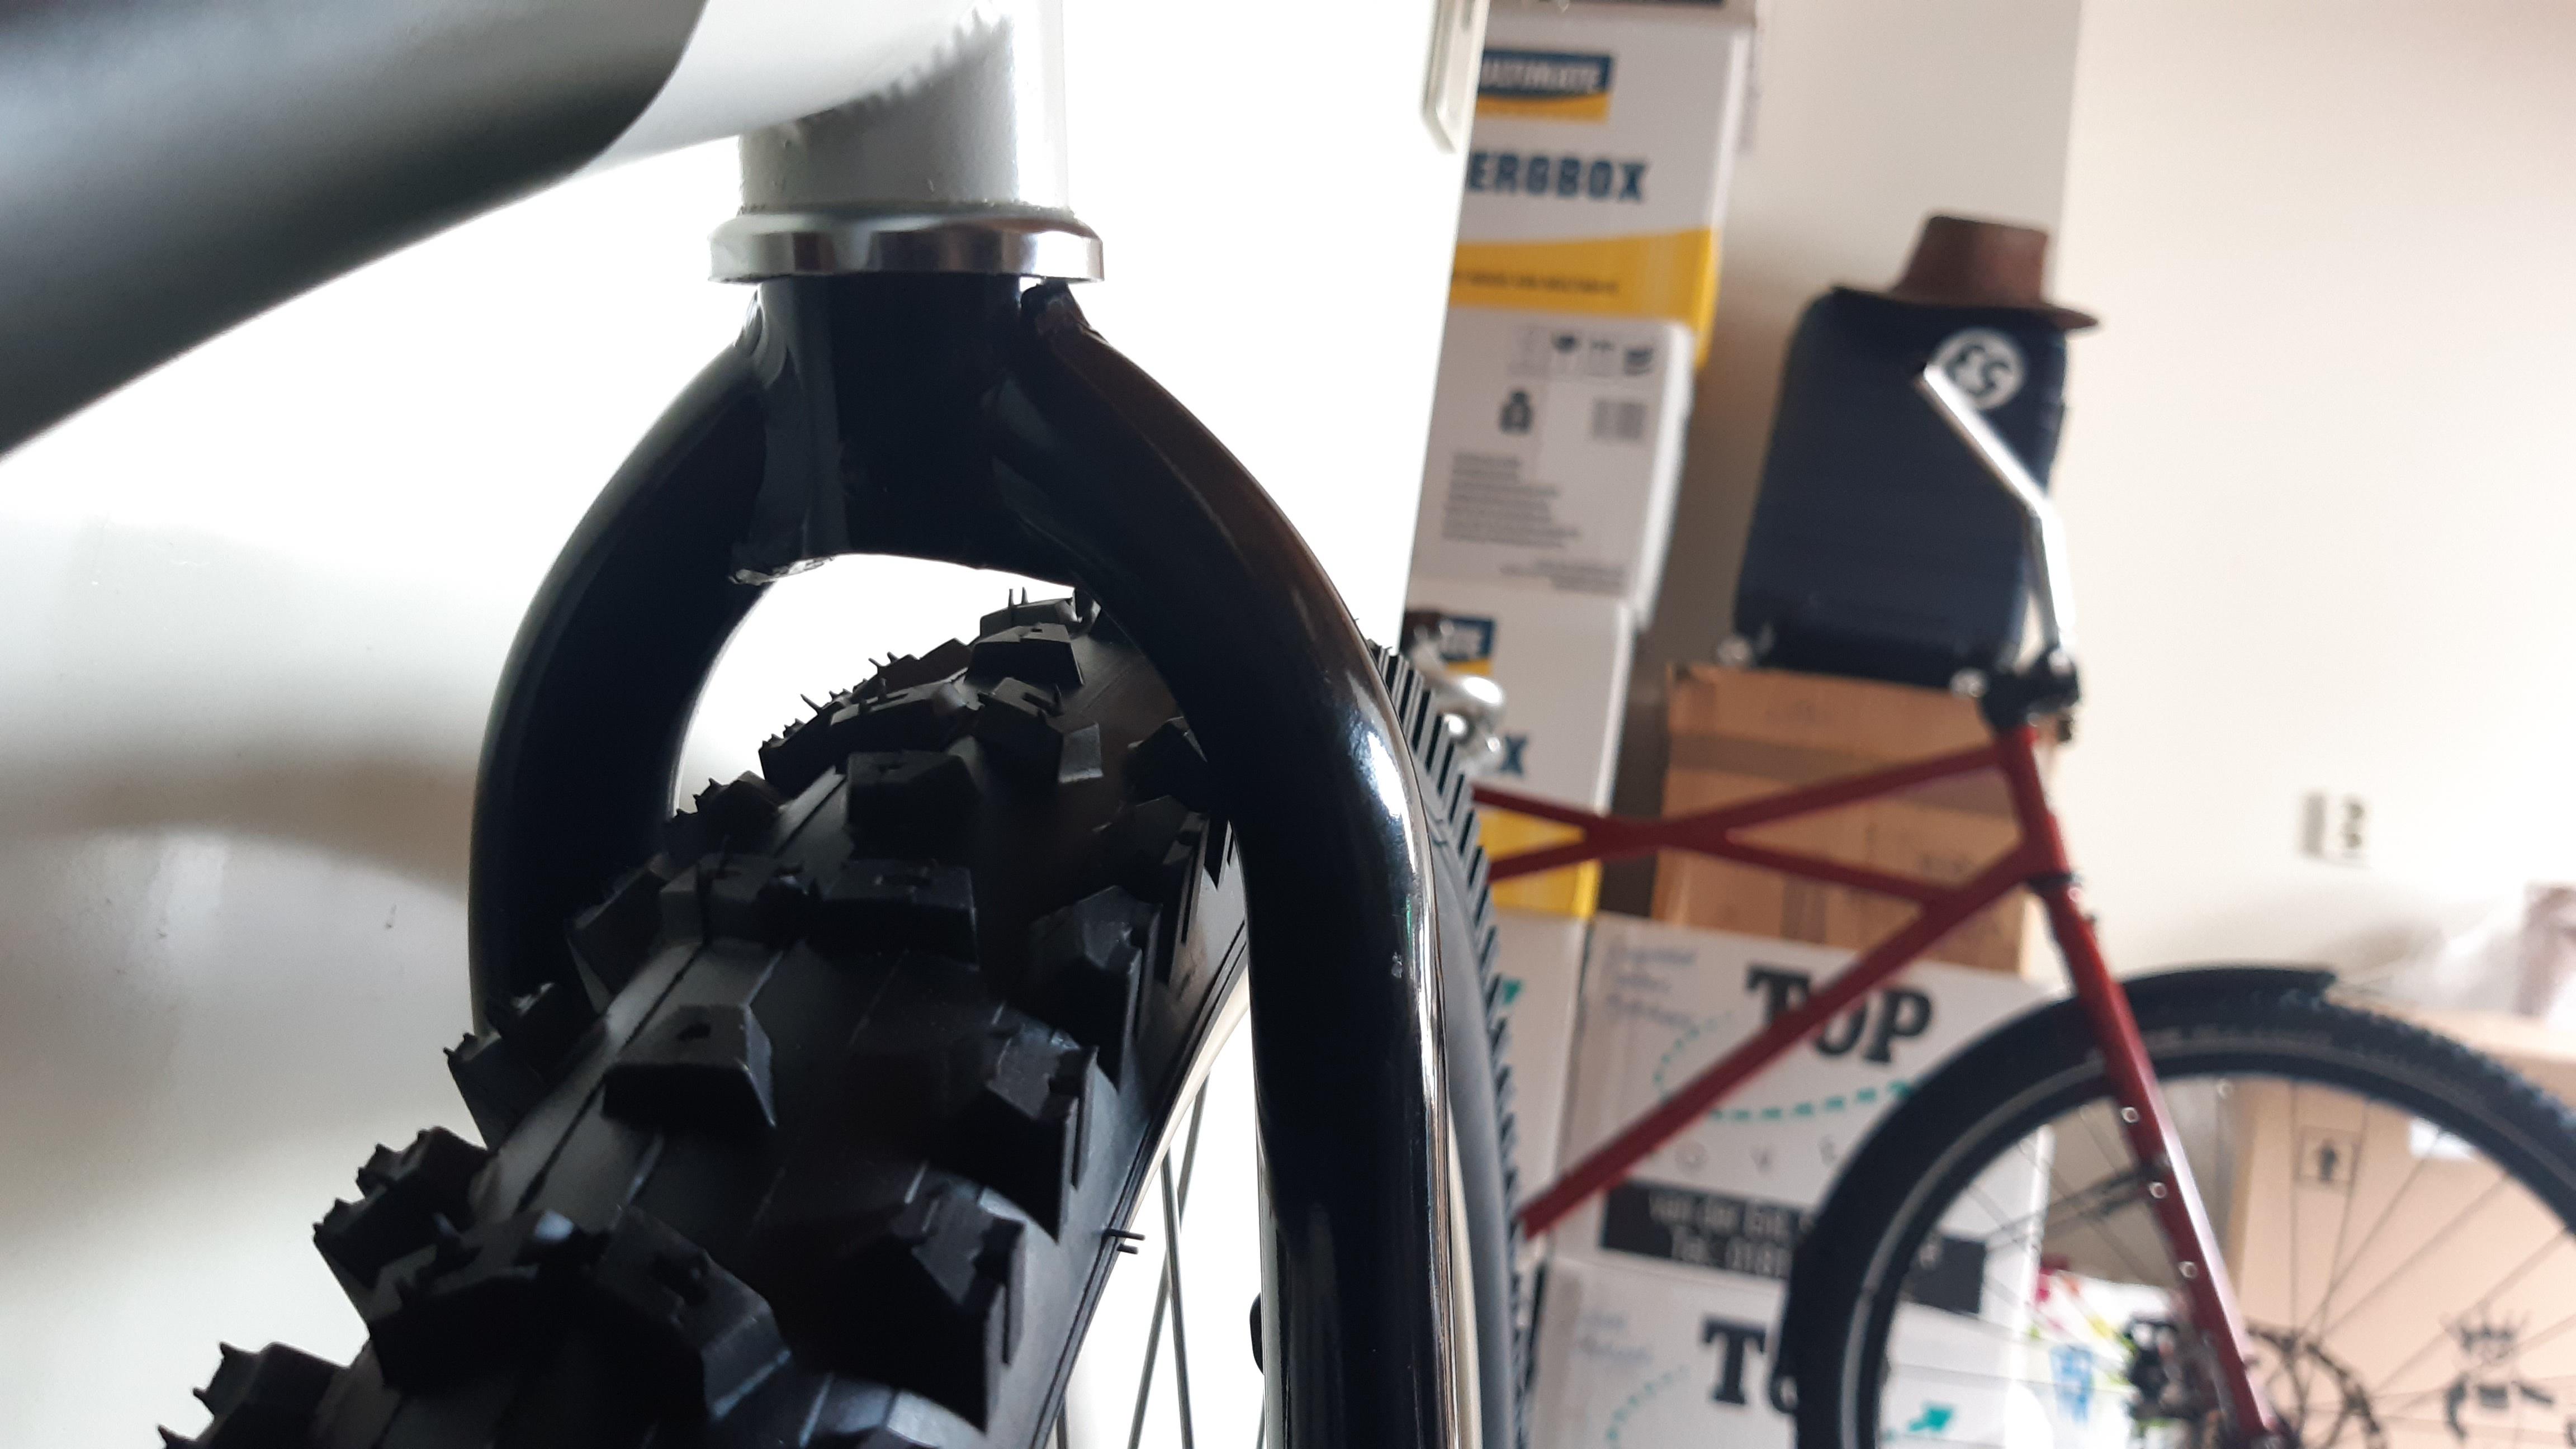
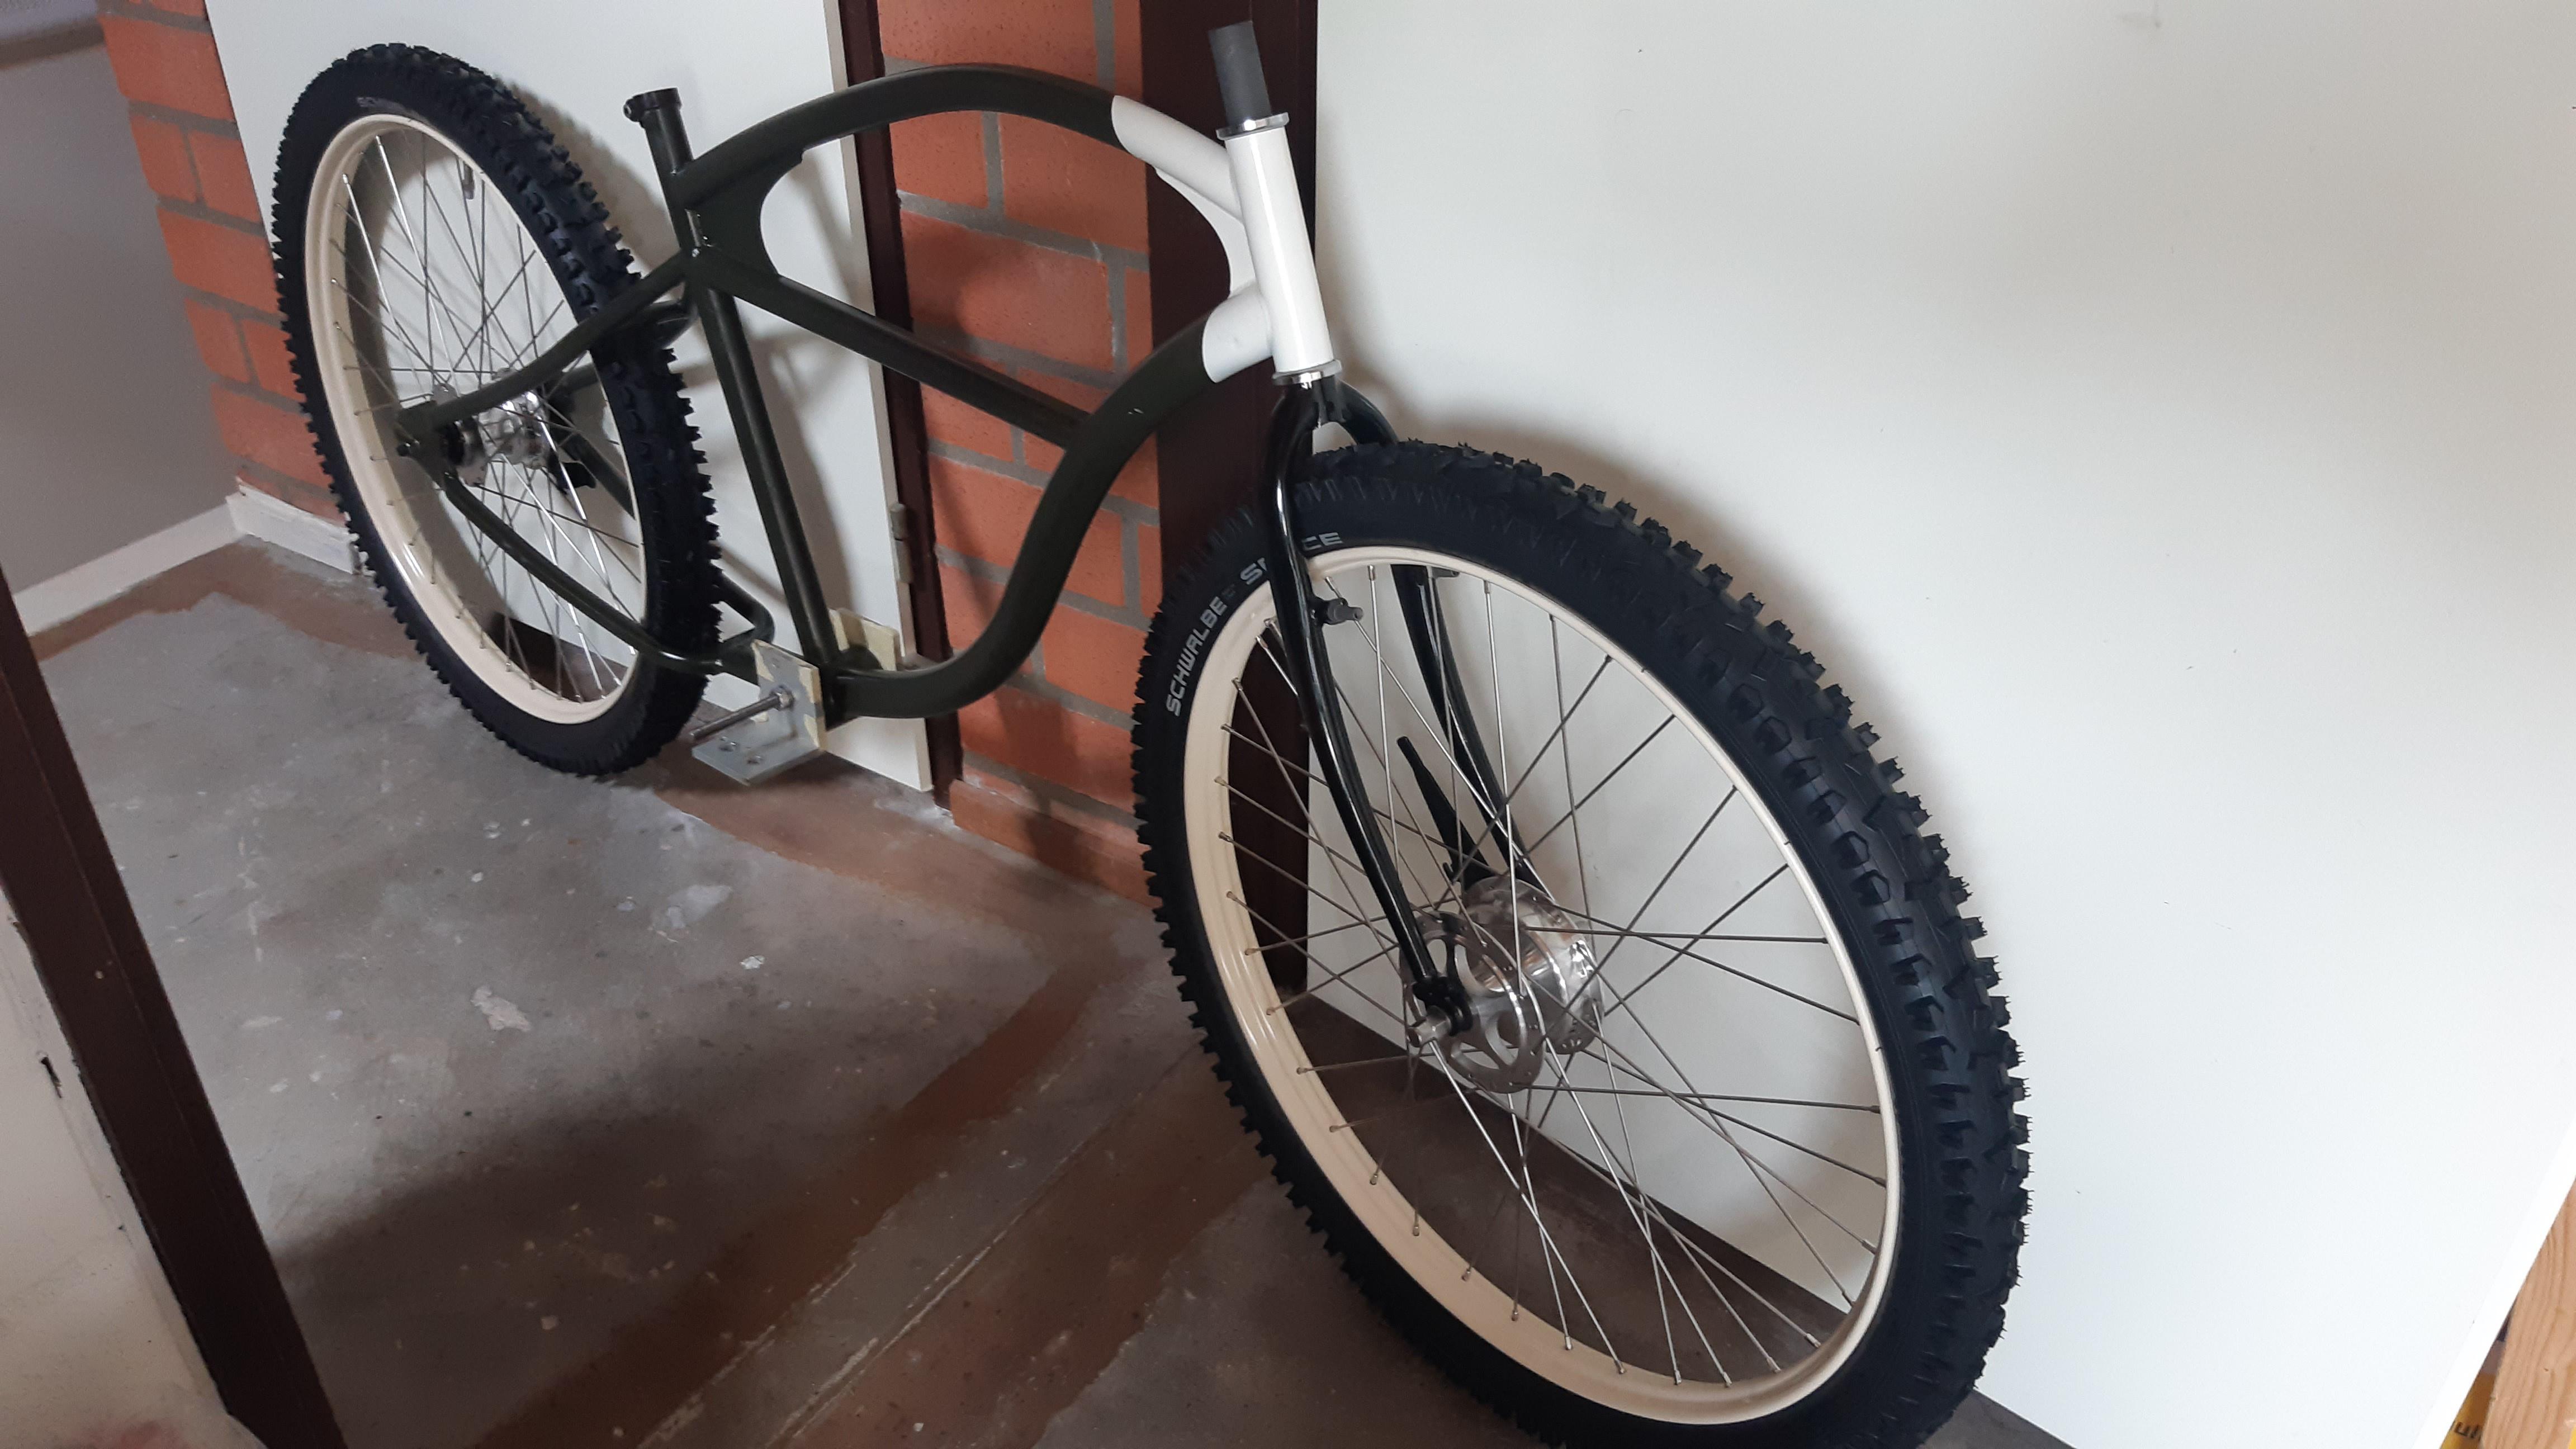
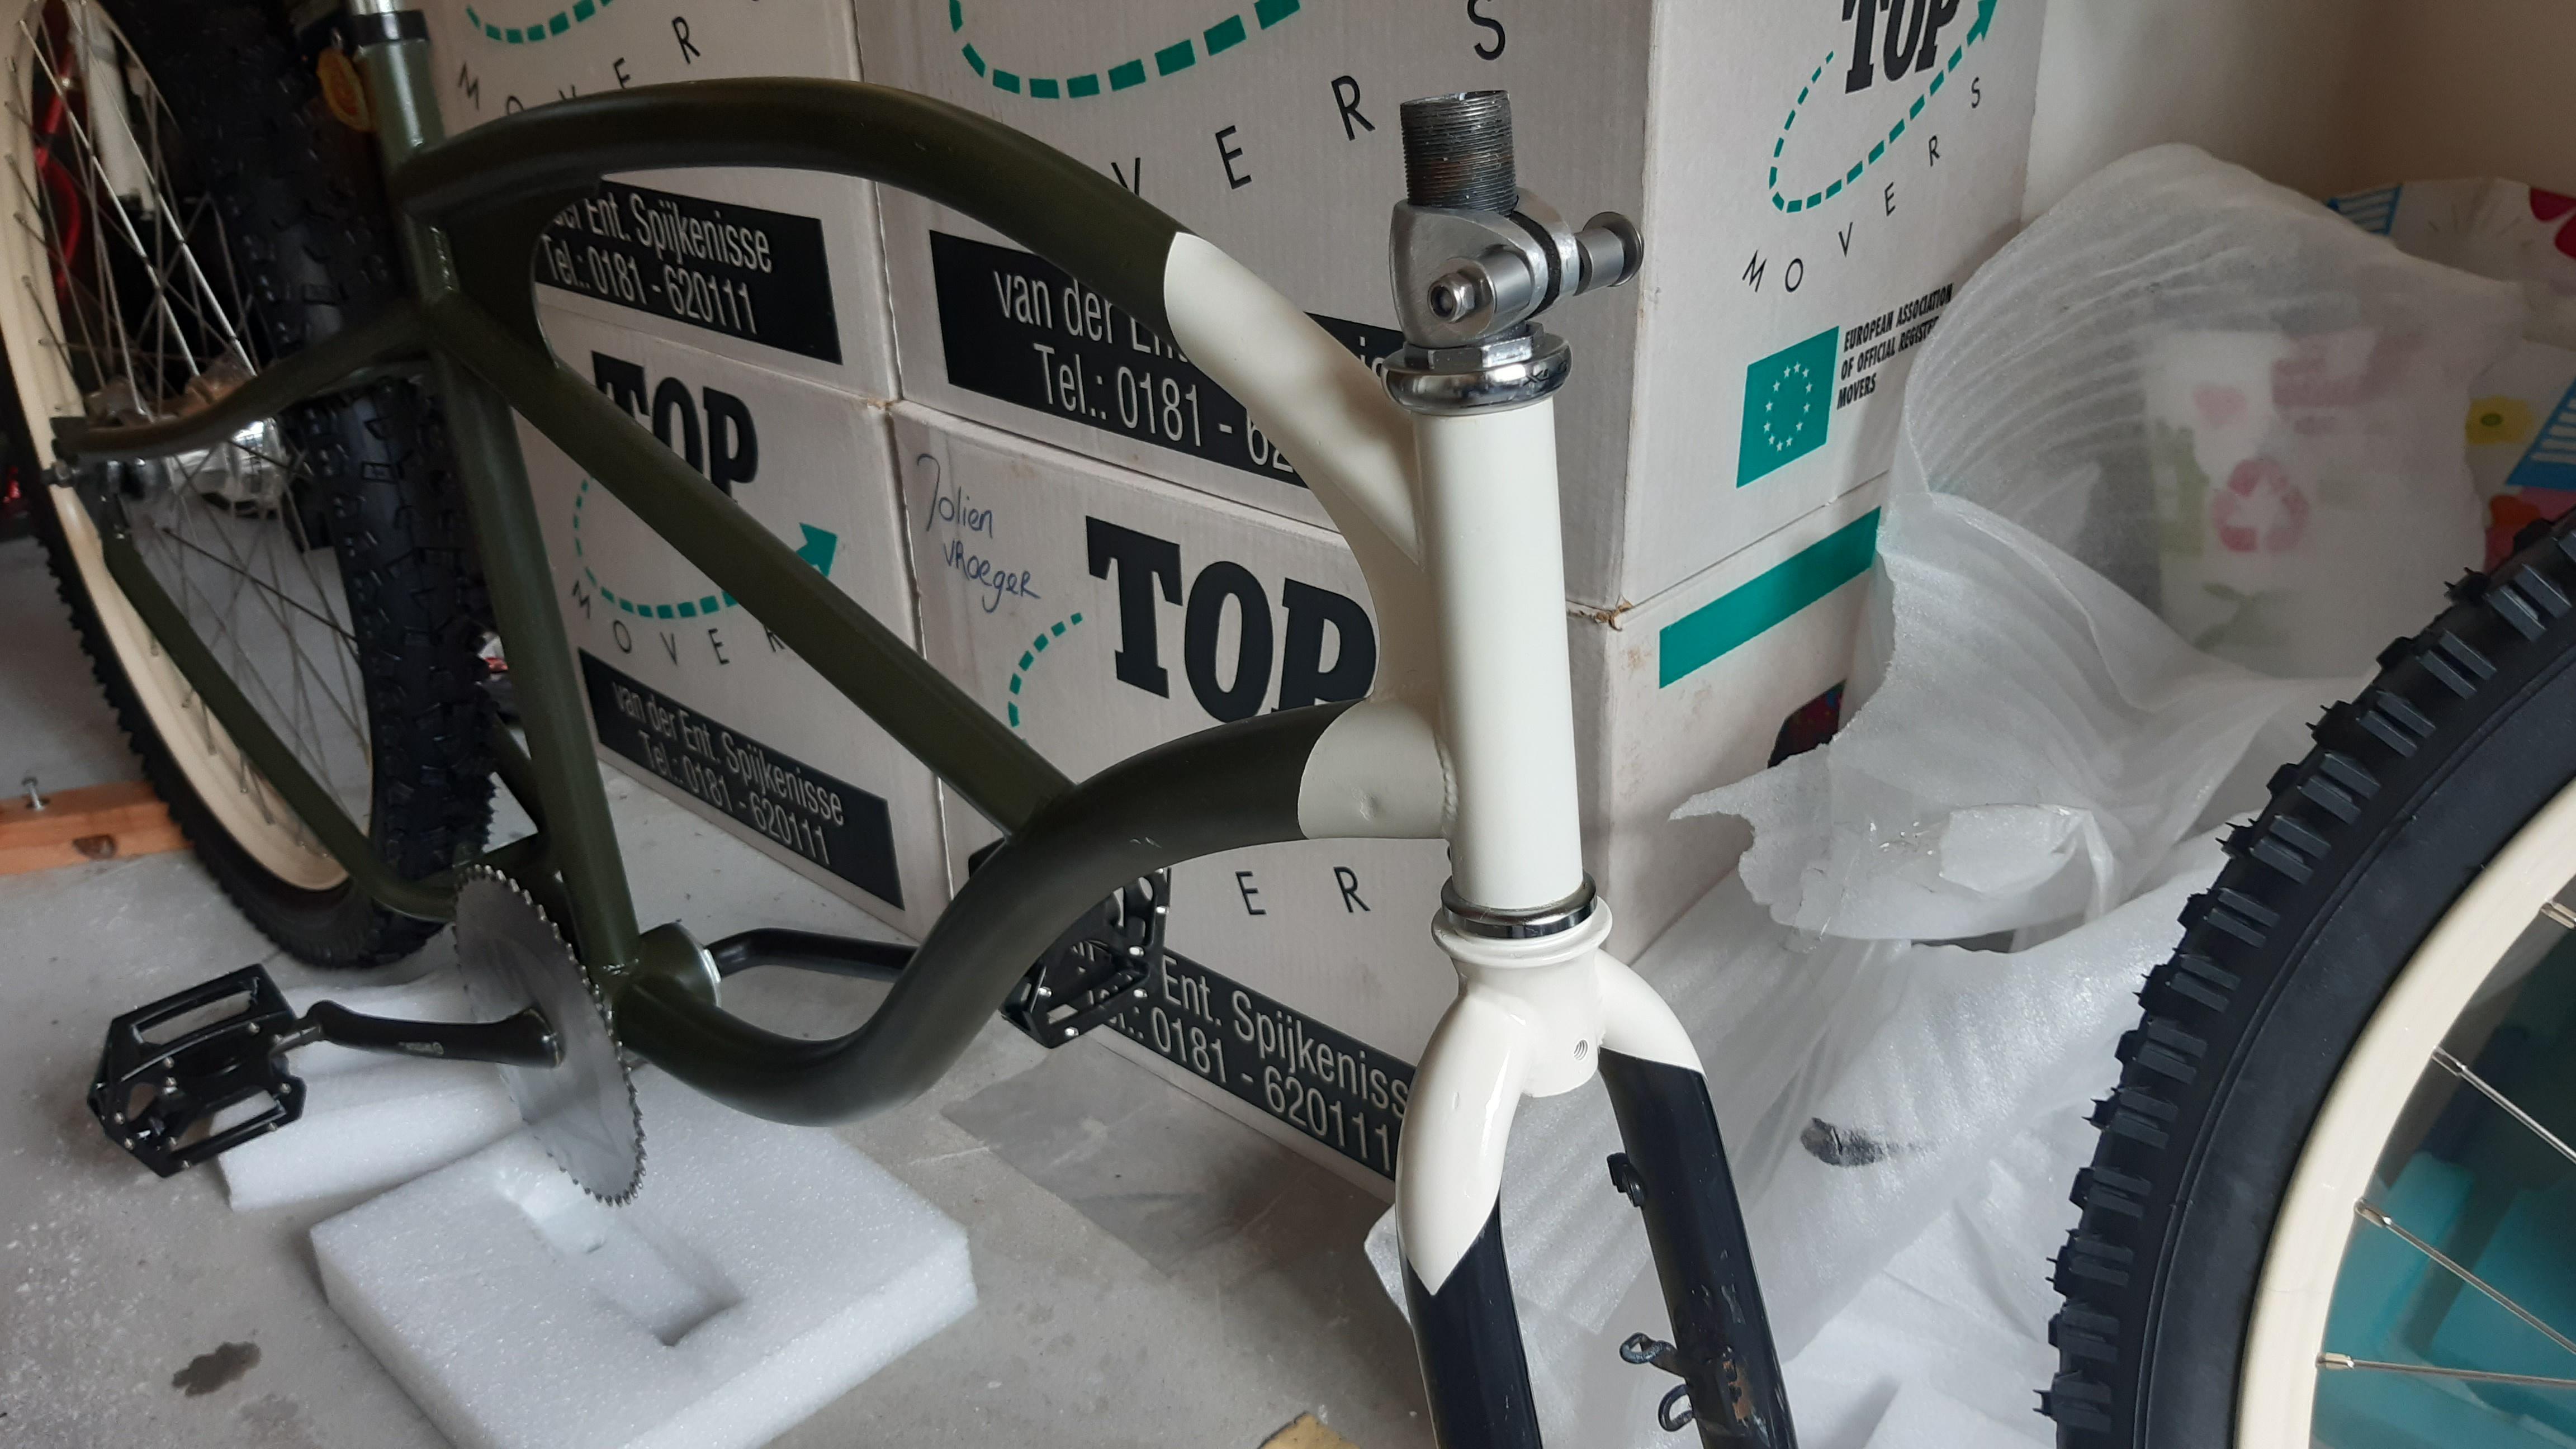
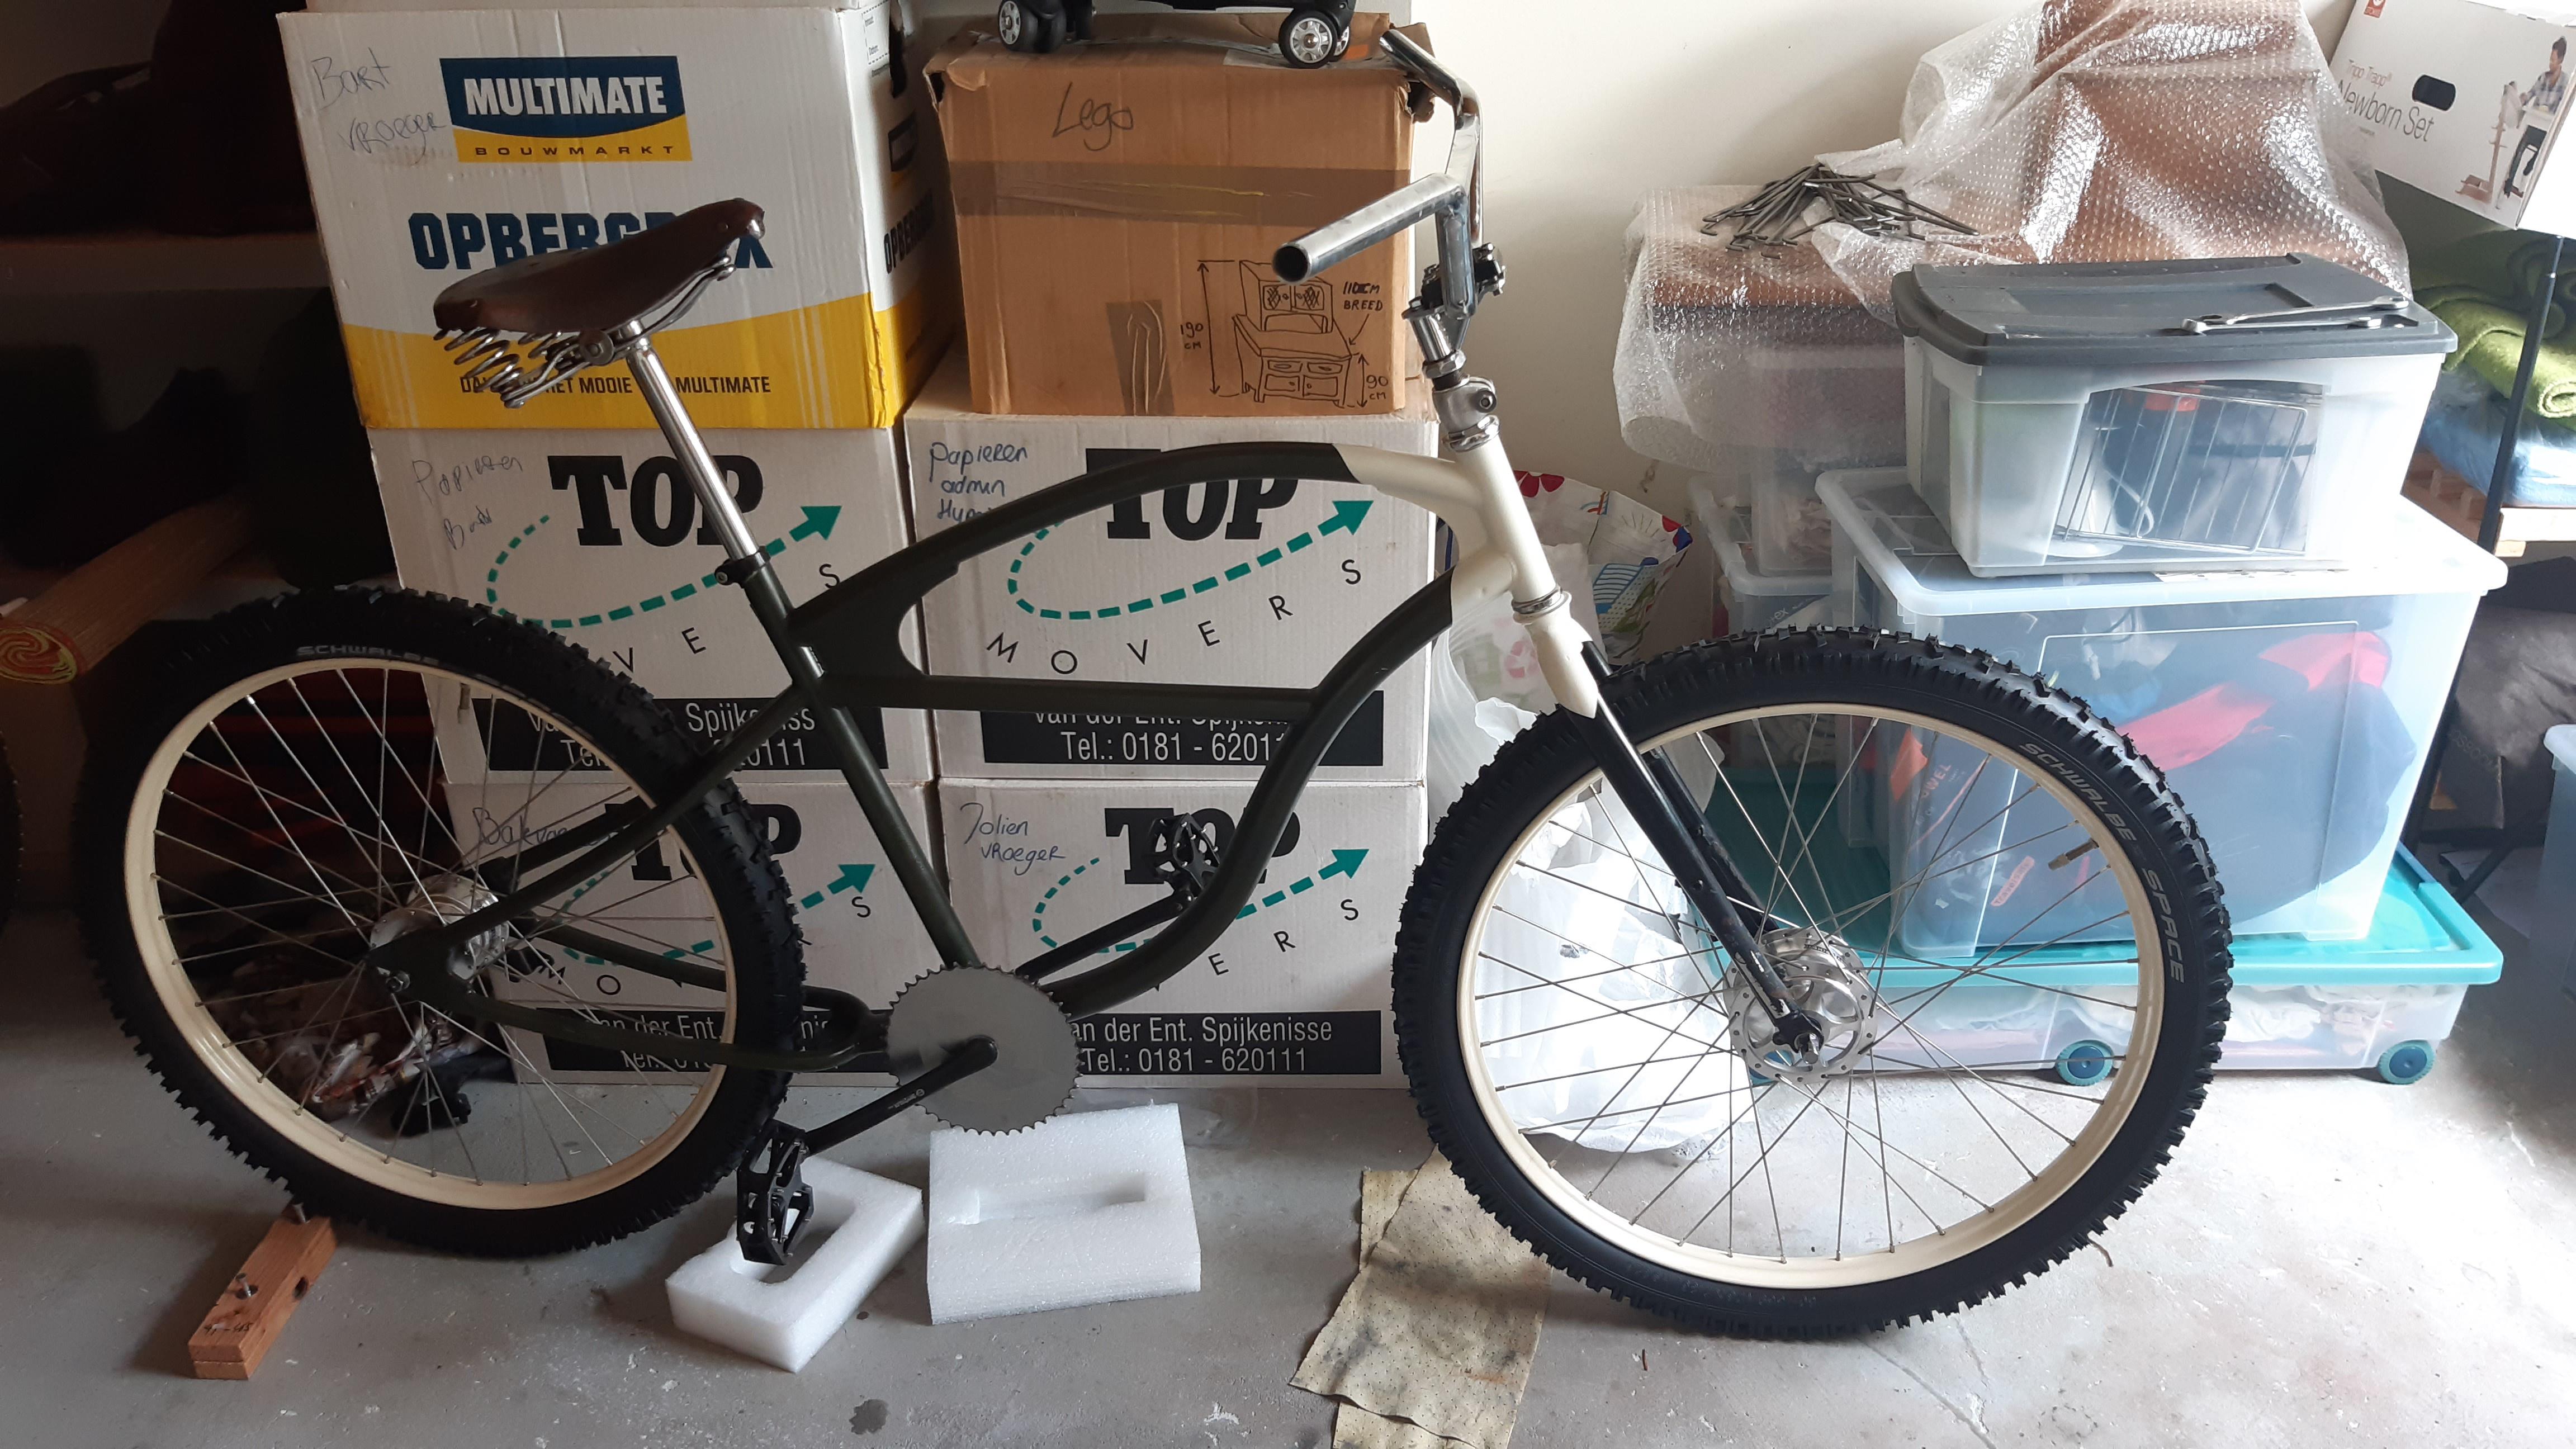
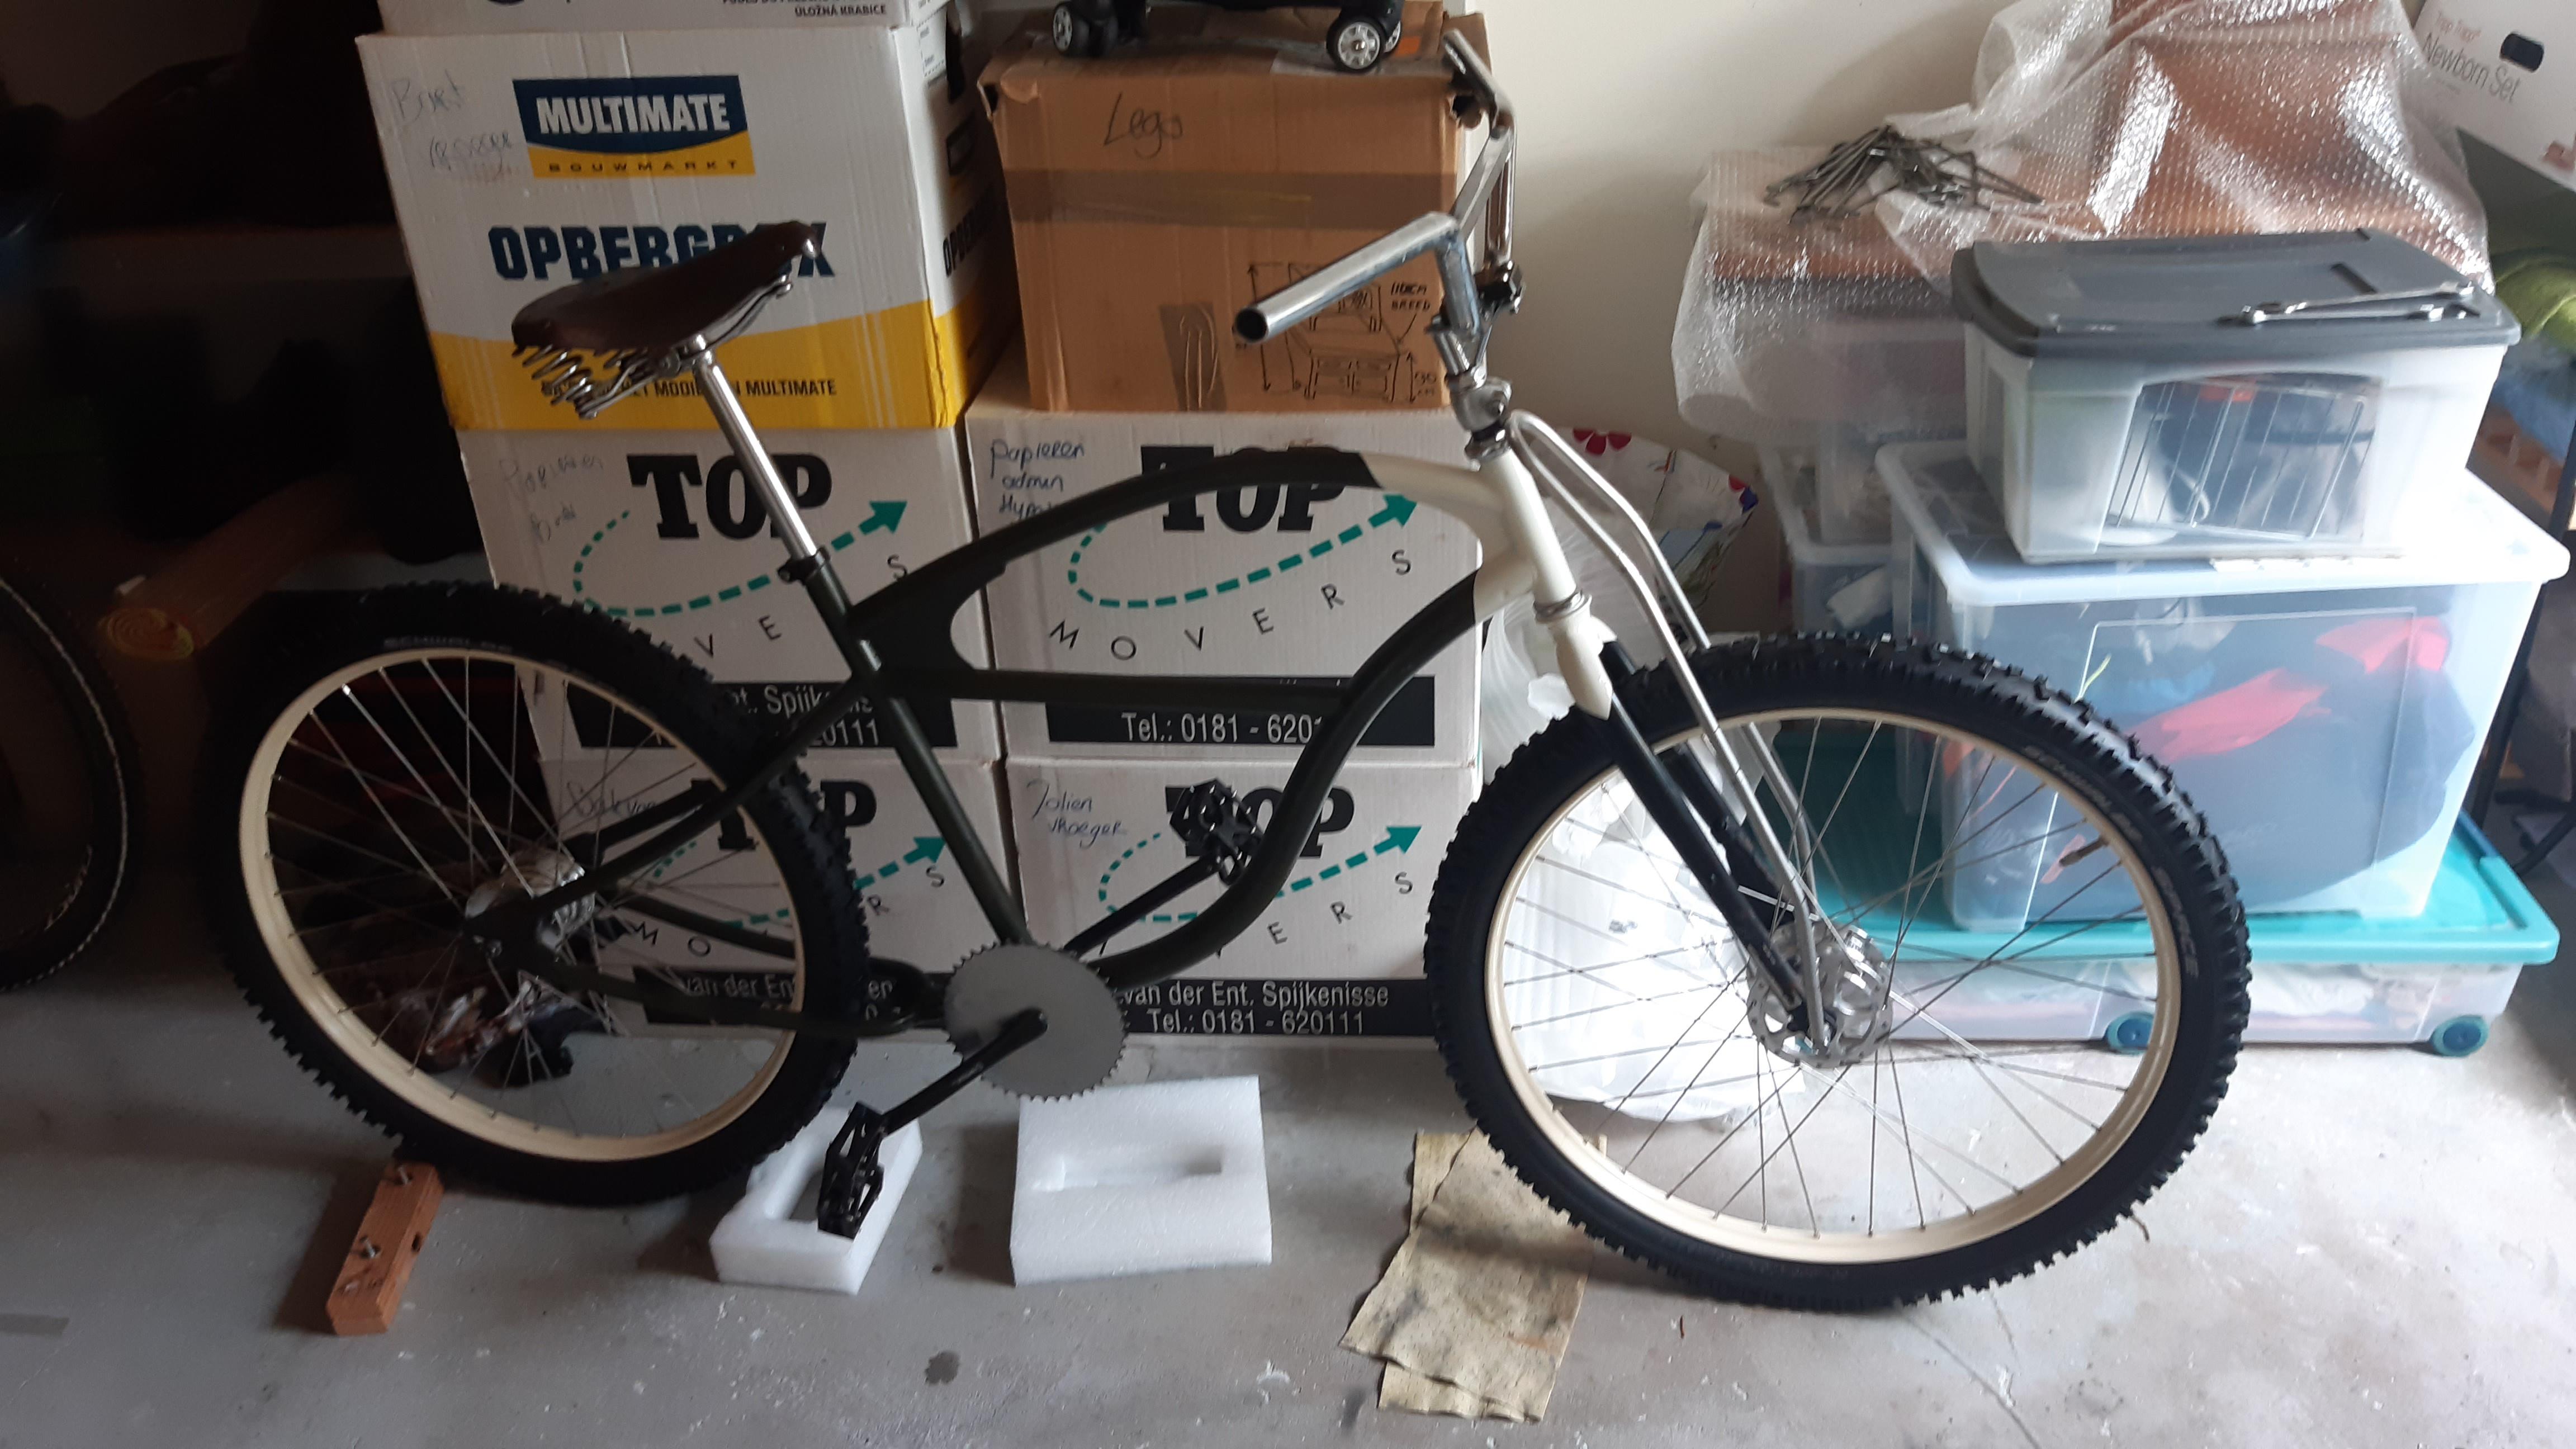
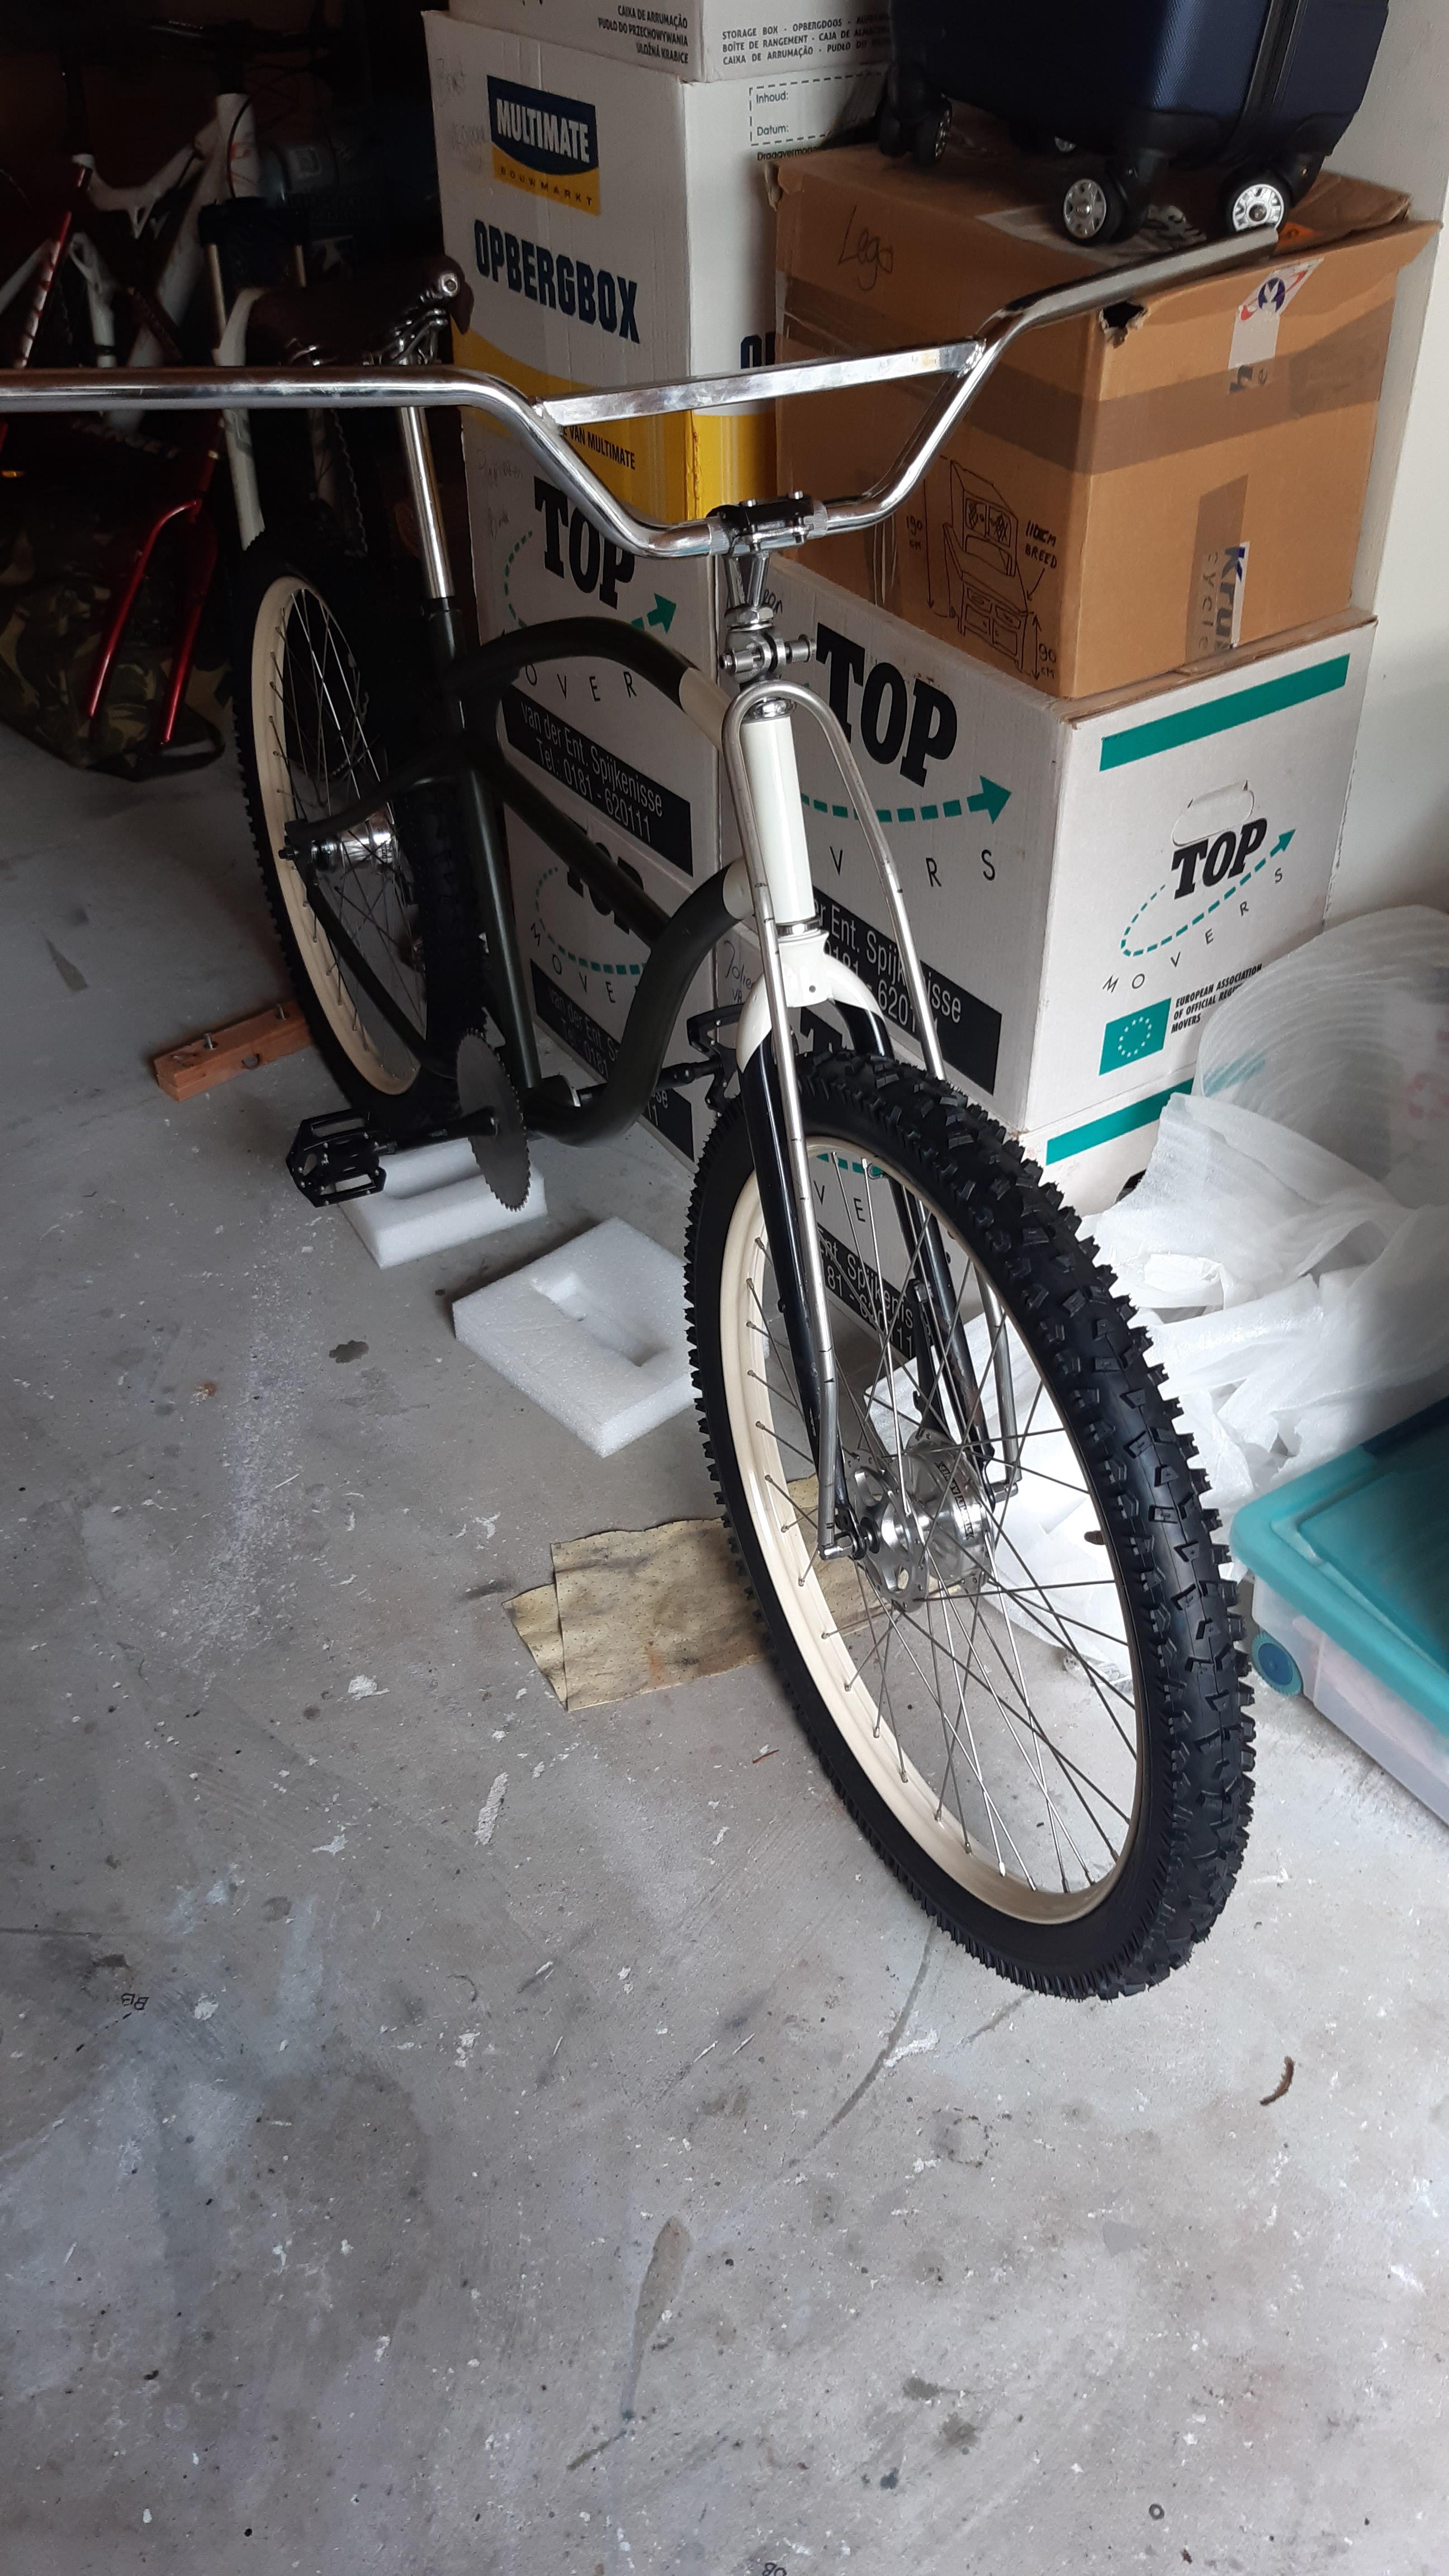
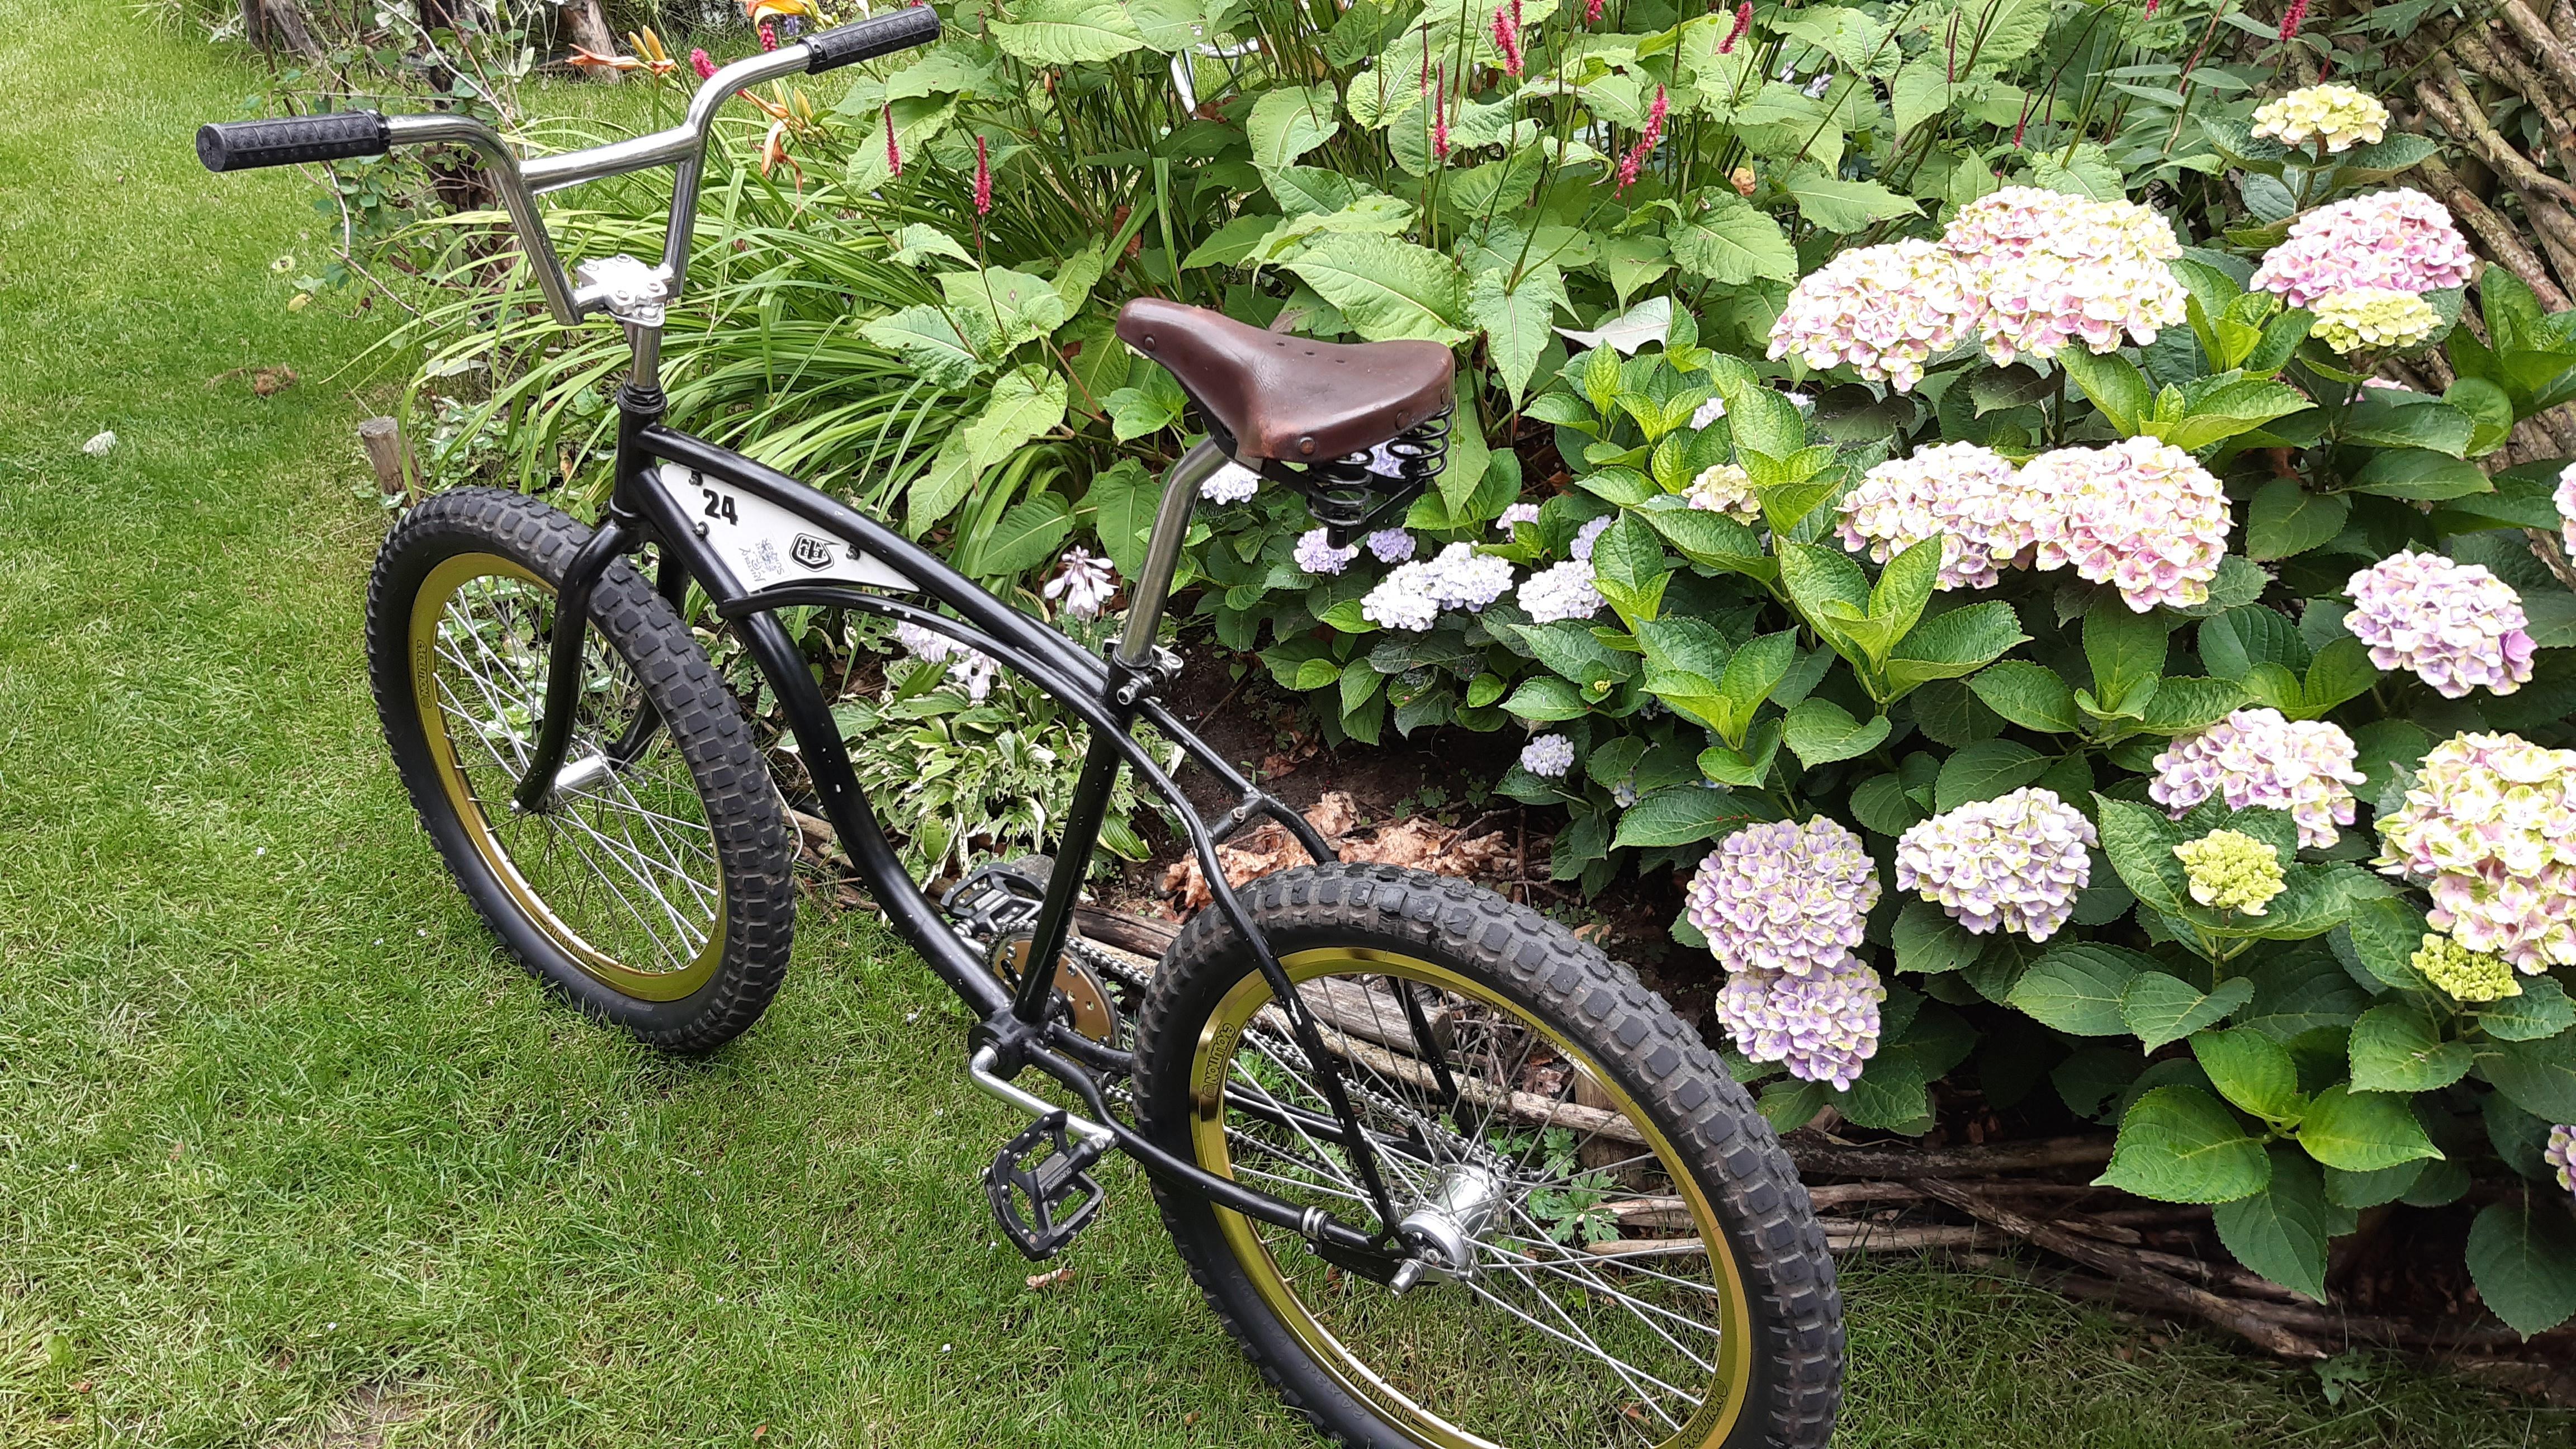
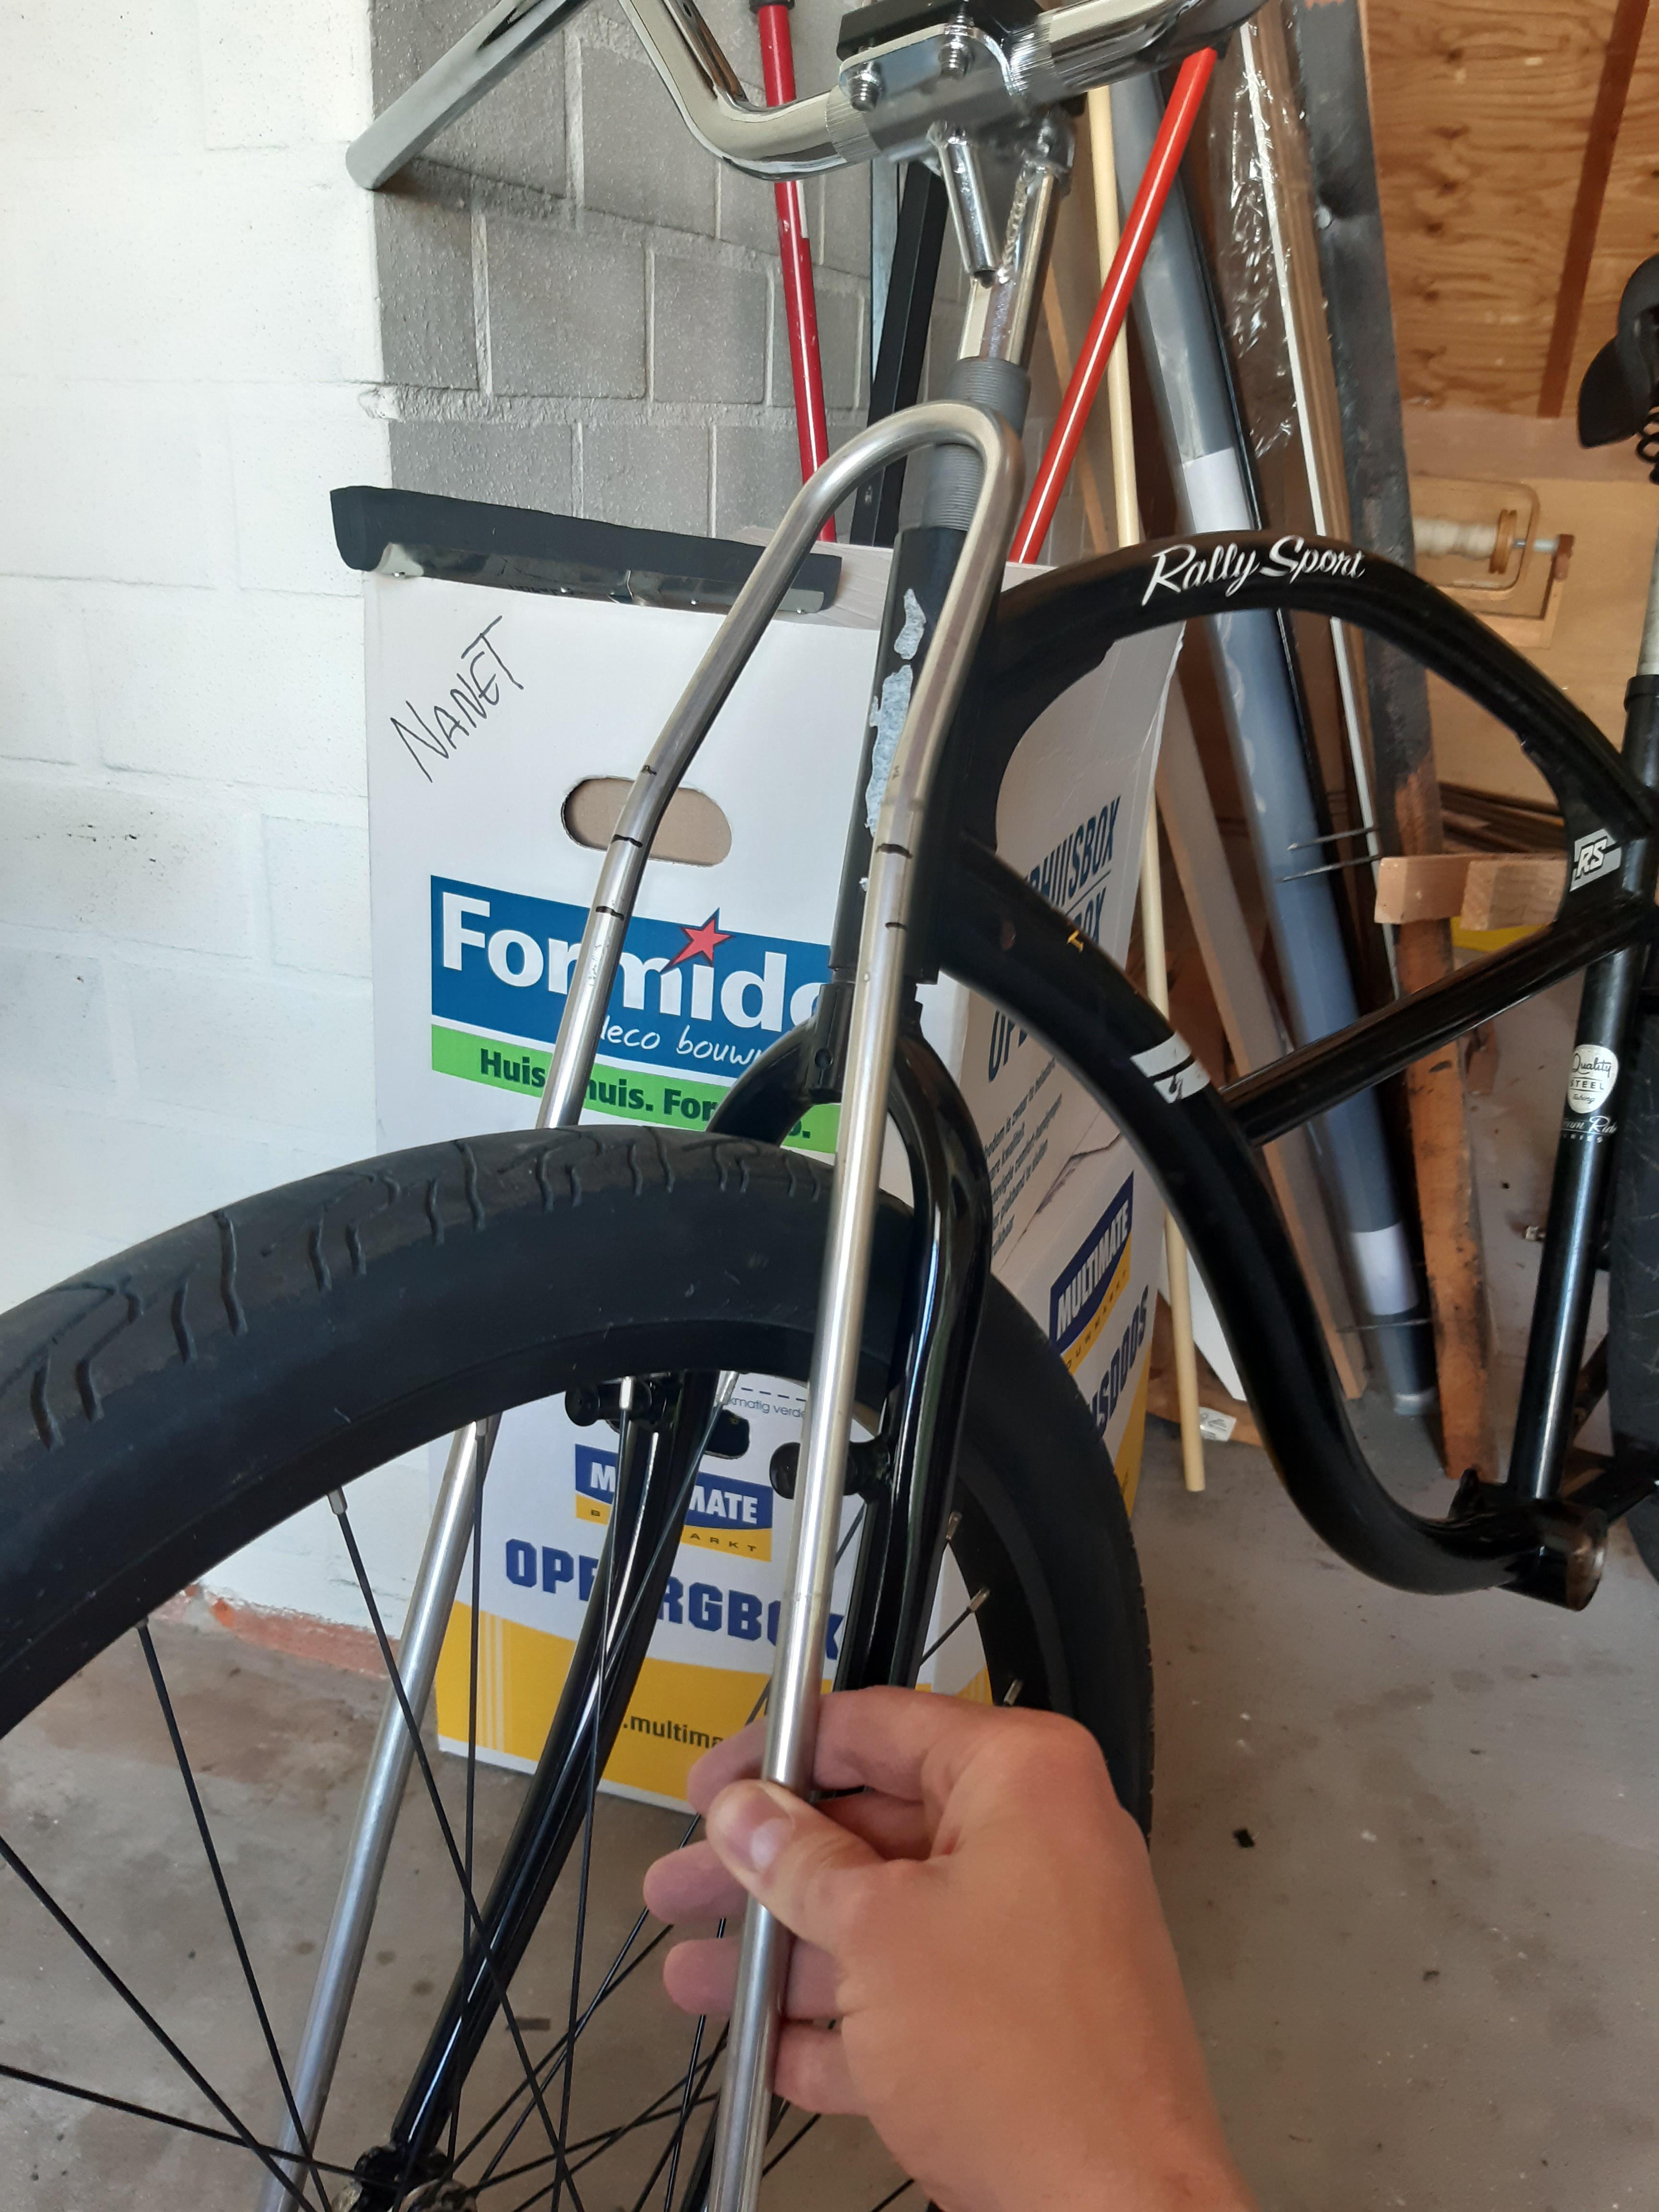
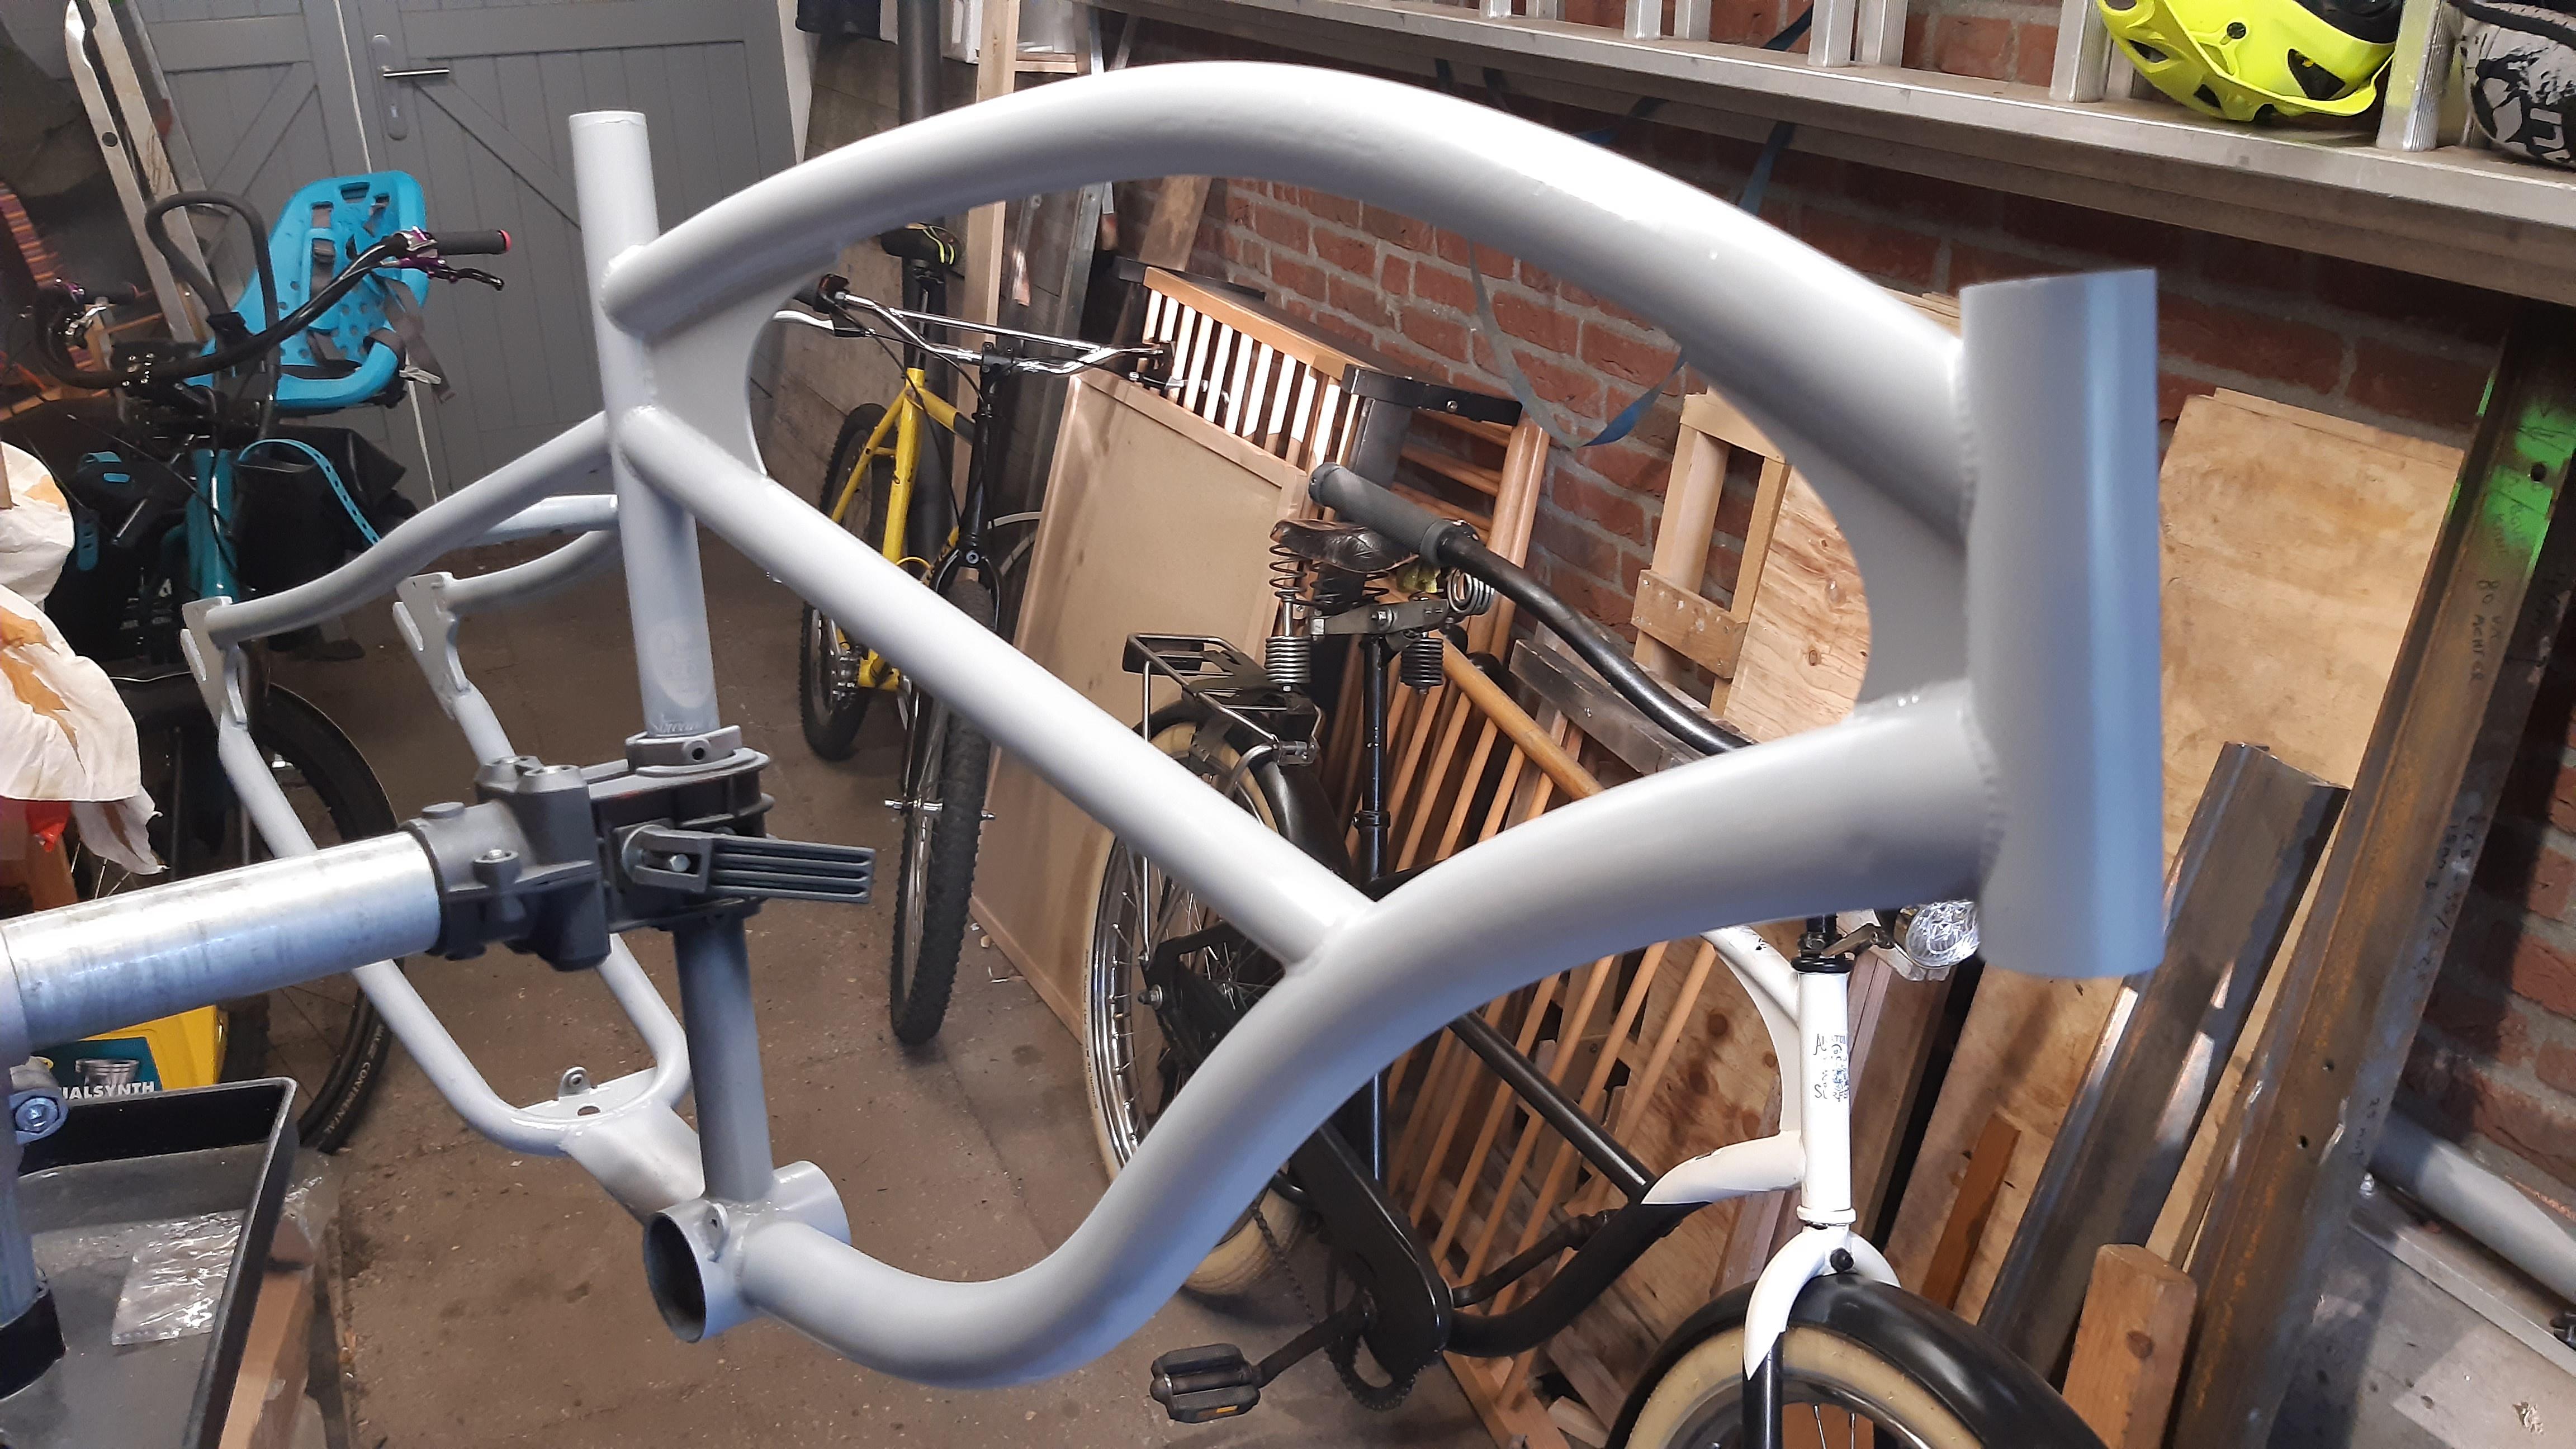
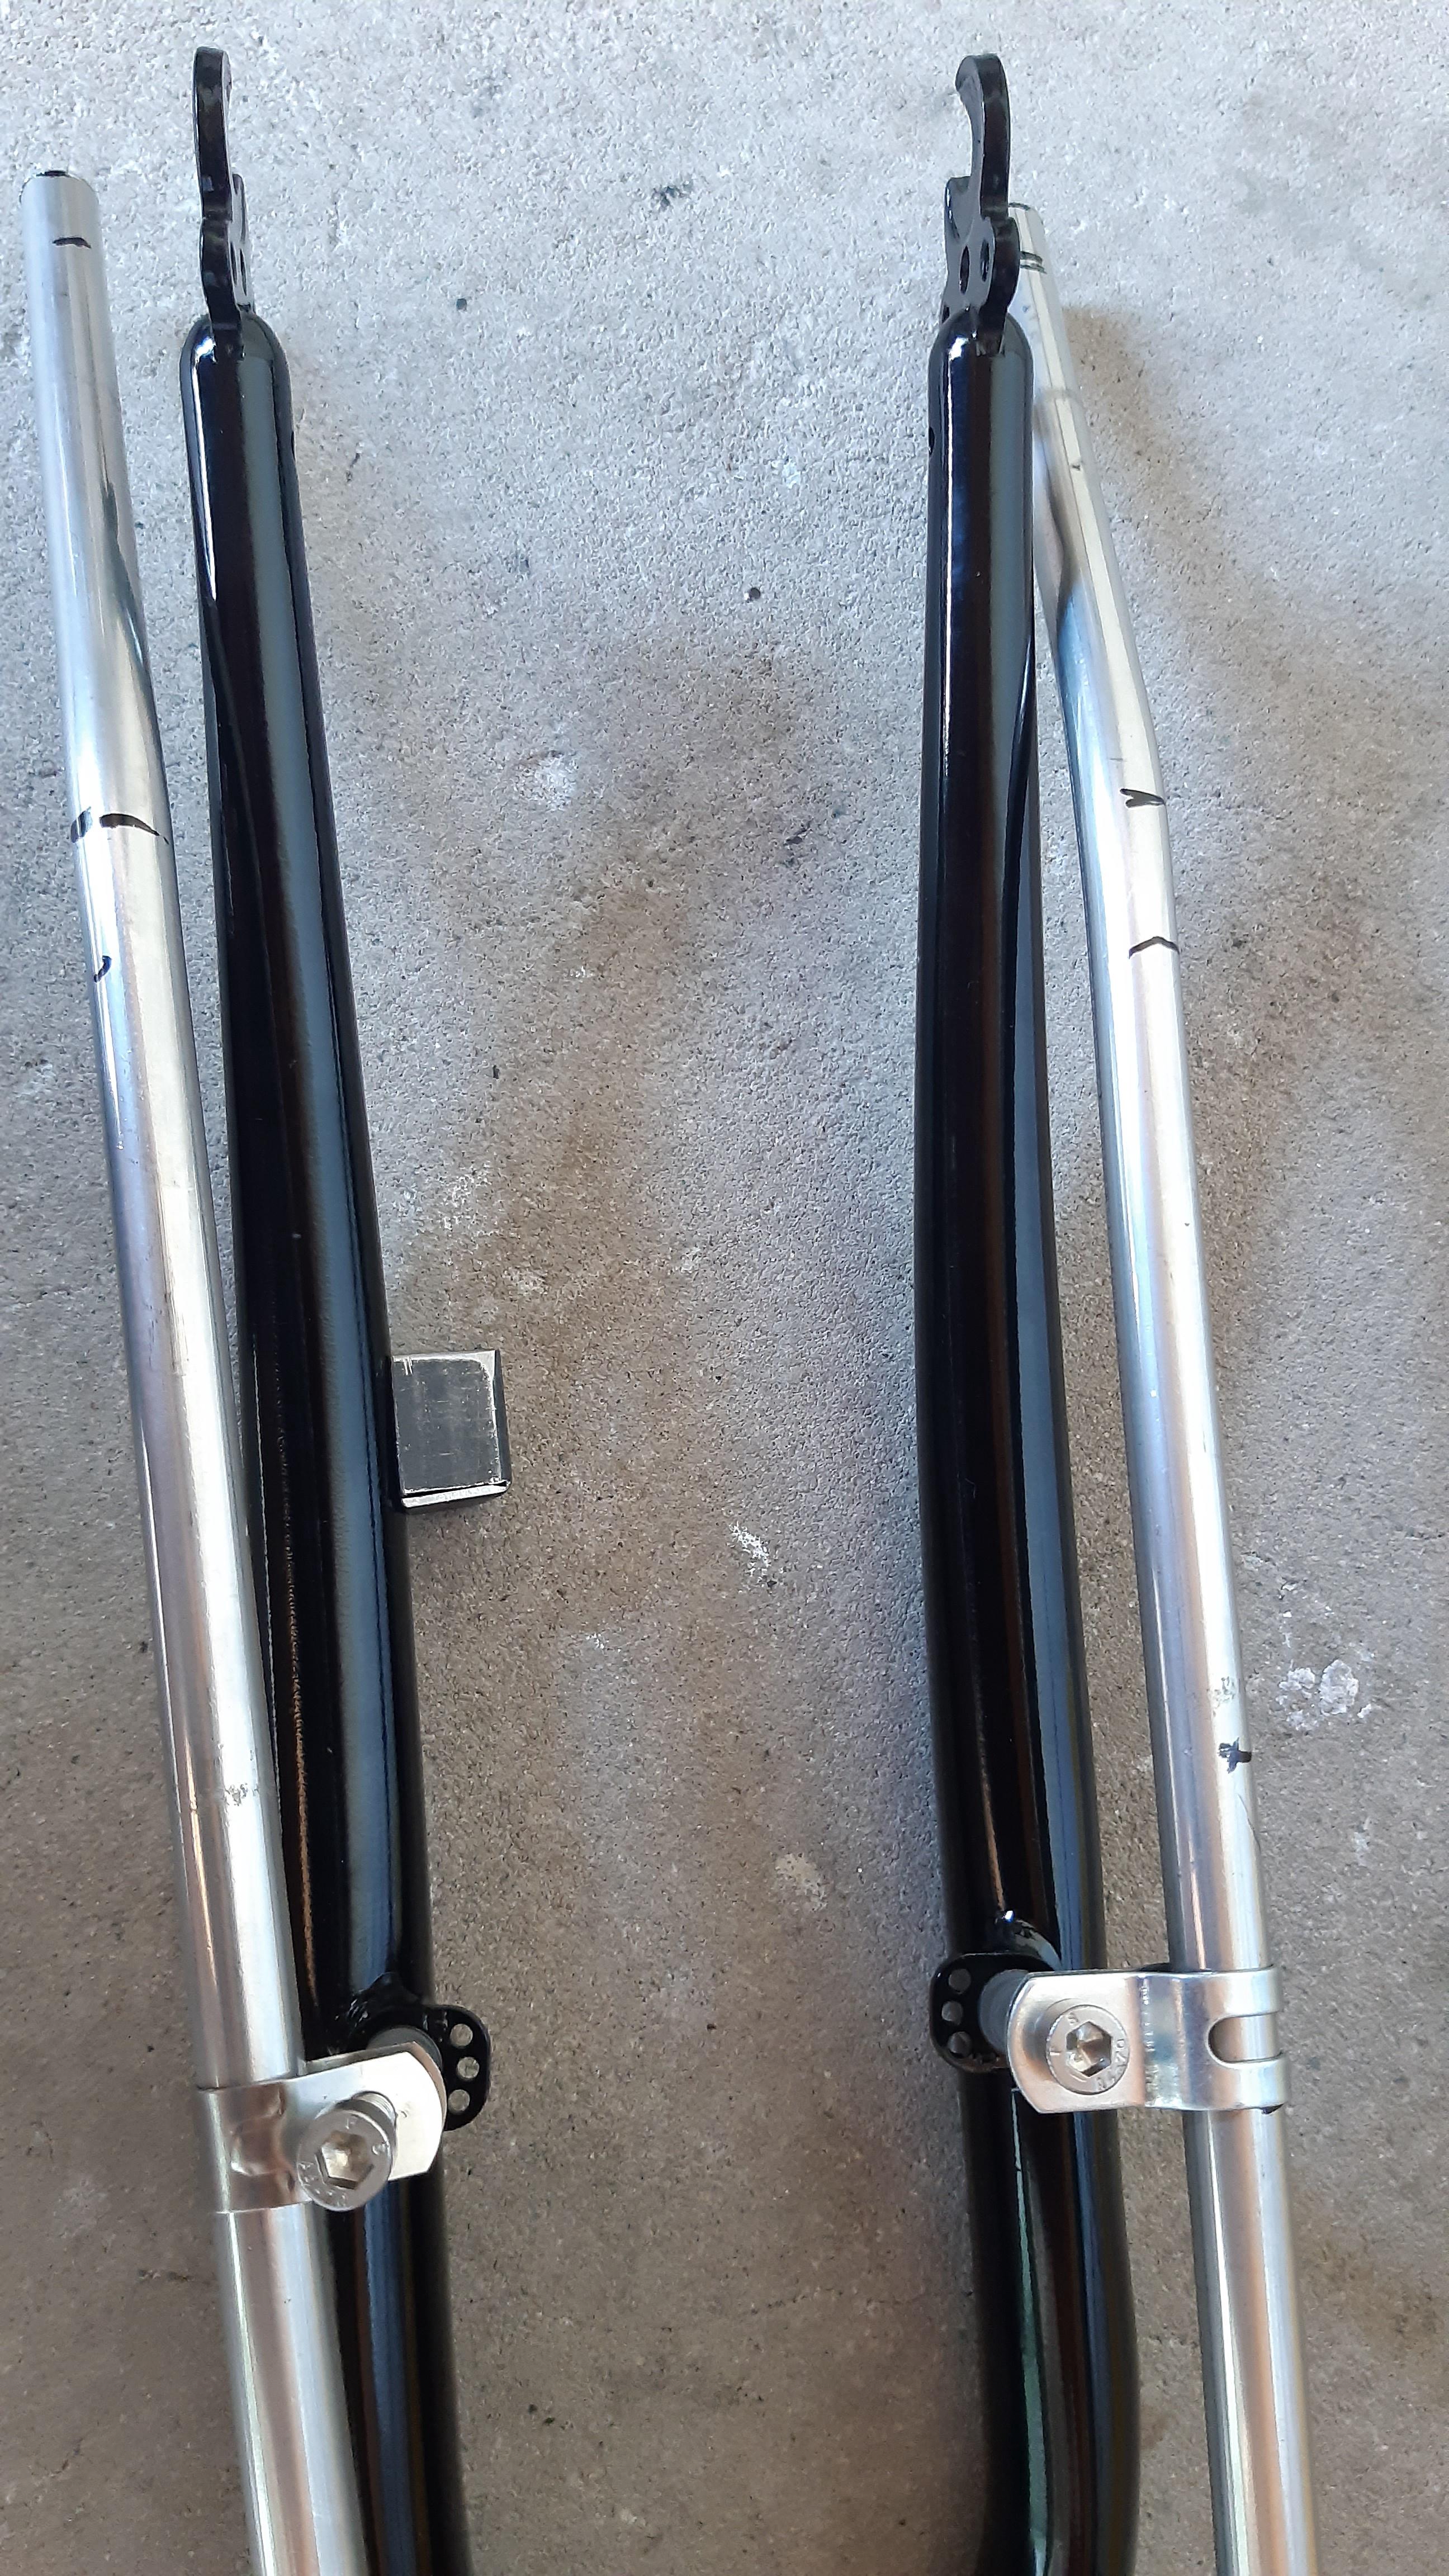
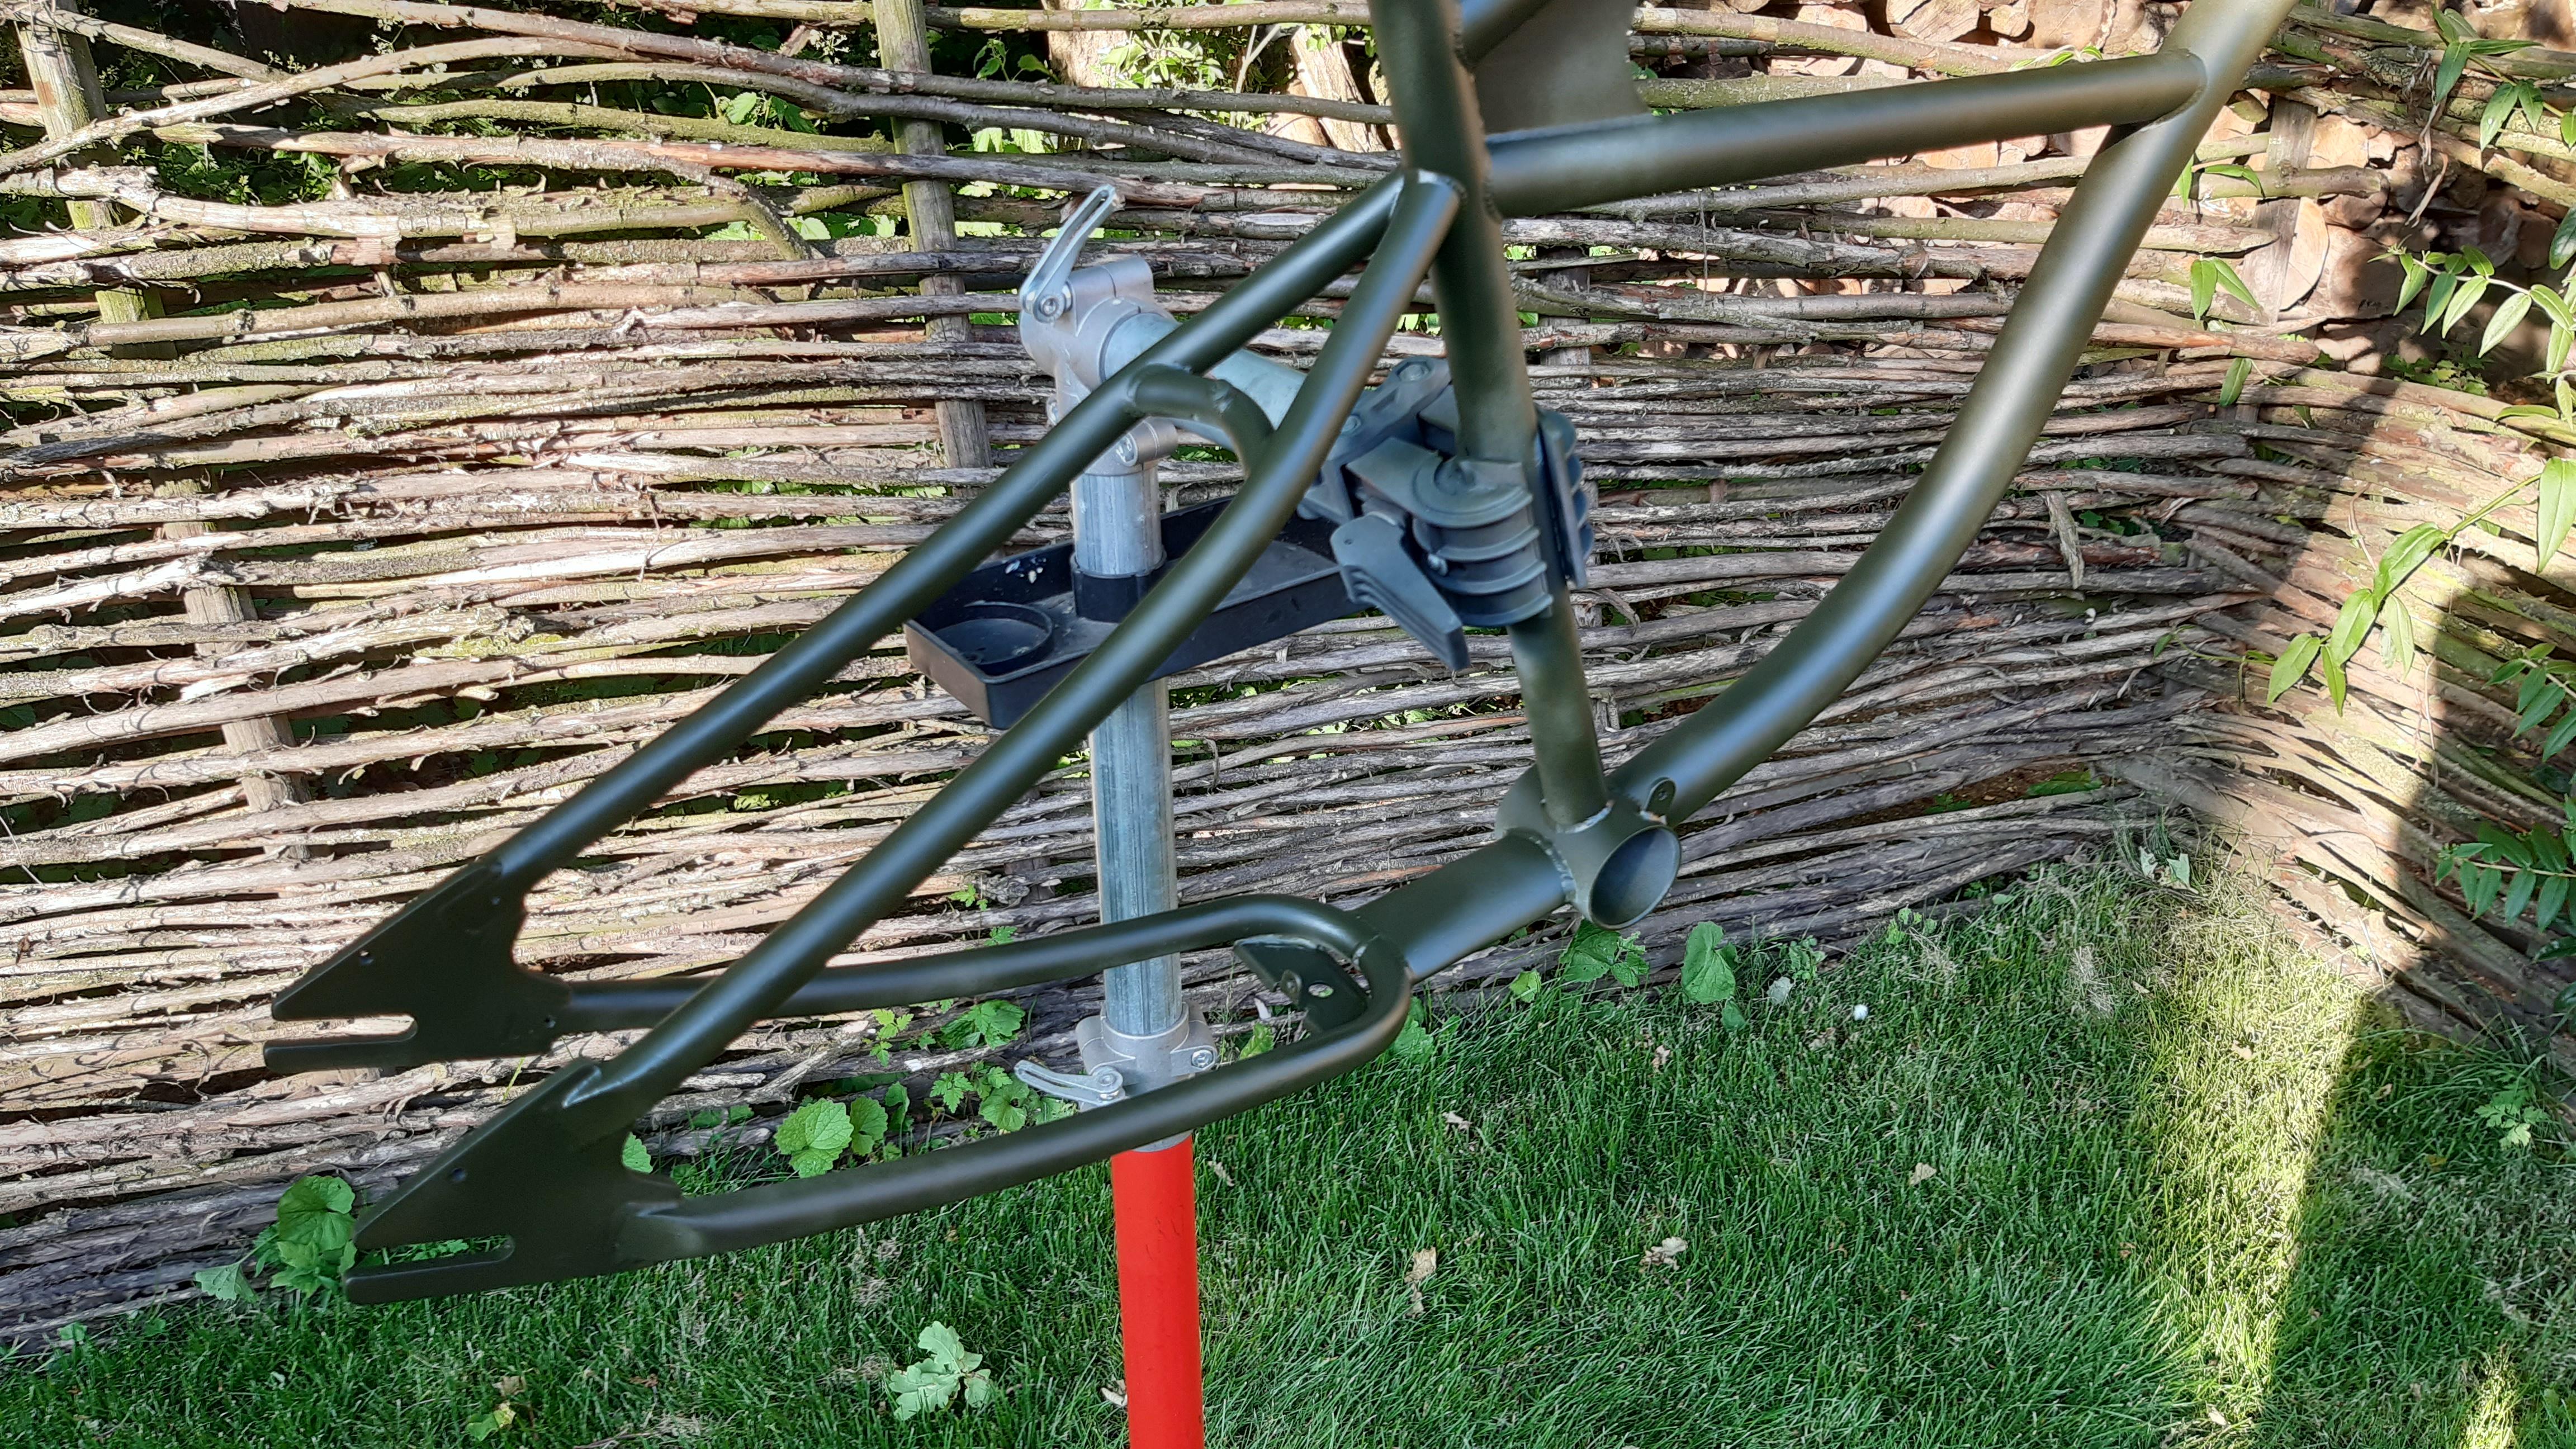
The truss clamps (mounted on the rim brake pegs) need to come forward quite a bit. And they will be changed to some similar clamps. This is just a mockup.
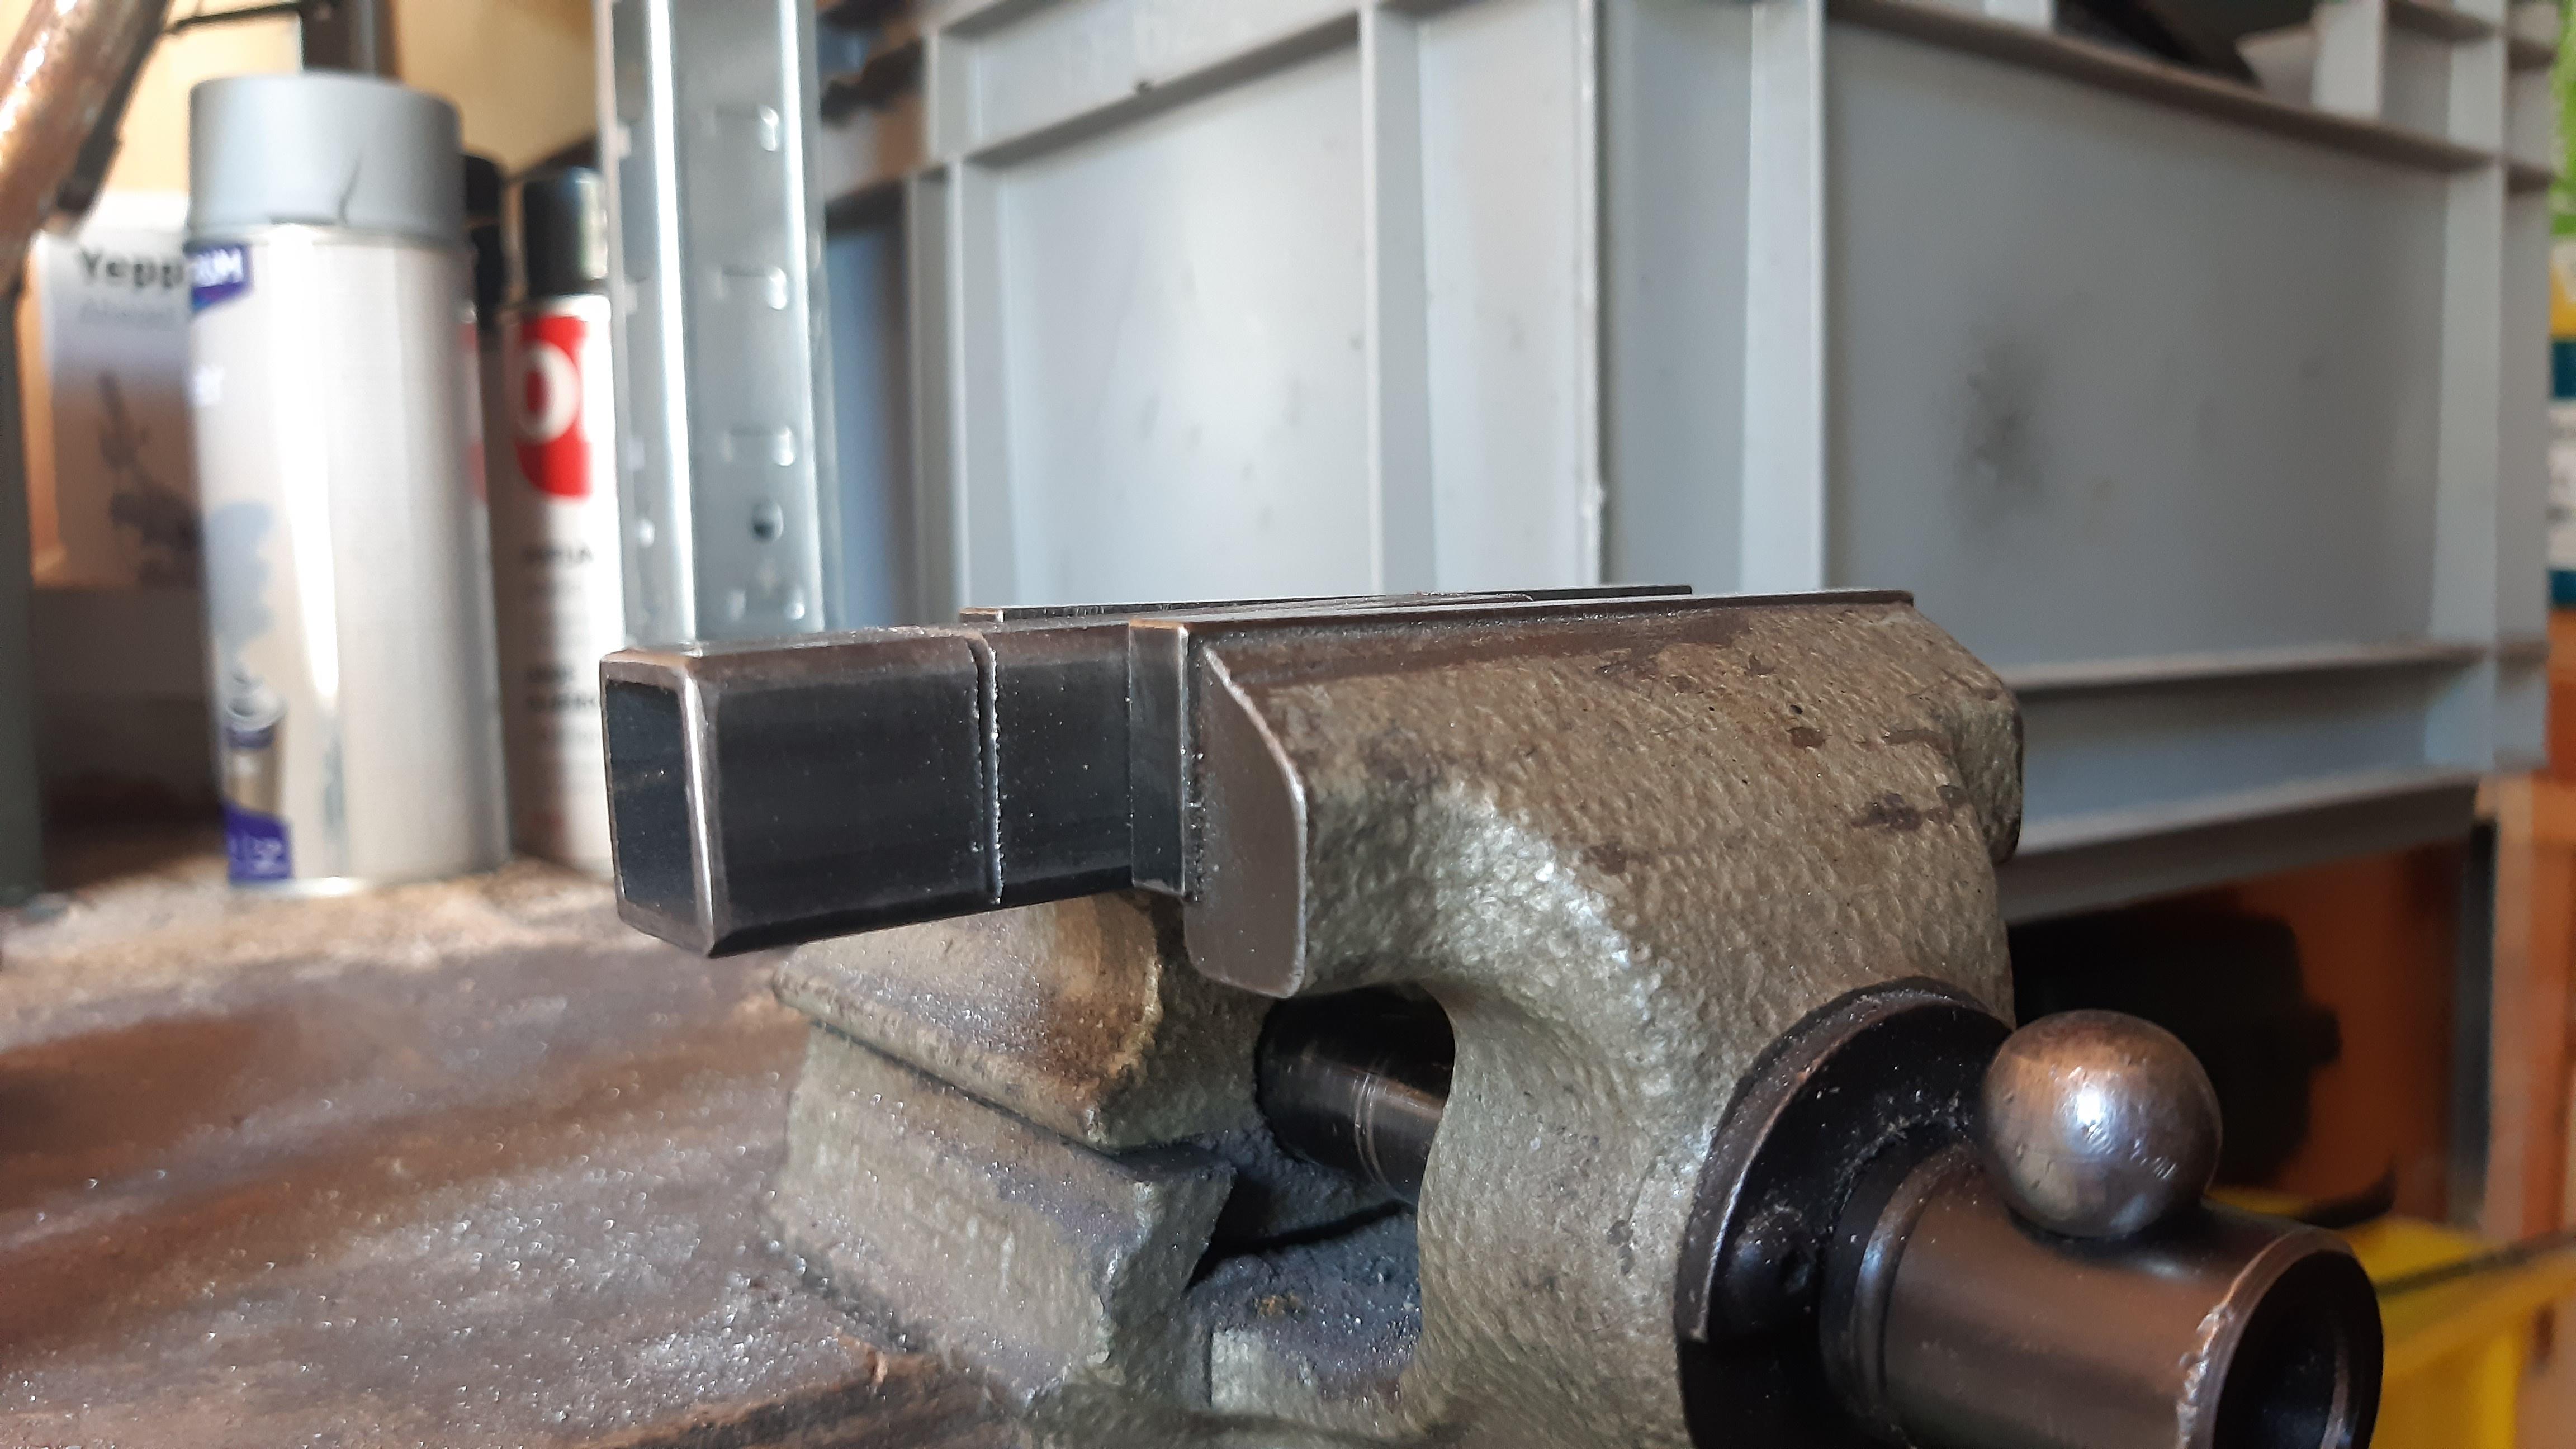
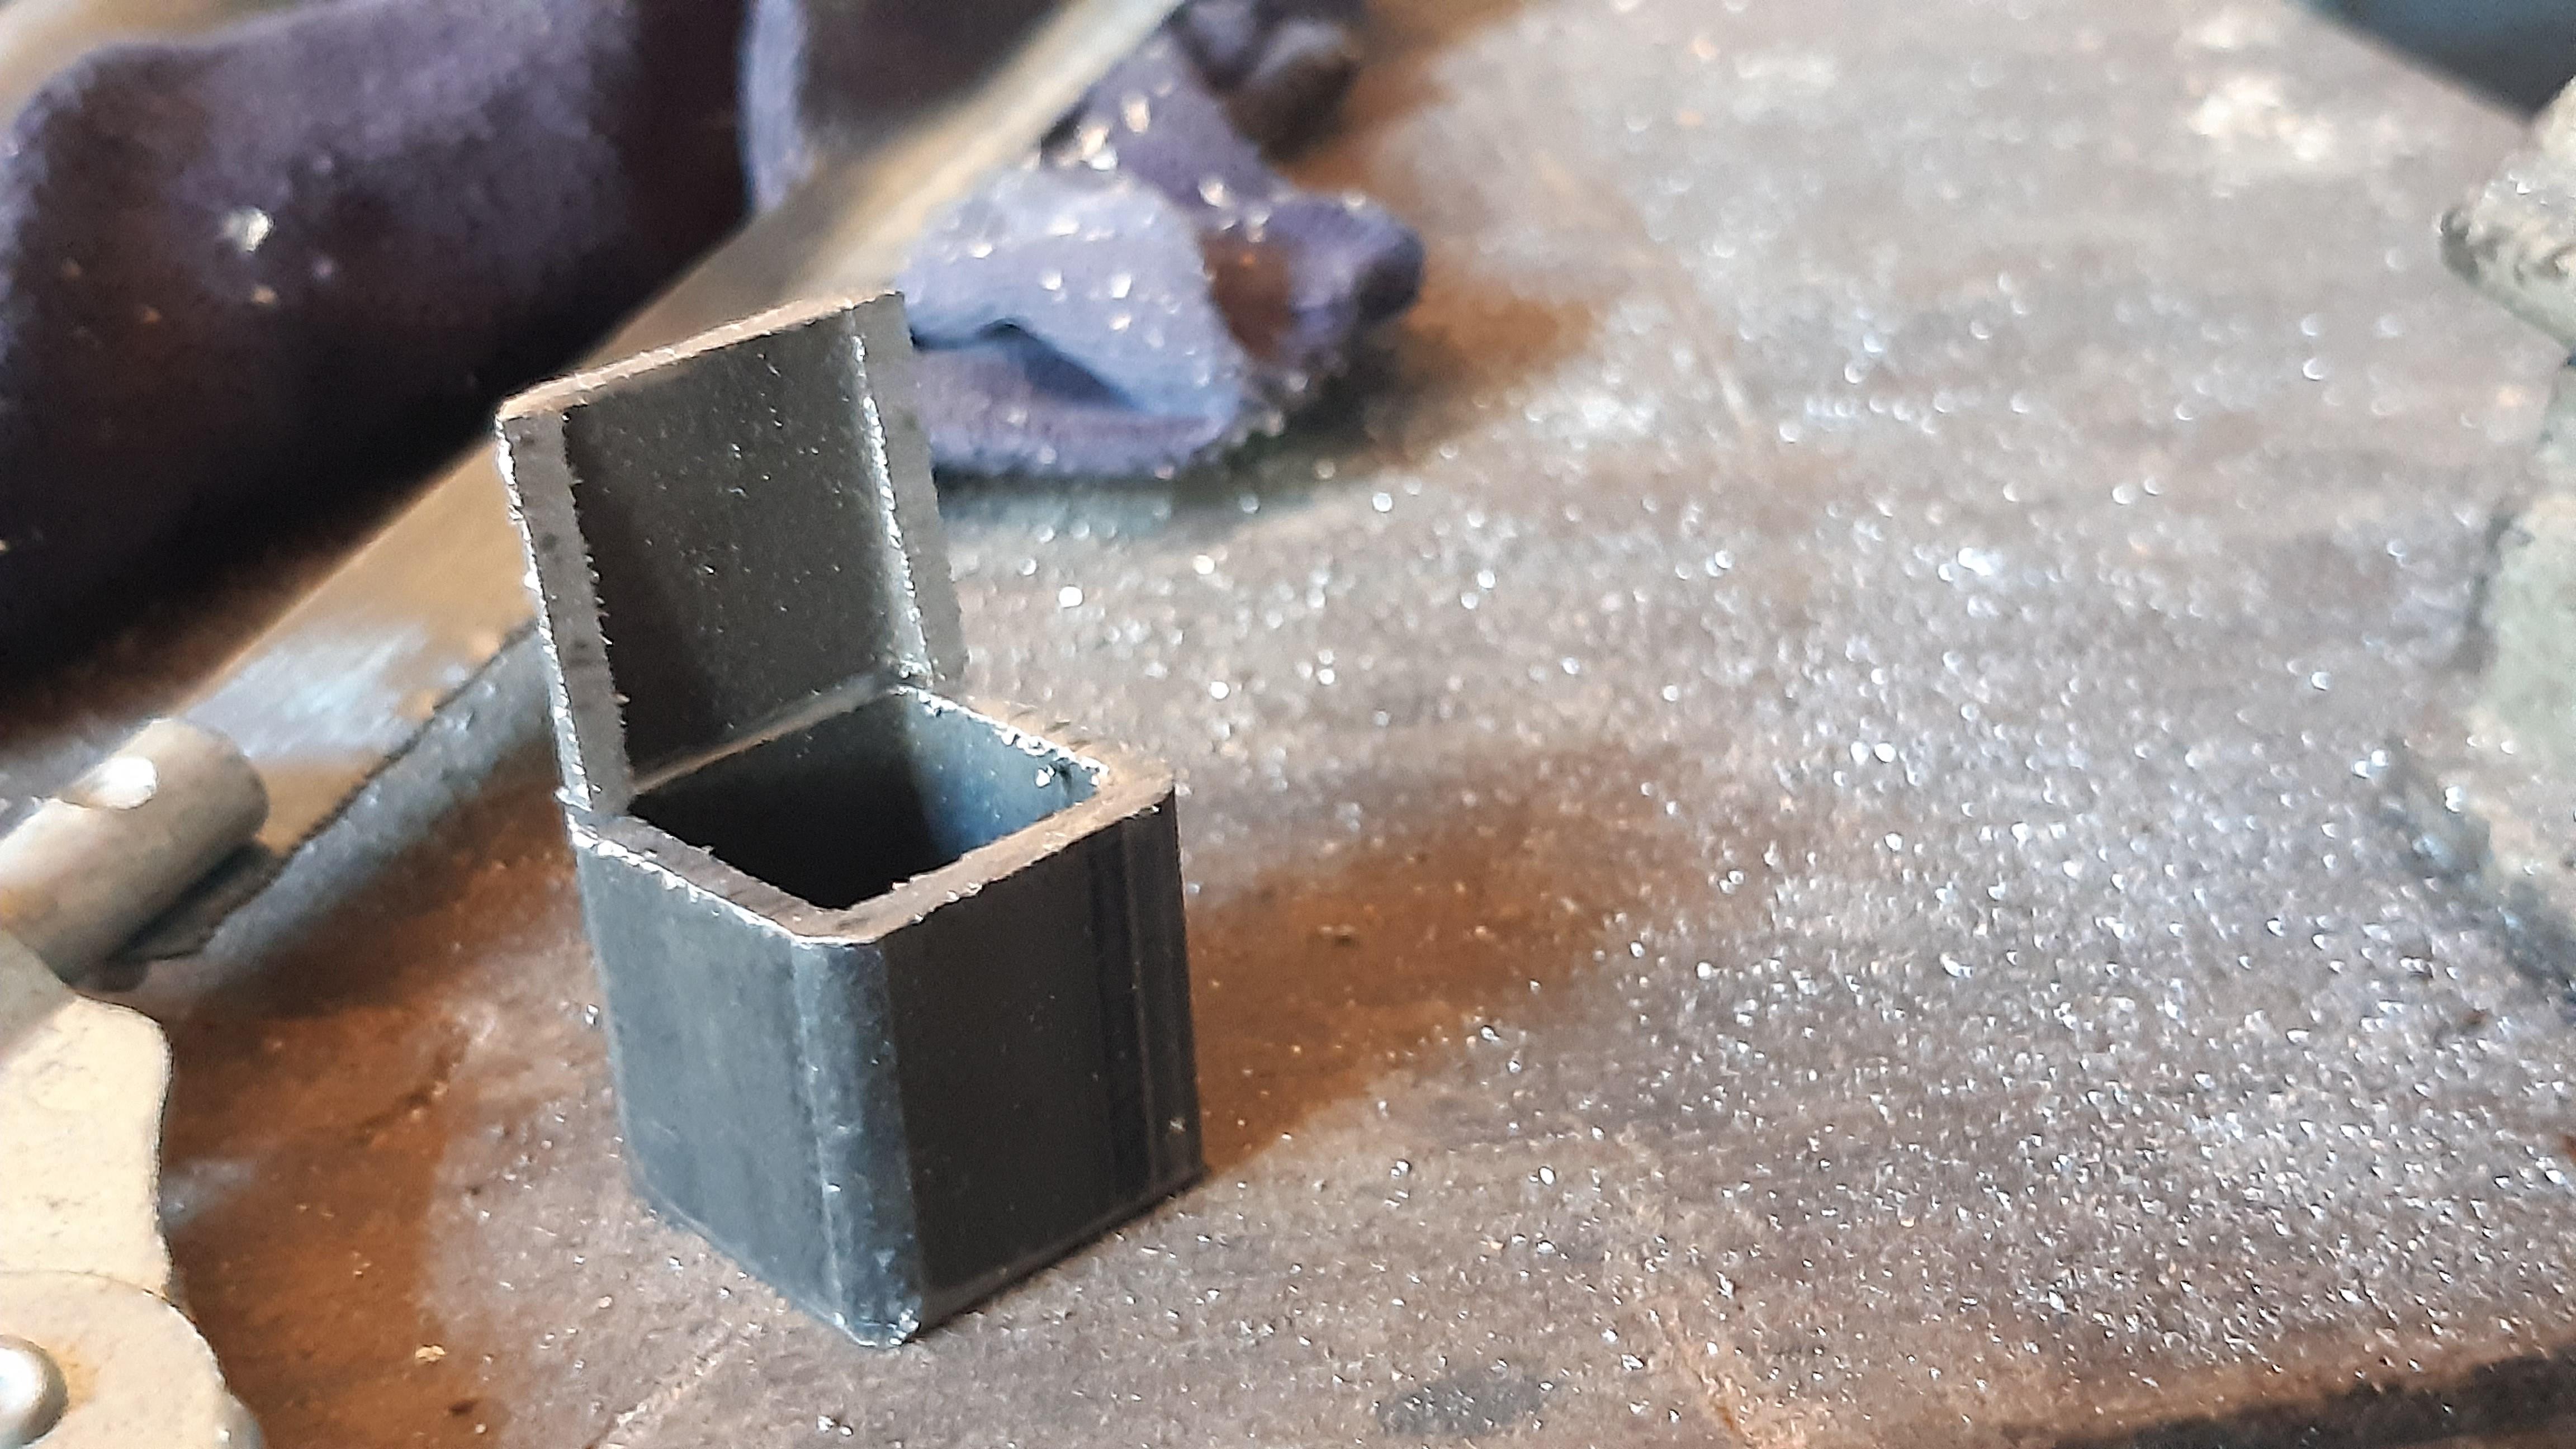
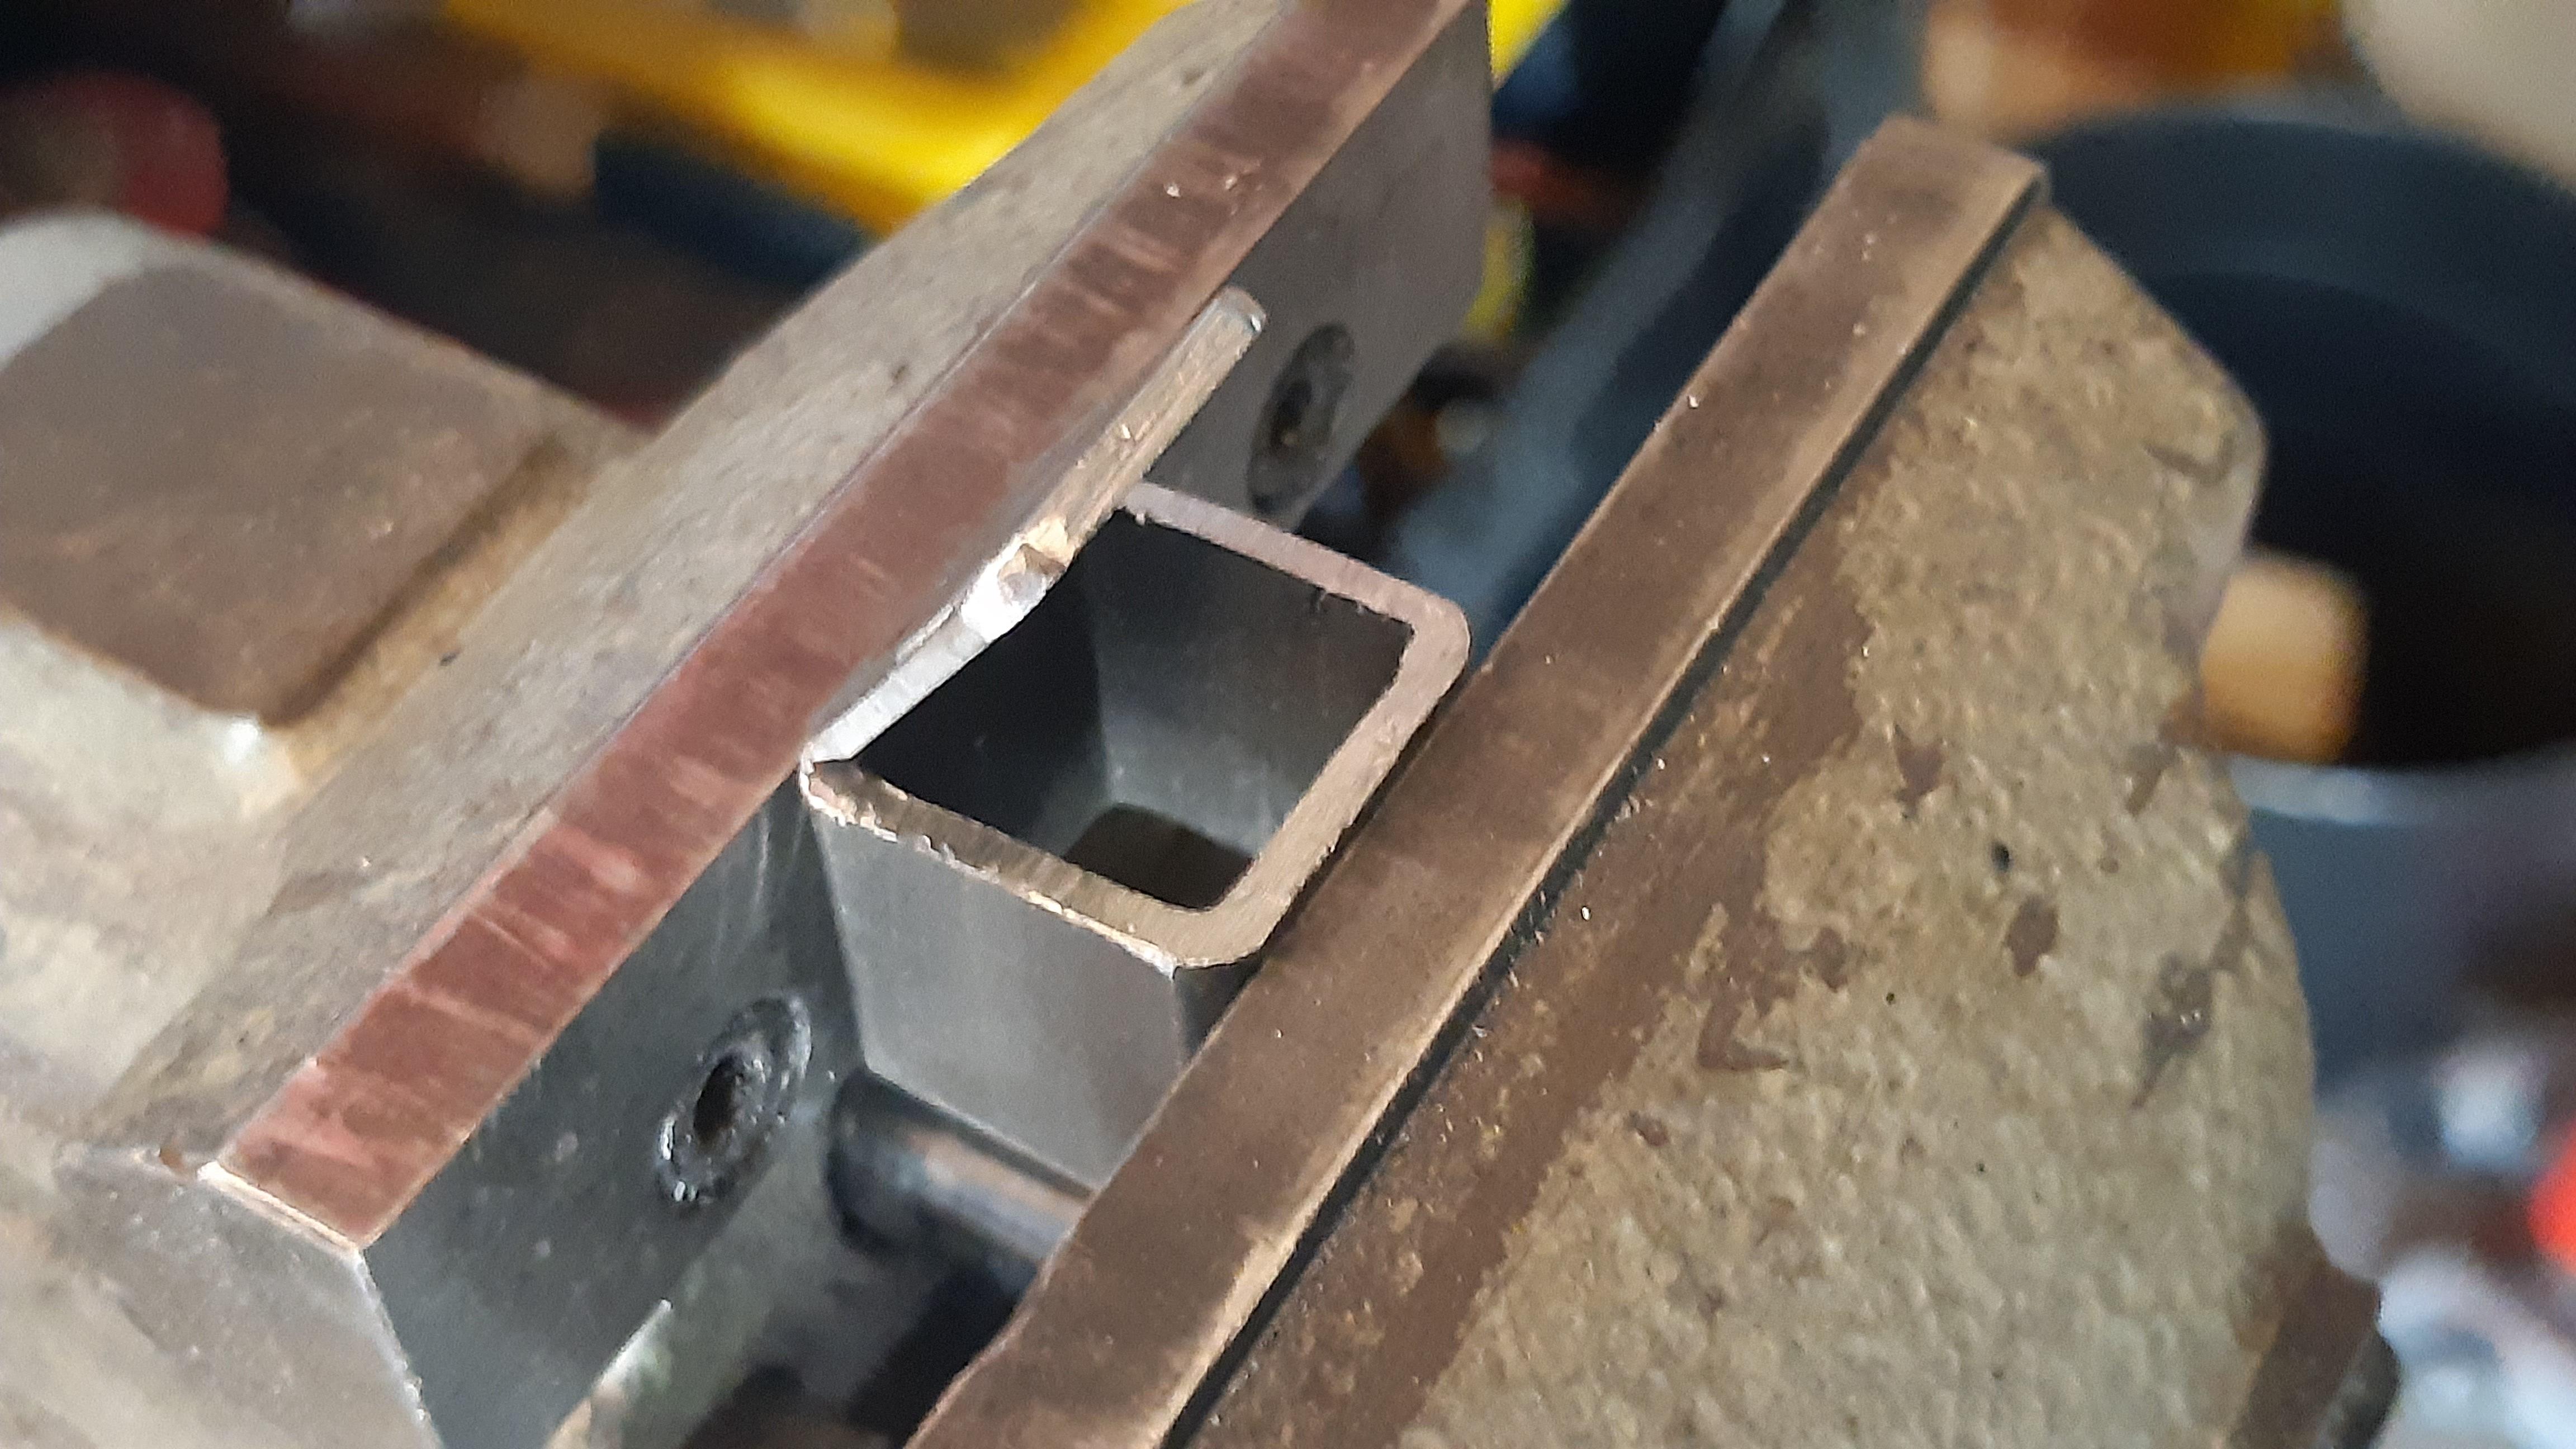
Fabrication of drum brake anchor:

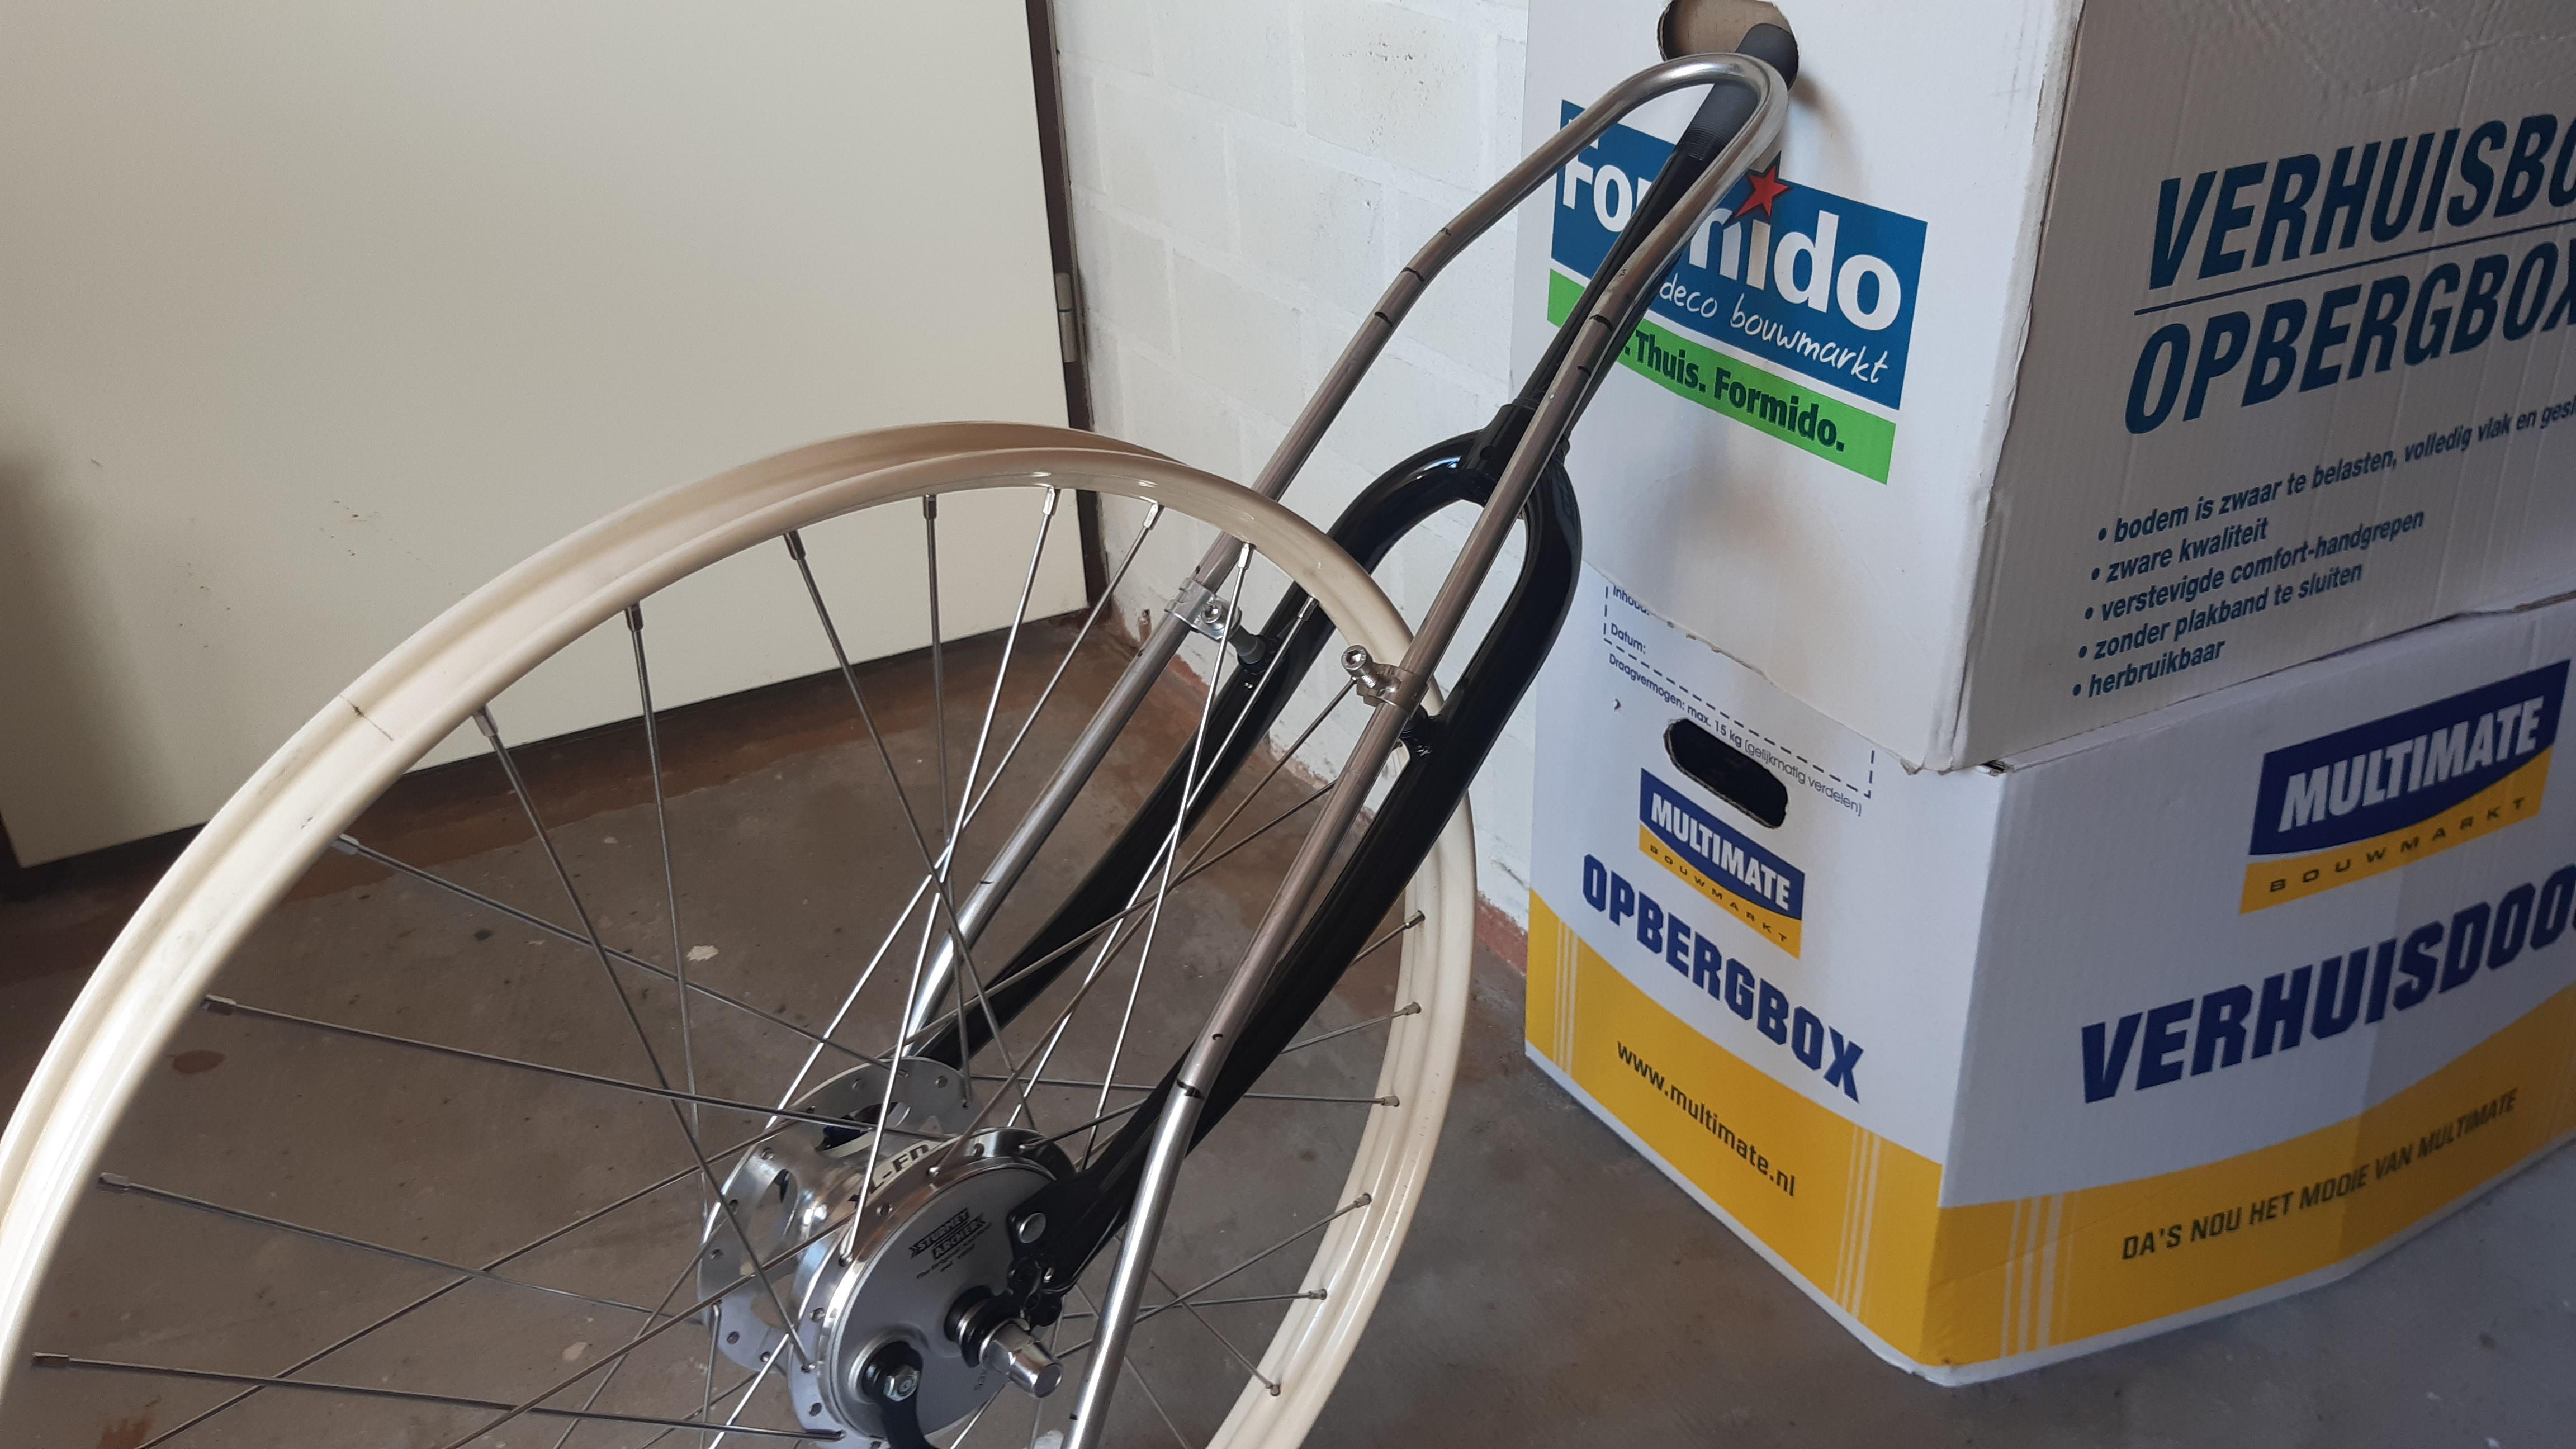
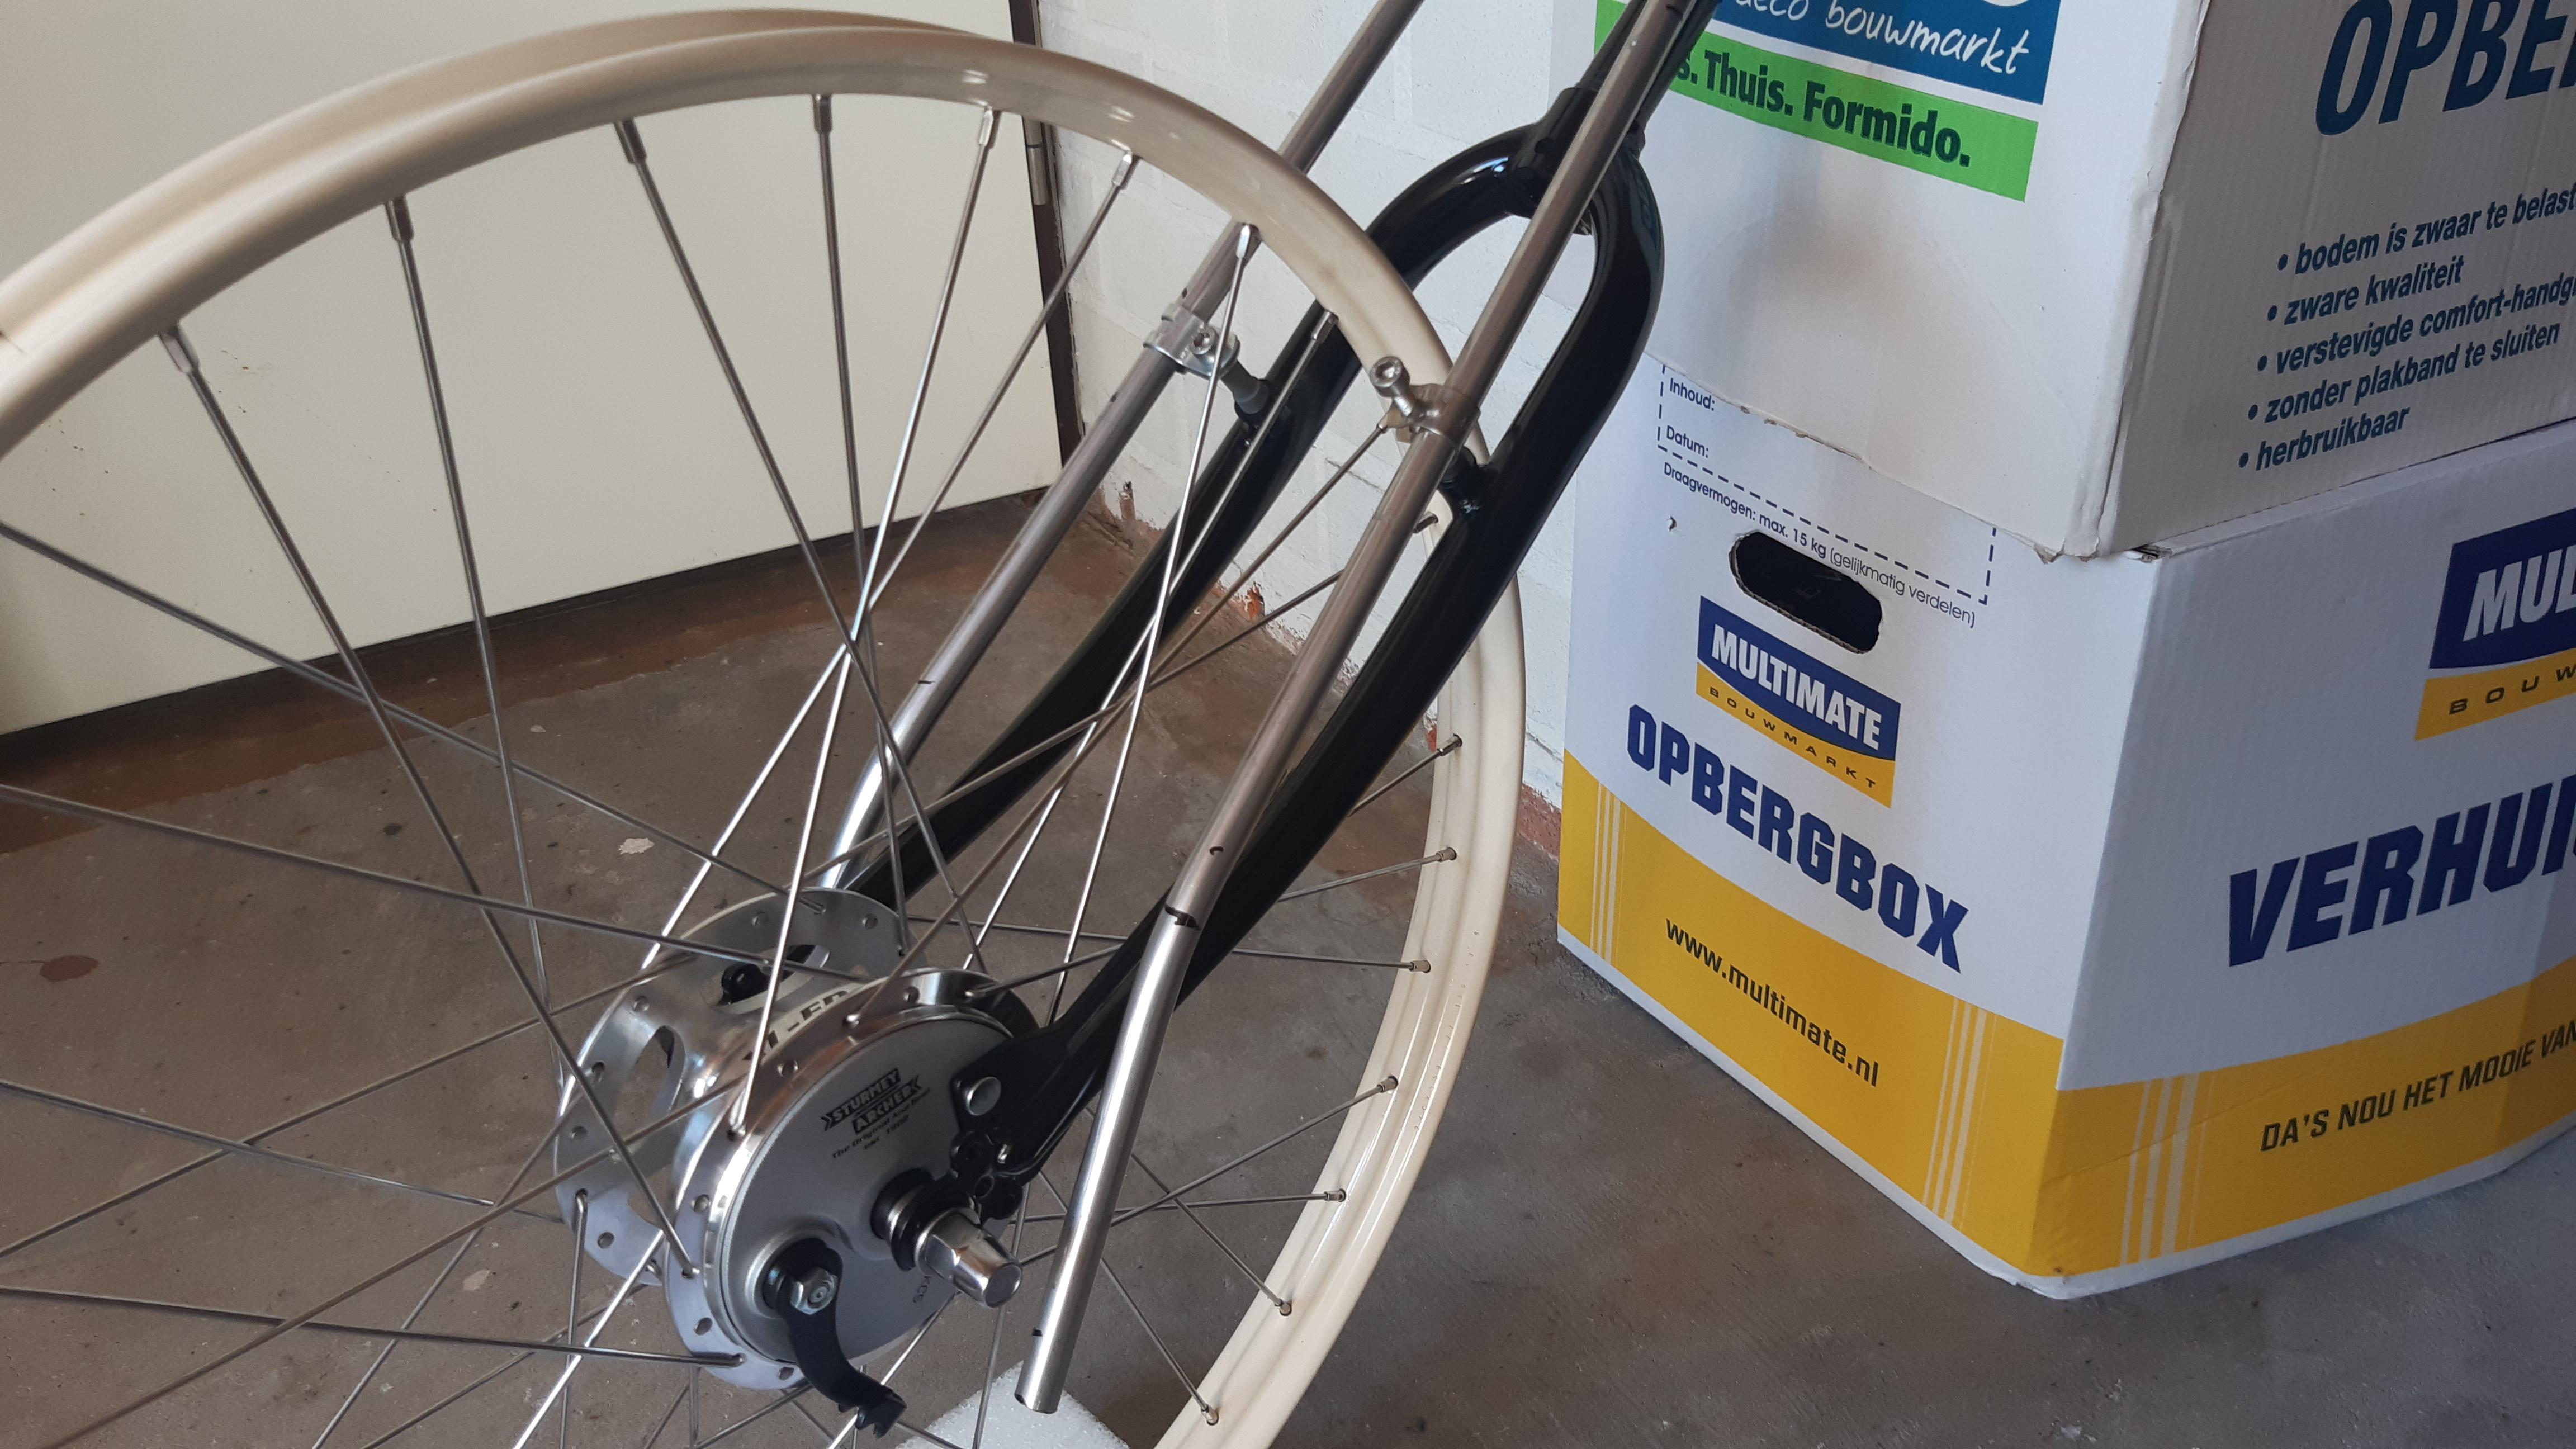
Earlier, I made a "press tool" to press an eyelet to tubes.
When you flatten a tube in a vice, then you'll get something OK, but a bit floppy sideways. I want to press an eyelet that is appealing to look at and stiff.
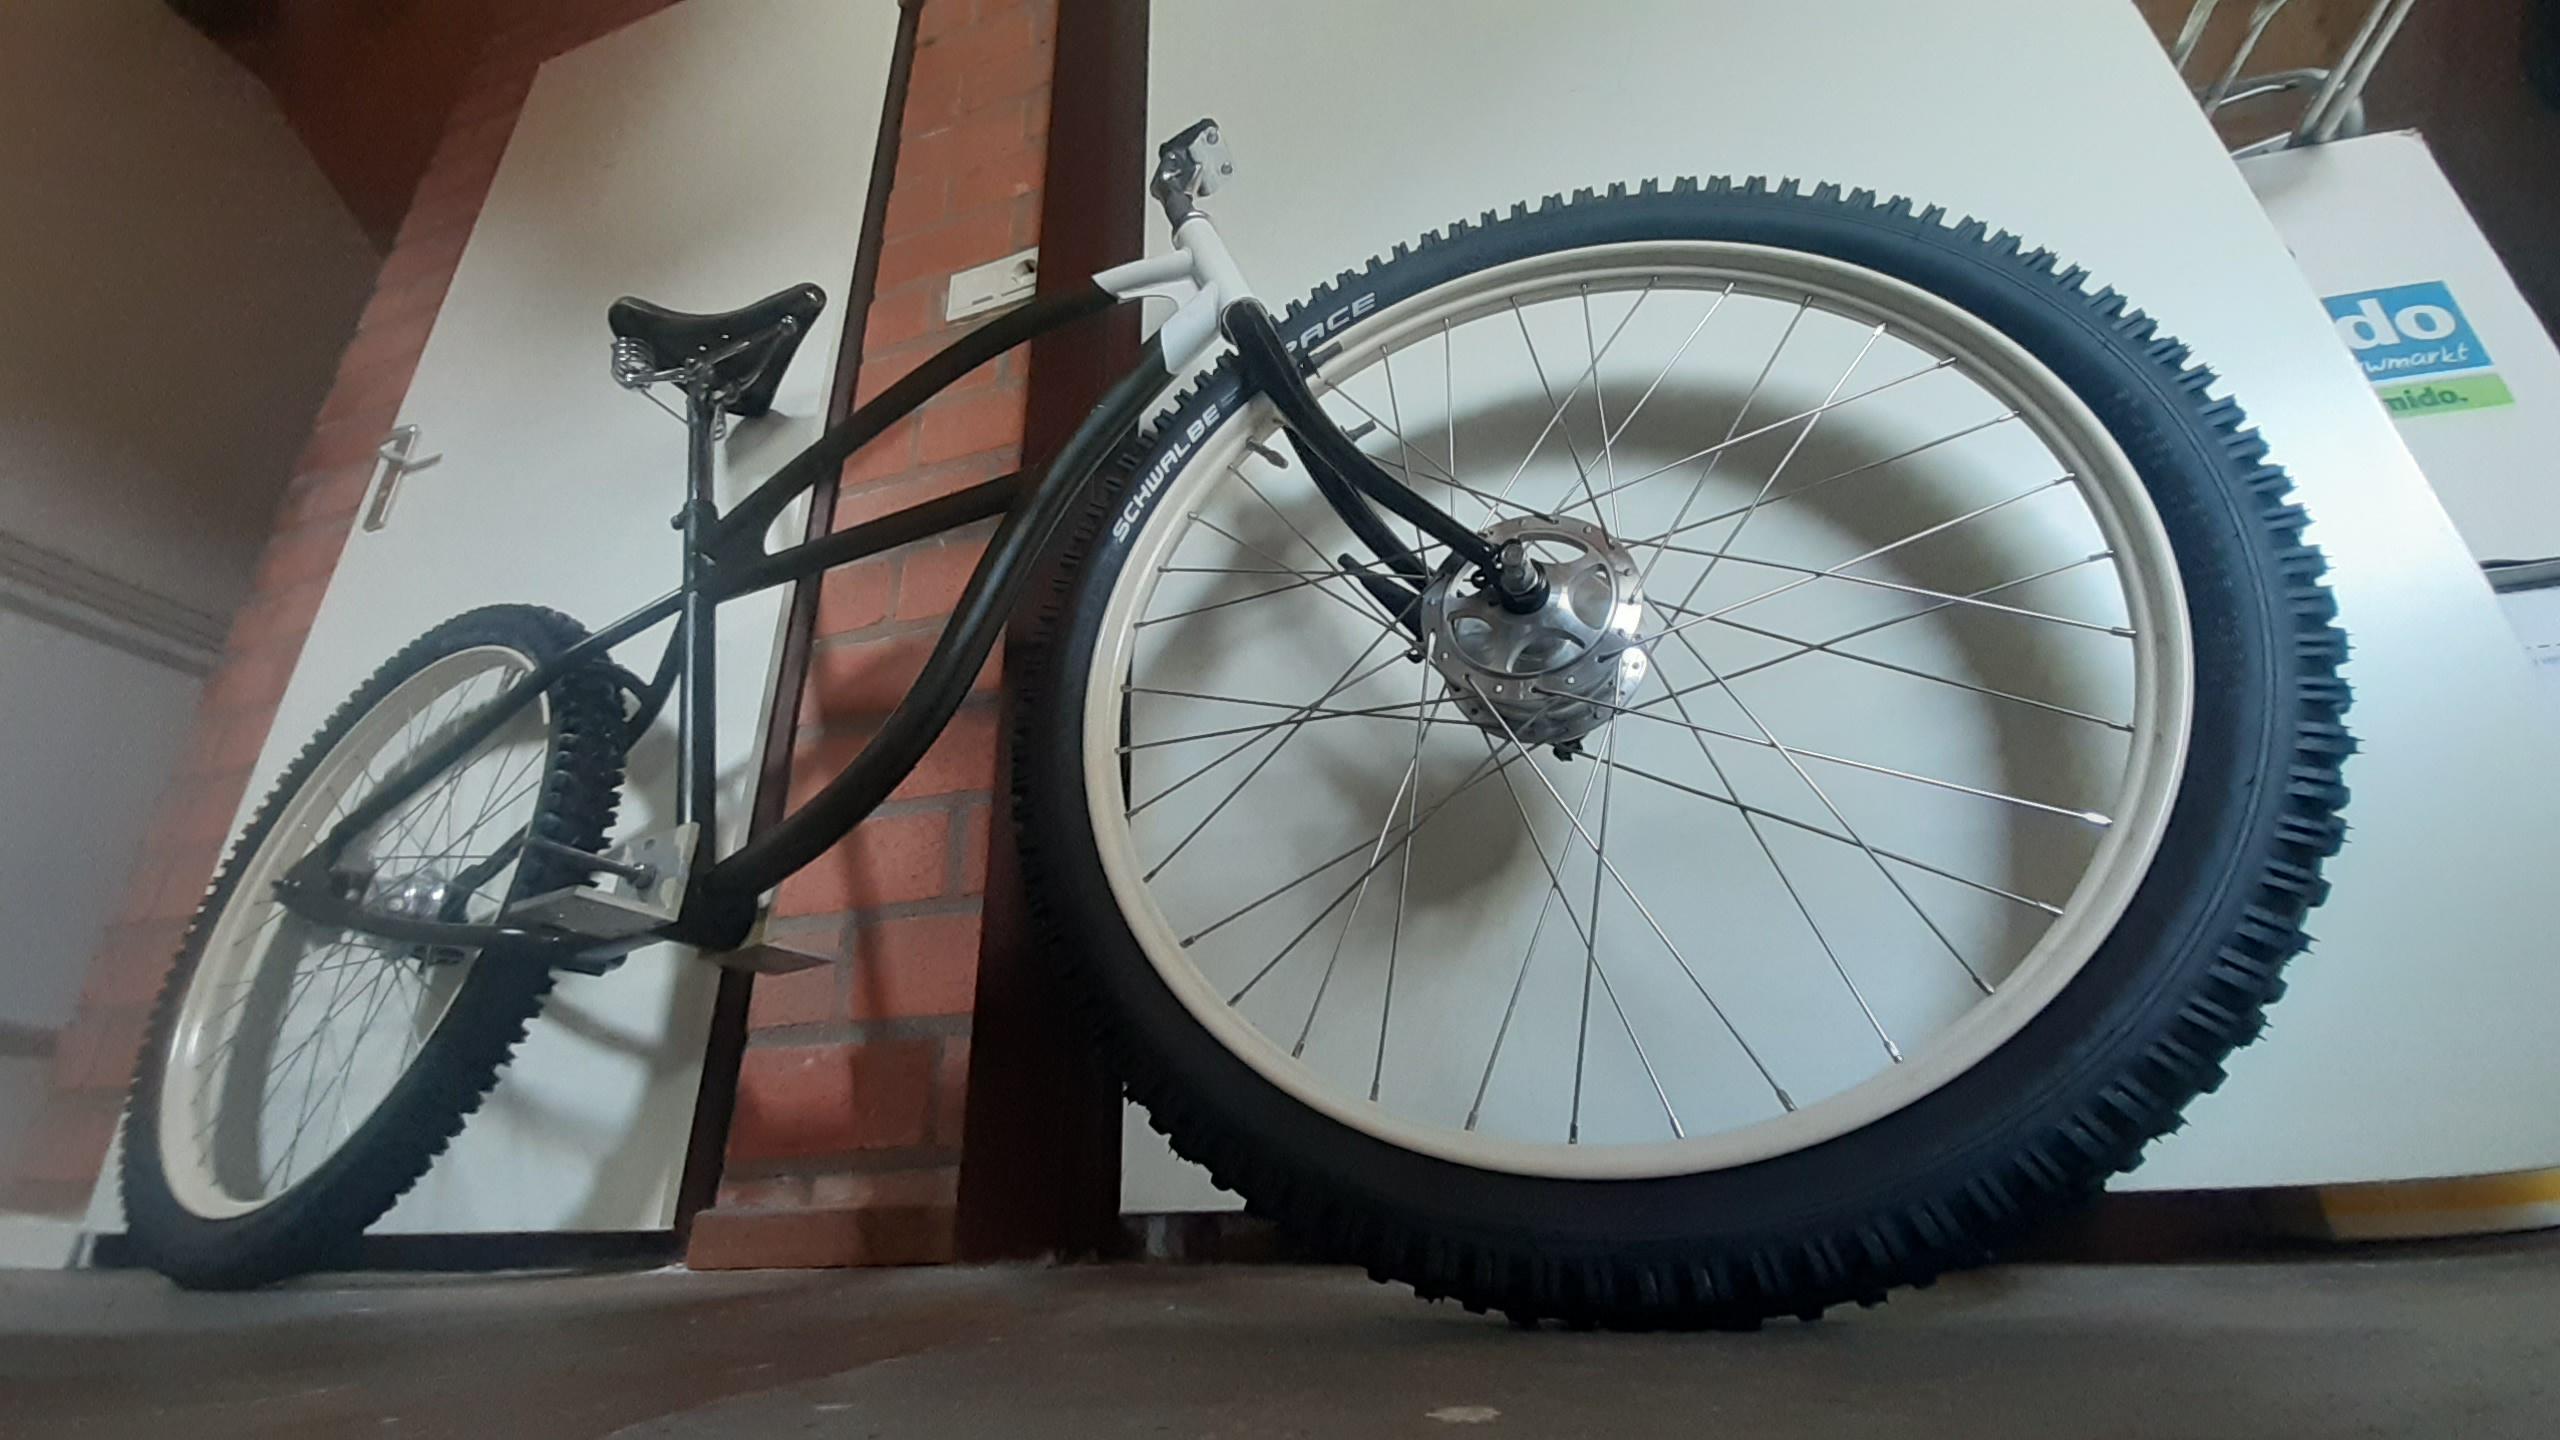
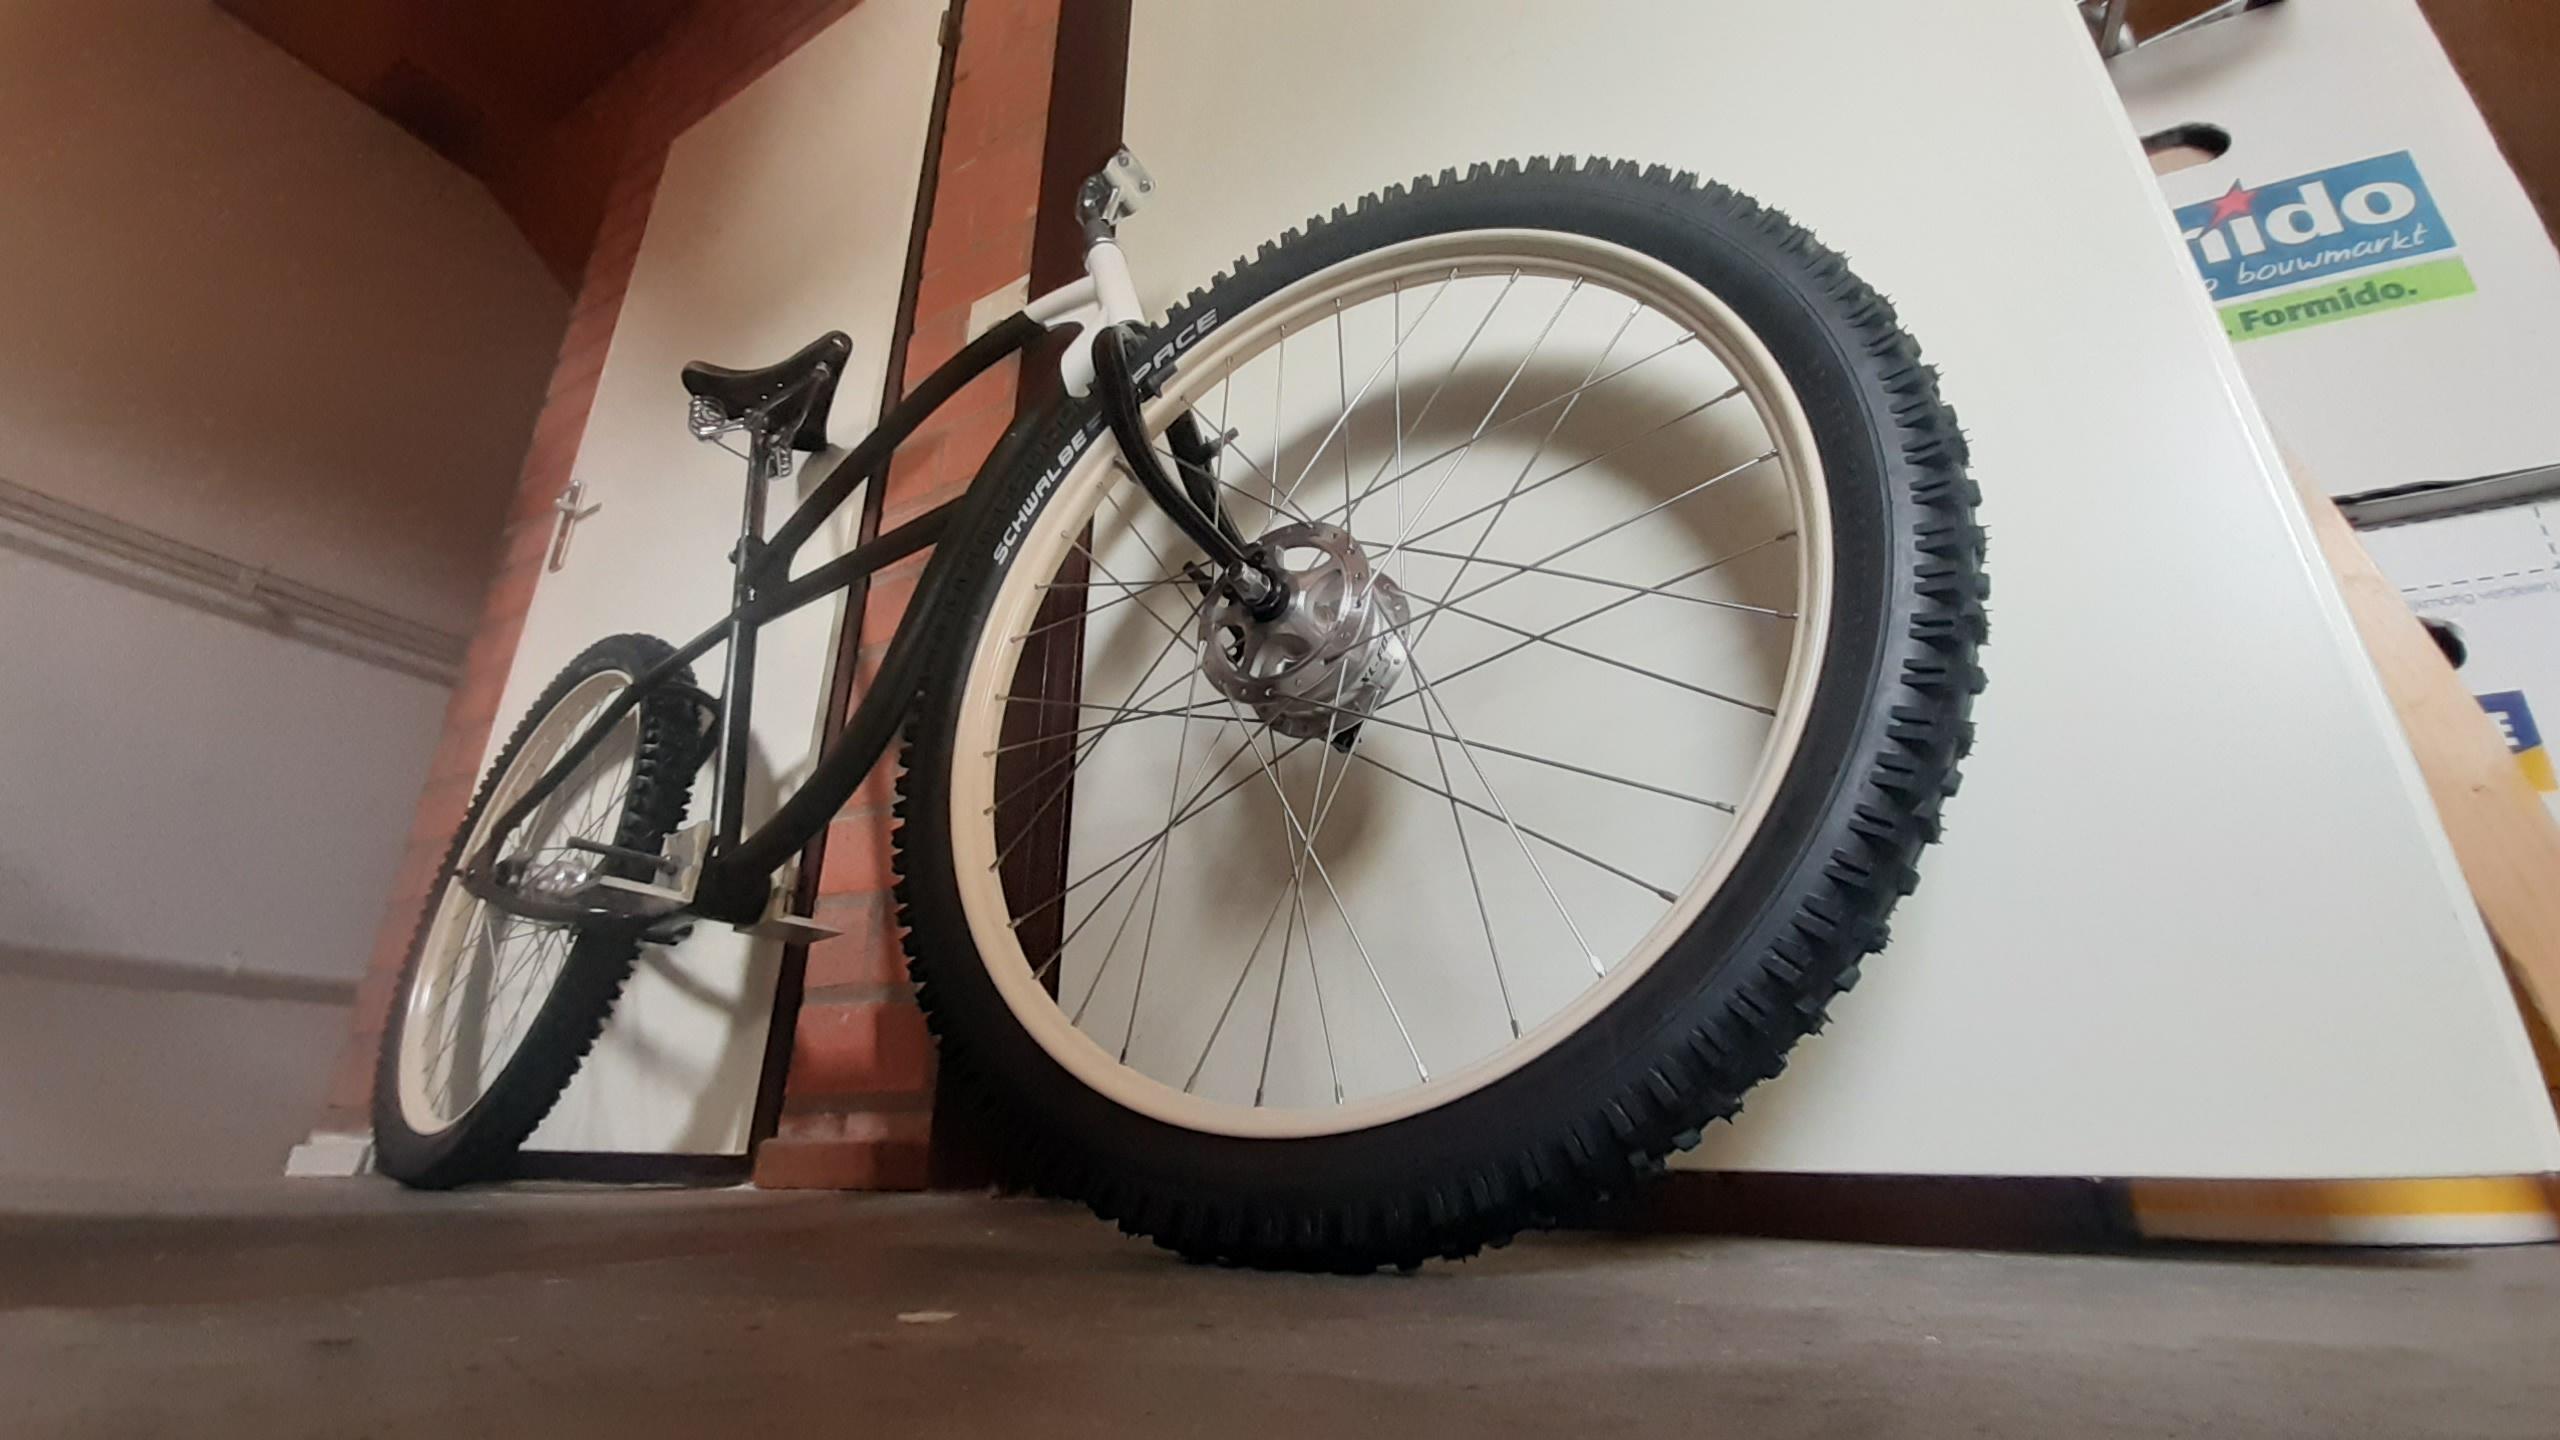
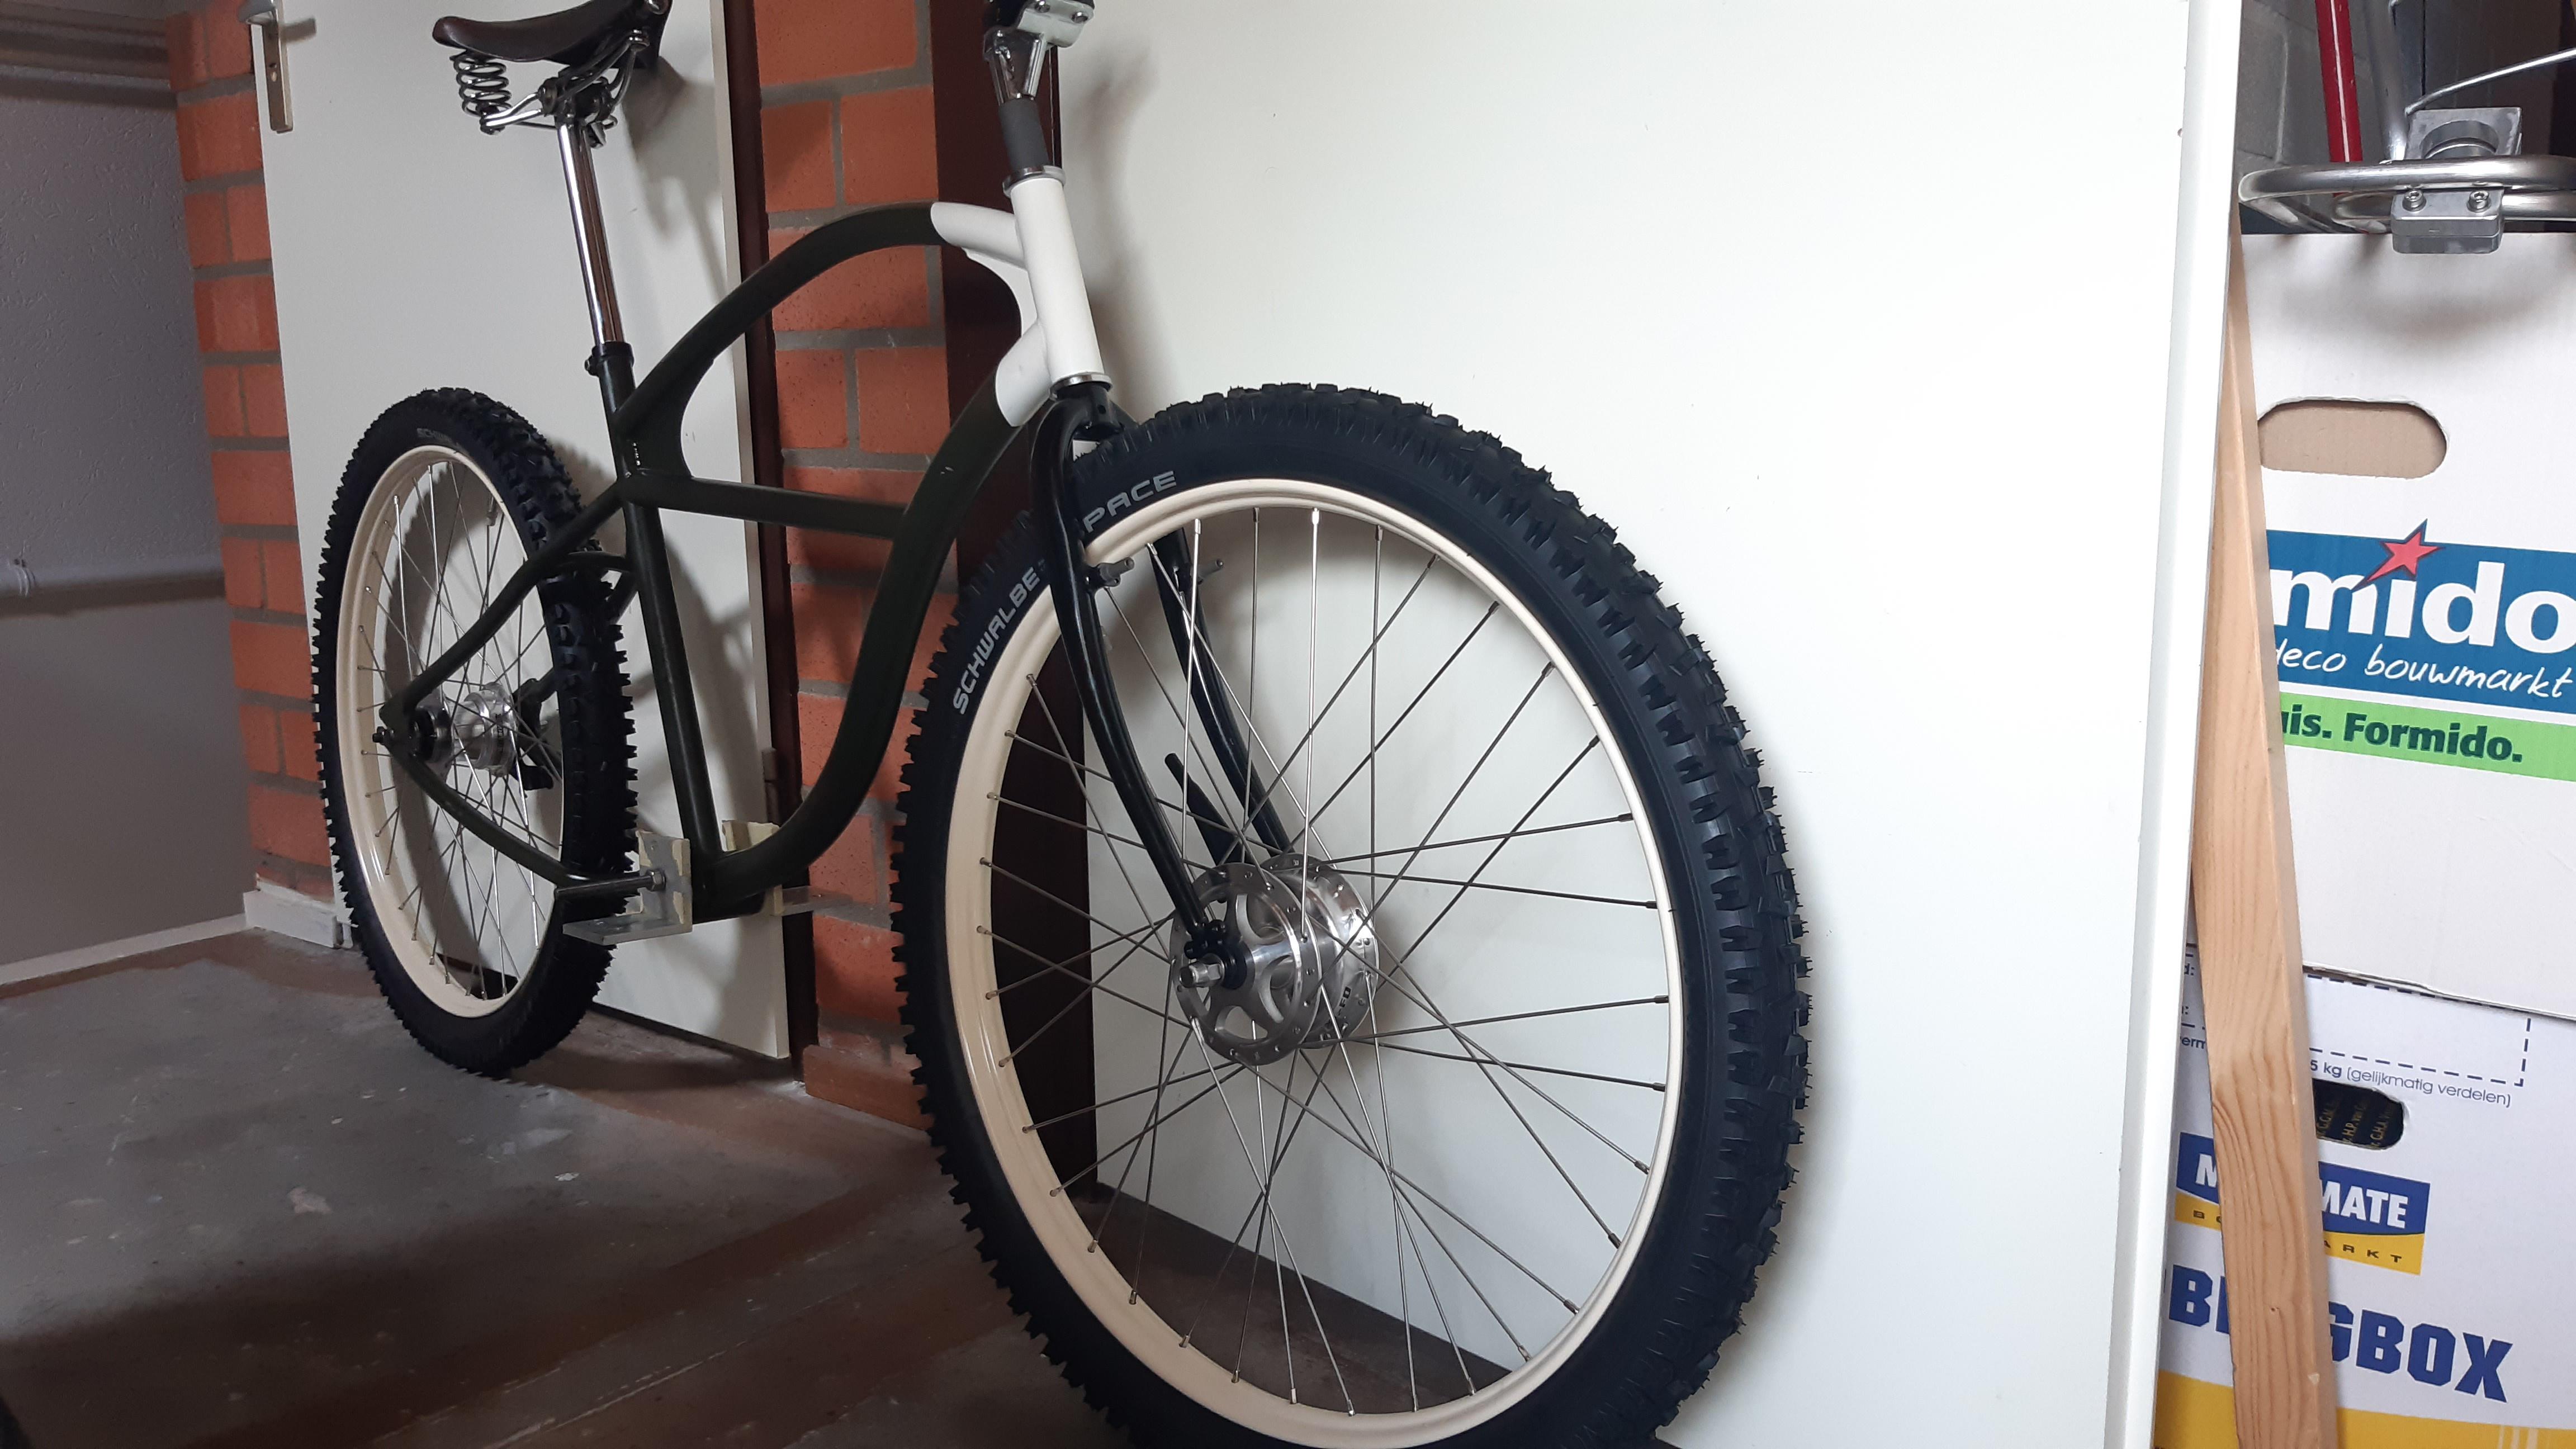
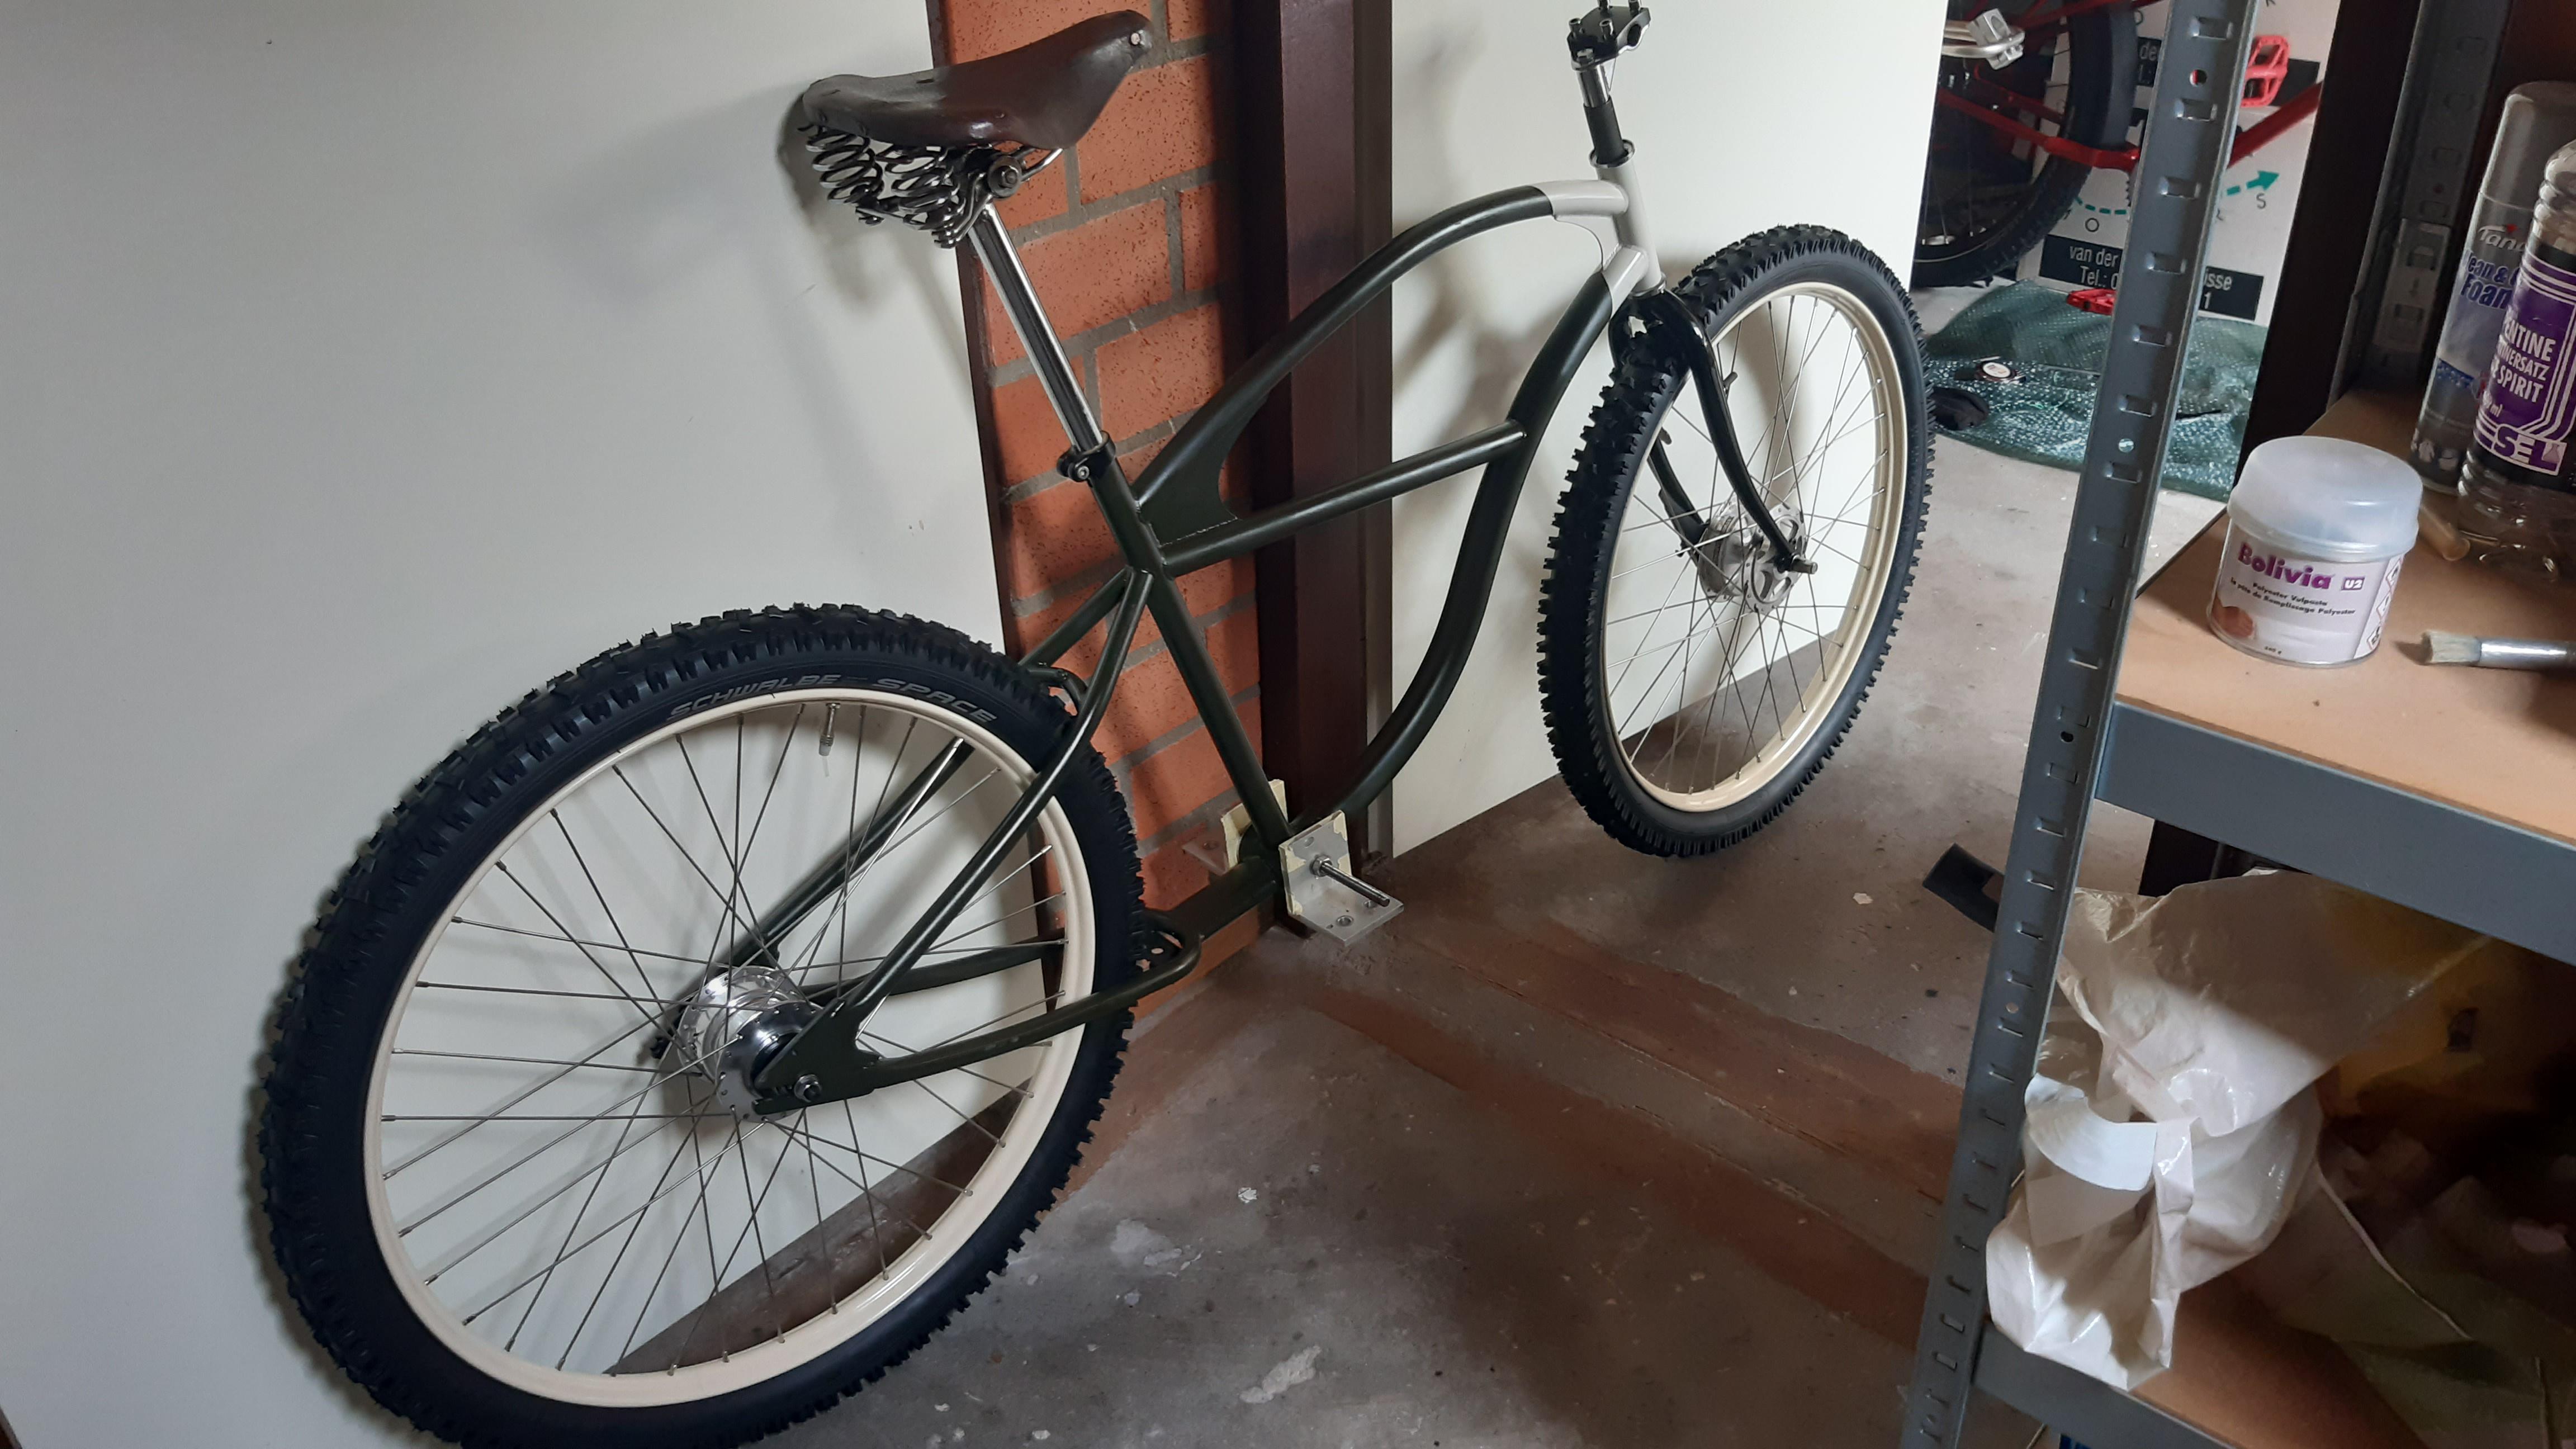
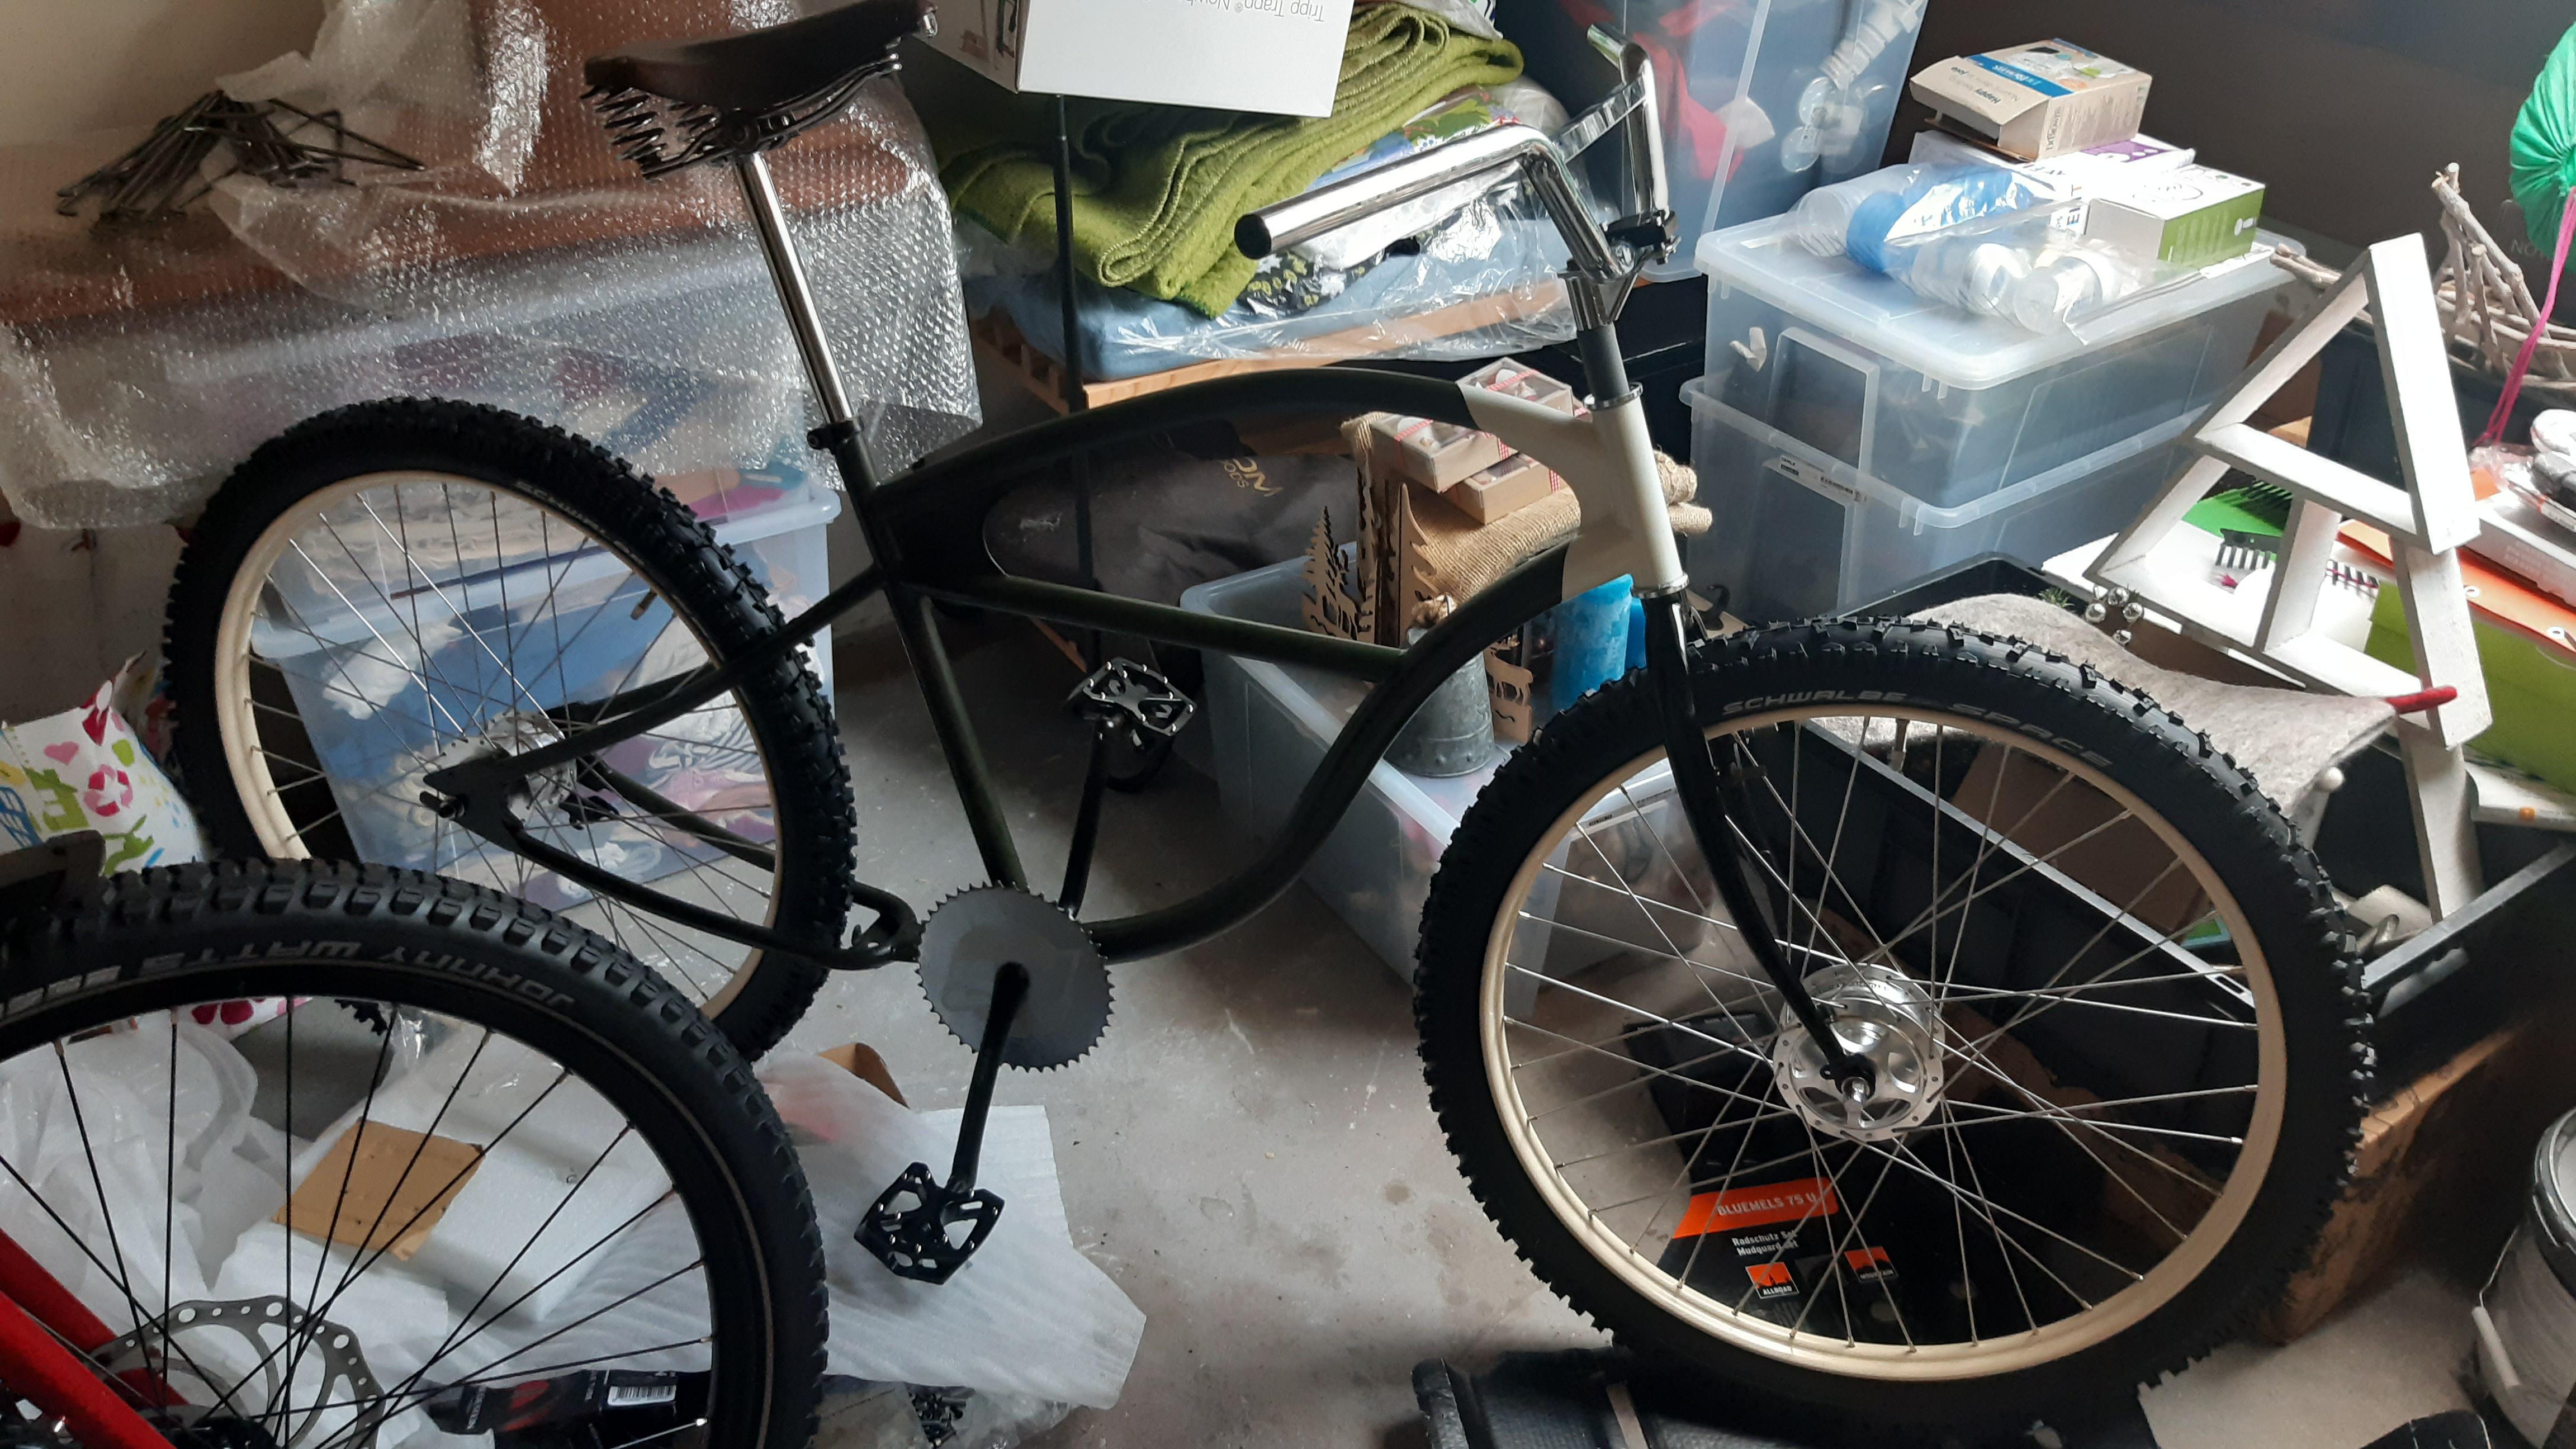
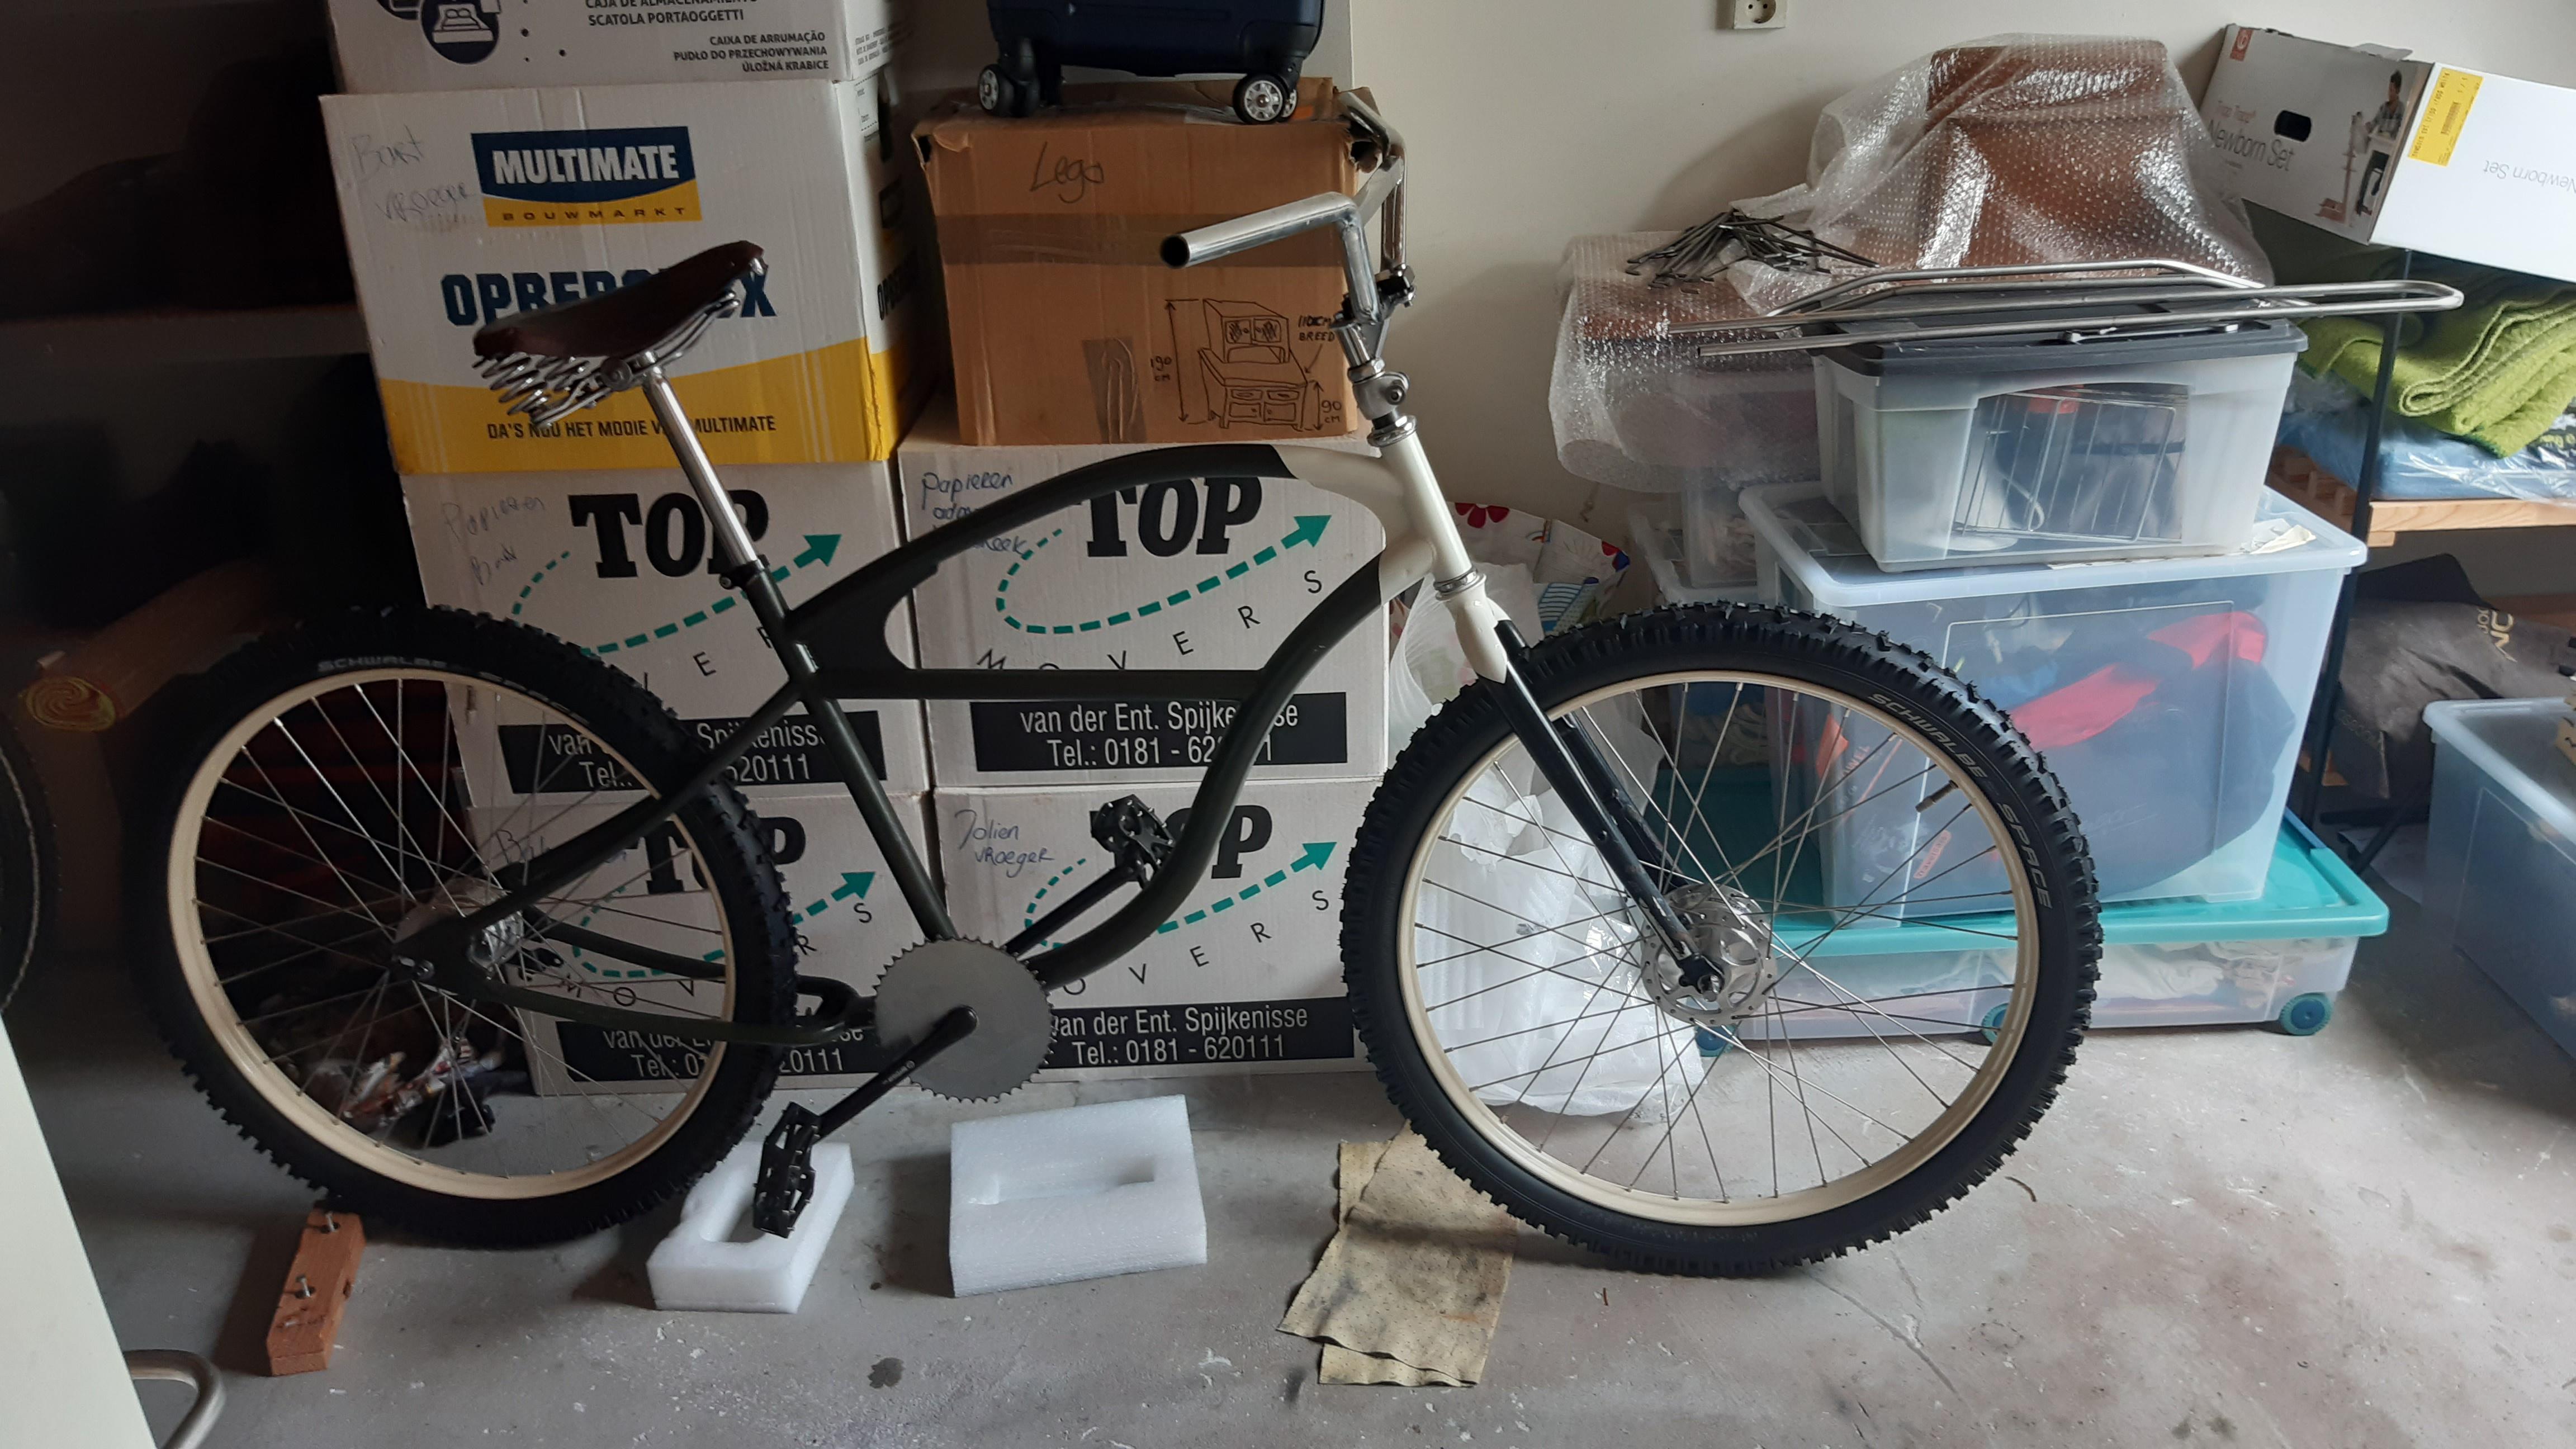
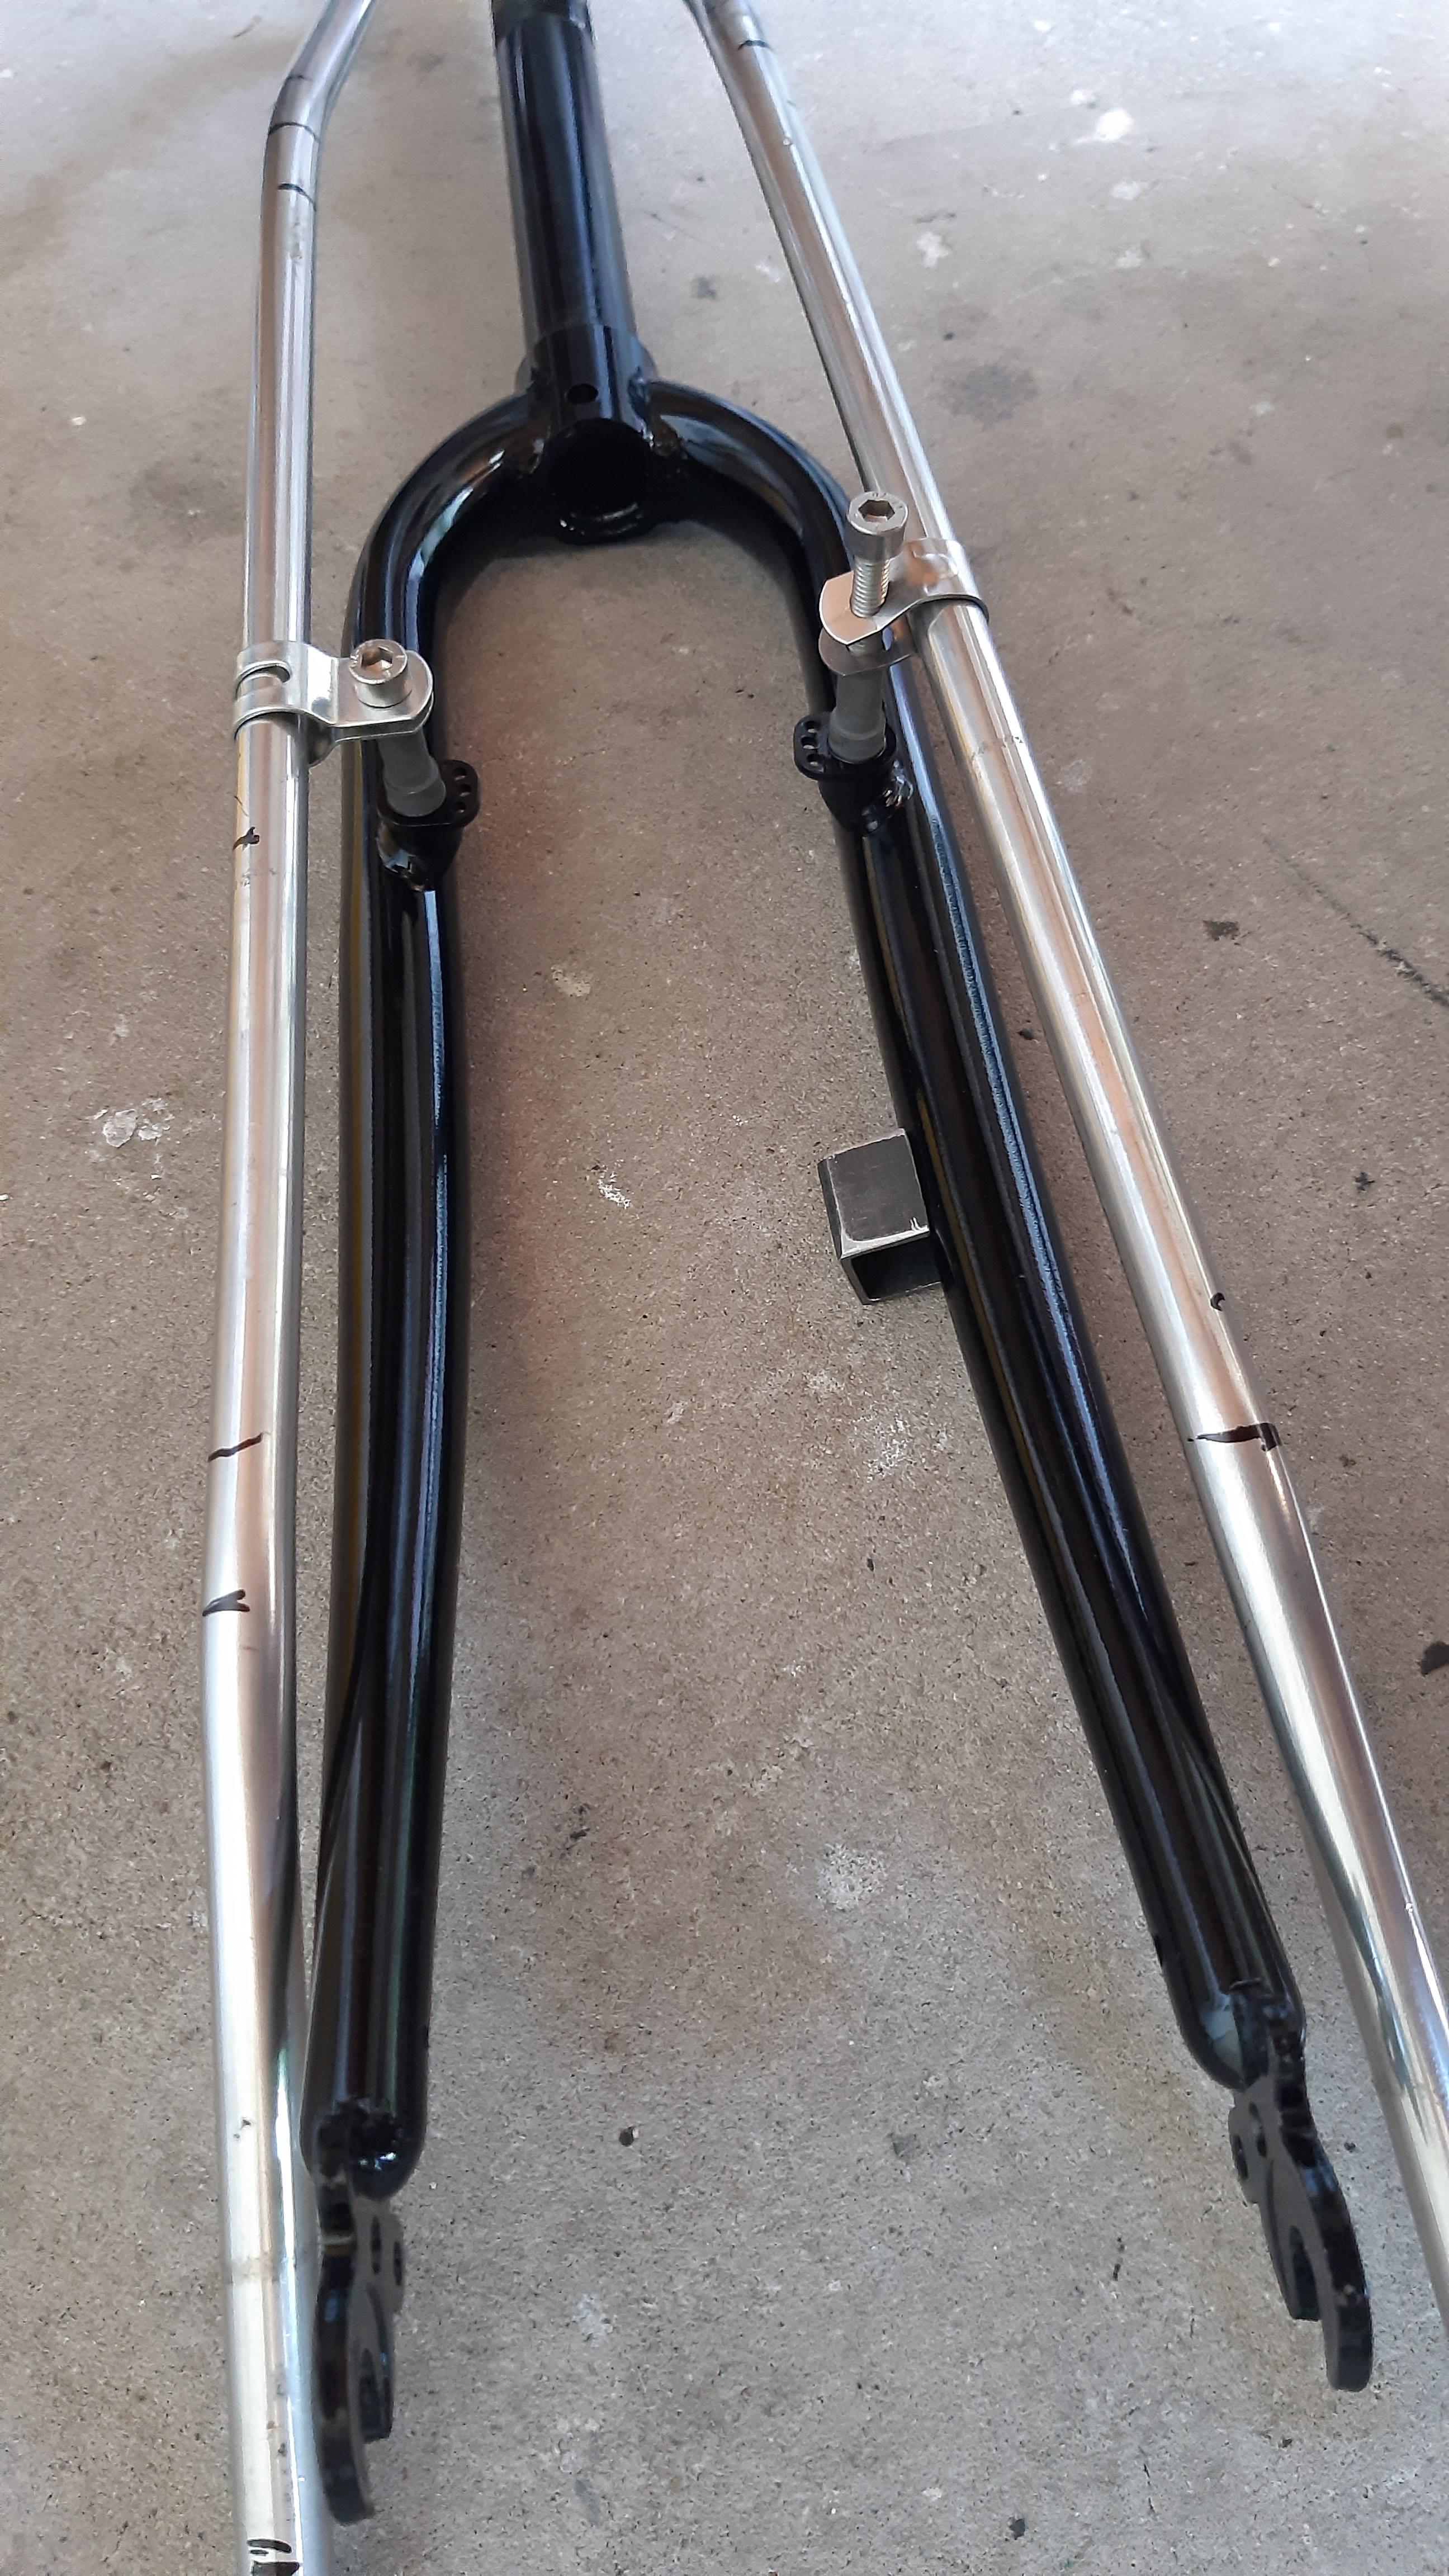
But first I need to finish and mockup/assembly the fork.
Example and picture:
The pressed eyelet on the right is made with a vice. It looks OK, but its a bit floppy. The aluminum plates will eventually press an "rounded" eyelet.
What are your thoughts?


 ).
).