Vertigo

Rat Rod Bikes Bicycle Forum

Help Support Rat Rod Bikes Bicycle Forum:

This site may earn a commission from merchant affiliate links, including eBay, Amazon, and others.
Joined
Mar 6, 2017
Messages
28
Reaction score
33
Location
Wiltshire, UK
Rating - 0%
0   0   0
Well I suppose this is the best place to introduce myself. People call me Dig and my main Bicycle interest is through BMX. But have a great love for all things with wheels. Me and my mates have made a few "funny bikes" as we call them, but having recently picked up a welder, I have the ability to build bikes without my buddies workshop.

Enough about me though let's have a look at my latest donor for a bit of chopping and splatting
IMG_8952.JPG

A horribly built and cheap bmx mass produced for a supermarket (Tescos) I picked up for £25 ( Anyone from the UK on this forum?! Haha!)

IMG_8954.JPG

It actually doesn't look that bad from this angle

IMG_8955.JPG

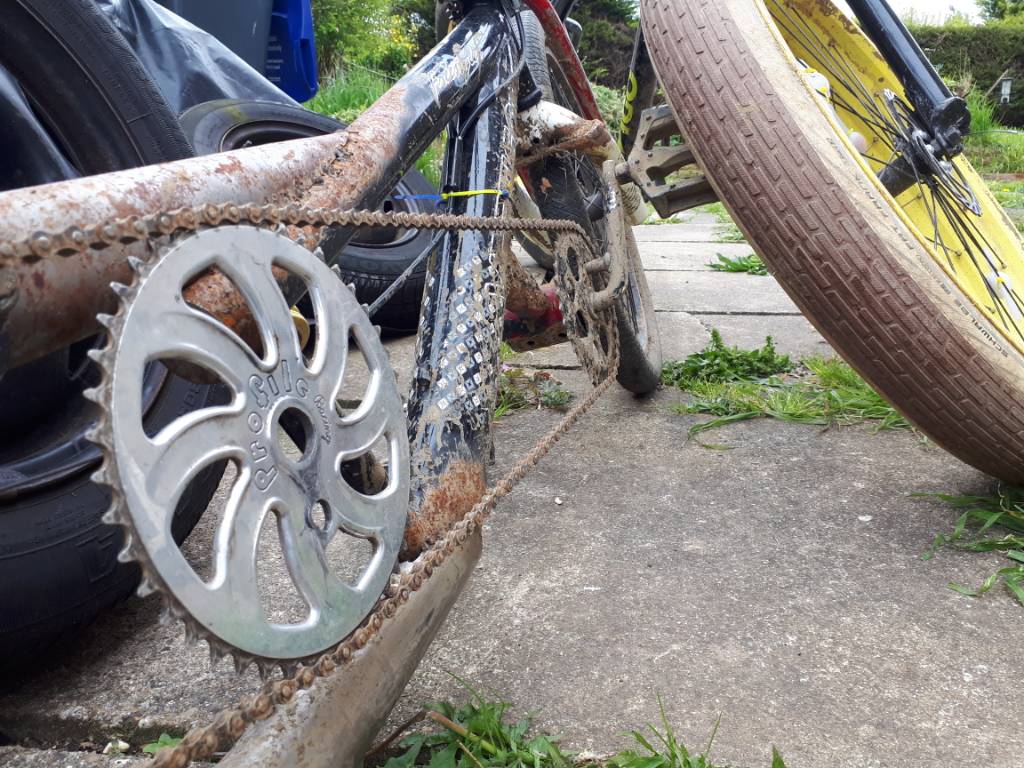
Stripped down and ready for the chop

IMG_8959.JPG

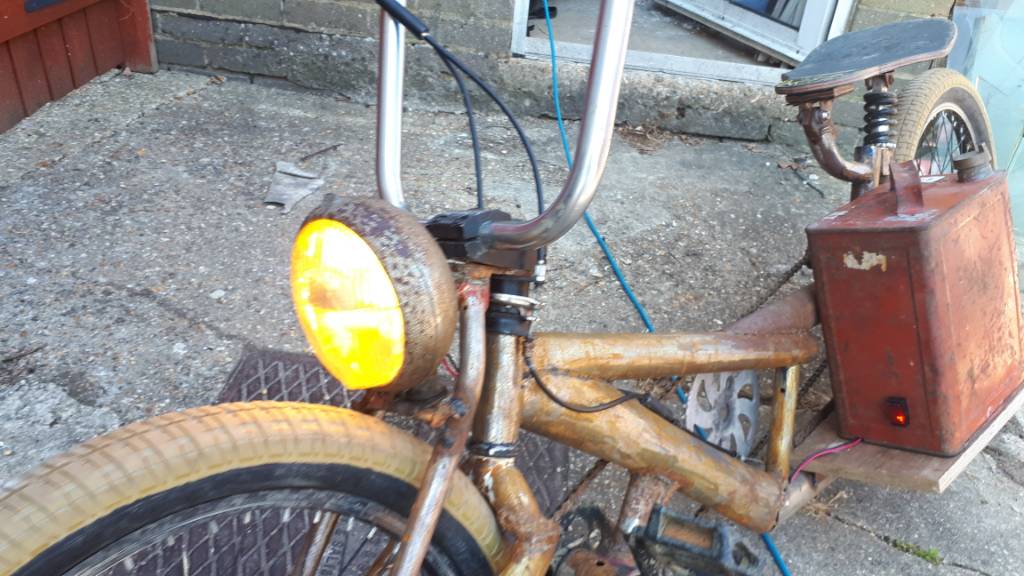
This is the intial mock up. Basically gonna flip the rear triangle and rake out the forks to get this bike nice and low to the ground. Watch this space….
 
Last edited:
Having chopped this usless heap up now it was time to tidy up some holes

The best use for an unwanted car bonnet?
IMG_8961.JPG


Hole shaped piece
IMG_8962.JPG


Some dirty welding
IMG_8963.JPG


I then cleaned it all up nice and tidy
IMG_8964.JPG

And then completly splattered it with my lovely gasless mig (cheap but messy set up). I then cleaned it up, then welded it some more and then cleaned it again. If you look at those two photos a couple of times you can just pretend I remembered to take some more photos haha!
 
Alright if you haven't guessed already this isn't the most proffesional set up and I'm not going for the best finish. These are things I plan on working towards but at the moment I'm make the best of a small place and a random selection of tools. But if you are a lover of smooth lines that are nice on the eyes. You may have to avert your eyes now as I revial to you the "Frankenfork"

So to me, the easiest way to chop the fork off at the right height and change the angle drastically was to use this piece of 5mm bar to give loads of surface area to weld to
IMG_8969.JPG


It ain't pretty but the grinder will smooth it all out at some point
IMG_8971.JPG


This work was done before day light savings so it was horrible, cold and dark so I was hiding in my cave
IMG_8968.JPG


Part of a rear triangle from a 24" mtb that is the main other donater for tubing and parts
IMG_8982.JPG


Some oversized metal with some tided up dropouts
IMG_8992.JPG


And then you have one "Frankenfork"
IMG_8998.JPG

IMG_8997.JPG
 
Thank you @horsefarmer I'll gladly lead you deeper into the rabbit hole. As you may guess from the quick updates I've done a lot of work on the bike and not a lot of keyboard slapping. I'll bring you up to date with the photos I have so far

With the forks welded together I managed to find a couple of bolts to hold the "support legs" through a handy hole that was already in the bmx forks drop outs
IMG_9001.JPG


I also chopped a section out here so I can use the gyro brake that came on the bmx. This is ridiculous because the forks can't spin 360, which is why I like it. I also like the idea of keeping these interesting things from the donor bikes
IMG_9004.JPG


So then I found a bit of exhaust I had removed from my car and cut another bit of tube from the 24" mtb donor
IMG_9000.JPG


Then I looked at it some more
IMG_9006.JPG


Then had a fiddle with the grinder
IMG_9007.JPG


Now check out them sweet graphics!
IMG_9008.JPG


After this I decided to notch a little bit off the rear of the new 2nd top tube. This was mainly to break up some edges and smooth it out a bit. Also it made for a bit of fun making the cover peice out of another bit of the car bonnet
IMG_9009.JPG


And then a bit of tacking up
IMG_9011.JPG
IMG_9010.JPG


Then at this point I began to fail on the camera front. The frame is now mostly welded up and last weekend I roughed up the seating area. But don't worry! My buddy that is helping me is down for some bike madness this Friday. So I'll get some photos and we'll hopefully get the cranks on and it will actually be a bicycle!
 
Welcome aboard! There are a few UK builders on the forum, if you introduce yourself over in the Intros section with "Wiltshire UK" in the title somewhere I am sure they will crawl out of the woodwork to say hi!

Cool build so far, that is going to be an interesting ride!
 
Thanks @LukeTheJoker I had a good little look through your intro and builds. I'll have to get some good photos of my fleet and stick them up there.

Back to the matter in hand. Now the long weekend was apon us I wanted to turn this massive scooter into actual pedaling machine! So we start of with a stolen BB with a bit of seatpost left on it
IMG_9028.JPG


Mmmmm now that's looking good. Best get that paint cleaned of ready for the splatter canon!
IMG_9030.JPG


A few tack welds and some mini cranks that came from the same bike that donated the BB
IMG_9033.JPG


So we have a bicycle! You can see my mate Bud is very happy about this. At this point we were very happy with our creation. So we wacked a chain guide on it and took it on a mission round the village. About a mile later the few bad tacks I had done gave way and the BB fell off hahaha! So we had a good old laugh and got back to the beers
IMG_9032.JPG
 
So the next day after a good sturdy fry up to help deal with last nights poison consumption (not all from last night haha!)
IMG_9041.JPG


I had an hour (that turned into two) to kill before I had plans to head out. So I got the BB back on the bike
IMG_9036.JPG


Even though it was only tacked when it snapped off before. I thought it best to add a massive gusset to help strengthen the area. Any excuse for a gusset
IMG_9038.JPG


Looking good, prepare to splat attack!
IMG_9039.JPG


Have some of that!
IMG_9040.JPG


Owww shiney
IMG_9043.JPG


Add a massive chain and this chain guide/tensioner stolen from a single speed conversion on a MTB
IMG_9046.JPG


Washer/beer holder mounting point (this is actually a random bracket from a VW Polo)
IMG_9054.JPG


And you have yourself a pedaller!
IMG_9045.JPG


Real nice to ride, just may need a slightly easier gear
IMG_9051.JPG


The Sun popped it's head out so I could get some nice snaps
IMG_9048.JPG


So now it functions we are left with the little details. I think there will be many haha! Still plenty of welding to finish as well. But it's nice to ride it round a bit, specially with the Sun out.
 
So it's been almost two years! The bike has done a couple festival seasons and been electrified.
f34d3da1b55d11c65c6ba63bb262f060.jpg


e13725a8354fec3761555c19de691608.jpg


06f20f278173854a98262fc2834d610e.jpg


It's was a bit tricky but I managed to re use the yellow bulb that came in the old motorbike light. This is run off a moped battery inside the boom box.

This thing is a proper little head turn when your cruising the festival's! A lot of people are completely blown away by the floating sprocket (an idea I pinched from this forum) and I get comments like "how does that stay there?" and "you can't pedal that?!".

Now it's coming round to another festival season she needs a few mods and tweaks to keep her running sweet. Commence list

Brake fixing (never really worked haha!)
Easier gear/possibly geared hub (Got one in stock)
Redo seat as it's currently cable tied on where the welds snapped. Also gonna try move it lower
Make boom box easier to remove for battery access
And probably a few more little bits

If anyone is on Instagram (my profile is drydidit) I have been building an electric scooter and have been heavily documenting progress on it. Wish I had posted it on here when I started but might still do it

Sent from my SM-A520F using Tapatalk
 

Latest posts

Back
Top