'38 Special ------ Update July 2nd

Rat Rod Bikes Bicycle Forum

Help Support Rat Rod Bikes Bicycle Forum:

This site may earn a commission from merchant affiliate links, including eBay, Amazon, and others.
Re: '38 Special ------ Update May 14th

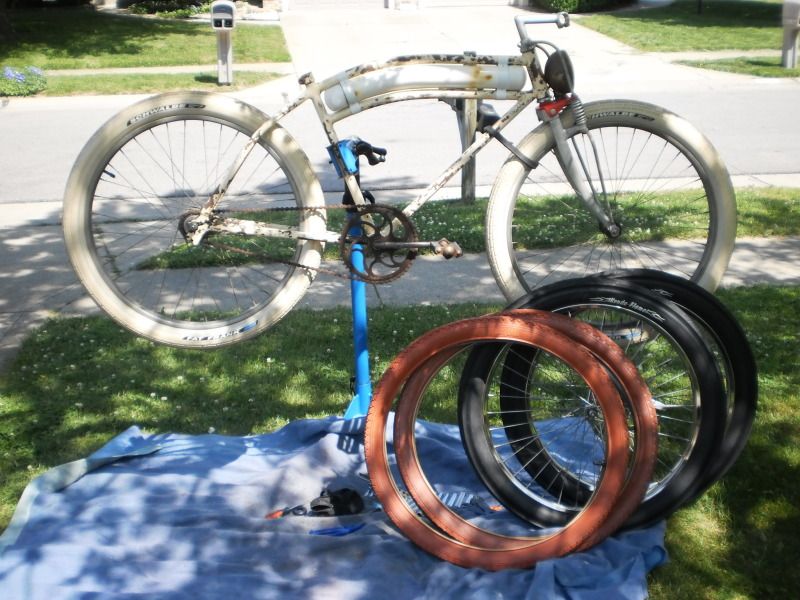
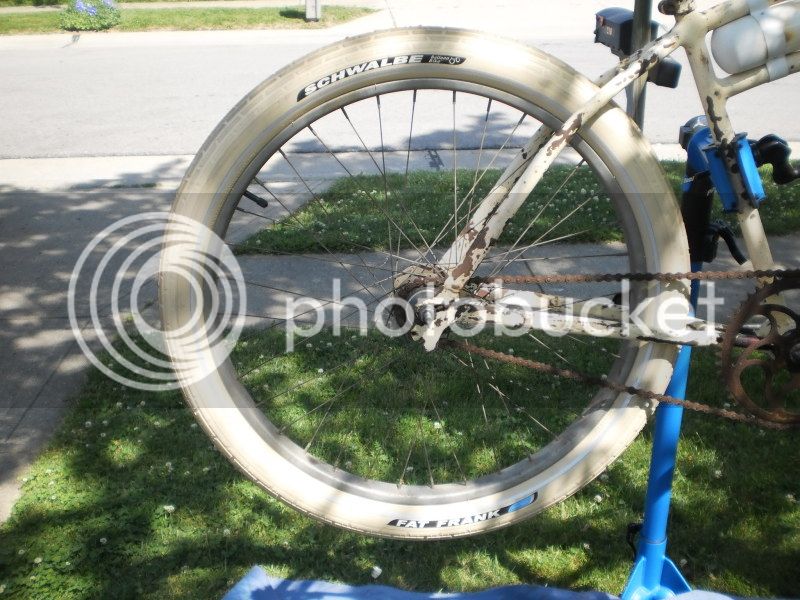
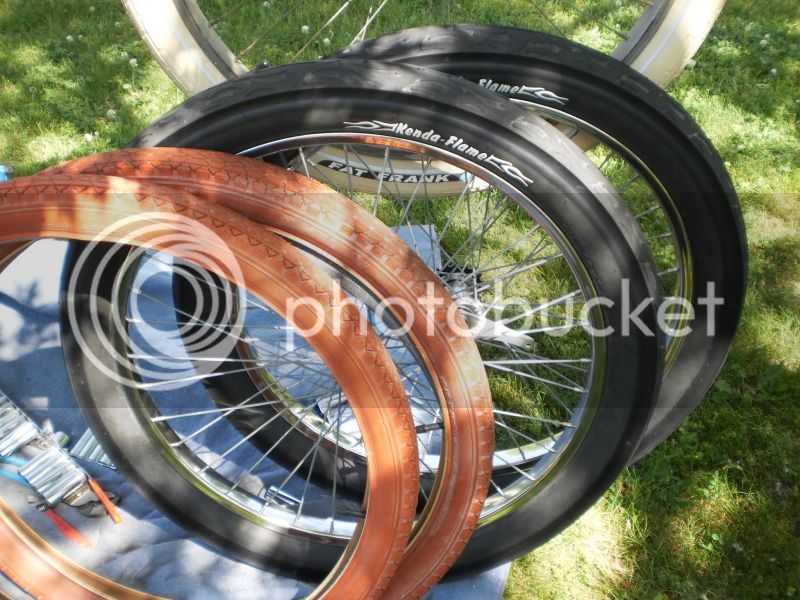
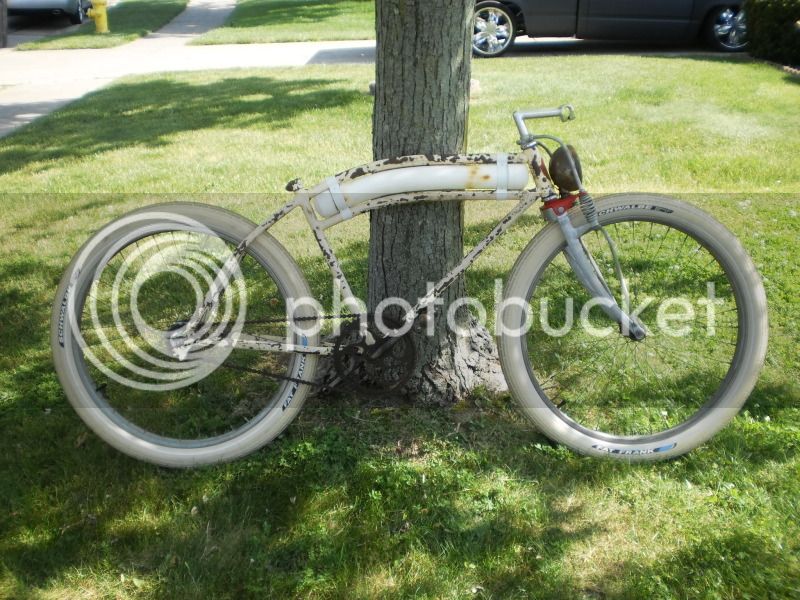
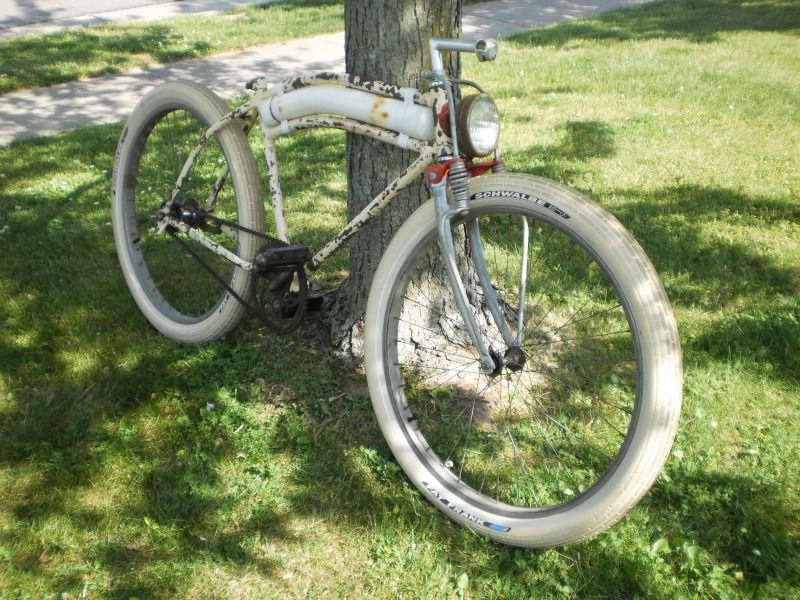
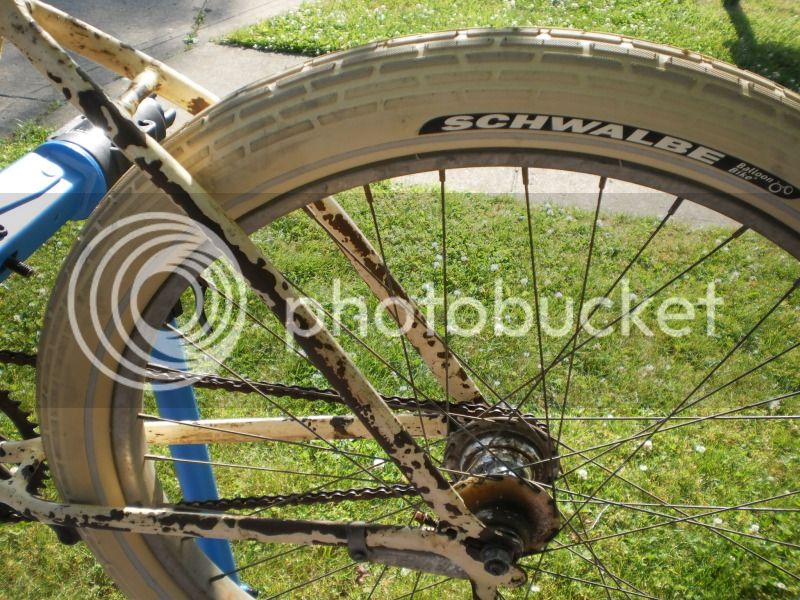
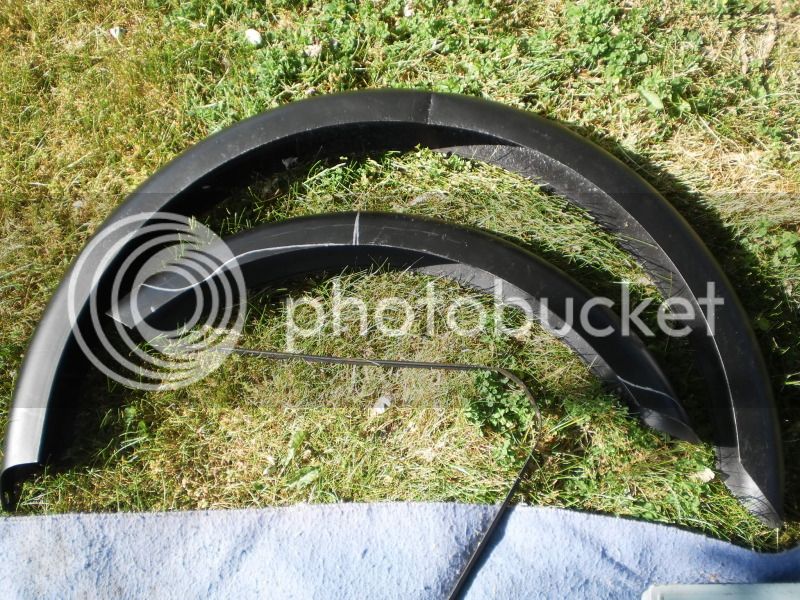
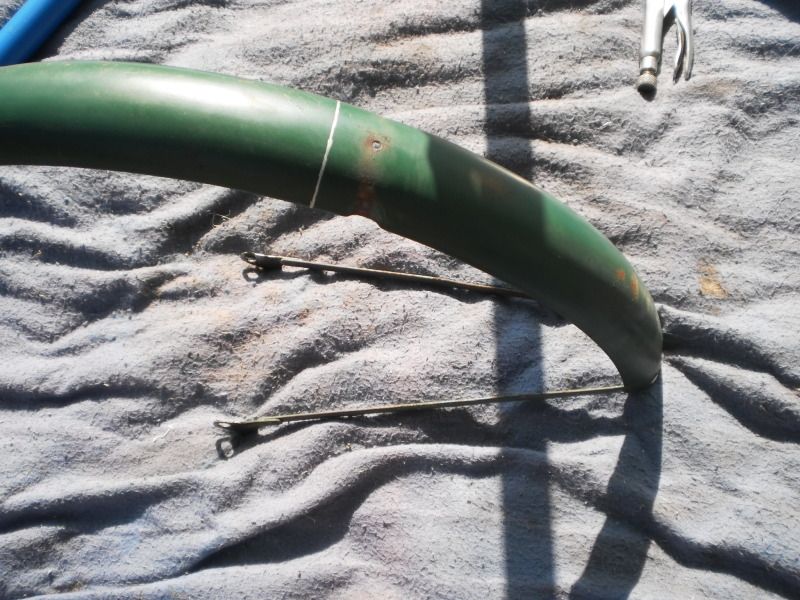
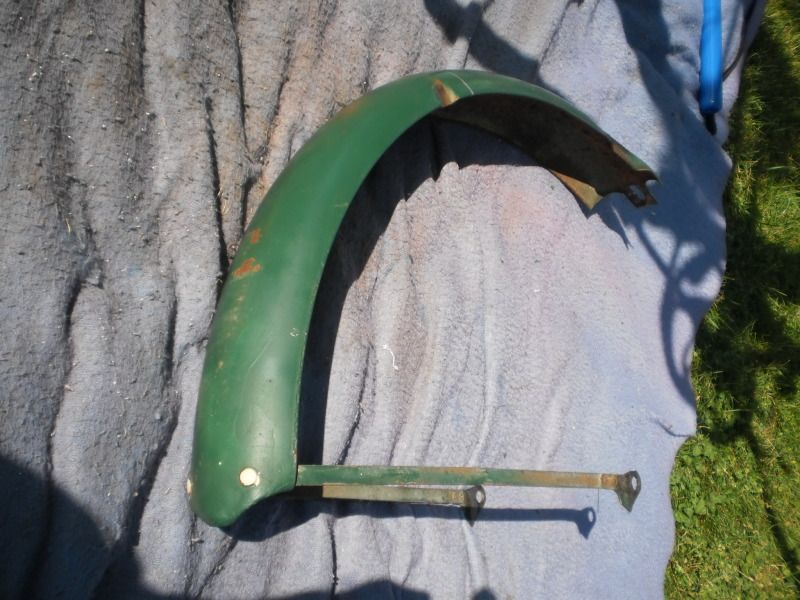
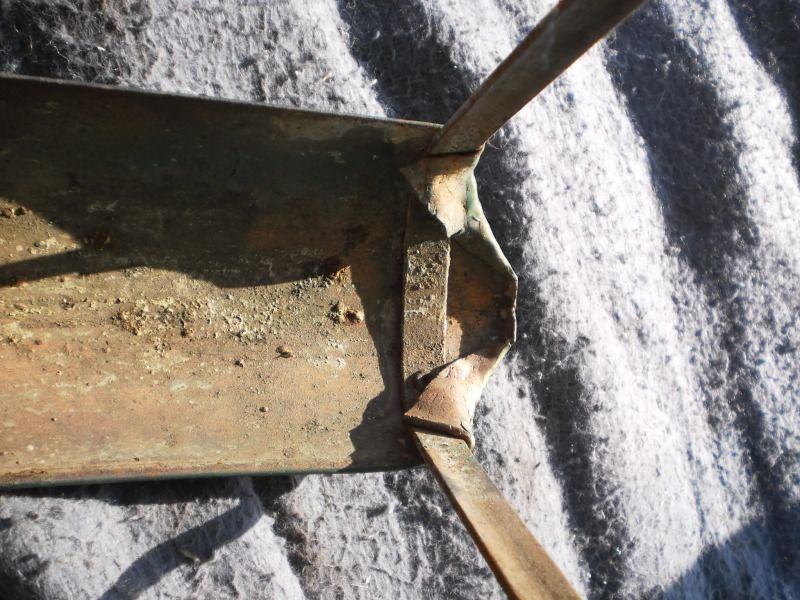
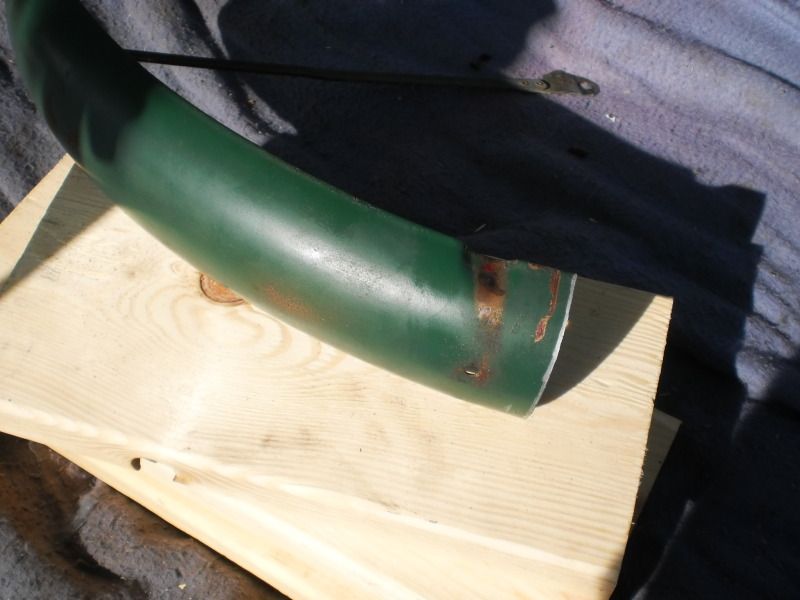
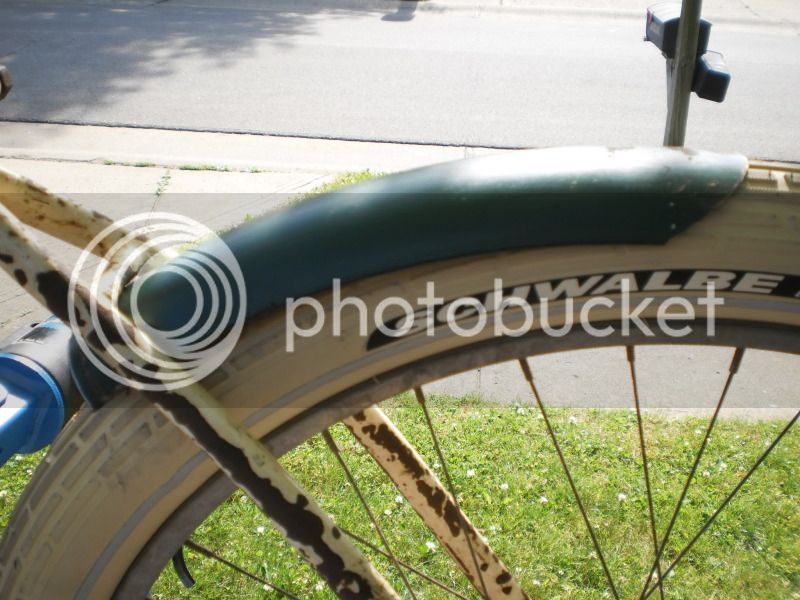
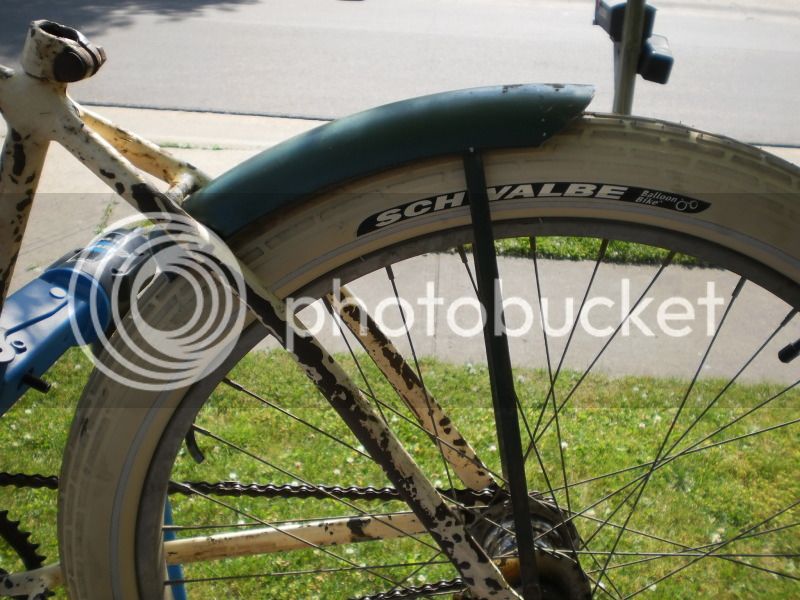
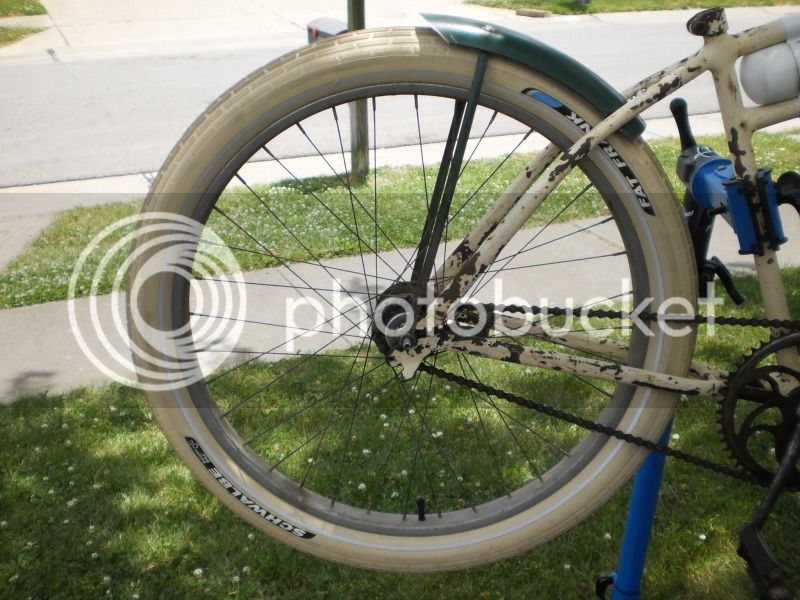
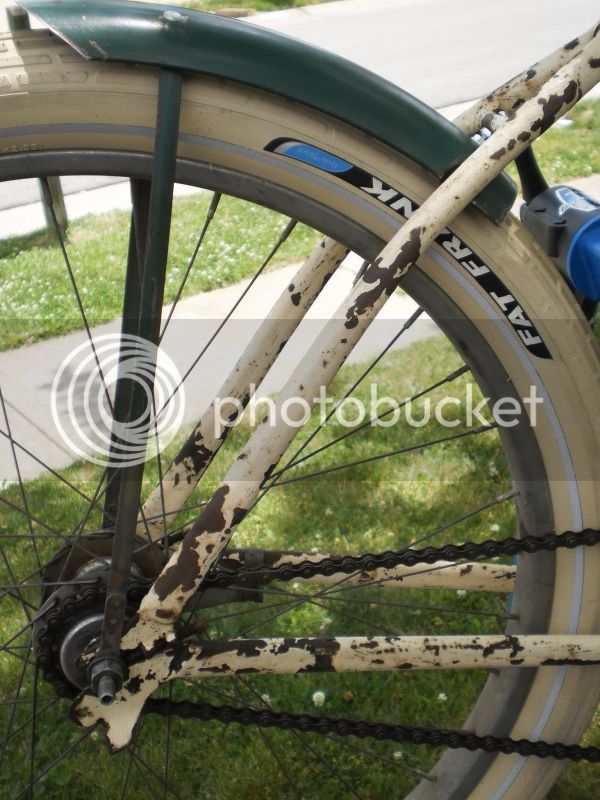
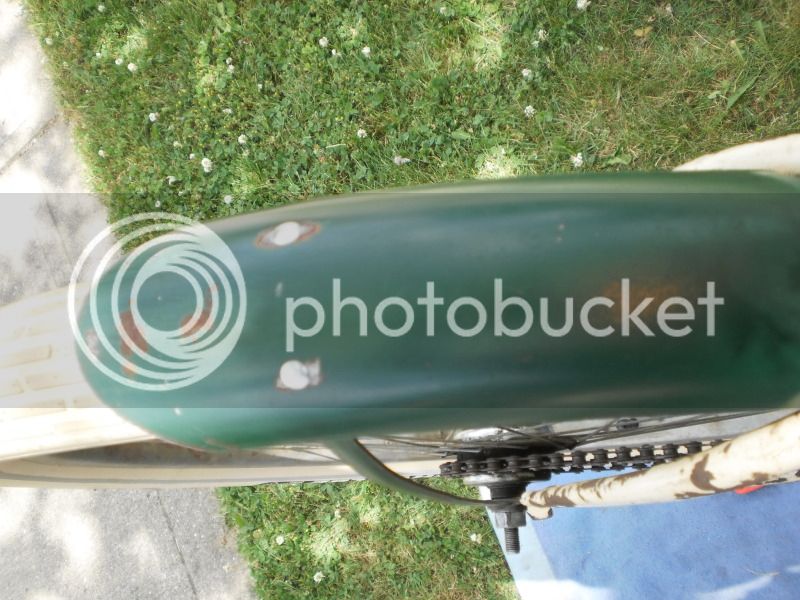
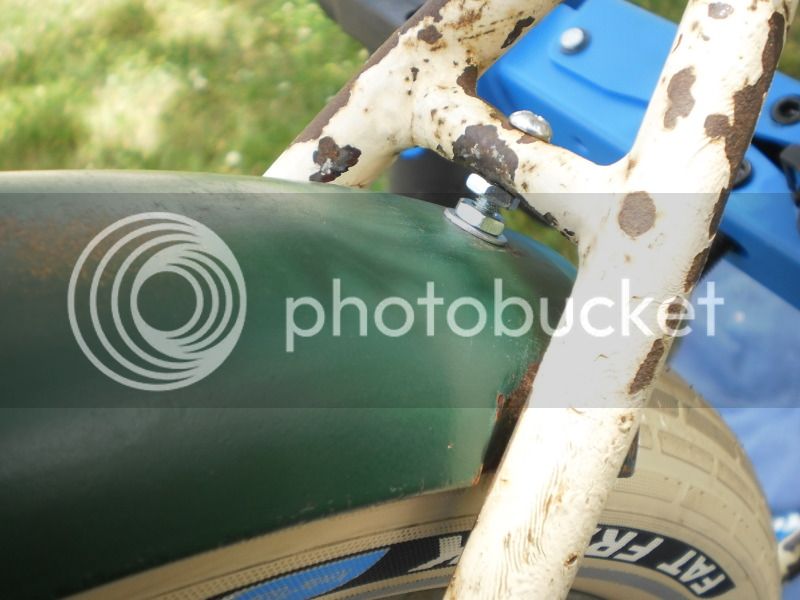
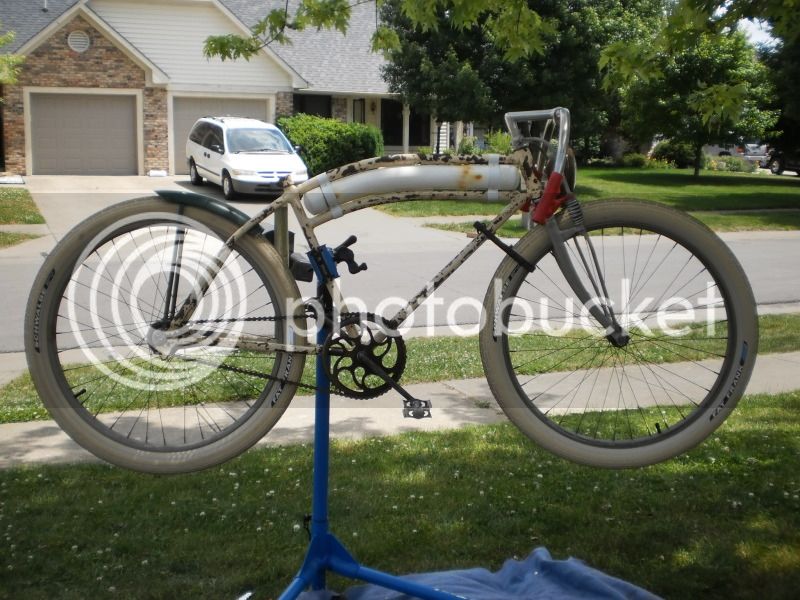
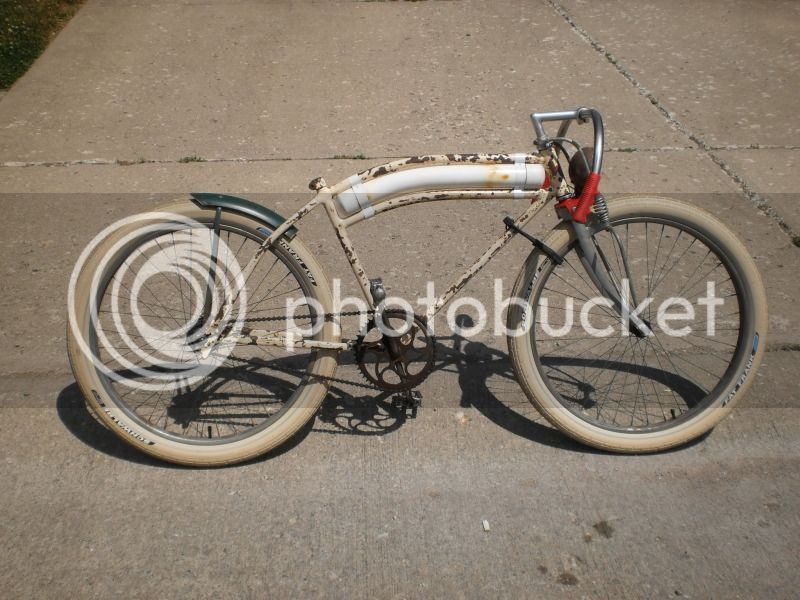
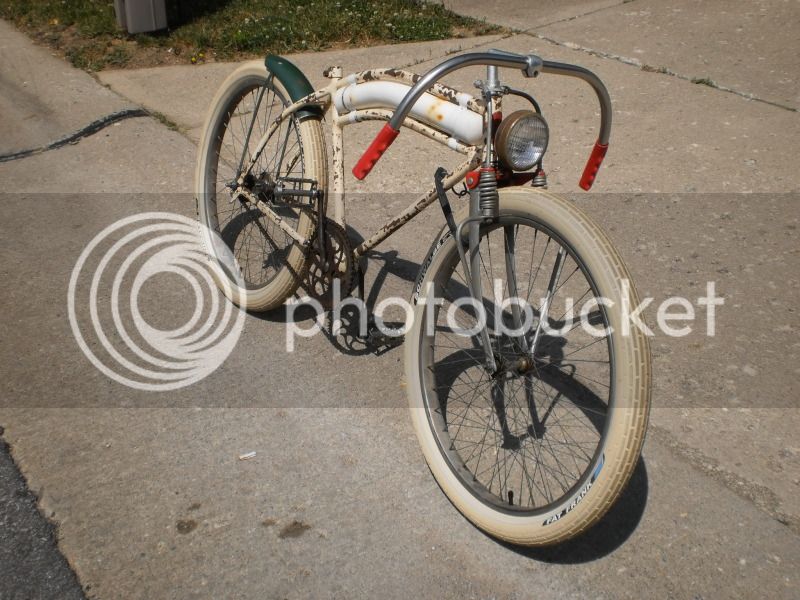
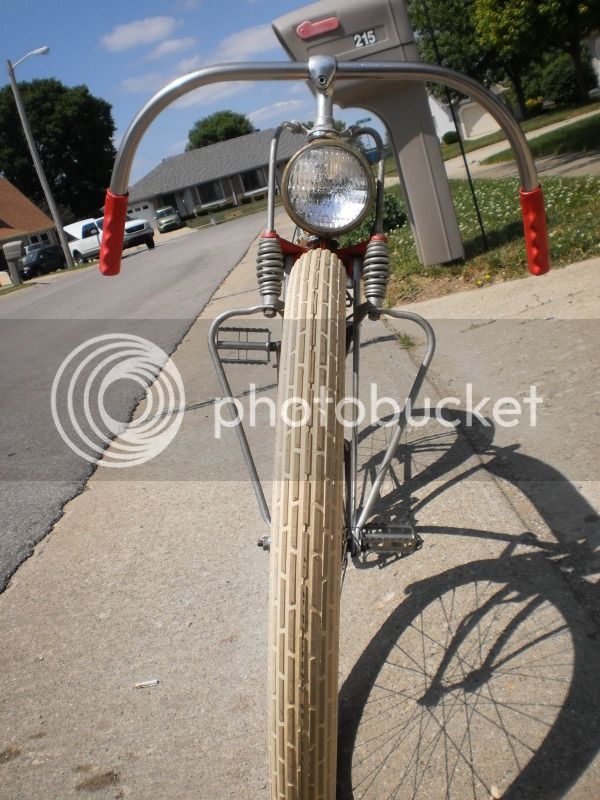
Thanks everybody for the praise and support - I feel like I just won the Nobel Prize or something. I've been studying some more Board Tracker Pics and I believe my next project is going to be the Oil Tank and Rear Fender which means I need to get the tires I'm going to use on at least the back wheel. Gotta do some errands today so I'll incorporate a trip to my storage space in with the rest. TBC! Robert
 
Re: '38 Special ------ Update May 16th

Hi! Someone wanted to see pics of the handlebar I was sanding down w/ a palm sander. These pics aren't that great but the bars do look a lot better. I'm still trying to get the hang of chrome & glossy surfaces w/ my camera.

004-3.jpg

005-3.jpg

006-1.jpg


Before I can proceed with the oil tank and bobbed fender I needed to get the correct tires on so I played musical tires today. I tried these Cream Fat Franks on my Dyno Roadster but after the 3" Kenda Flames I just wasn't impressed so off w/ the FF and put the Kenda's back on. Then took the Red Bricks off and put the Fat Frank's on the new build - more better.

001-4.jpg

002-4.jpg

003-4.jpg


Bobbed Fender will be next - the length cuts off just inside the mount close to the seat tube. Then I can fit an oil tank in the remaining space.

007-2.jpg


So this is what I have now - I like the Fat Franks on this and the frame just happens to be about the color I'm going to paint it to match the tires. This is a pretty good mockup of how it will look. TBC! Robert

008-2.jpg

009-2.jpg
 
Re: '38 Special ------ Update May 14th

I don't say this often, but I would not paint that frame. I love it just the way it is. One of these days, I'm going to paint one with house paint and knock half of it off just like this! :D
 
Re: '38 Special ------ Update May 14th

yoothgeye said:
You call that a mock-up, I call it DONE! I love it!
I was just thinking the same thing! Lol
 
Re: '38 Special ------ Update May 22nd

Hi! Unfortunately it took me a few days to locate a jig saw to cut my fender with. I gave all my construction tools to my oldest son about 5 years ago when he got his own place - a fixer upper. But I finally found a neighbor that did not want to use his anymore so I've got one to work with for the duration.

I tried fitting some old late 40s Higgins Colorflow fenders first but the sides were so deep I though I might get into trouble w/ the Fat Frank rubbing if it wasn't perfectly true, which it's not yet. Then I remembered a rear fender I had in the garage from my 1936 Hawthorne that someone had bobbed. I've since replaced the bobbed one w/ a complete rear fender so I thought I'd try that one. The sides were 3/4" shorter than the Higgins plus the fender brace is closer to the correct era. Being a '36 the fender is just rounded instead of peaked like they started using in '38. It fit fine.

001-5.jpg


002-5.jpg


003-5.jpg


004-4.jpg


005-4.jpg


006-2.jpg


In my research the board trackers just hacked off a hunk of fender and slapped it on if they had one at all. So I thought I could make quick work of this and move on, but once I got there I wanted a nicer looking job. All the fender pics I had seen were cut off square on both ends but I wanted the trailing end exposed on top of the wheel to look a little more "finished". So I used the Higgins front fender as a pattern and traced a nice curve on the new fender. I picked up these metallic silver Sharpies which I don't use often but when I'm trying to mark a black or dark surface they are great. The only down side is you have to store them standing on their head or they will dry up. I then removed the fender brace for relocation. I reused the factory crimps in the sides of the fender to locate the fender before layout and cutting.

007-3.jpg


008-3.jpg


After I cut the fender I noticed the fender brace mounting tabs looked like doodoo where the previous owner had just hacked the other brace off at the point they are joined together - not my style. I drew a line simulating a factory end and used the jigsaw on it. I then touched up all of the fender and brace cuts with a file and then sandpaper so it is user friendly. About 2-3 years ago there was a flooding of fender brace bolts on ebay. I was lucky enough to score a quantity of 100 very cheap per. Have you noticed what they are asking for them now? I'm pretty sure I have enough to finish my bike building career.

009-3.jpg


010.jpg


011-1.jpg


012-1.jpg


013.jpg


015.jpg


014-1.jpg


I wanted the spacing between the tire and the fender to be consistent so the first thing I did was grind off the extra fender bolt lengths with my Dremel to insure clearance and then cut a 2" 10-32 Bolt to the correct length I needed to hold down the end of the fender that mounts to the frame. (Note - as an electrician we have these peachy keen combination pliers that we only use for cutting off #6, 8 & 10 bolts without damaging the threads - you can get an inexpensive generic brand model at most places and still cuts bolts fine). I finally had to take the wheel off to tighten down the frame bolt - I was hoping to get away without doing that.

016-1.jpg


017-1.jpg


19.jpg


20.jpg


21.jpg


22.jpg


23.jpg


I found a pair of Union Rat Trap Pedals in a tub full of parts so I switched them out with the rubber block ones. The handlebars that I had been sanding I finished by applying a coat of clear to protect it from rusting in the pits I sanded down. I had these unique red grips I wanted to try but they had been on a curve bar so the ends are stretched - have to get something else. You will be seeing this color again. While I was resting I took my cordless with a wire brush attachment and ground all the rust off the drive side of the chain. This chain ain't purty but it is flexible making it useable for a poor man's buildoff bike.

24.jpg


25.jpg


NOW I'm ready to make the oil tank. This like the gas tank will be purely a simulation of size and shape - not function. I'm still tossing around mounting ideas for the tail pipes that won't damage the frame. I measured the distance between the Fat Frank and the back side of the crank and the largest pipe I will be able to use with some space is 1" - not as large as I wanted but it will get the job done. Guess that's all I have for today. TBC! Robert

26.jpg


27.jpg


28.jpg


29.jpg


30.jpg
 
Re: '38 Special ------ Update May 22nd

Coolest bike so far. I'll take this style over anything any day.
 
Re: '38 Special ------ Update May 22nd

I love the details you have put into your ride so far I may have to steel your idea for adjusting the distance from your tire to fender I was trying to figure out how I was going to get mine closer...

Great build so far I love the patina but there is nothing wrong with a good paint job either
 
Re: '38 Special ------ Update May 22nd

Thanks for all the support guys! Everyone is welcome to steal any ideas you see here - they are not all mine to begin with. I wanted to definitely make everyone aware of the easy to use bolt cutters. You simply cut the bolt and then back it out w/ a screwdriver and it cleans the threads as it goes. I use this all the time on my builds so I can get exactly what I want without having to run down to Lowes and find something usable. Have Fun everybody - that's what it's all about! Robert
 
Re: '38 Special ------ Update May 22nd

Definitely a bike that will make people stop, doubletake, and ask stupid questions. I love it.
 
Re: '38 Special ------ Update May 22nd

Nice work, great attention to detail keep it up and you'll get one of my votes.
 
Re: '38 Special ------ Update May 22nd

Your bike looks awesome. Great work on the tank. I can't wait to see what you come up with for your lion.
 
Re: '38 Special ------ Update May 22nd

Your build is fantastic!! I may have to work your bobbed fender onto mine! :wink: Defenitly going to make everyone step up their game!! 8)
 

Latest posts

Back
Top