Another Beast Build

Rat Rod Bikes Bicycle Forum

Help Support Rat Rod Bikes Bicycle Forum:

This site may earn a commission from merchant affiliate links, including eBay, Amazon, and others.
I ordered my front disc hub today. And I started drilling on my front rim. My hole saw was duller than I thought, but it was enough for 1 wheel. I will need to get another for the rear. I broke way to many pilot bits on the front. I got all the holes drilled, now I just have some filing and dremeling to do to clean them up.

Heres a pic of where I am at so far:

671978B2-A820-437A-8CEE-3E273CC80454-23117-00001AE9991BDAD3_zps48e5734d.jpg
 
I temporarily put my front wheel back together today. I have a new hub coming and when it gets here I will strip the paint off the rim, finish cleaning up the outside of the holes, and get a proper rim strip. I think I'll go ahead and drill the holes next to the rim seam too. I'll just have to be careful to not actually hit the seam.

Front rim drilling and new tube took .6 lbs off bike. Current weight is 39.8 pounds.

A56D64C5-6E81-4C2E-A5FA-8727B789EF15-25358-00001ED6D6F248DC_zpsfc46196a.jpg


5D328B3D-CB55-4A76-9379-3CD0406277E8-25358-00001ED6EBCBE04A_zps67418829.jpg
 
What are you using for a rim strip, now? It looks like a Mr. Tuffy liner, in the pix.
 
right now its the stock rim strip with a couple layers of red electrical tape on the sides. I didnt notice the Mr. Tuffy look, but now that you mention it, it really does!
 
I got my buddies boys bikes done today. We had an official Beast Donut Run; then rode to the park.

C66E3E90-5CED-4578-AFE5-10CA501D98C7-26450-00001FF5740D6113_zps3548afef.jpg


11ACAD18-0263-4CCC-8DC2-220CF97281F2-26450-00001FF580A3693A_zps59320728.jpg


7AEAD313-8116-45D7-8A3F-E33C796C1637-26450-00001FF56C5BF725_zps2d88a09f.jpg


2EBC1EAB-FA2D-4C98-9701-439E0D3673F3-26450-00001FF55A8AFBF9_zpse025823b.jpg
 
Im waiting for my new front hub to show up. In the meantime, I started to work in widening a rear hub.

I started with a no name, Shimano style, 7 speed cassette rear hub. $15 used at my local shop.

6C658659-E033-4536-8087-37FC88F42ABD-15252-000011E8664E1467_zps8aa1acc6.jpg


I completely stripped it down and cut the body in half. I need to add roughly 55mm or 2 1/4 inches to the width of the hub. First I went to home depot and found that a 1" galvanized pipe fit perfectly over the hub halves. BUT, then I was taking apart a cheapie Pacific bike that was given to me and found that the seat tube was the perfect size for the hub spacer. The frame was aluminum too which is a huge advantage.

I cut a section of the seat tube to the correct length and cleaned the paint off.

Here is what I have right now:

2A64256A-7157-435D-94A0-2C39C420DF5F-30992-000025B9B59A0E58_zps61d0b4a4.jpg


And what it should look like when its together:

385DB72D-B3DD-4E70-8C7D-FED0D28AAA88-30992-000025B9C127F7A3_zpse47aa721.jpg


The hub flanges are roughly 4" apart, or about the same as the stock hub. I plan on widening the chain stays close to 190mm, so this flange spacing it nearly perfect.

Also, I found a local aluminum welder on craigslist. I'll go see him sometime this week to see how much it will cost to weld the 3 pieces together. I really hope its around $20. Then ill have a total of $35 in a nice wide, rear cassette hub. Too bad it doesnt have a disc mount, because when this is all done I want disc brakes.
 
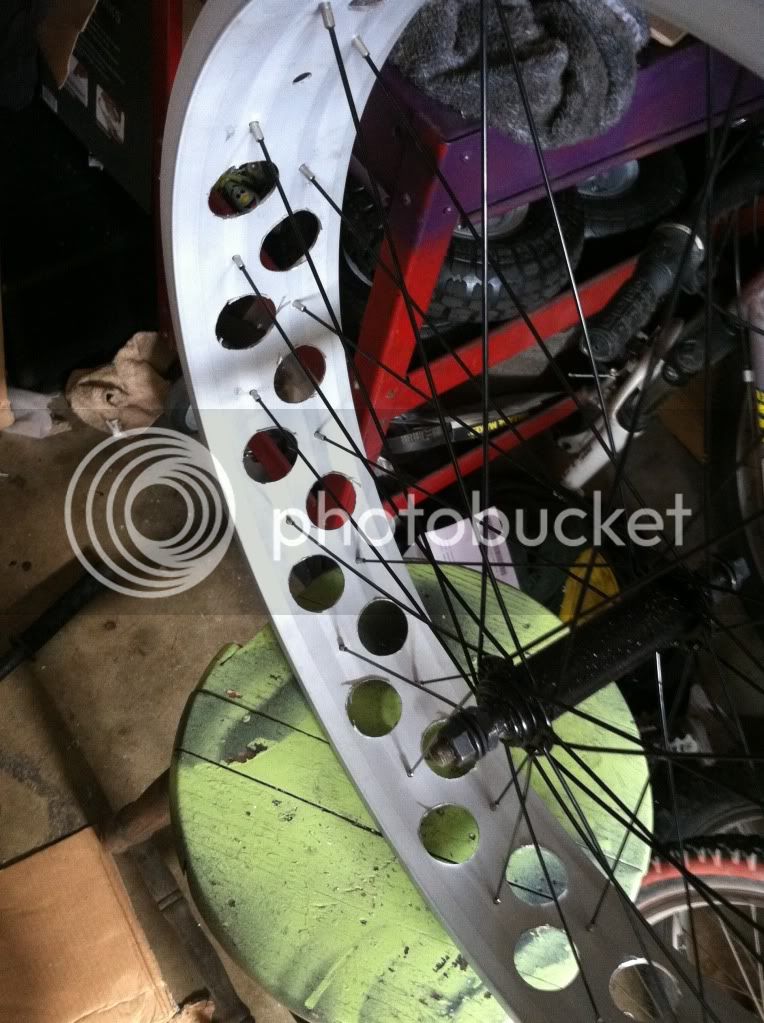
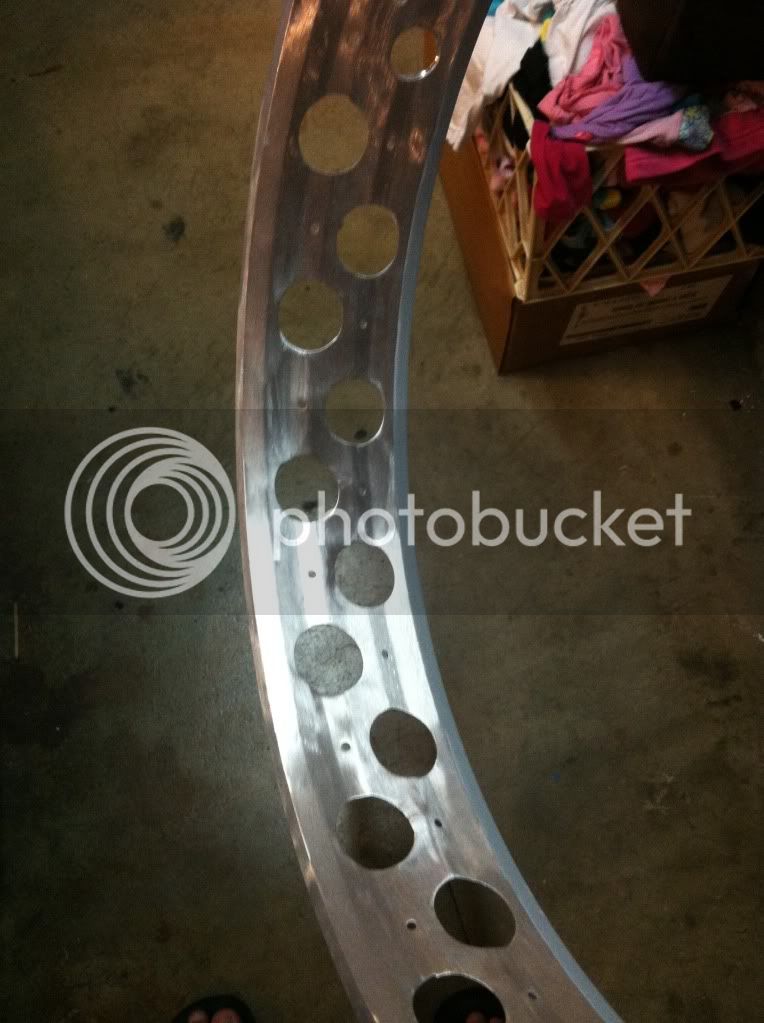
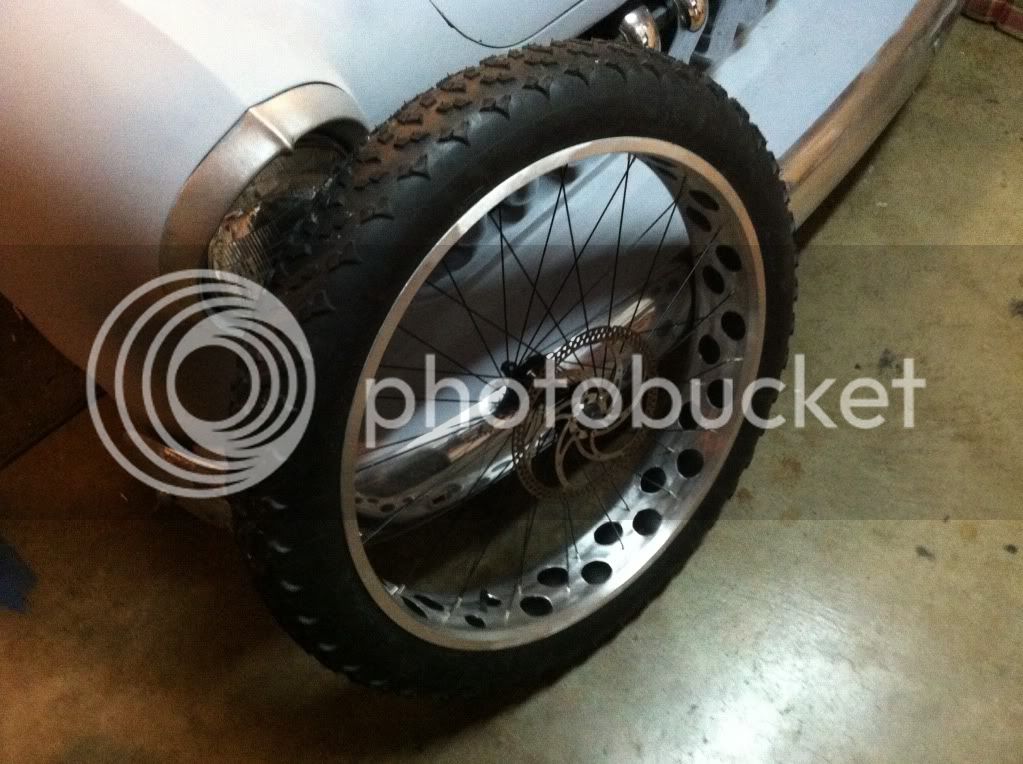
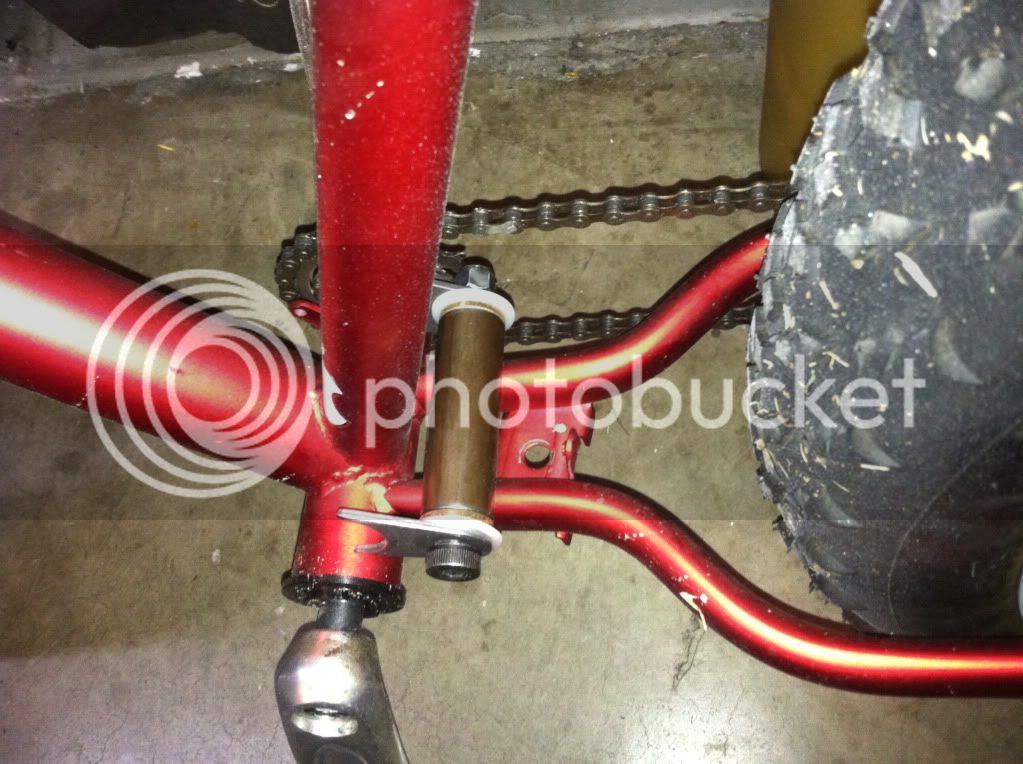
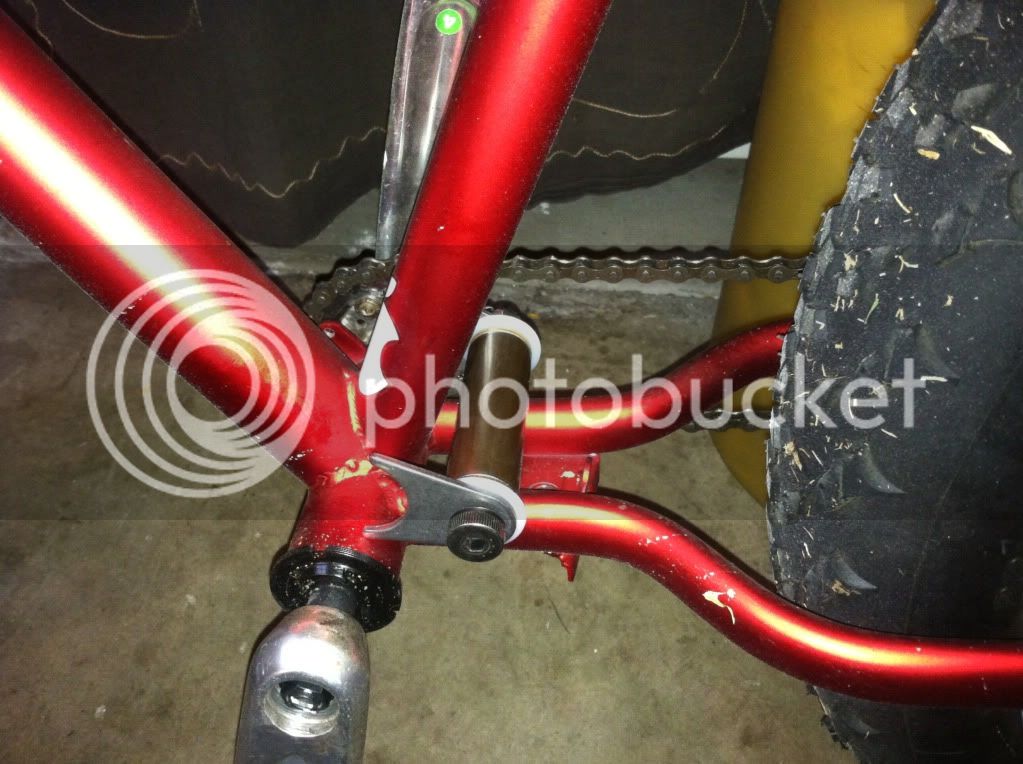
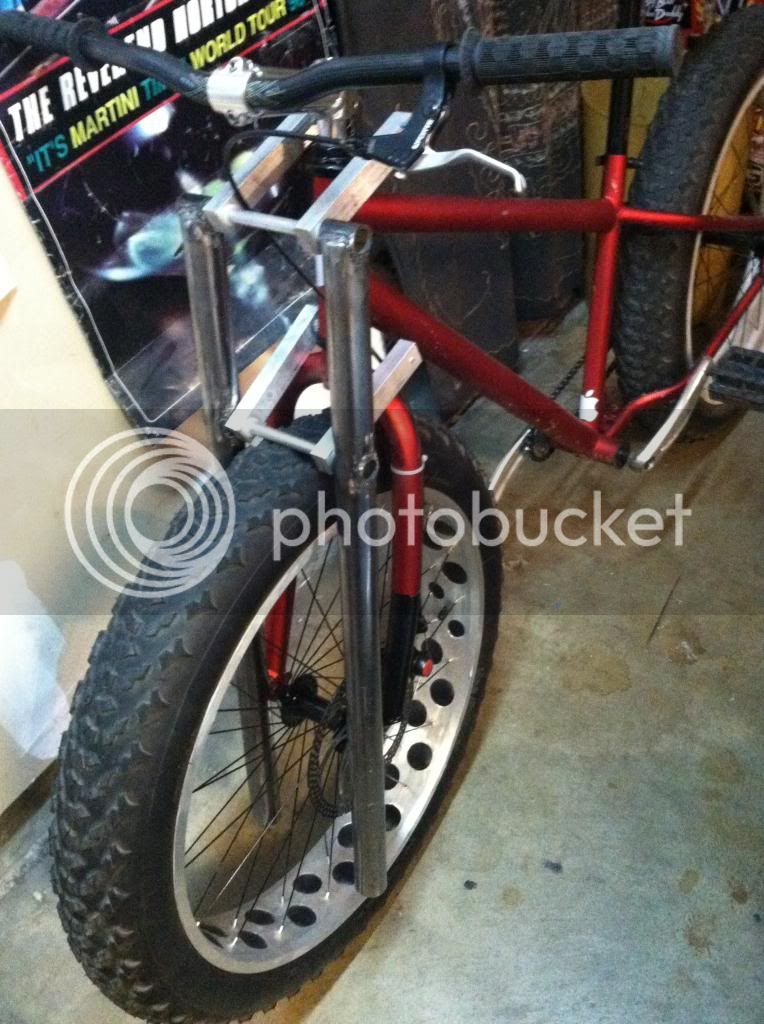
I got my new front hub today, so I stripped the wheel down and finished drilling the holes in the rim.

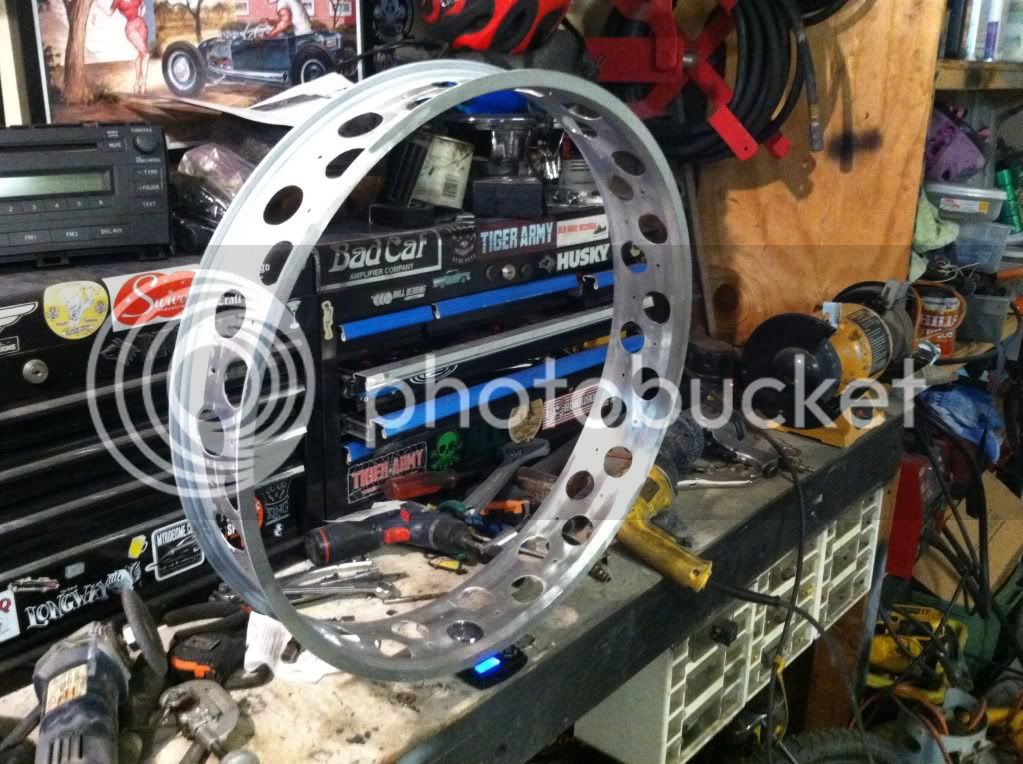
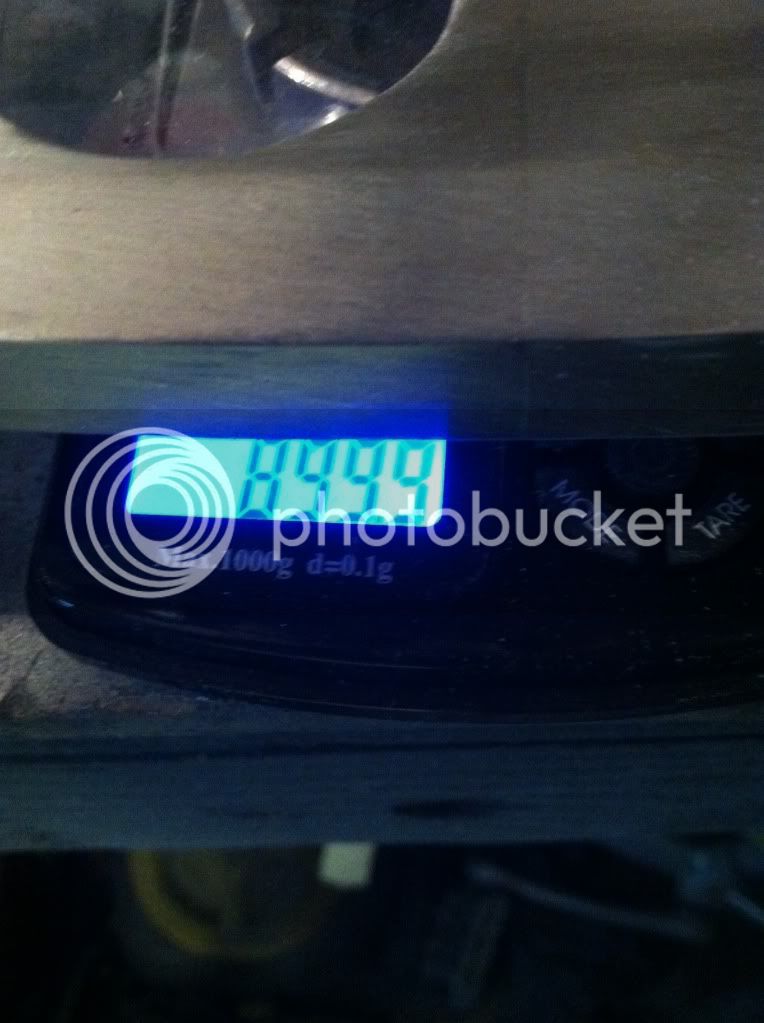
The drilled rim weighs 967 grams. But then I started to strip the paint, i got the outside of the rim about 75% striped of paint. The rim now weighs 929 grams!?! This blew my mind! Could there really be close to a half pound of paint on the rims alone?

Hopefully tomorrow I'll get the rest of the paint off of the outside of the rim, and then I'll take some off the inside too. Most likely just down the center.

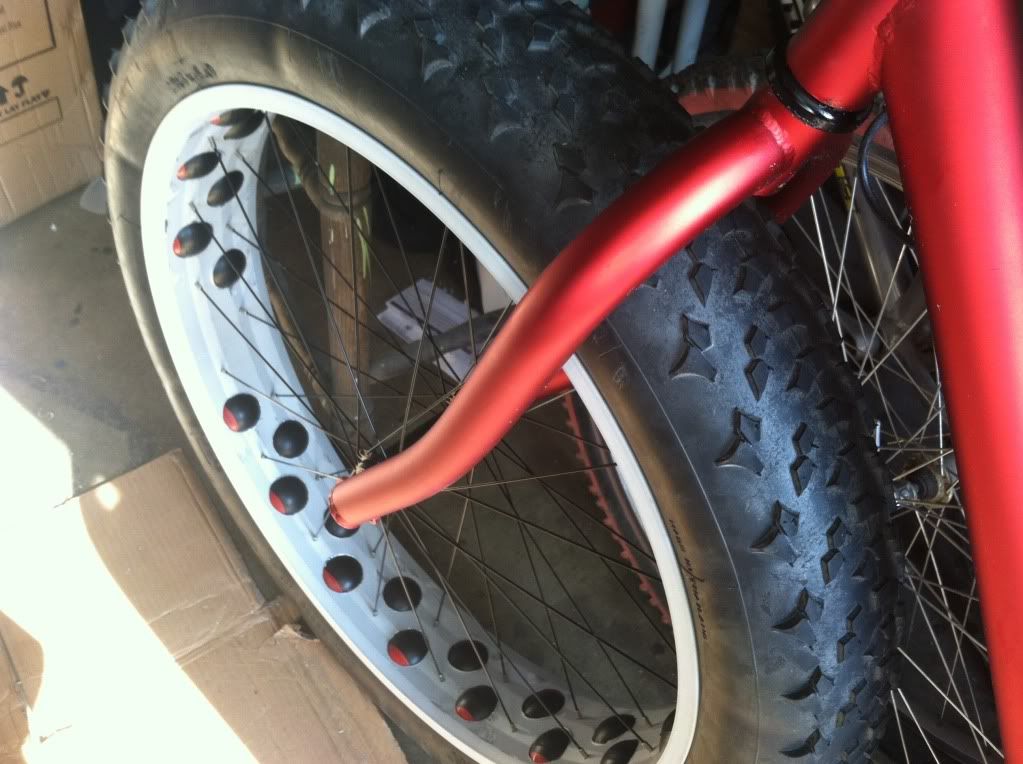
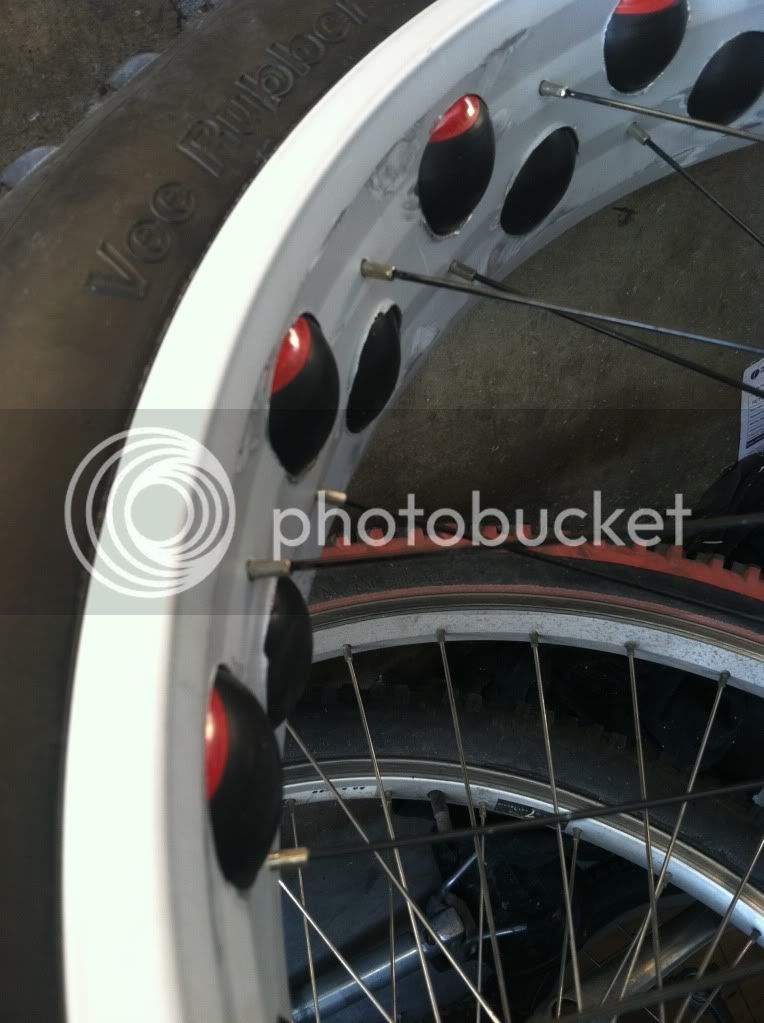
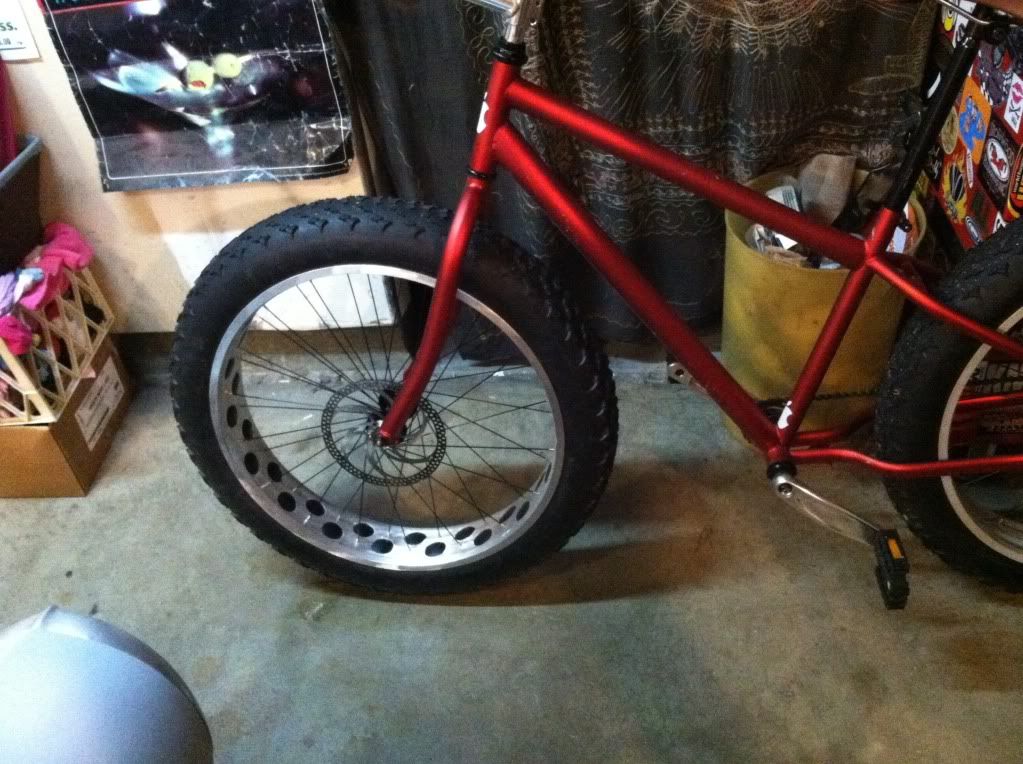
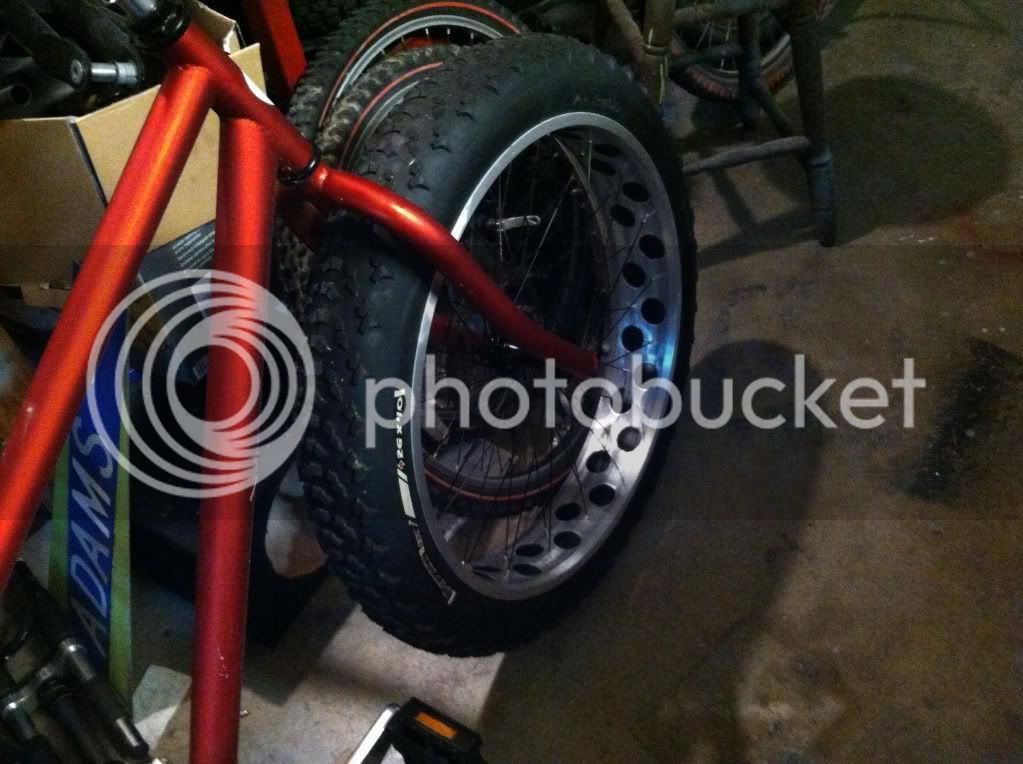
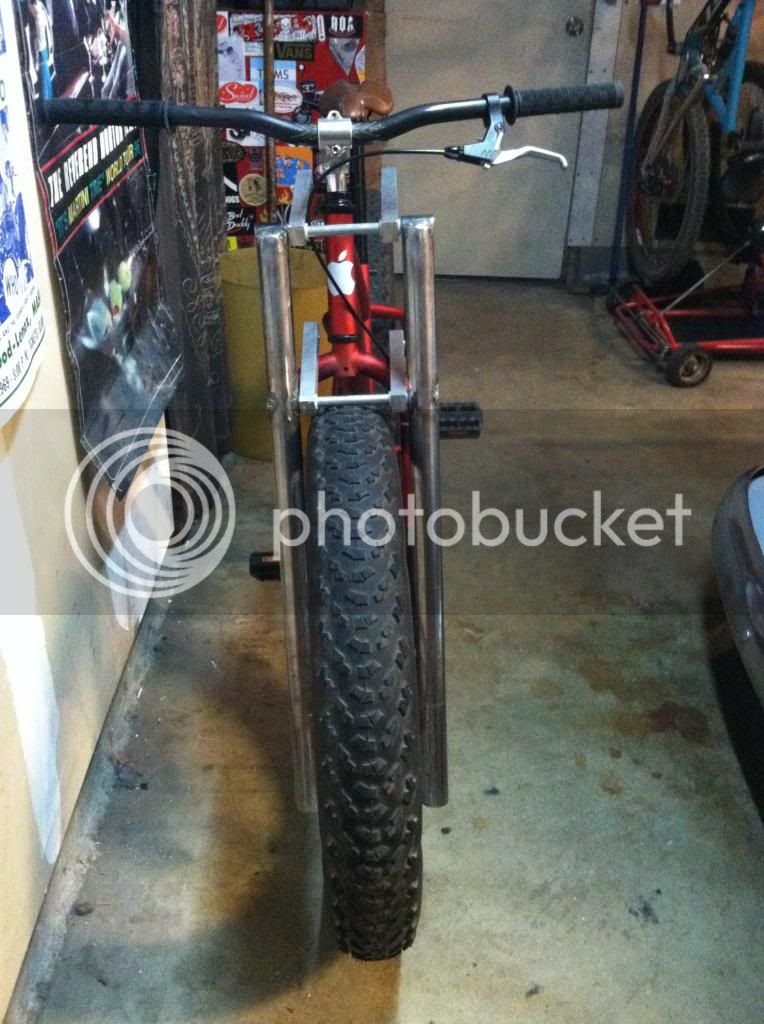
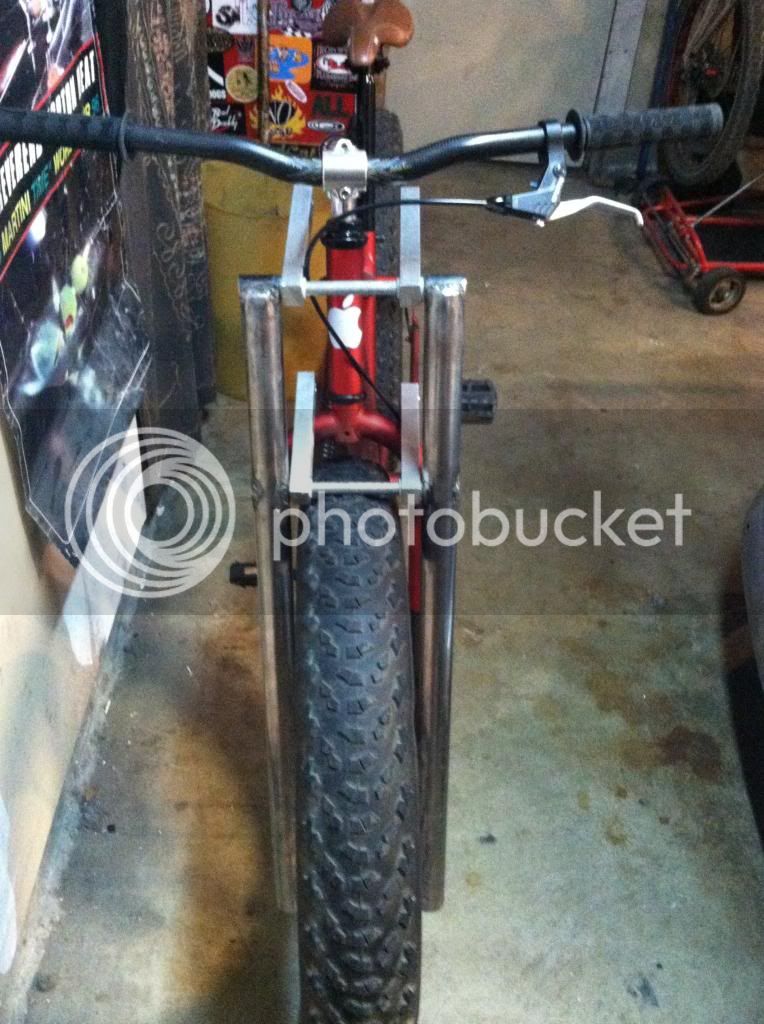
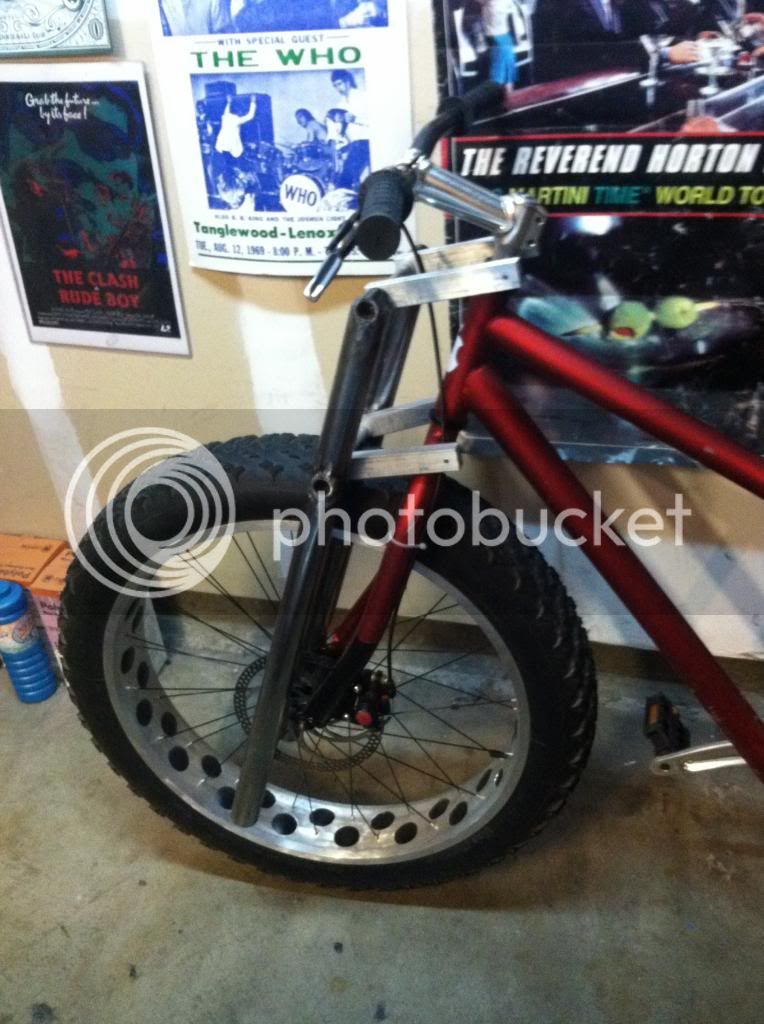
Here are some pics and weighs:

Stock spokes are 6.5 grams each
Stock spoke nipples are .8 grams each

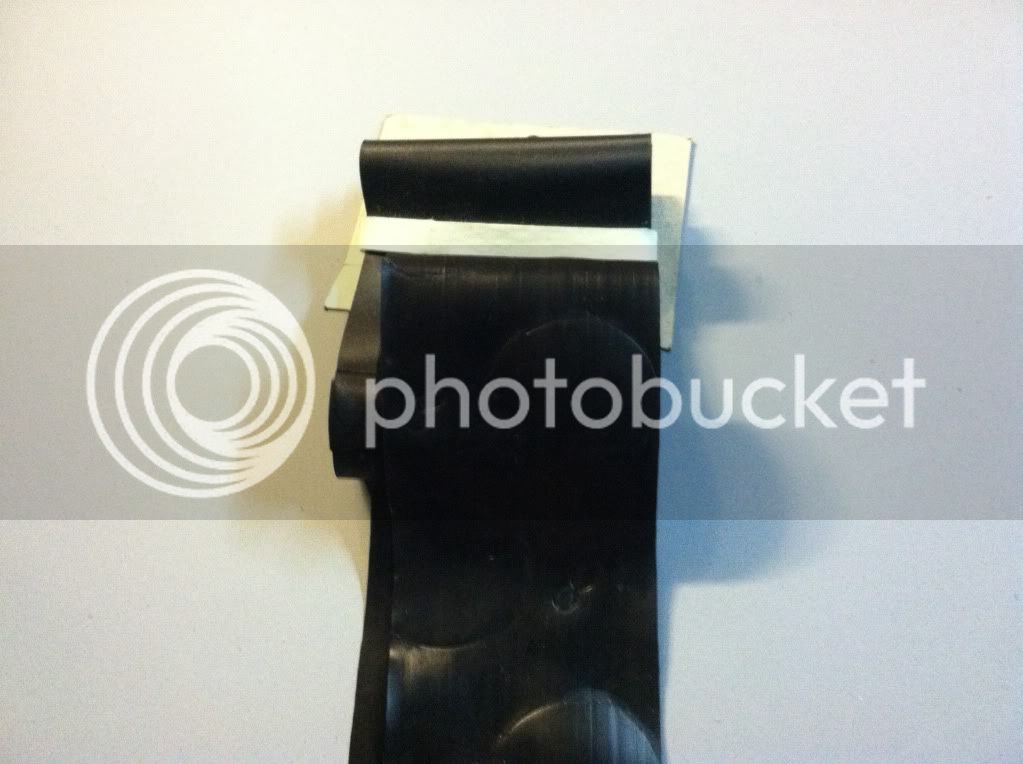
Stock rim strip verses a 75mm Surly:

Stock rim strip weighs 81.4 grams
Surly 75mm rim strip weighs 97.8 grams

154BD0DD-4954-4694-89C6-1FF7741B936E-970-000000713AA77453_zps03f7f0a5.jpg


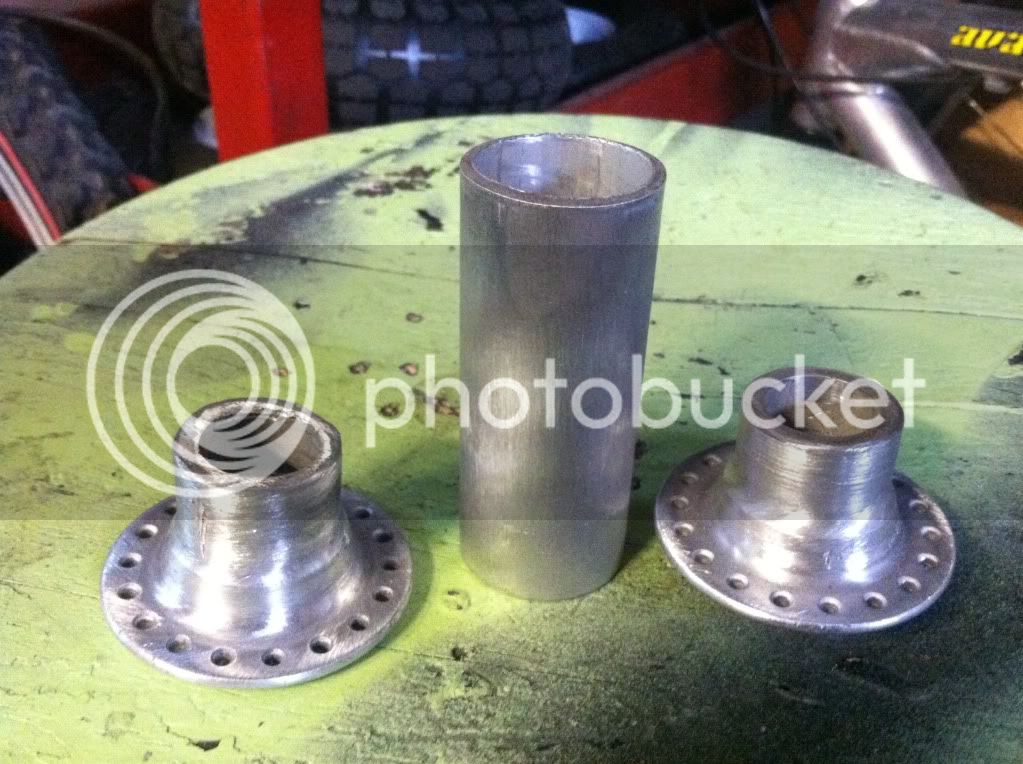
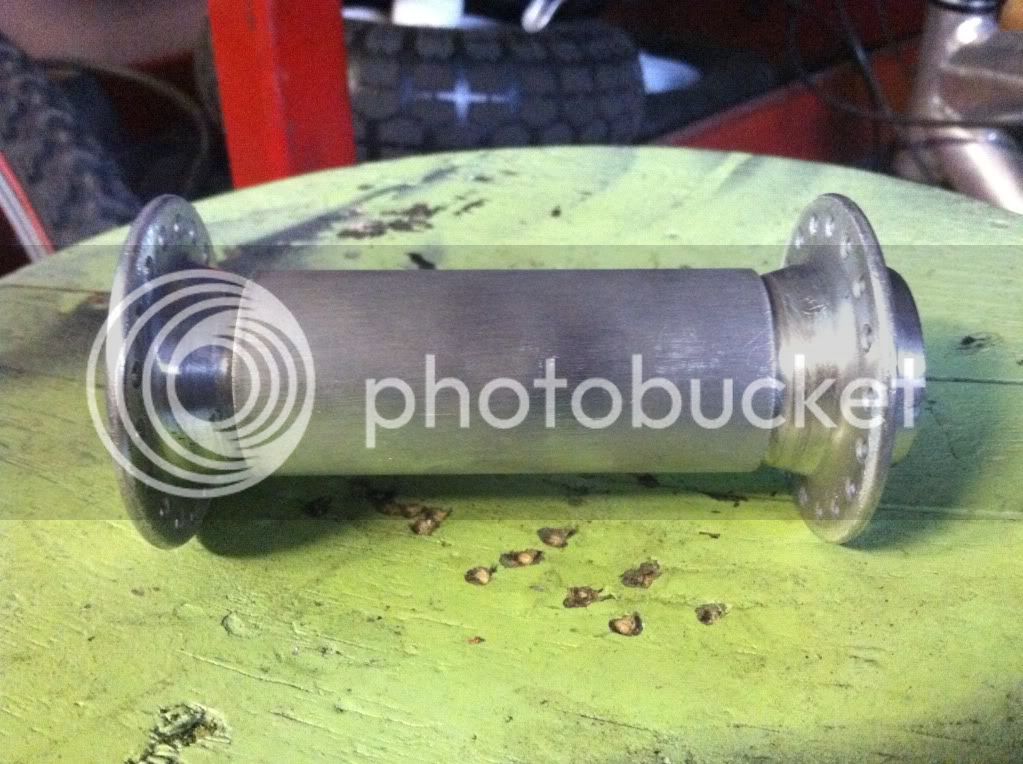
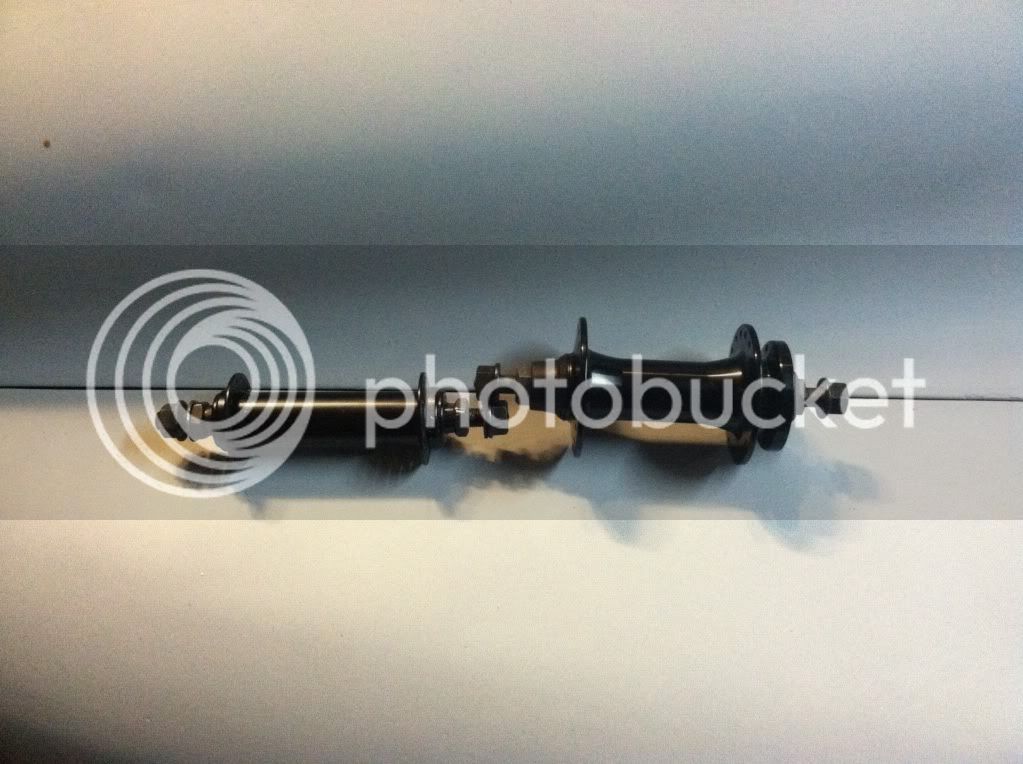
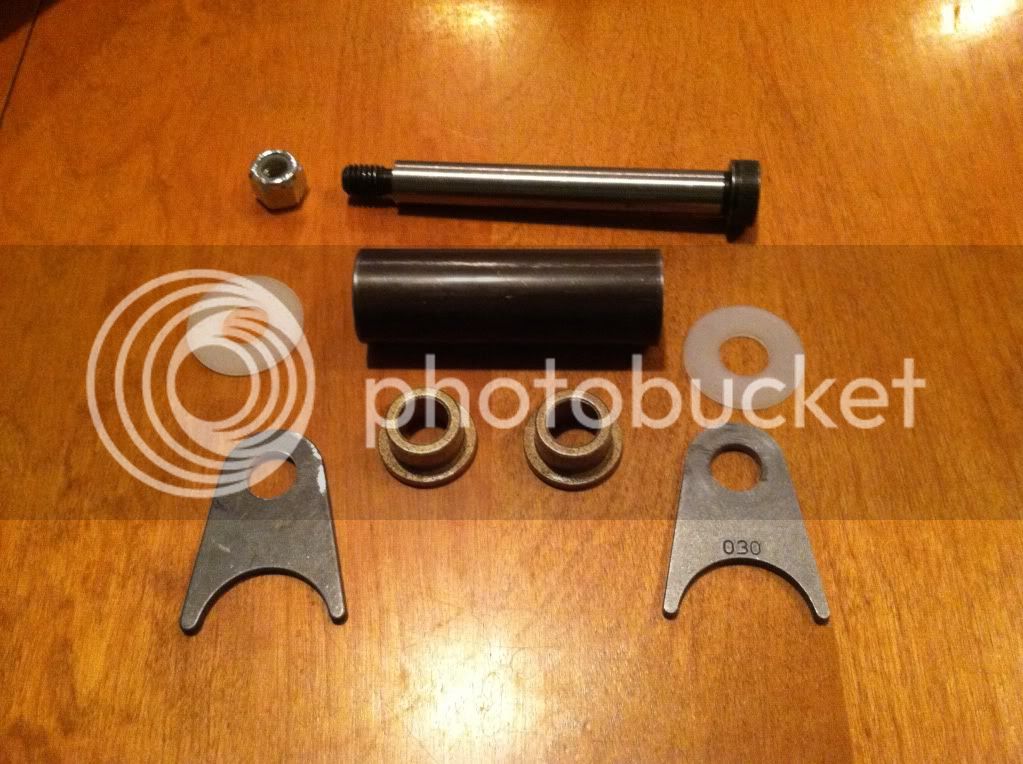
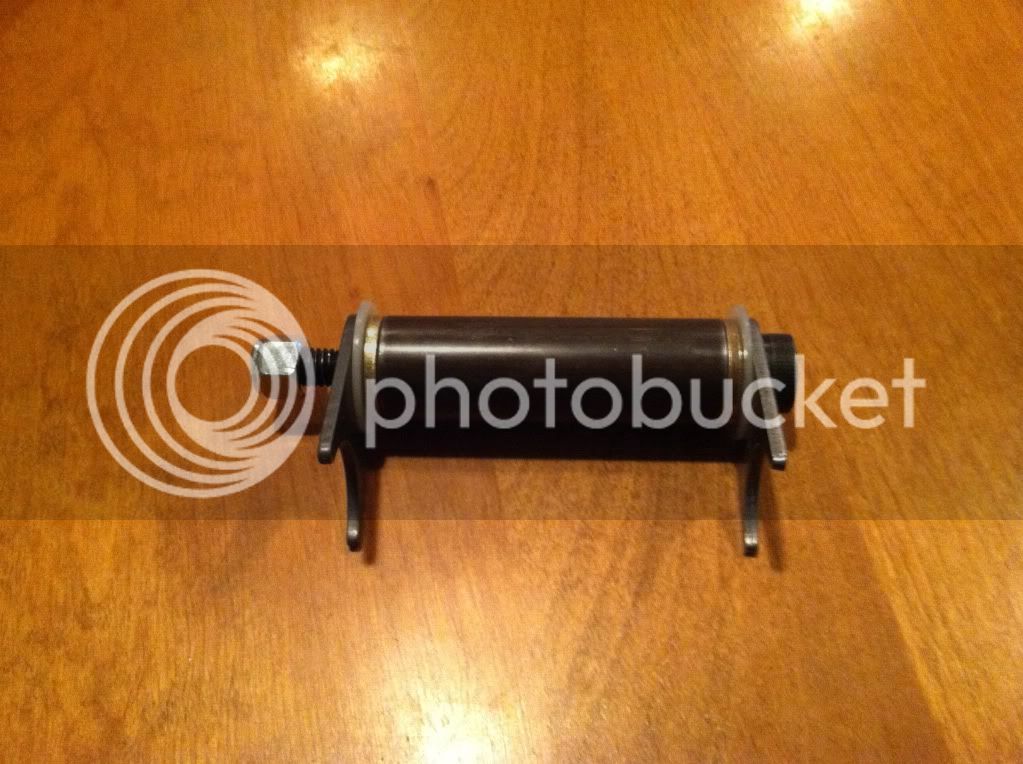
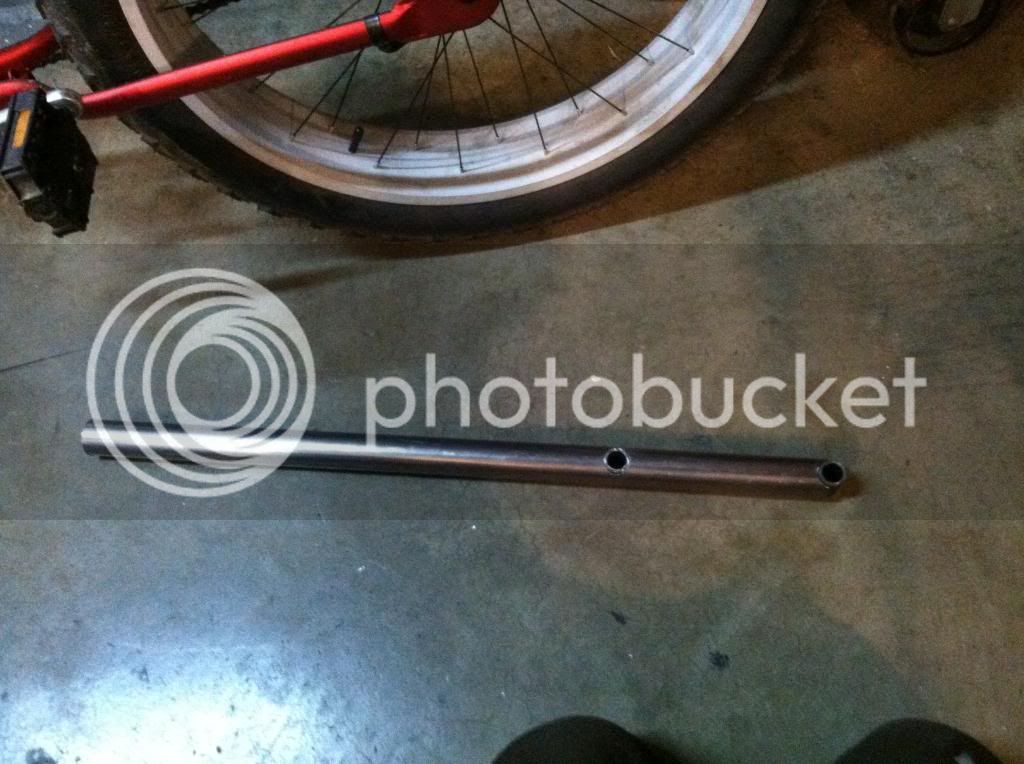
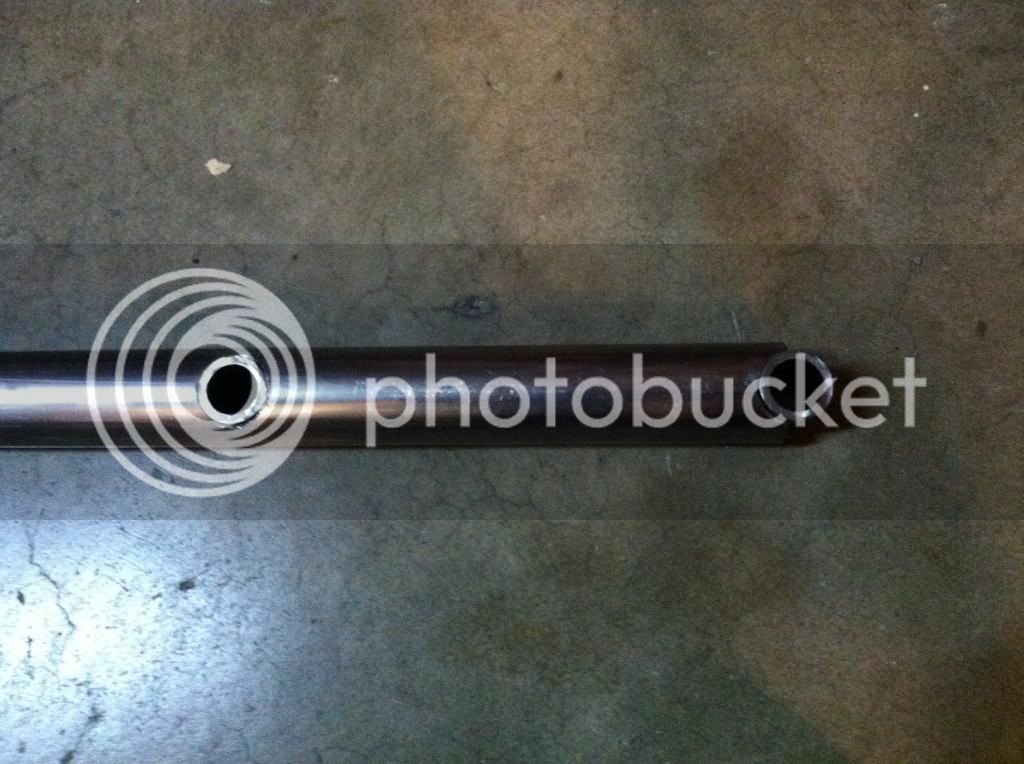
Here is the new front hub verses the stock front hub:

New hub is aluminum, with a disc mount. Its the cheapest one the right size on Amazon - 393.7 grams
Stock hub weighs (properly greased) 296.3 grams

B867C135-2BB3-4F6F-BC09-770AD1FCC3C1-970-0000007148A60230_zps7da67427.jpg


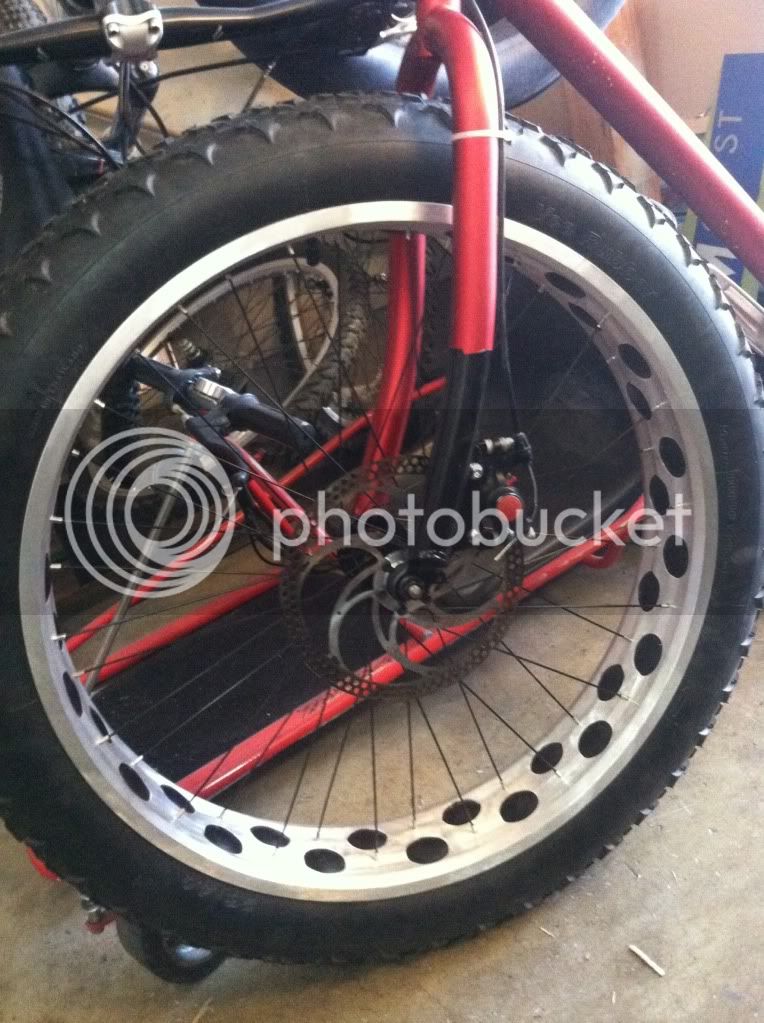
and a pic of the rim as it is right now:

5461E6A1-8922-427E-8DBB-6F73A9D82DCF-970-00000071507BCC91_zps9b0ec3d5.jpg
 
I remember people claiming, in the 90s, that they could lose close to half a pound off of a Cannondale mountain bike by stripping the paint. So, it seems reasonable that stripping paint off of rims of this size would make a noticeable difference.

I didn't realize that was paint, on the rims, actually. It never really rubbed off the sidewall of my front rim, when I was using cantilever brakes.
 
Its paint, but its tough and thick! Took me over 2 hours to get to where I am at now. I think I may take the rear to a radiator shop and have it hot tanked.
 
I got a bunch of stuff done tonight!

Finished striping the paint off the outside of my rim, and took about half the paint off the inside. I got the rim down to 899.9 grams!!!

B139B19C-22AC-4B99-AB9F-EE1209DA58E6-1690-000001BD5B726986_zpsae799c9e.jpg


A6F3CC95-F7AA-47AF-A548-57B4B241060F-1690-000001BD50BEBB13_zps32e063e1.jpg


Then I got the wheel built up. I was able to use the original spokes by doing a reverse spiral pattern. Plus it looks sweet. I used a 75mm Surly rims trip backed by a layer of duct tape. Then I put in a standard 26x2.5 tube. I mounted the 203mm rotor, but I need to get some proper rotor bolts.

2F87BD2F-F9F1-4FFC-B731-98956C1BE2FE-1690-000001BD7147685E_zps15d91039.jpg


C6C95B68-9CBE-4698-A261-DB8D705FBE97-1690-000001BD6768D6B9_zpsc2df7bd7.jpg


2B8D4D00-3851-4FEB-8F05-F5CCD5FE83A7-1690-000001BD38F0A46E_zps05df9282.jpg


17883661-3F4B-4BEE-8CB6-A5DAE68901F7-1690-000001BD31D748C3_zps1c344cb8.jpg


Also, earlier I stopped by my local industrial hardware store and bought the parts to make the lower pivot for my rear suspension design:

E48C6E69-5EA0-44C2-BF55-11E6AE9F3D8E-1690-000001C1CFF1F33A_zps9d51eb60.jpg


E6F67C21-F665-4BEC-9D9F-4ABE7A49456B-1690-000001C1DB3568DE_zps50c779d2.jpg


106A7D6B-6C13-4E56-B215-415152E58D80-1690-000001BD2A5266C4_zps9af73fab.jpg


2246ADFD-405E-4E13-90CA-965488292D3D-1690-000001BD22BD98CD_zpsa81ca90f.jpg


I also came up with an idea for a linkage fork, but thats gonna have to wait till I get more done...
 
Thanks for the compliment!


Small update tonight. I got my disc mount done. Tomorrow, when the paint dries ill put the wheel and caliper back on. The metal on these bikes welds really nice.

D730602A-8038-47B3-9C5C-E646A66F889E-2497-000003B34F7D7623_zpsec8ce902.jpg


3D7D03D6-20D3-4E88-8CD6-A15C6F4FCDA3-2497-000003B3588660E3_zps07fa2801.jpg
 
While I'm waiting for the perfect rear hub to widen, I started building my suspension fork.

I started with some .065 wall 1-1/2 inch tubing. I welded in some 1 x 3/4 steel spacers. Then inside those I welded some 3/4x1/2x1/2 steel spacers. I will wait till its almost done to do the dropouts, so that I can play with head angle and height.

I realize its going to be heavy, but its my first attempt at a fork.

Heres some pics:

IMG_1487_zpsad830379.jpg


IMG_1488_zpsb1df39f7.jpg


IMG_1489_zps301f3949.jpg


IMG_1490_zps32691db2.jpg


IMG_1501_zps21214b98.jpg


IMG_1502_zps15386478.jpg


The connecting pics will be aluminum. These wont have the shock mounted to them, so I wasnt too worried about the 1/2" aluminum dowel being strong enough. I drilled and was taping the first link when I broke my tap. TIme to call it a night!

IMG_1503_zps3354a6a4.jpg


IMG_1505_zps0d9dd128.jpg


And the teaser shot!


IMG_1506_zps225ab159.jpg
 
I got my link pins that go between the fork legs done today:

IMG_1508_zps51603846.jpg


Here is what they look like installed.

IMG_1509_zps81188ae2.jpg


The I made the forks links. They are made from 1 X 3/4 aluminum bar. I made them 5 inches long bolt center to bolt center. I know thats pretty long, but its a lot easier to make something shorter, than longer. I used nylon spacers that are a common size for bushings. They can be replaced with bearings later on if need be.

IMG_1512_zps71eeb6e0.jpg


I had an old junky double crown fork for that I stole the crowns from. I cut them down to size and will thread them for the proper bolts in the next few days.

IMG_1518_zps25ccf8db.jpg


Here is where I am so far. I am really happy with how its turning out. I know its going to be heavy, but its also going to be SWEET!

IMG_1517_zpsab4c7d97.jpg


IMG_1516_zps6fa7b7e5.jpg


IMG_1515_zps2ae13d7f.jpg


IMG_1514_zps1cc61ec7.jpg


IMG_1513_zpscd1049ef.jpg
 
Judging by the posters on your wall, we share not only bike interests, but musical tastes, as well.

I am really looking forward to seeing your completed fork. What a cool project! I thought I was cool just getting a freewheel on my Beast... :)
 
Thanks!

My ultimate goal is front and rear suspension, disc brakes, rear gears, and HOPEFULLY 40lbs or less!
 

Latest posts

Back
Top