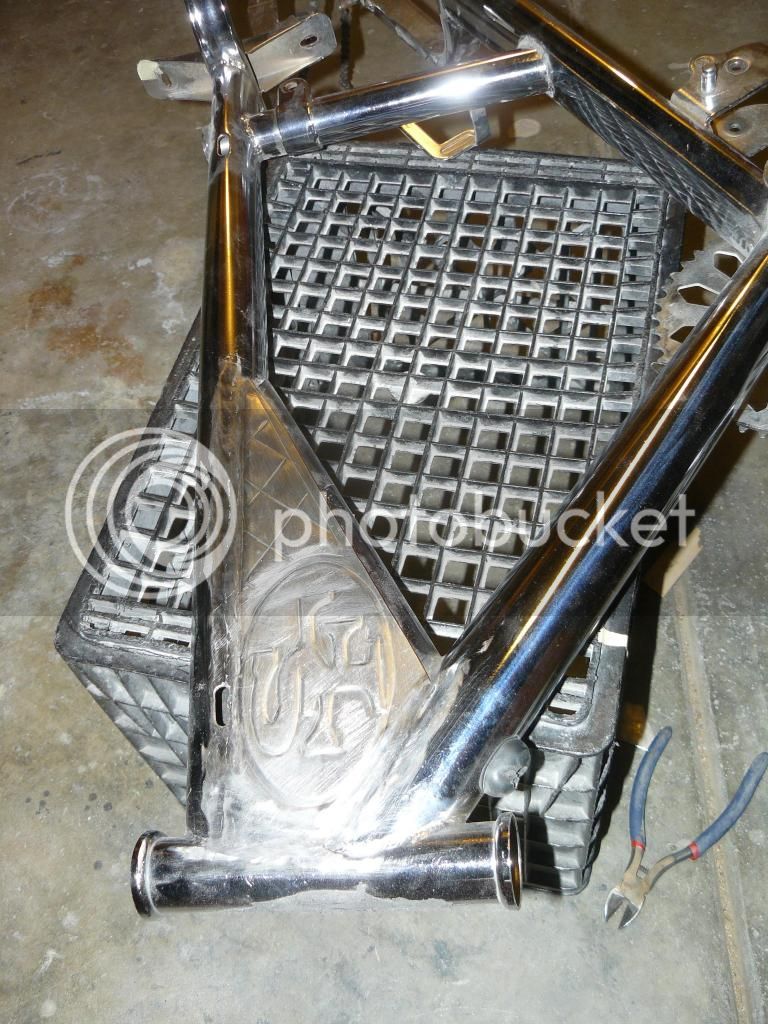
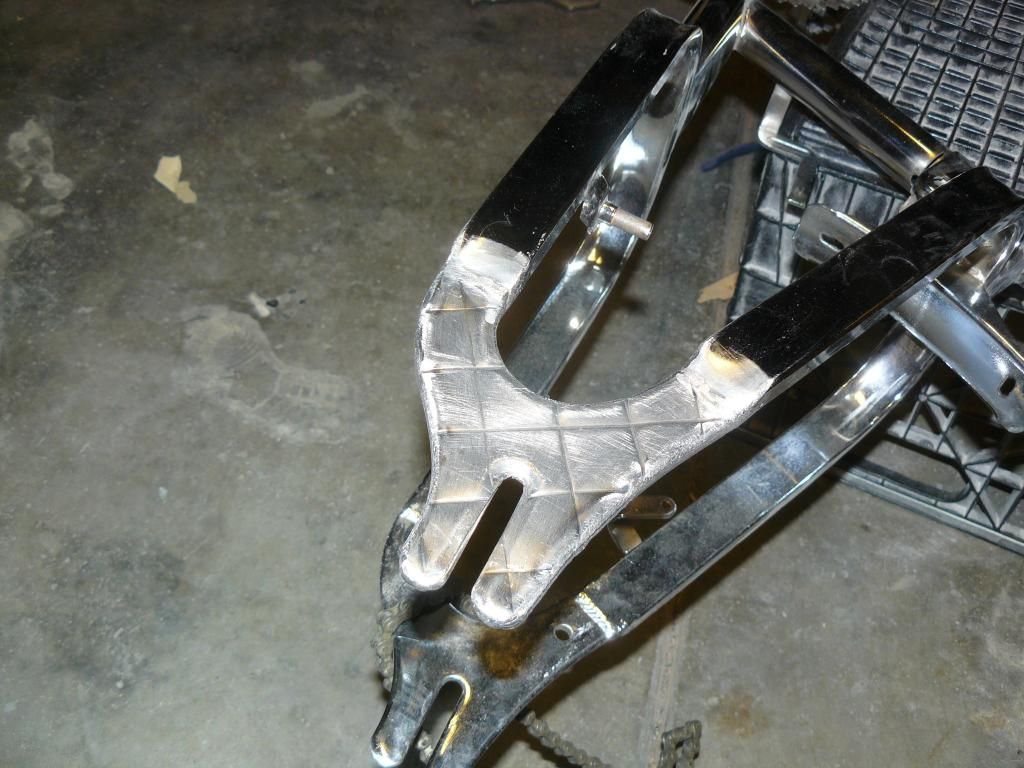
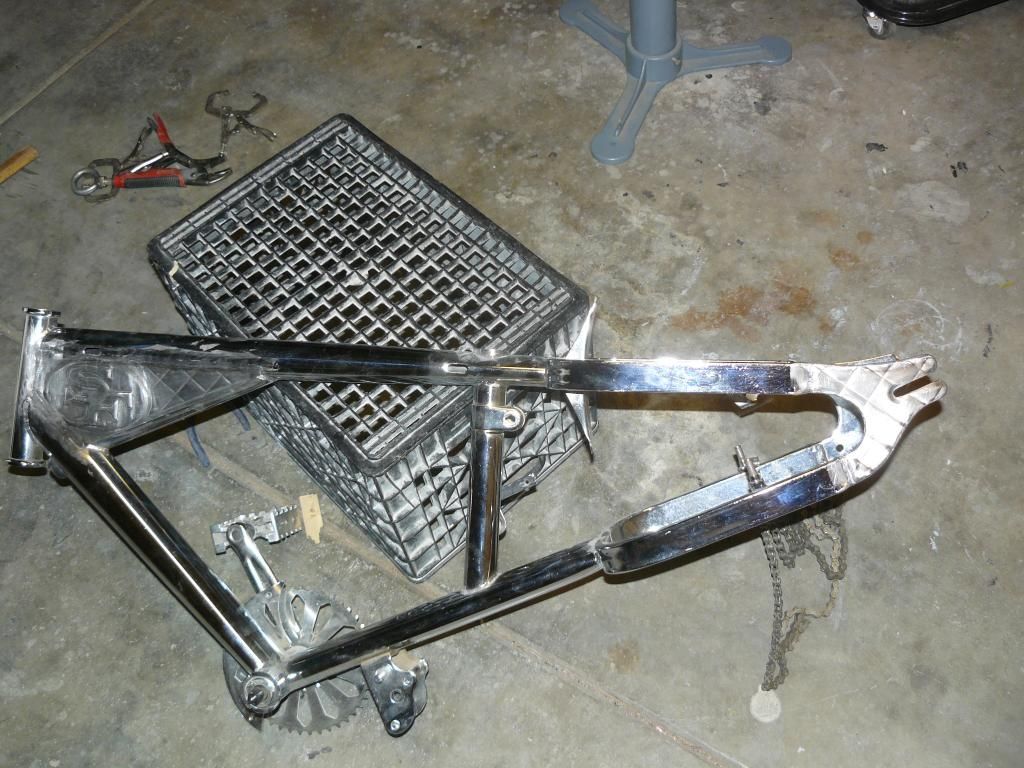
started off with some bead rolled pieces to be placed on the main frame gusset and where the rear wheel mounts.
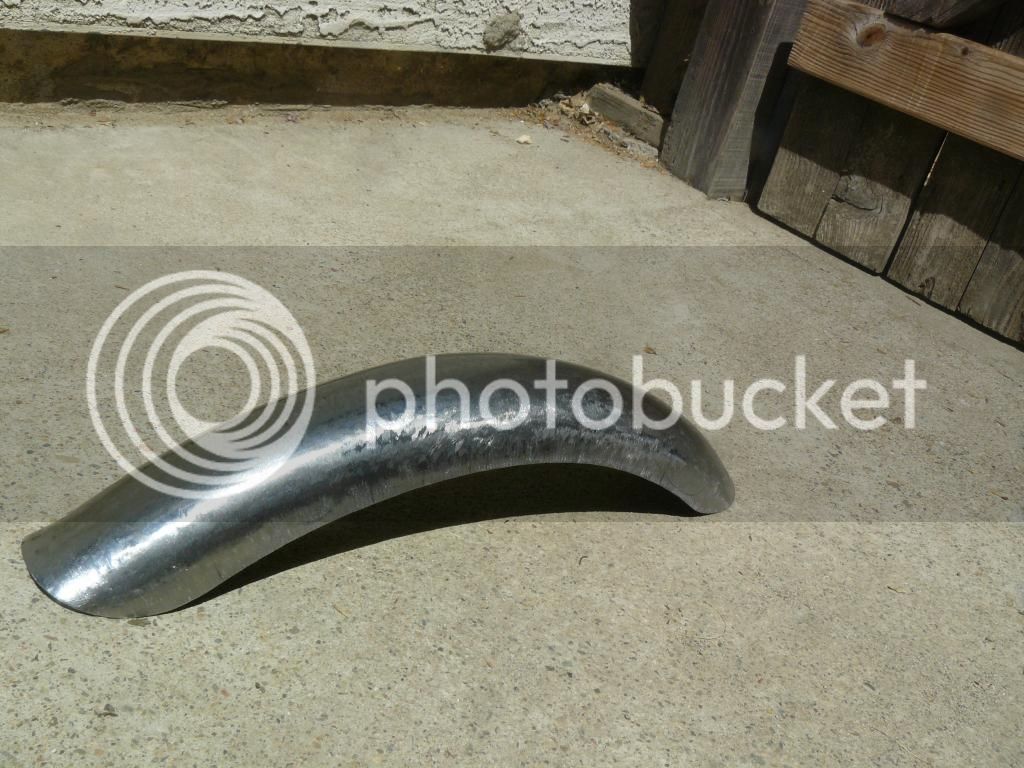
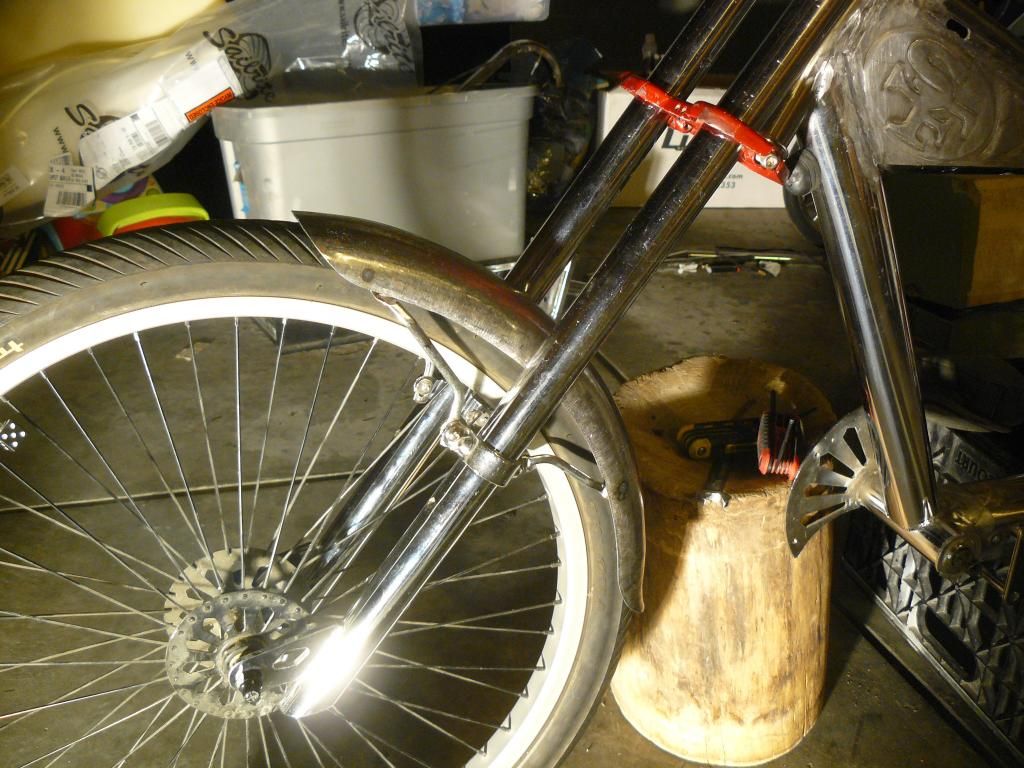
I didn't like the tiny little front fender it came with so I made my own

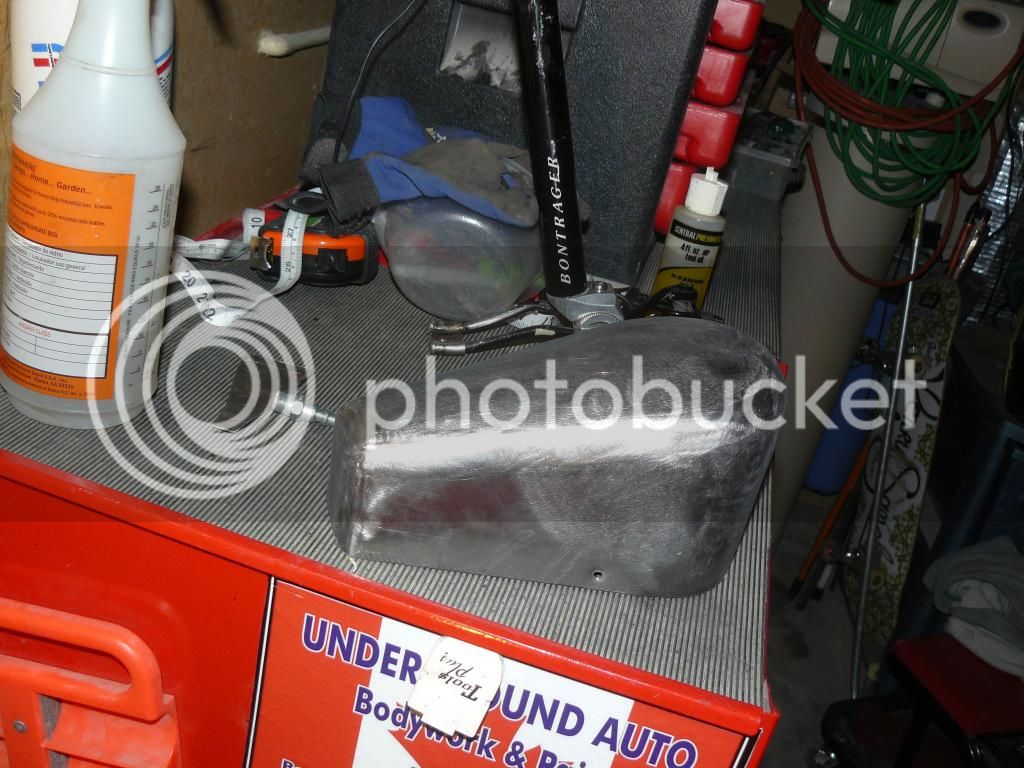
than the tank

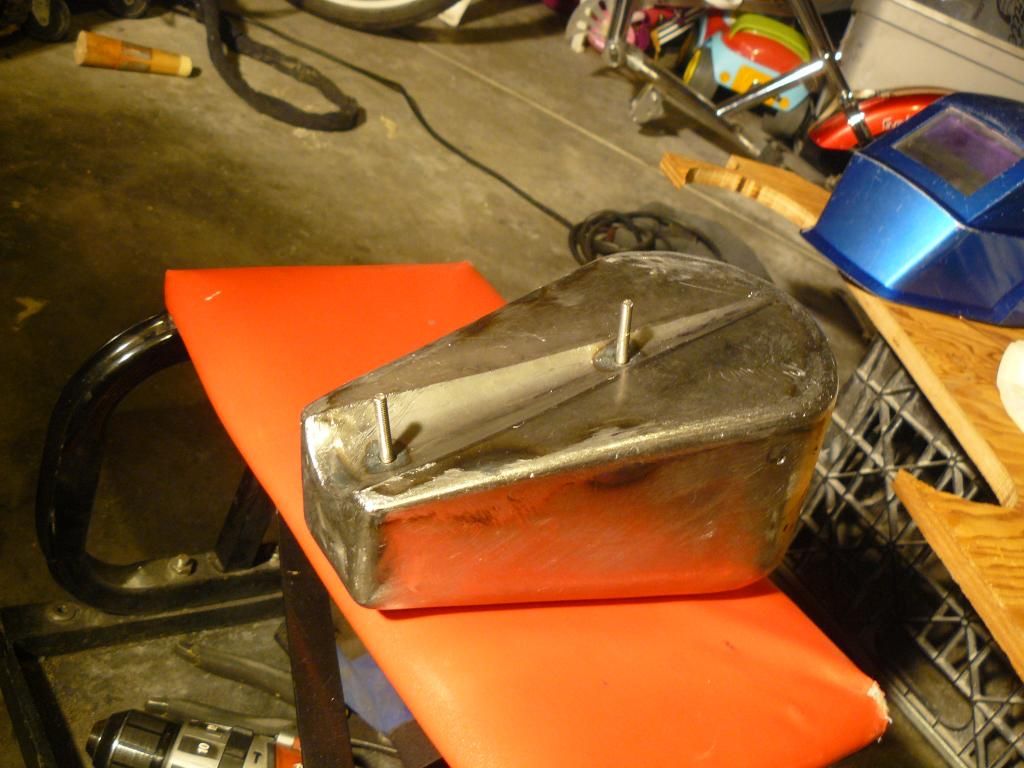
all ready to be TIG welded up.
TIG time!
ready!
than mig welded the bead rolled pieces in
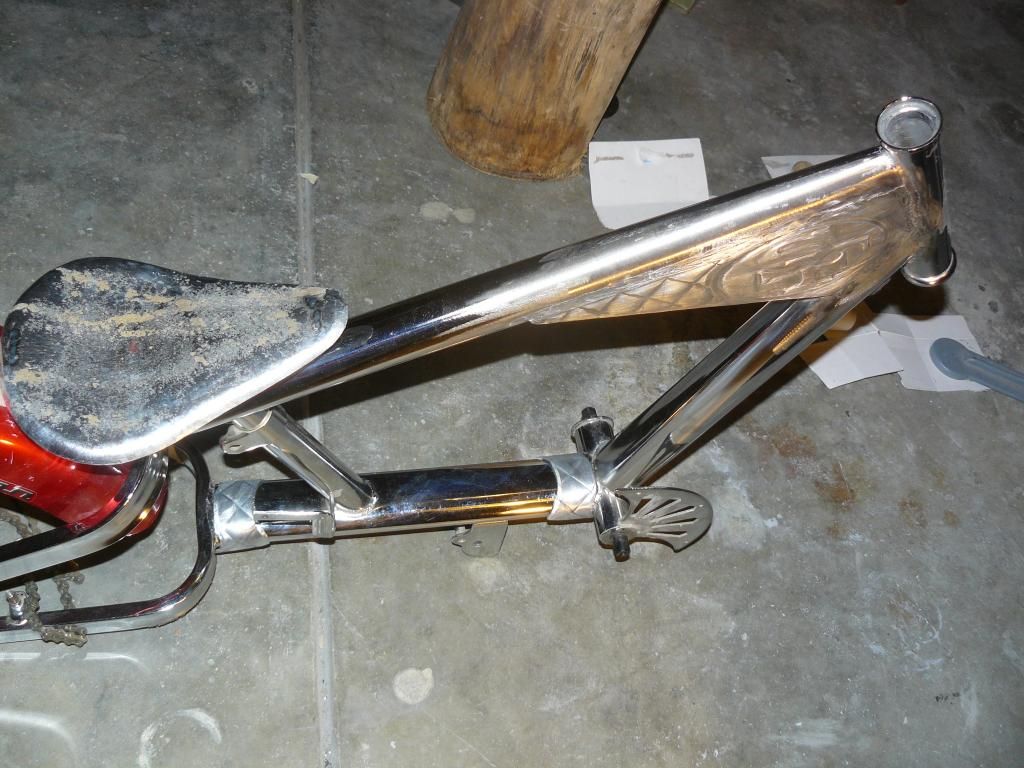
I tried this til I decided to retire the seat altogether.
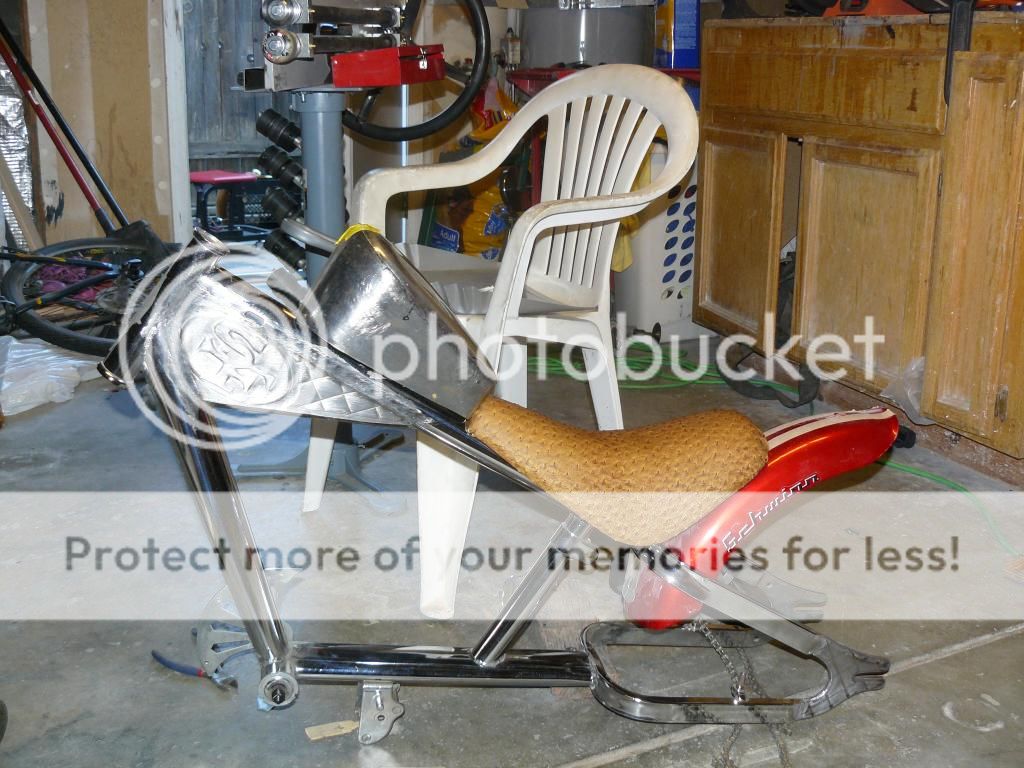
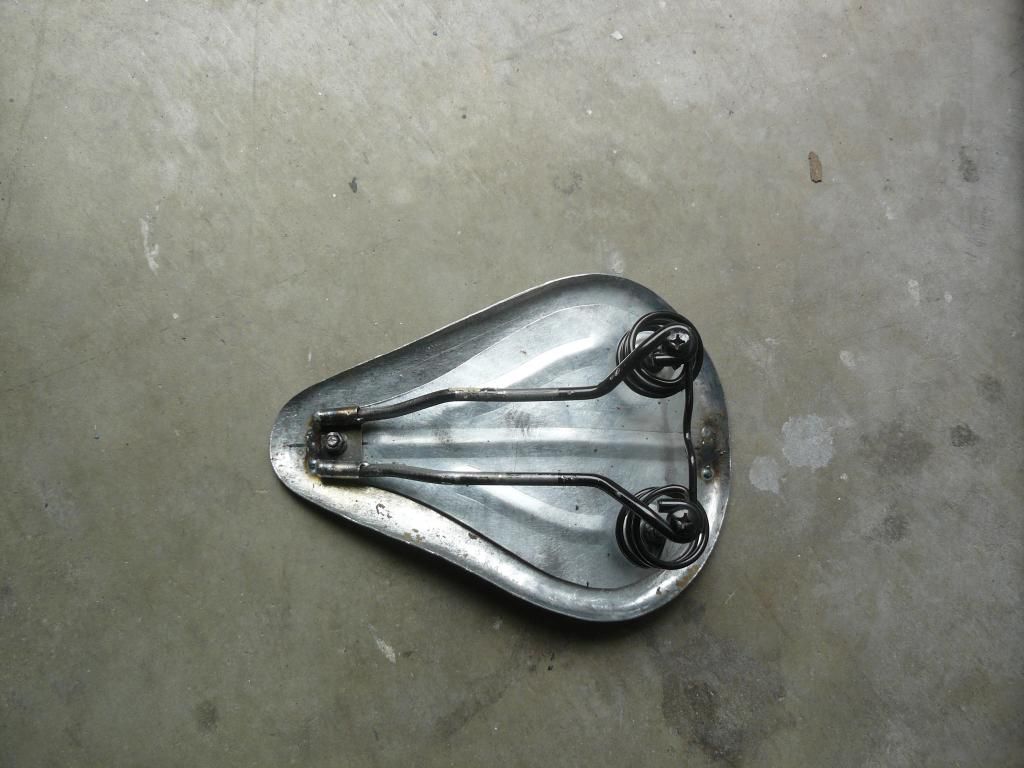
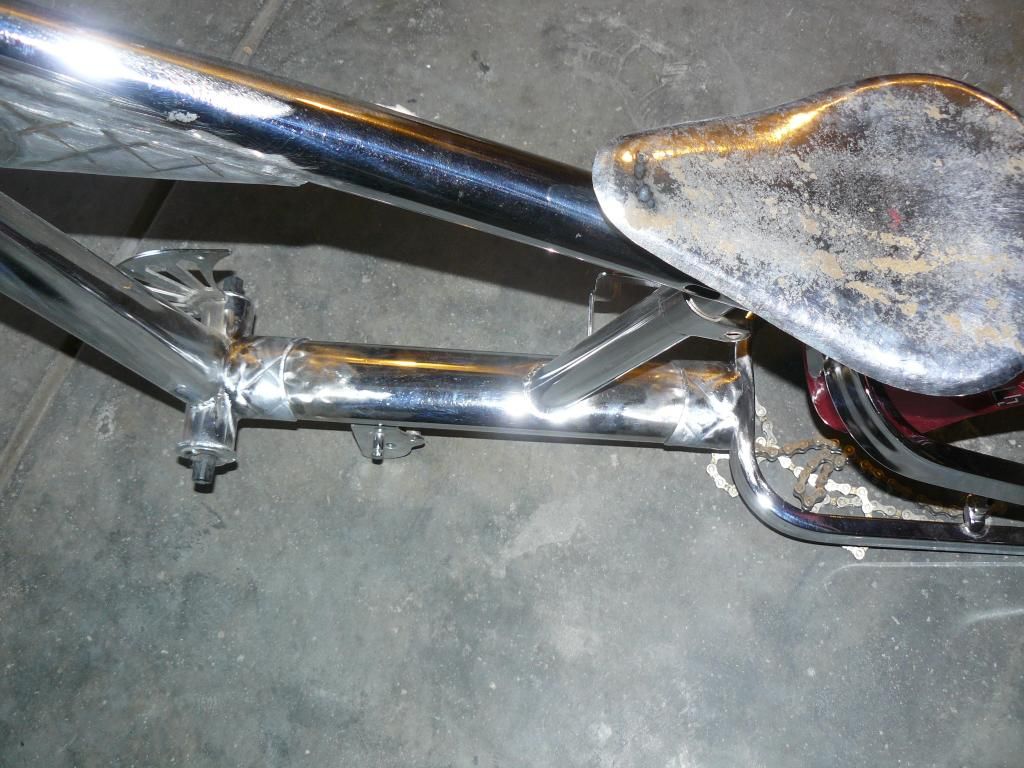
than I fabbed up this seat. Much cleaner looking.
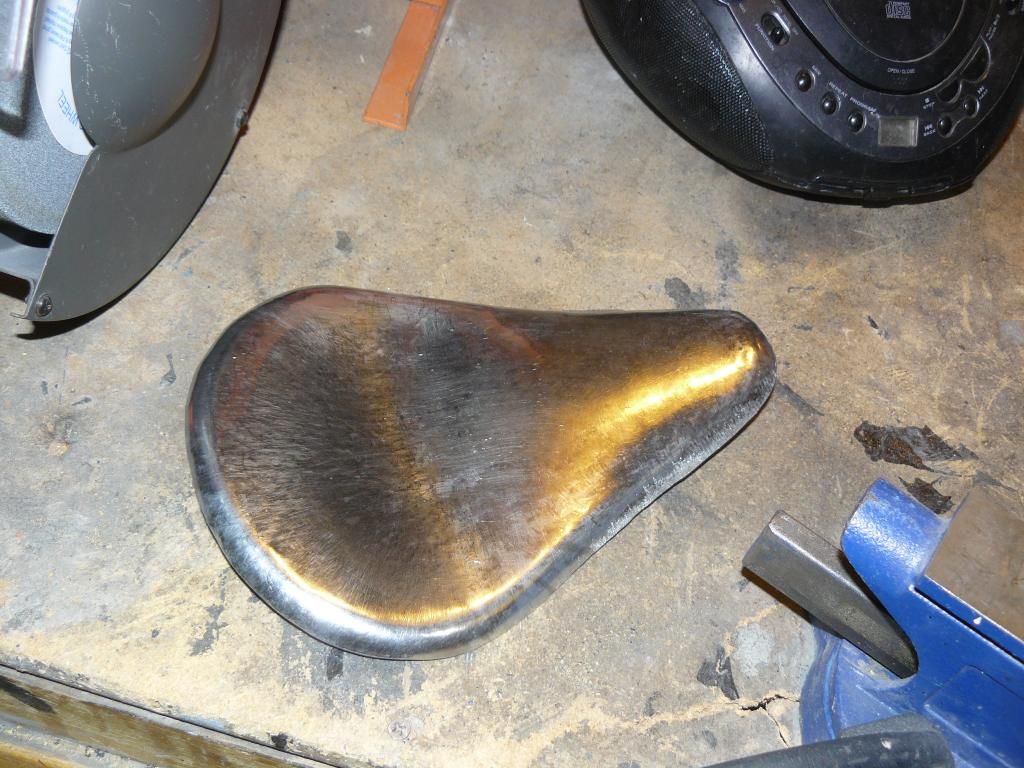
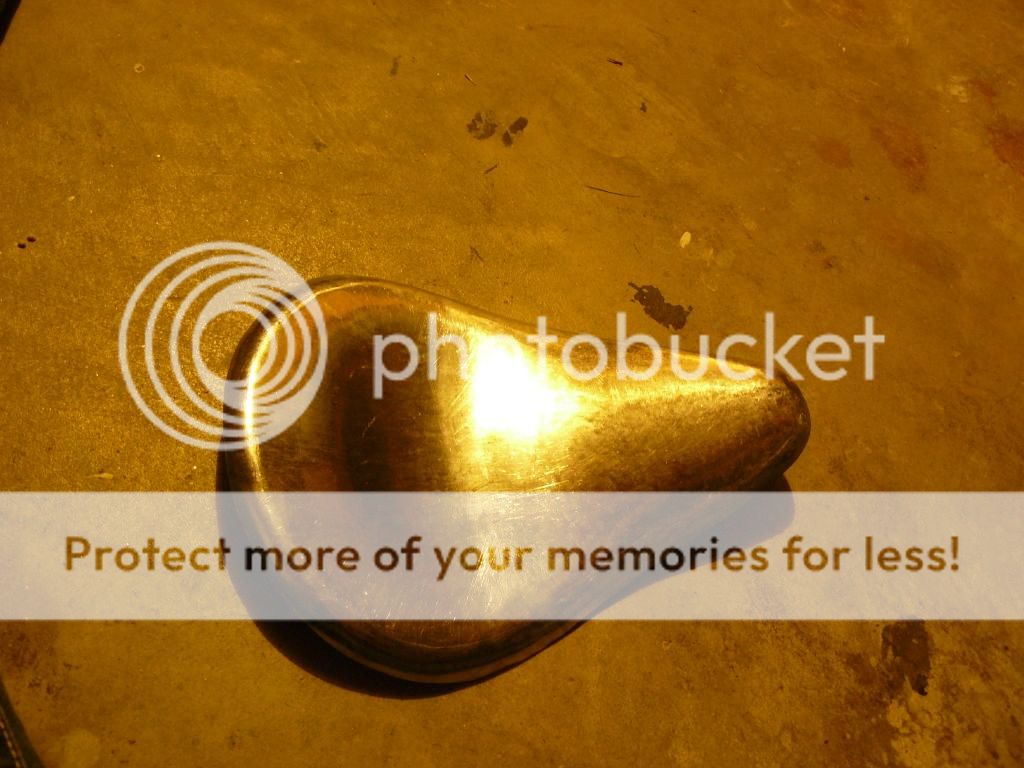
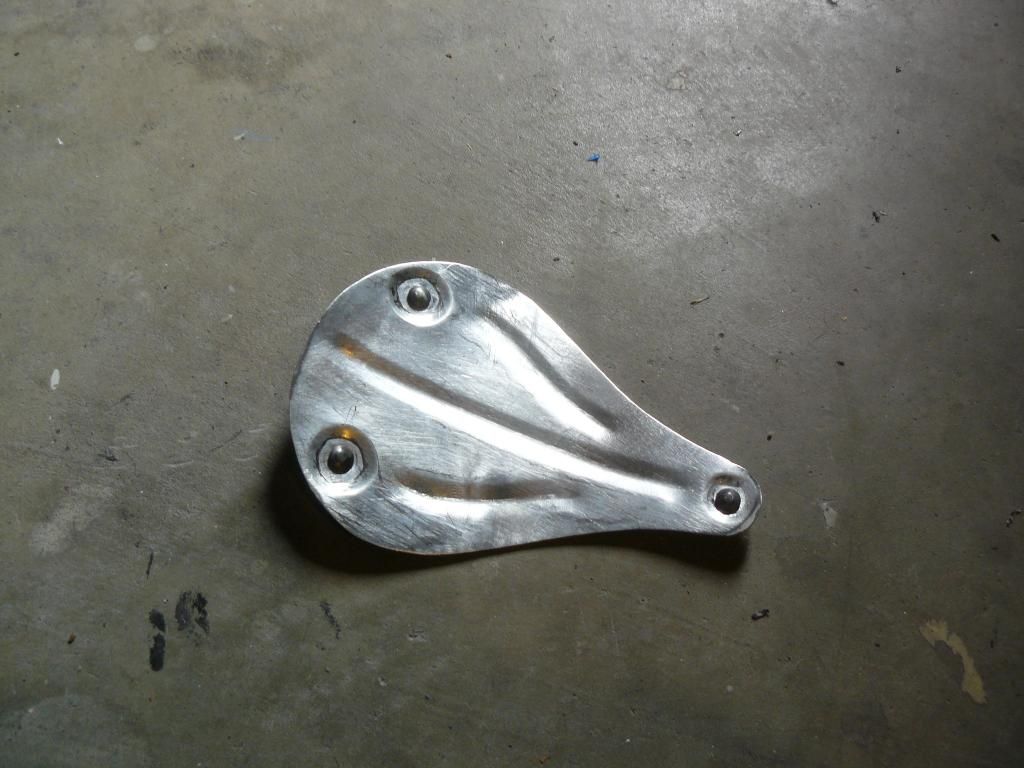
than I made a bracket for it.
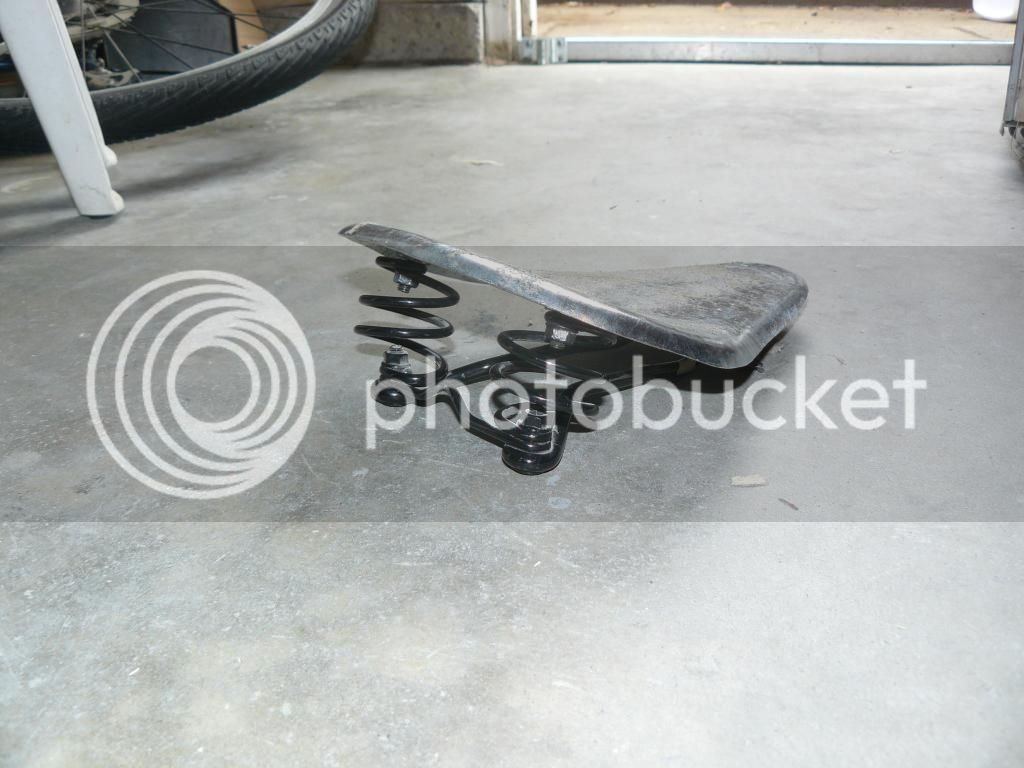
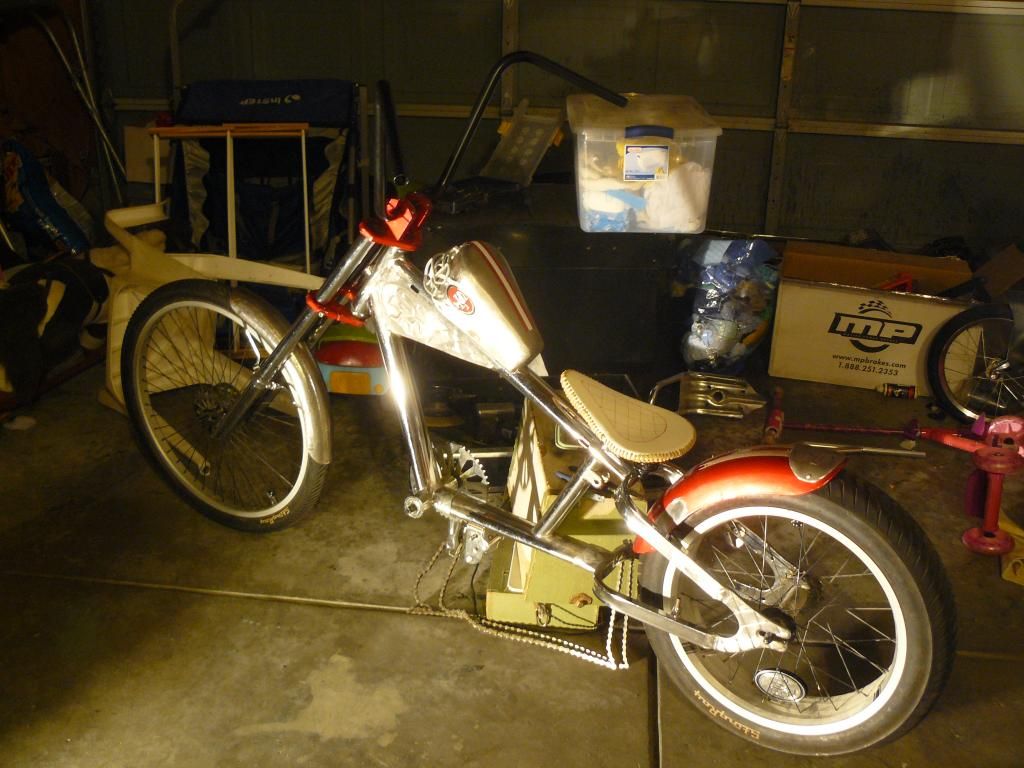
exactly the look I was going for. I love how the spring seems pretty massive.
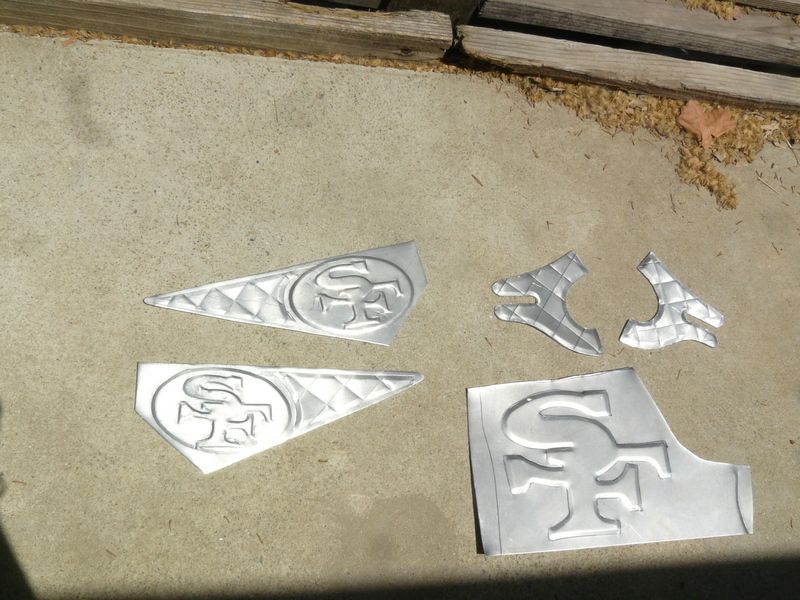
I liked the rear fender so I made this little badge thingy which will be riveted to the fender.

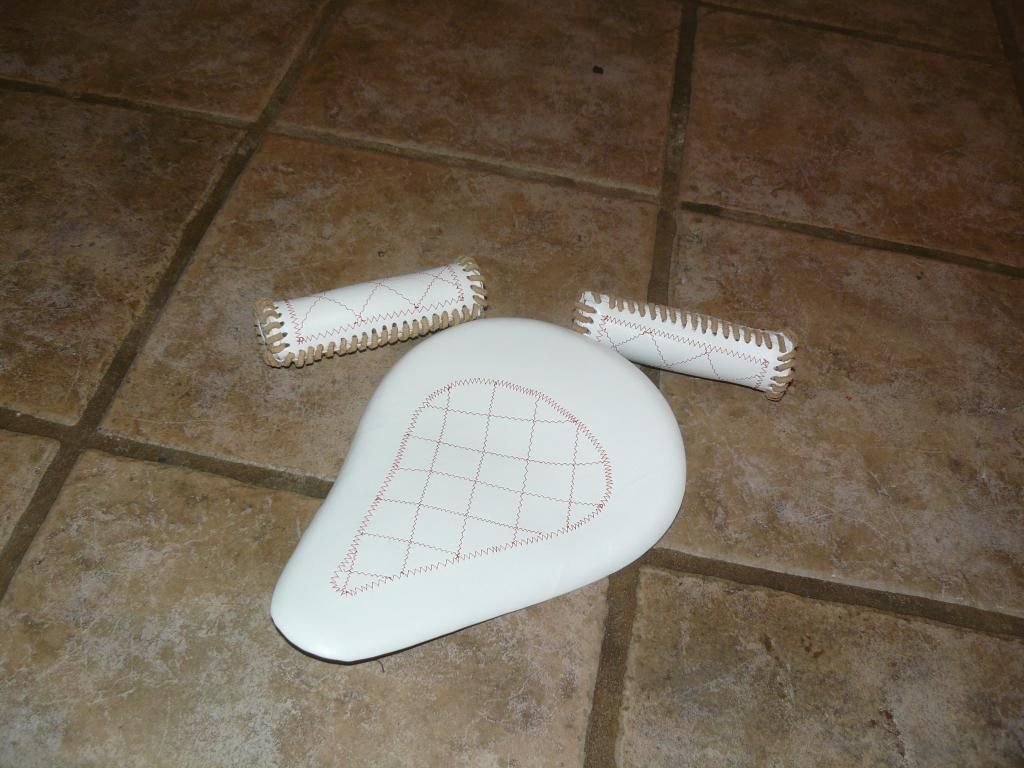
than I created these little cuffs to match the square pattern that was elsewhere.
welded in
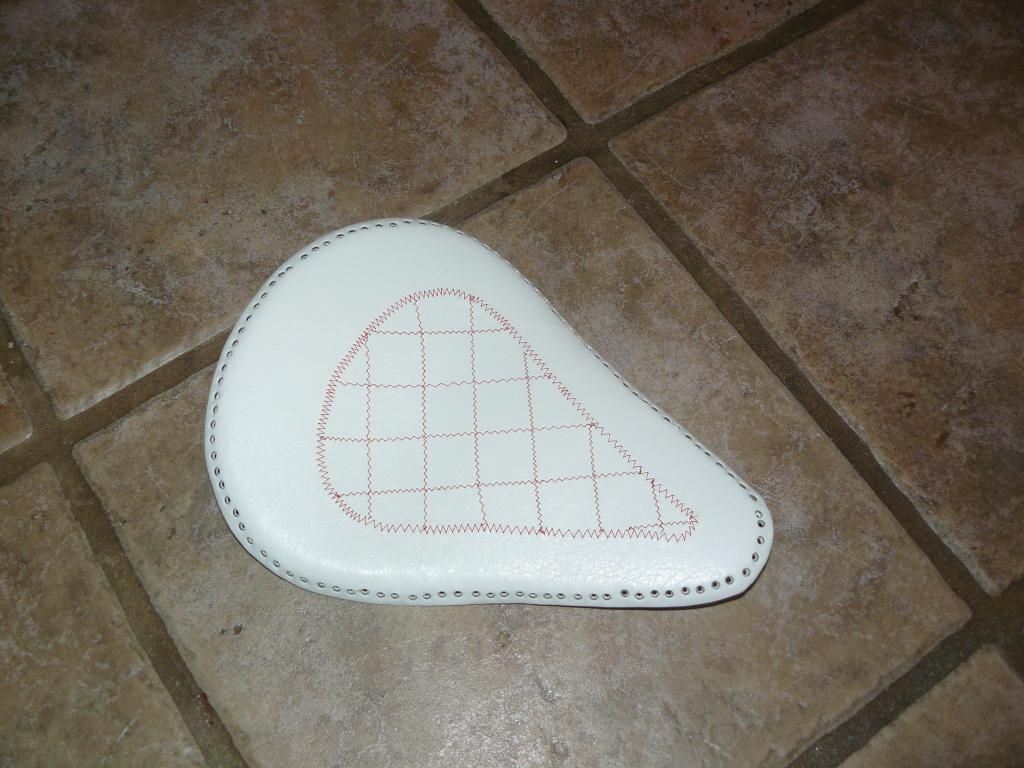
a little stitch work I did but later decided I wanted the seat to have the suede lace too.
the puncher mangled the edges a little bit but massaged it back after.
seat done with flags mocked up to just get an idea.
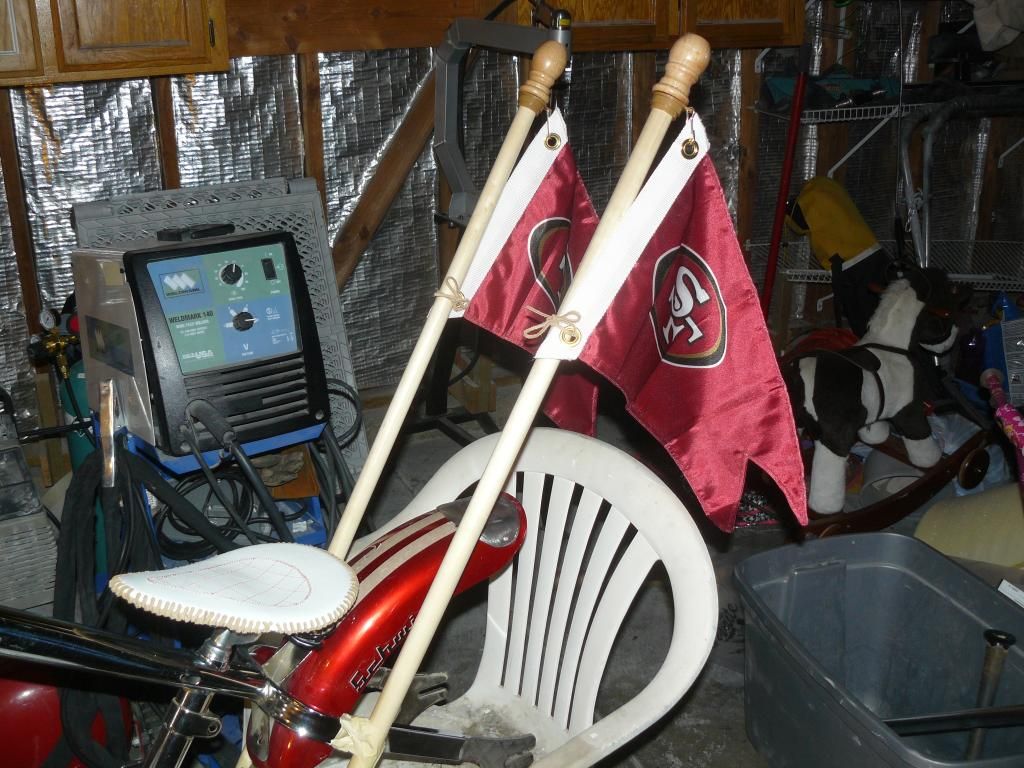
nutserts in case I wanted to go no flags for the day.
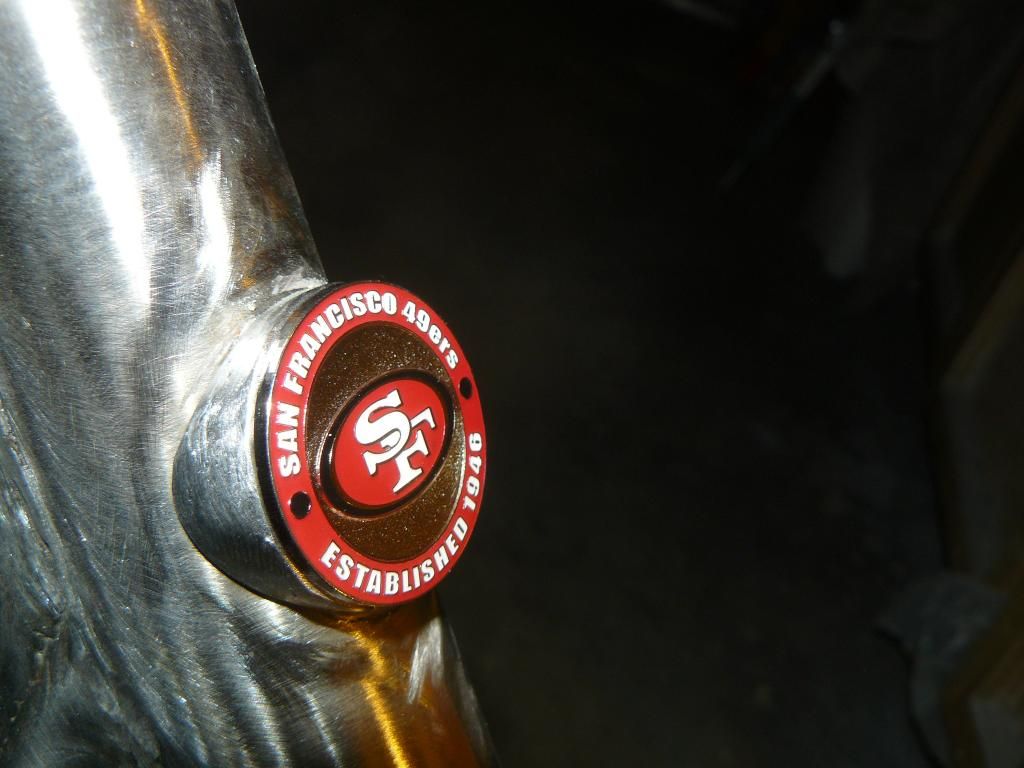
than I made this piece so I can put a main logo on it.
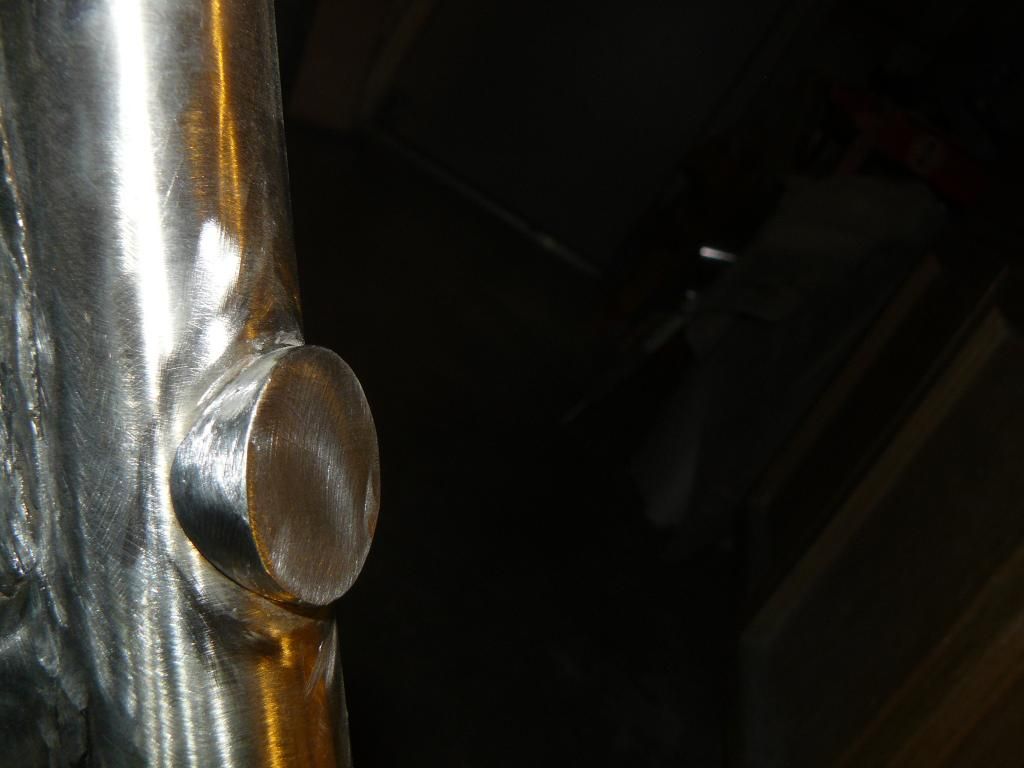
I'll use panel adhesive to adhere this when it's all painted.
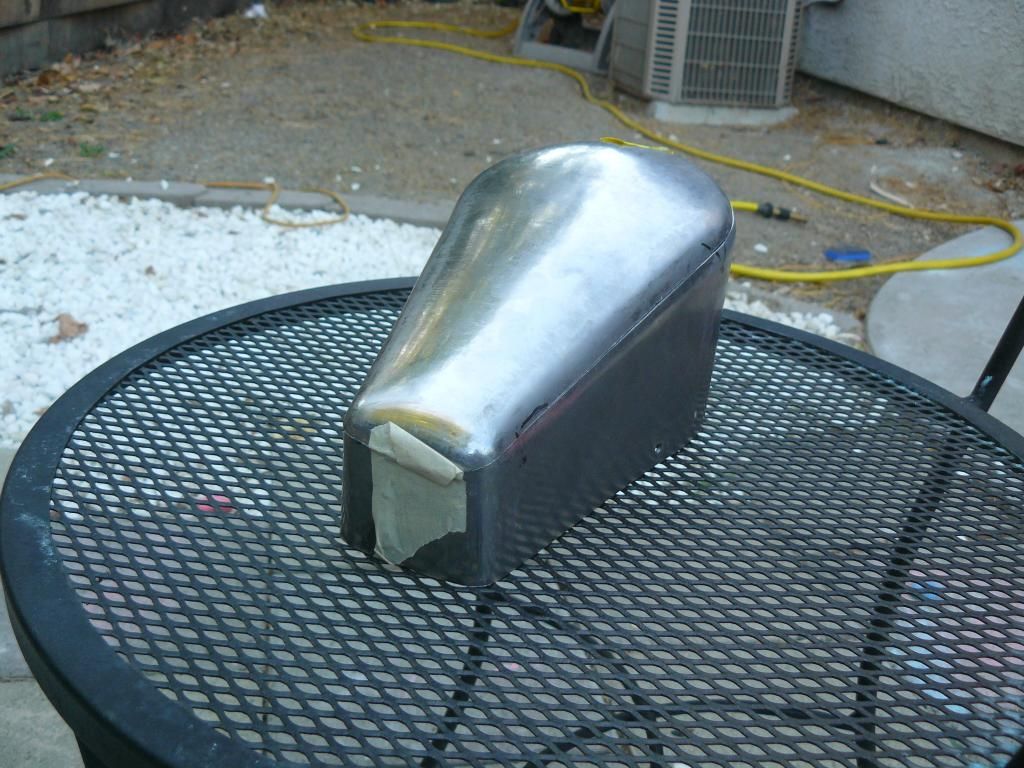
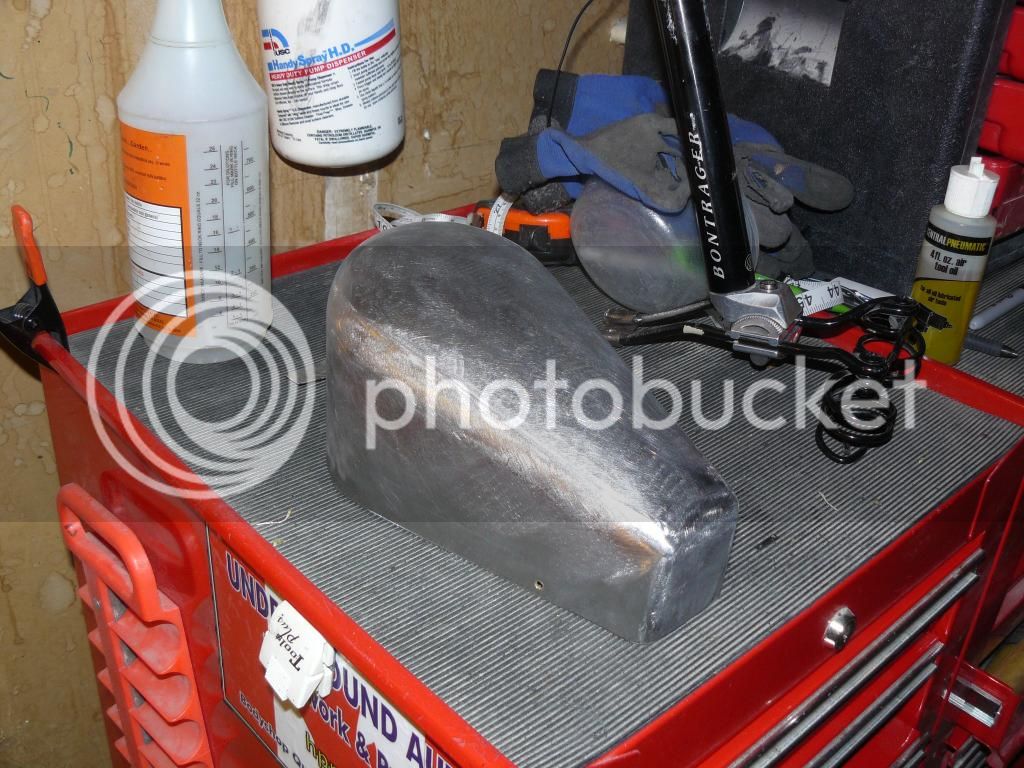
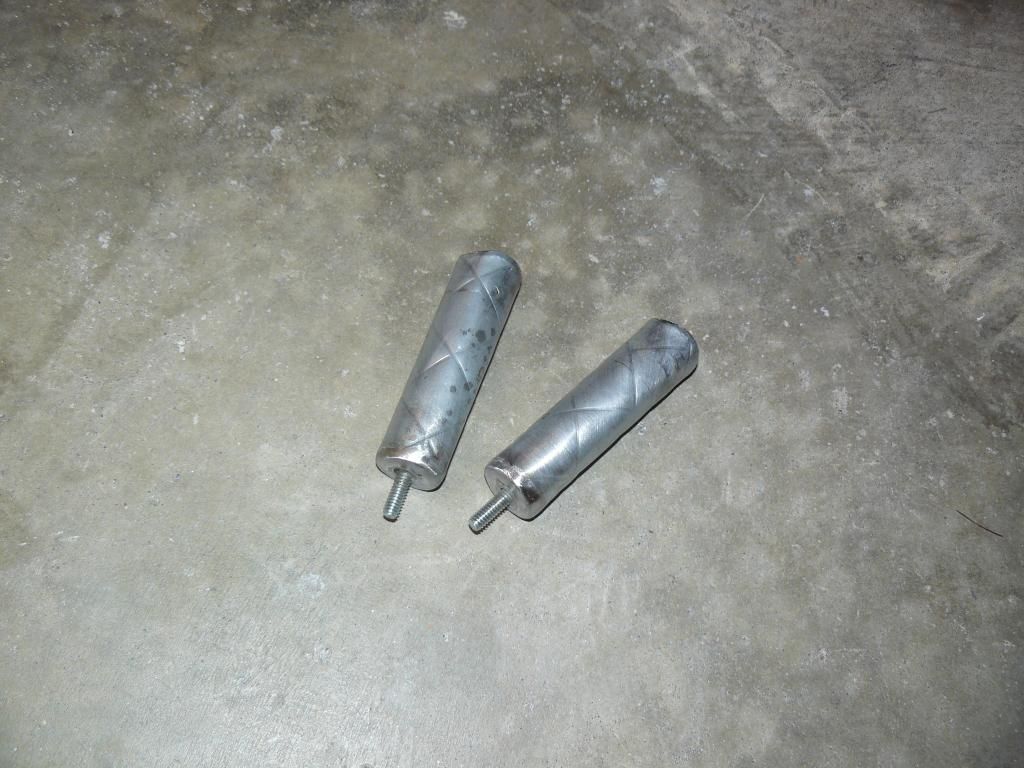
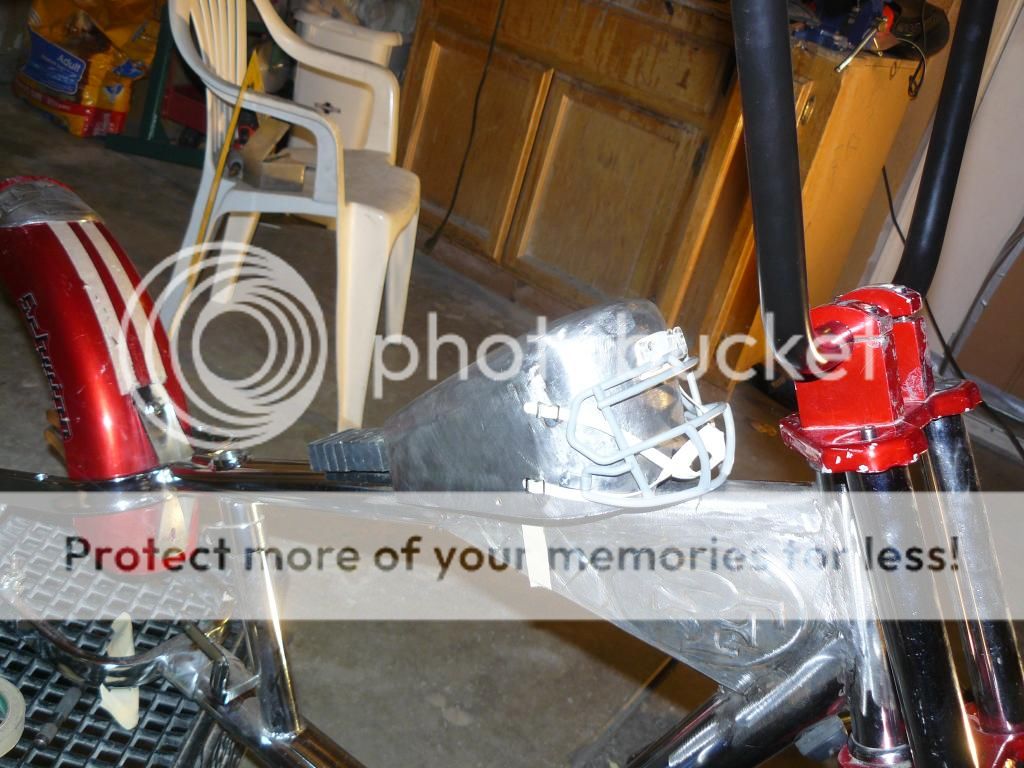
than it was time to finish up the helmet/tank with some more gimmicks.
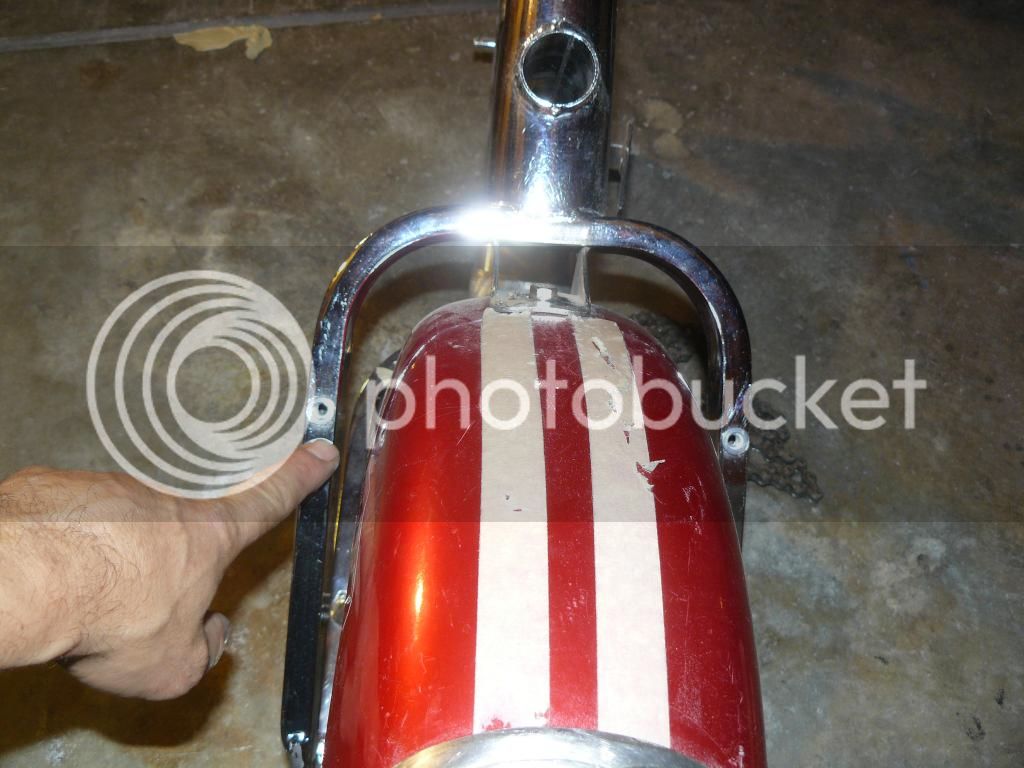
used the old fender brackets and tacked them in place. I also took off the stupid peg part so it's just a fender bracket and nothing more.
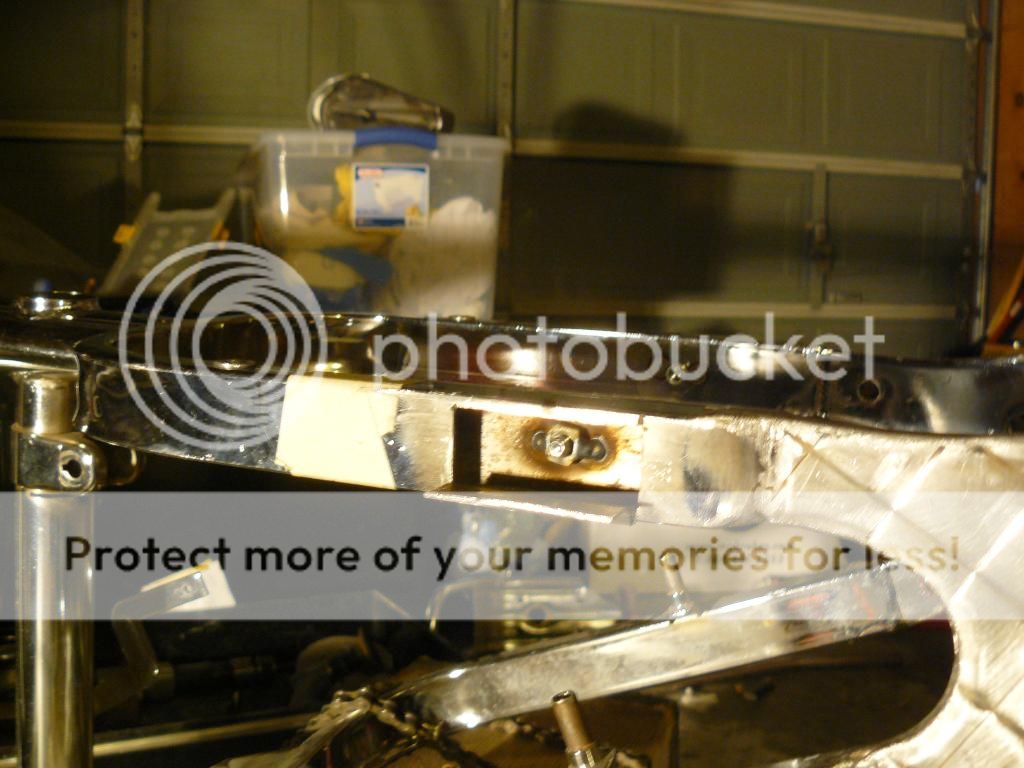
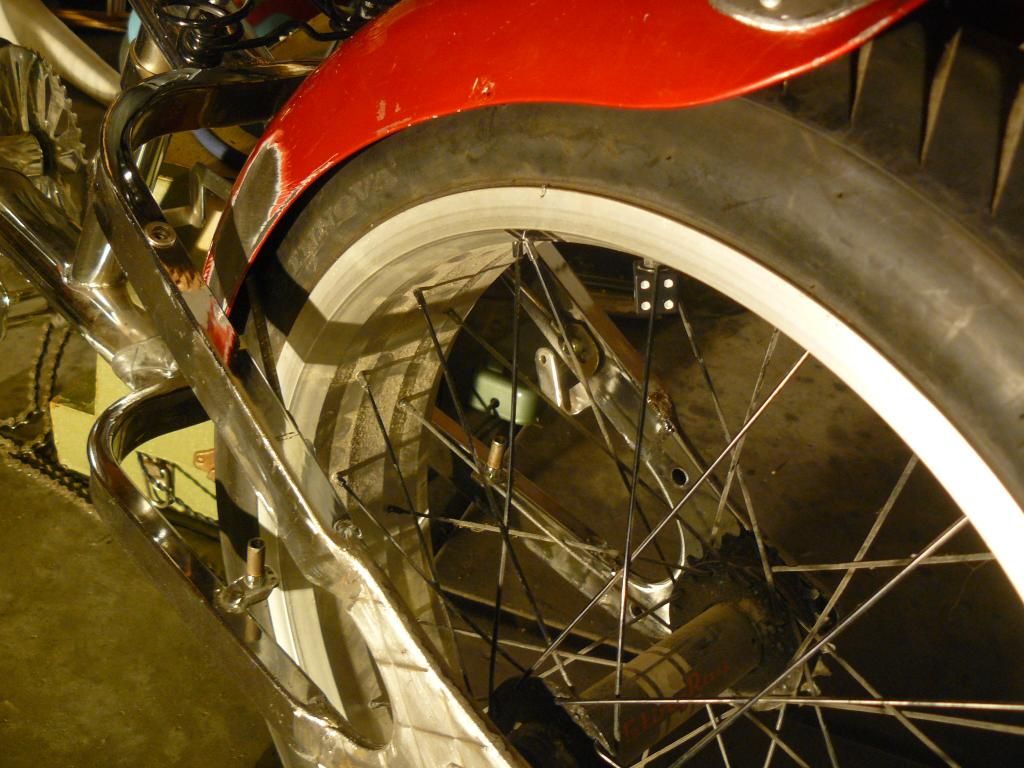
something needed to be done about this rear bracket!
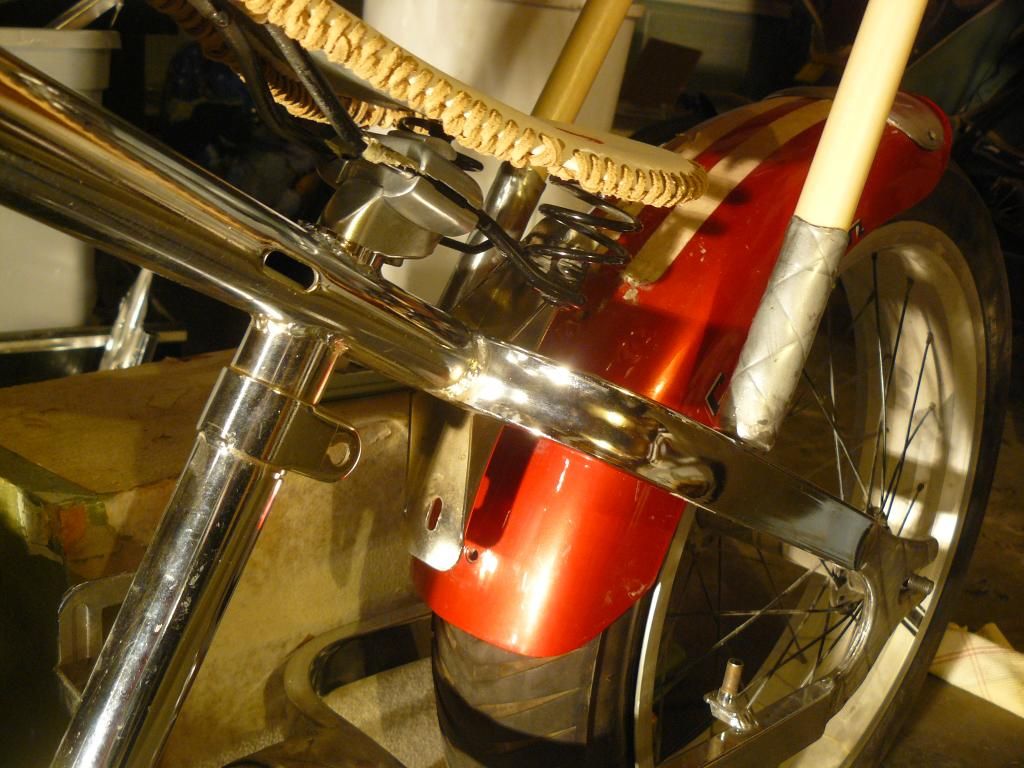
the rear fender looks so much cleaner now and rides closer to the tire so it matches the front better.
hidden brackets
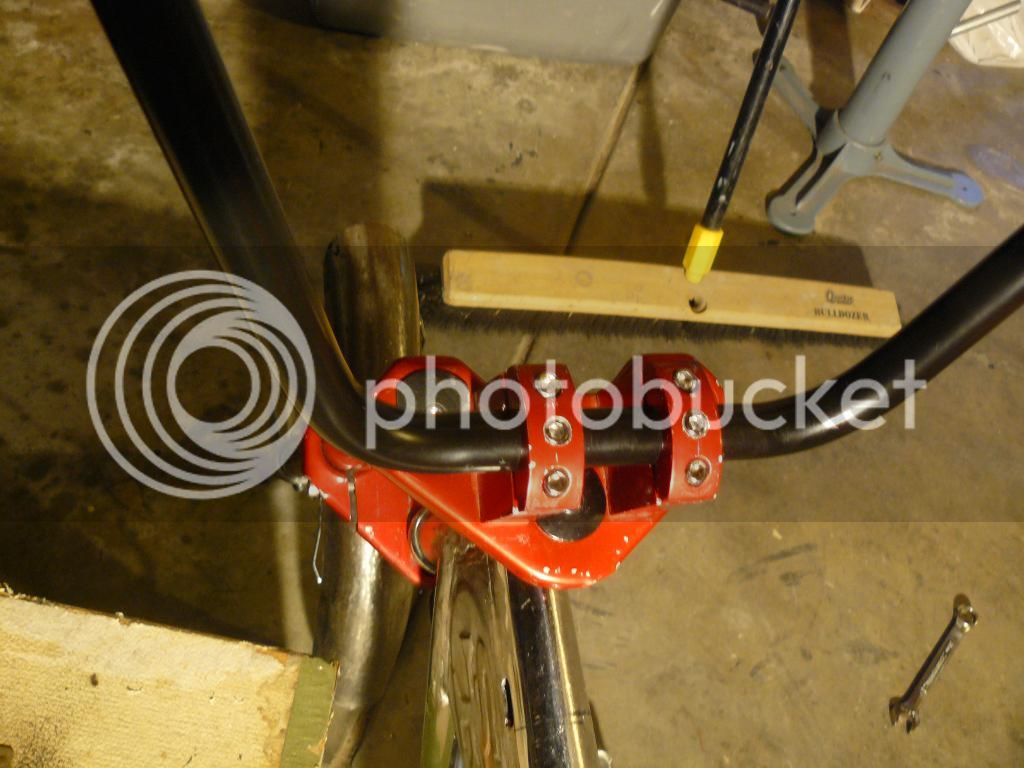
last minute issues... The bars were moving so I drilled straight thru them and tapped the lower clamp. Test rode it to ensure
the bars were in the right place.
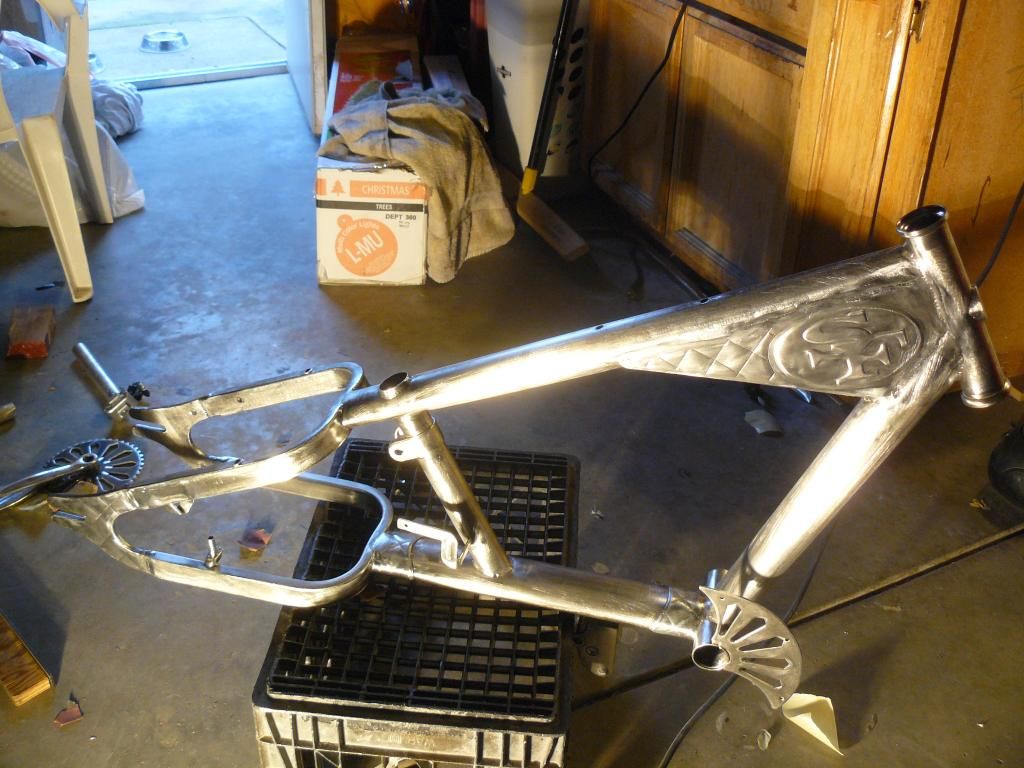
now the fun part....stripping chrome. Had to do a lot of this by hand where the tools wouldn't fit and had to use an angle grinder to wire wheel the welds to get the shiny chrome off. Confident paint will stick now. just a little body work and it gets 2k urethane primed. Can't wait to see what it looks like in primer.

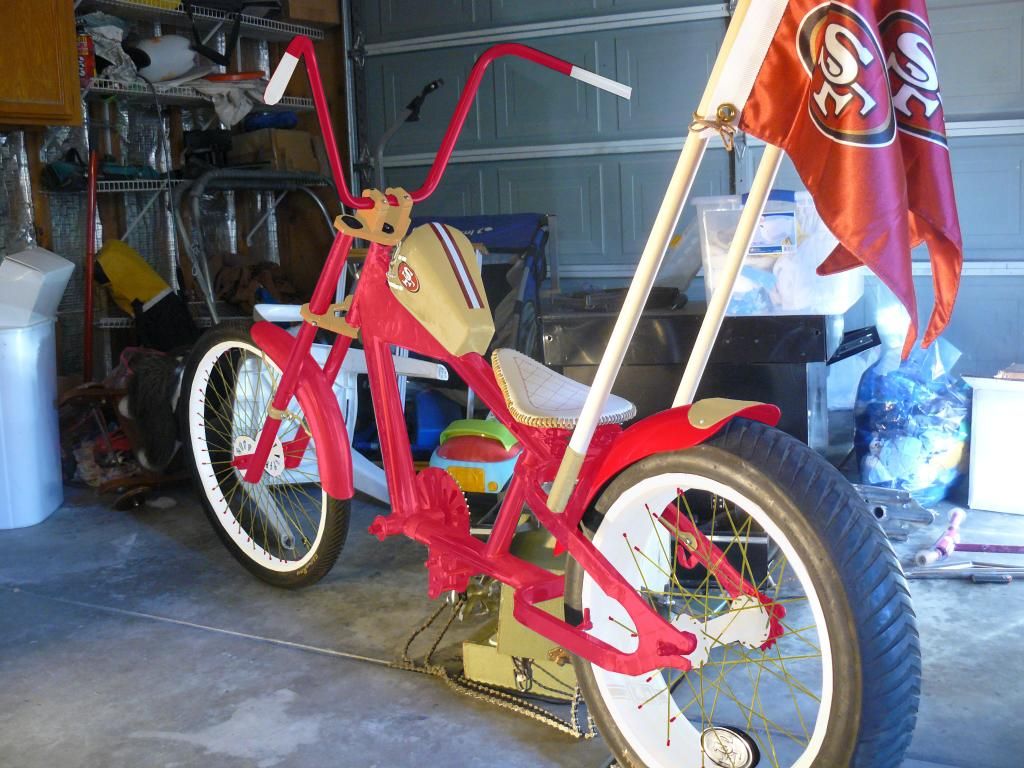
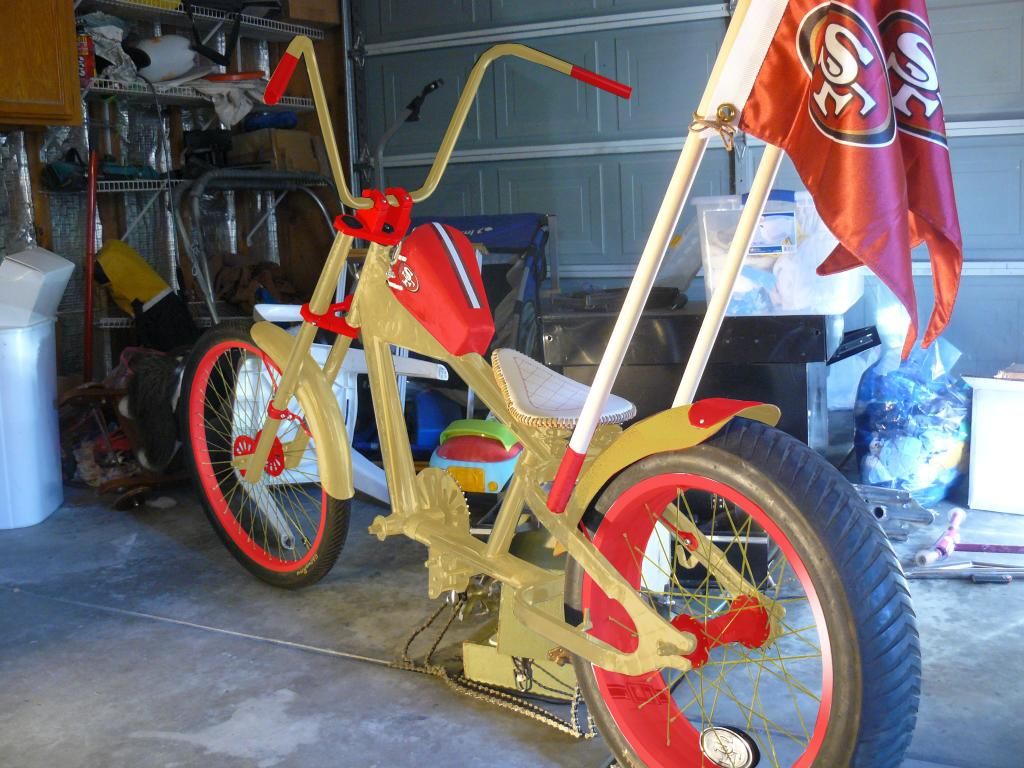
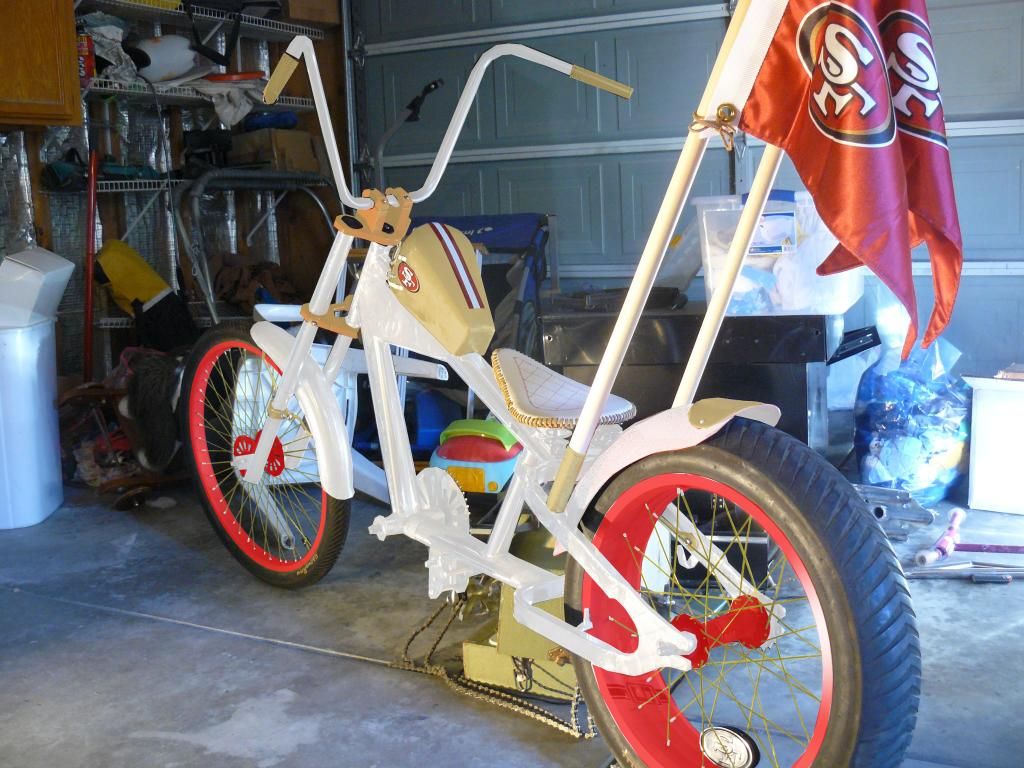
Did a little photoshopping to see what it would look like and to finalize the colors. I'm going with the red frame version but do love the white bike too.
more pics to come...

I didn't like the tiny little front fender it came with so I made my own


than the tank

all ready to be TIG welded up.

TIG time!


ready!

than mig welded the bead rolled pieces in


I tried this til I decided to retire the seat altogether.

than I fabbed up this seat. Much cleaner looking.


than I made a bracket for it.


exactly the look I was going for. I love how the spring seems pretty massive.

I liked the rear fender so I made this little badge thingy which will be riveted to the fender.

than I created these little cuffs to match the square pattern that was elsewhere.

welded in

a little stitch work I did but later decided I wanted the seat to have the suede lace too.

the puncher mangled the edges a little bit but massaged it back after.

seat done with flags mocked up to just get an idea.


nutserts in case I wanted to go no flags for the day.

than I made this piece so I can put a main logo on it.

I'll use panel adhesive to adhere this when it's all painted.

than it was time to finish up the helmet/tank with some more gimmicks.

used the old fender brackets and tacked them in place. I also took off the stupid peg part so it's just a fender bracket and nothing more.

something needed to be done about this rear bracket!


the rear fender looks so much cleaner now and rides closer to the tire so it matches the front better.

hidden brackets

last minute issues... The bars were moving so I drilled straight thru them and tapped the lower clamp. Test rode it to ensure
the bars were in the right place.

now the fun part....stripping chrome. Had to do a lot of this by hand where the tools wouldn't fit and had to use an angle grinder to wire wheel the welds to get the shiny chrome off. Confident paint will stick now. just a little body work and it gets 2k urethane primed. Can't wait to see what it looks like in primer.


Did a little photoshopping to see what it would look like and to finalize the colors. I'm going with the red frame version but do love the white bike too.


more pics to come...
") Well done
Well done  looking forward it's completion!!!