Well, I have been about as busy as I have ever been with work, and while I have been able to get some work don, I haven't had a lot of time to post the progress. Here are a few updates, and a video from late June. At the bottom of the post is a video from yesterday, and I get the engine started.
There have been more than a few problems that I had encountered up to this point. First was the CDI - it was shot. I ordered up a replacement, and while it worked, the spark plug cable was a piece of junk.
I couldn't even get it to make contact with the plug reliably. I went down to NAPA and picked up some cable, a clip and a boot and made a replacement.
This is a motorcycle-style CDI, so I just unscrewed the old cable and screwed in the replacement.
The spark plugs that come with the stock Chinese motor kits are garbage, so I replaced it with an NGK plug that I also got at NAPA.
And here's what the finished product looks like. Clips on perfectly. I consider this a required upgrade for any motorized bicycle.
The gas tank also arrived. It's a spun aluminum one from eBay. Of course, when I went to use the stock petcock in this tank, it wouldn't fit, so I picked up this replacement. I also went ahead and got some upgraded fuel line from the hardware store.
I also had a little problem with the original chain. It was just too short. Replacement chains were available from the various motorized bicycle sites, but I ended up finding a KMC chain on Amazon for a good price and picked up two of those. Unfortunately, that chain was a little wider than stock.
And this meant the chain cover/clutch actuator would not fit.
So I hit it with a sanding disc on my angle grinder, and in about 5 minutes, it was ready to go.
Up to this point, the bike was looking close, but there were a lot more problems that I had to sort out. Chain tension was one of them. I got the bike running, and the chains looked pretty good, but as the chains break in, they get a bit floppy. It was a constant battle between the floppy chain rubbing the tire and my subtle adjustments of the rear tensioners. Finally I decided that I needed to install the stock tensioner. It was a piece of junk.
This is an ongoing theme, BTW... Chinese bike engine kits are junk.
Anyway, I ordered up a part from K&W Machine Works, and while it was made for an aluminum Felt frame, I shimmed it and it fits this frame perfectly with the right amount of offset.
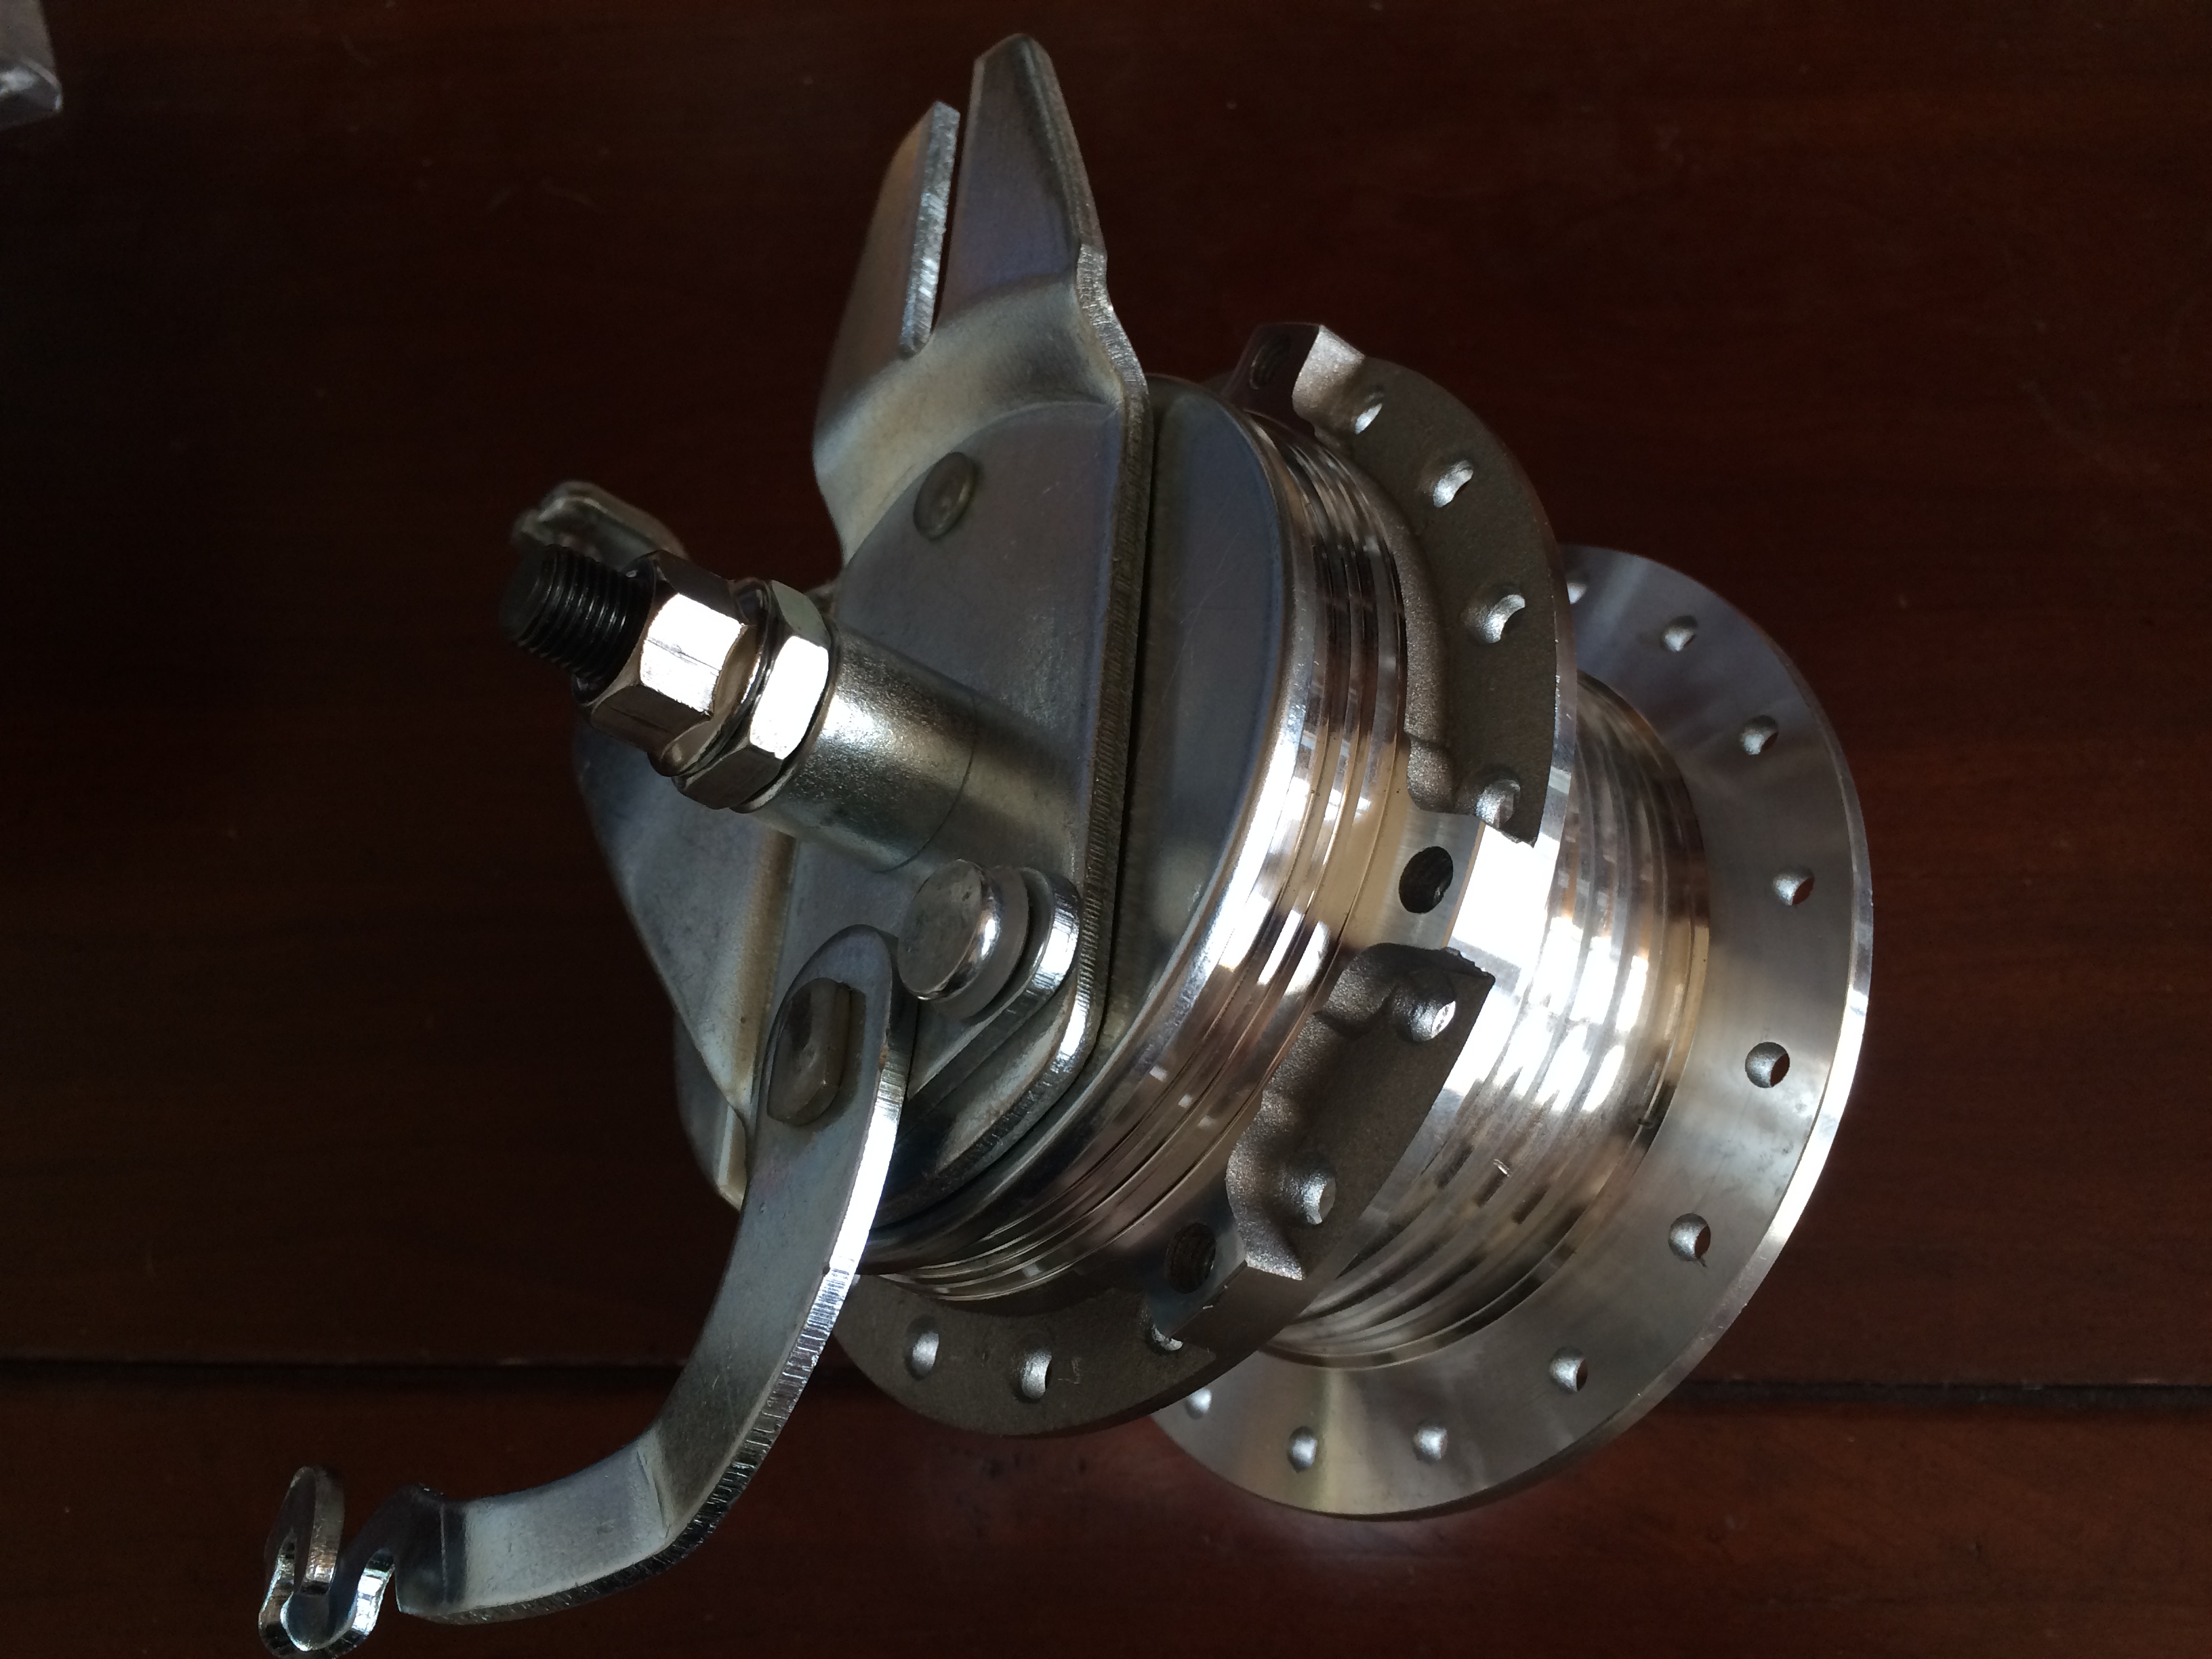
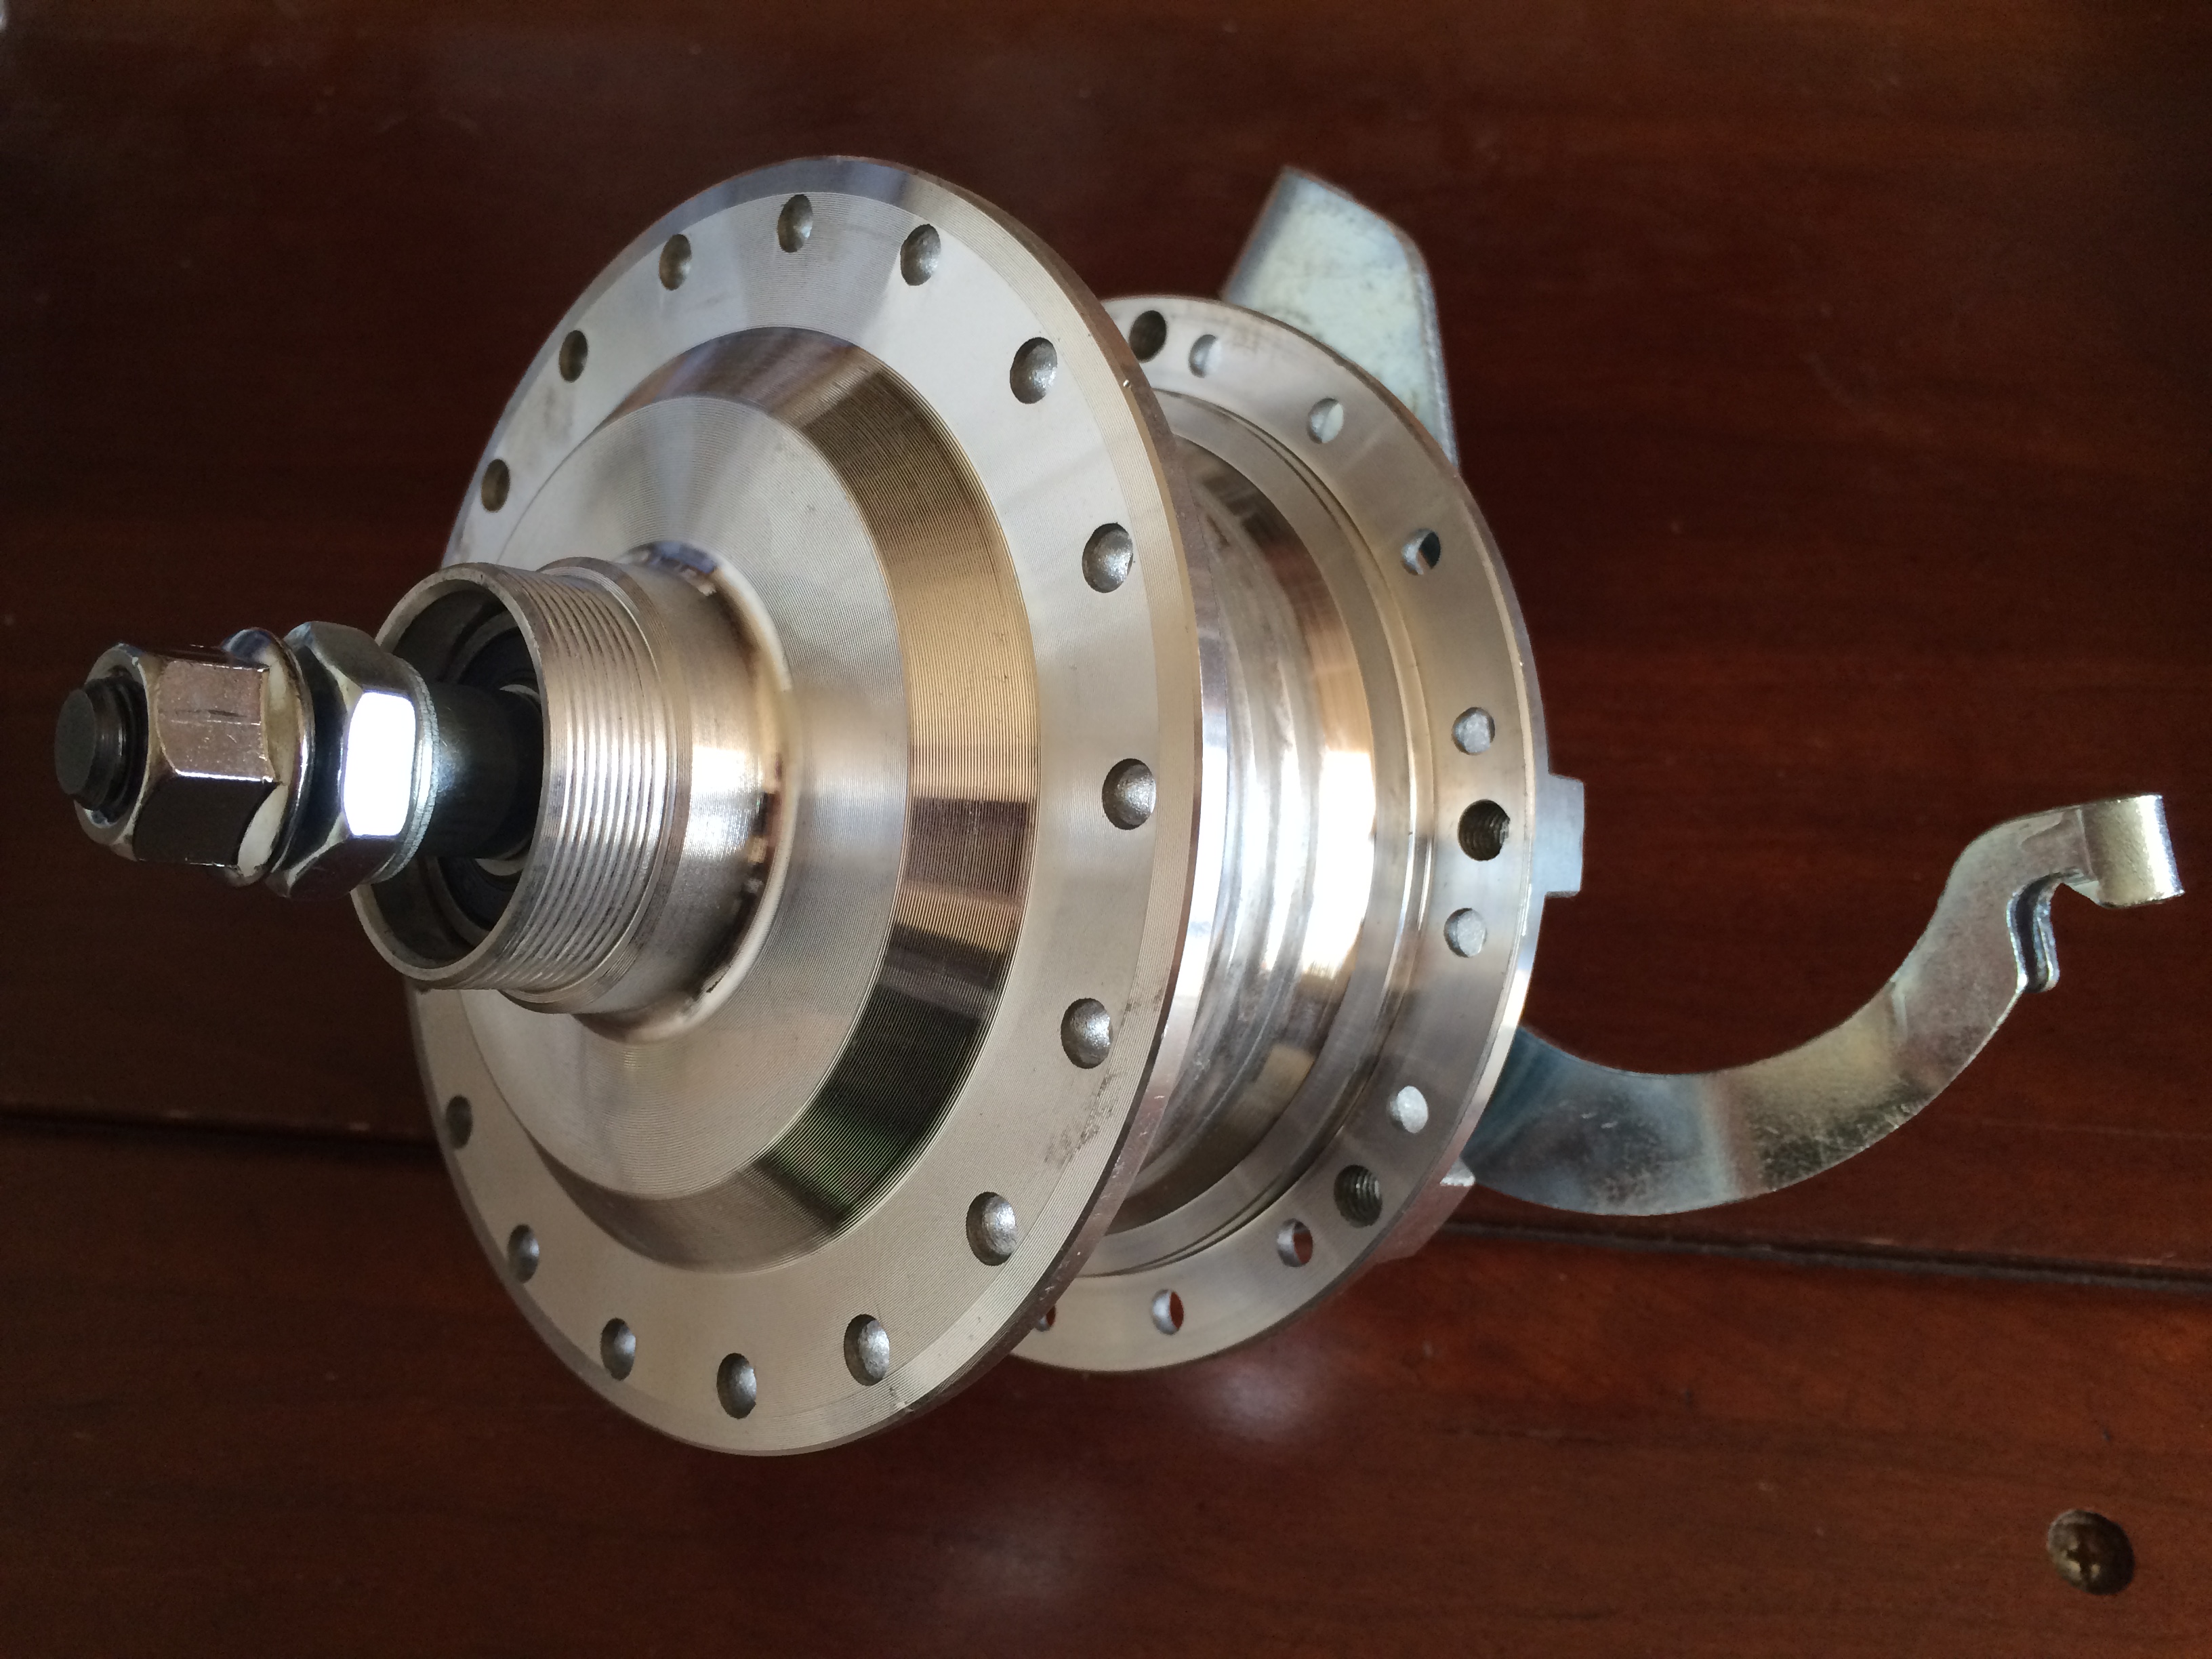
I also added some small washers between the rear sprocket and the hub to give me a little more clearance on the tire. Chain line looks pretty good now.
Earlier I was considering replacing the muffler, but decided to keep it for now.
I did decide to dress it up a little bit, though. I think the exhaust wrap adds a little texture, and brings in the cream from the tires.
And here's what it looked like last night. Almost ready to call her done.
And here's a video that I shot last night - and at the end of it, I start it up...


") (the wife is not excited about that).
(the wife is not excited about that).