Another Beast Build

Rat Rod Bikes Bicycle Forum

Help Support Rat Rod Bikes Bicycle Forum:

This site may earn a commission from merchant affiliate links, including eBay, Amazon, and others.
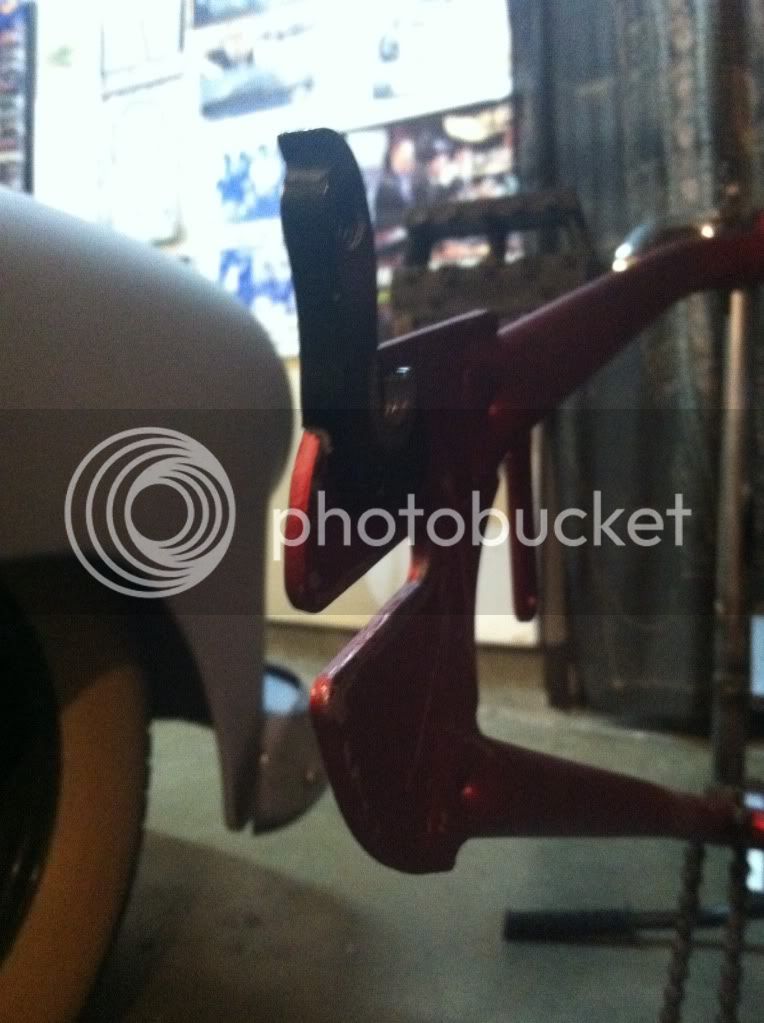
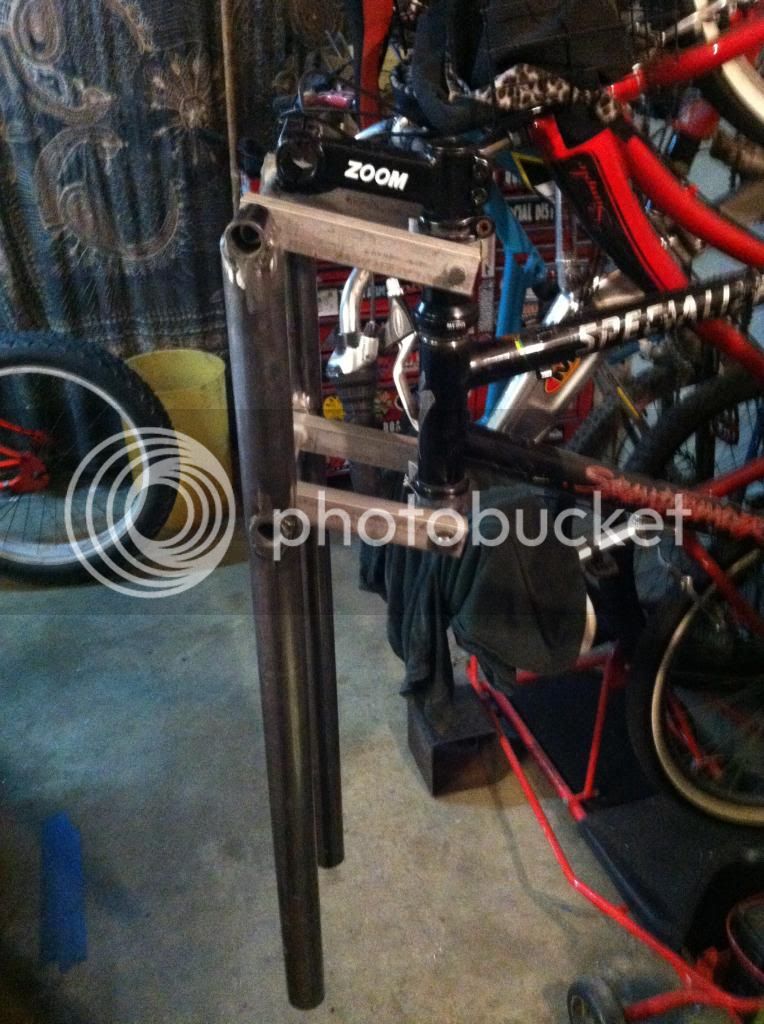
OK, so this is where I am at:

IMG_1565_zpscd6a5d3f.jpg


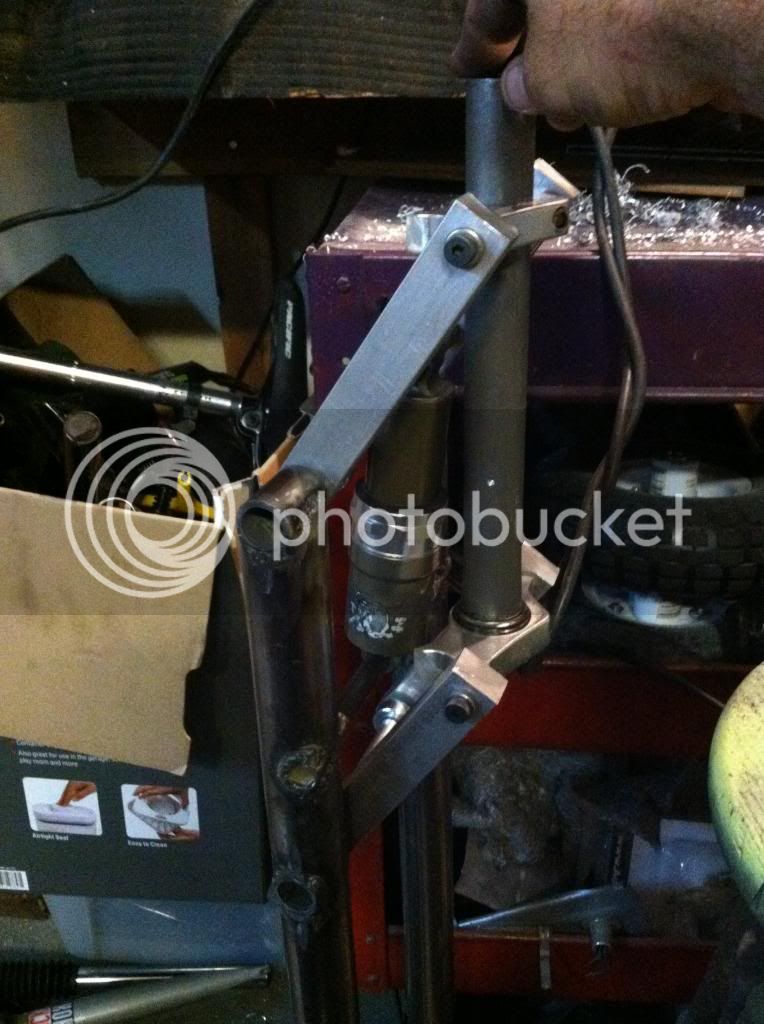
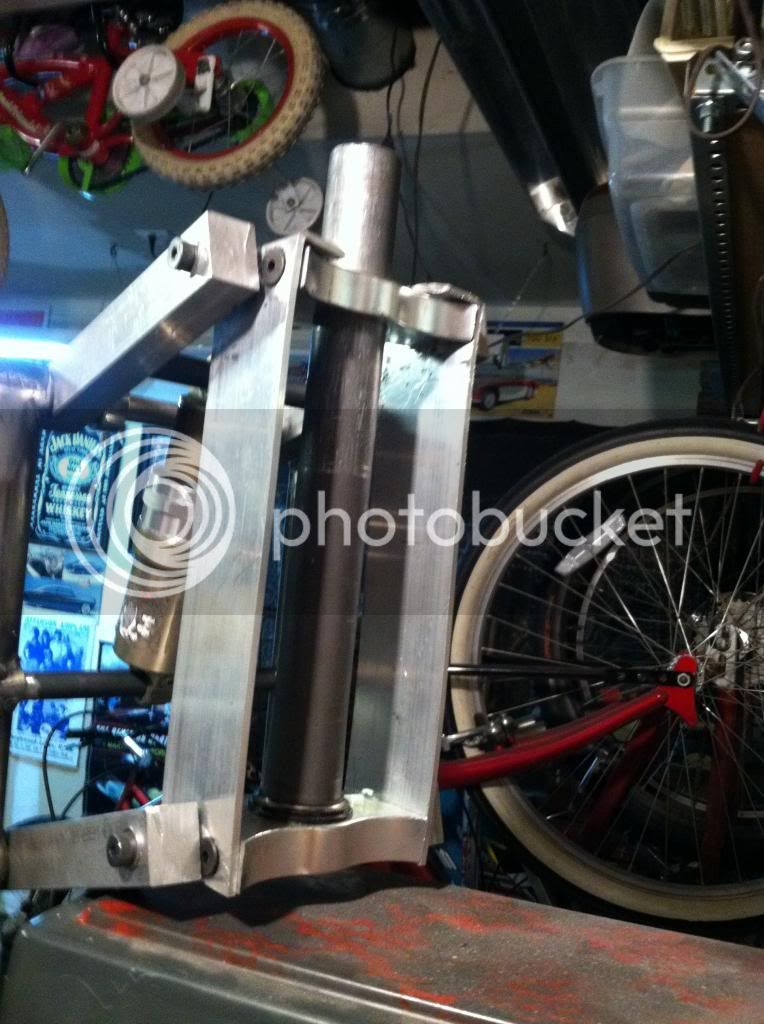
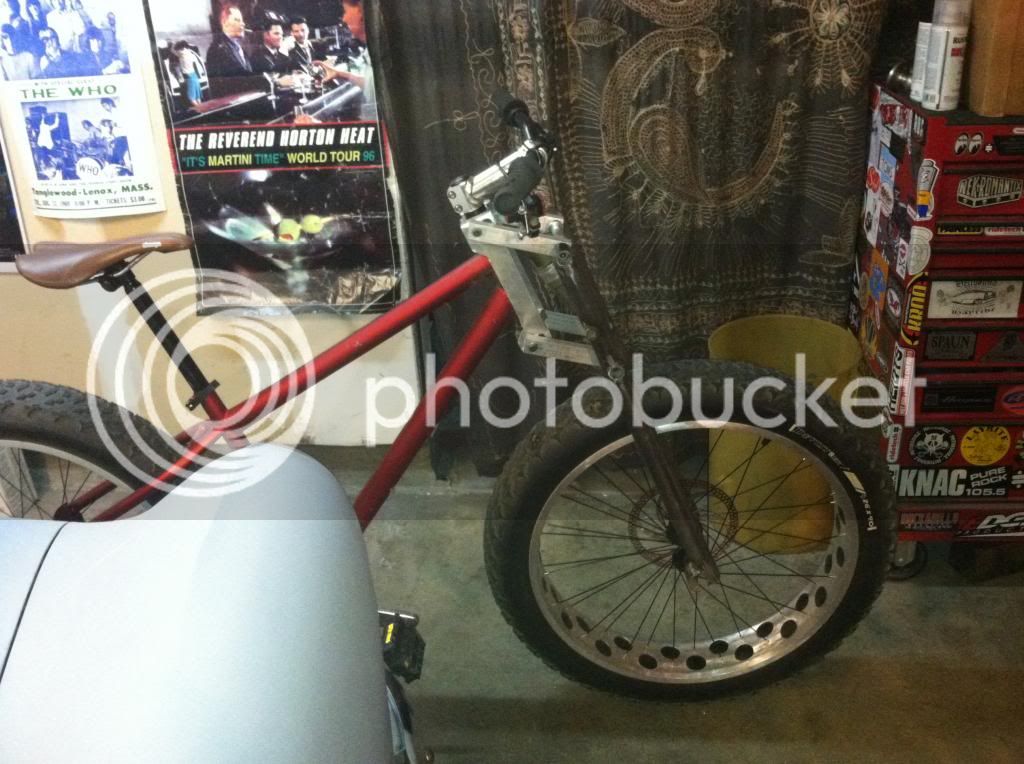
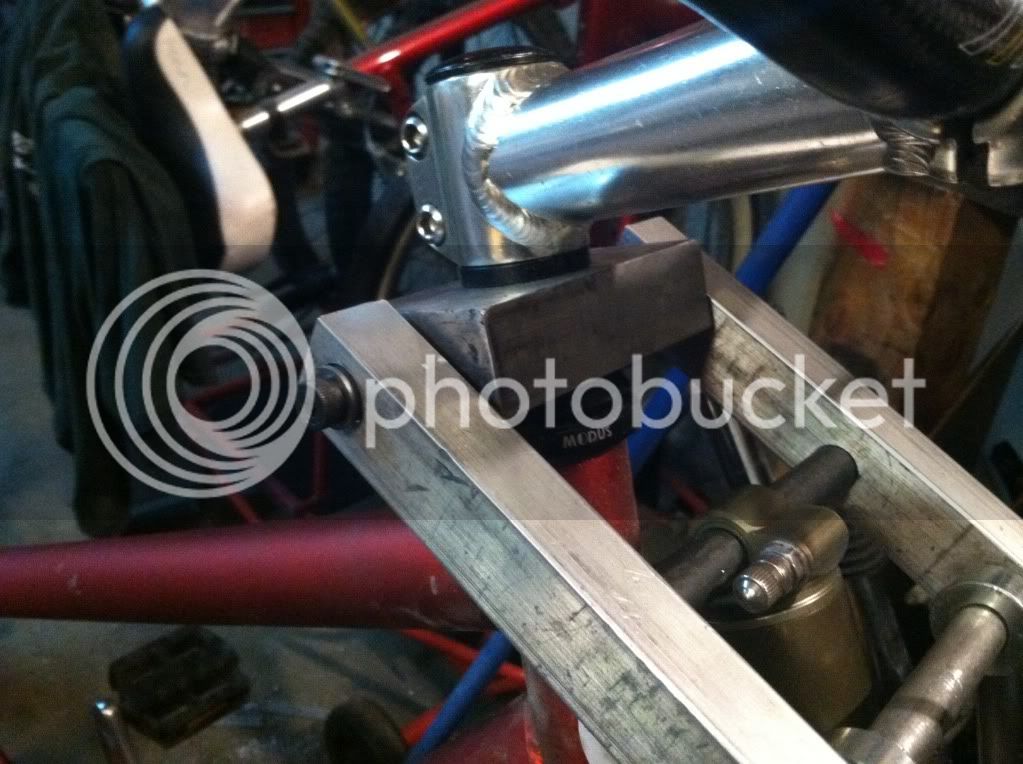
I have 50mm of trail with the fork in the position above if the dropout is centered with the back of the fork leg. Depending on where I mount the shock I have I can get up to 5 1/2 inches of travel, but that seems like too much. Im thinking 4" would be ideal for it. Also, with the height I would need for 5 1/2 inches of travel, my head tube angle would be 63 degrees. This isnt a DH bike so thats too slack!

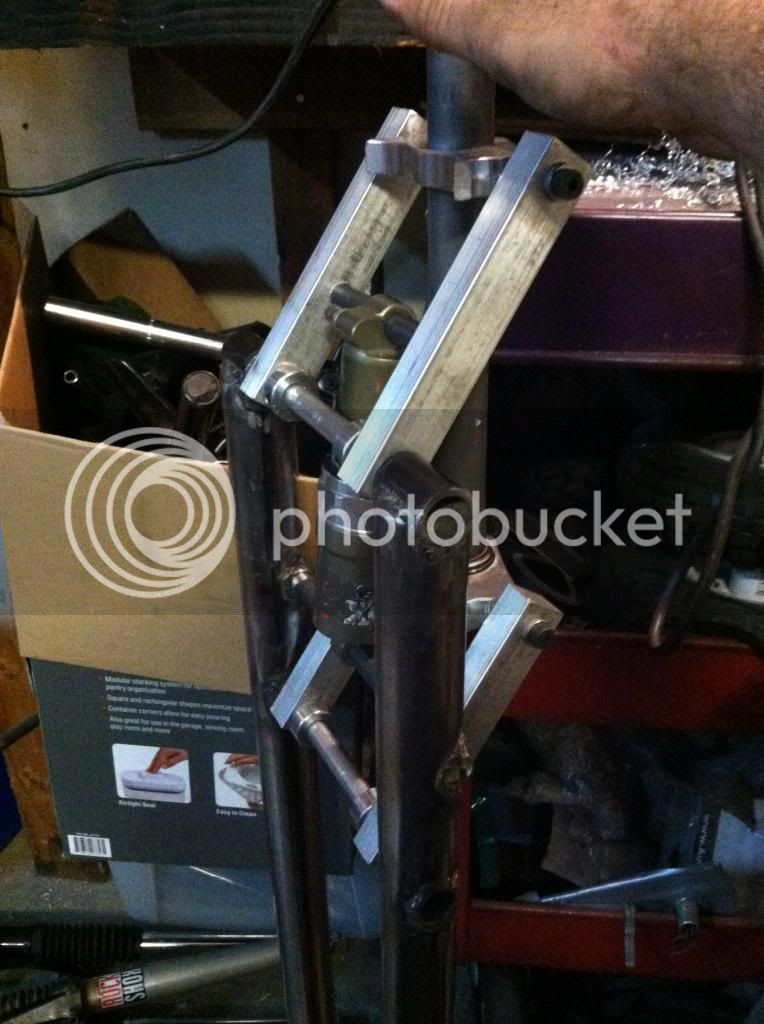
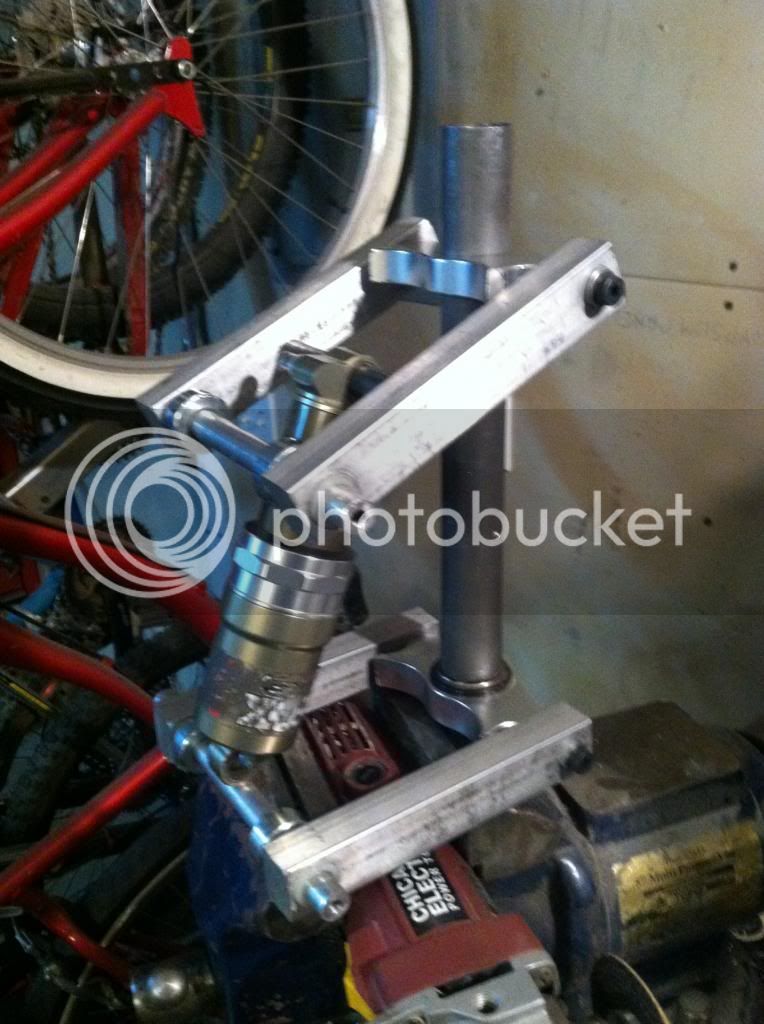
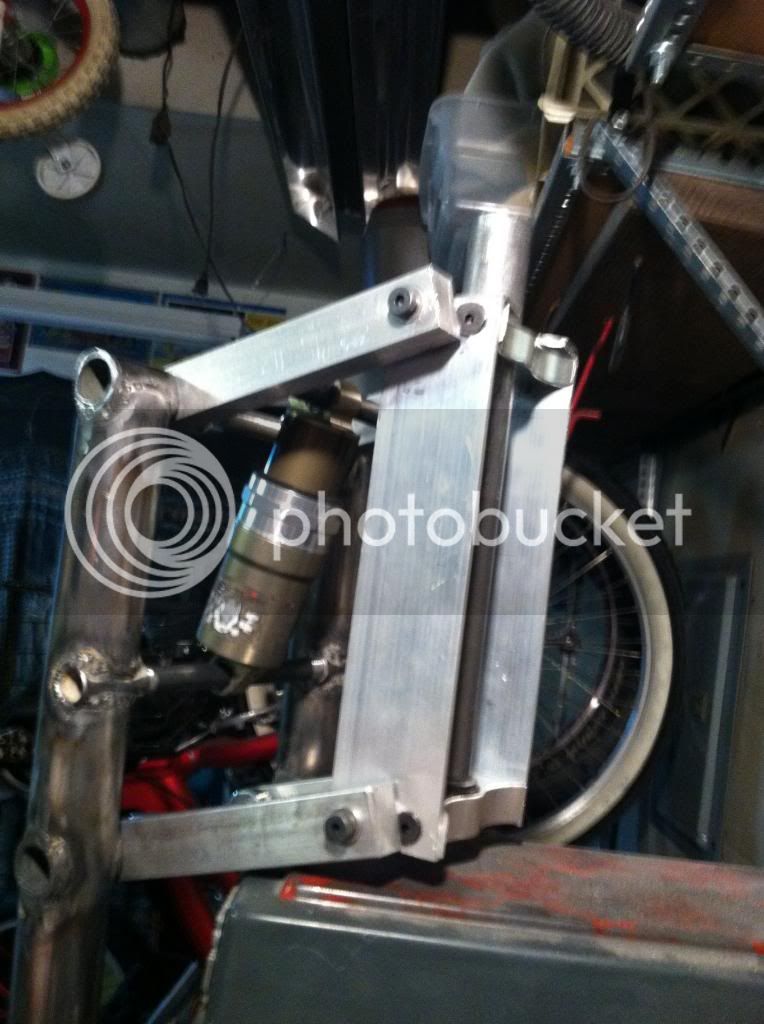
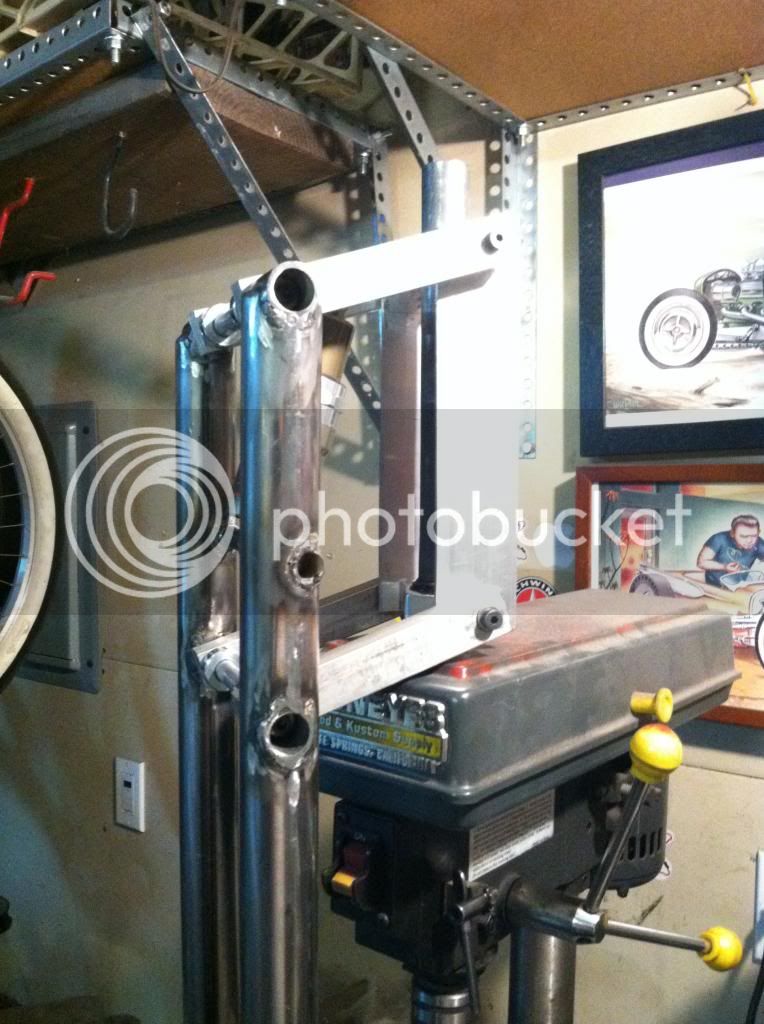
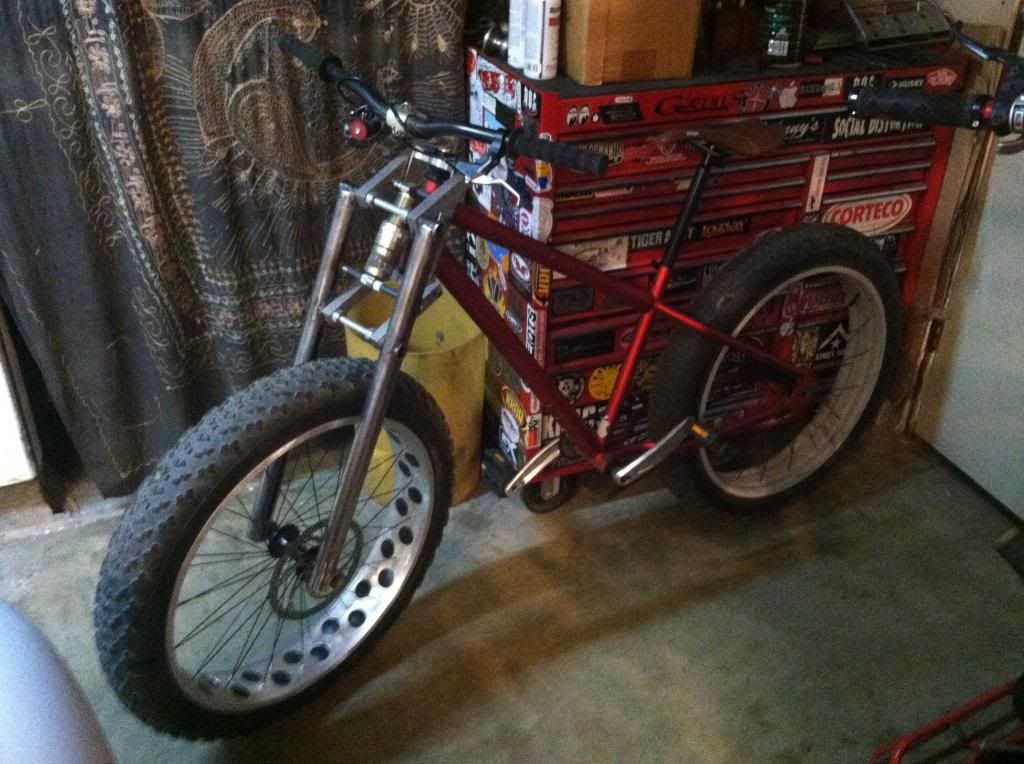
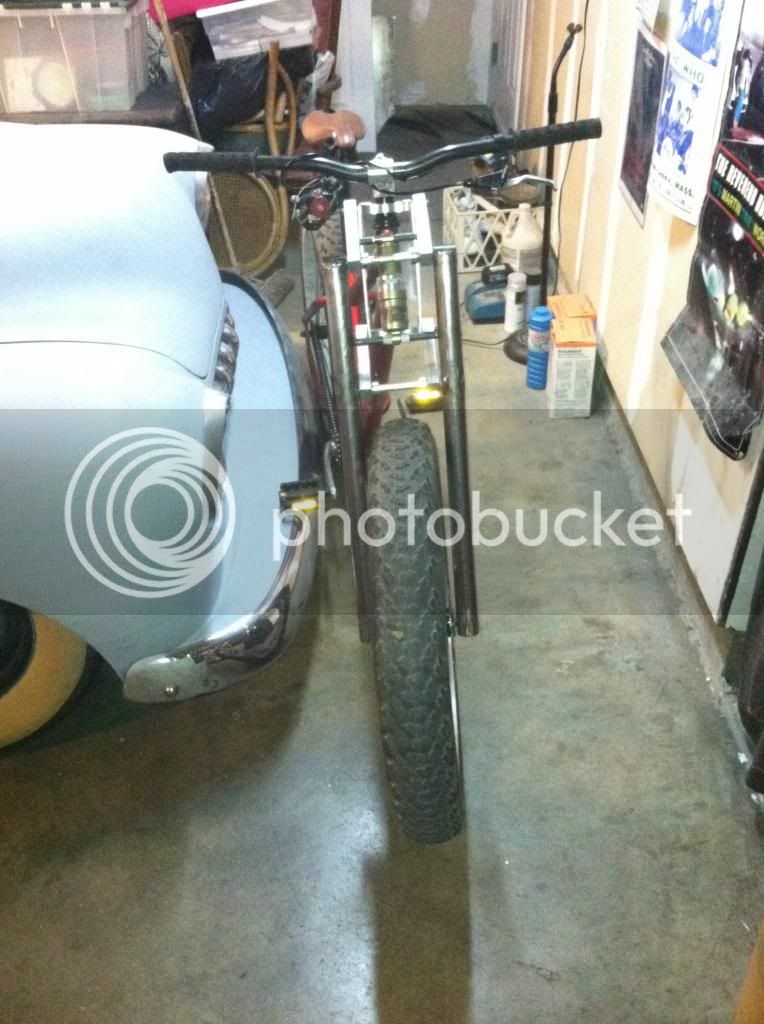
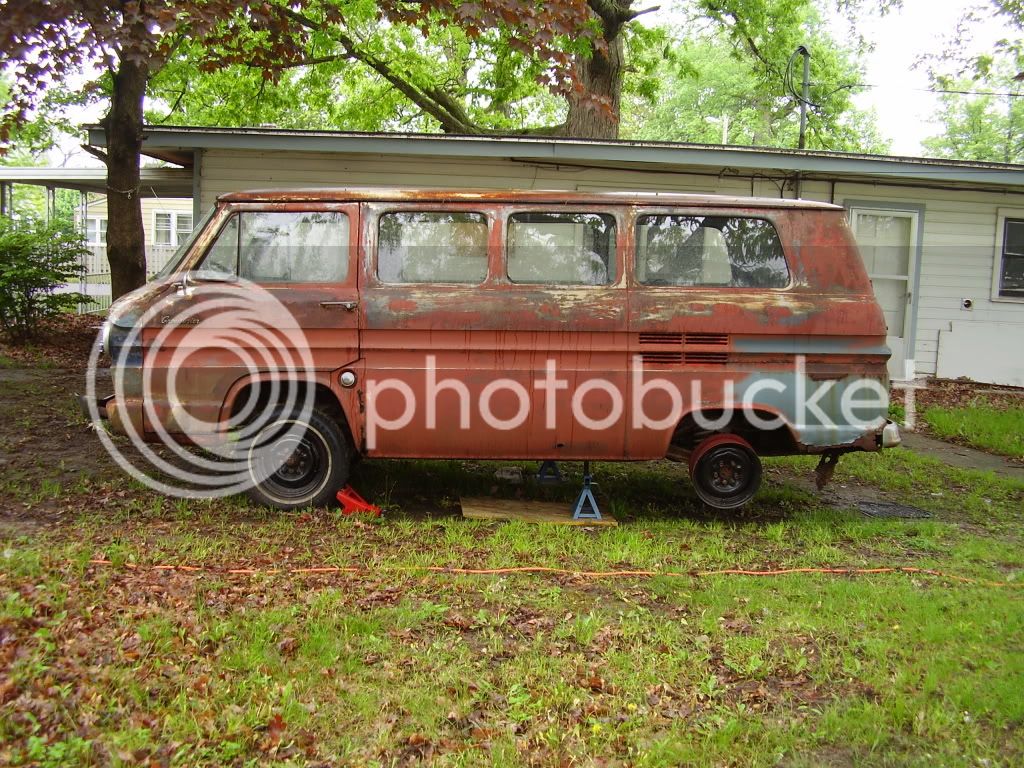
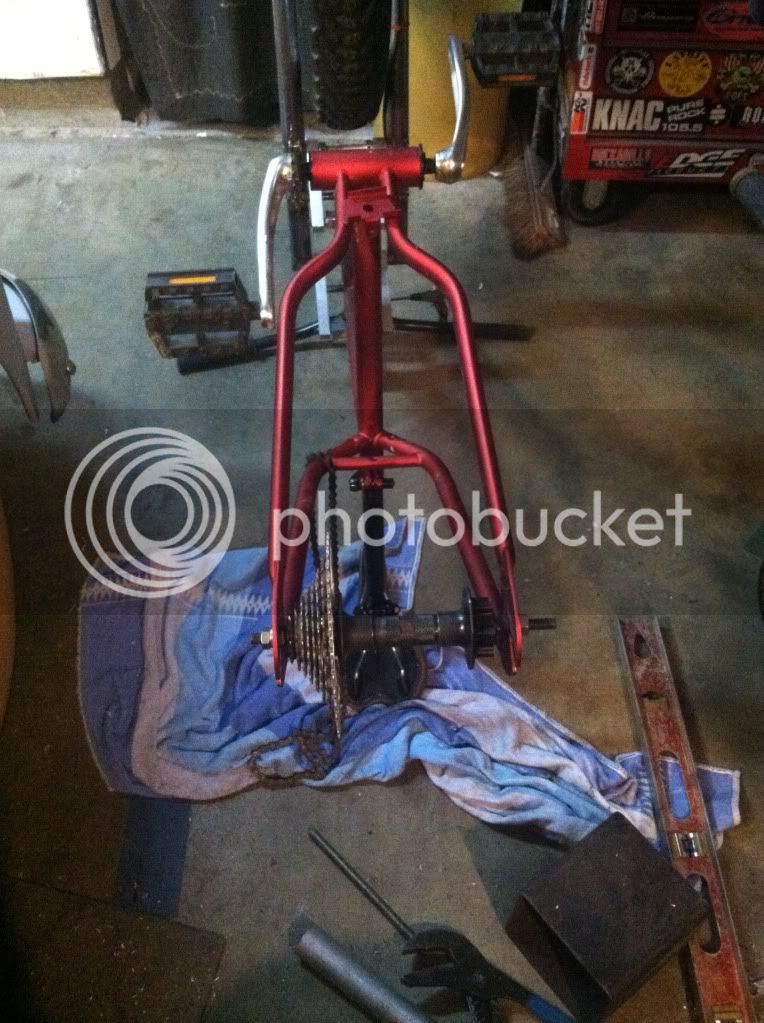
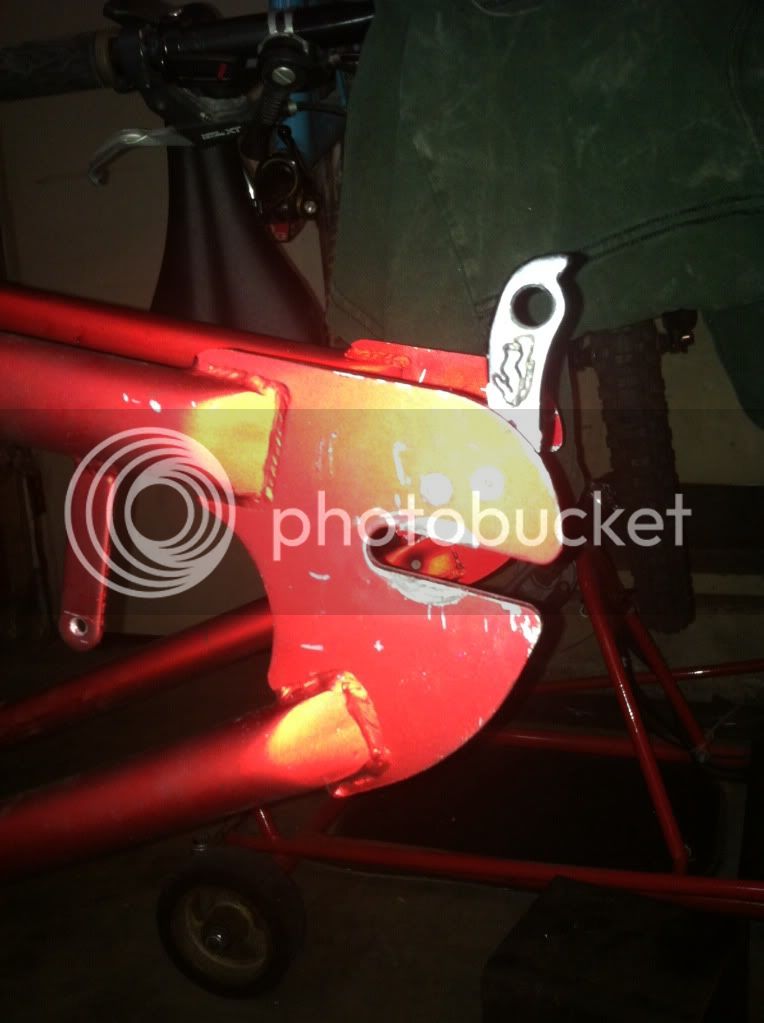
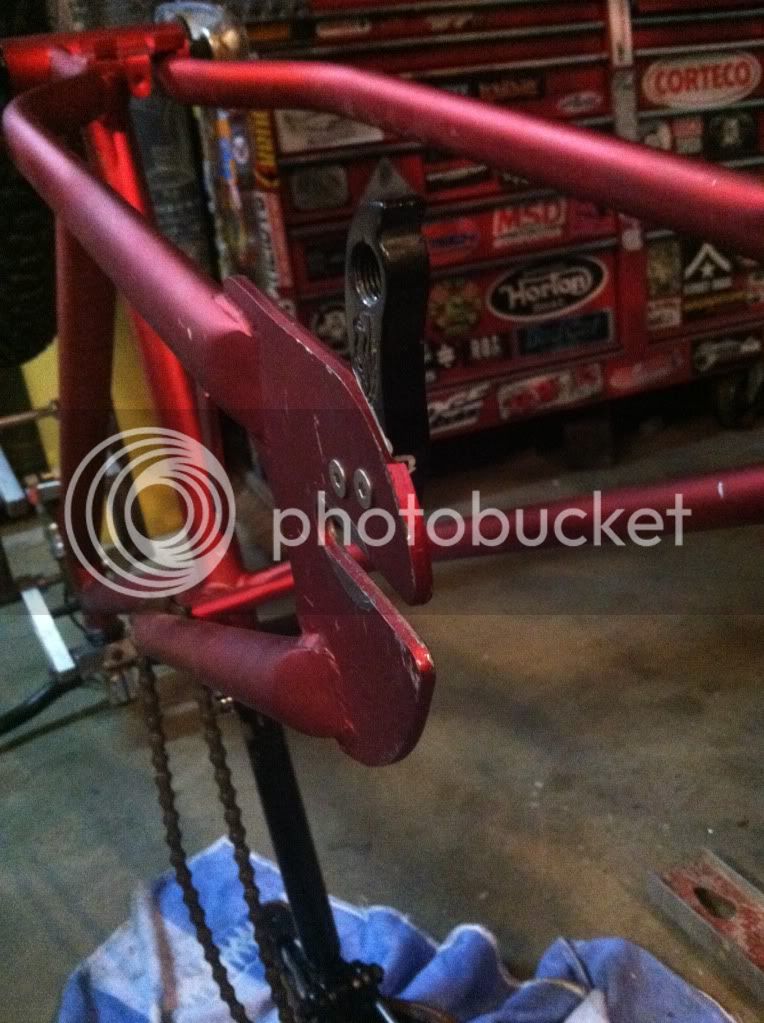
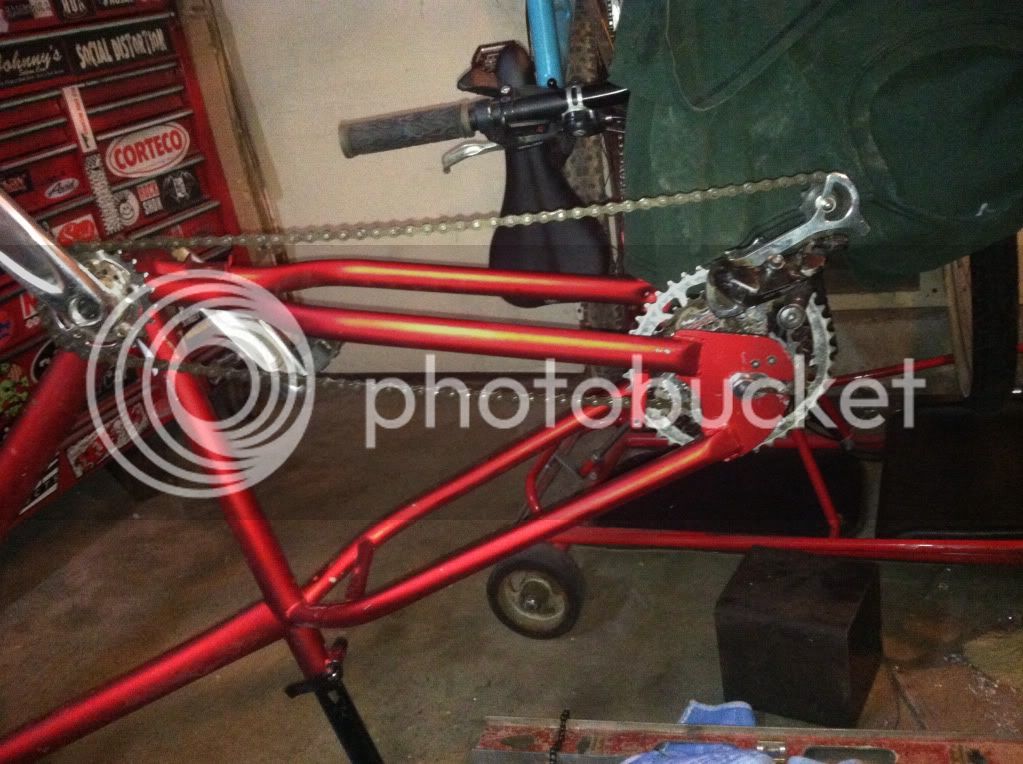
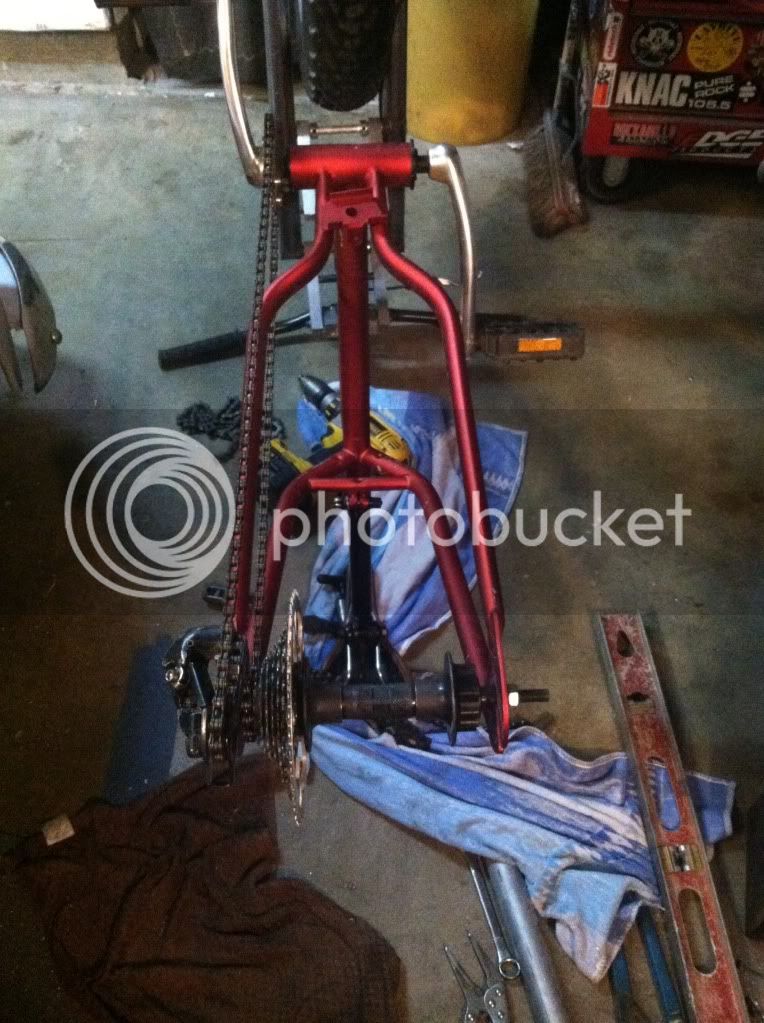
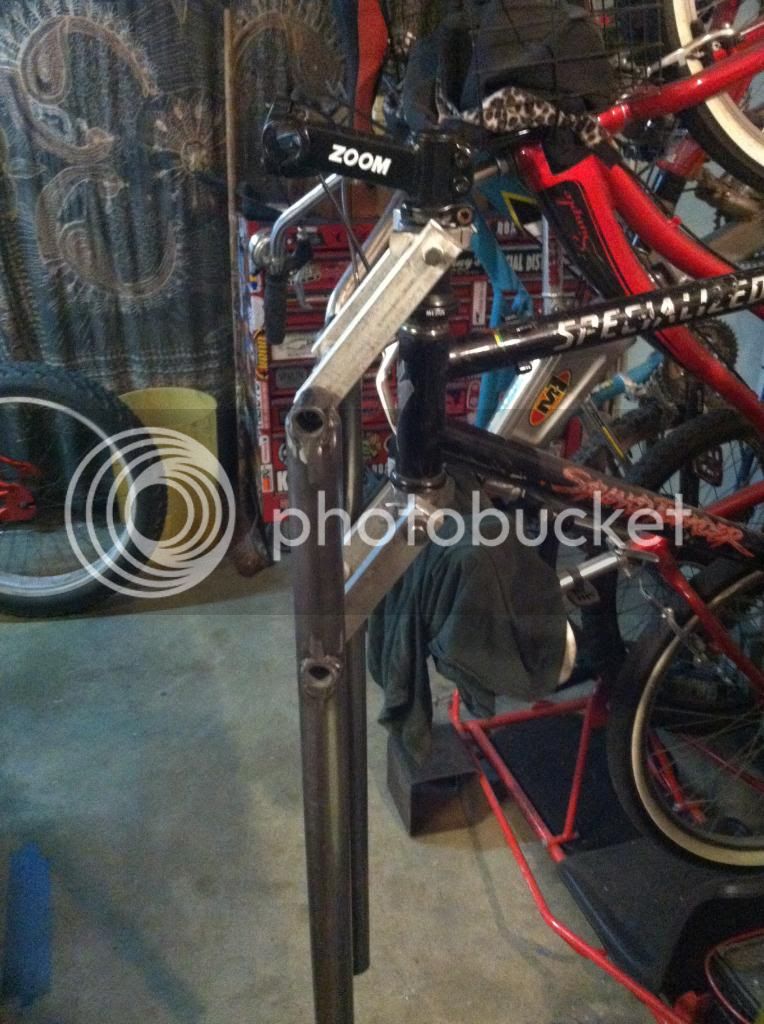
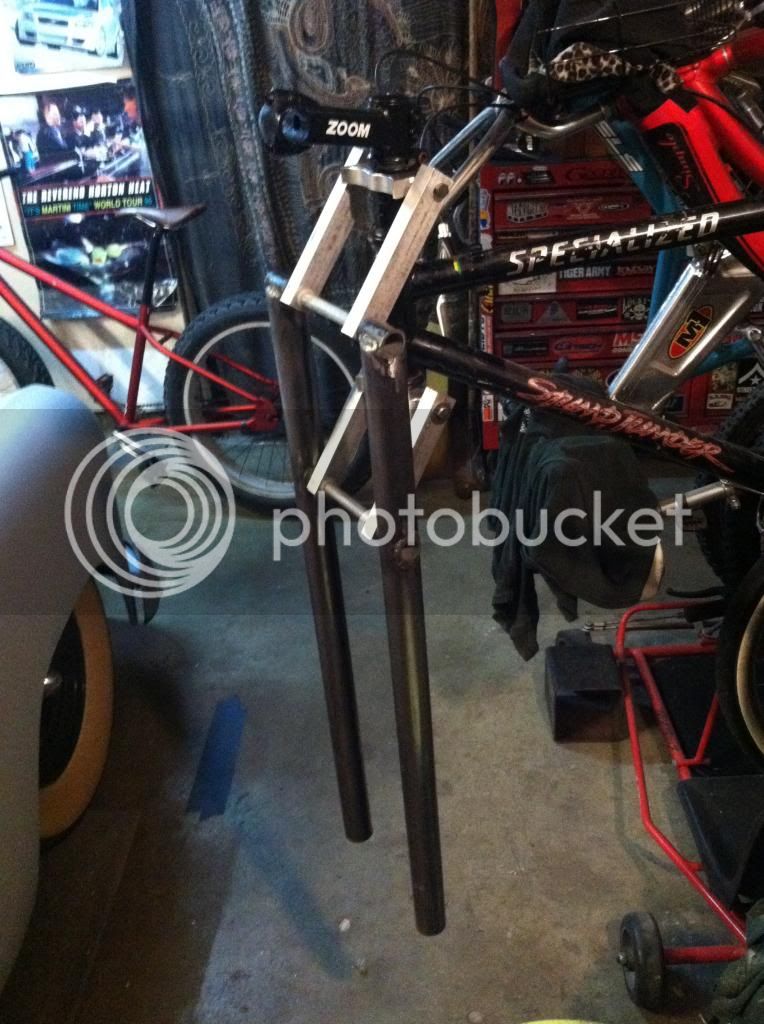
Here are some other pics:

IMG_1564_zps6bc320a8.jpg


IMG_1570_zpsedf4226e.jpg


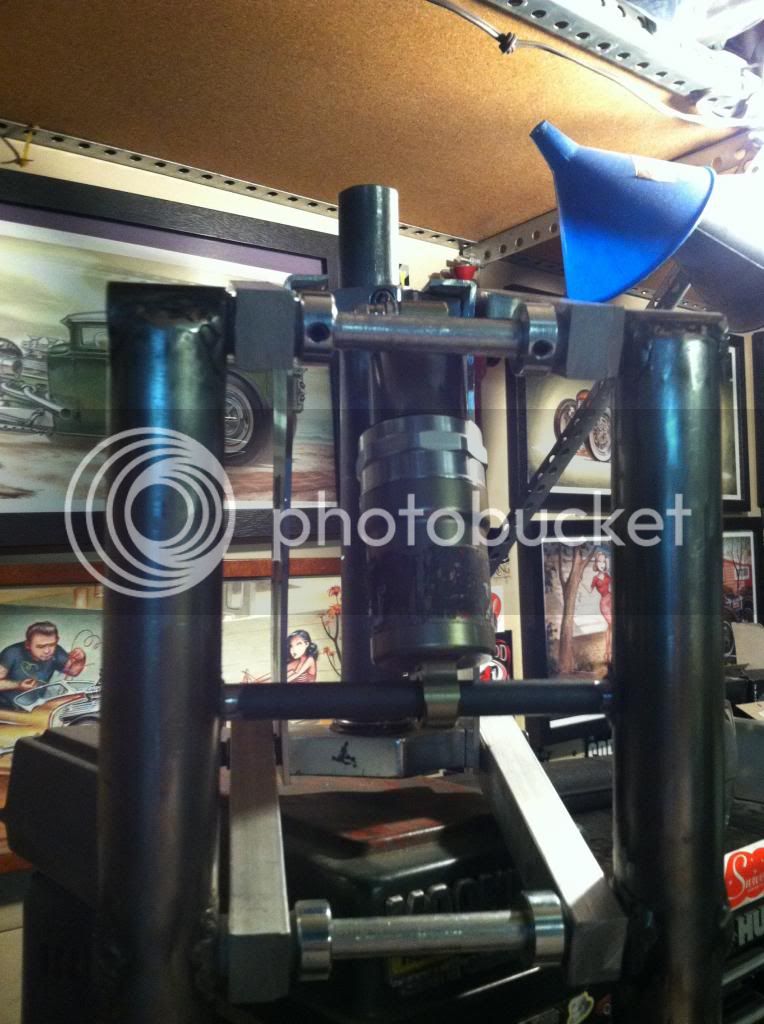
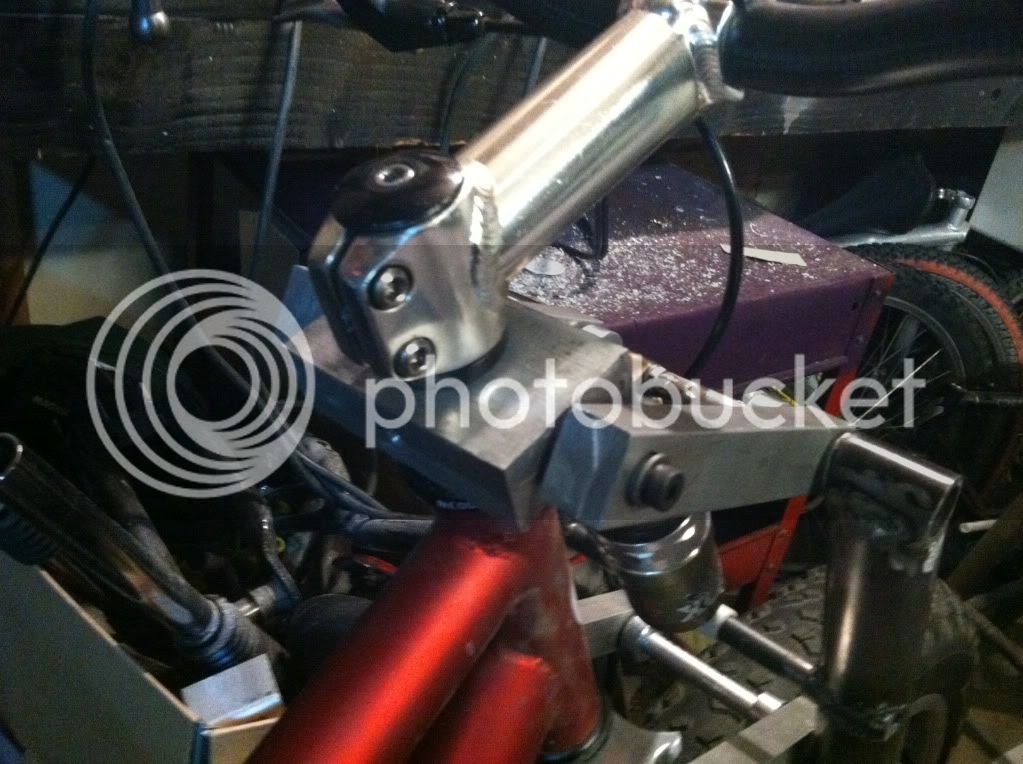
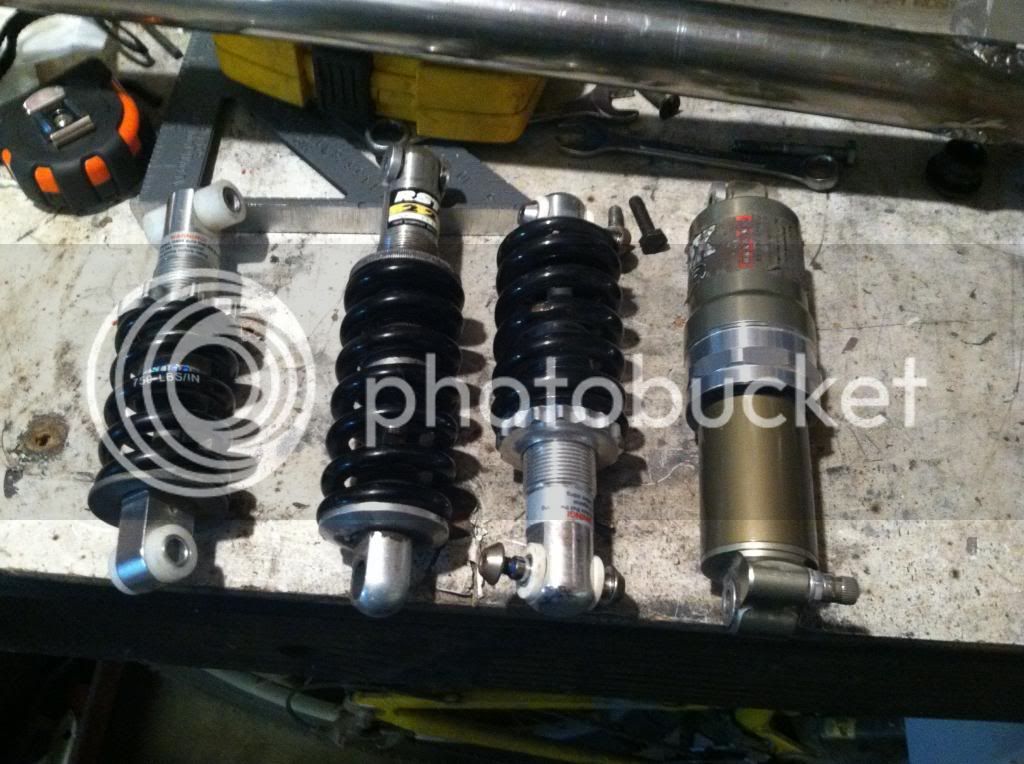
Im going to use the Fox Alps in the pic below. Im sure it will be the best of these 4 shocks.

IMG_1563_zpsf7a1ea57.jpg
 
WELL! My Fork is ALMOST done. I just need to make the dropouts and disc mount. Here is a video of the shock!

http://s268.photobucket.com/user/thebat ... 4.mp4.html

Its real smooth!

Its real heavy unfortunately, 9.4lbs. Most of the weight is in the legs. When I get some extra $$$ ill pick up a TIG and make them in Aluminum. I was shooting for 4" of travel and ended up with 4 and 5/16 so im really stoked!

Here are some more pics:

IMG_1586_zps84733912.jpg


IMG_1581_zpsf9562079.jpg


IMG_1582_zps3eea4ba0.jpg


The business end:

IMG_1577_zps05931527.jpg


IMG_1576_zpsca1253e3.jpg
 
Thanks Bill!

Ya, the stiffness is adjustable by the air pressure in the Fox damper. I an worried that the upper crown isnt going to be strong enough so i got a temporary fix for the issue. Last night I made strap that goes from the top to bottom crown and then wraps around the top of the crown. Im hoping that this design will at least warn me if the crown breaks before I smash my face into the ground.

I will for sure make new crowns, but I want to test the geometry first to see if there are any other big changes that need to be made.

IMG_1592_zpsb629c207.jpg


IMG_1593_zpsb8a4b5d6.jpg


IMG_1594_zps86686d34.jpg


IMG_1591_zps40ea011b.jpg
 
I got my fork mounted and I took it for a VERY short test ride. I ended up having to trim a little bit of the crown to crown brace for steering clearance. It actually rides pretty good. The geometry feel alot like my Intense M1.

I still need to make the brake mount, cap the bottom of the fork legs, make a new upper crown, and decide how or if I'm going to paint it. I also may end up putting lighter oil in the shock to speed it up a bit.

Here are some pics:

IMG_1619_zps726d16a7.jpg


IMG_1616_zpscbd3c291.jpg


IMG_1615_zps72f0fbd9.jpg
 
Nice work on that homemade fat Girvin fork!!!
 
Thanks!

I got a piece of aluminum that I am going to make a new upper crown for. Its an inch thick, so it should be plenty strong!!

After that, the next step will be rear gears and a rear disc brake...
 
I got the new upper crown made last night. Its beefy! 1 inch thick and the shoulder bolts sink in a full 1/2 inch plus the threads. This fork is ready for some abuse!

3C820723-6DC4-42DC-B16F-E7A0802FDDBA-5358-00000847FD3508E9_zps94da488c.jpg


AB9BEB86-0EB4-4BCD-A42C-B16C1324532F-5358-00000847F47DD6ED_zps1328fec0.jpg
 
I got my rear hub widened tonight.

I started with a regular Deore 9 speed casette hub with disc mount, 36 hole. I stripped it down to the shell and cut in half using a tubing cutter to get a straight cut.

IMG_1654_zpsfcae668a.jpg


Then I found this aluminum BMX axle peg. It came in a box of random stuff I got from my dad. I drilled a 1/2 inch hole thru it the long way and then, using a big bolt, I chucked it into my drill press:

IMG_1655_zps33b6ad69.jpg


I used a grinder with a flap disc to turn the peg down while it spun in the drill press:

IMG_1656_zpsb456493b.jpg


I only shaved it down a little so that it would be a tight press fit into the hub halfs. It was TIGHT! I had to press it in with my vise.

IMG_1657_zpse4afa89d.jpg


A shot of paint and it looks great. If it ends up not being tight enough it can always be TIG welded, but I really doubt that will happen.

IMG_1658_zps2259332a.jpg


Next was the axle:

I used the axle from the hub and another from an extra hub I had. I tapped 1 end of each to accept a thread in screw. Once I got them threaded together, I welded them solid and ground down my weld.

I reassembled the hub and it came together perfectly!! Now I had a long bolt on axle with 190mm spacing. I just need to get some axle nuts that fit it.

IMG_1659_zps377eb46c.jpg


IMG_1660_zps8586a9fd.jpg


http://i899.photobucket.com/albums/ac195/beastbike/BEAST/IMG_1661_zpsfee04287.jpg[/imh]

[img]http://i899.photobucket.com/albums/ac195/beastbike/BEAST/IMG_1662_zpsb624803a.jpg

IMG_1663_zpsf1582ac2.jpg


IMG_1664_zpsb5265211.jpg


For a casette, I got out an old project I made. Its a 11-42 8 Speed. Basicatly I made a 34t accept a chainring.

IMG_1665_zps7bb0455f.jpg


IMG_1666_zpsd2712b4f.jpg


Next I need to get another 203mm rotor for the rear.
 
Last night I got a few things done;

I widened my rear dropouts to 190mm and then bent them so that they were parallel again. Then I got an old derailer hanger from my Yeti and shaved it a bit to make a hanger for the Beast. I also mocked up the rear hub with the cassette and a derailer. And I drilled my rear rim.

I am going to have to run a chain guide in the front and some sort of tensioner in the rear. I may just go the old school route of an arm with a spring holding the derailer back.

HIgh gear is 22-11, which is about the same as the beast has stock. Low gear is 22-42, which should allow me to climb trees! :shock:

Here are some pics:

92A6EA6E-138F-4B62-9AE9-0E83AF6A86EB-404-00000043D5DF9A09_zps9159db2b.jpg


D8775DB0-0158-4DC6-A518-F3955D725E1B-404-00000043CE452440_zpsaca97092.jpg


10E30C59-E0C3-48F0-BF99-2BFCDFFF5254-404-00000043BA7DB6CC_zpsb617adb8.jpg


6E19EFF6-308F-4EFC-81ED-EC88718AC661-404-00000043AF9077BF_zps6ef93f8f.jpg


8F71DCFA-44C2-478B-BAE9-2753D701EB85-404-000000439F0CC9C2_zpsb021f152.jpg


8012EF9D-363B-4C1B-91A0-68CAC644DA1C-404-0000004395CC1975_zps7d06954d.jpg
 

Latest posts

Back
Top