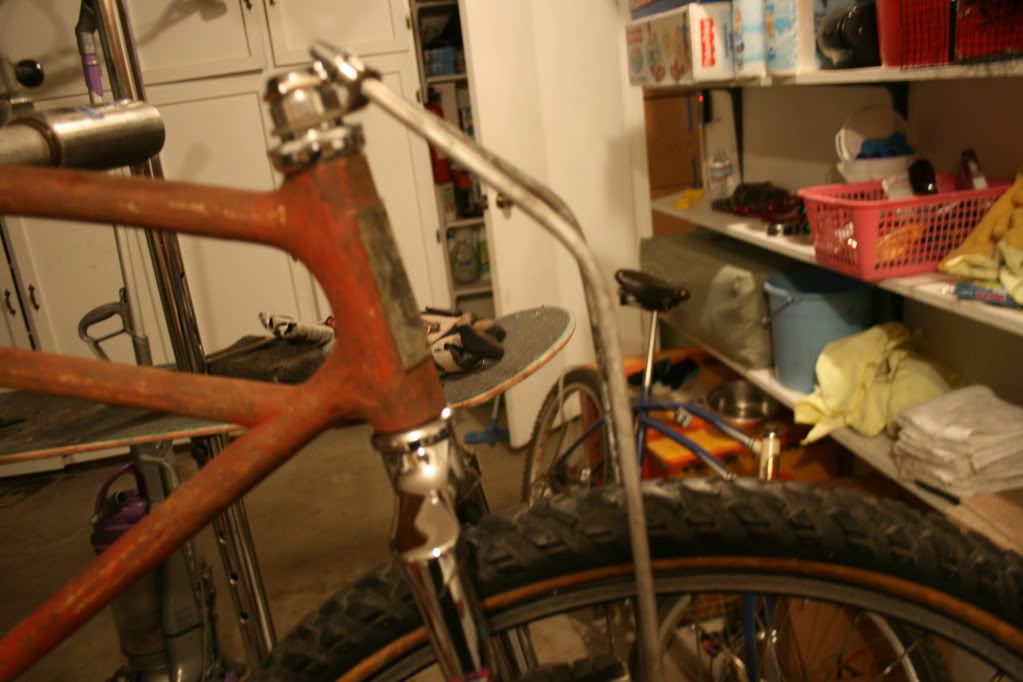
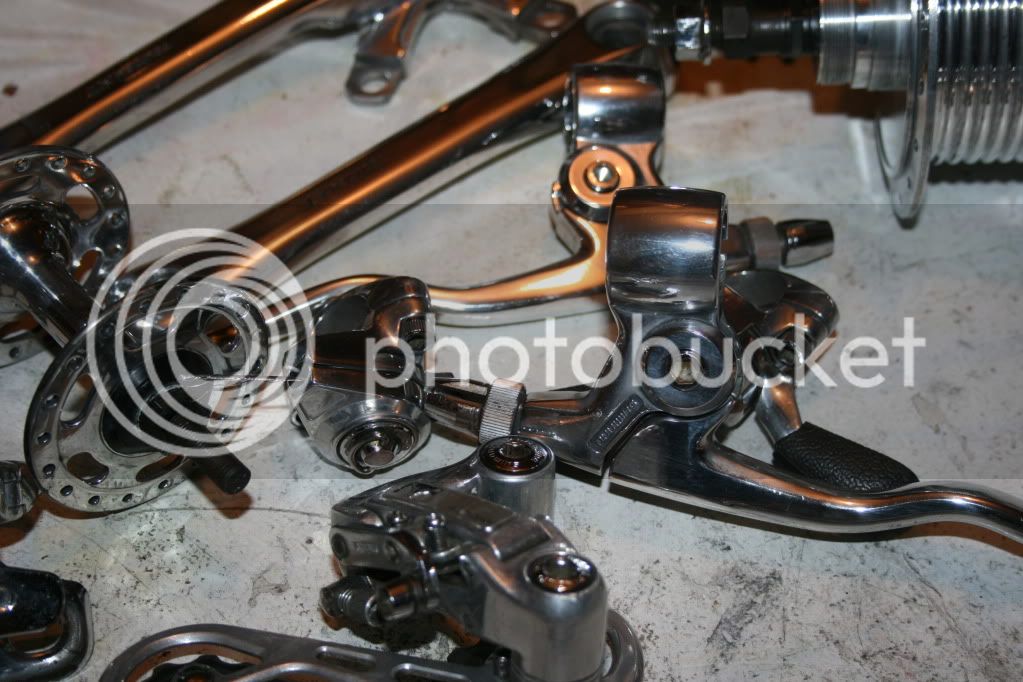
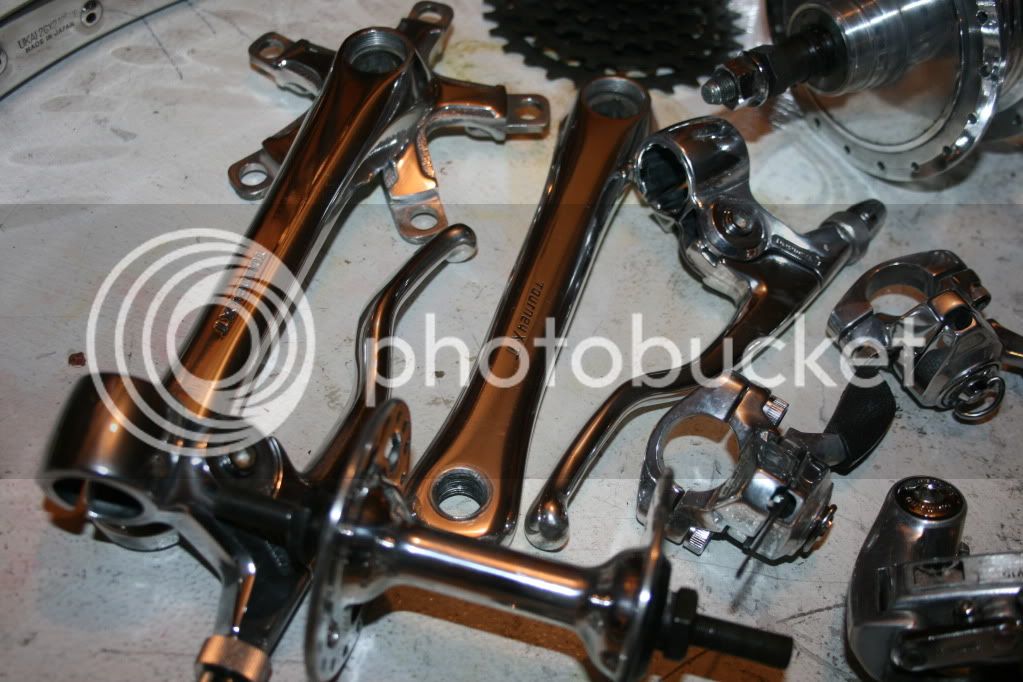
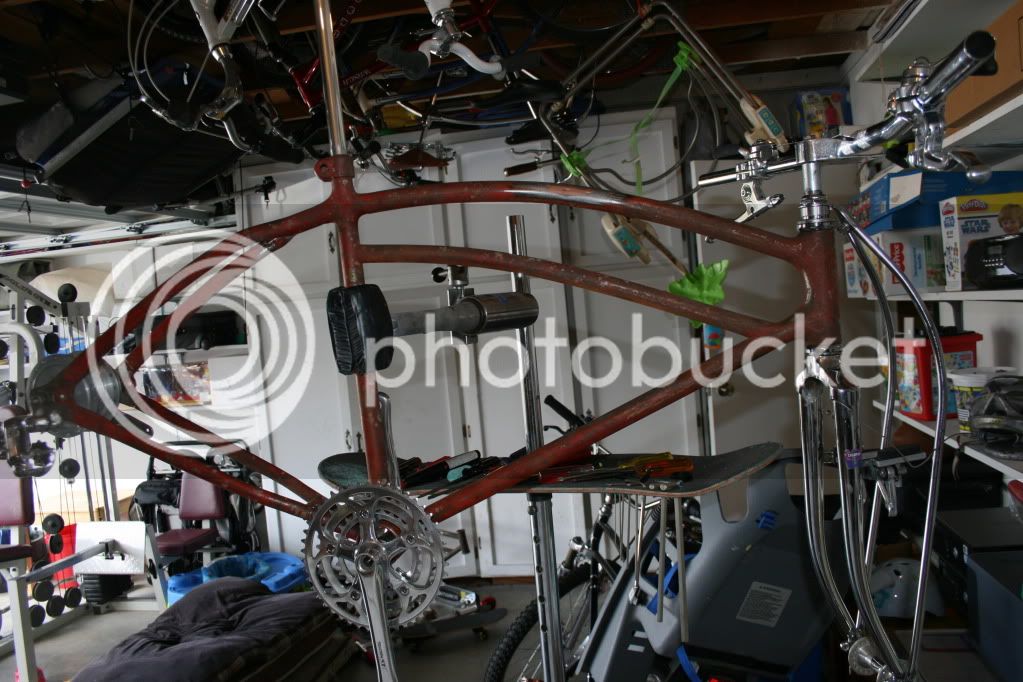
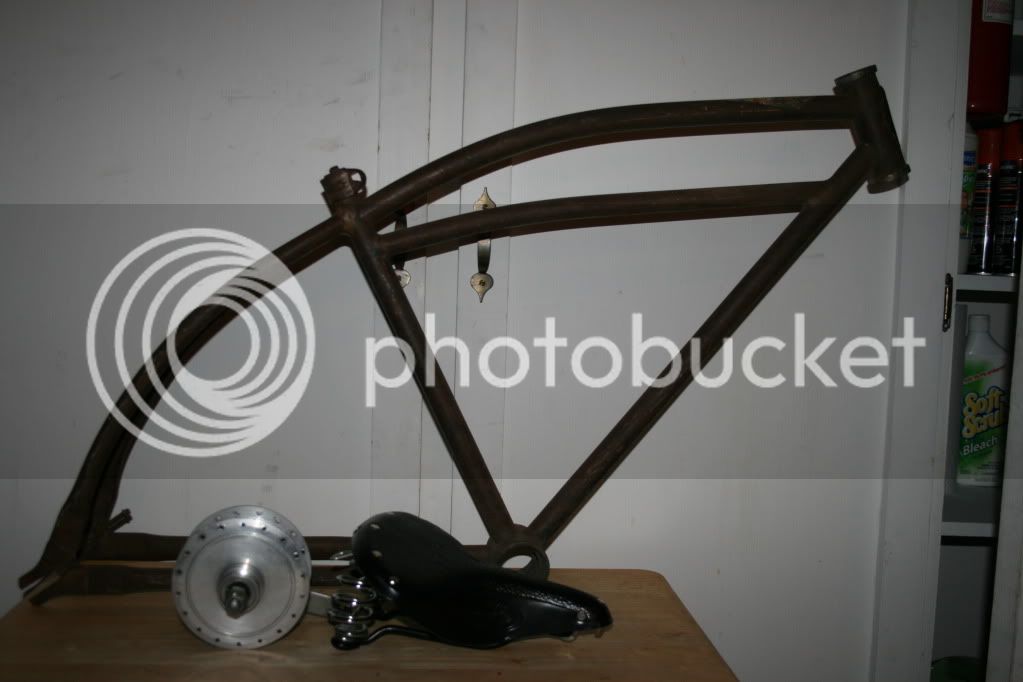
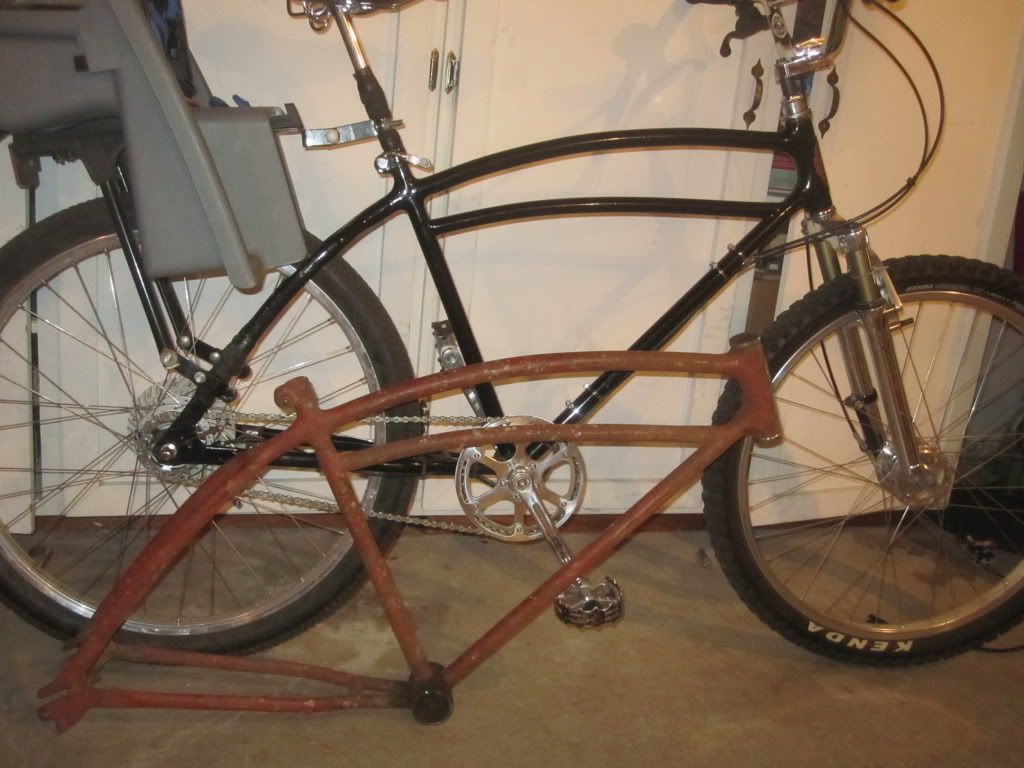
Most of you have seen my 1936 Mercury. It was my first klunker build and it is still my favorite bike. I like the frame for its flowing lines and because the bottom bracket is pretty high. It is also a bit larger than my 41 Schwinn with a longer top tube and seat tube so it fits nice. It has taken alot of abuse over the last 2 years so when I saw a similar frame I had to grab it.
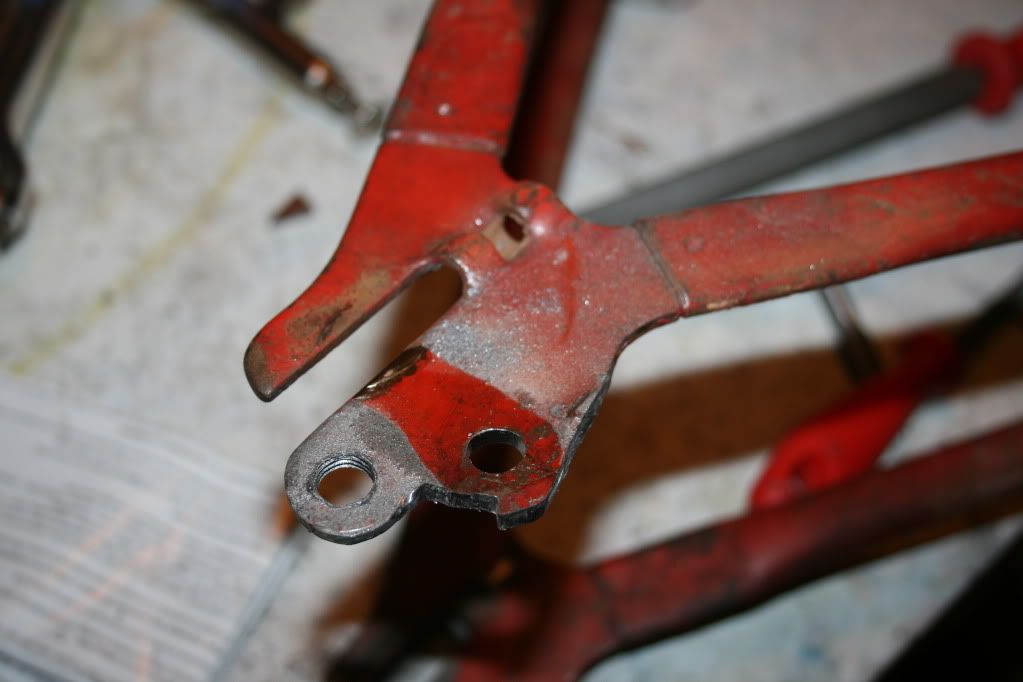
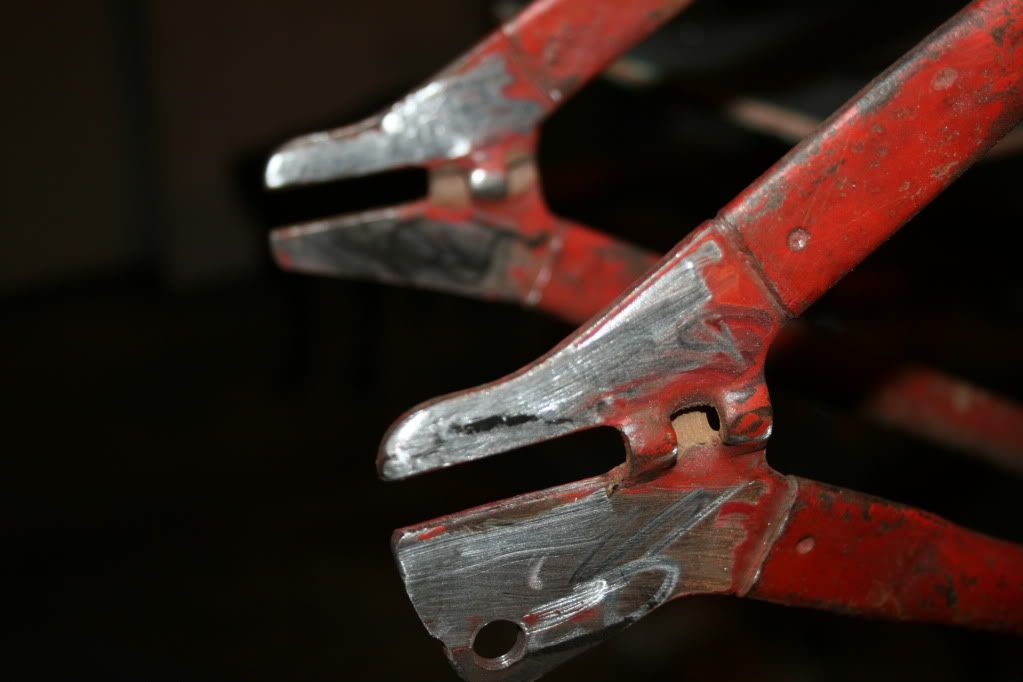
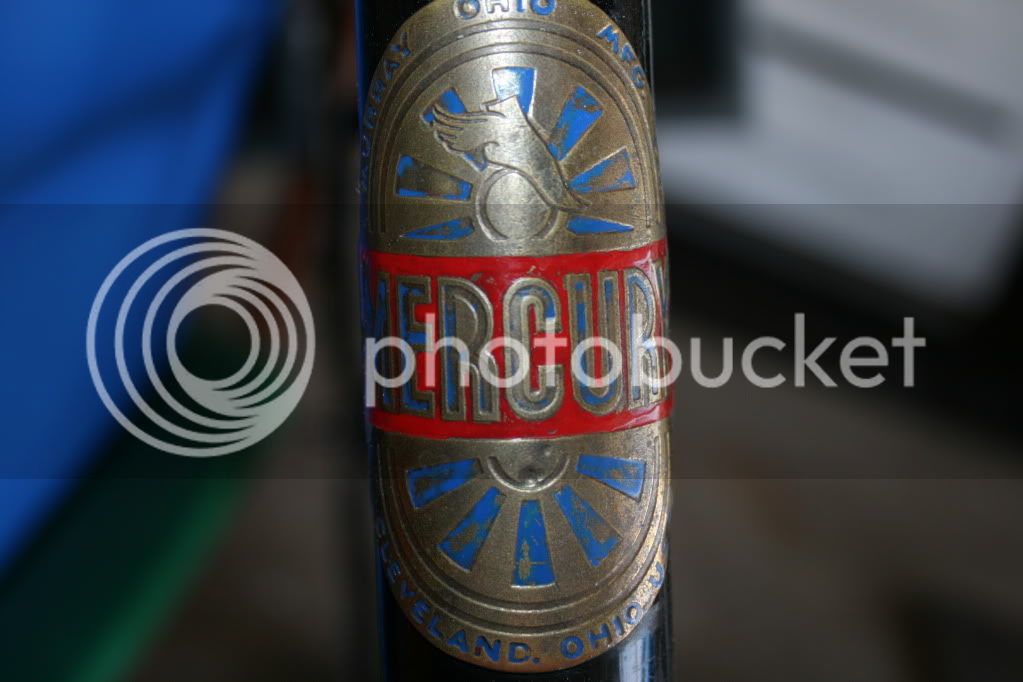
This one is badged as an Elgin however and with the exception of the dropouts the frame is a spot on match for my Mercury. I am asuming they were manufactured in the same factory but I could be wrong.
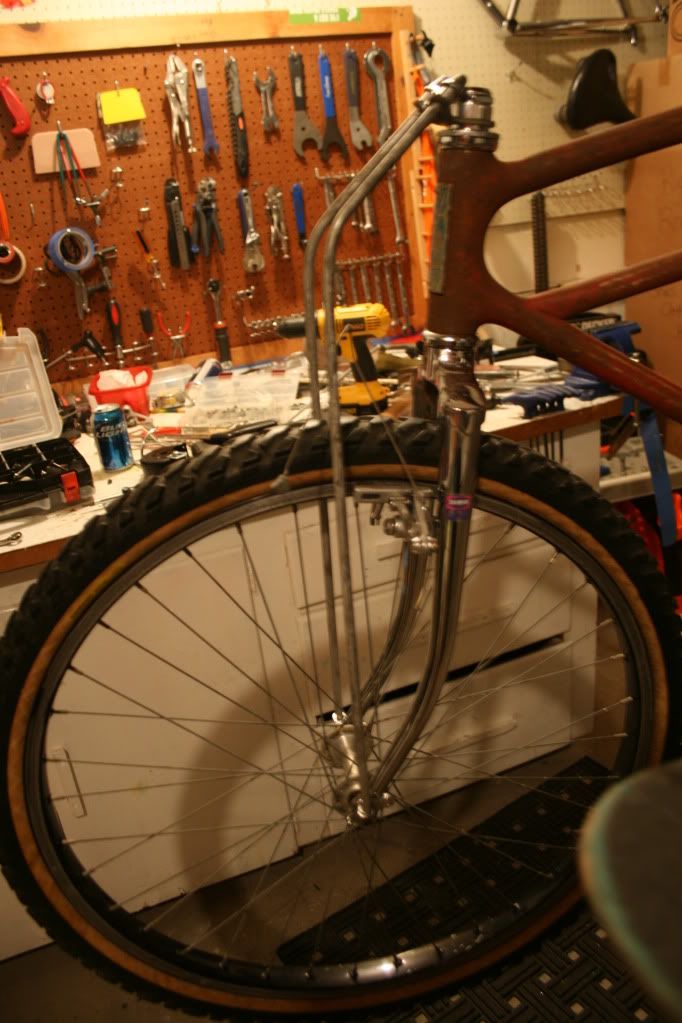
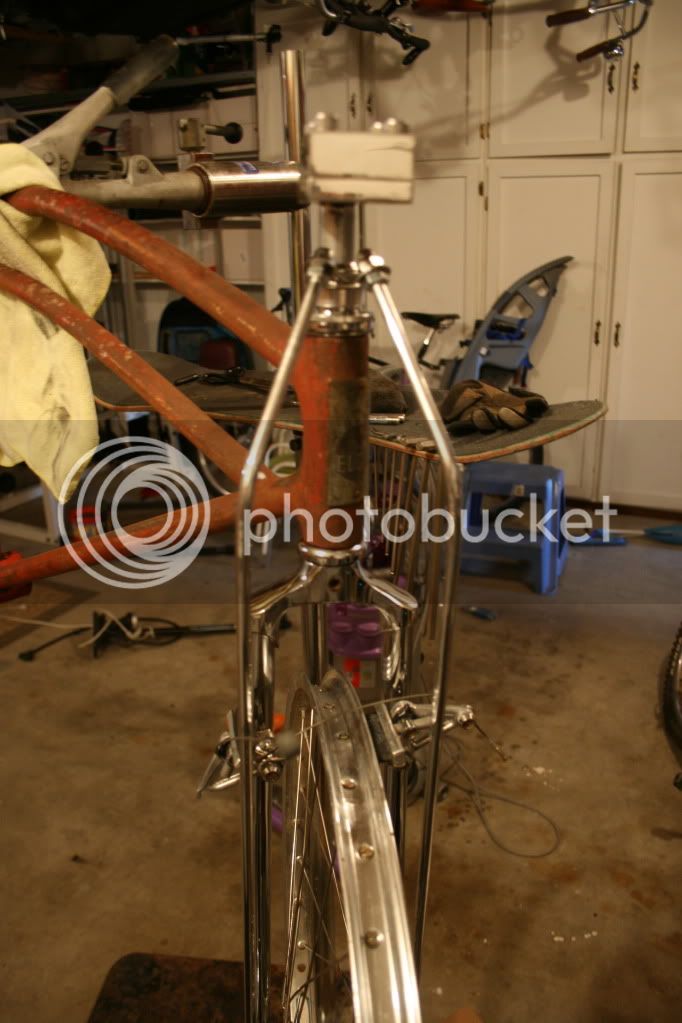
Not sure how far i am going to take this. As you can see it is just like my Mercury:

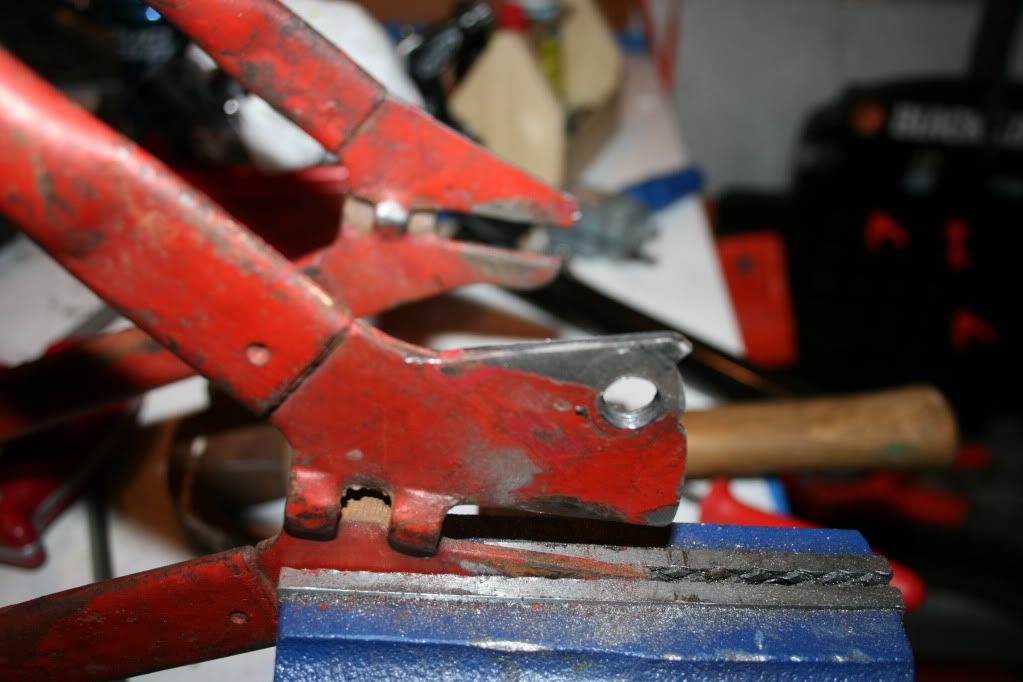
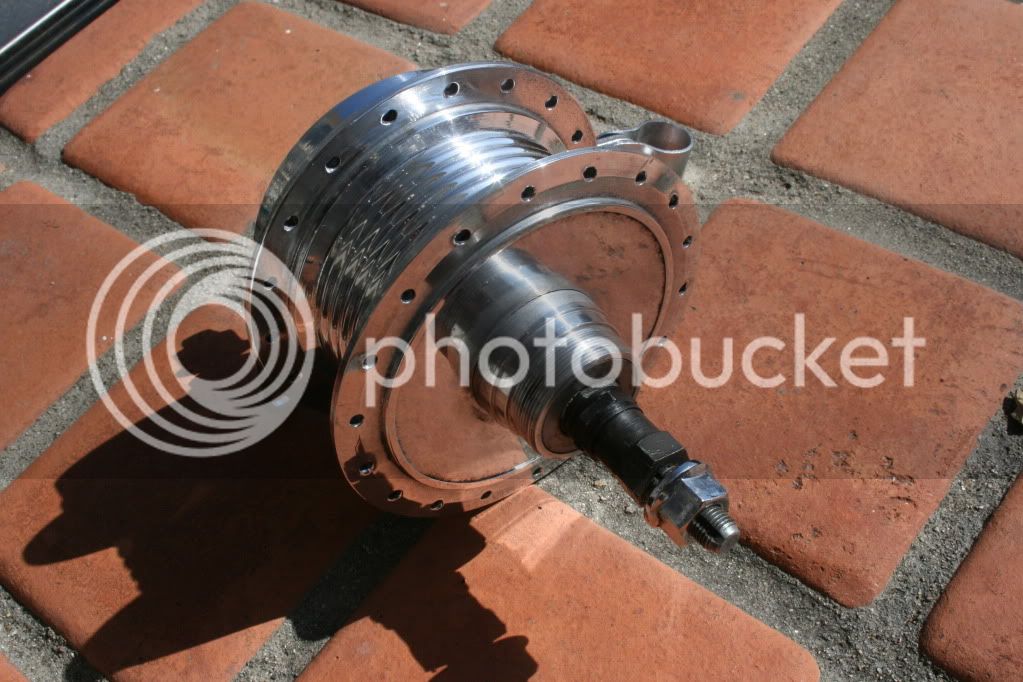
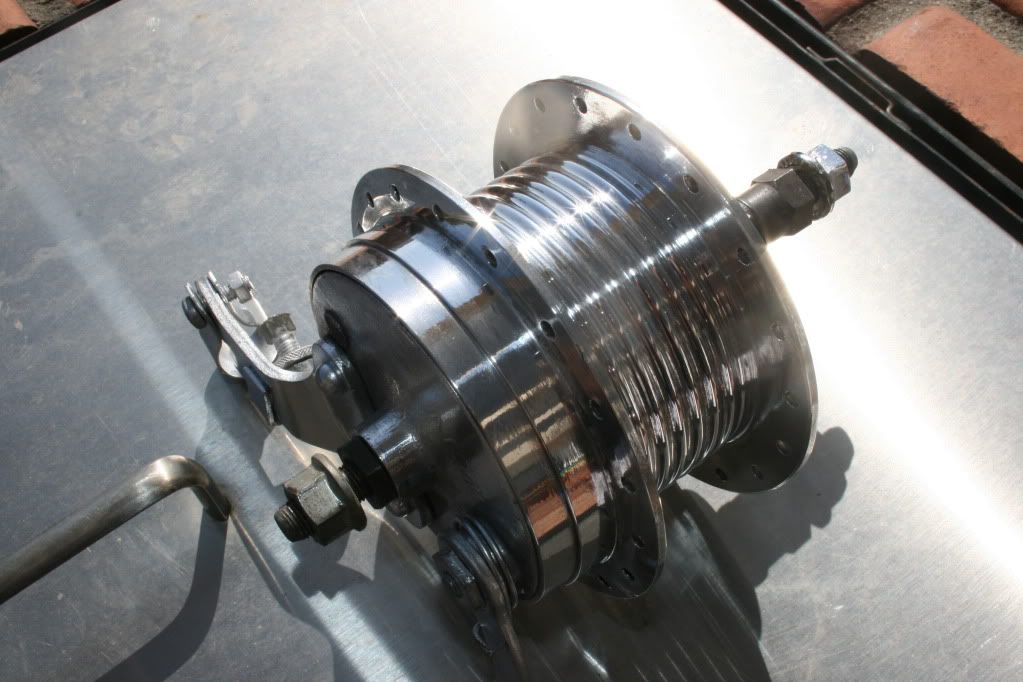
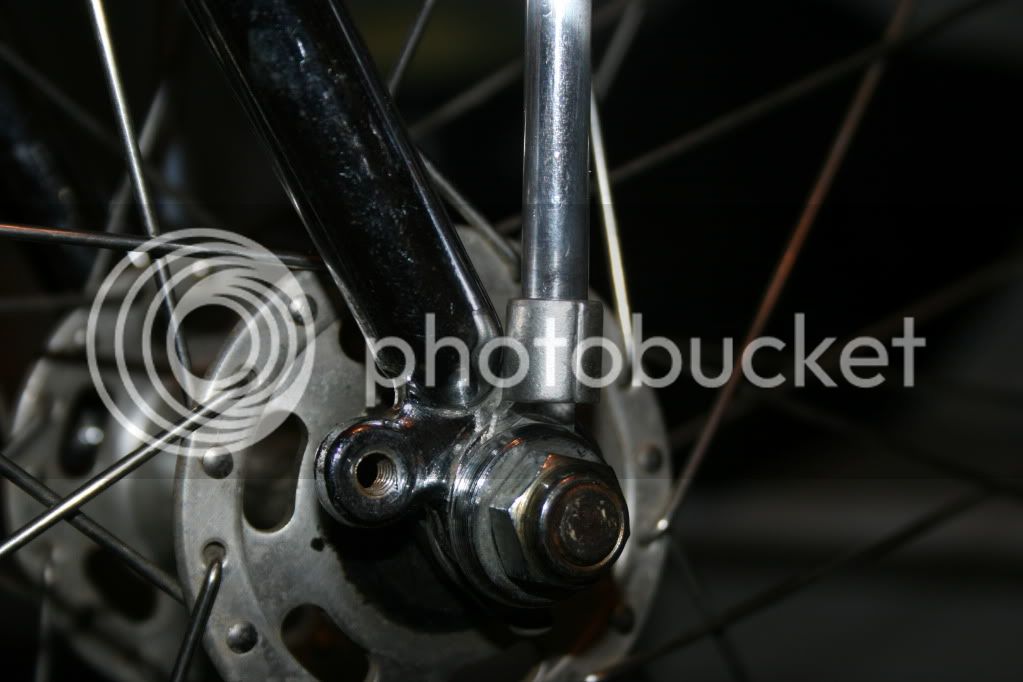
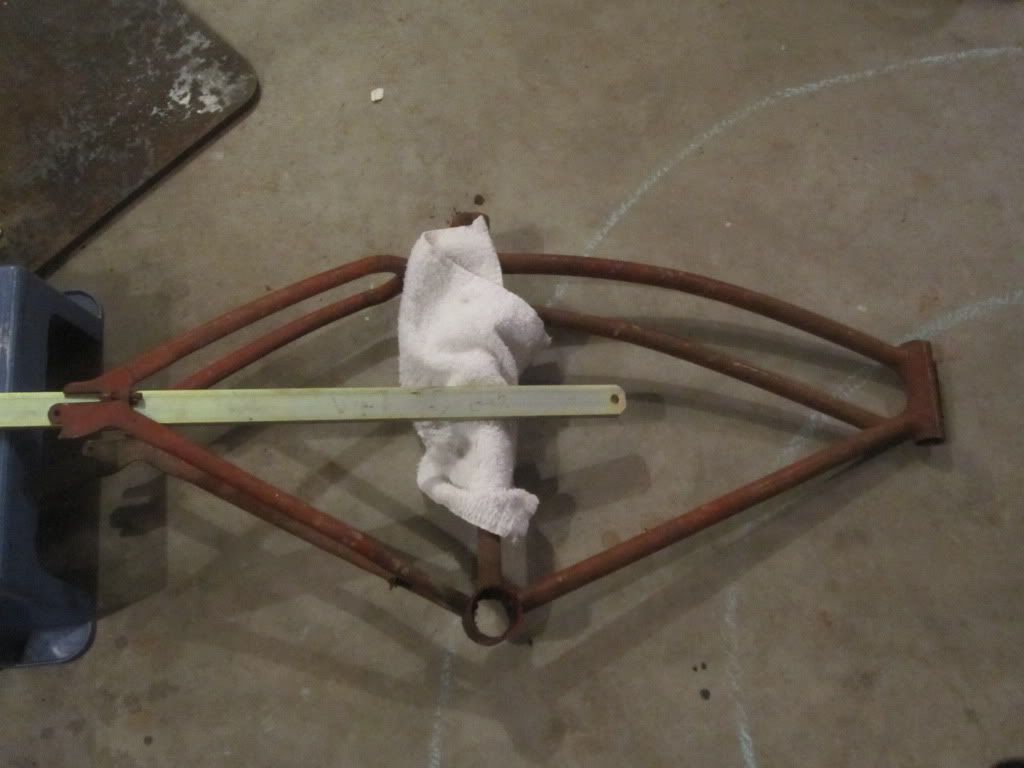
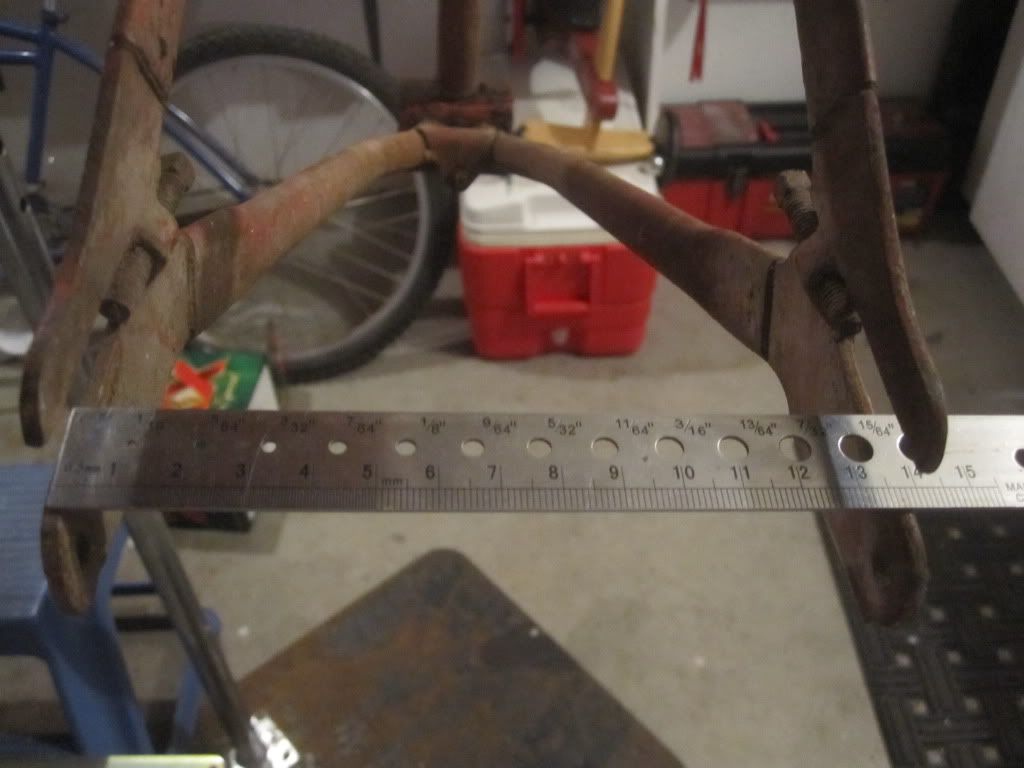
I went ahead and cold set the 110mm spacing to 135, I find that using a 2x4 sucks because they flex so much but this steel counter weight is perfect.
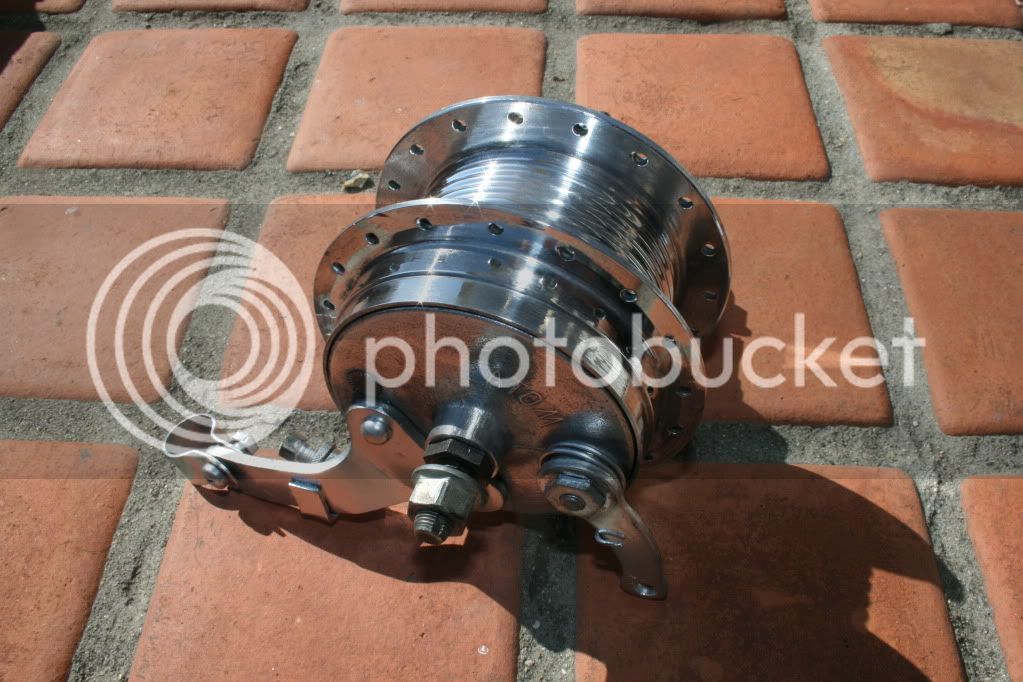
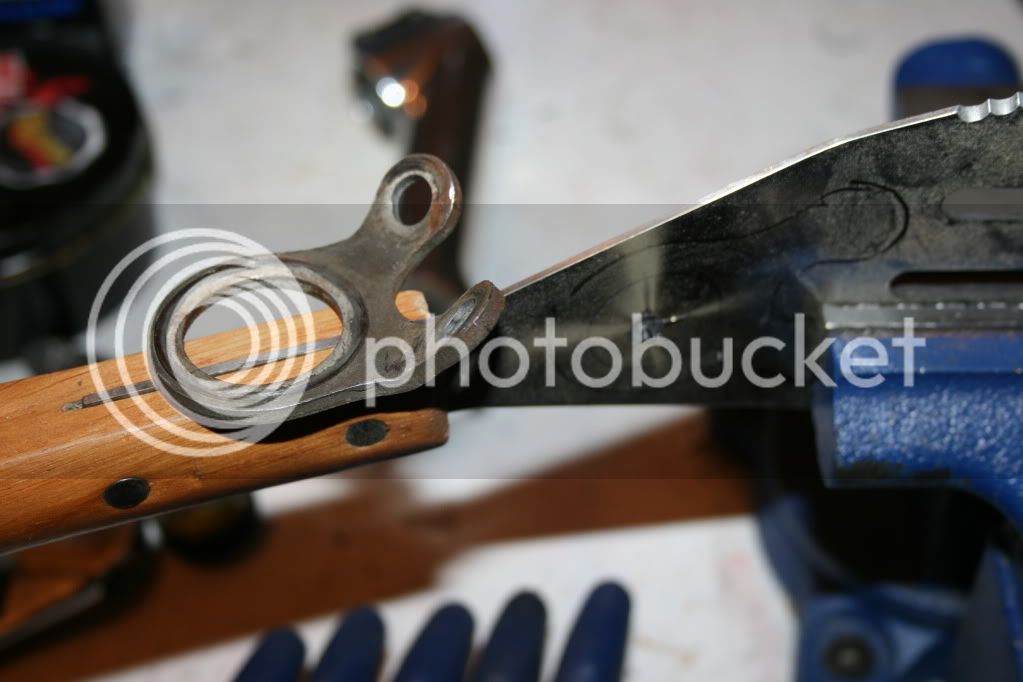
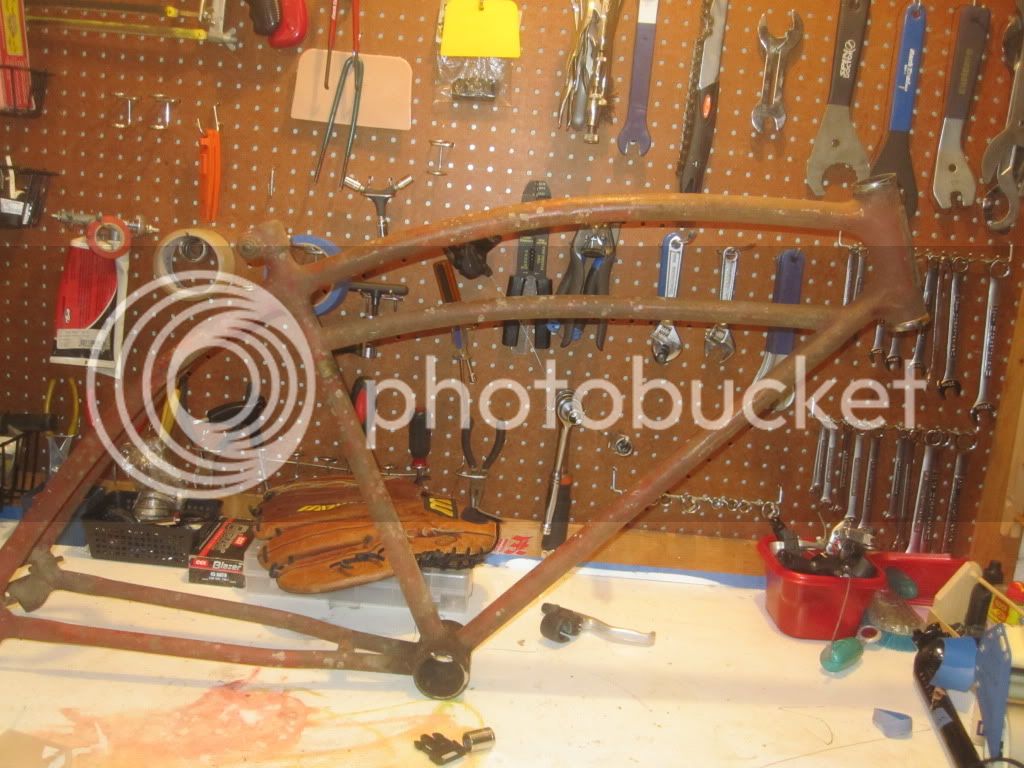
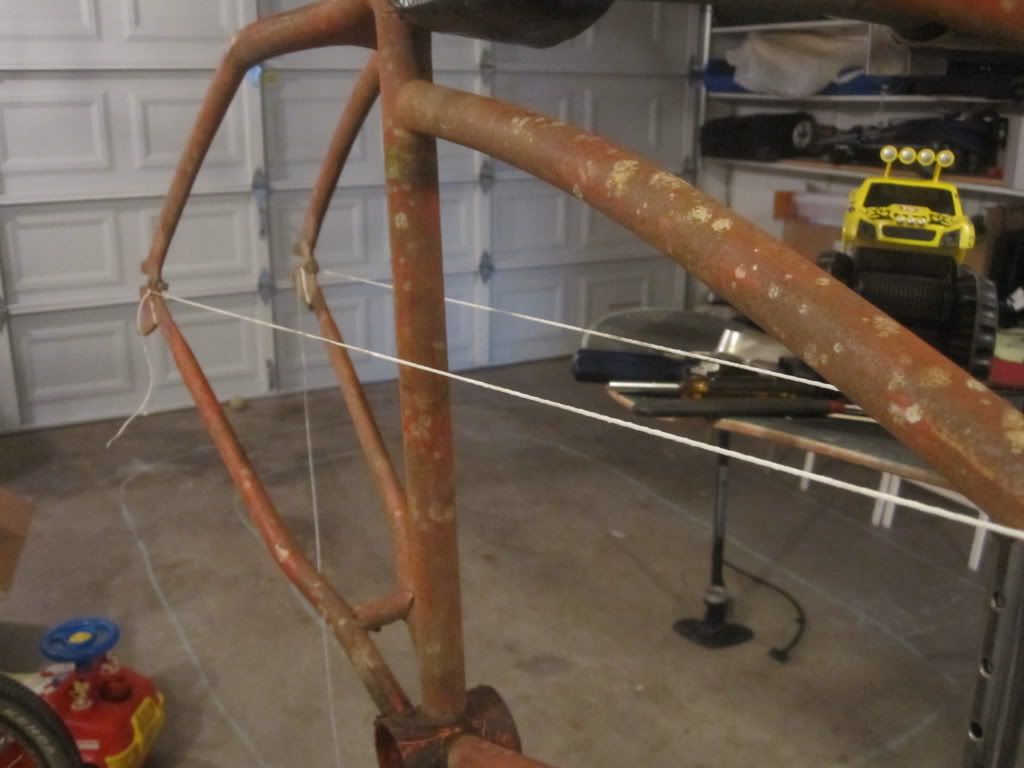
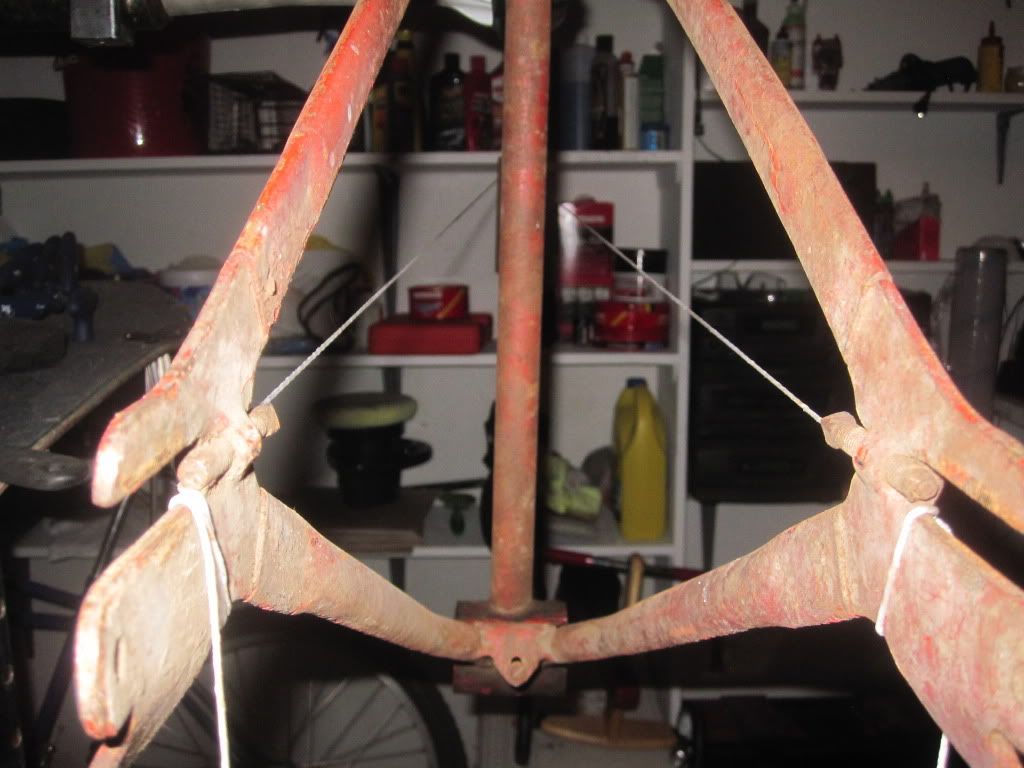
Re-aligning the dropouts was pretty easy using a milling vise. I got lucky and got the alignment perfect on the first try. The key is to be gentle and do it in small increments measuring often.
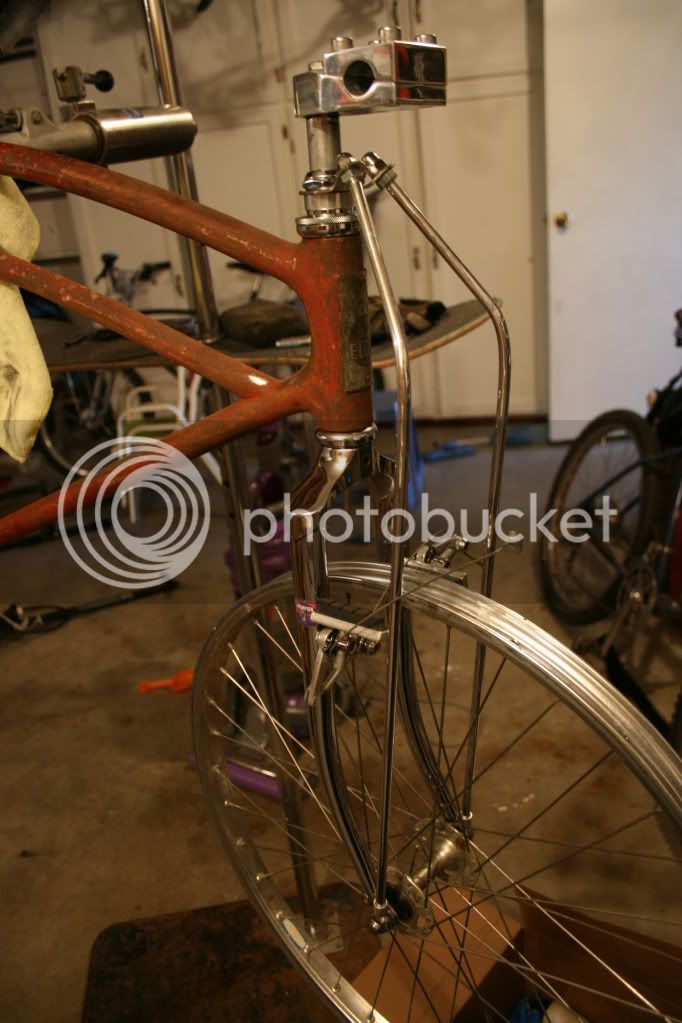
Next steps? Brazing on canti mounts? Hammering down and trimming the dropstand stops to fashion a derailer hanger using and tap and die? Paint? Powder coat? Who knows but it's gonna be fun.
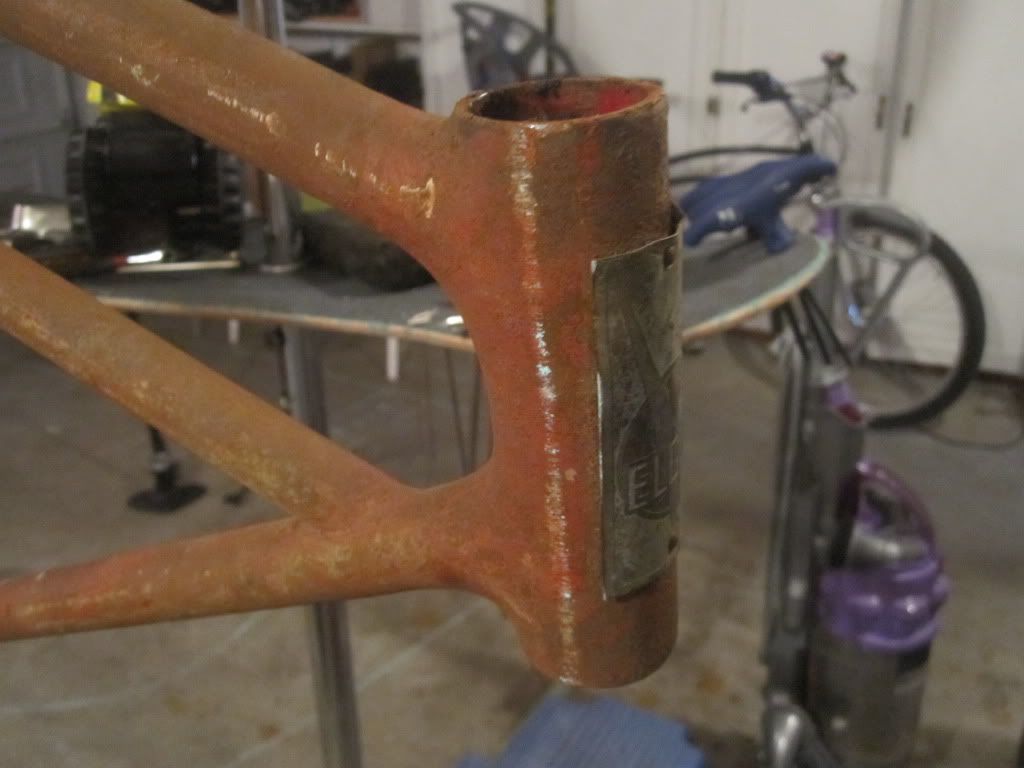
This one is badged as an Elgin however and with the exception of the dropouts the frame is a spot on match for my Mercury. I am asuming they were manufactured in the same factory but I could be wrong.
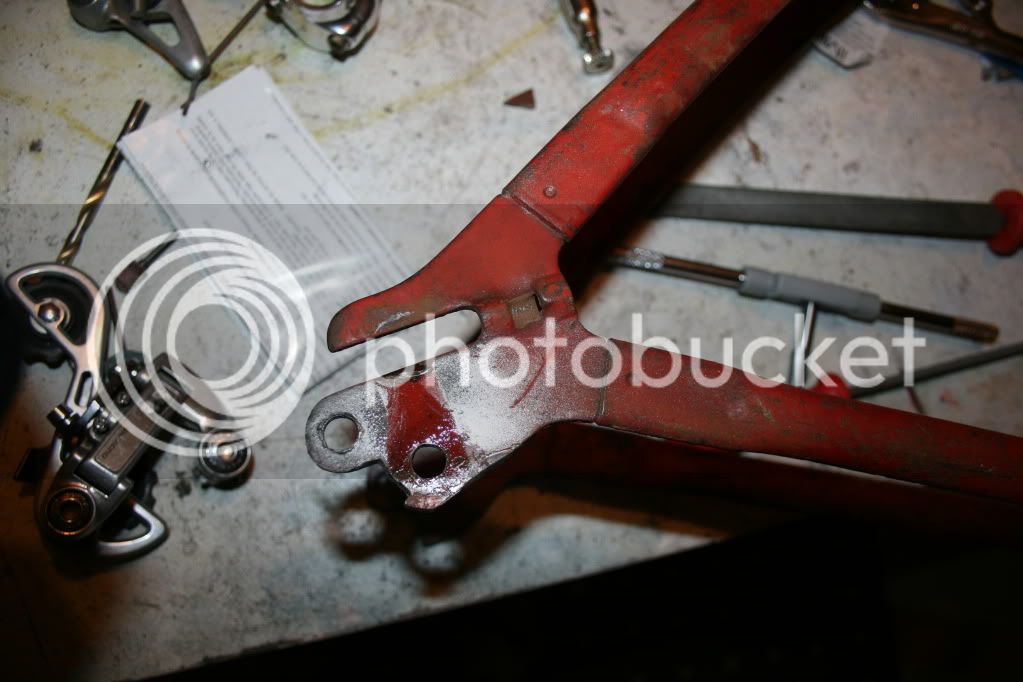
Not sure how far i am going to take this. As you can see it is just like my Mercury:
I went ahead and cold set the 110mm spacing to 135, I find that using a 2x4 sucks because they flex so much but this steel counter weight is perfect.
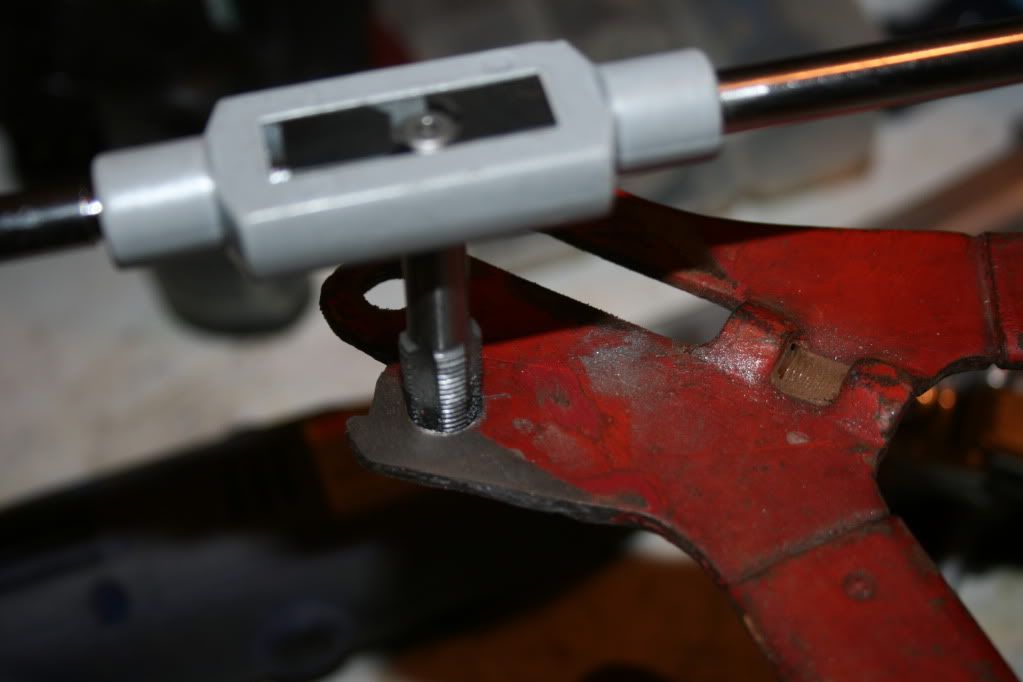
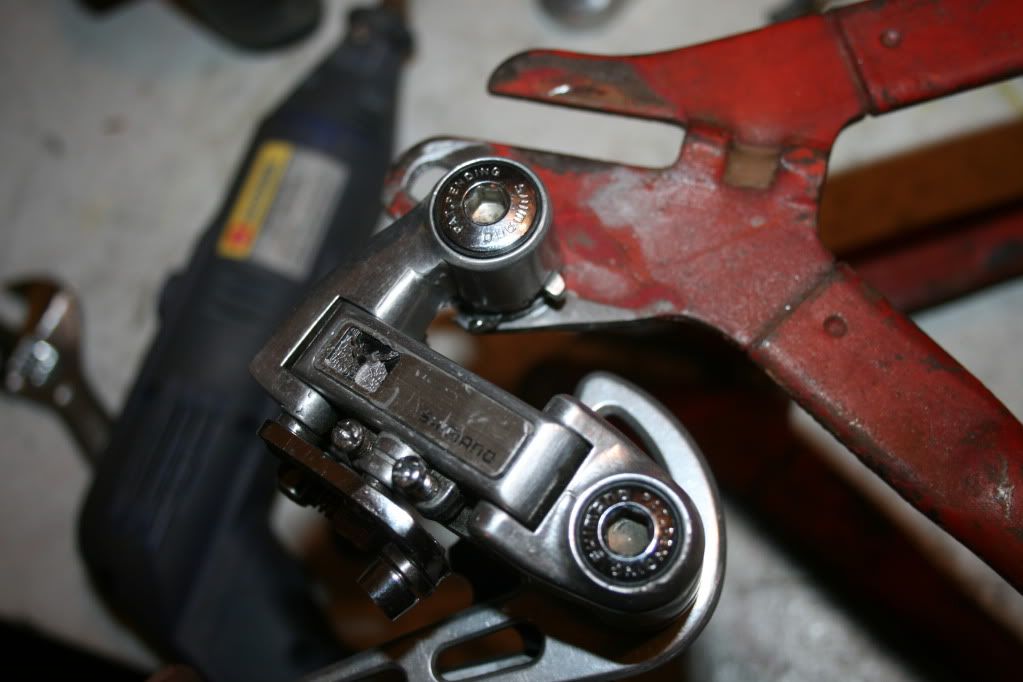
Re-aligning the dropouts was pretty easy using a milling vise. I got lucky and got the alignment perfect on the first try. The key is to be gentle and do it in small increments measuring often.
Next steps? Brazing on canti mounts? Hammering down and trimming the dropstand stops to fashion a derailer hanger using and tap and die? Paint? Powder coat? Who knows but it's gonna be fun.