Electra RS Klunker build

Rat Rod Bikes Bicycle Forum

Help Support Rat Rod Bikes Bicycle Forum:

This site may earn a commission from merchant affiliate links, including eBay, Amazon, and others.
Thanks for the salt and inspiration :bigsmile:

I made a metal bracket which seems to be a bit more stiff.

Overal (bad) pictures of the first position and the new position:

7ZTFYYG.jpeg

qpR8dAk.jpeg


mAuLJIr.jpeg

New position! Also (look wise) balanced.
 
Thanks again @MattiThundrrr and @nevin !

Small update:

I assembled the handbrake levers, front brake cable and the Sturmey Archer shifter.

Next up:
Polish the SST truss.
Fabricate some last parts (truss - front fork brake post connection).
Buy a 1/2 x 1/8 chain today. About 116 links long.
Adjust the rear wheel assemble the shifter cable and the rear drum brake cable.
Details and finishing.

Can't wait to ride this thing! And take some pictures in better light conditions.

Still pursuing that "Vintage Motocross, Boardtracker looks".

Right now I am watching the "Harley and the Davidsons" miniseries again, gives me a lot of build ideas.

SYoNXhx.jpeg

n3CXkTT.jpeg

6KwwfIB.jpeg
 
Hey guys!

Today I can pick up the grips. So excited!

I added the chevrons, I cut them by hand. The stickers are a bit more white than the headtube.
I am not fully sure about the outcome, but maybe give it that little extra by adding a 'line' along the edges by thin sticker or pinstripe. At one hand it is okay, it is going to be used as a utilitarian singletrack mountainbike.

What do you think?
MTP0ycI.jpeg
 
  • Sturmey Archer shifter cables and brake cables are fully connected.
  • Protective transparent tape is added so the paint will not get scratched by the brake and shifter cables while steering.
  • Lock on grips of Mahogany wood are mounted! Used a bit of line seed oil on the handlebars for two reasons:
    • Keep it in good shape.
    • When the oil is dried the grips will be even better attached to the handlebars.
  • Pinstriping paint and brush are ordered.
  • Number "26" sticker added! Because its 26 inch and its not dead ;)
Were almost there!

FkYWRbZ.jpeg

xcNxK6N.jpeg

usGzj6W.jpeg

SxG6NQY.jpeg
 
Aaaaalmost done!

  1. Front cantilever posts that connect with the truss are milled/turned.
  2. I drilled a hole in the backside of the drum brake tab and tapped some M6 tread in there. Now I can lock/clamp the 'front drum brake arm'. When I pull the brake lever on drum brake bikes, there is always an certain amount of play in the drum brake arm and the tab that holds it. When this play is substantial I get the feeling my hub nuts are loosening a bit...... maybe I am nuts, but I like a bike that does not have any rattles and feels solid mechanically. :grin:
  3. I tried some pinstriping! With some enamel paint and a squirrel haired brush. Right along the edges of the chevrons and the green/white. The colour was actually too light for me, but it is OK when I brushed the green part of the frame. When I brushed over the white part..... it is too light of tone again.
Pinstriping (my first time) went pretty alright for this build. Far from perfect, but happy with the overall looks!

To do: brake/shifter cable management and a final check! Then I am ready for mr Gnar. Maybe sign up for a local mountainbike race.

rGOd1yo.jpeg

EBHNB3d.jpeg

zYyRJVq.jpeg

2aeQg4x.jpeg

v76L9bt.jpeg

pkc9pYE.jpeg

ipkt44B.jpeg

momp441.jpeg

kc0I17N.jpeg

CdlkSYb.jpeg

Fokt5Pt.jpeg
 
Last edited:
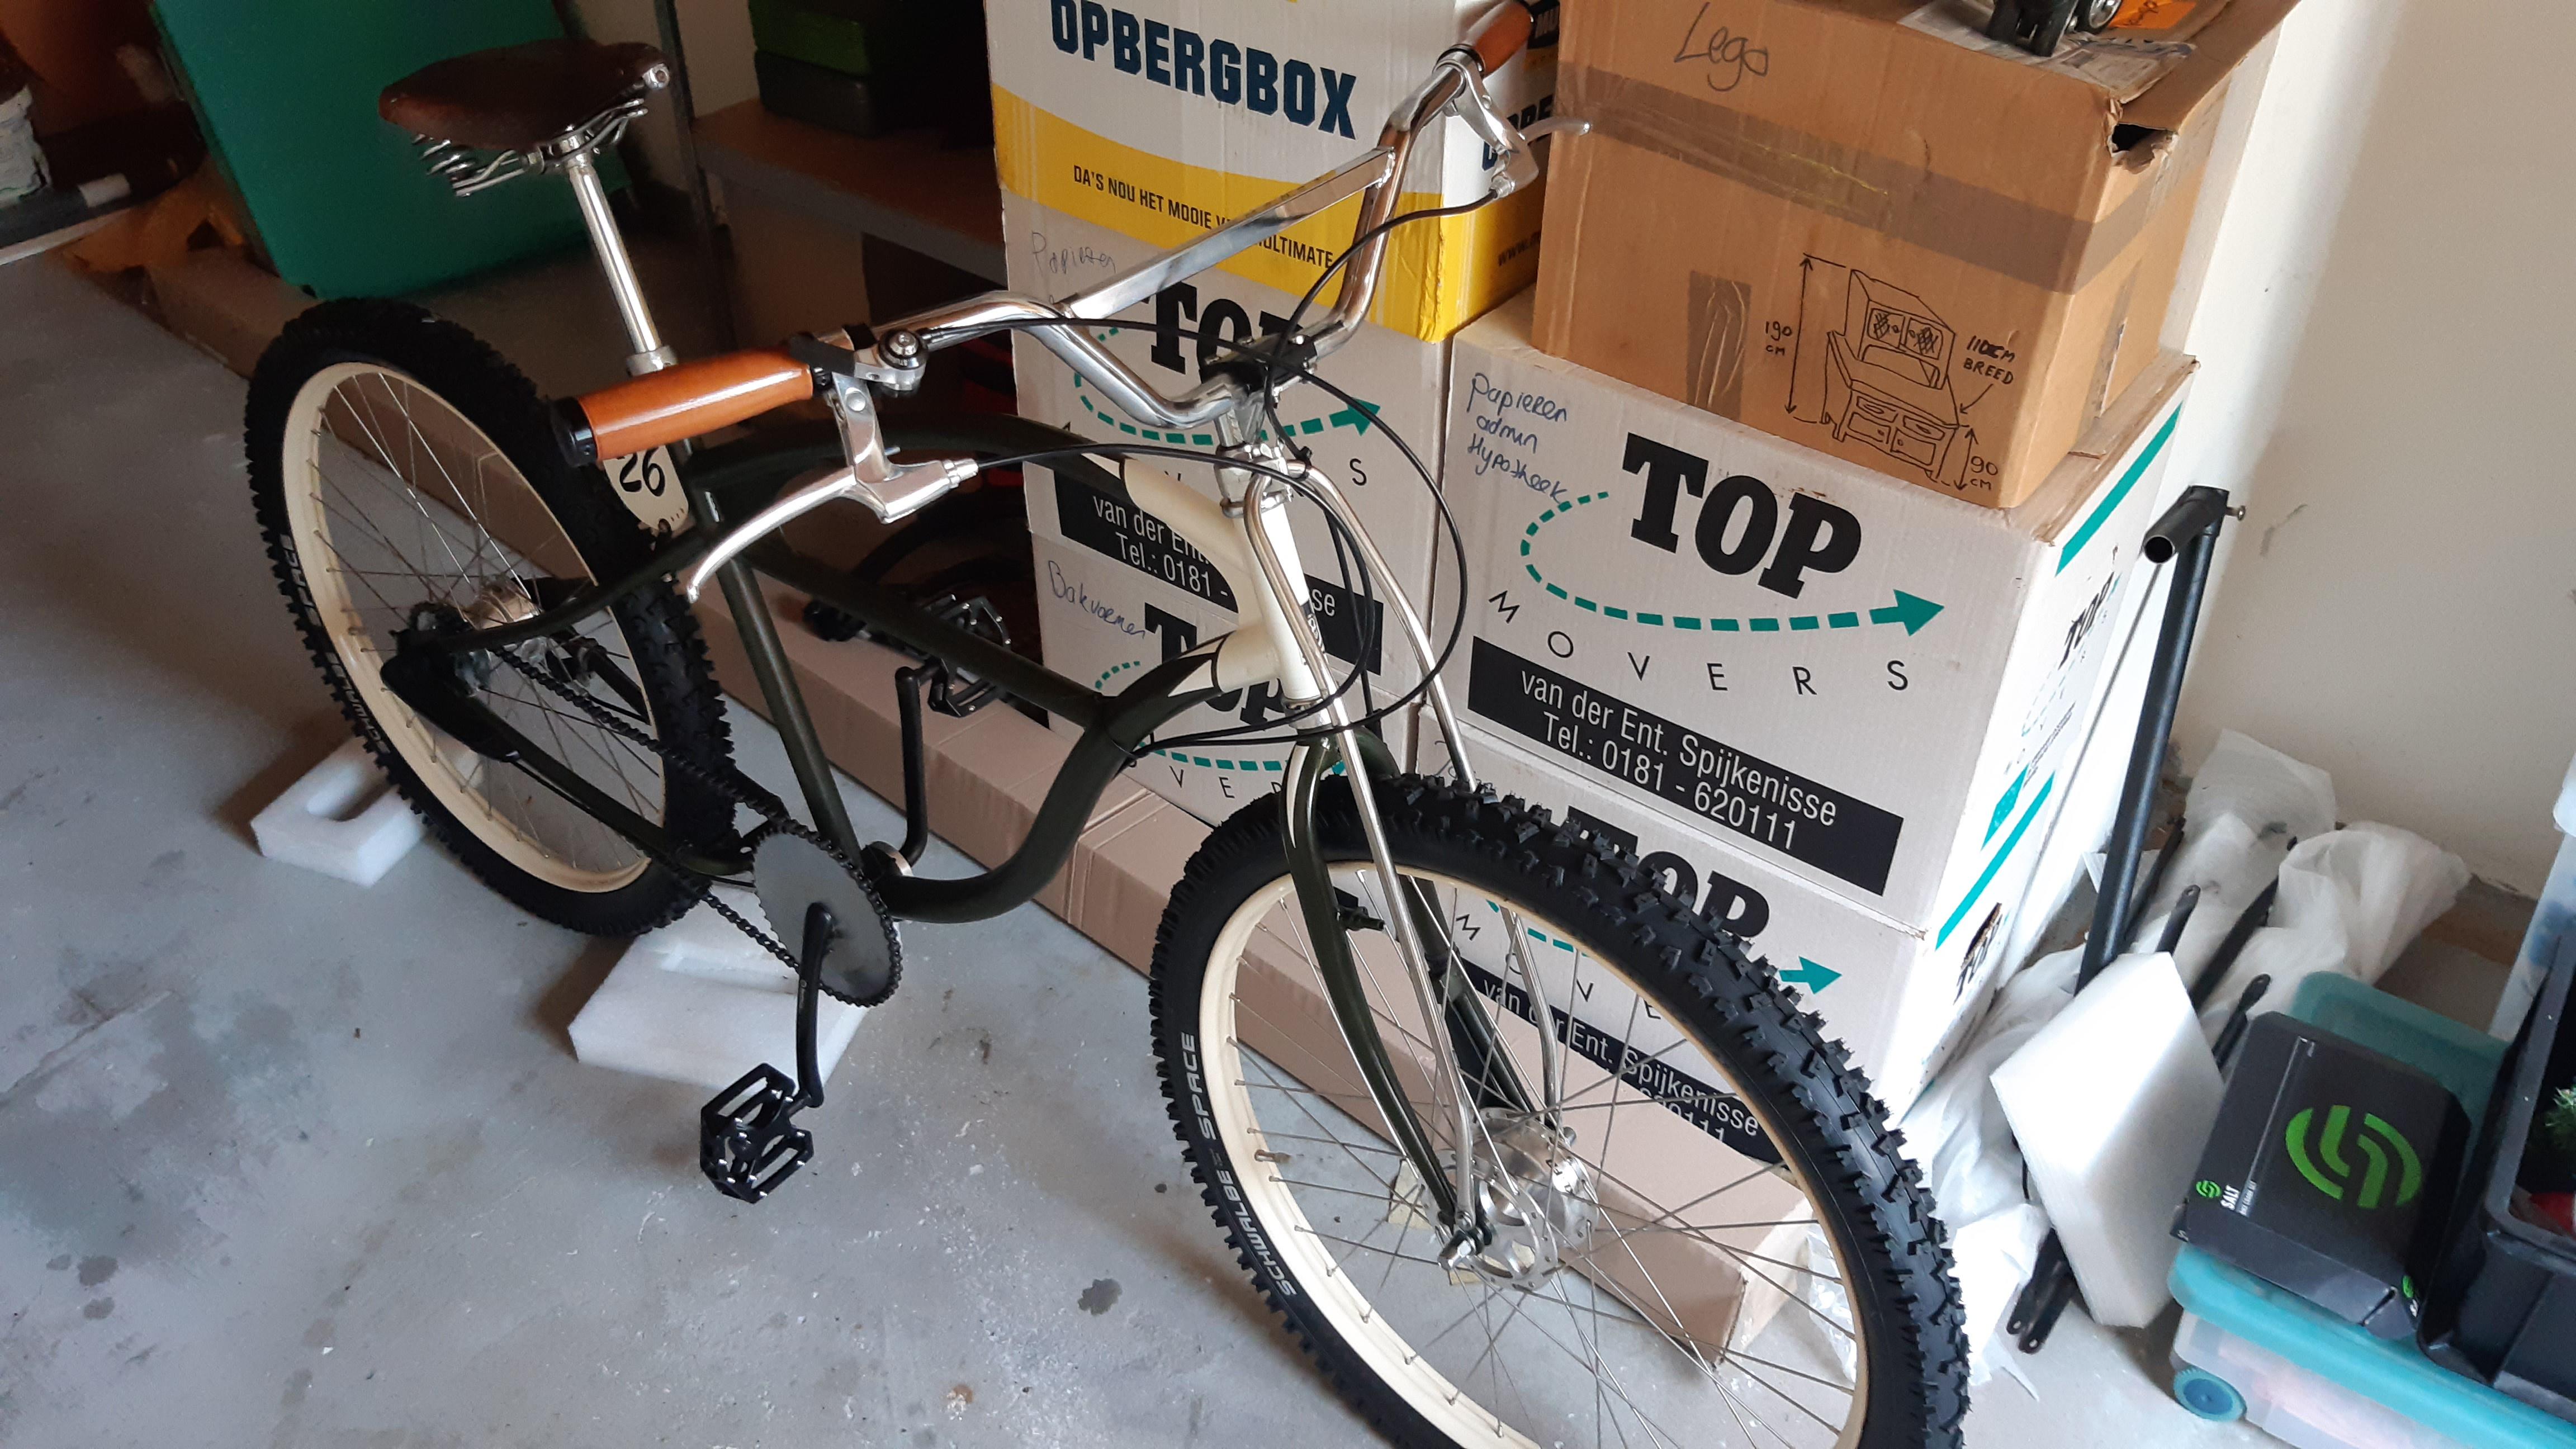
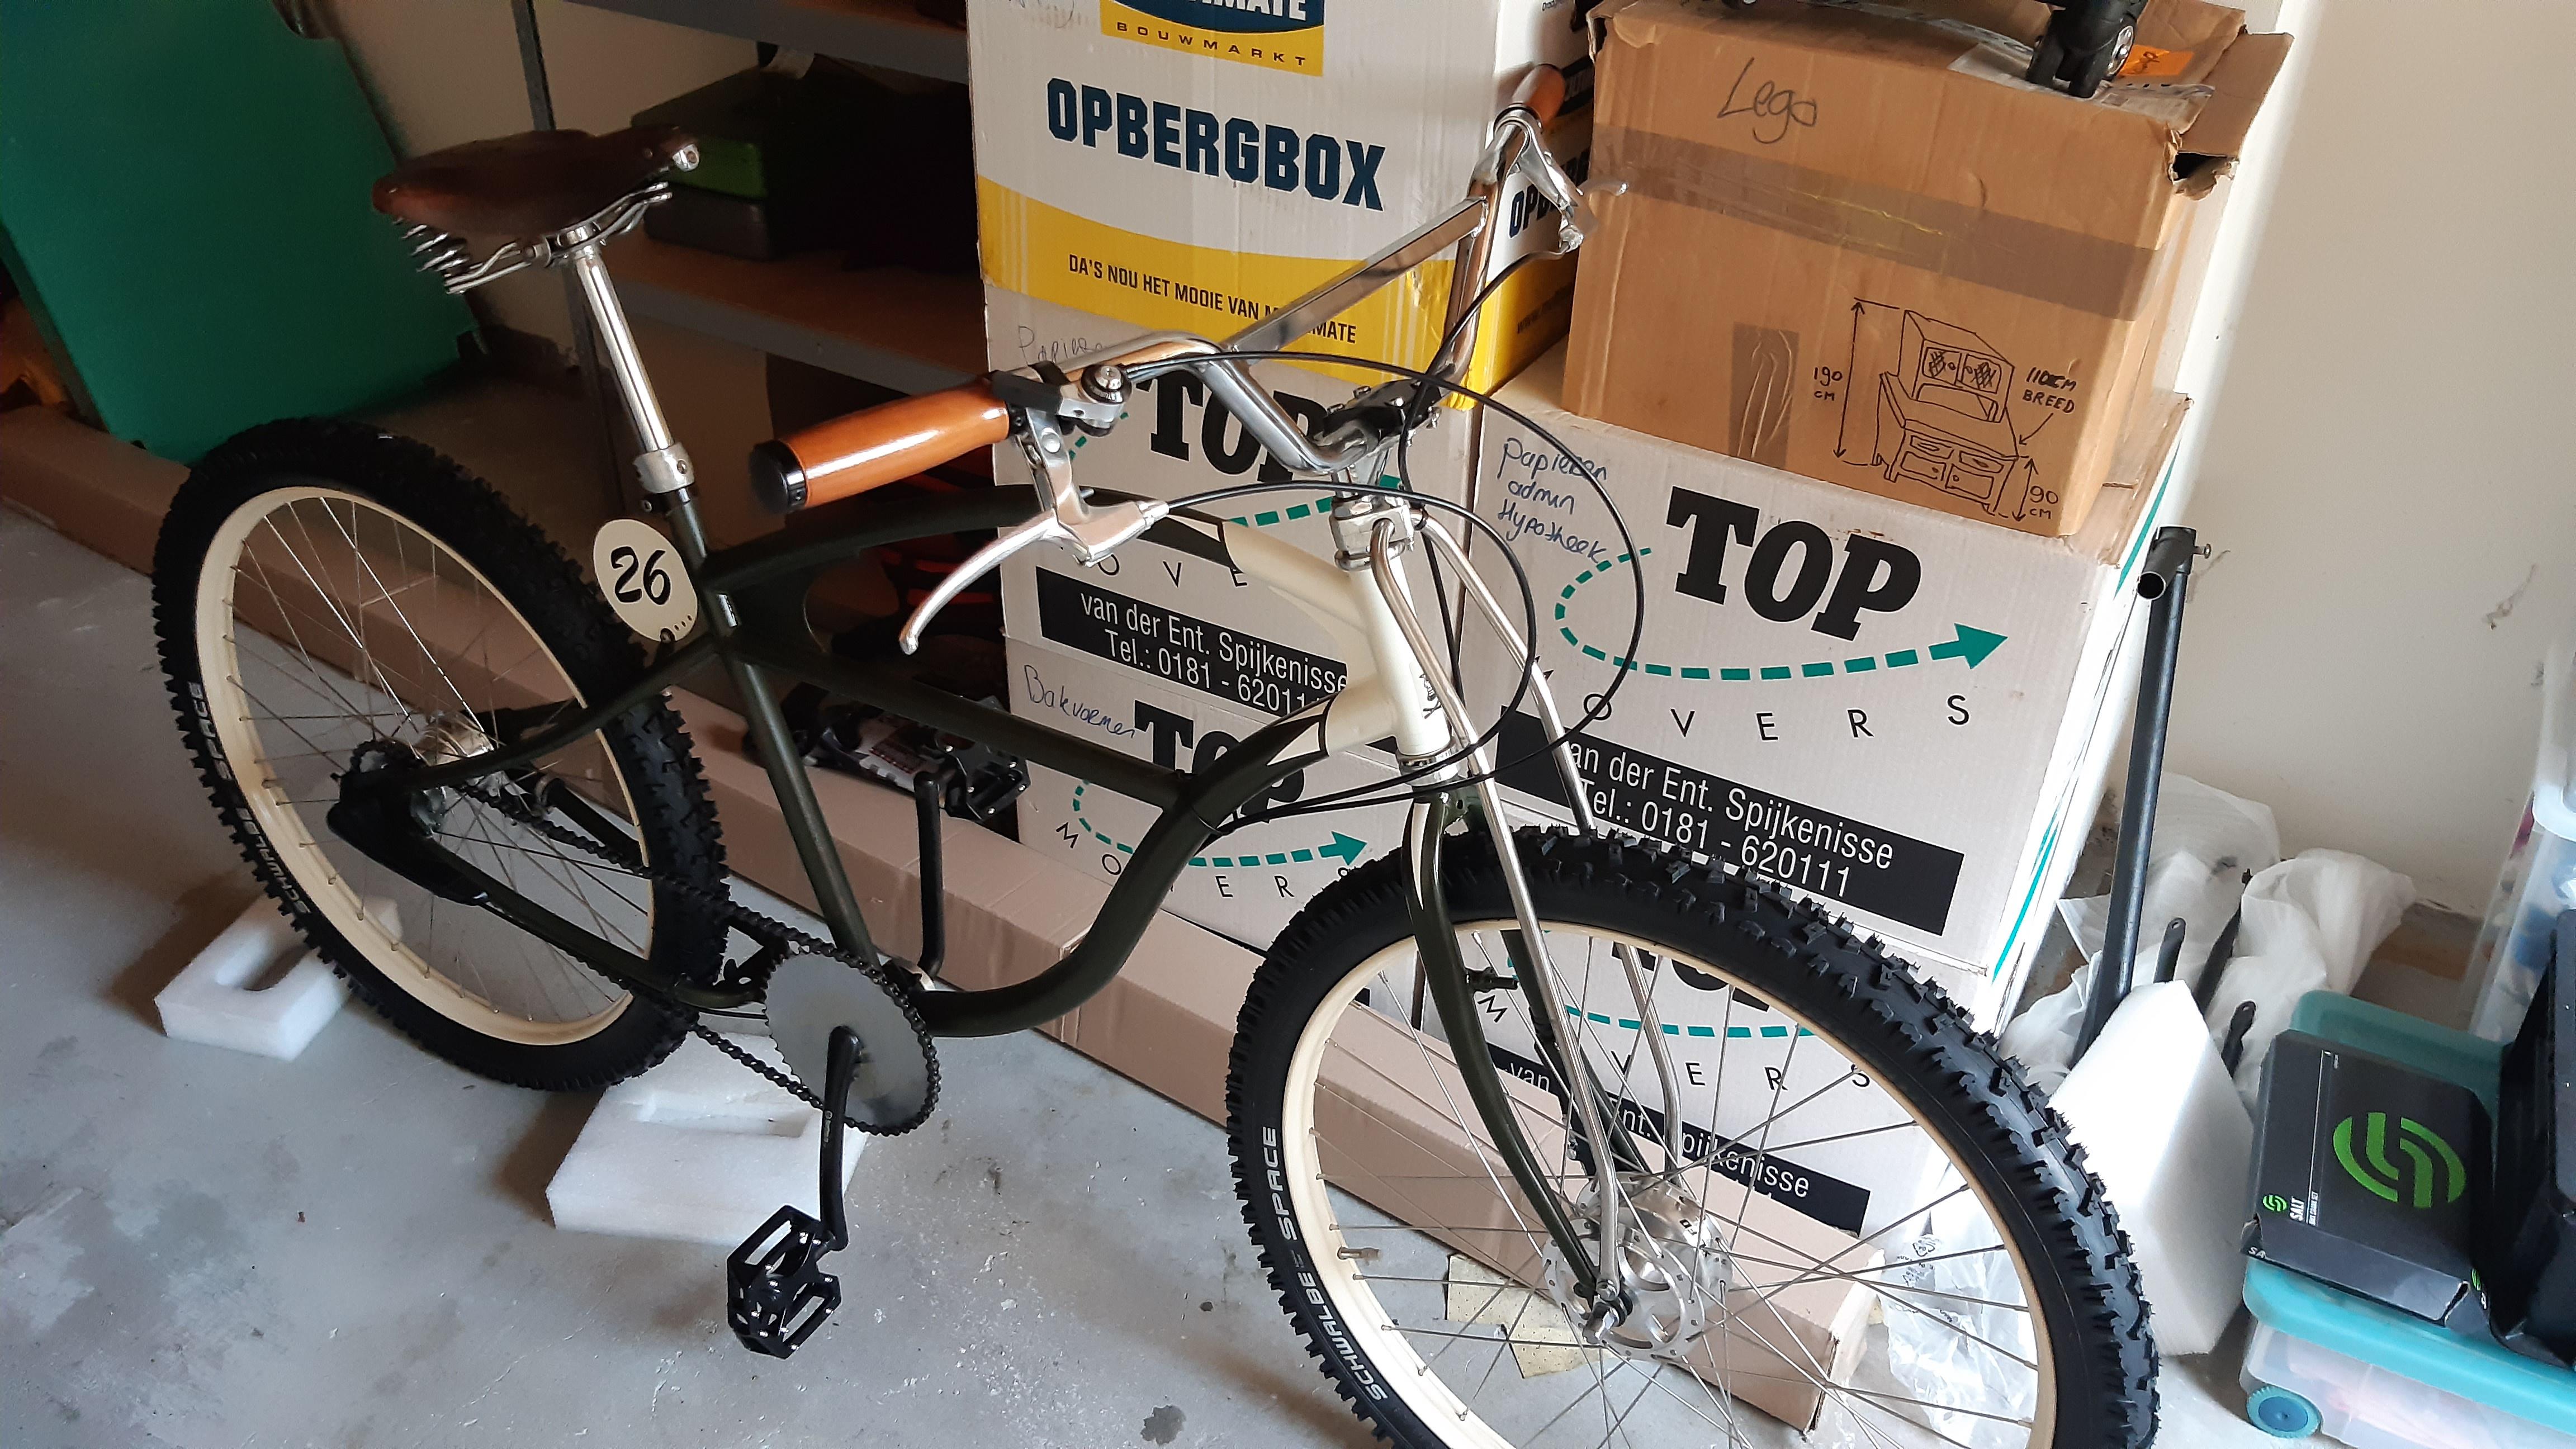
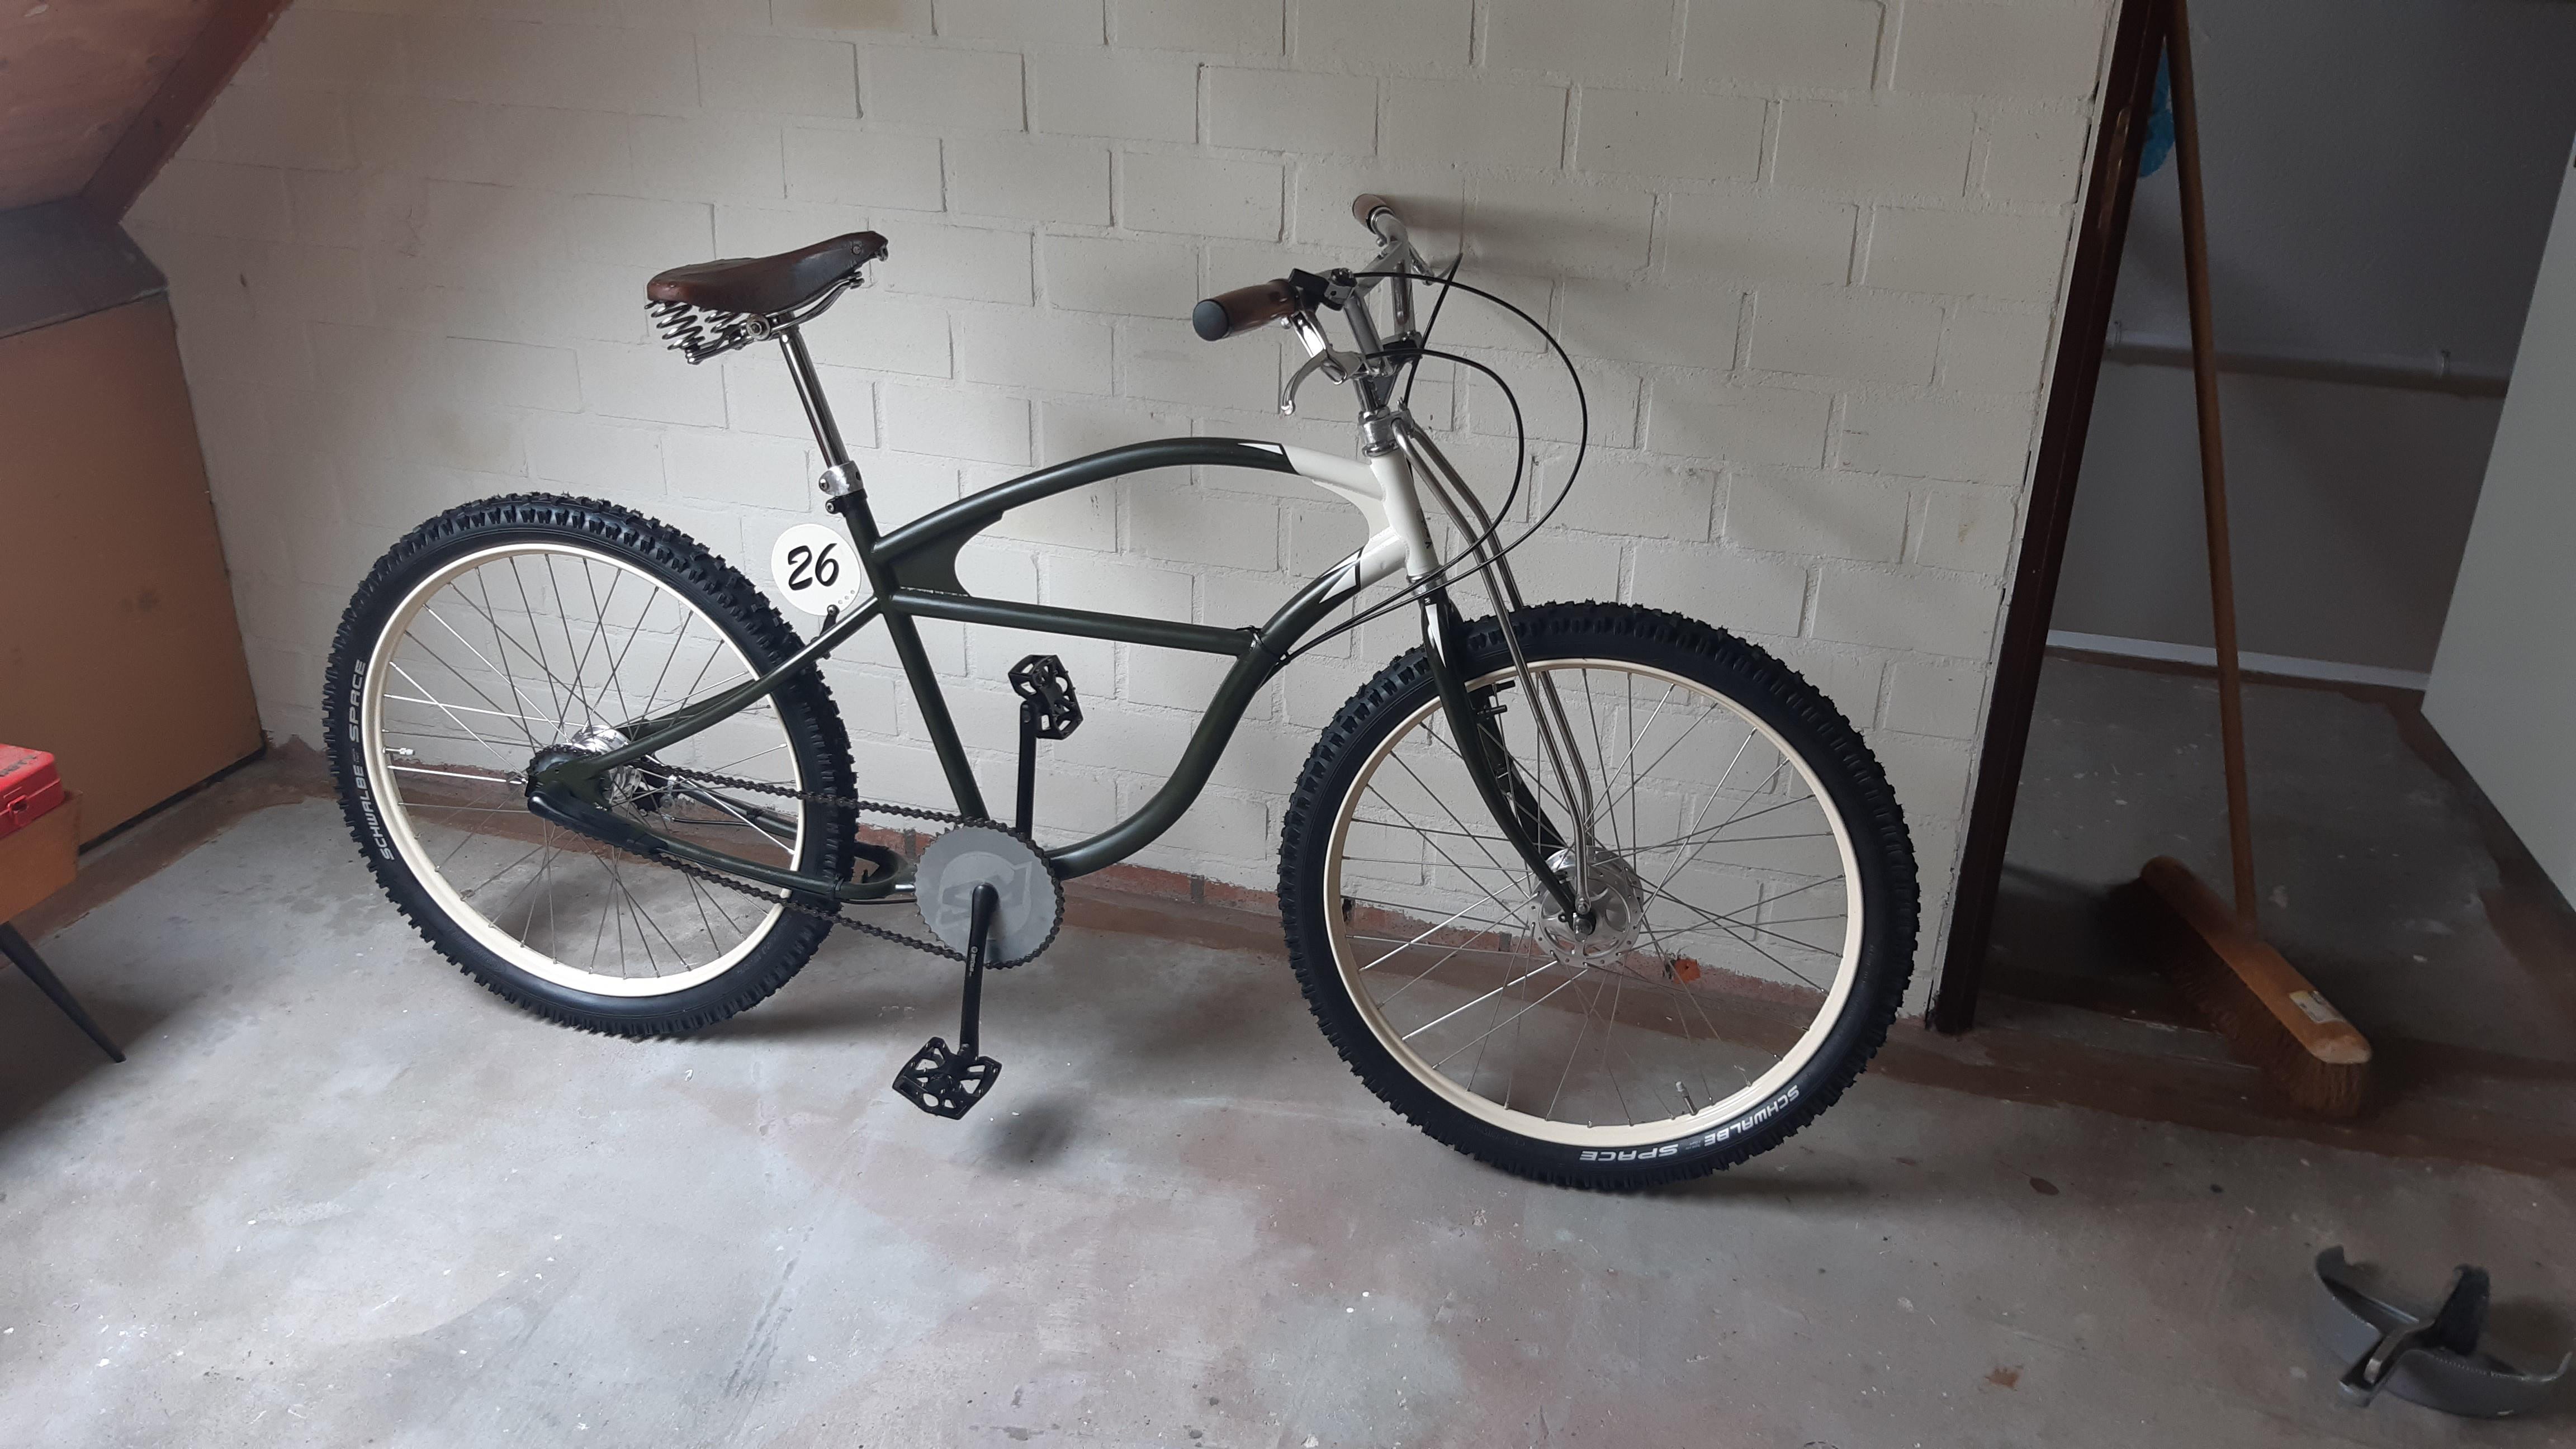
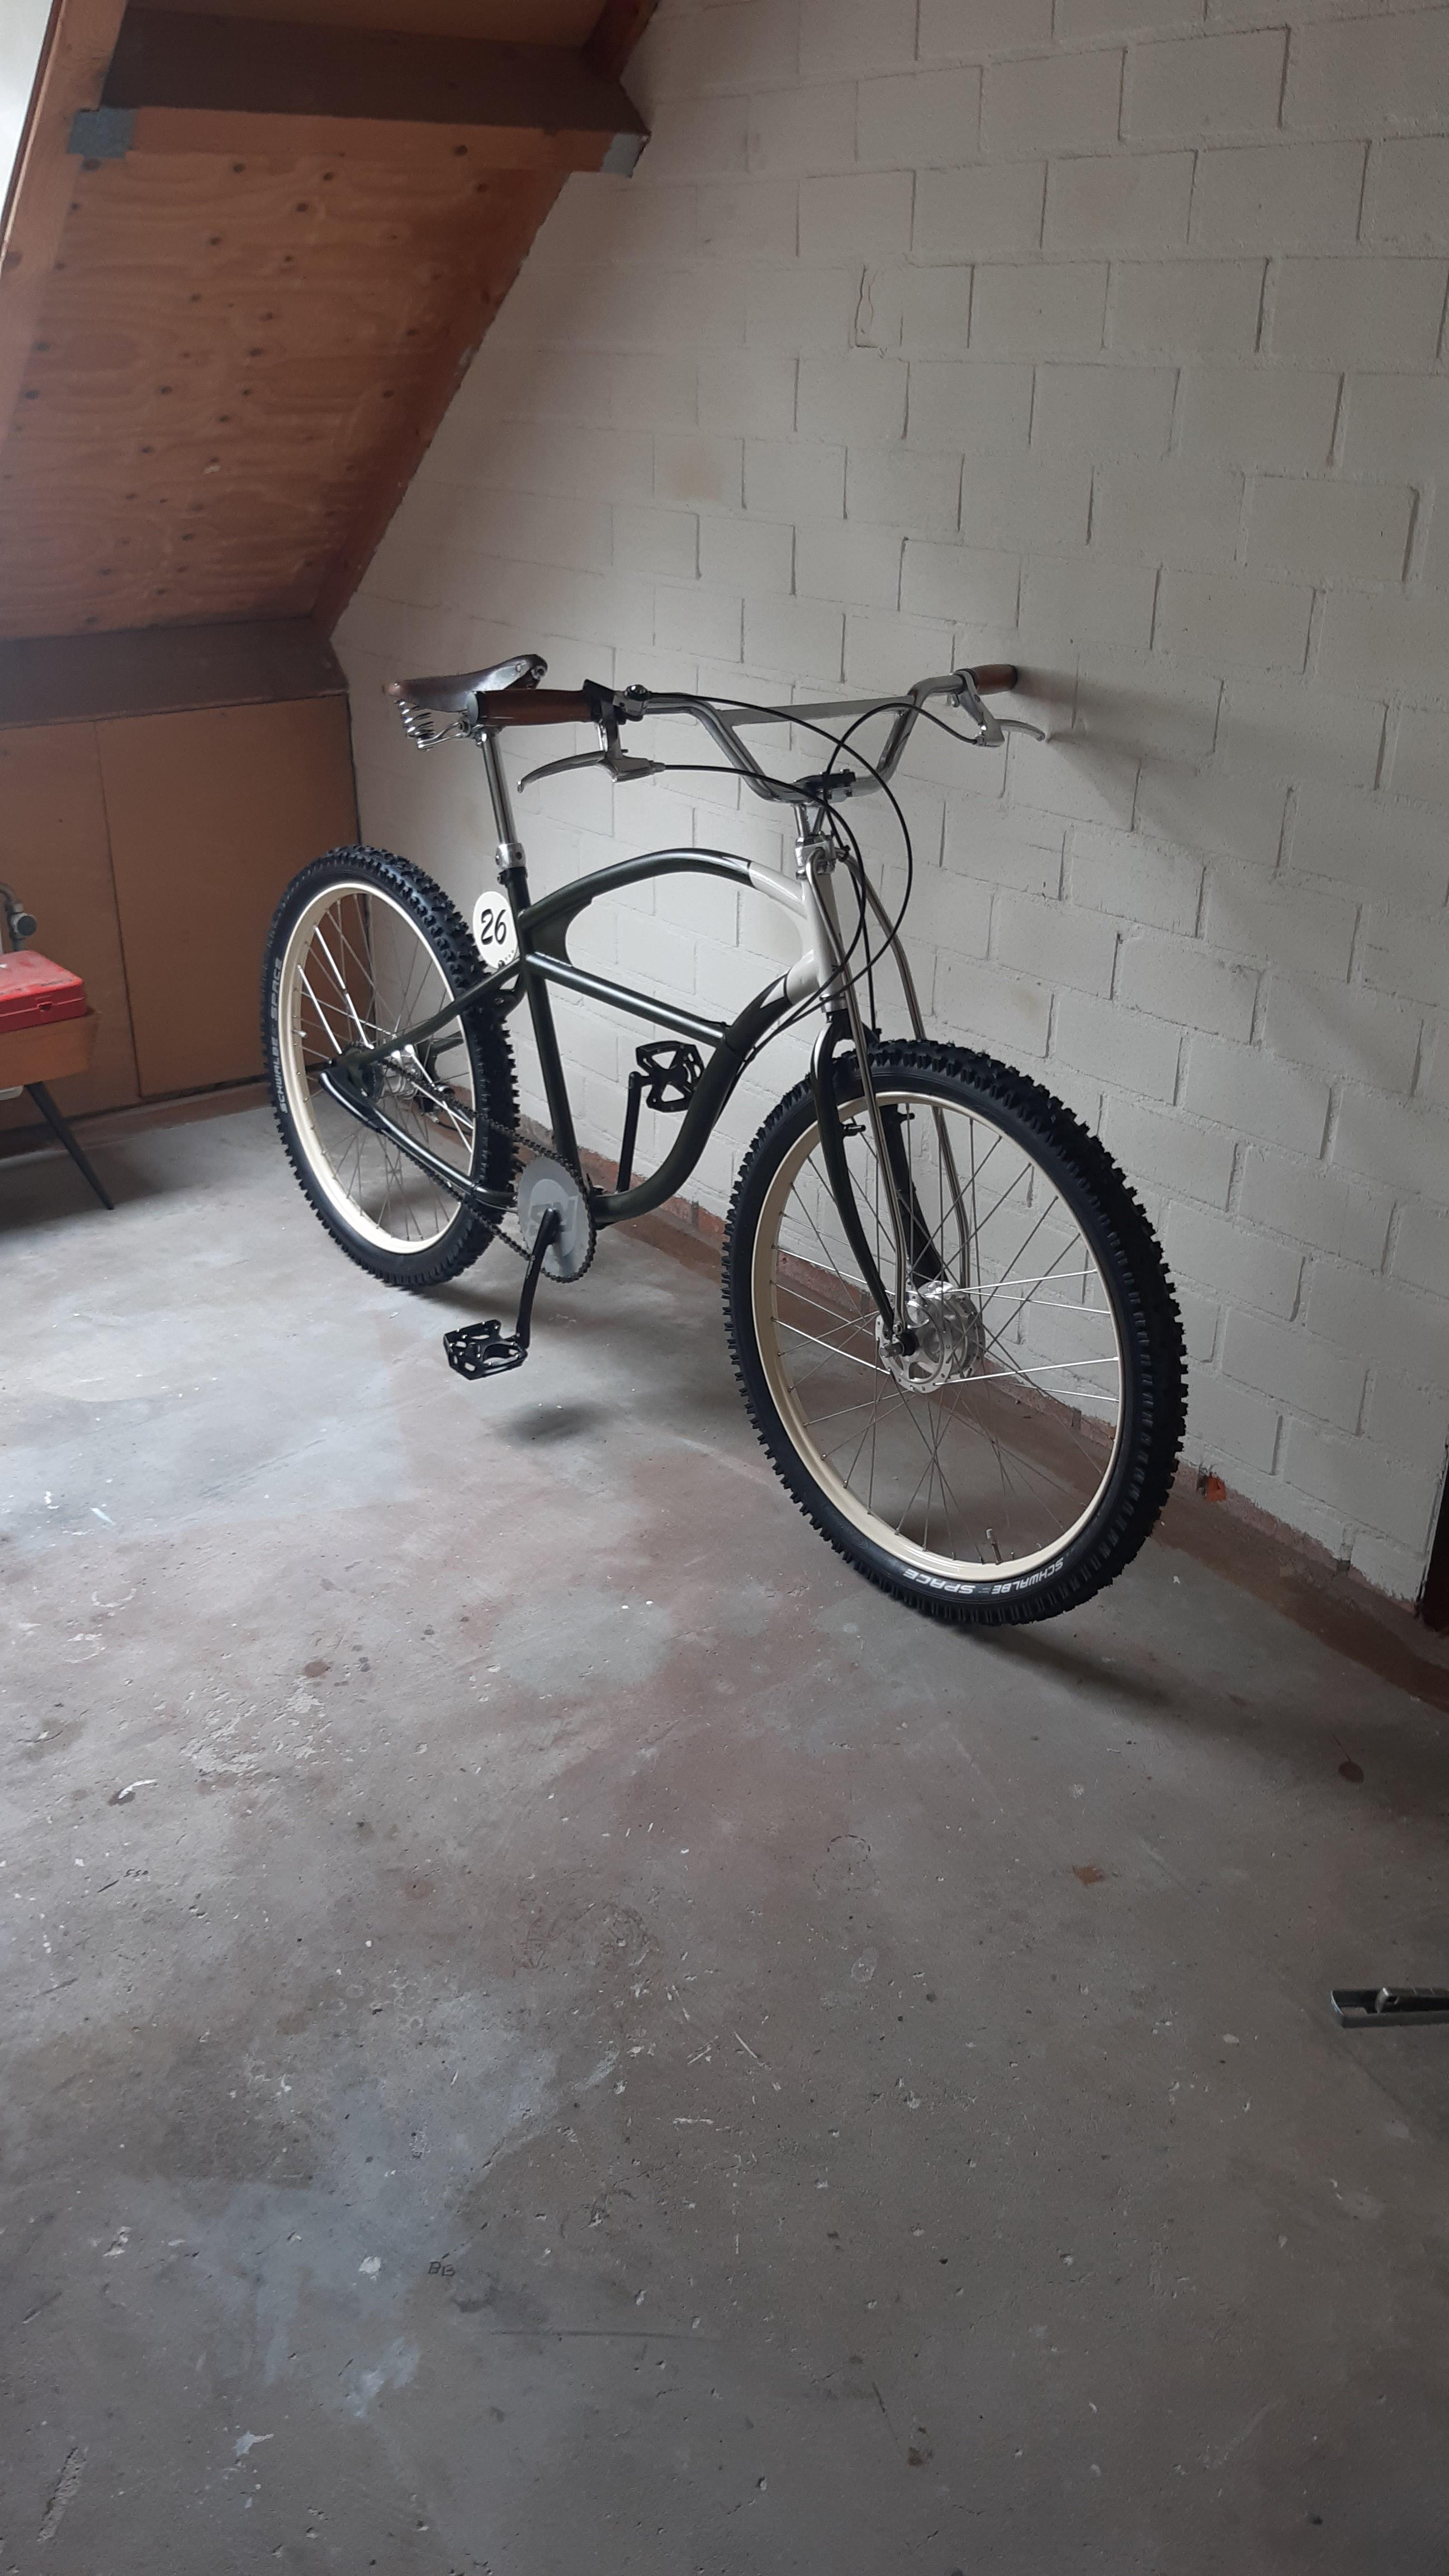
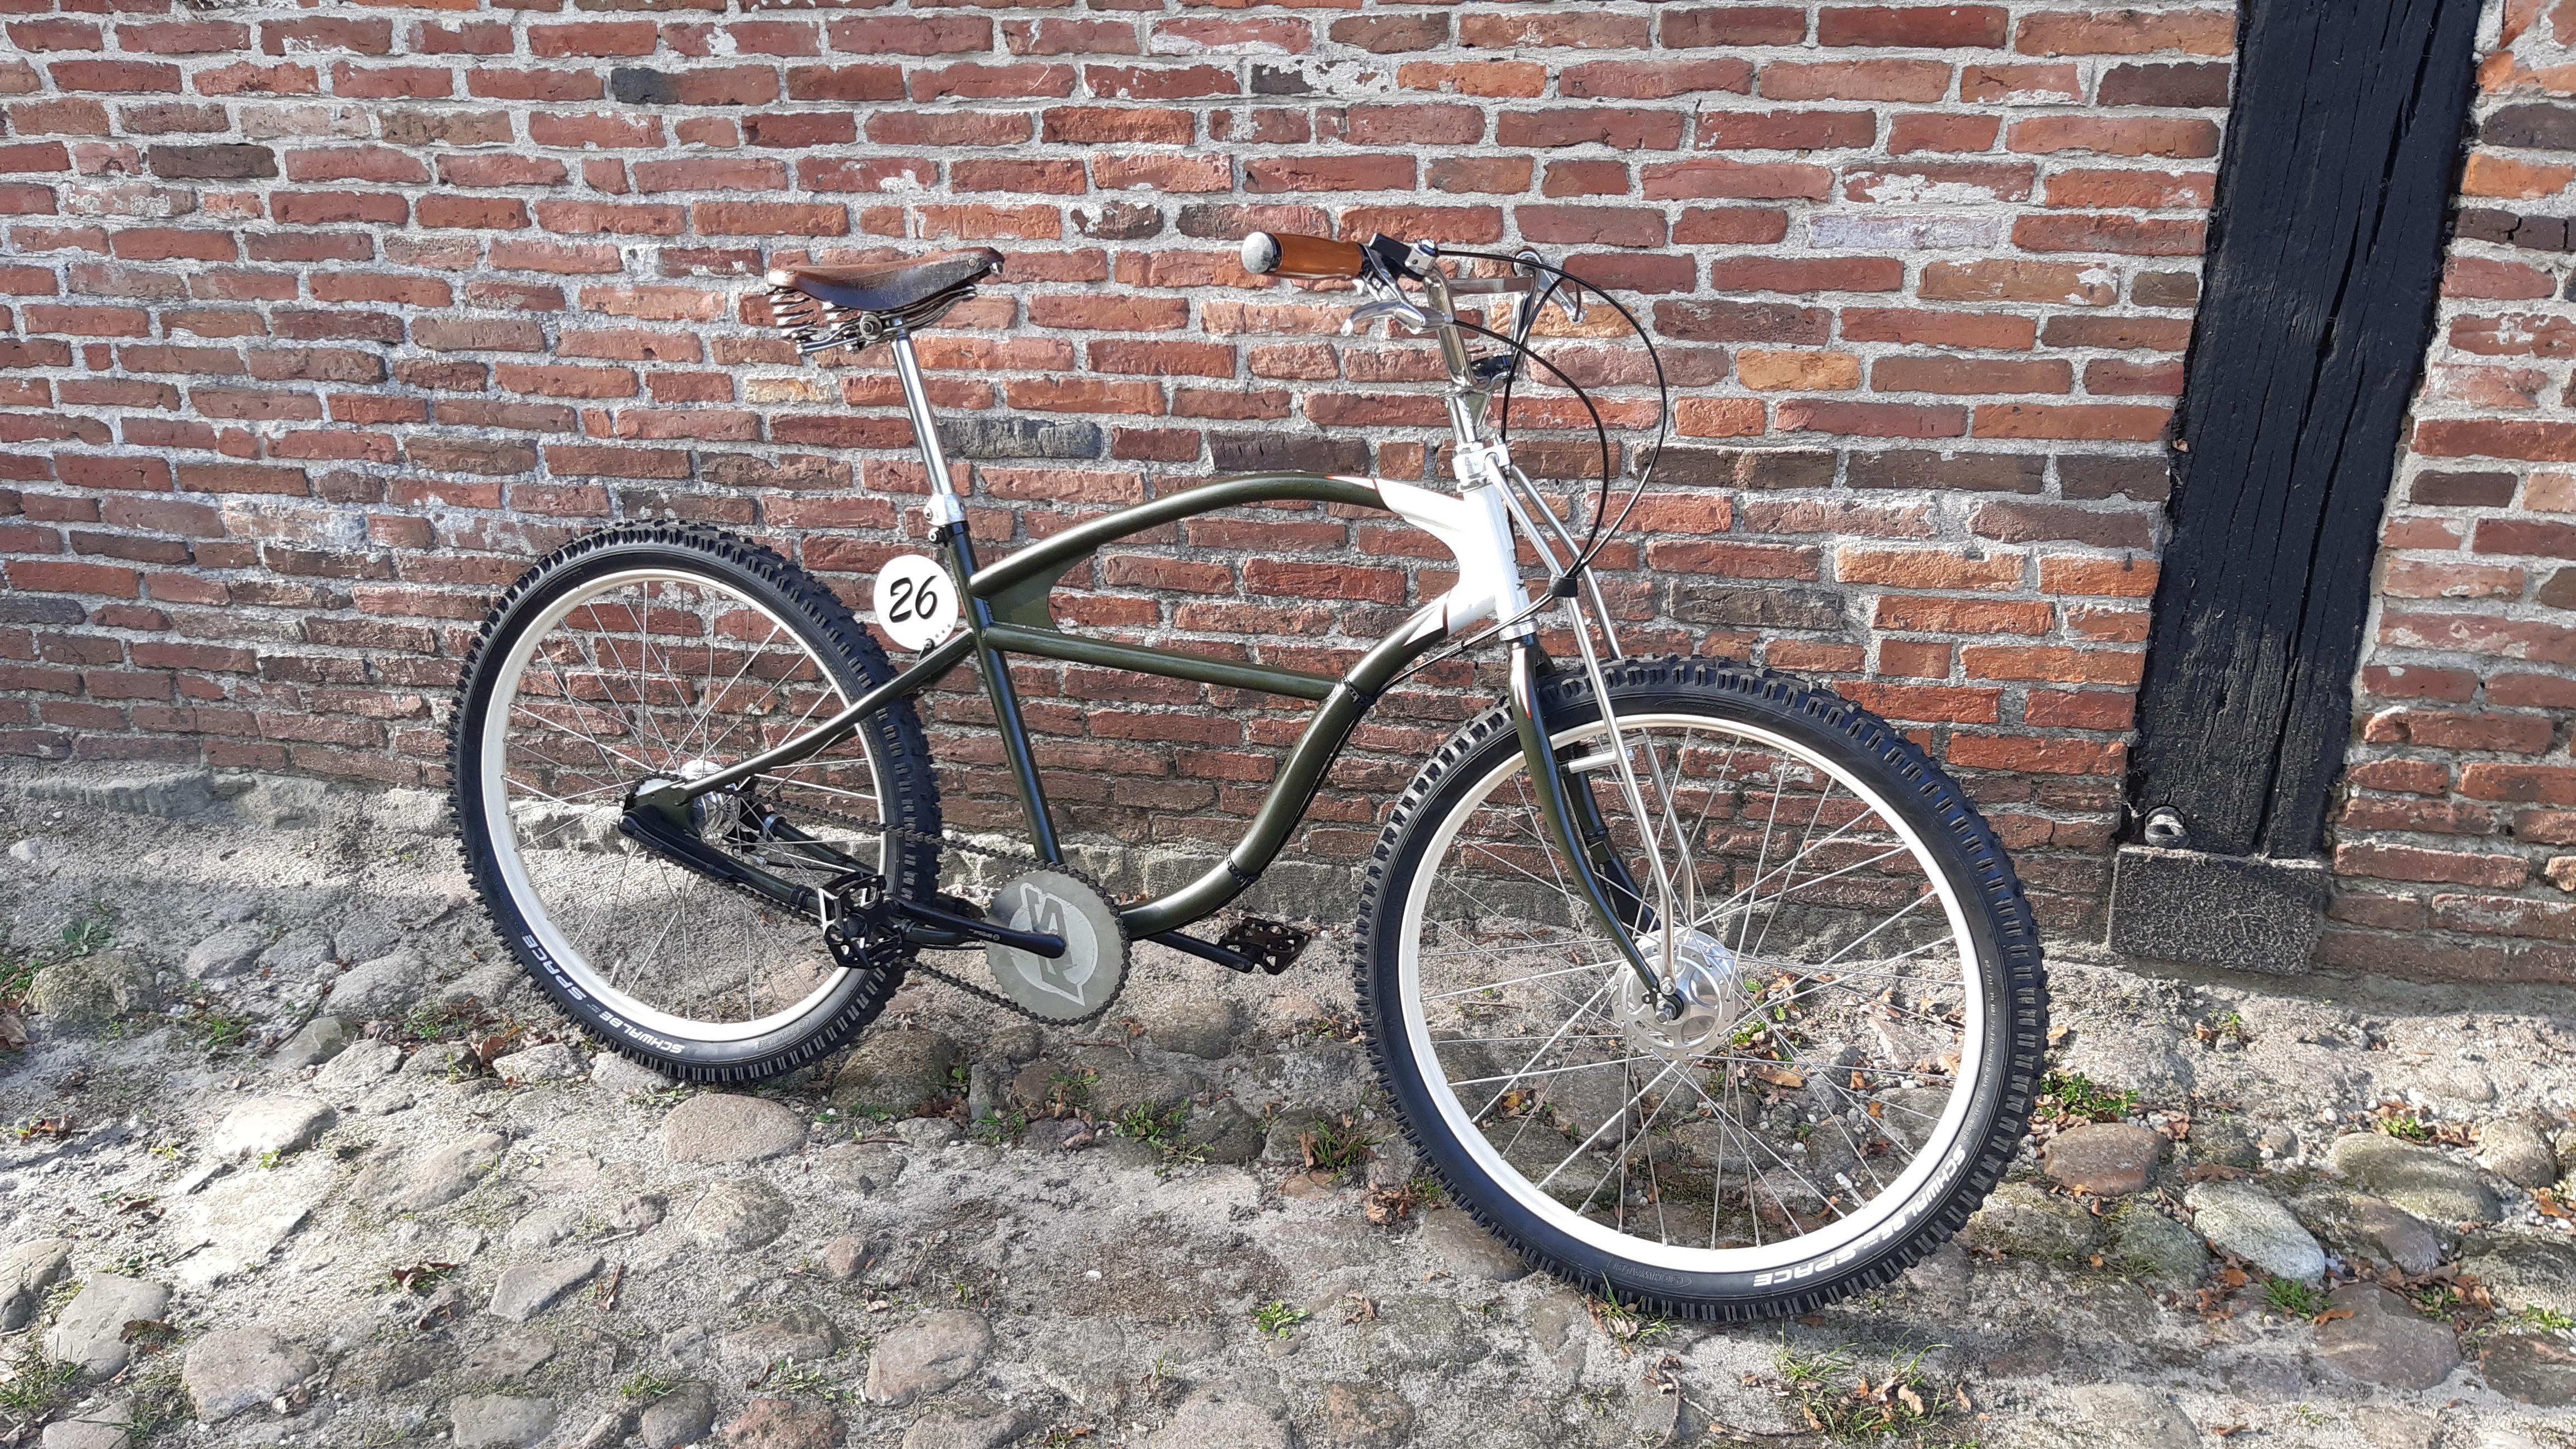
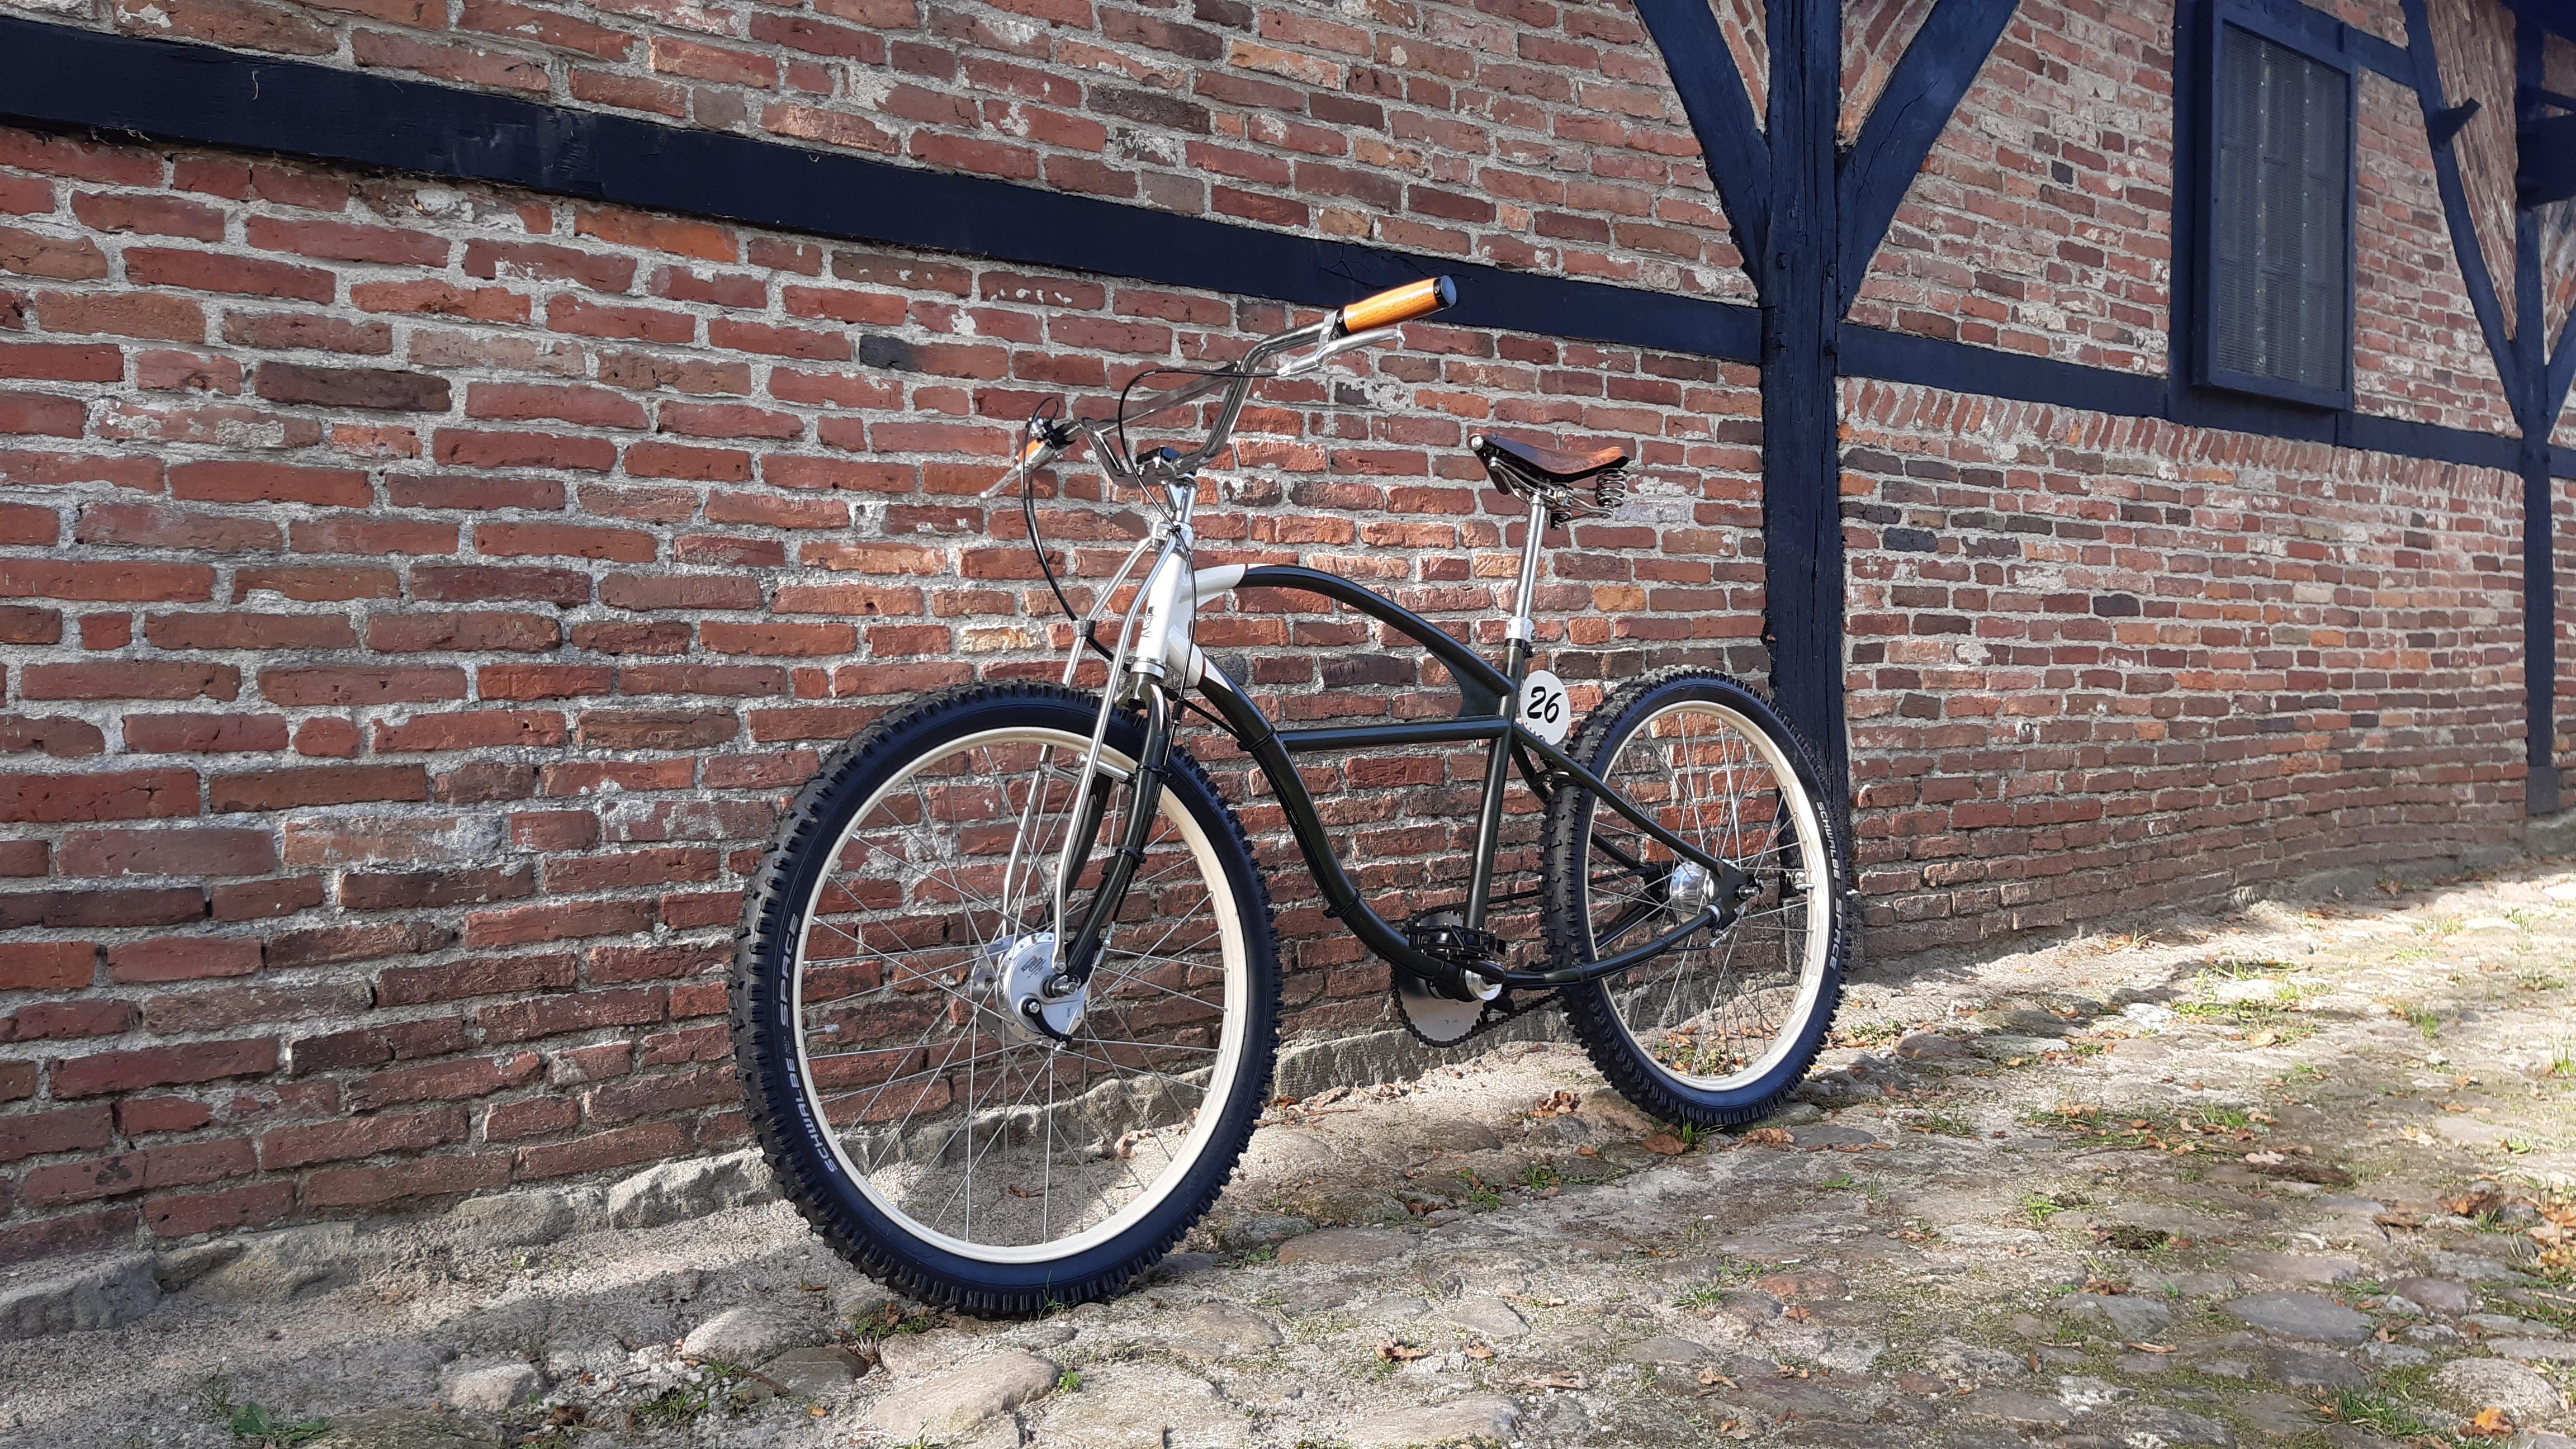
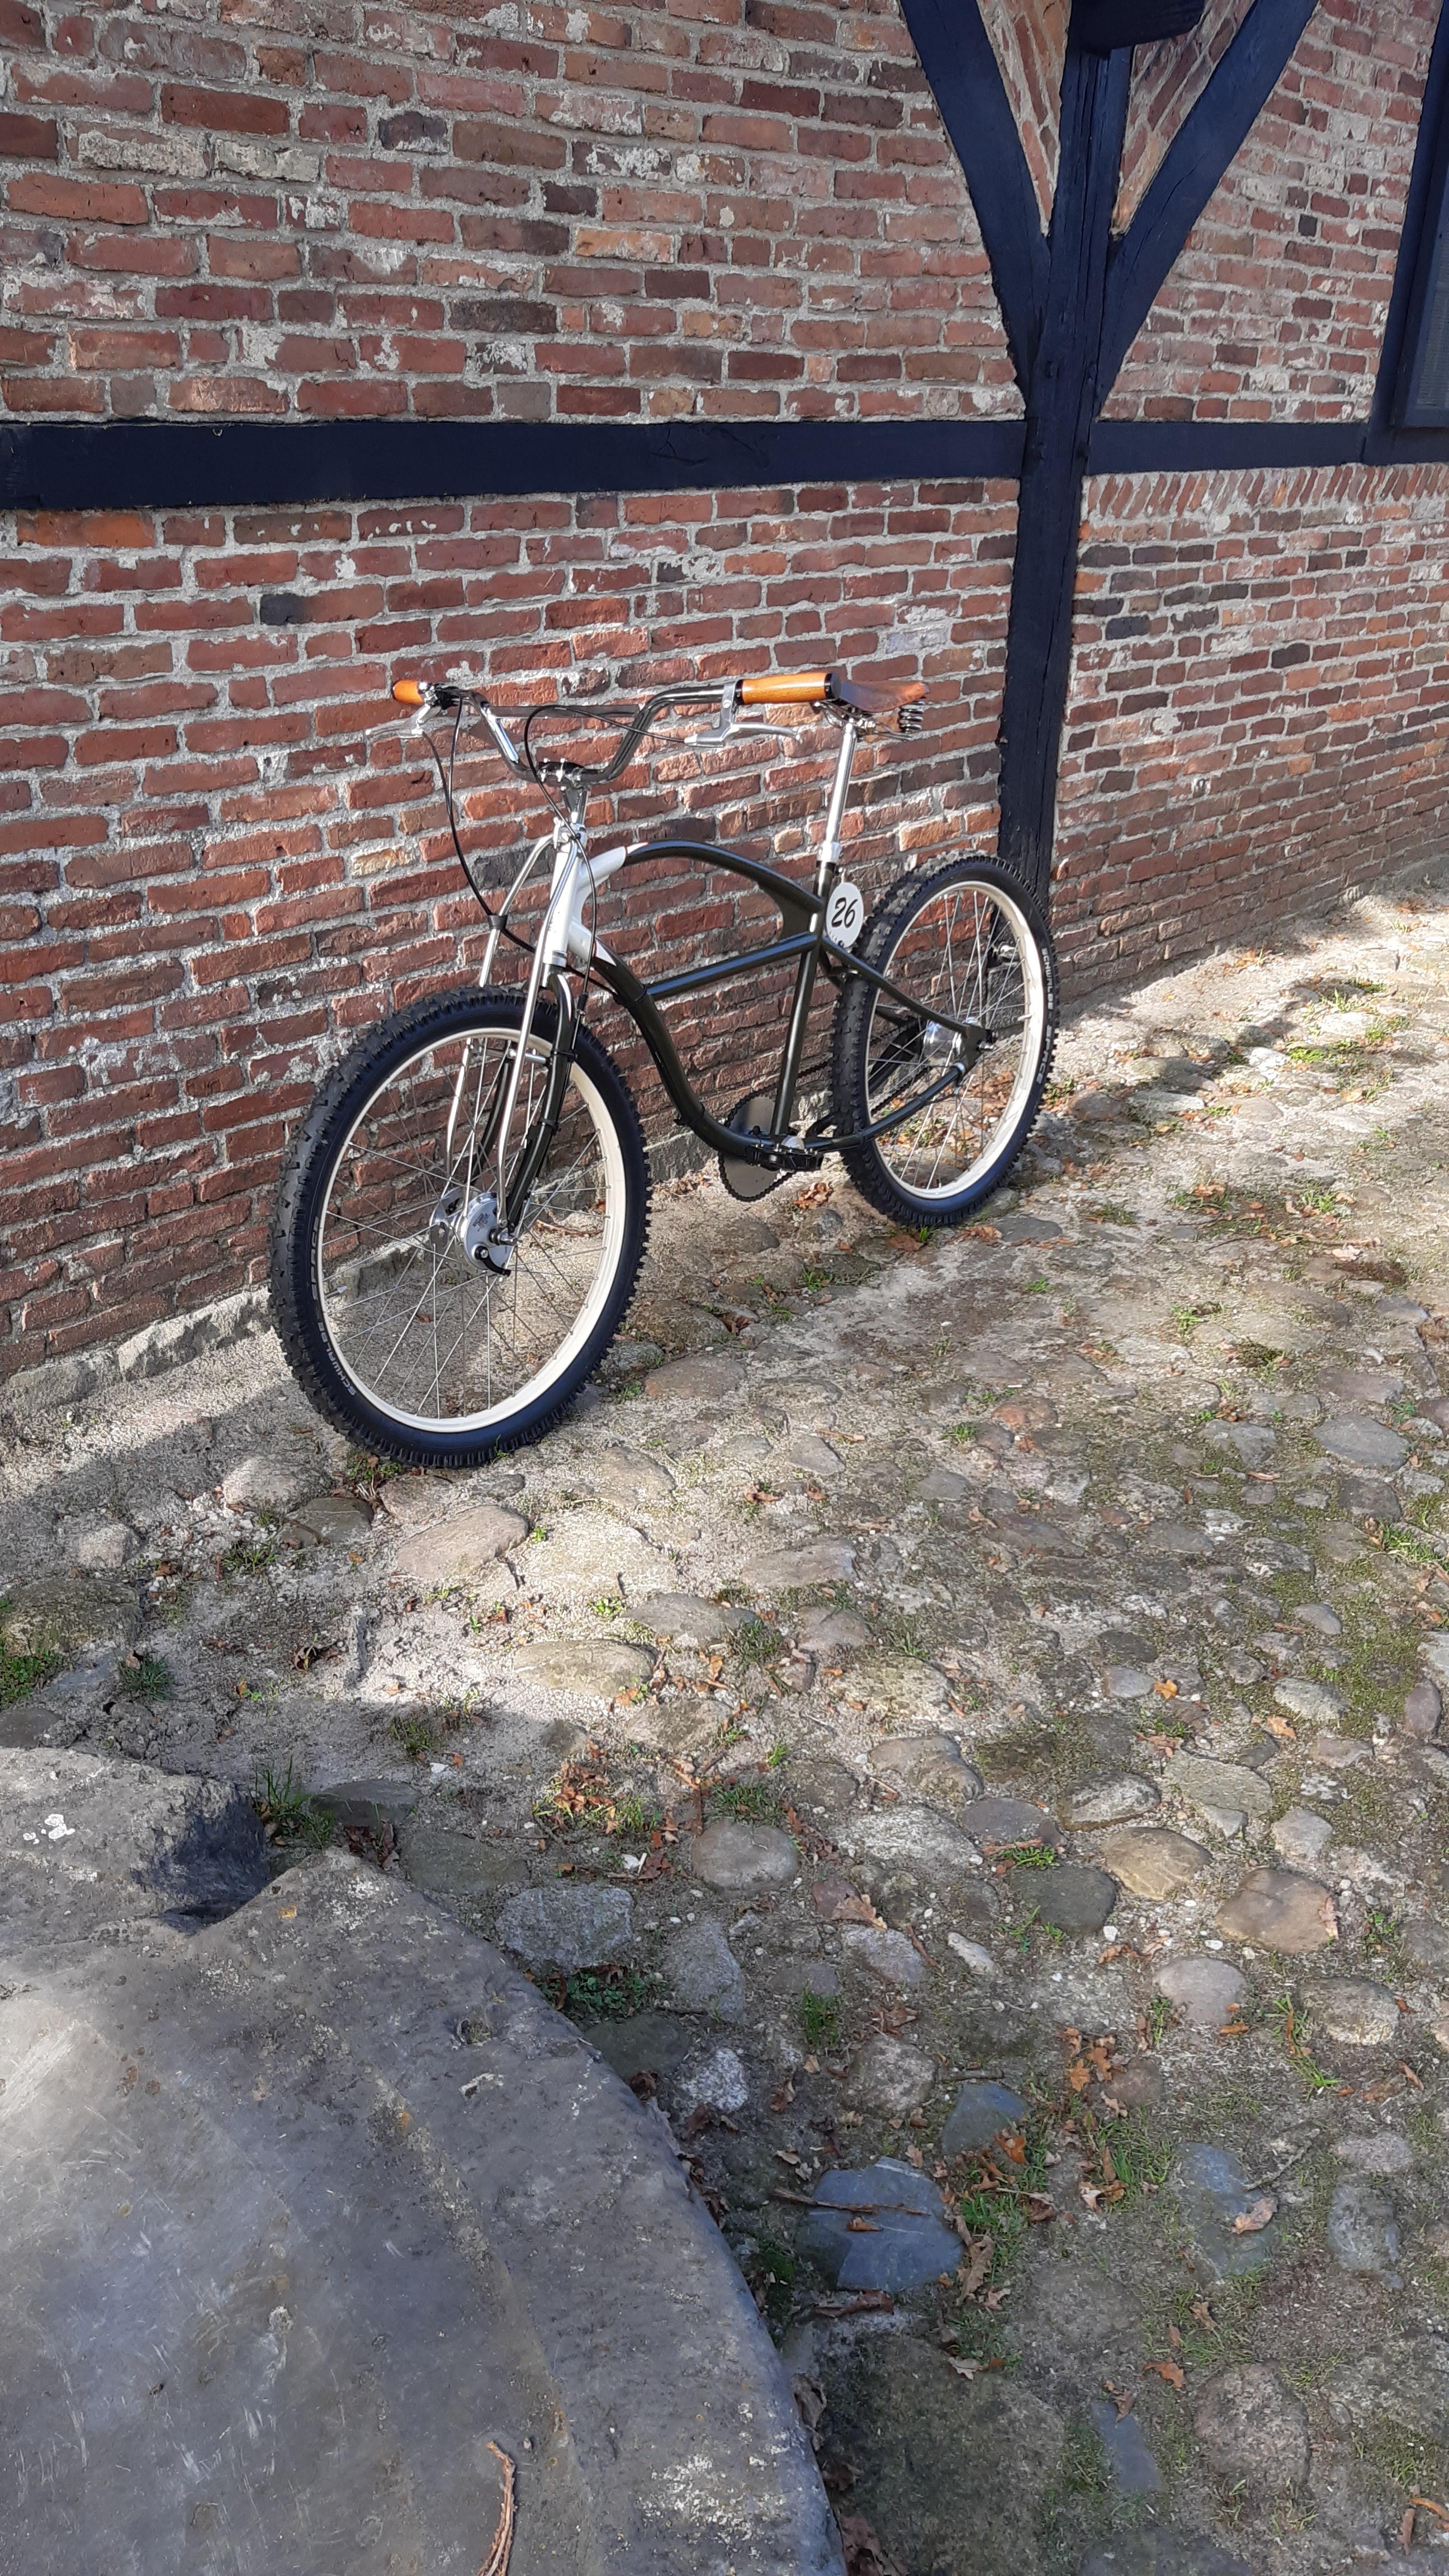
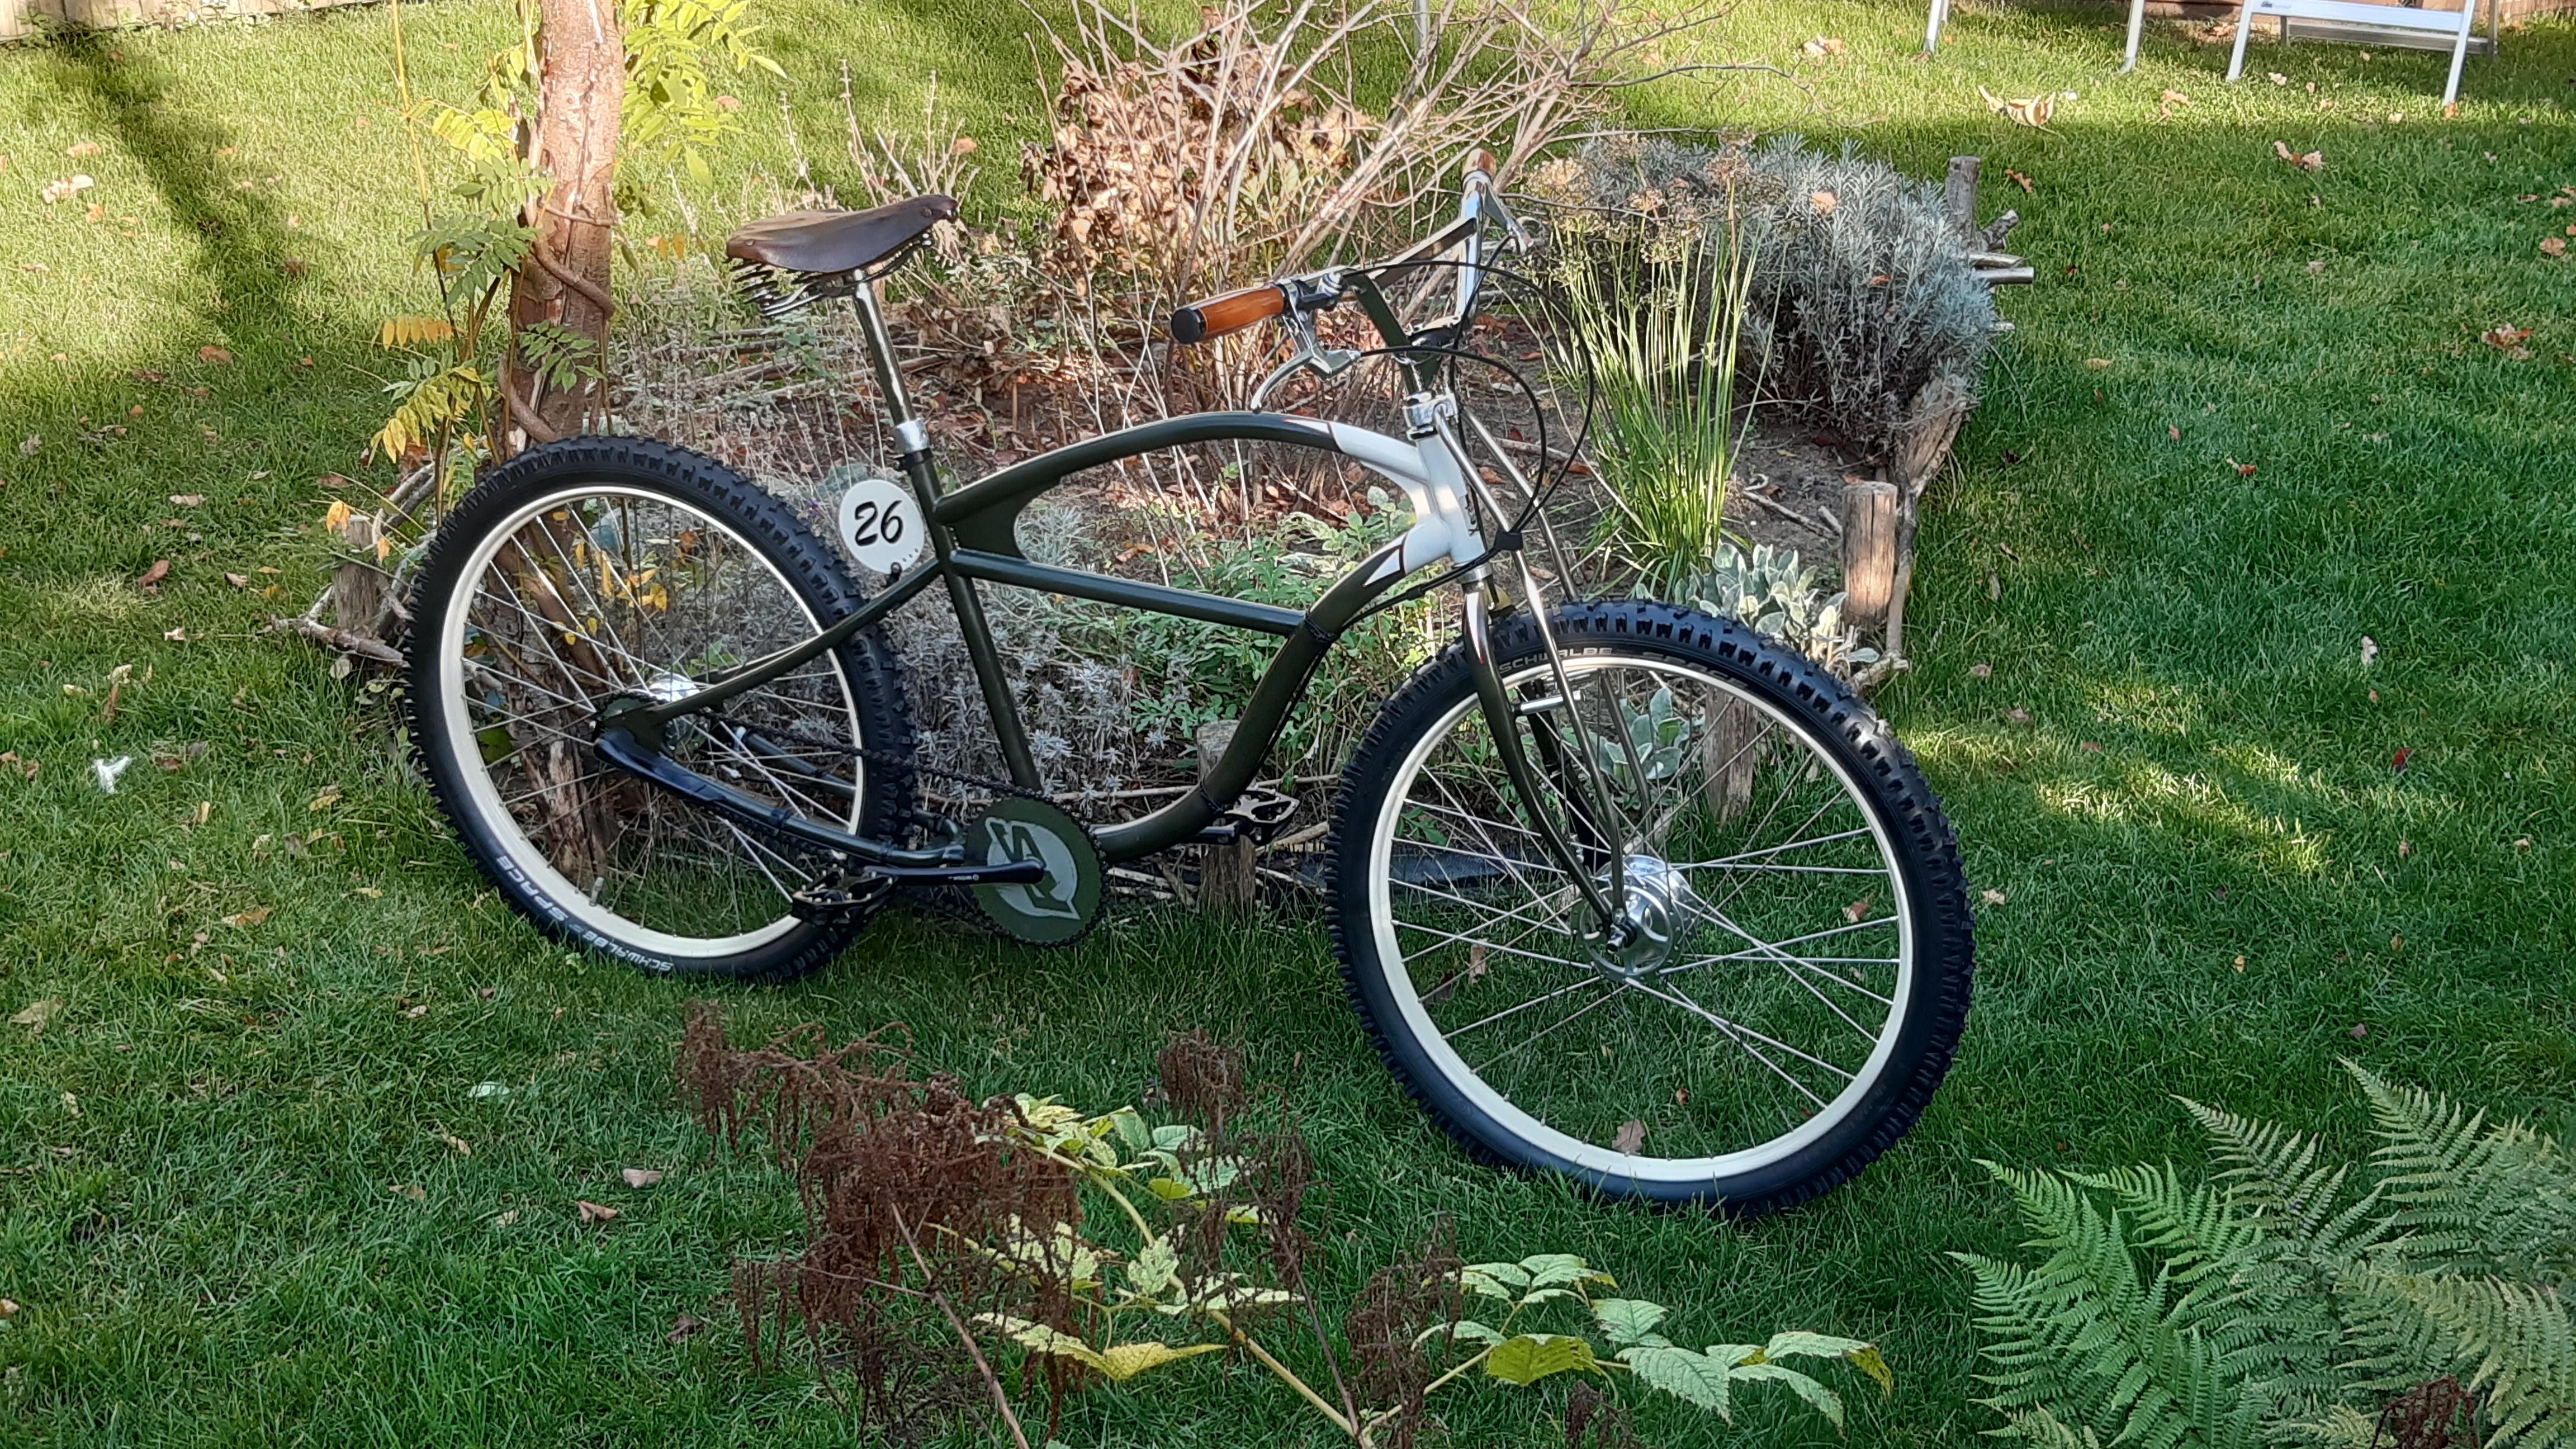
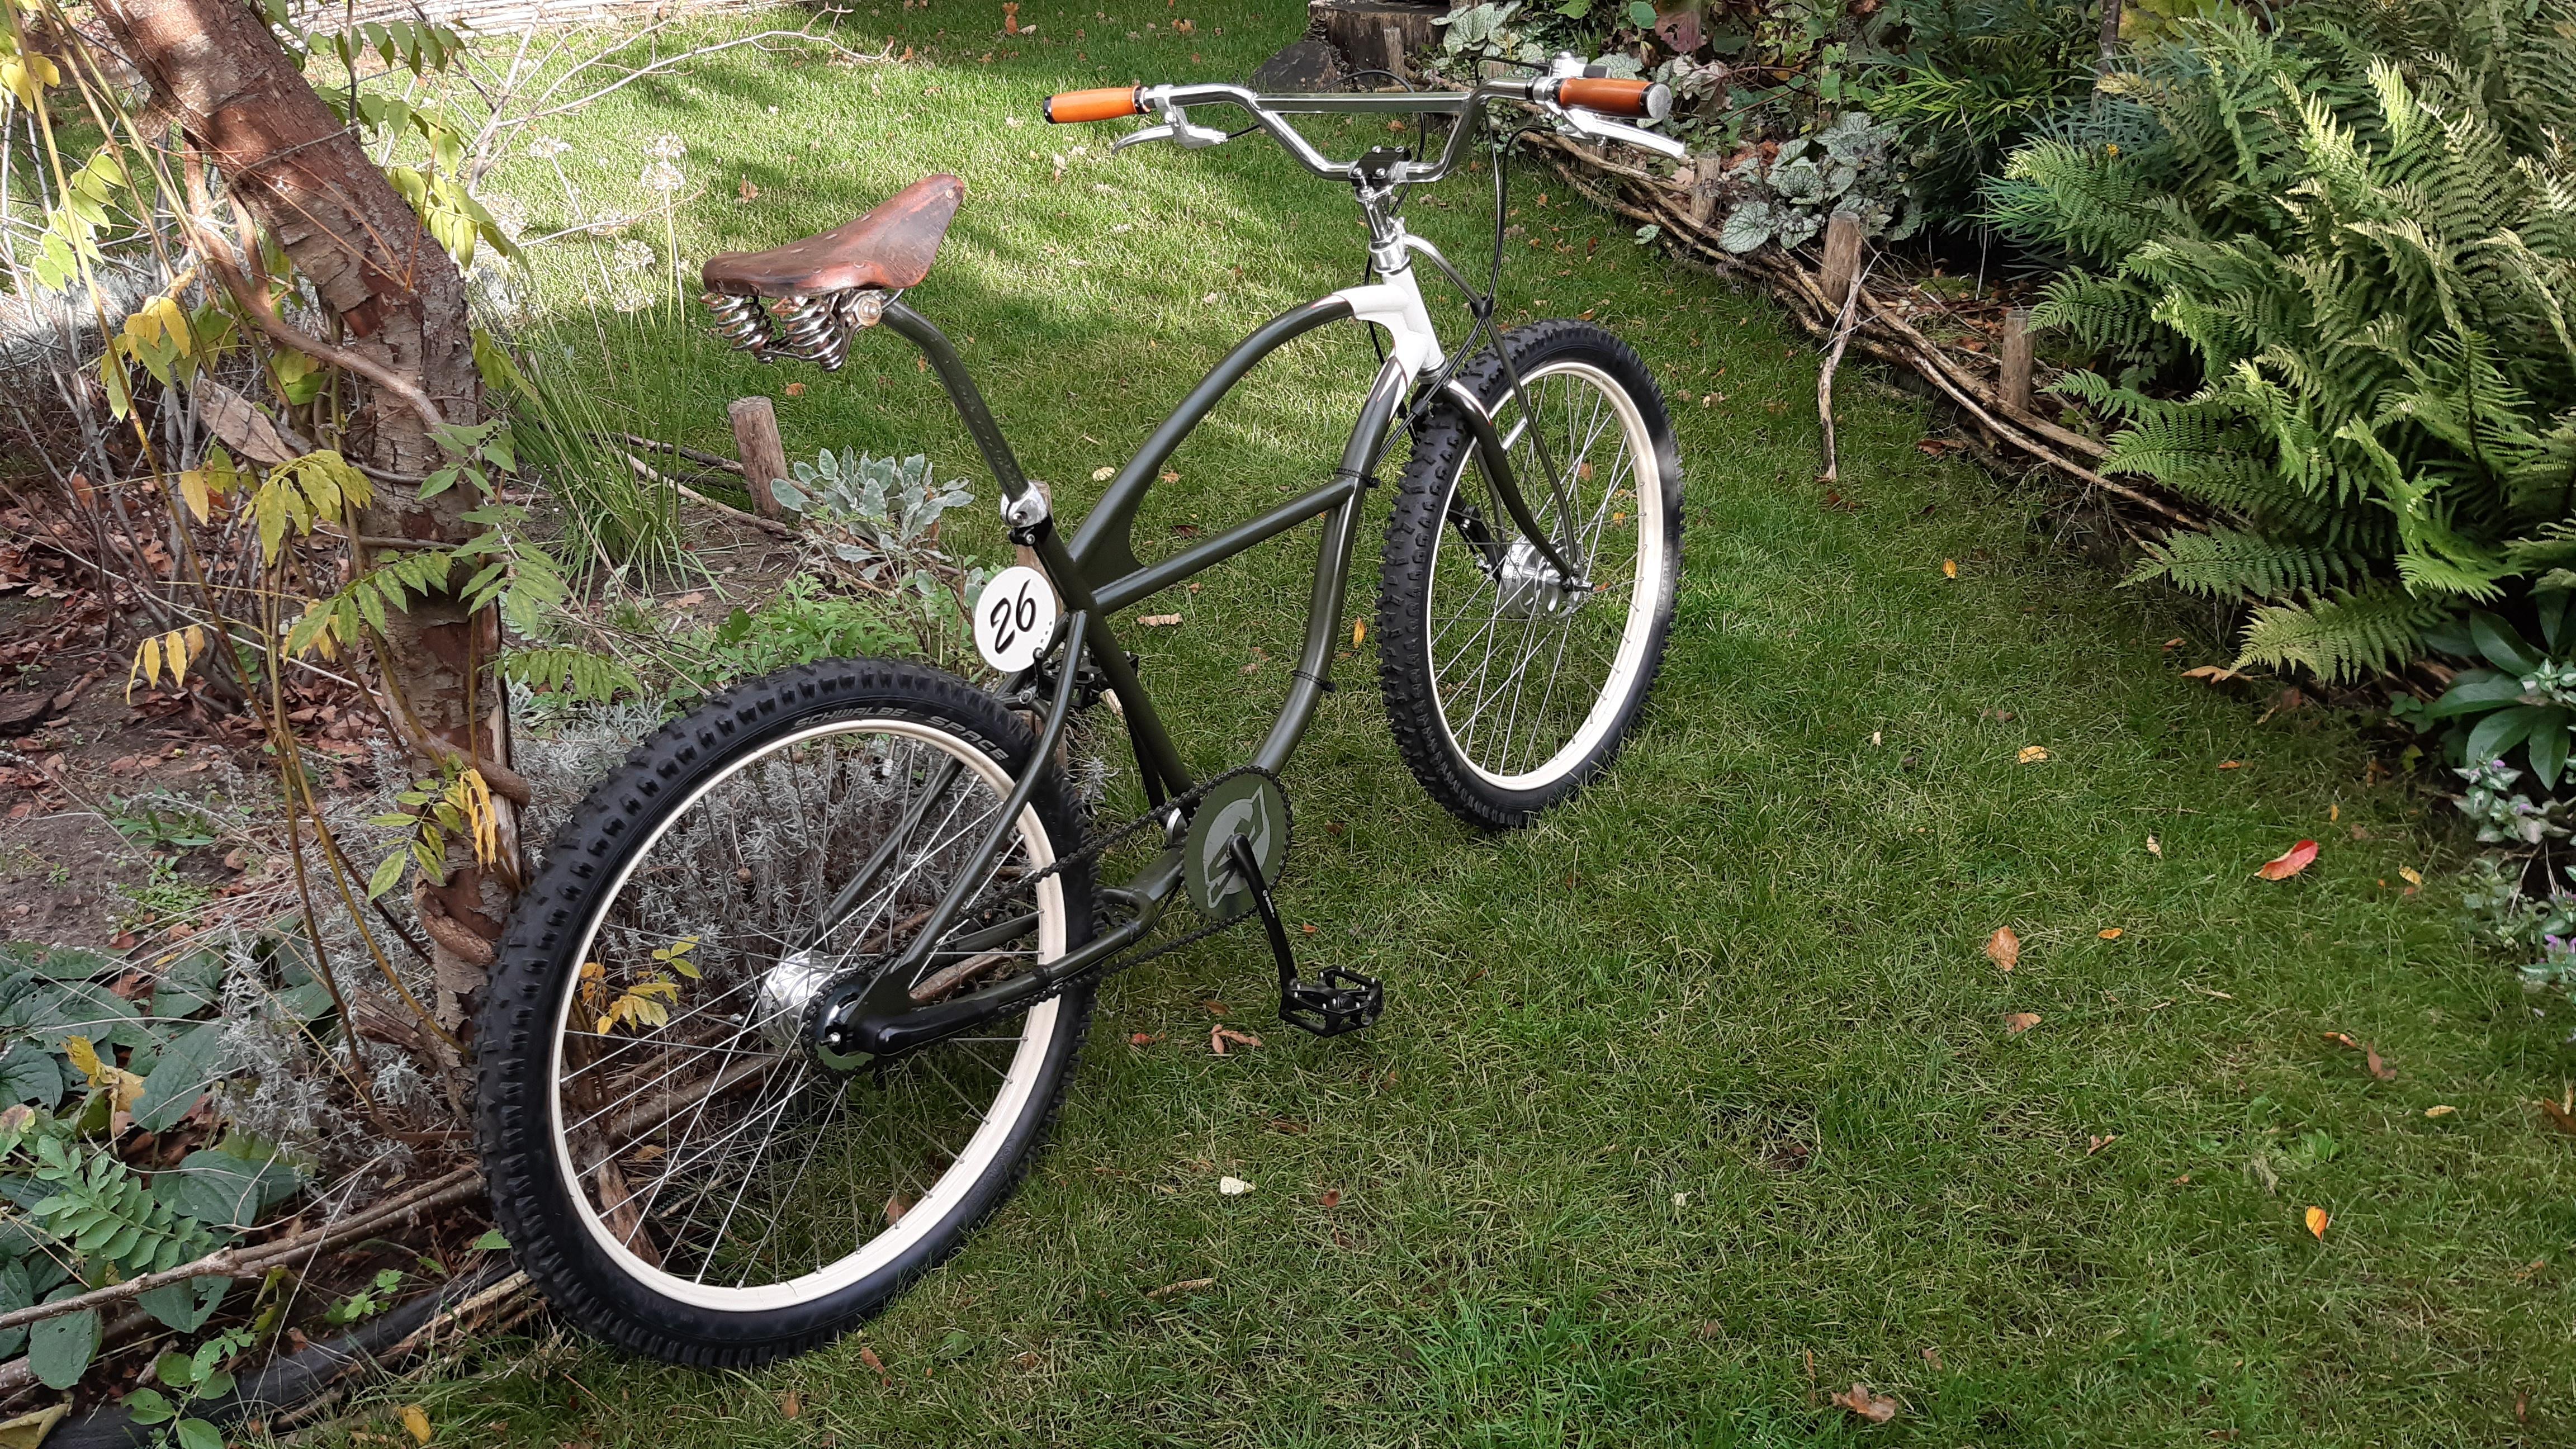
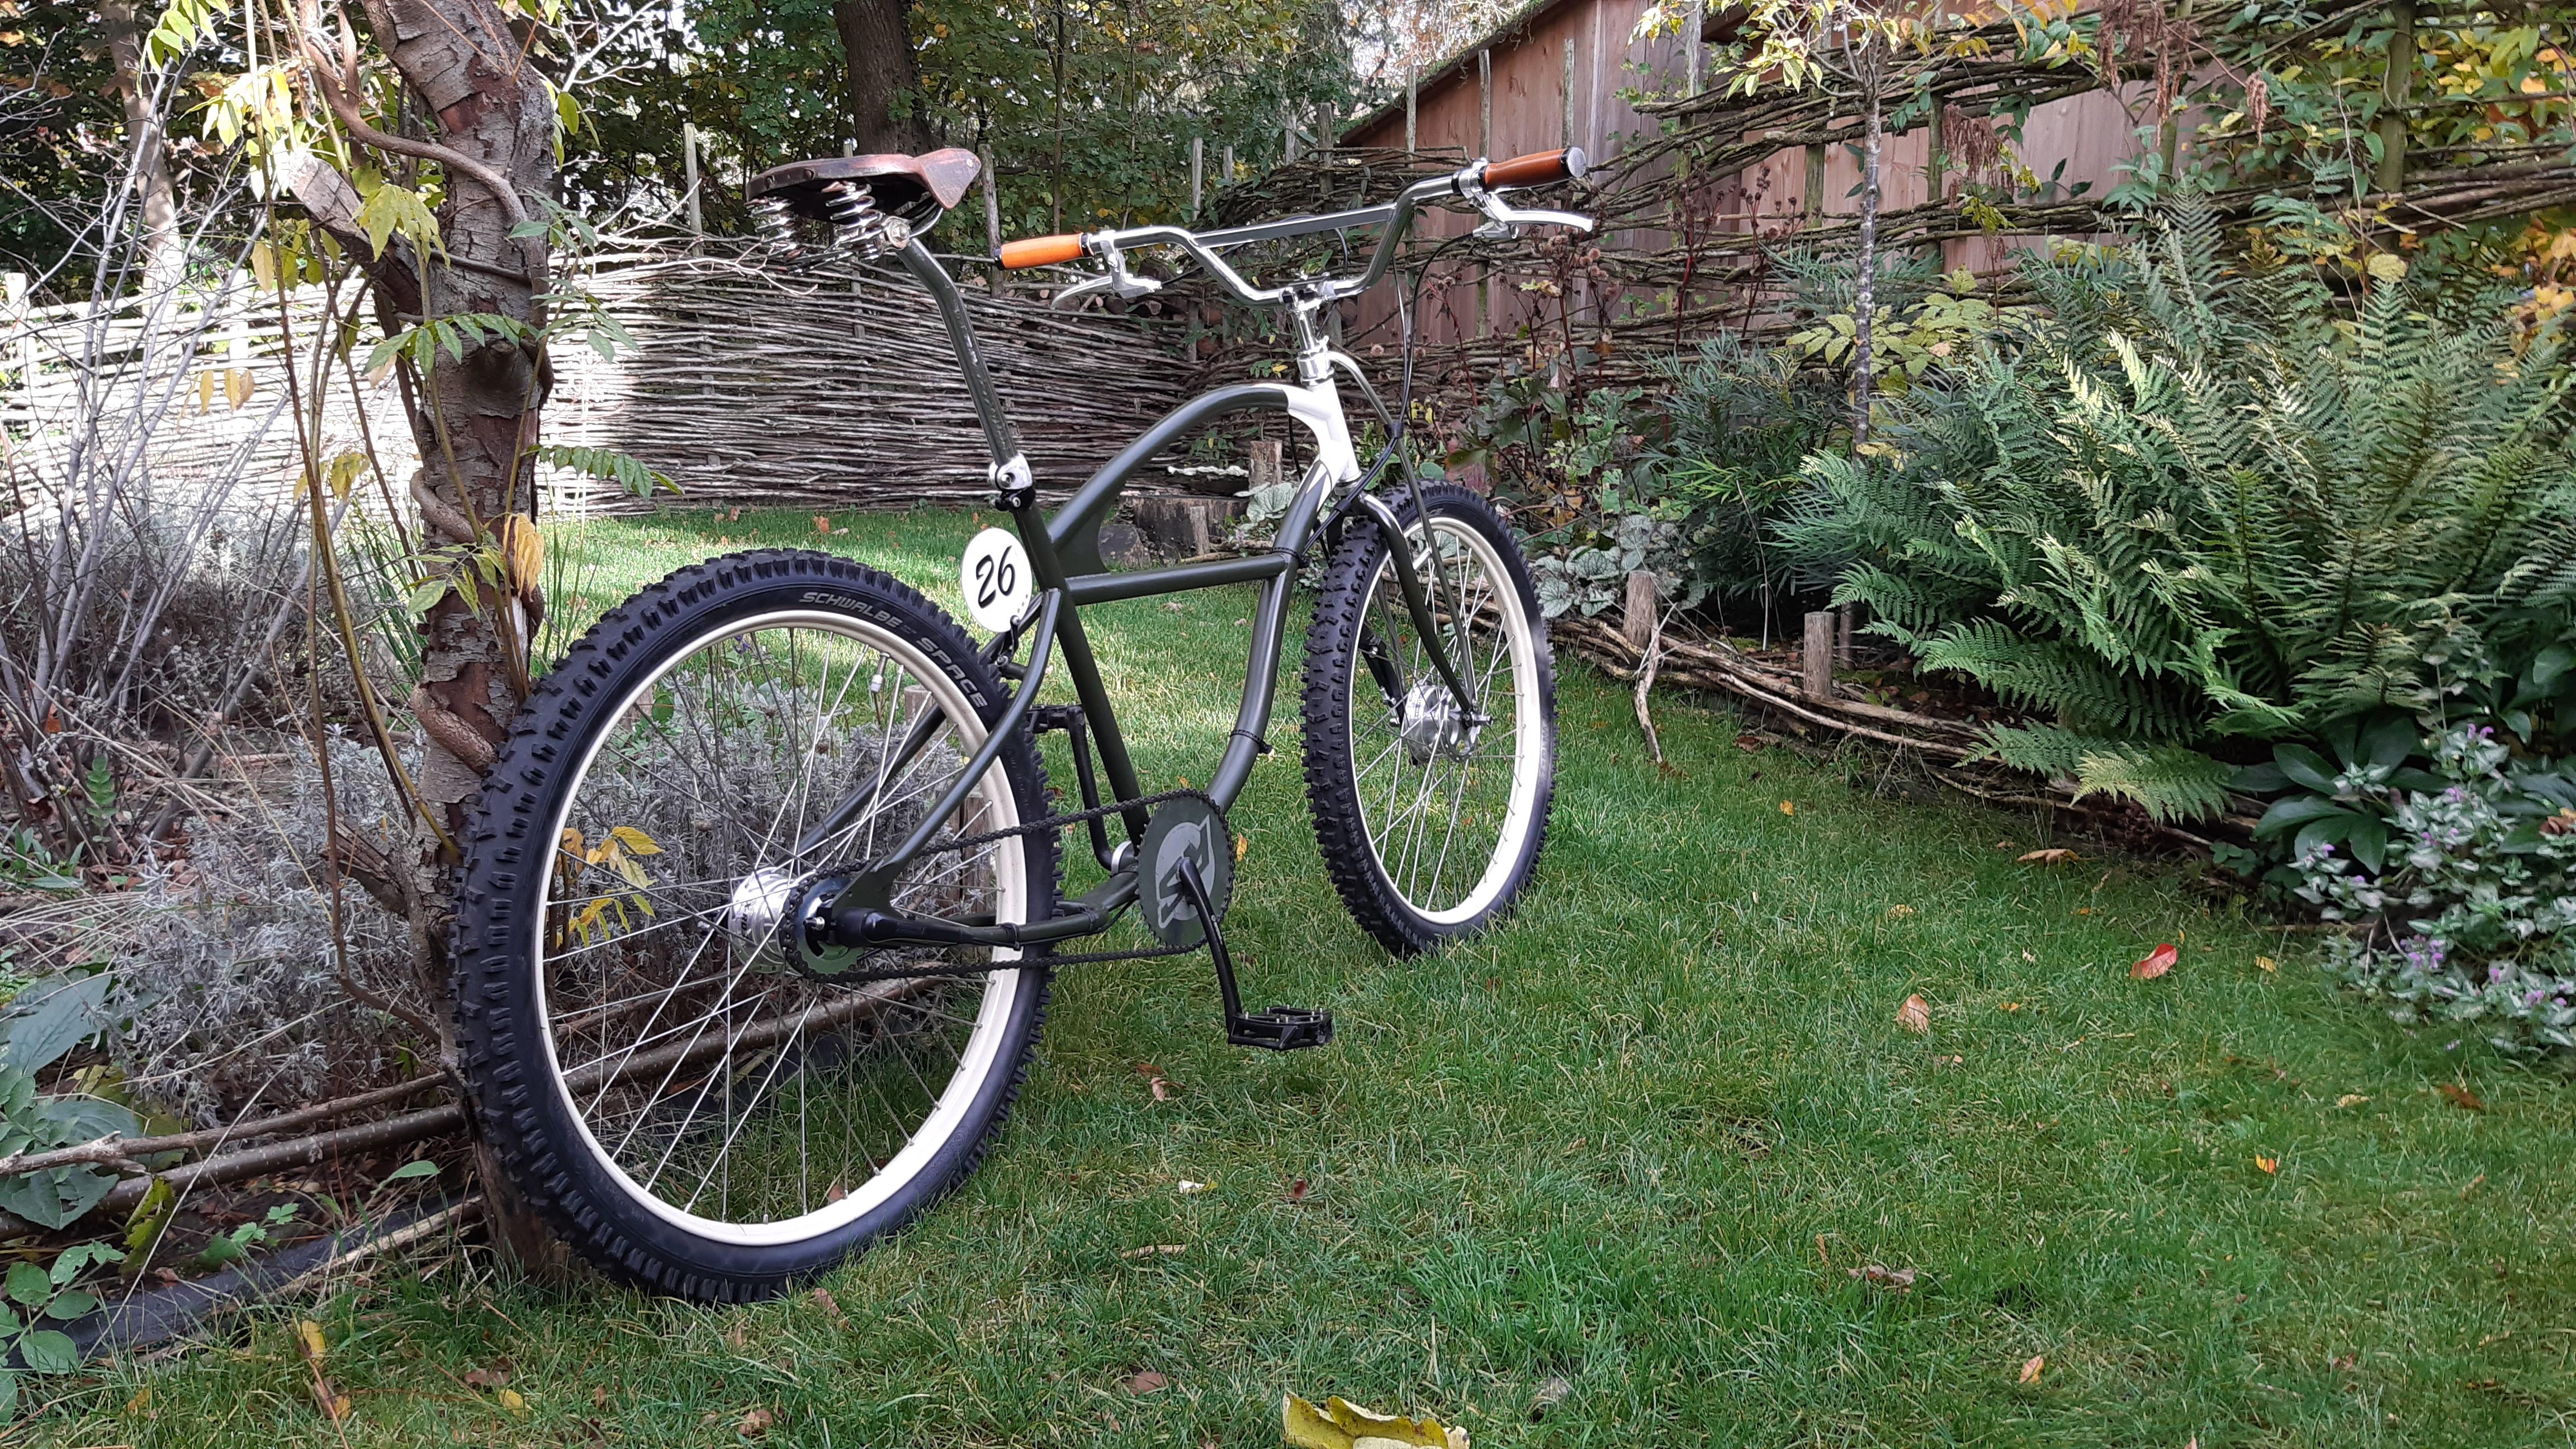
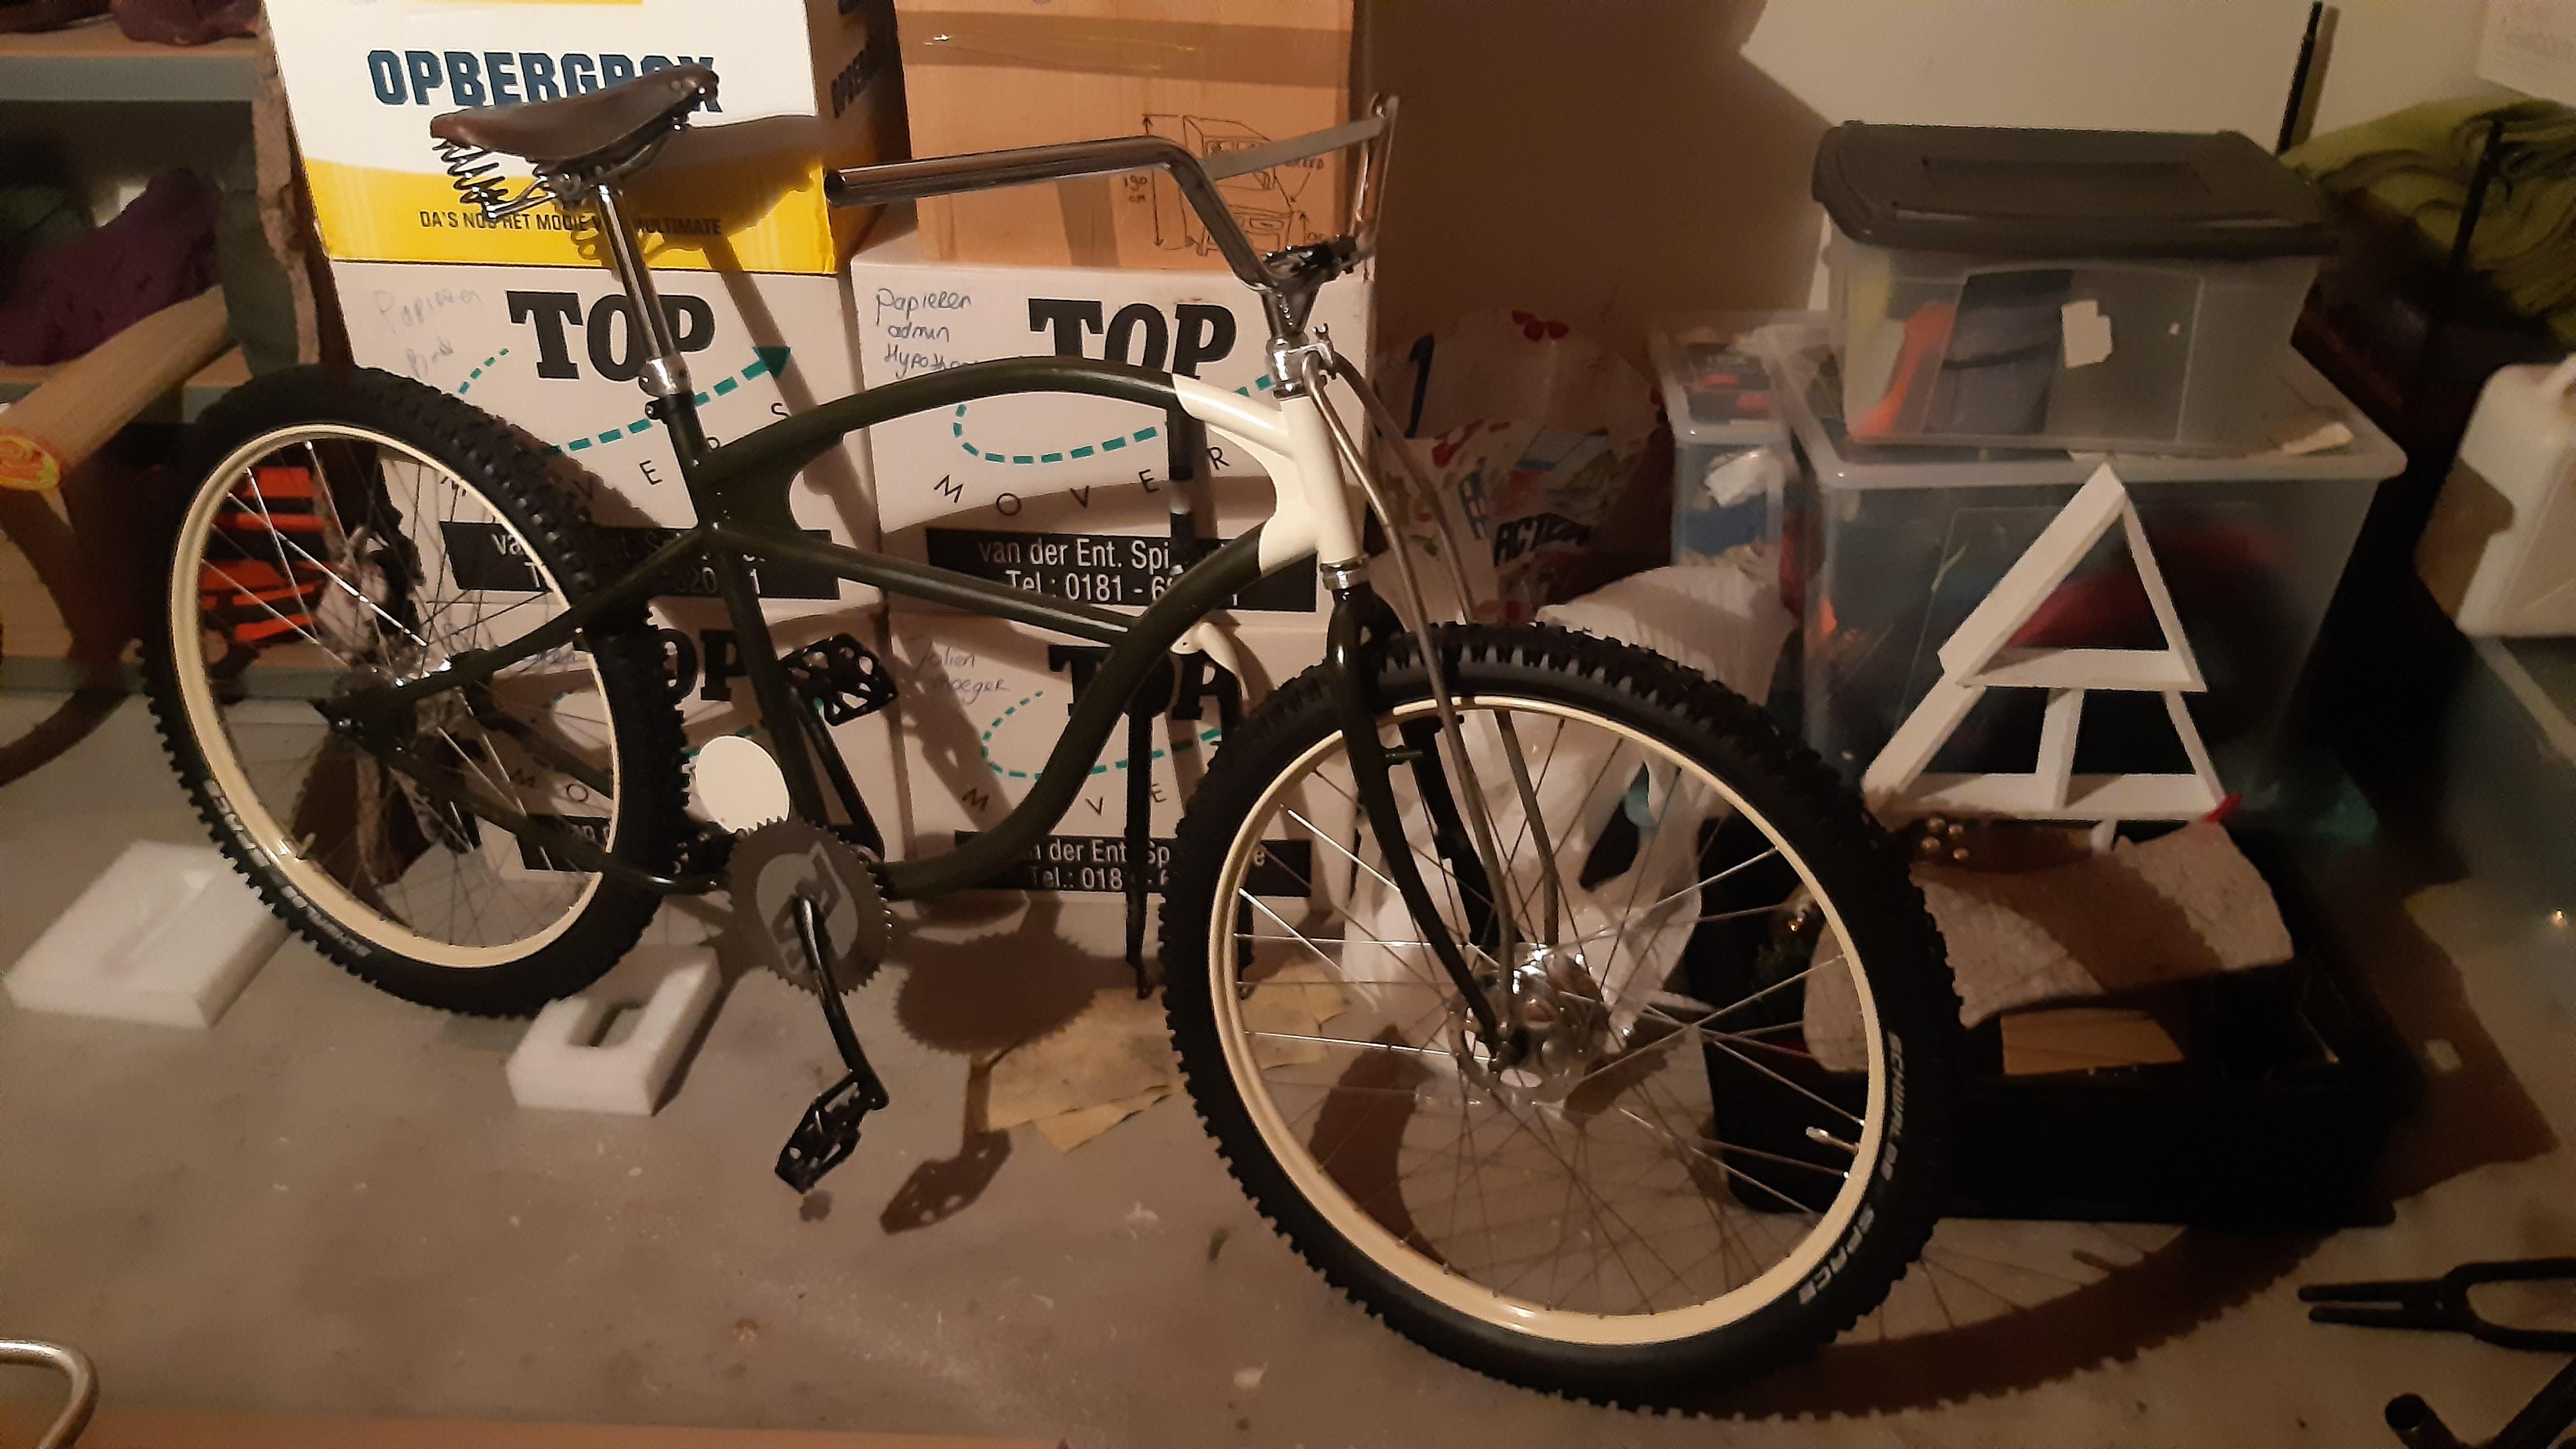
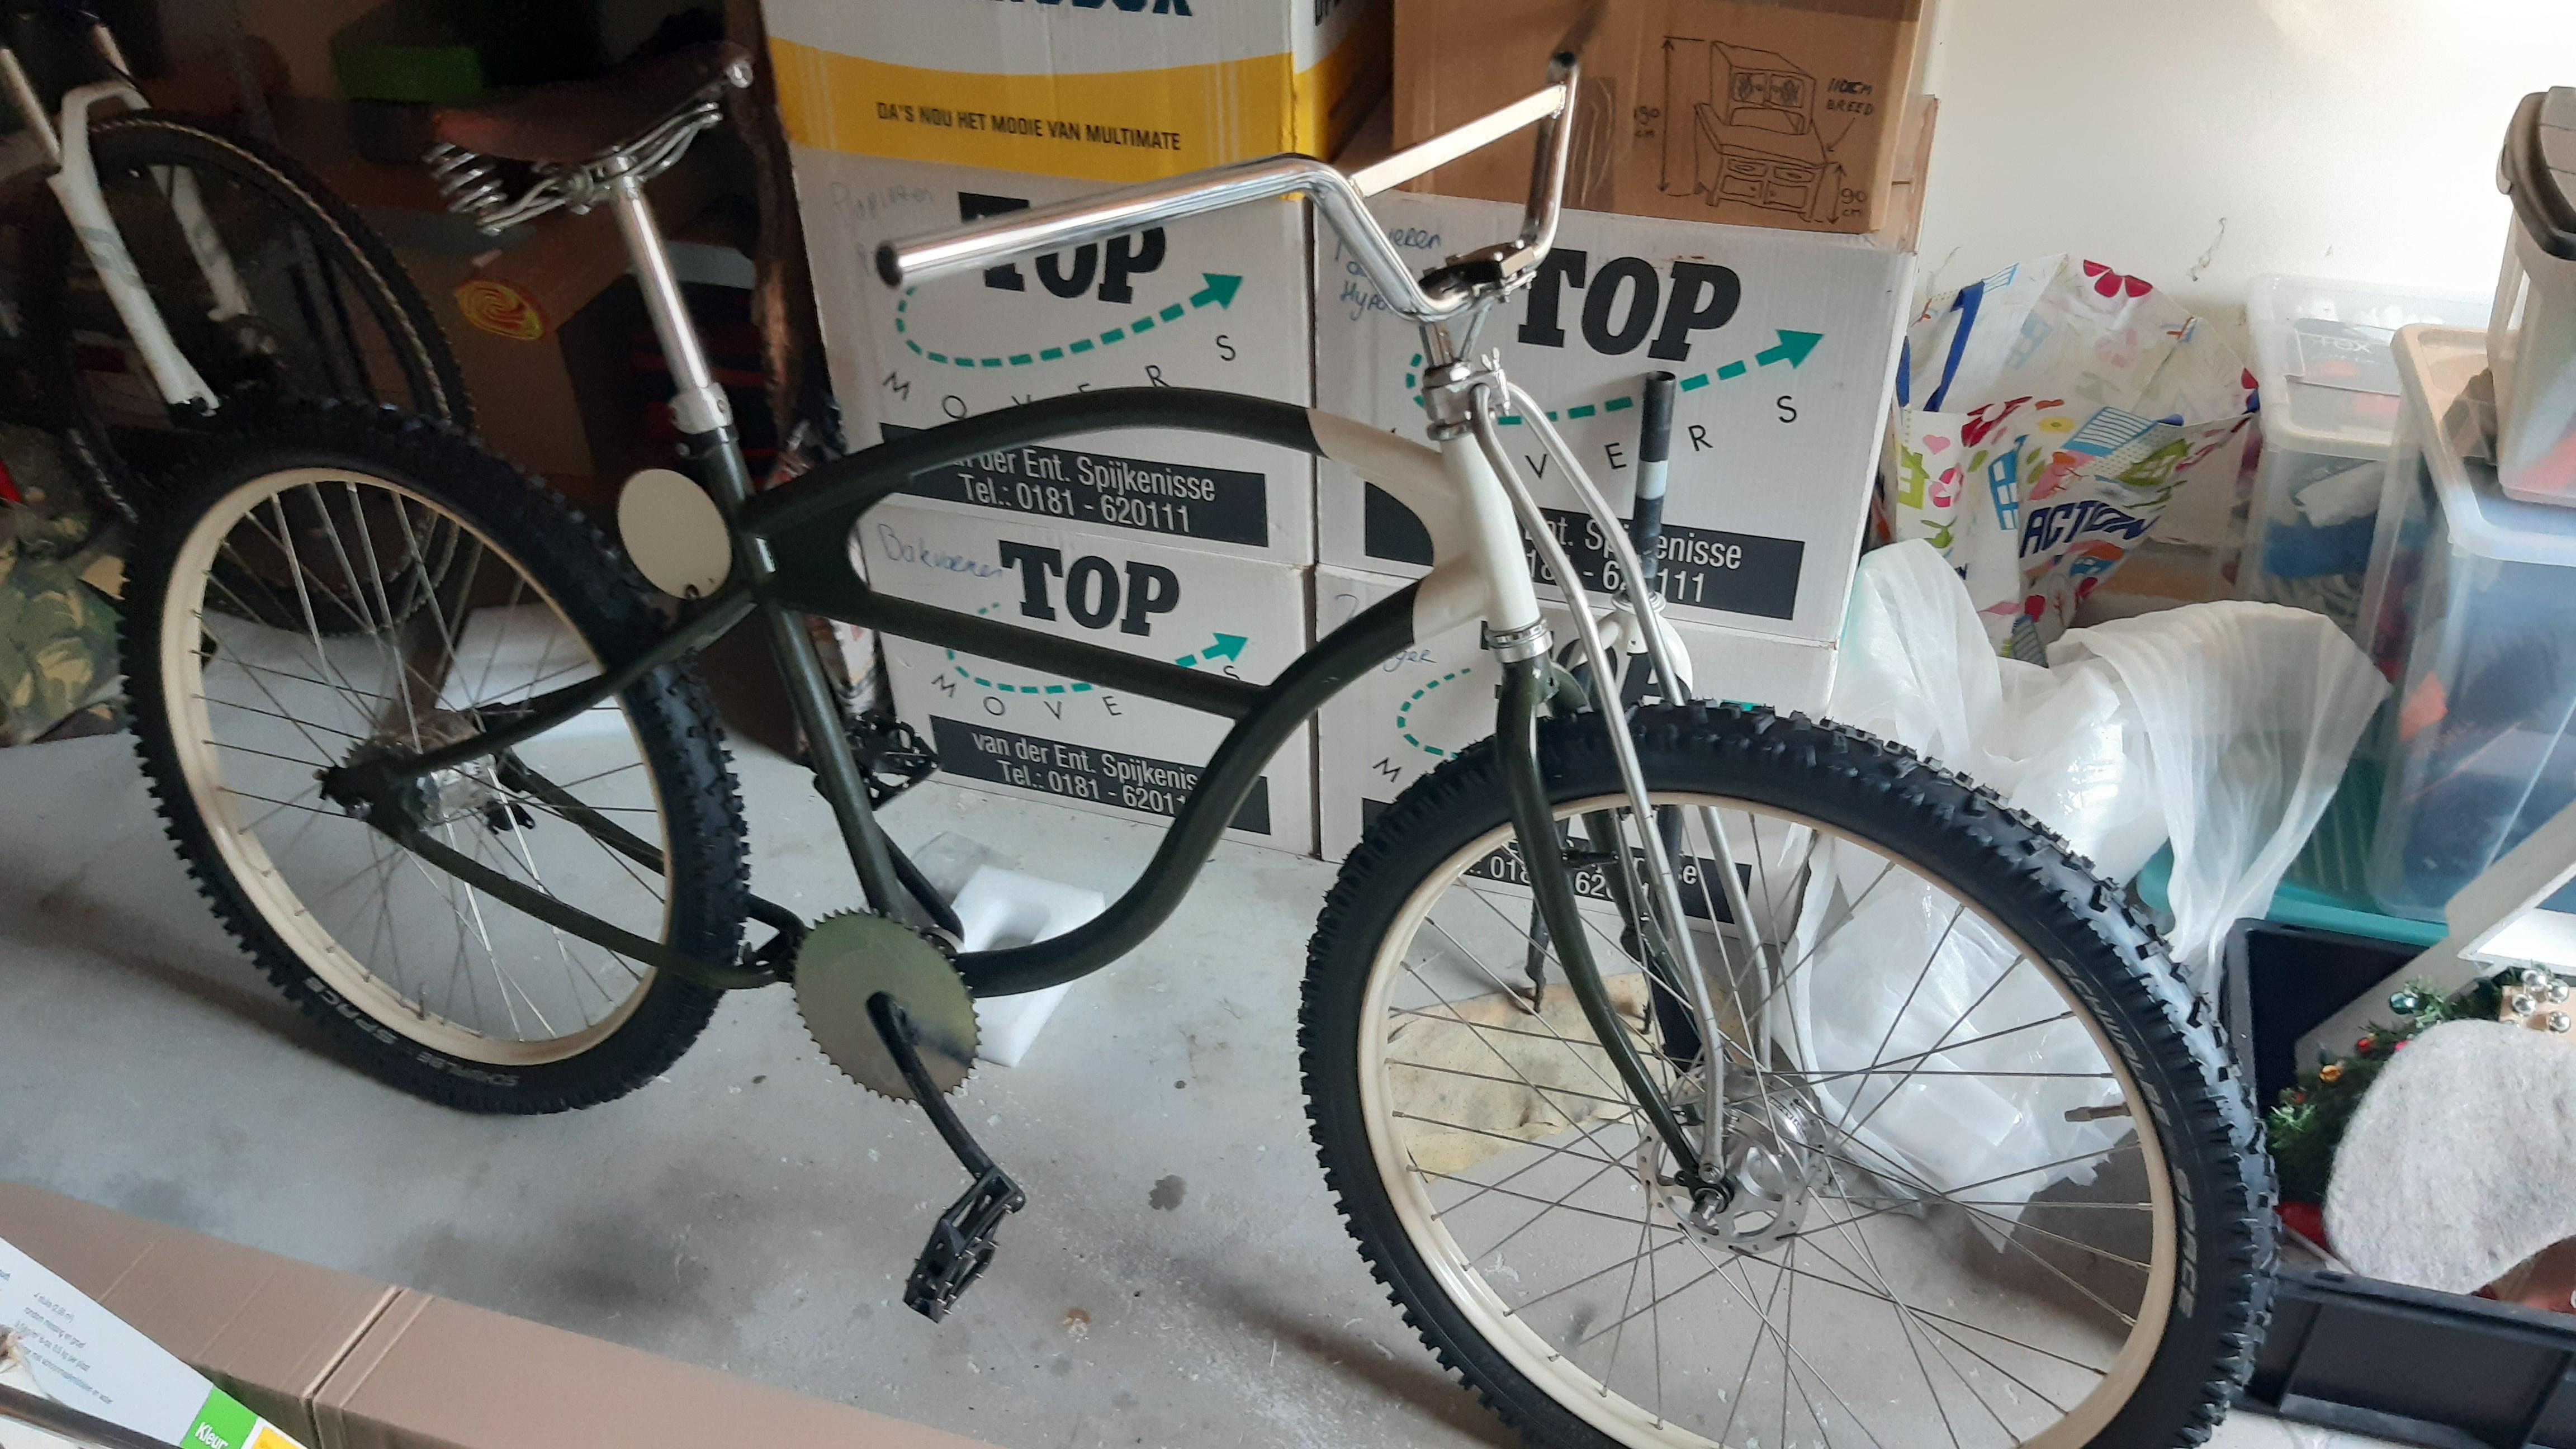
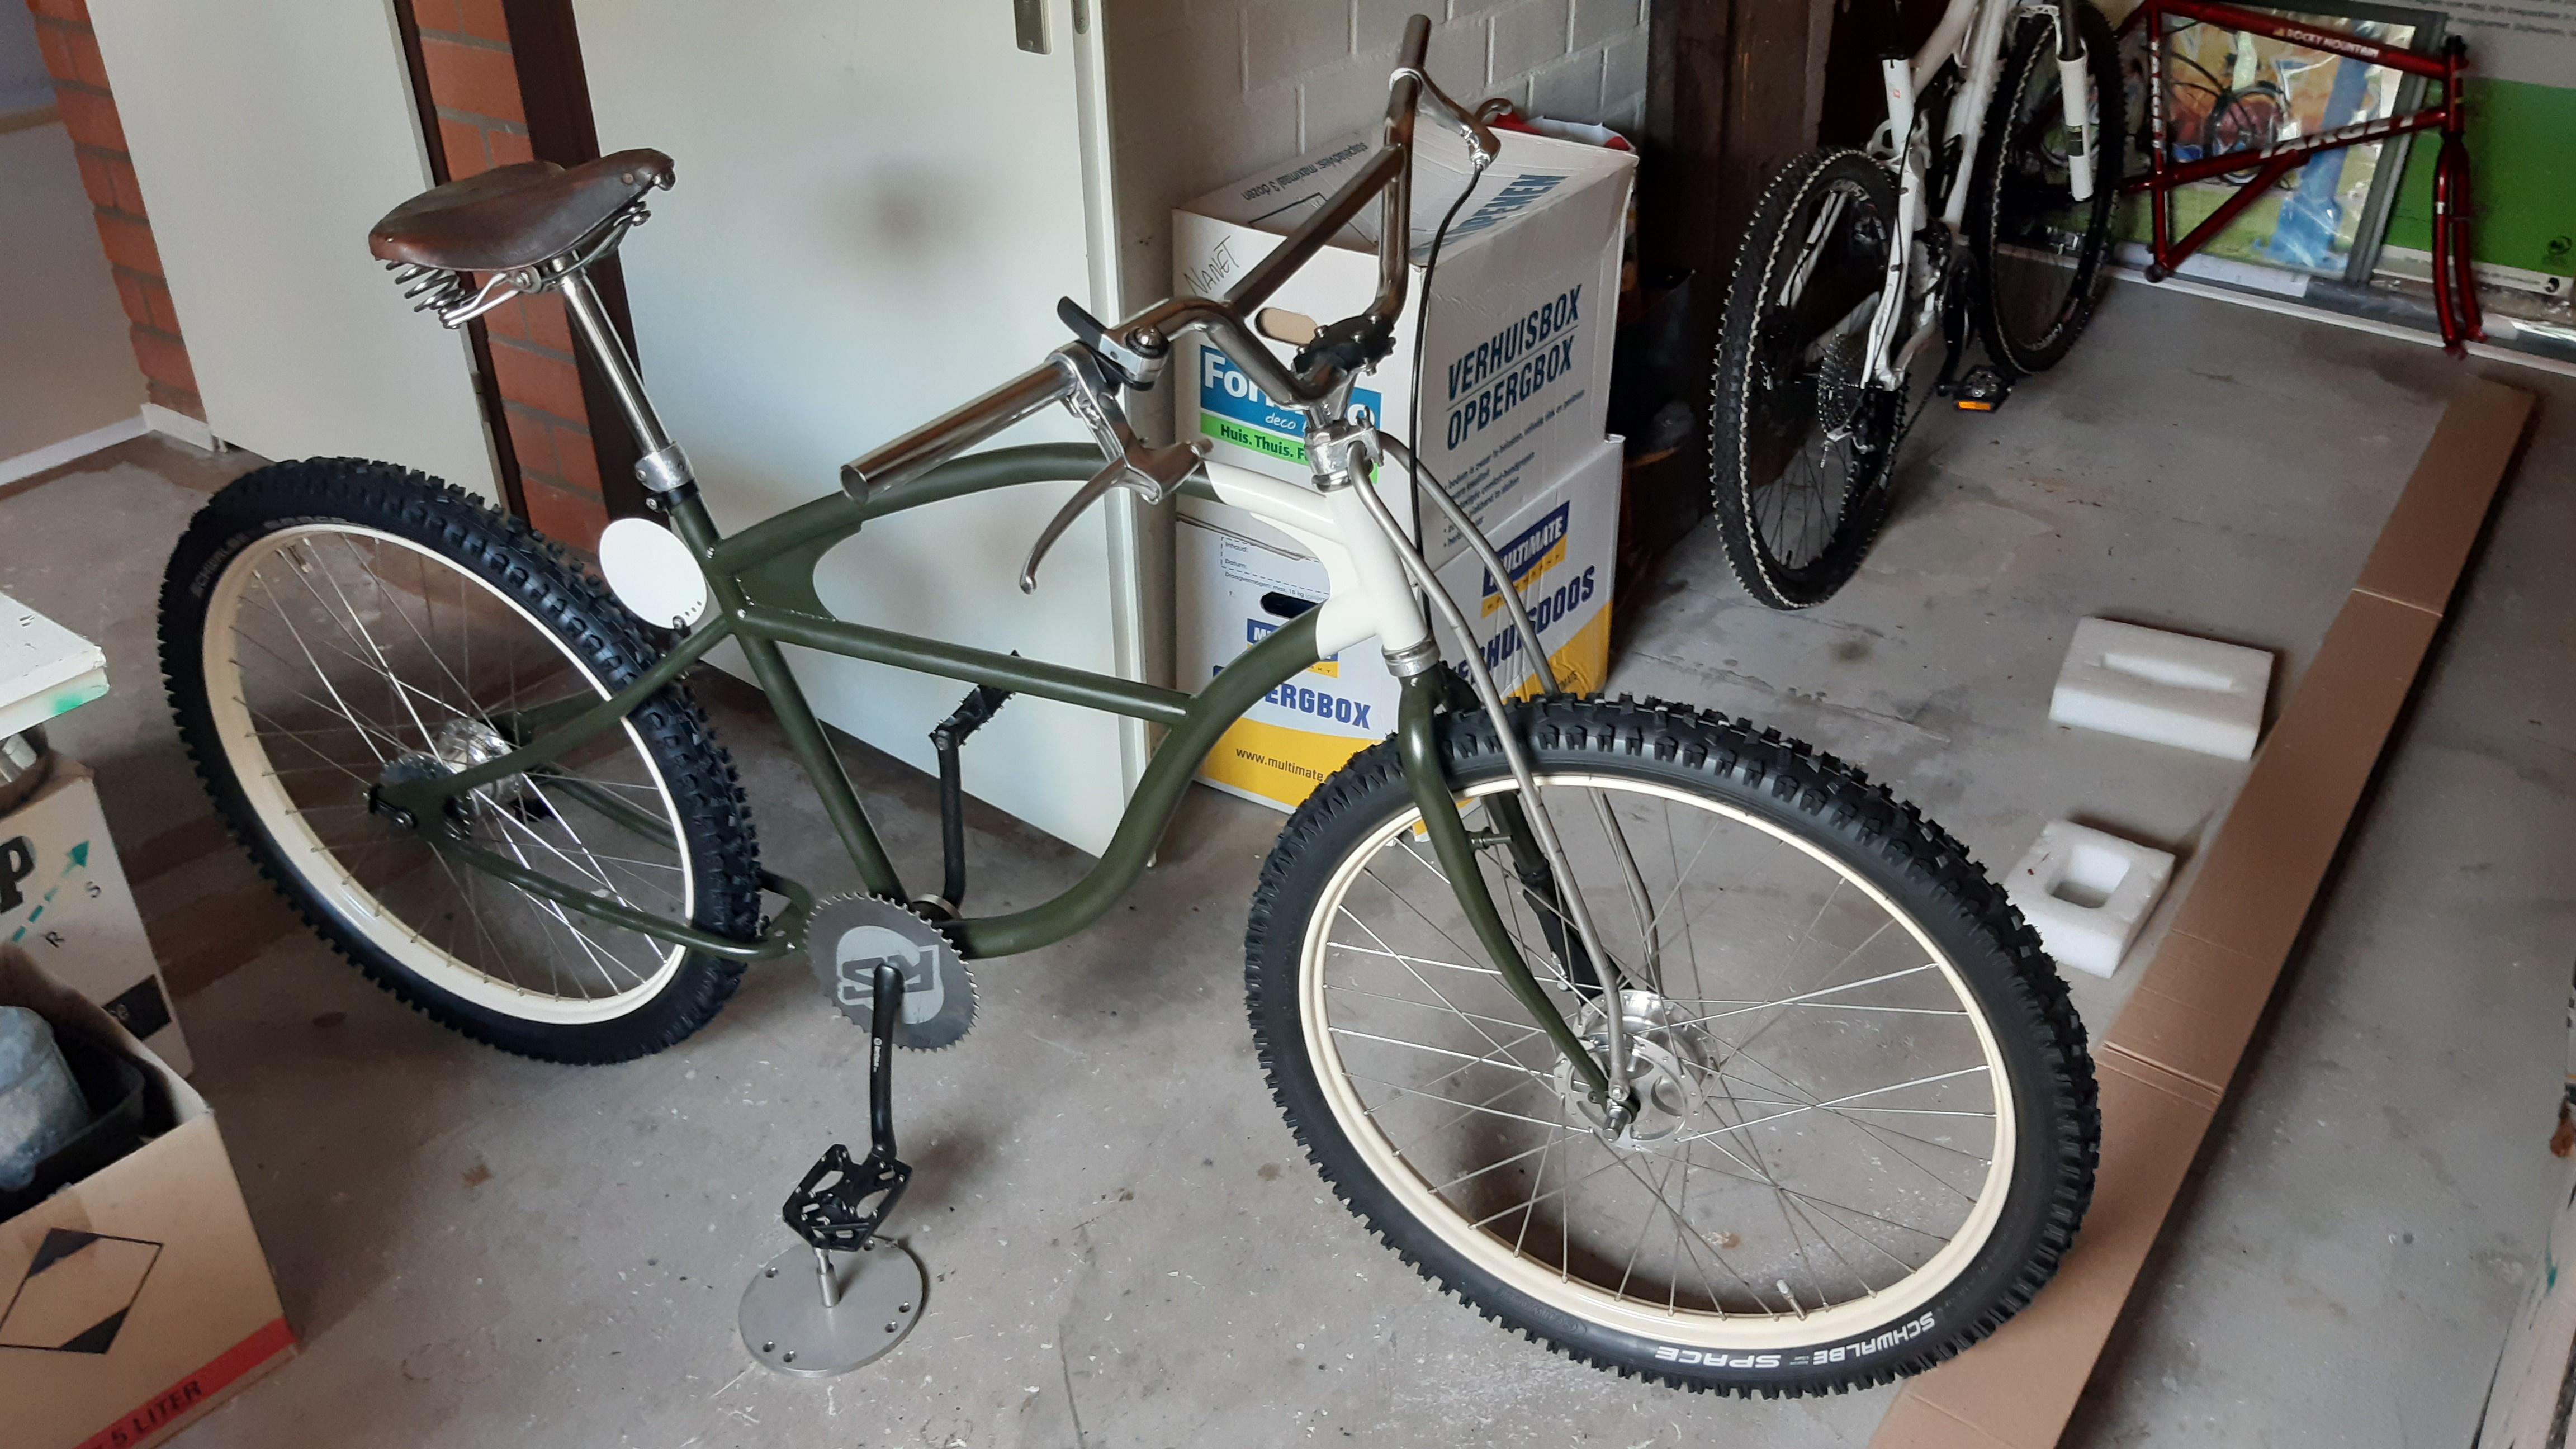
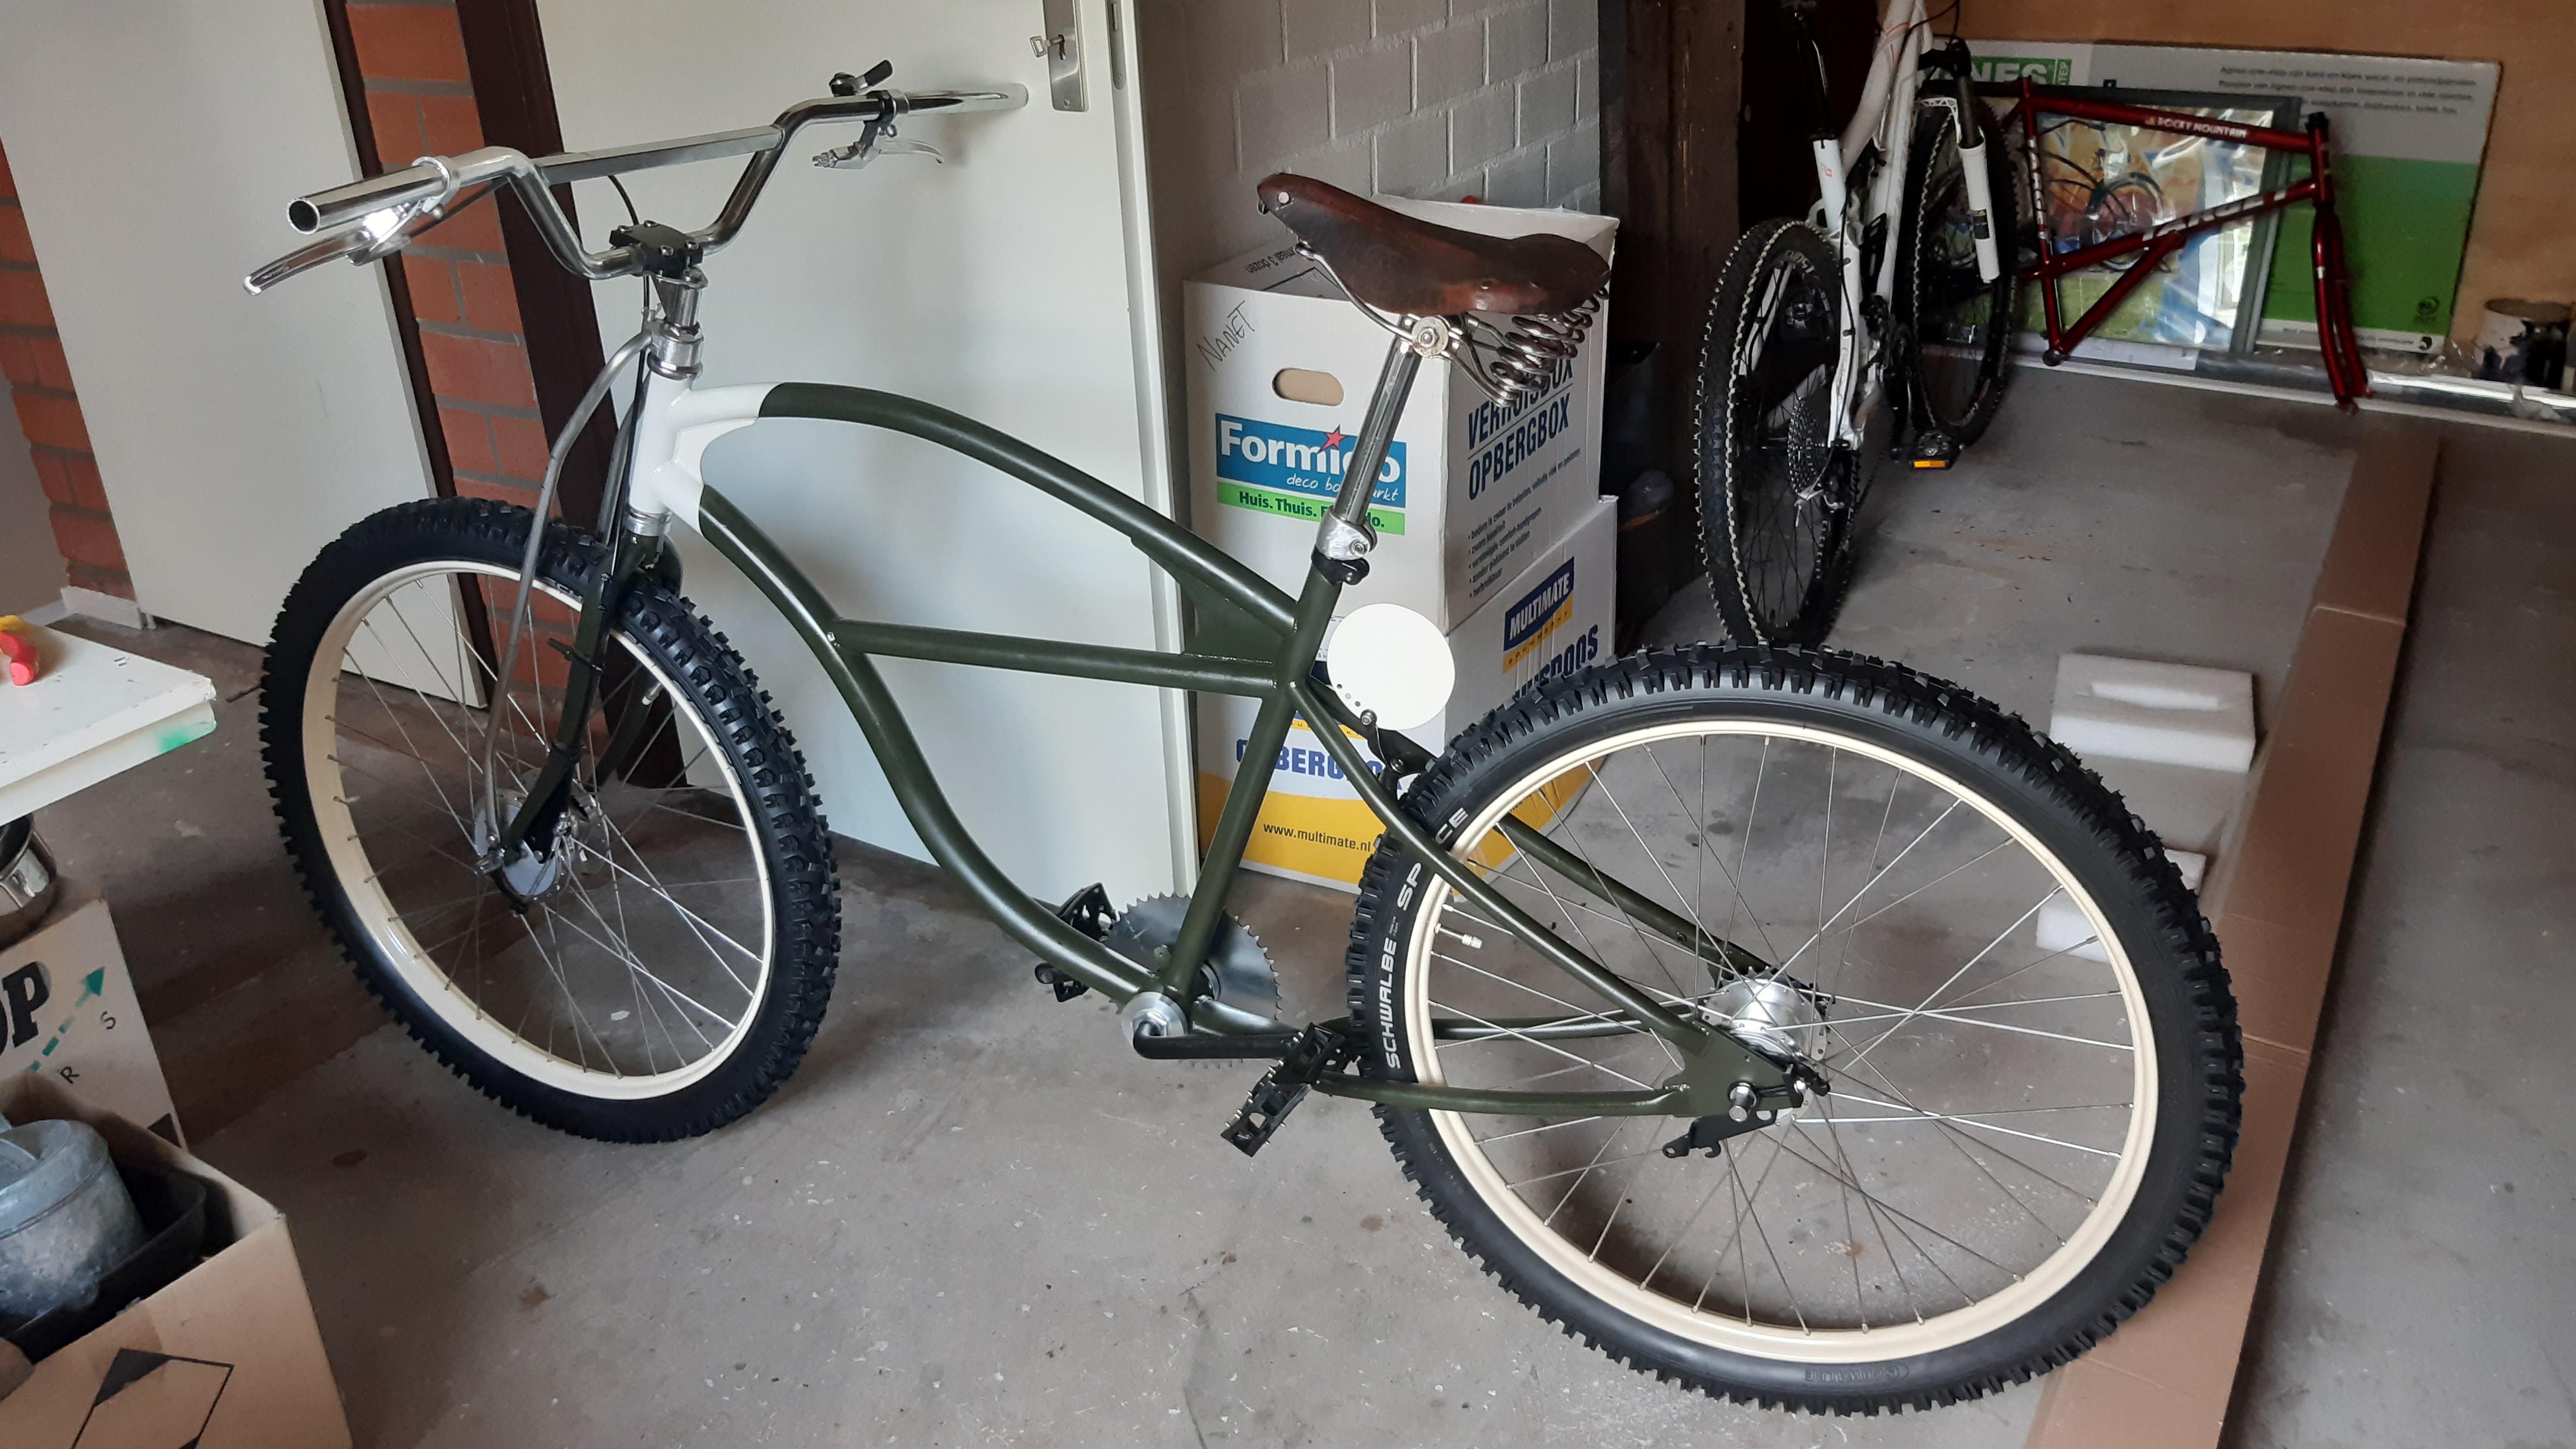
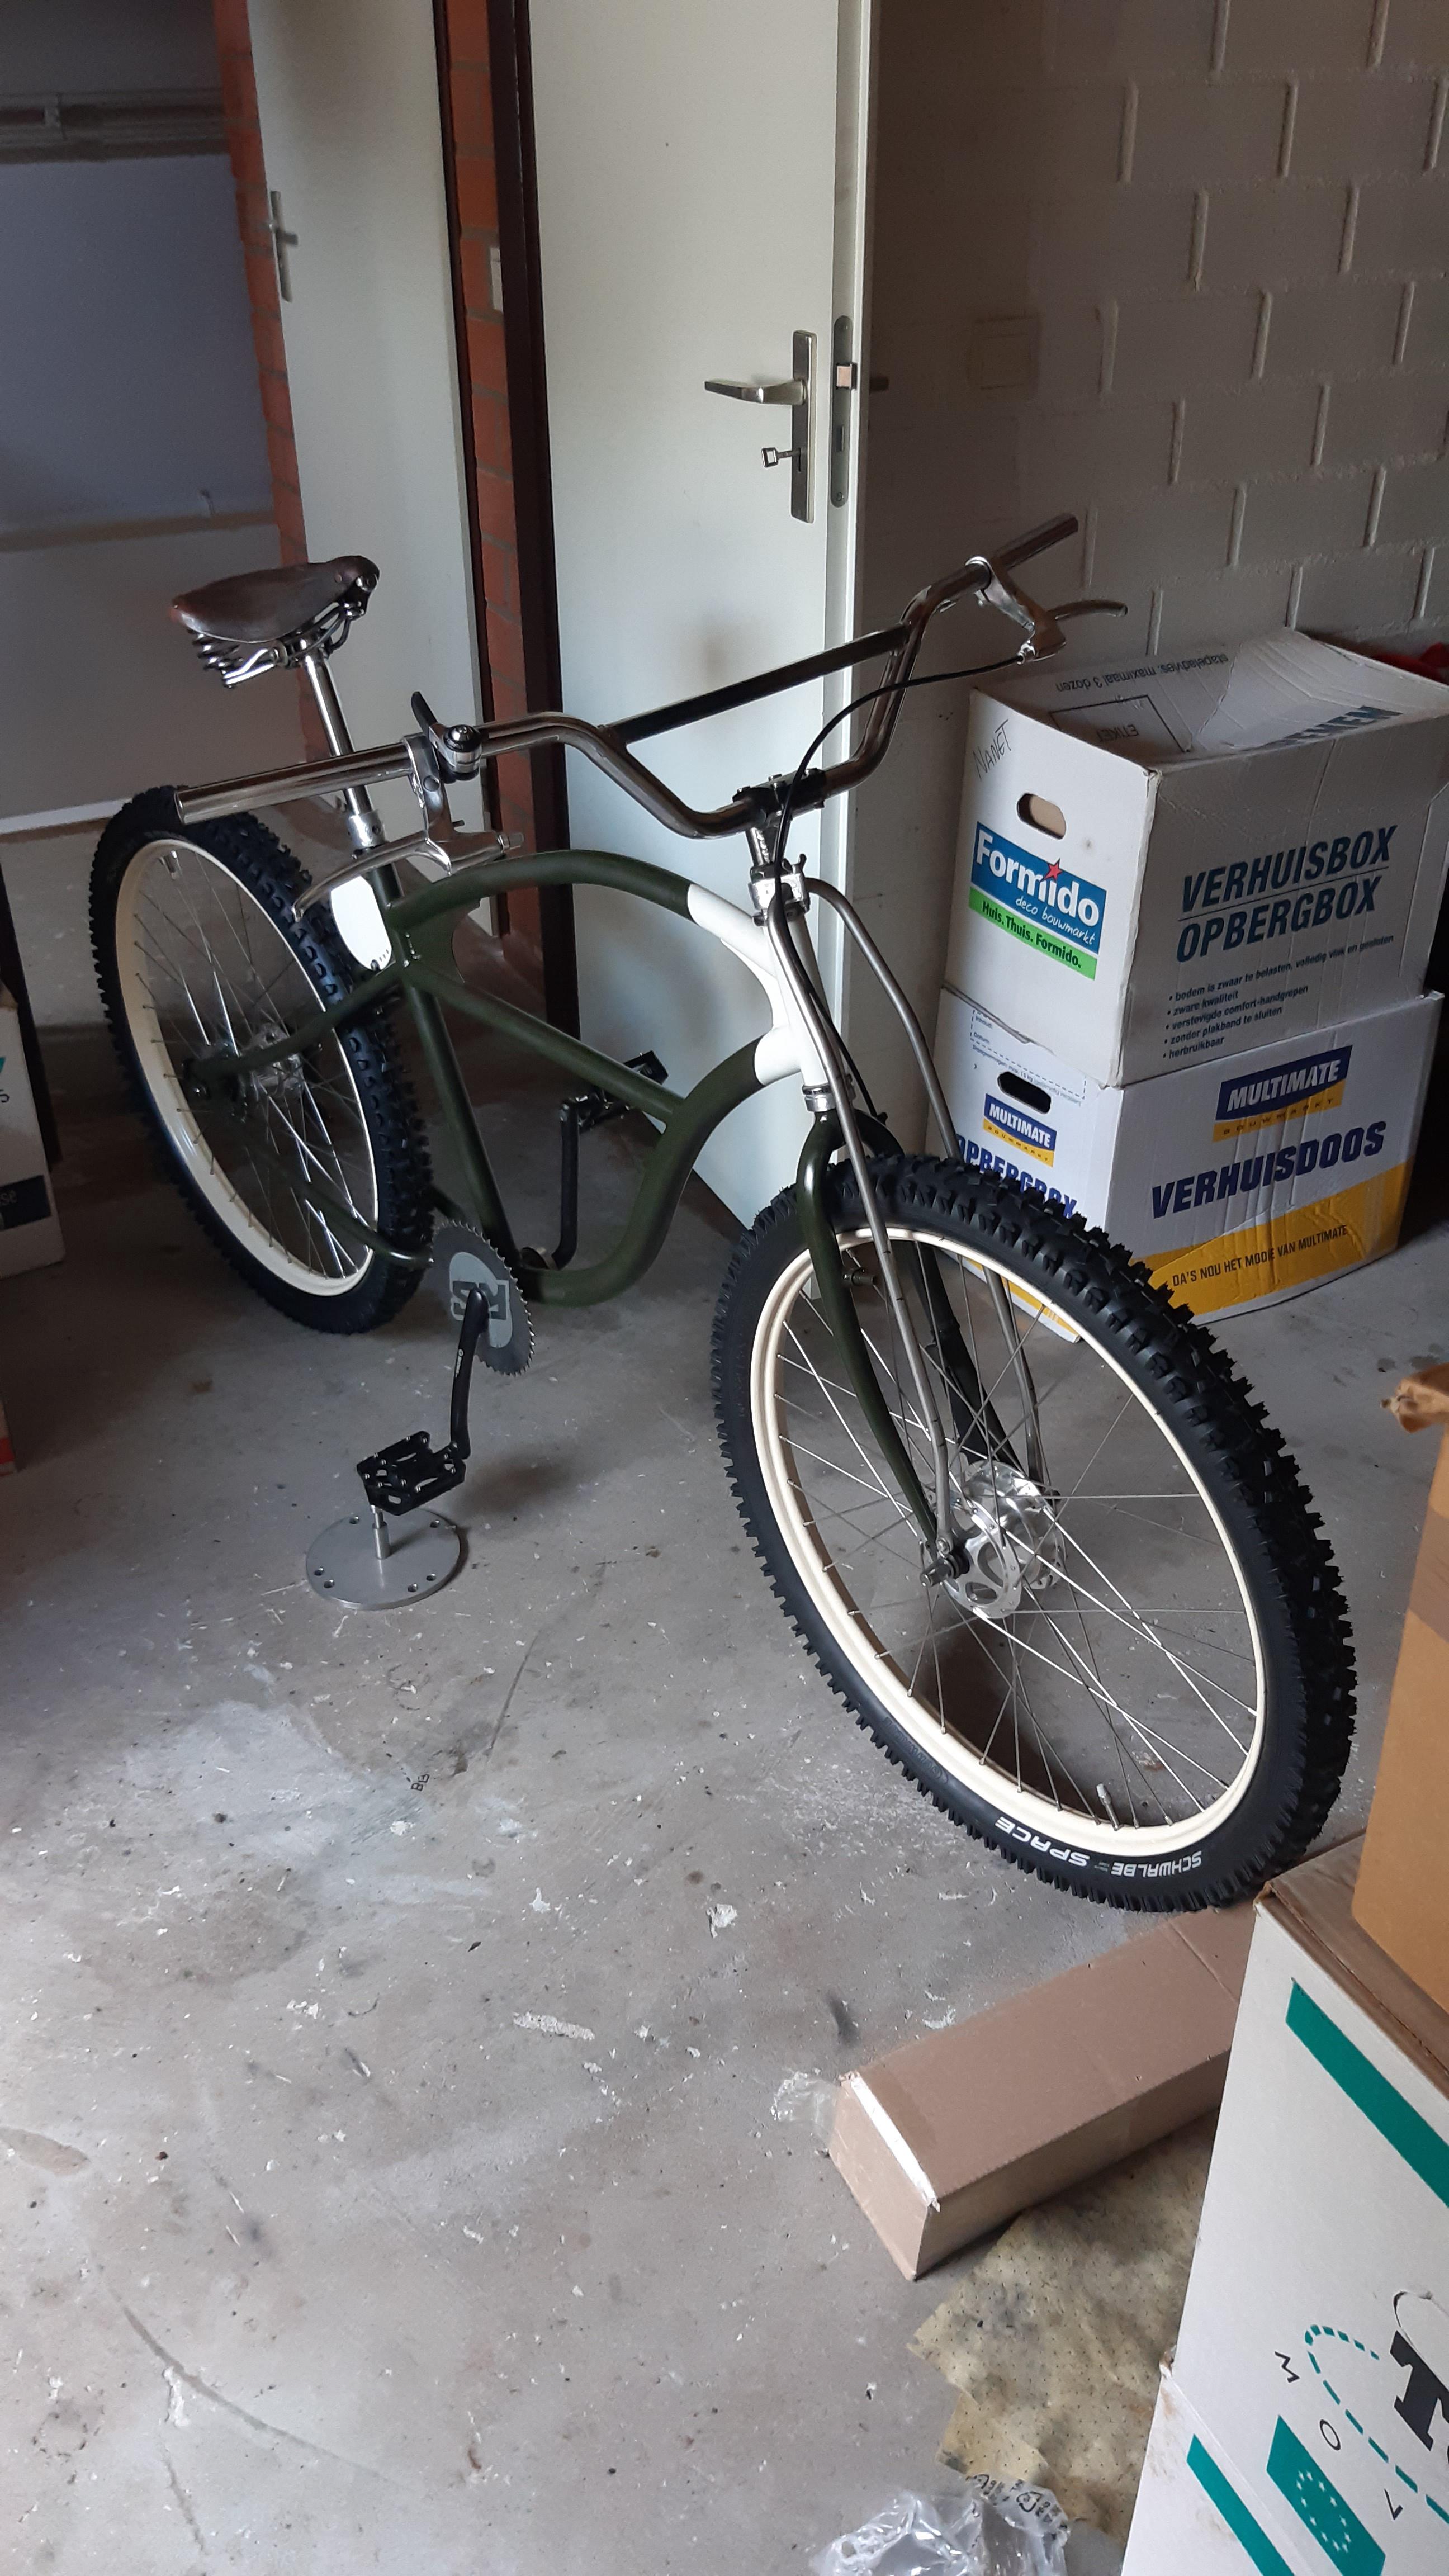
The Electra RS Klunker bike is 99% finished.

I tested the klunker bike on the singletracks here in my village.

It is pretty awesome, but it takes getting used to:
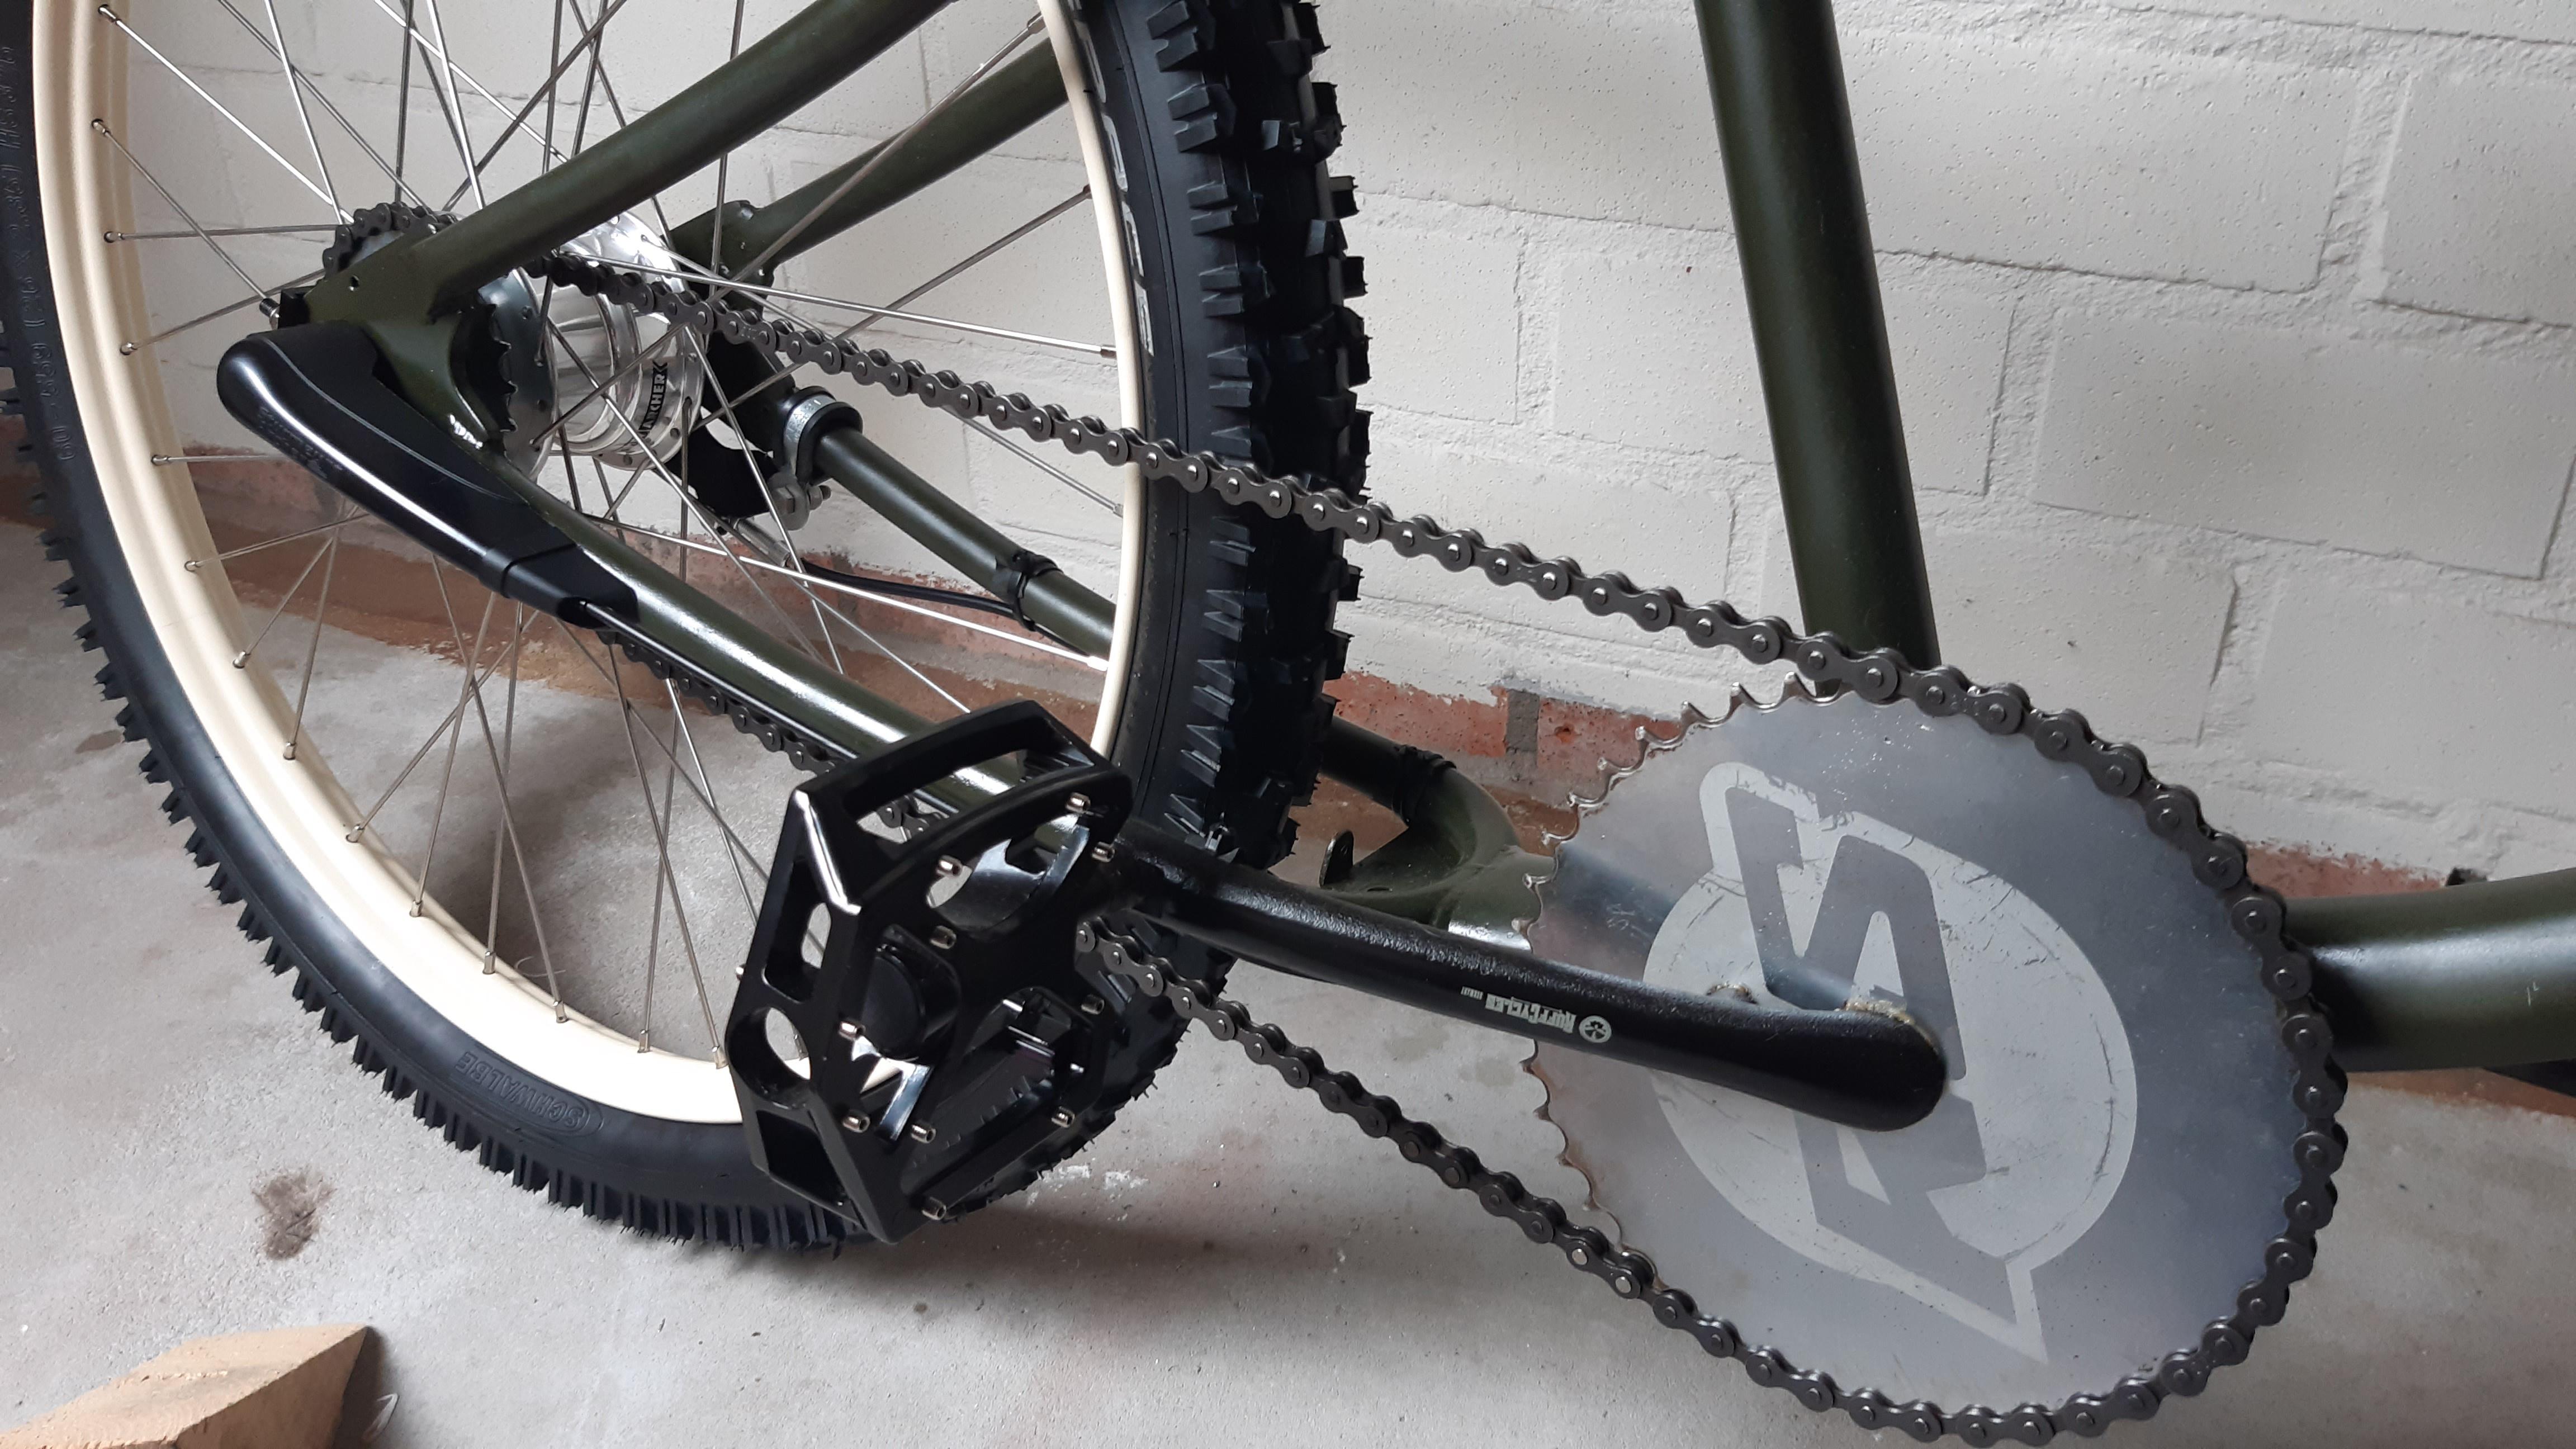
  • Very low BB, so easily pedal strikes!
  • Long bike; very stable on climbing and descents.
  • Long bike; Not great at cornering, but fun!
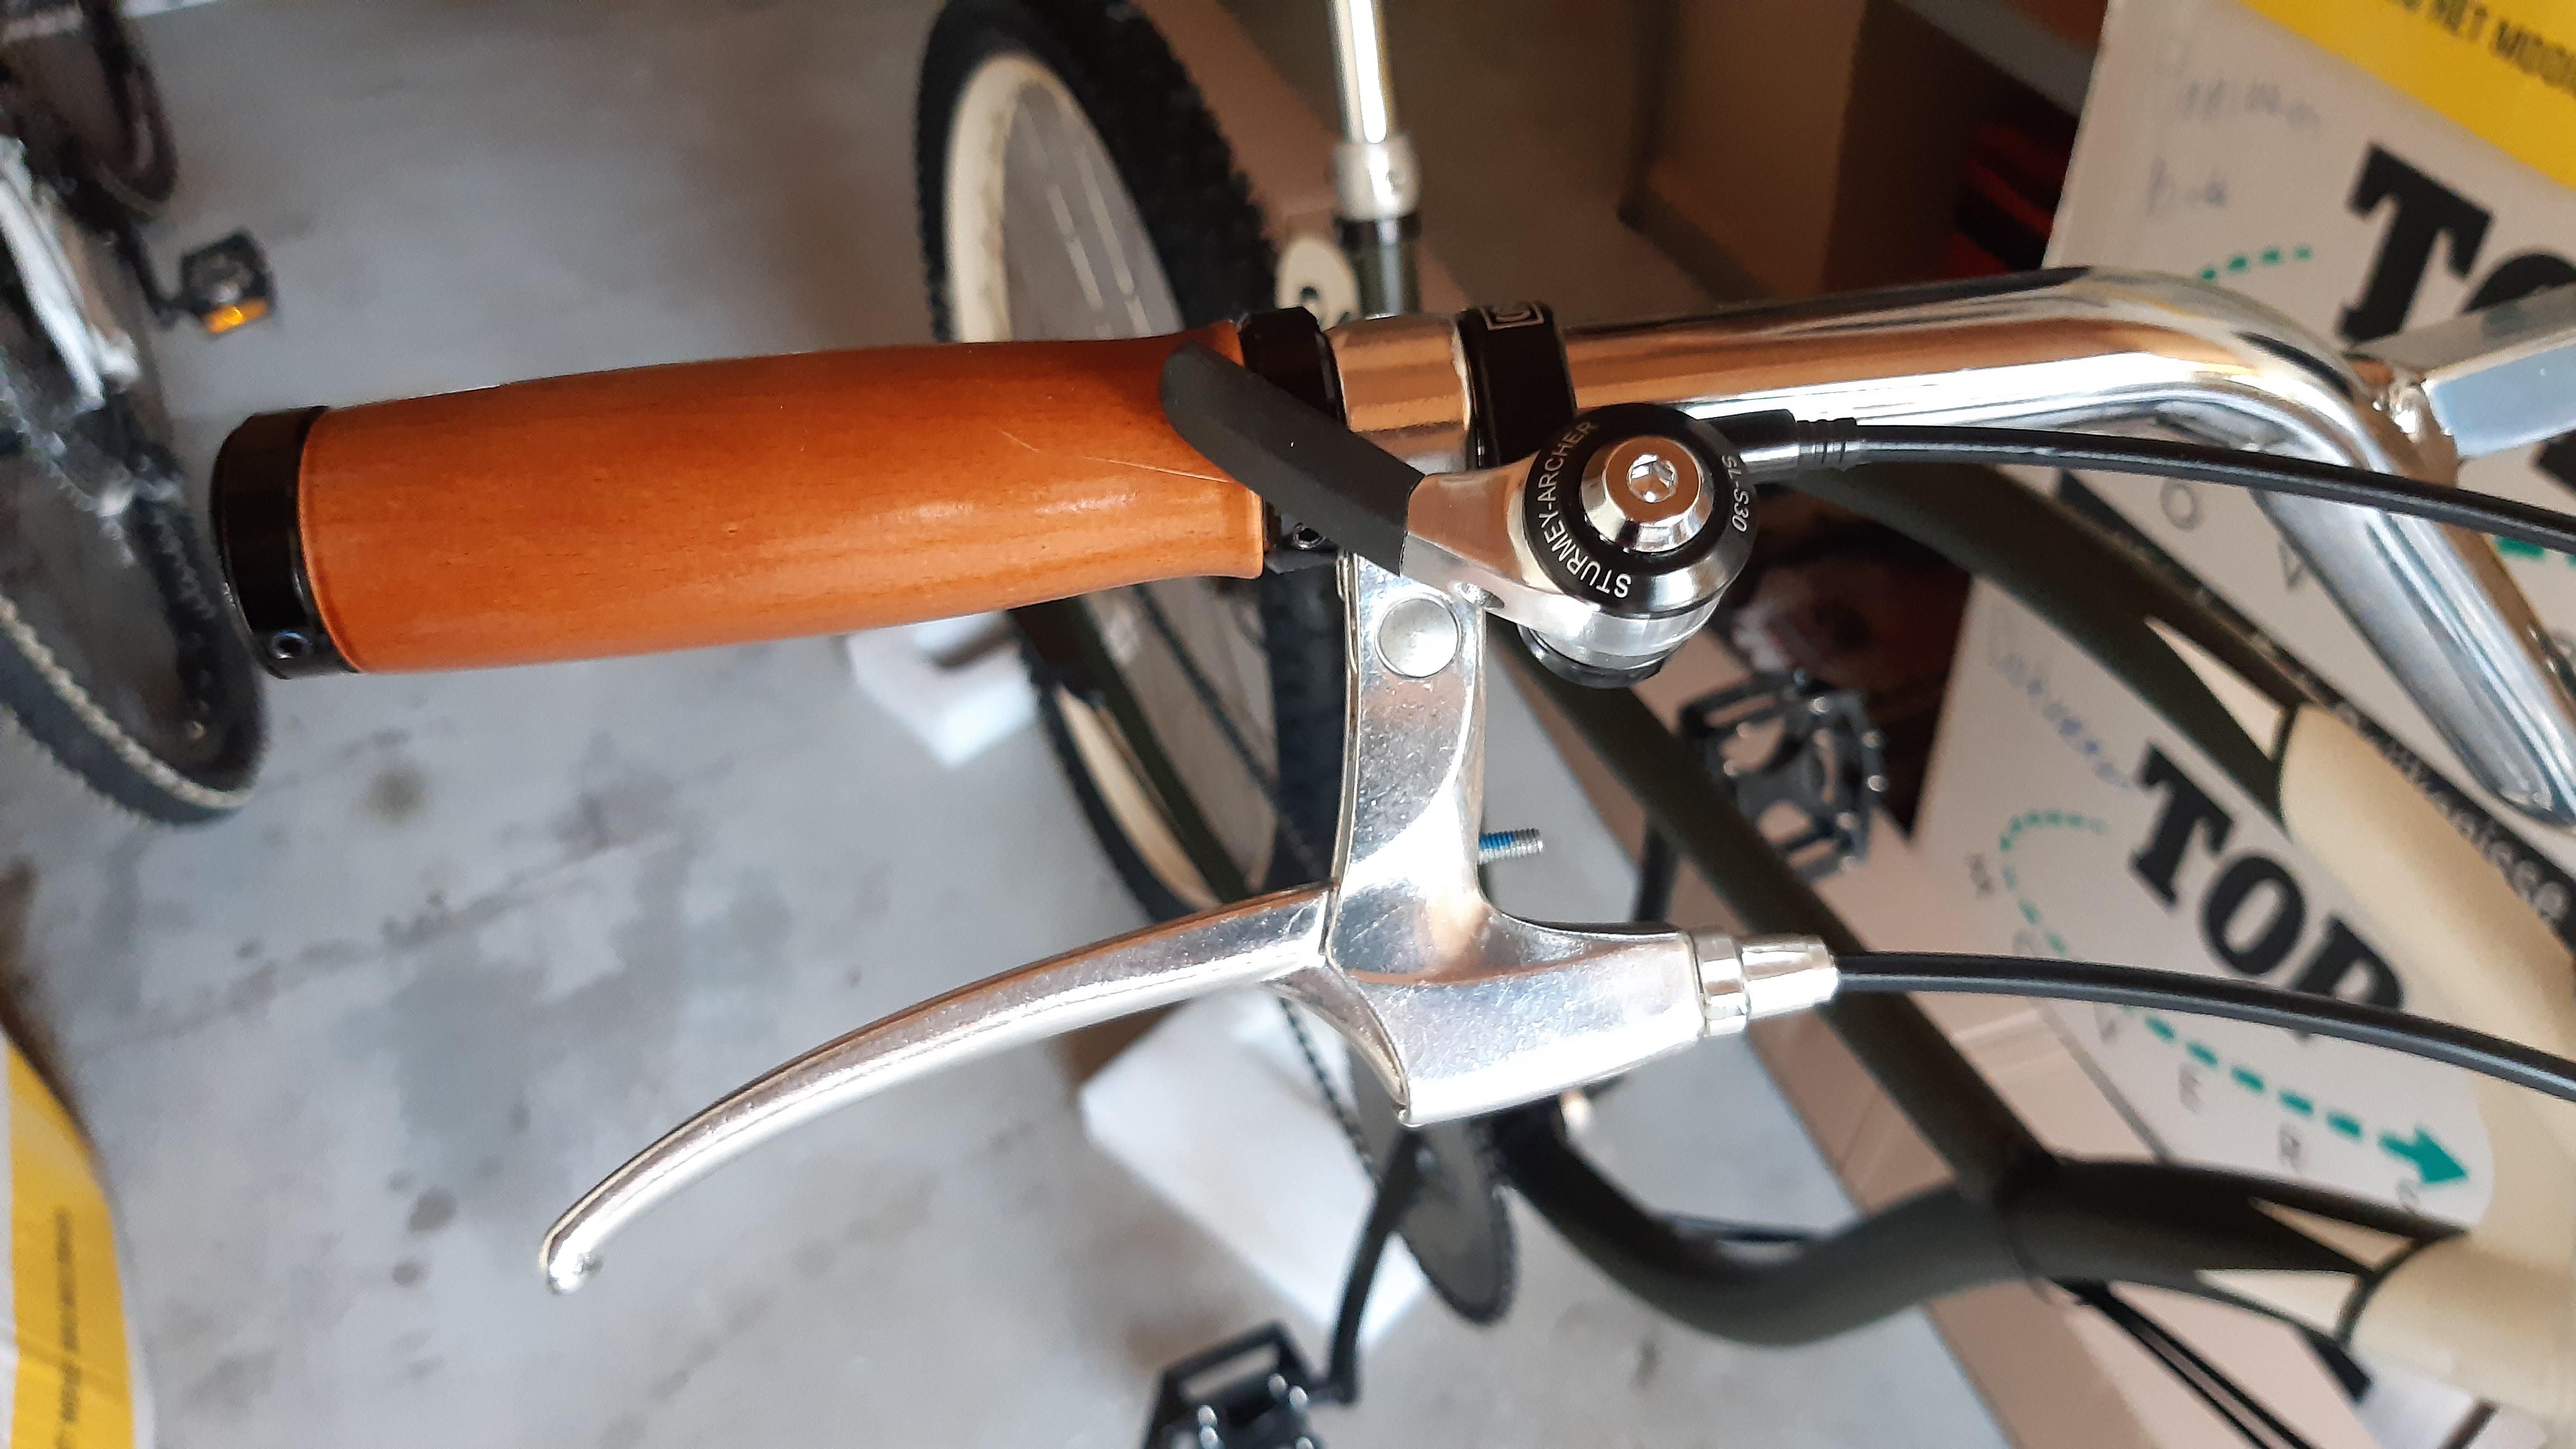
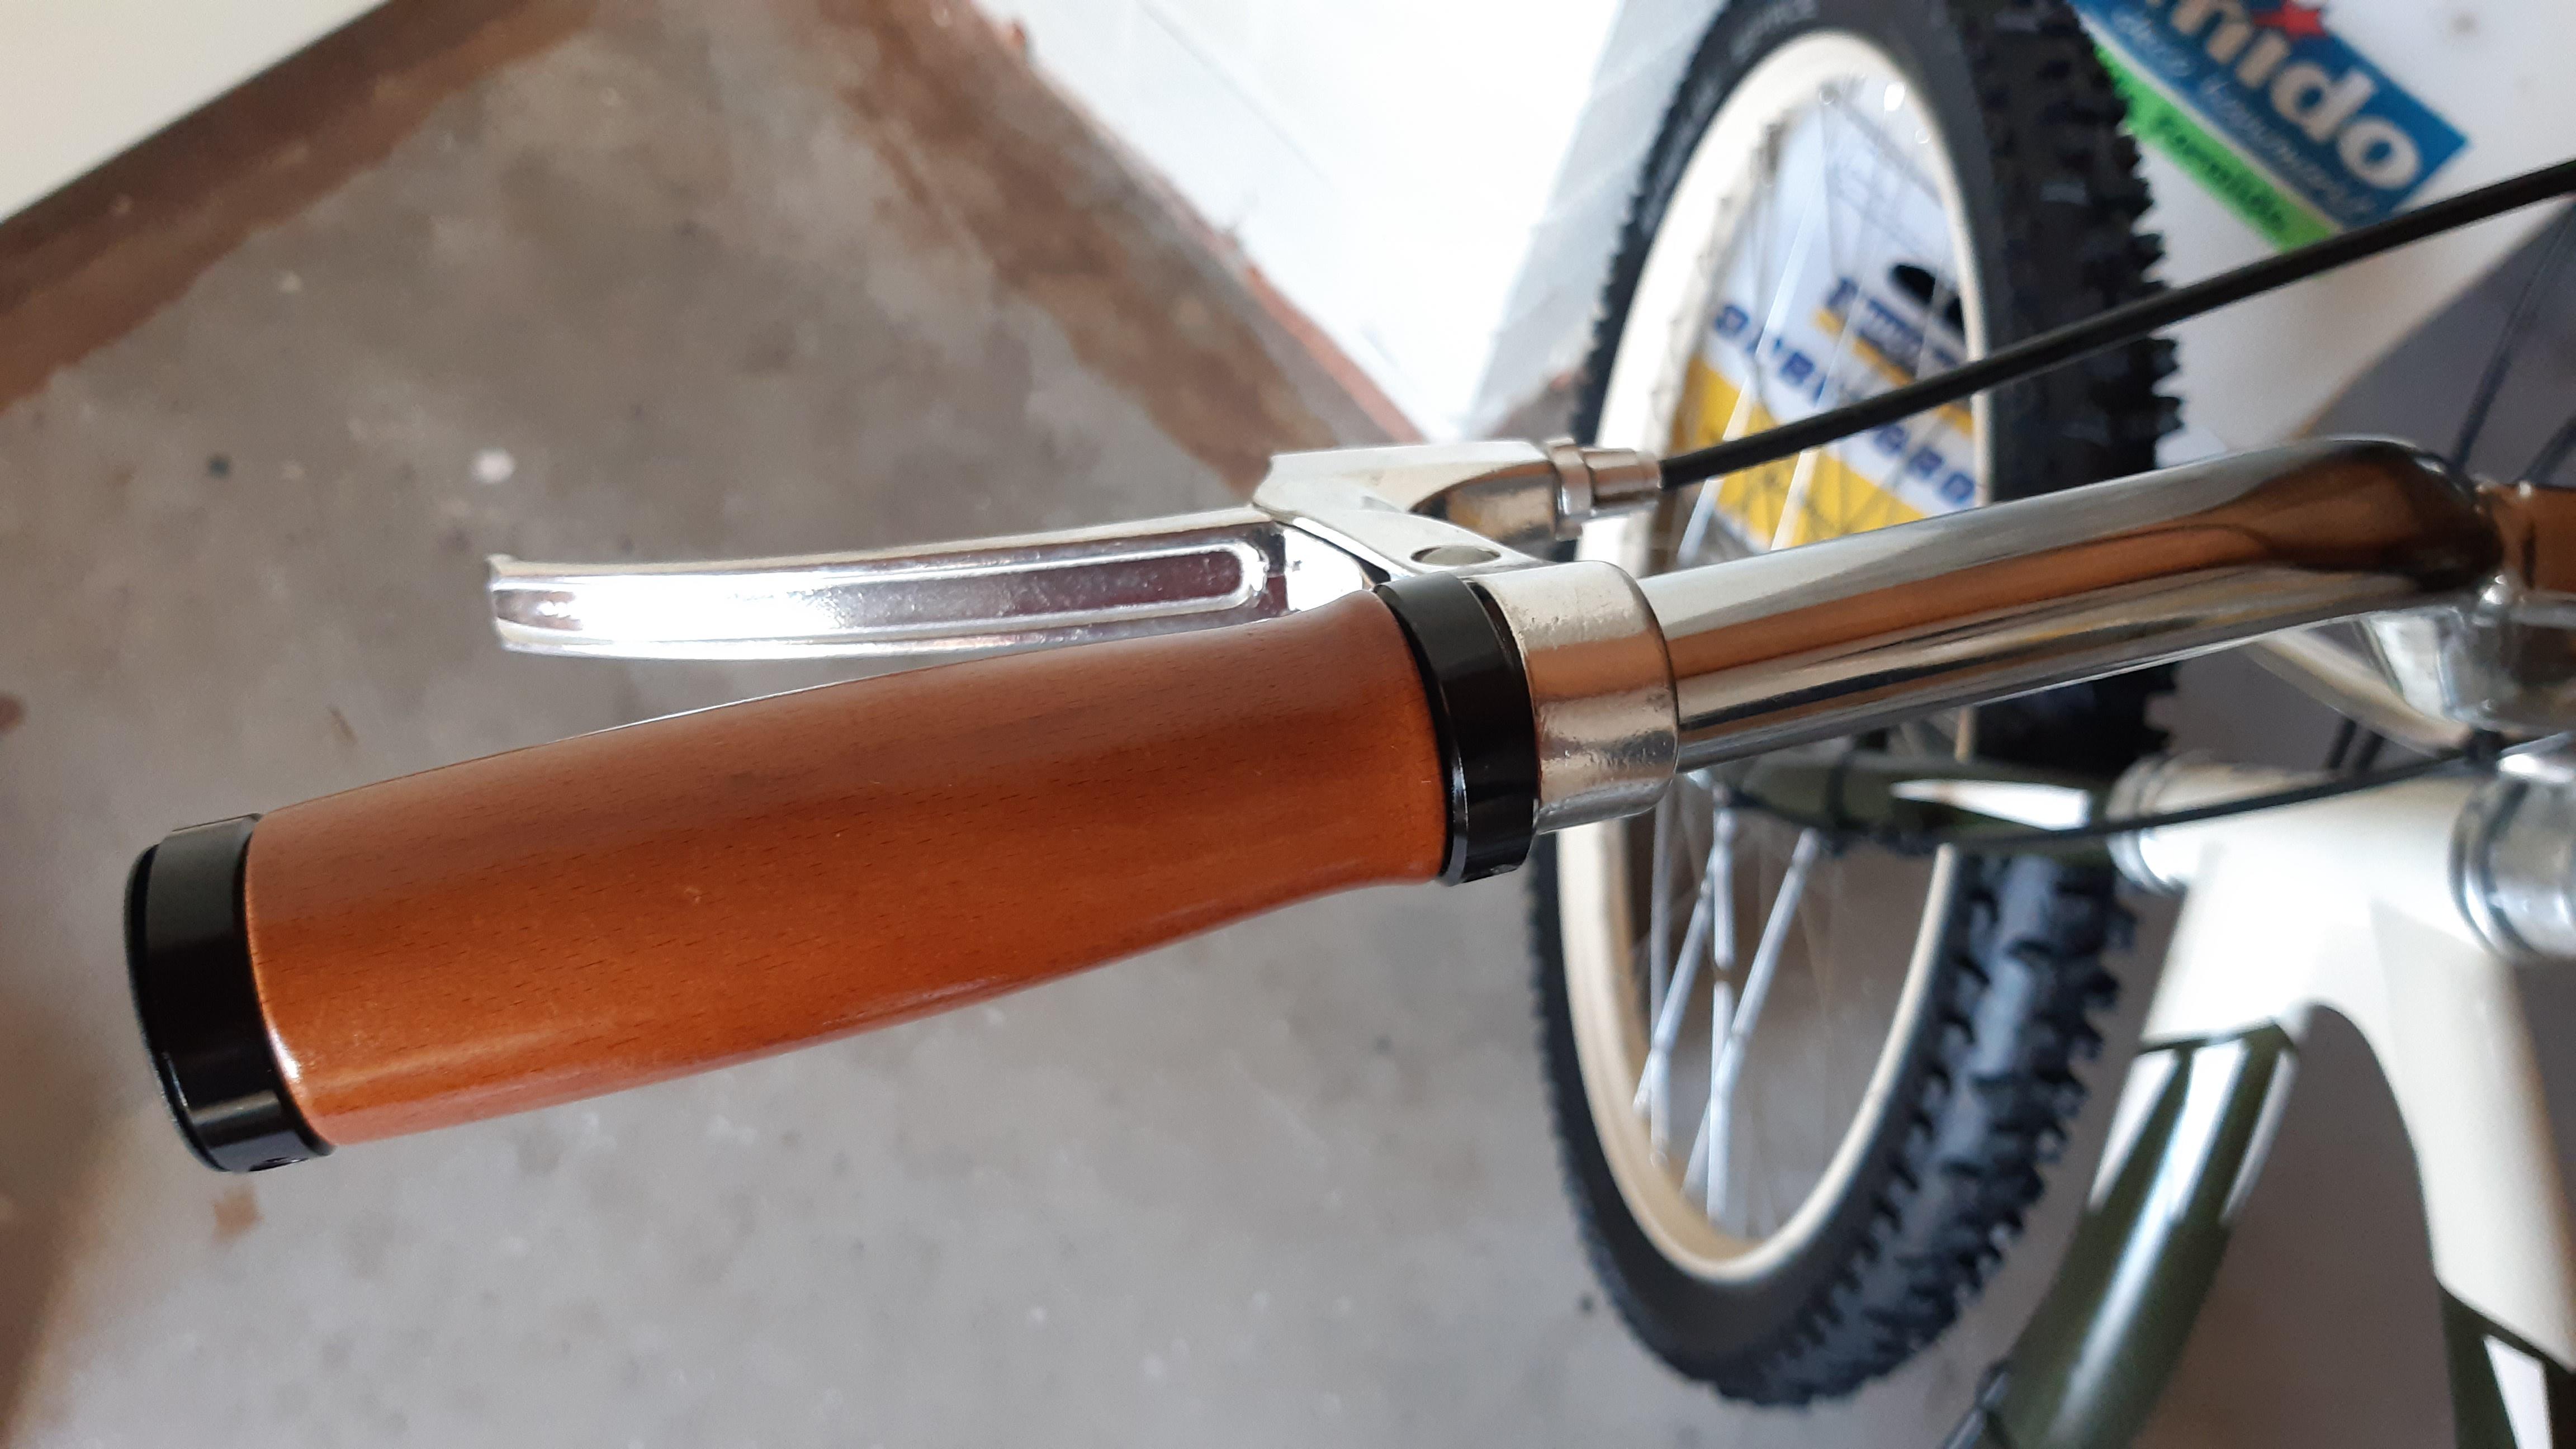
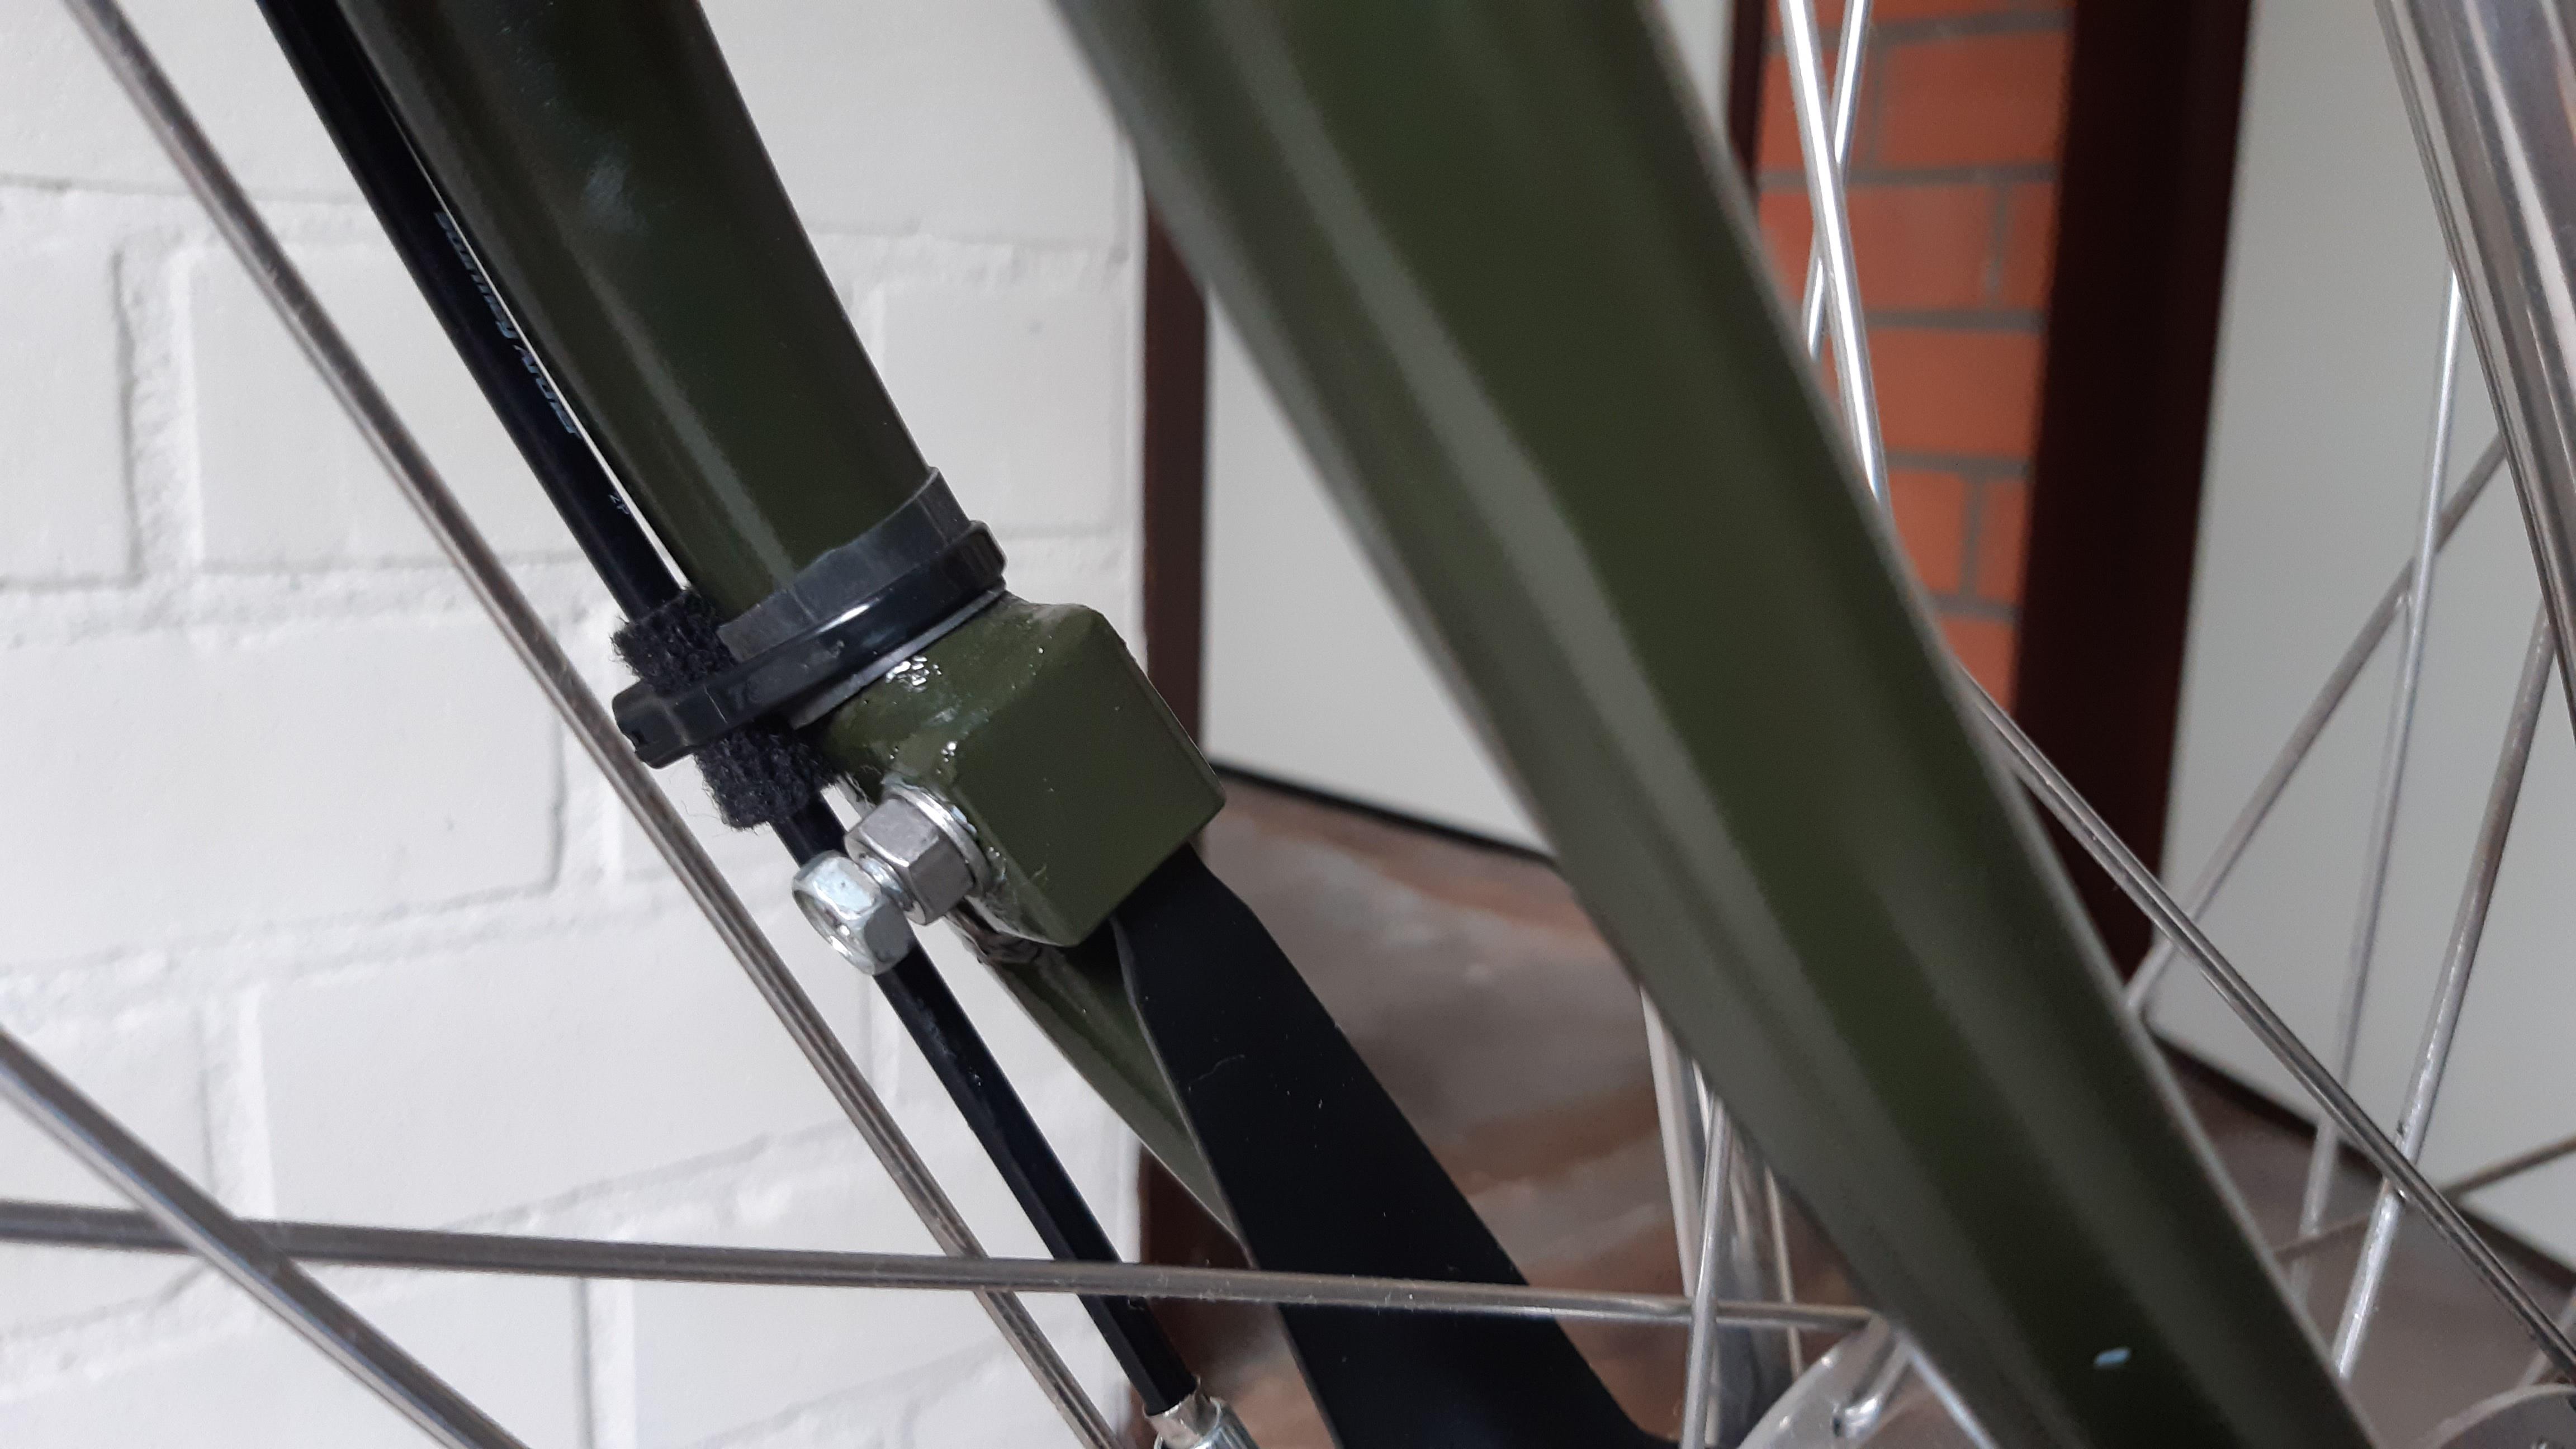
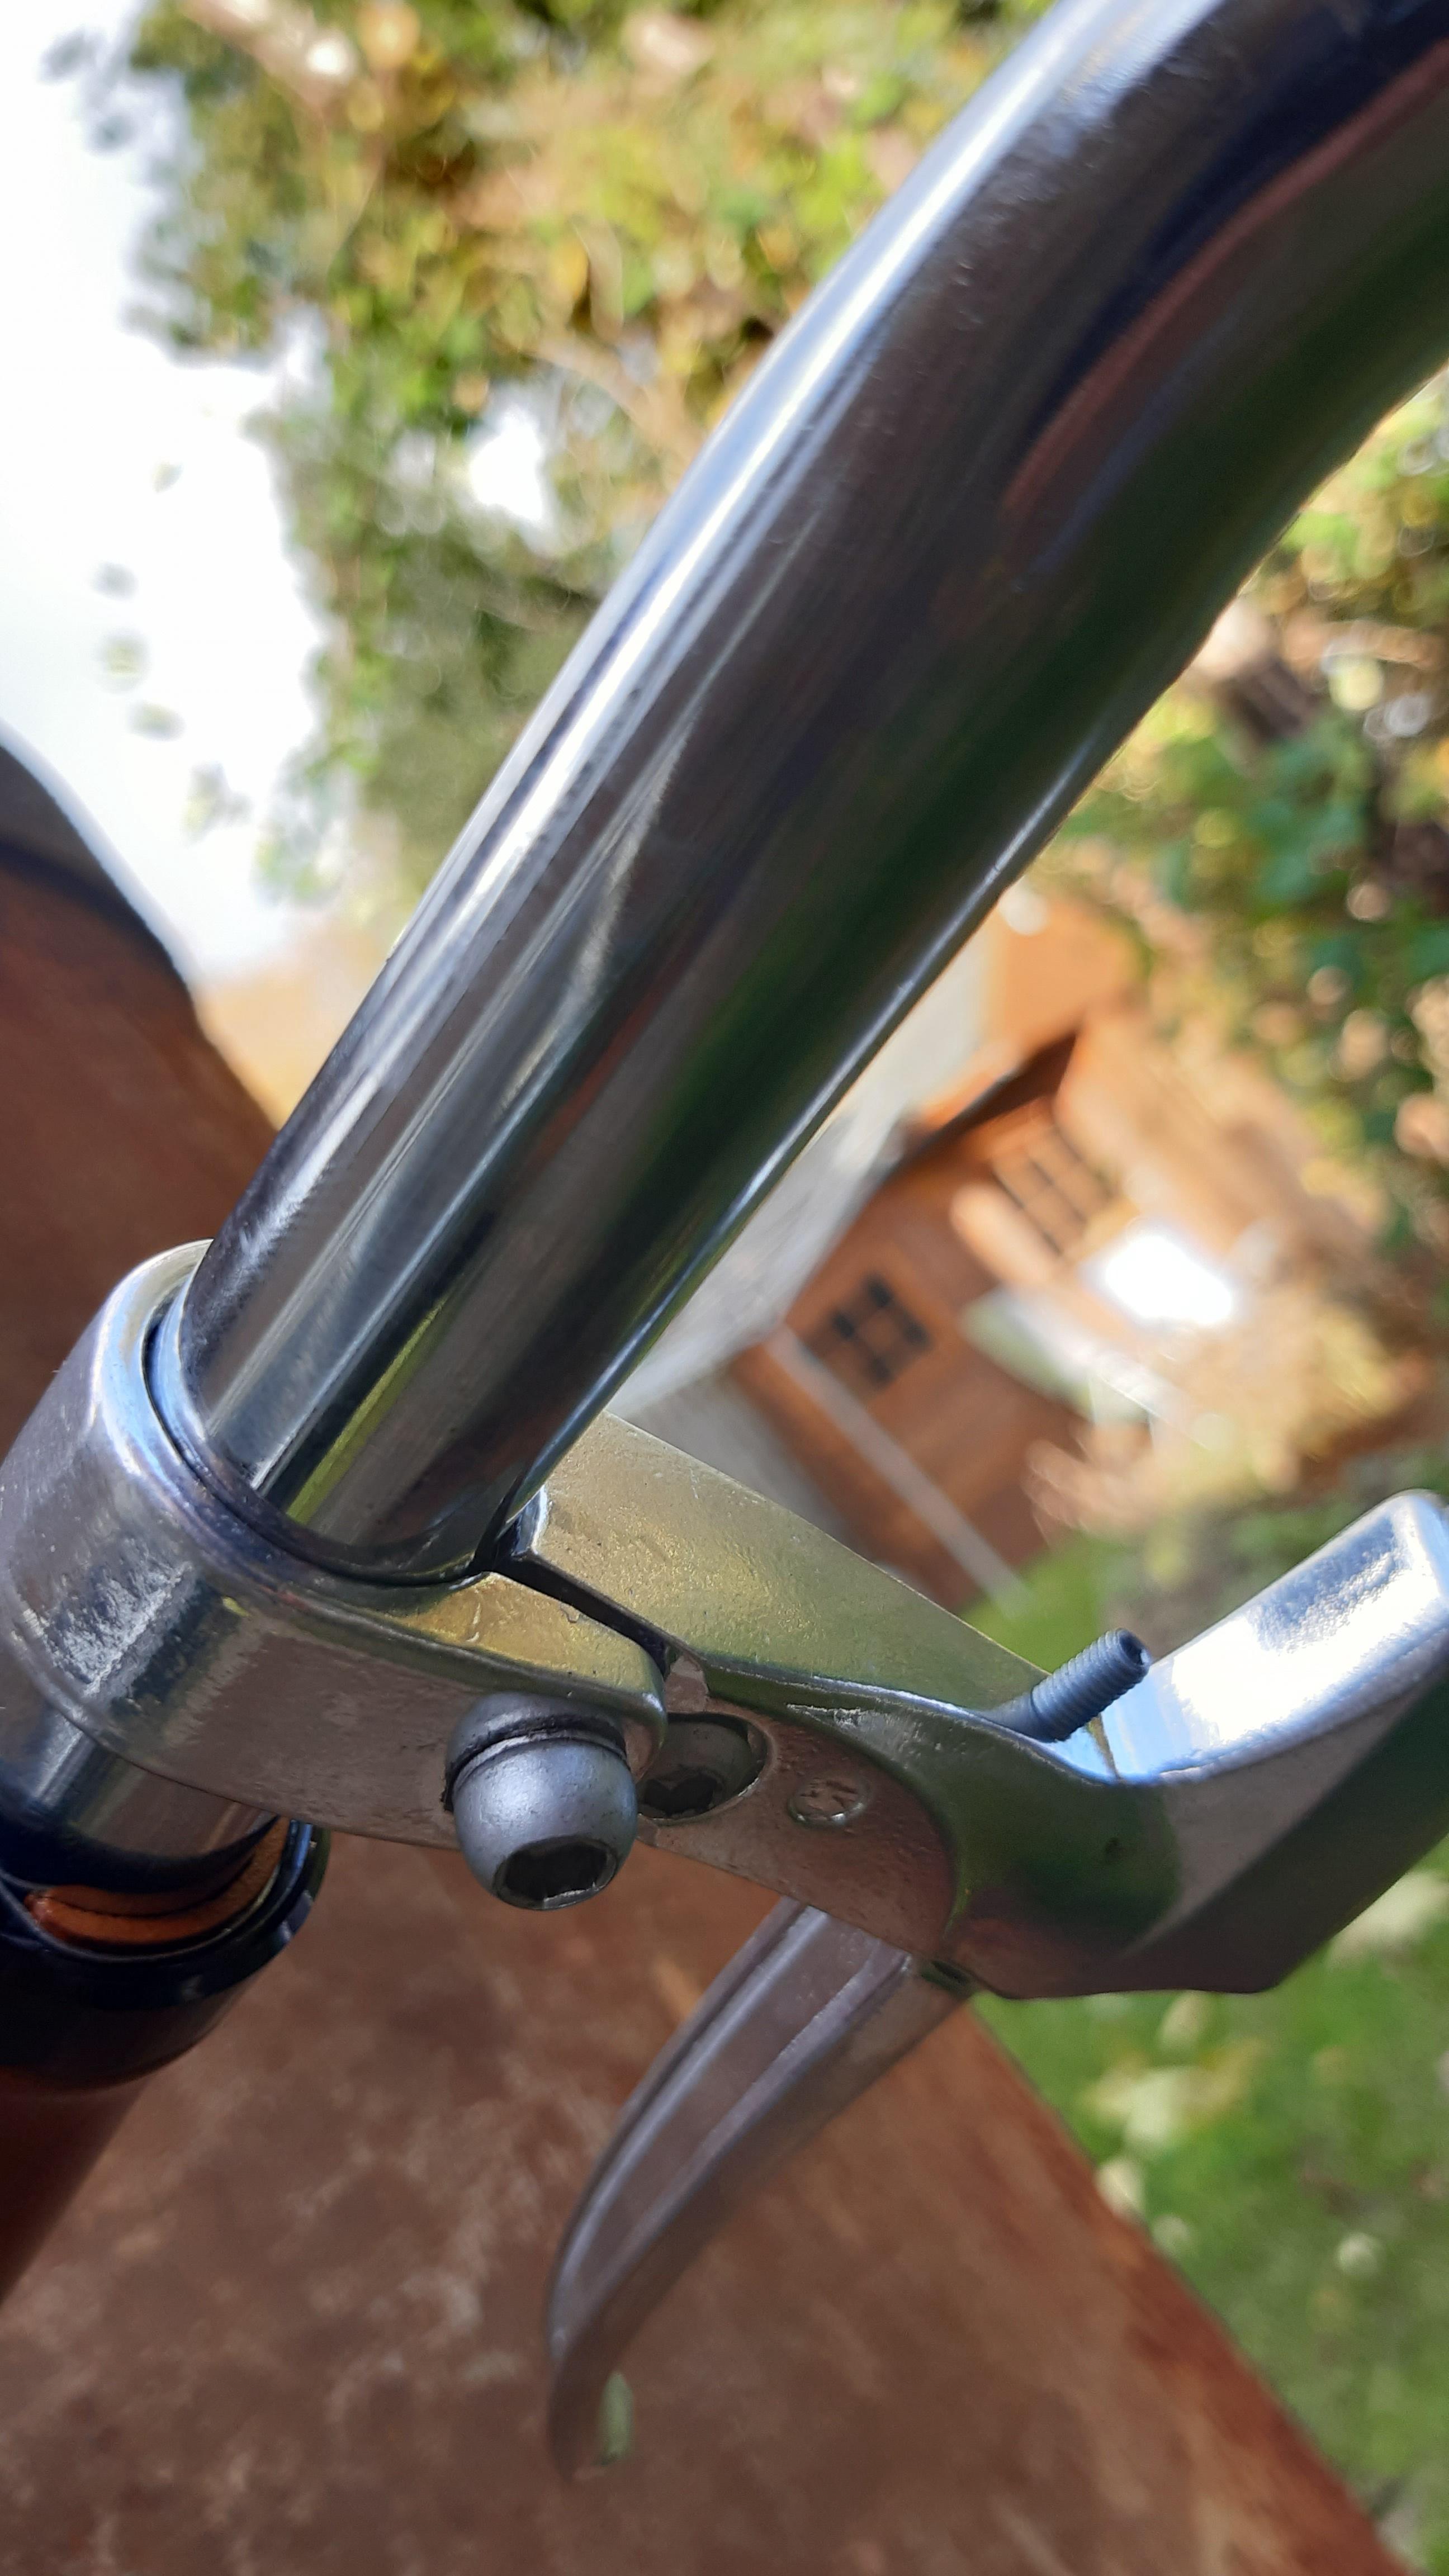
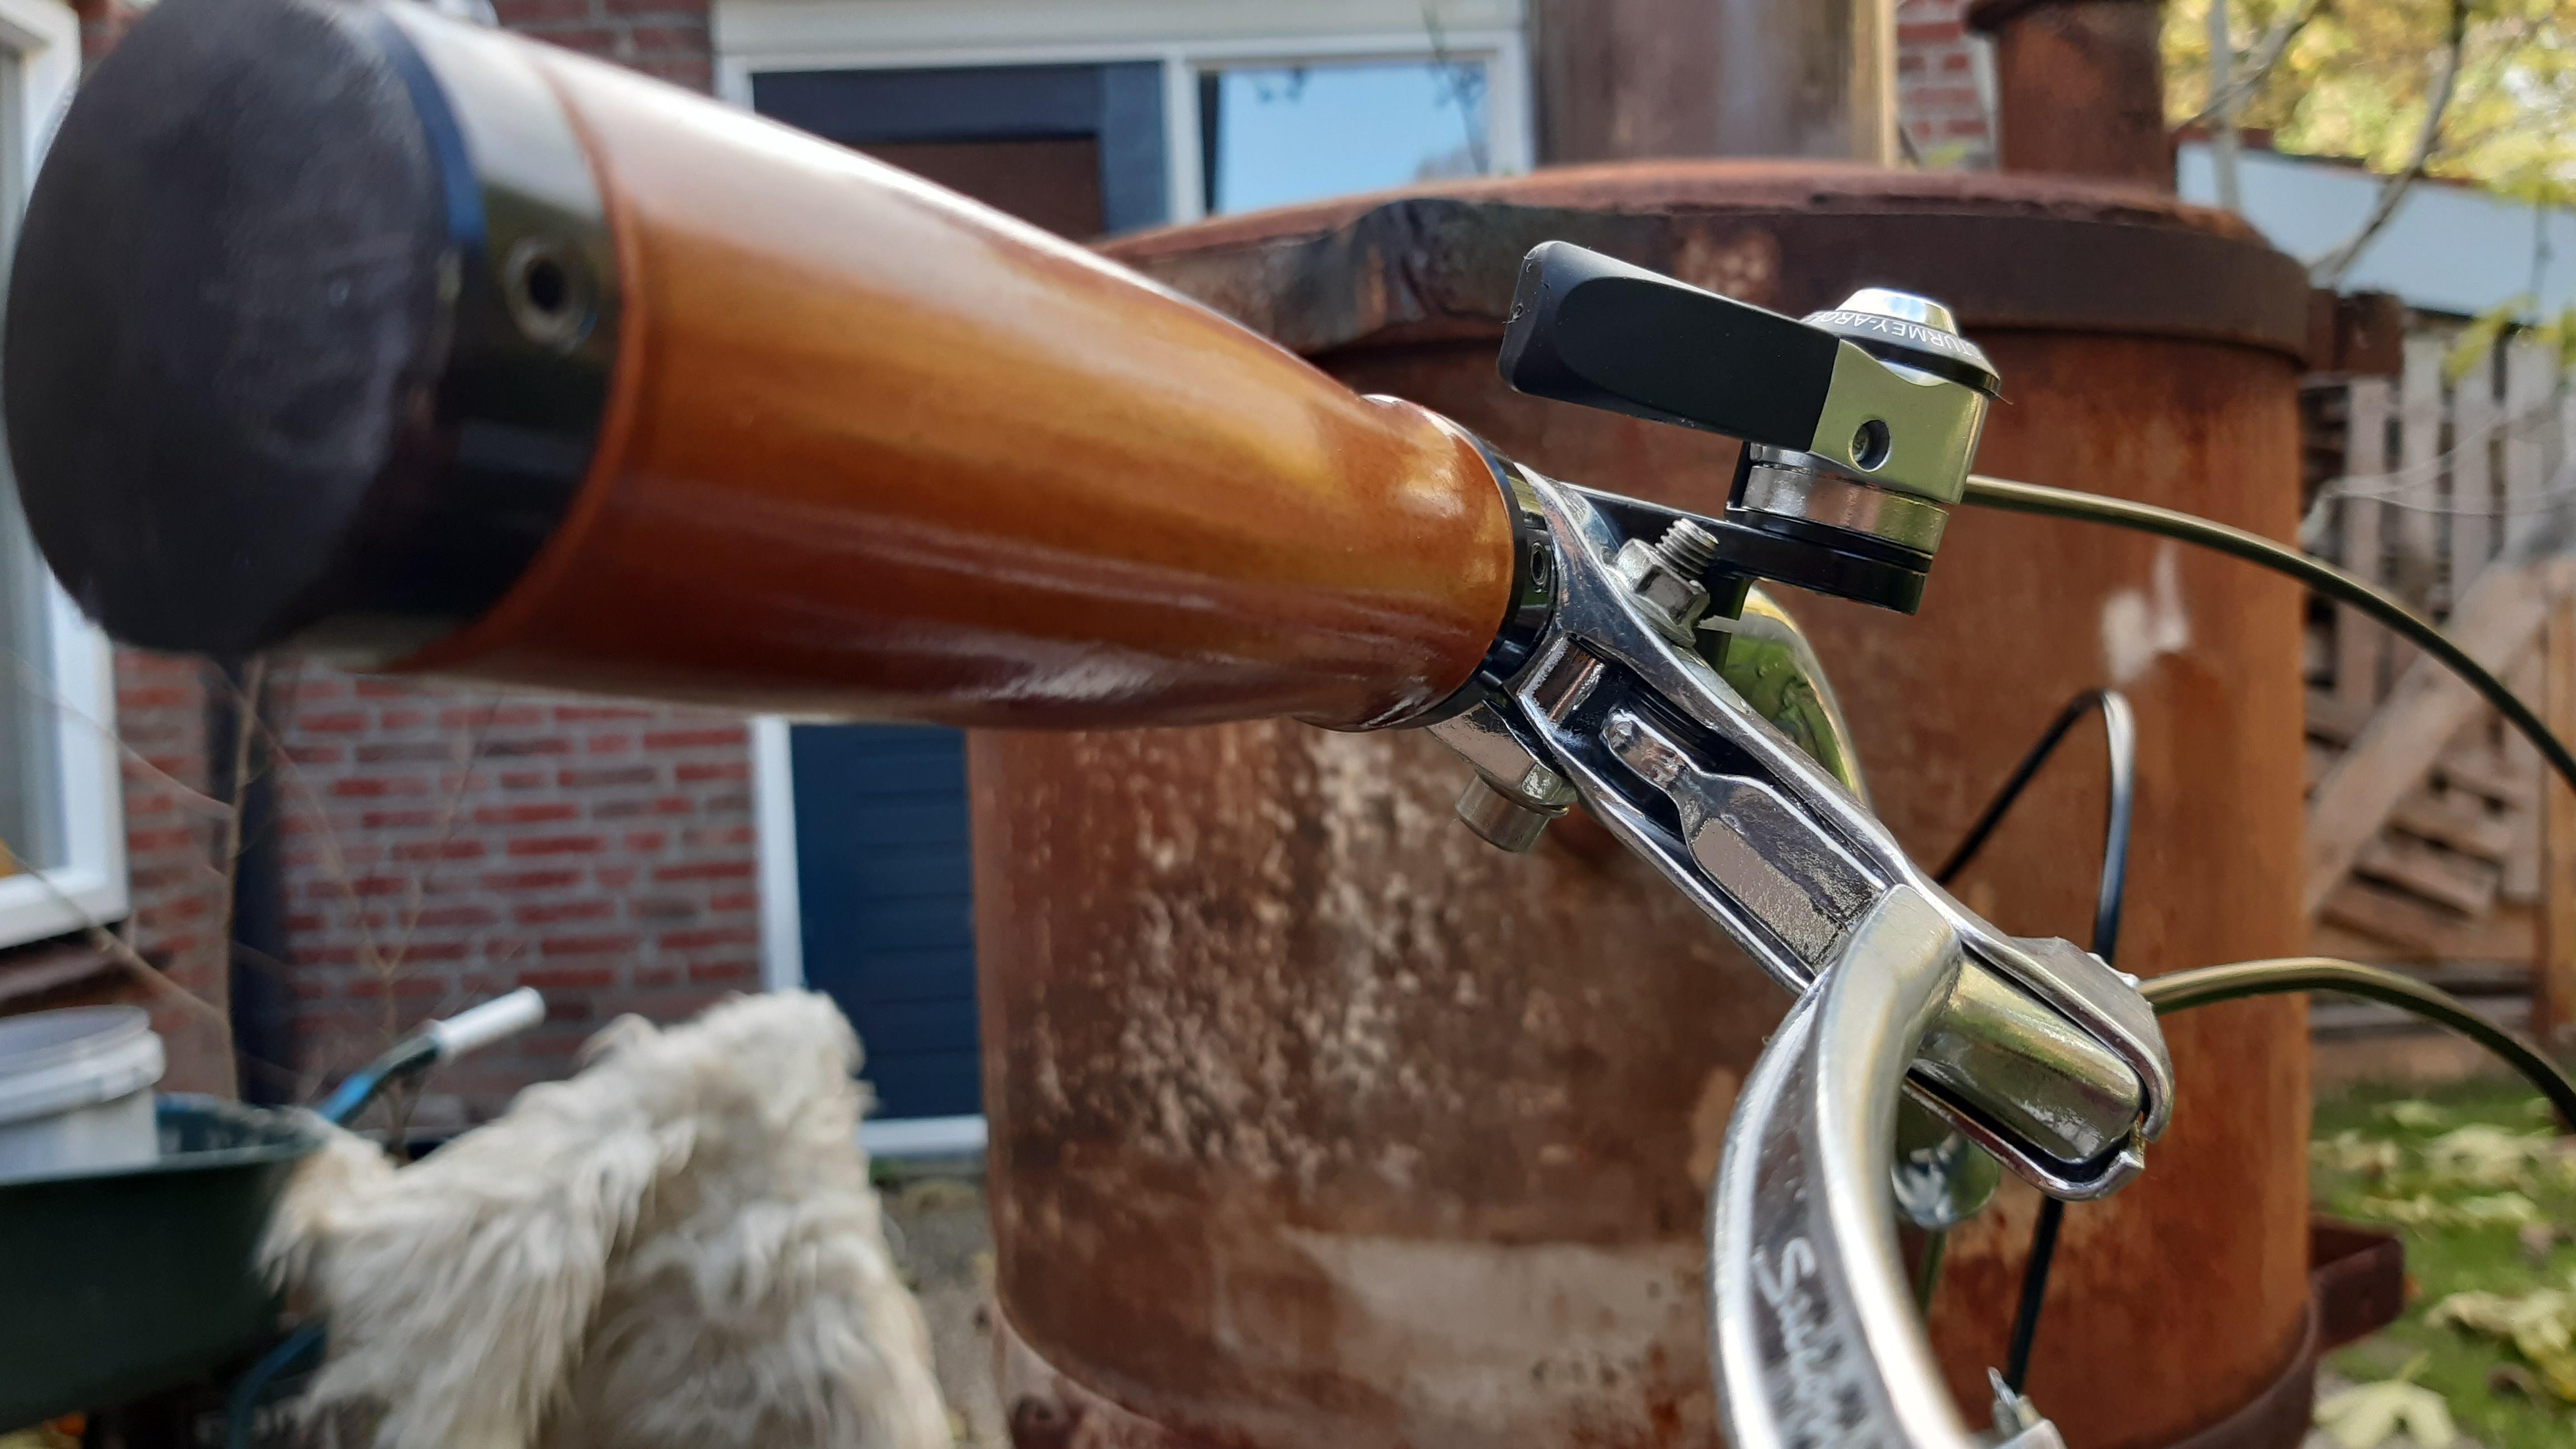
  • For me, cycling without a coasterbrake feels weird. It did not help that my brake lever bolt broke off. So the brake lever was hanging loose and I had to reach for it every time I wanted to use the rear brake.
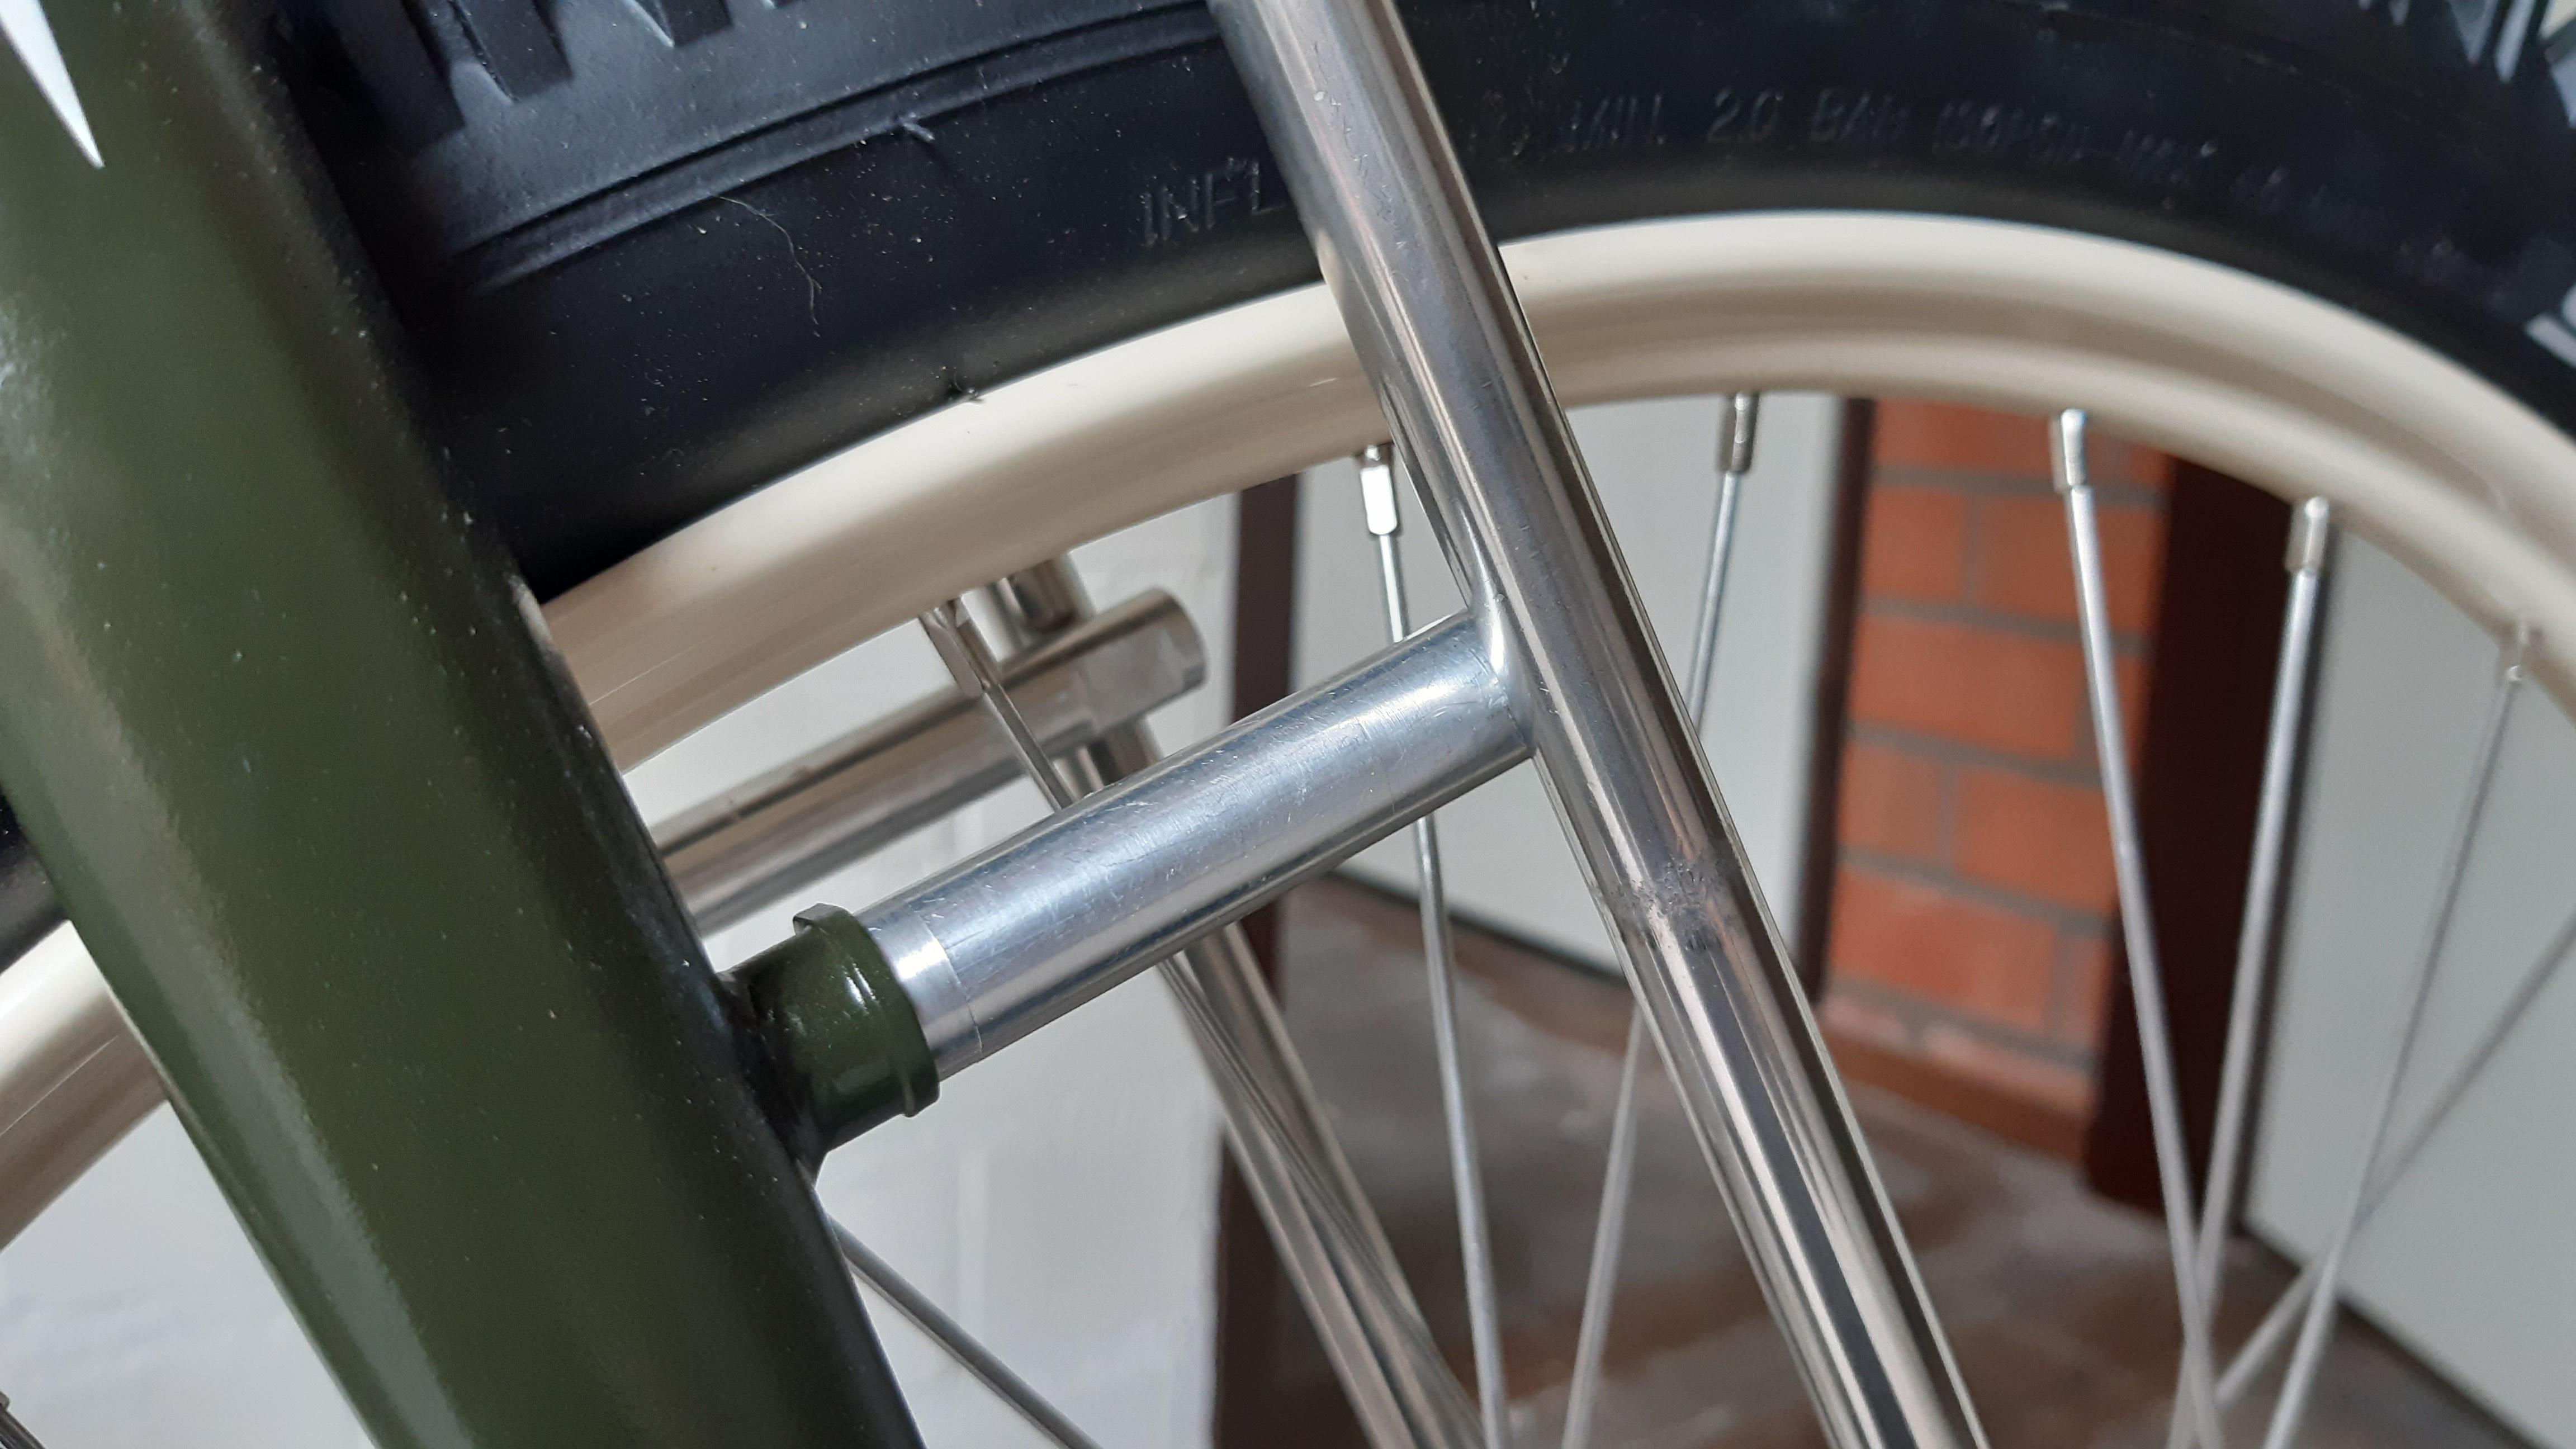
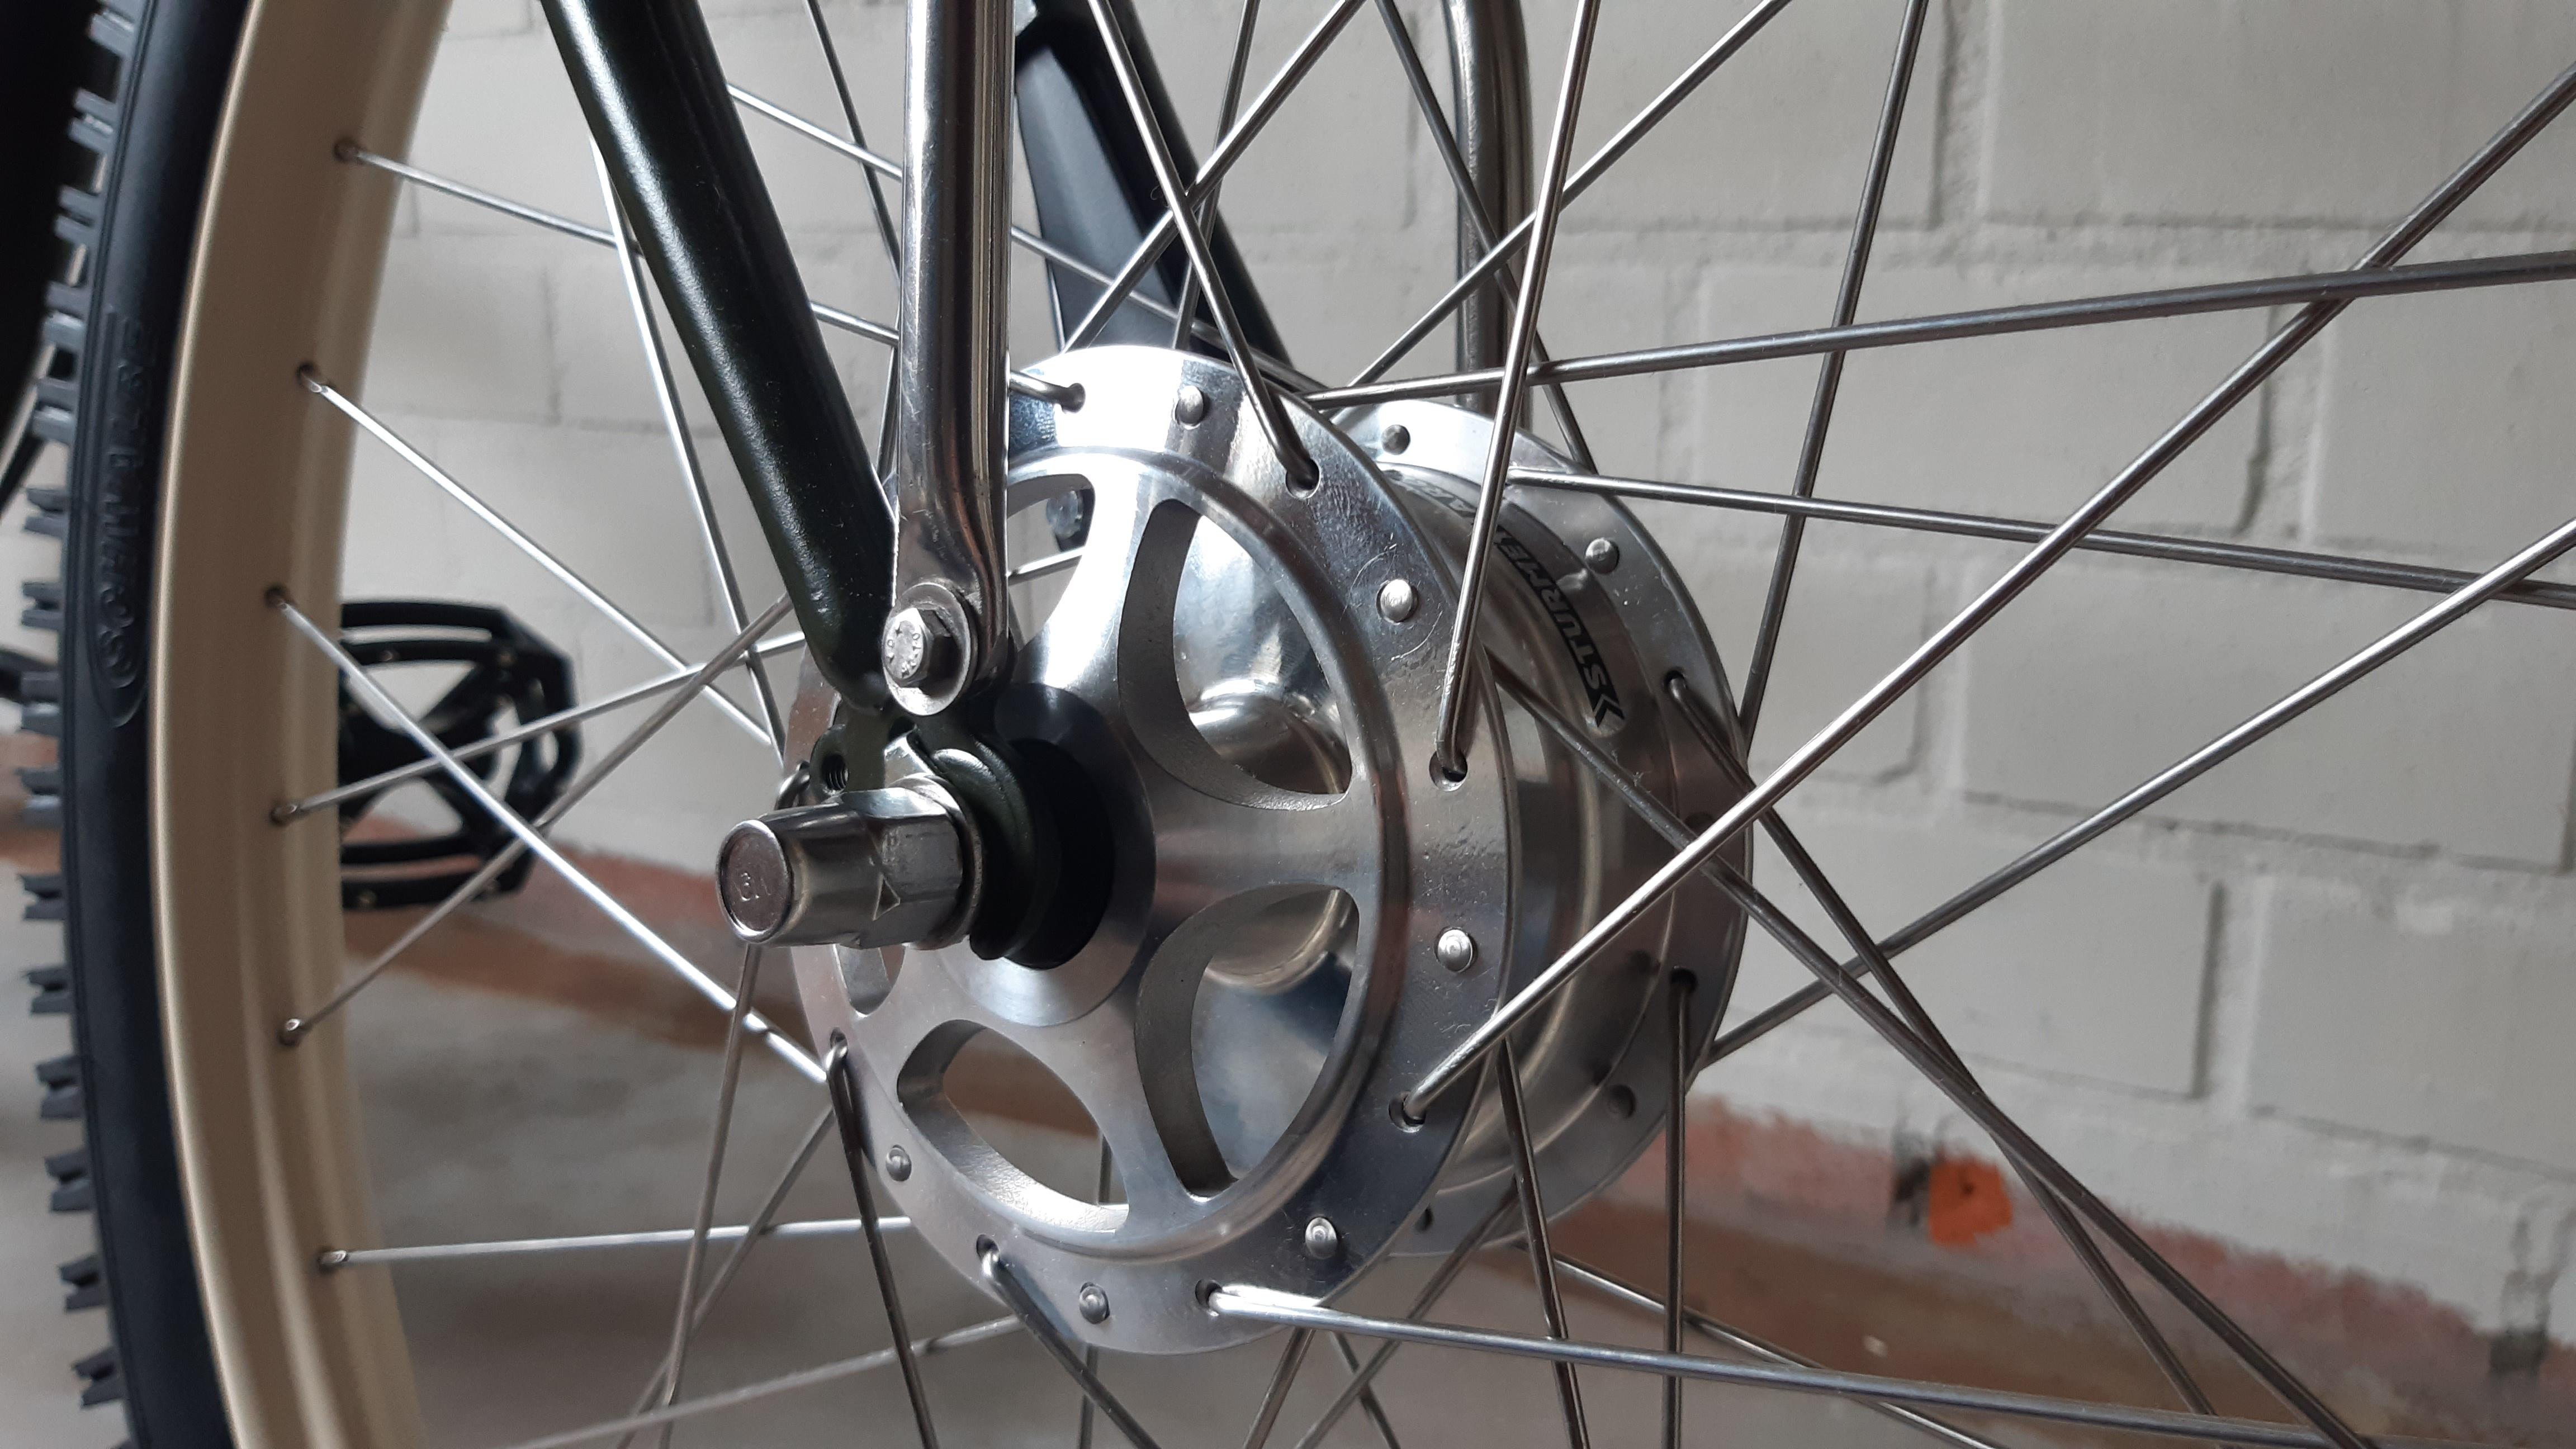
  • The 3 speed hub feels really good.
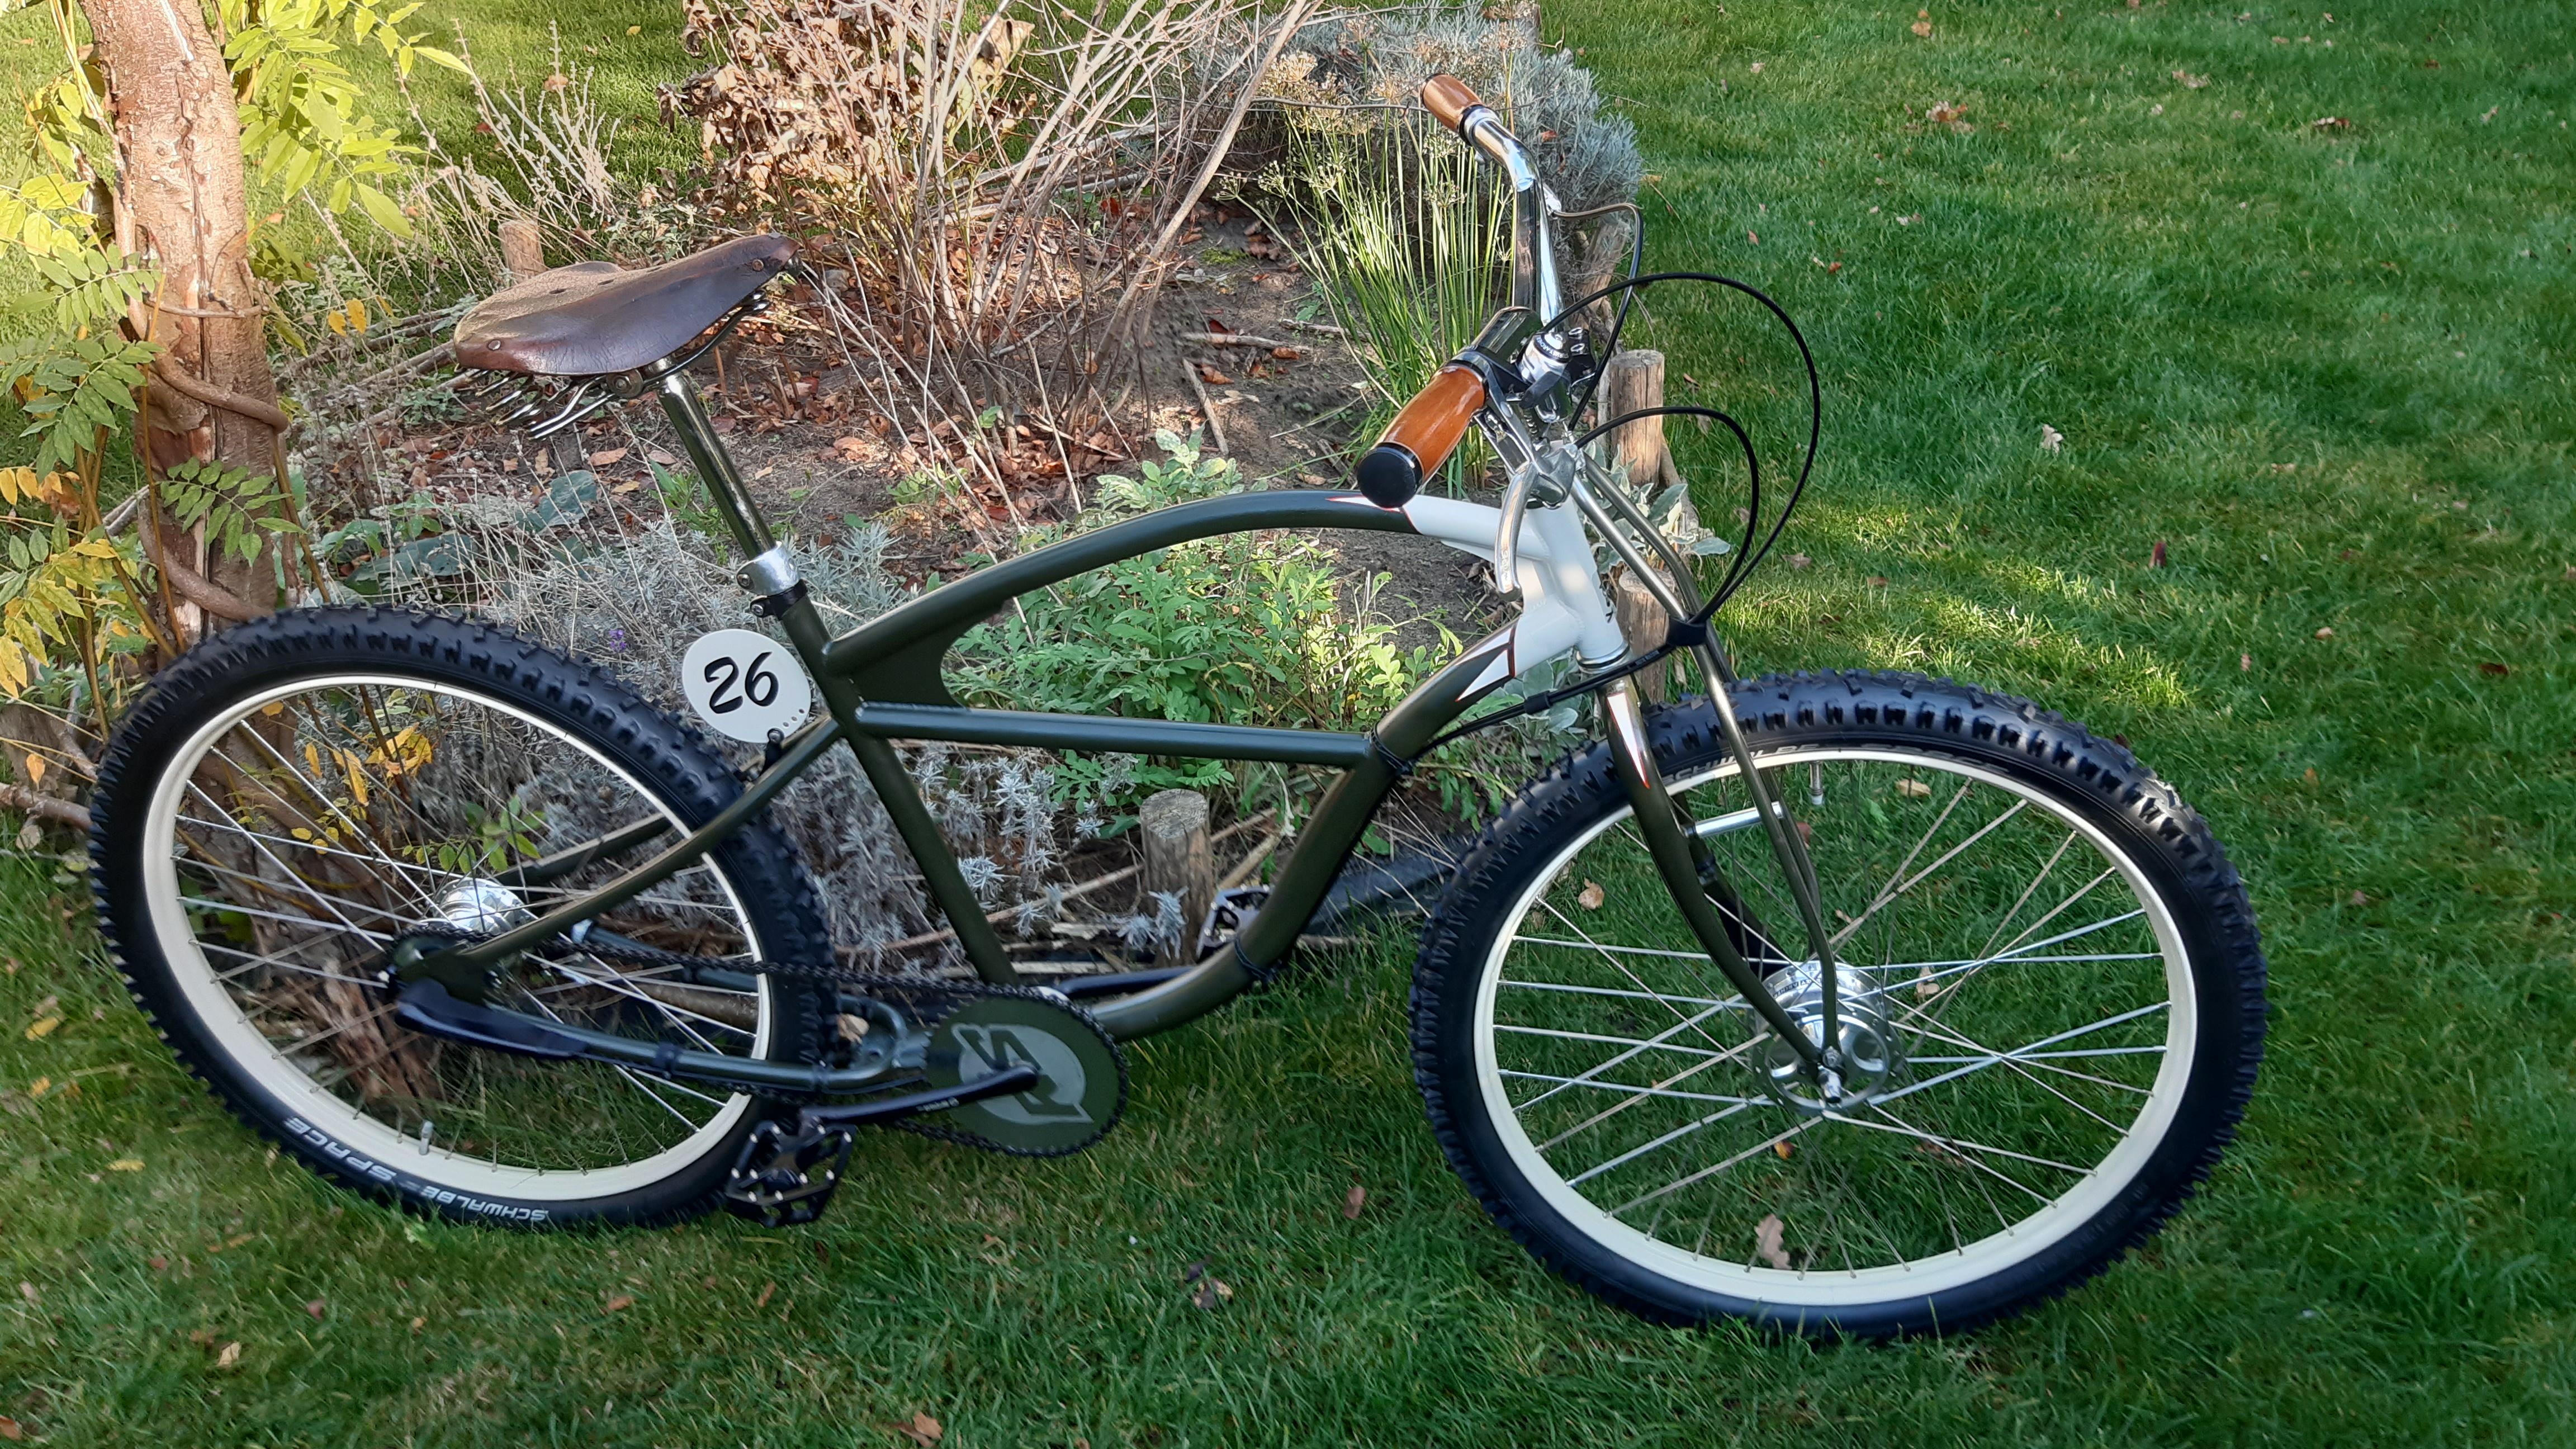
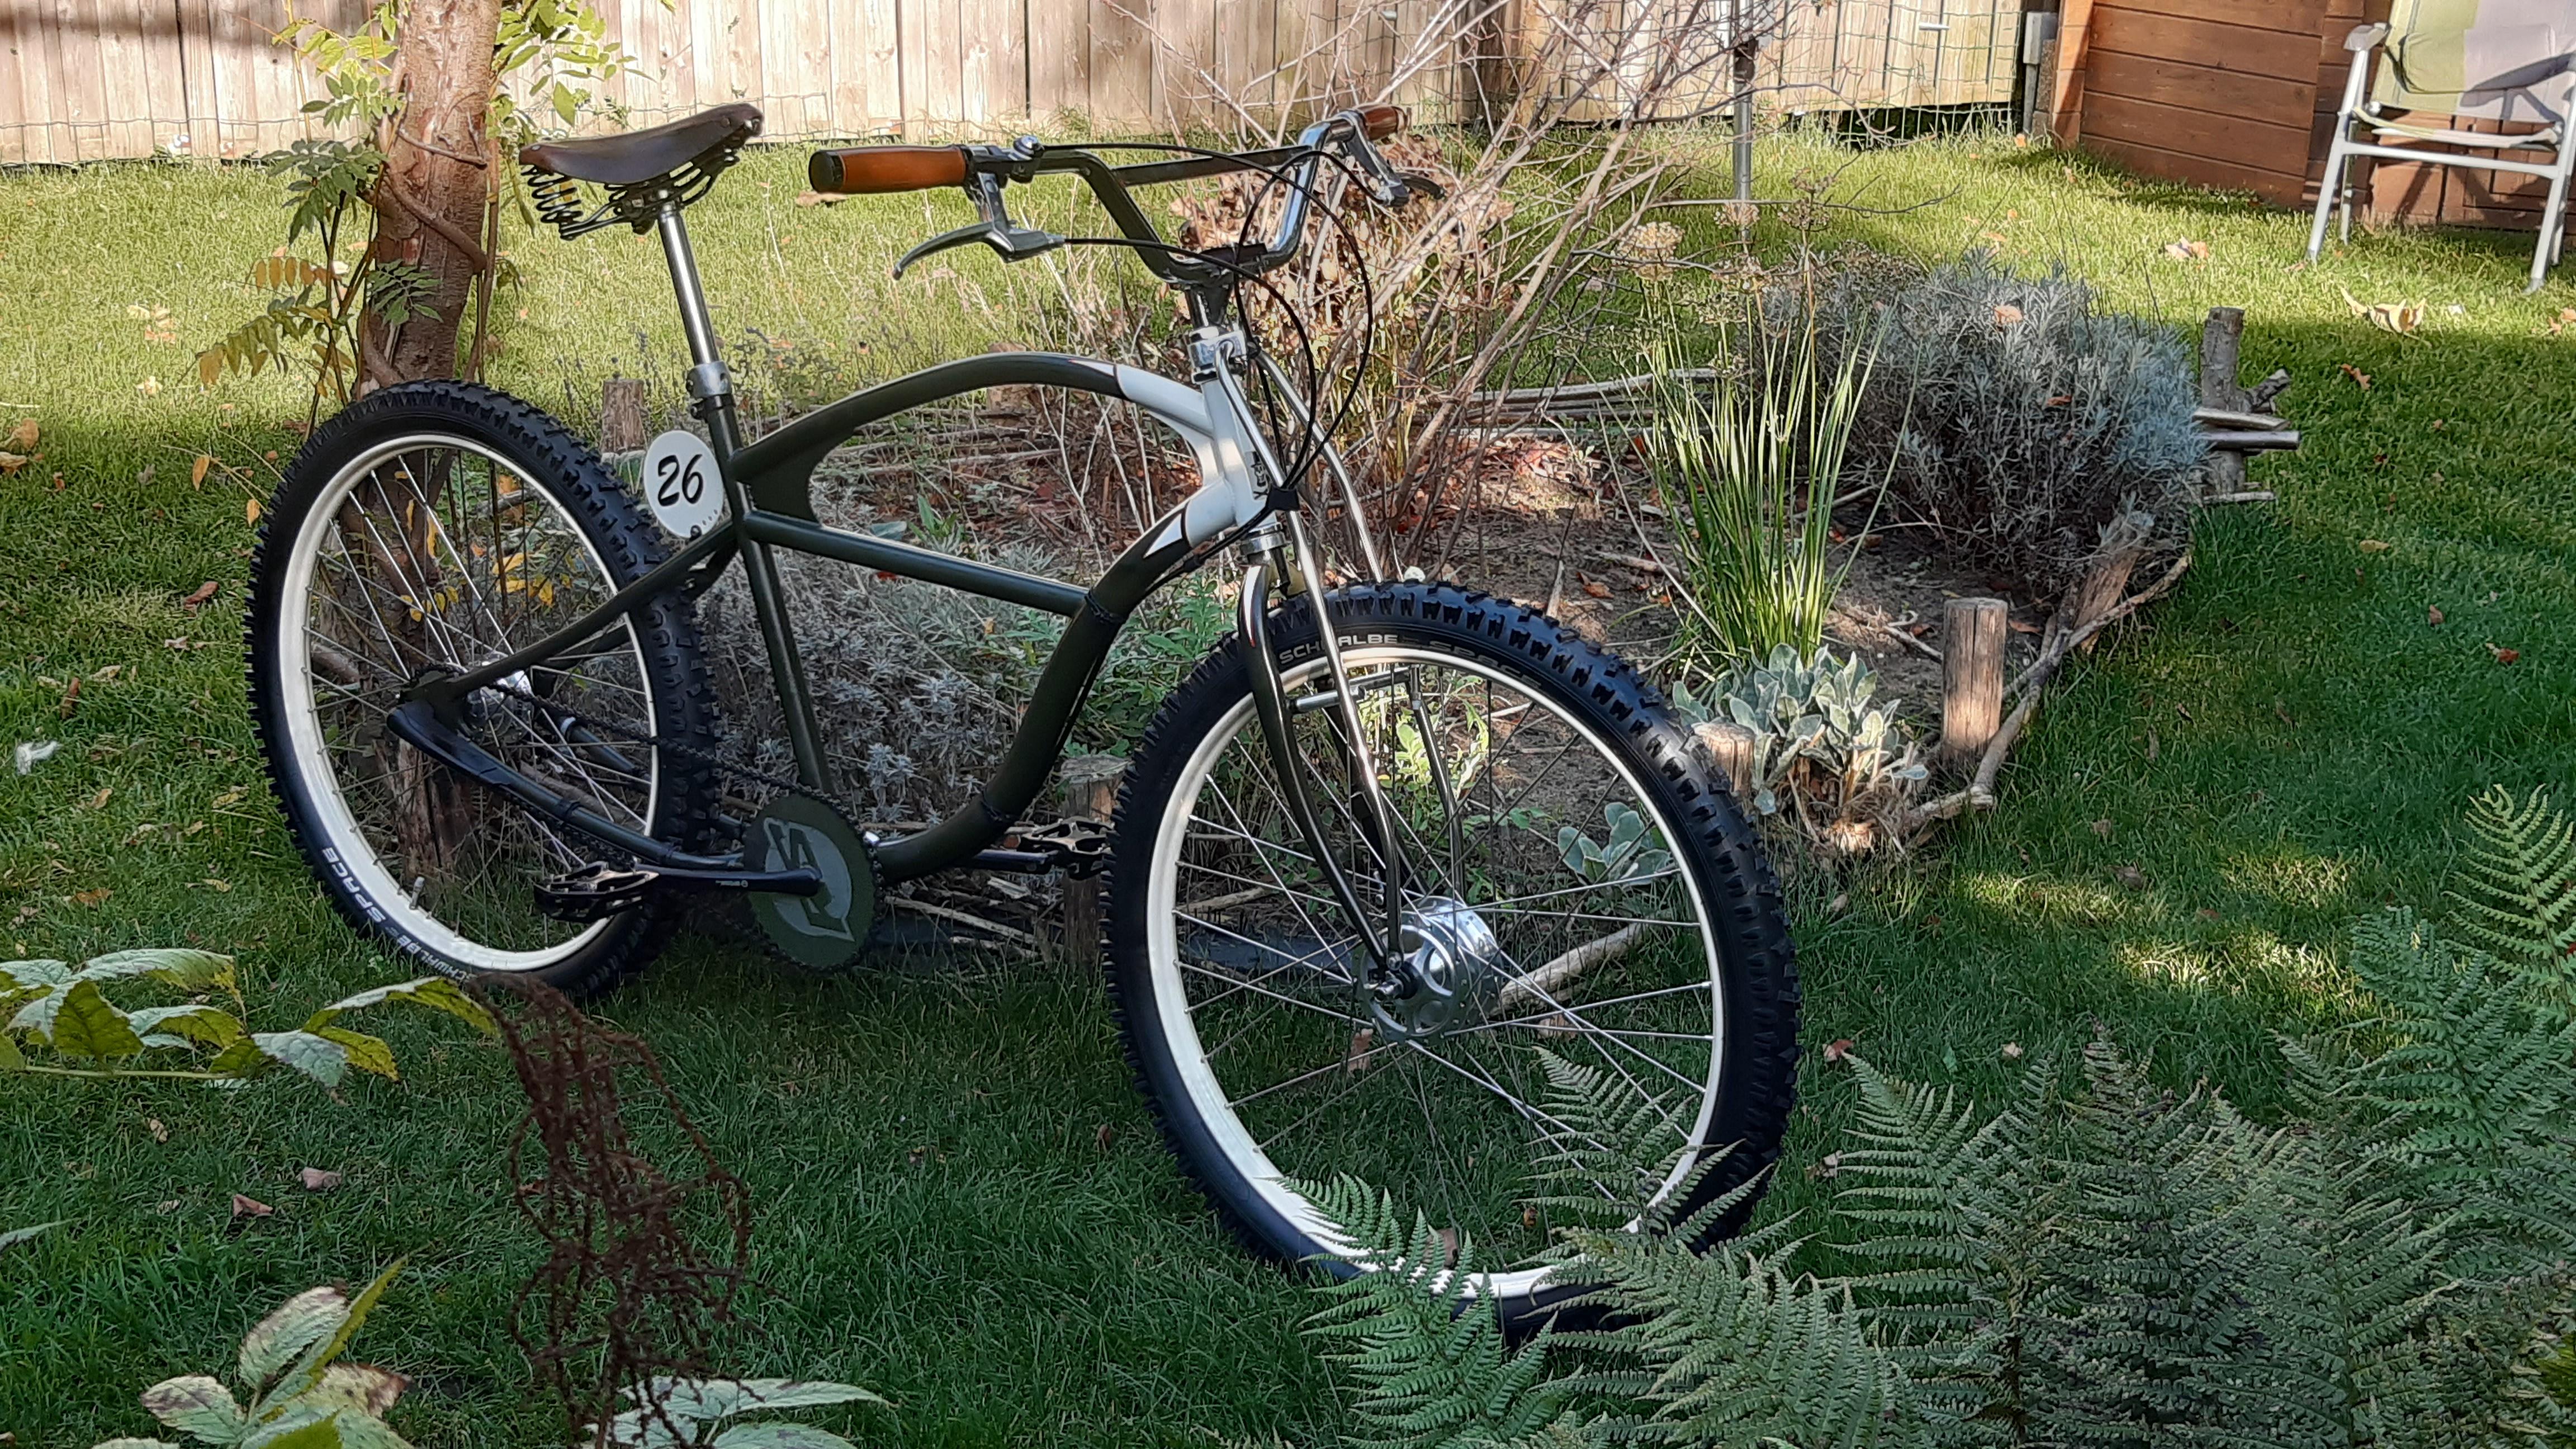
I decided to put a rearward positioned seatpost on the bike and keep the short BMX stem. This feels better, although is it a bit less sporty.

In the future, maybe there will be an drinking bottle of a tool bag attached to the seatpost/saddle.

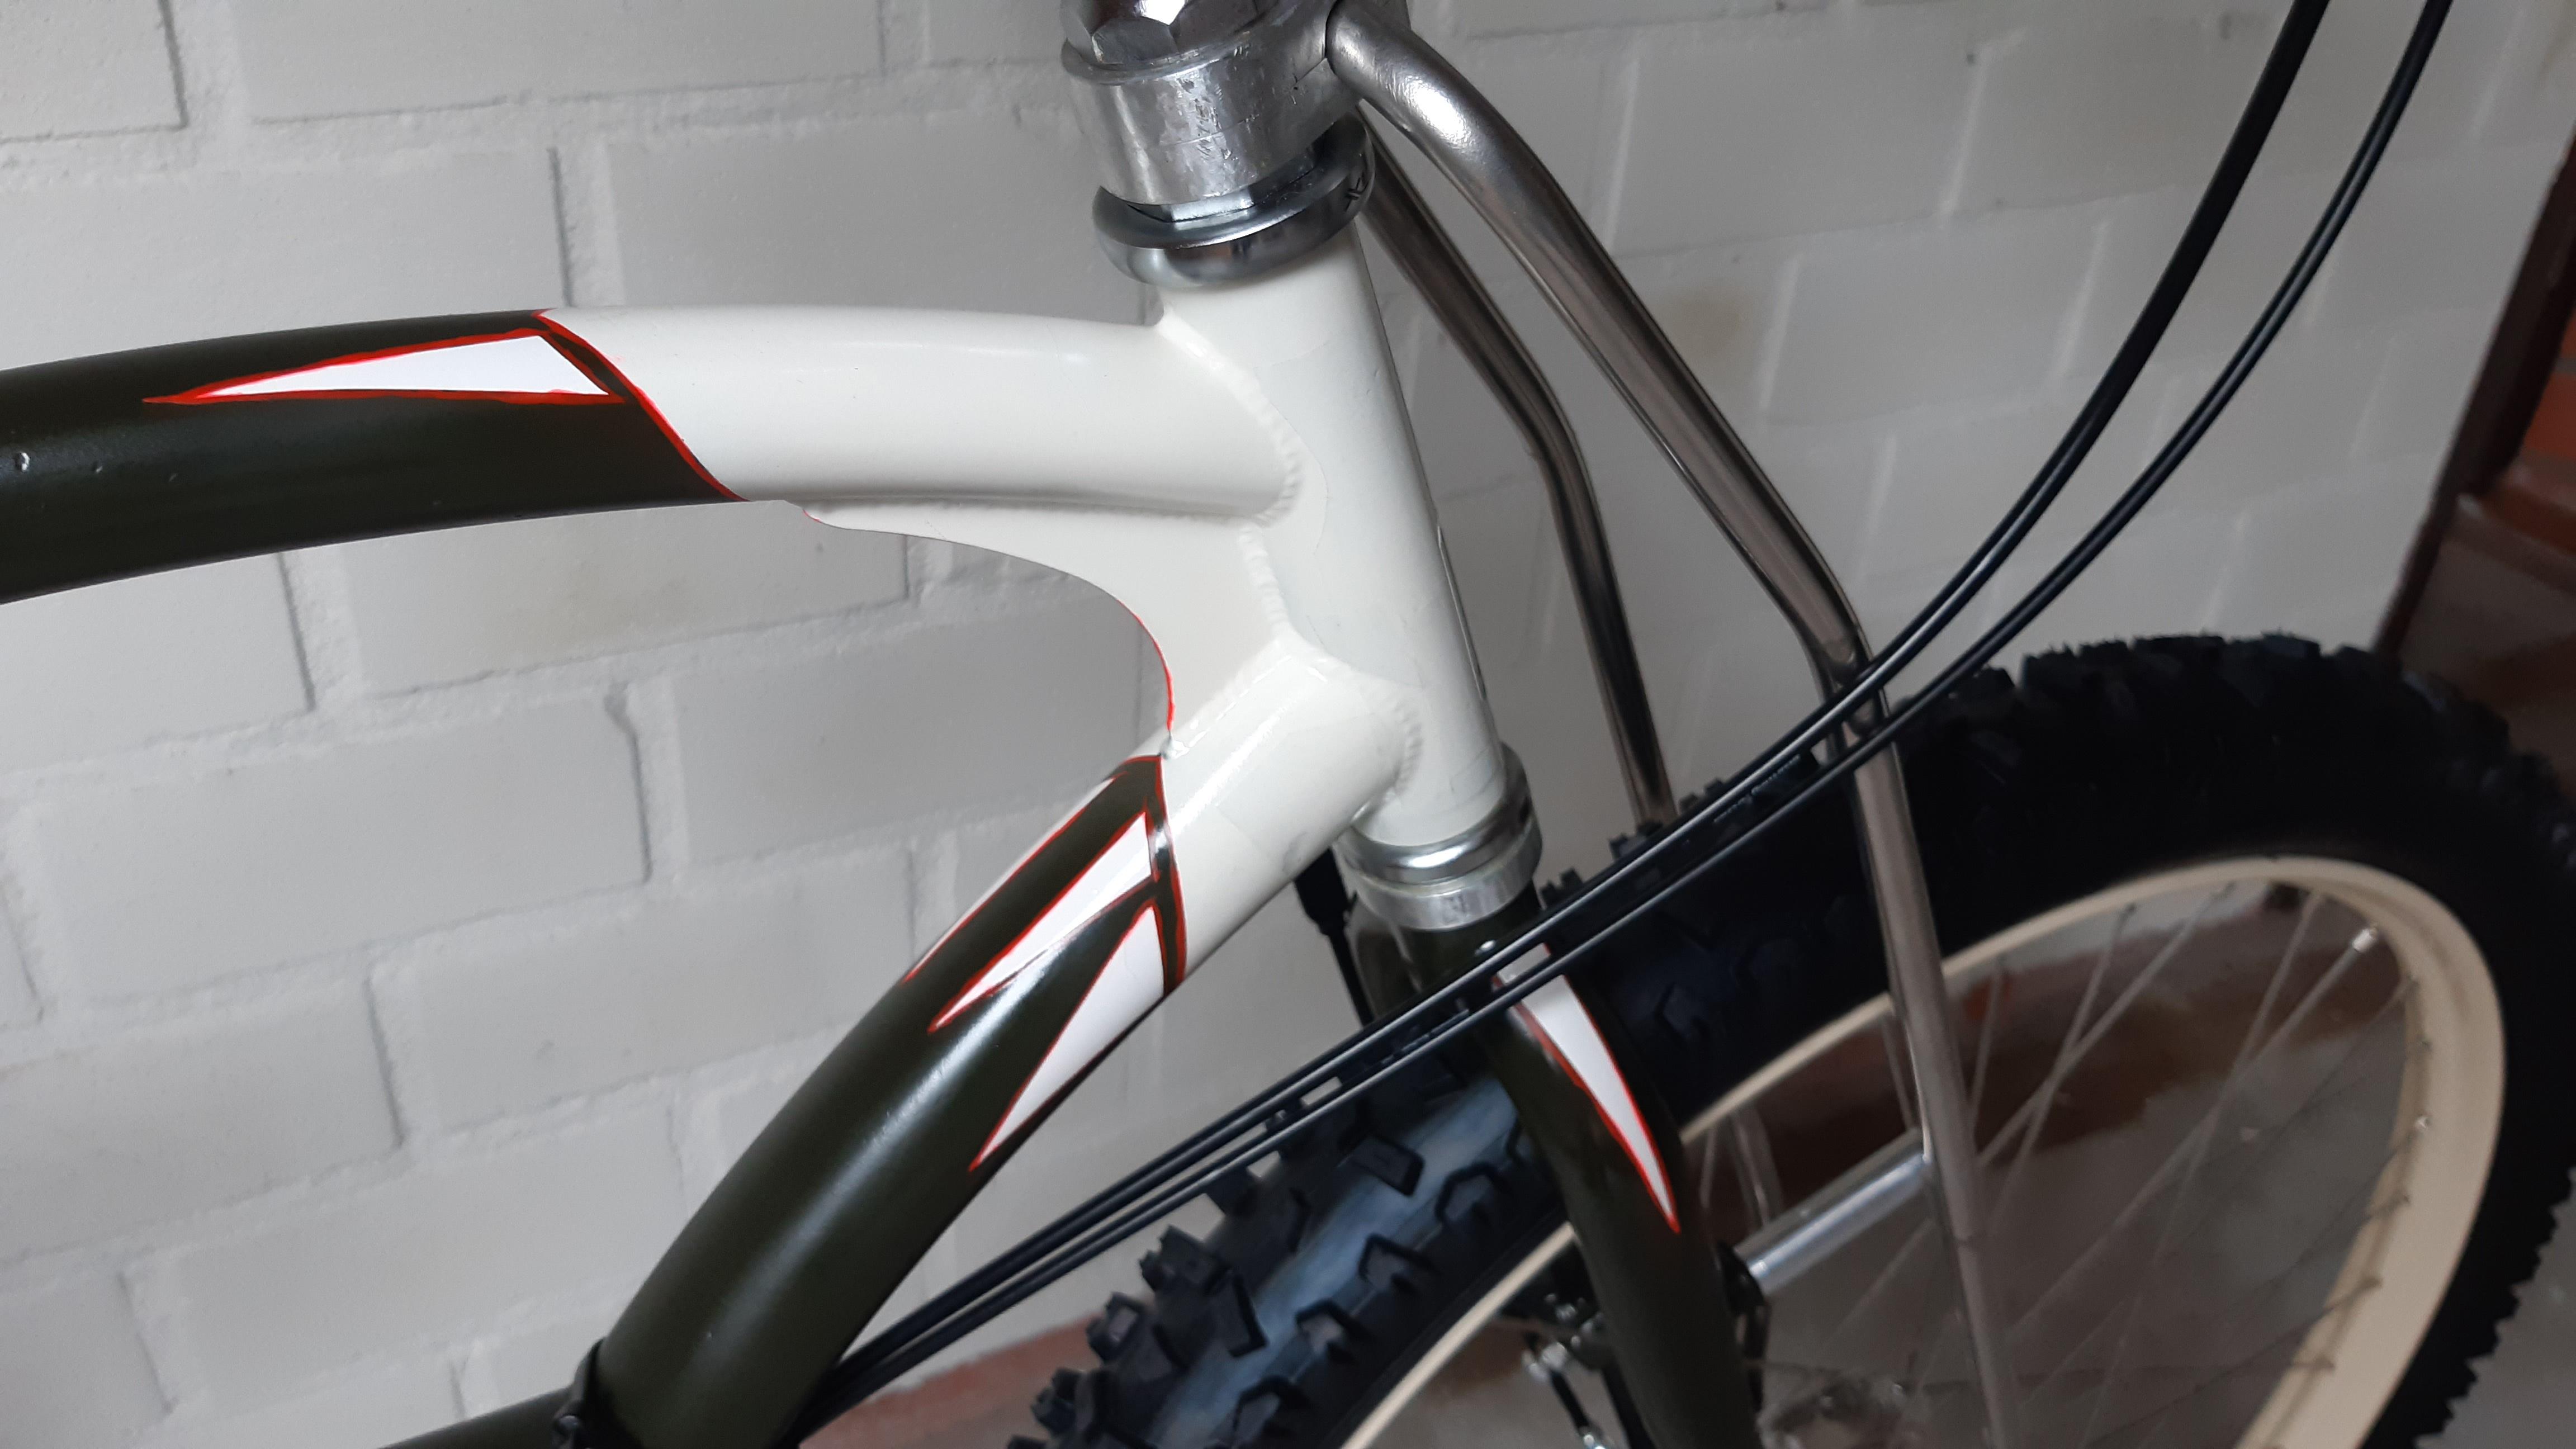
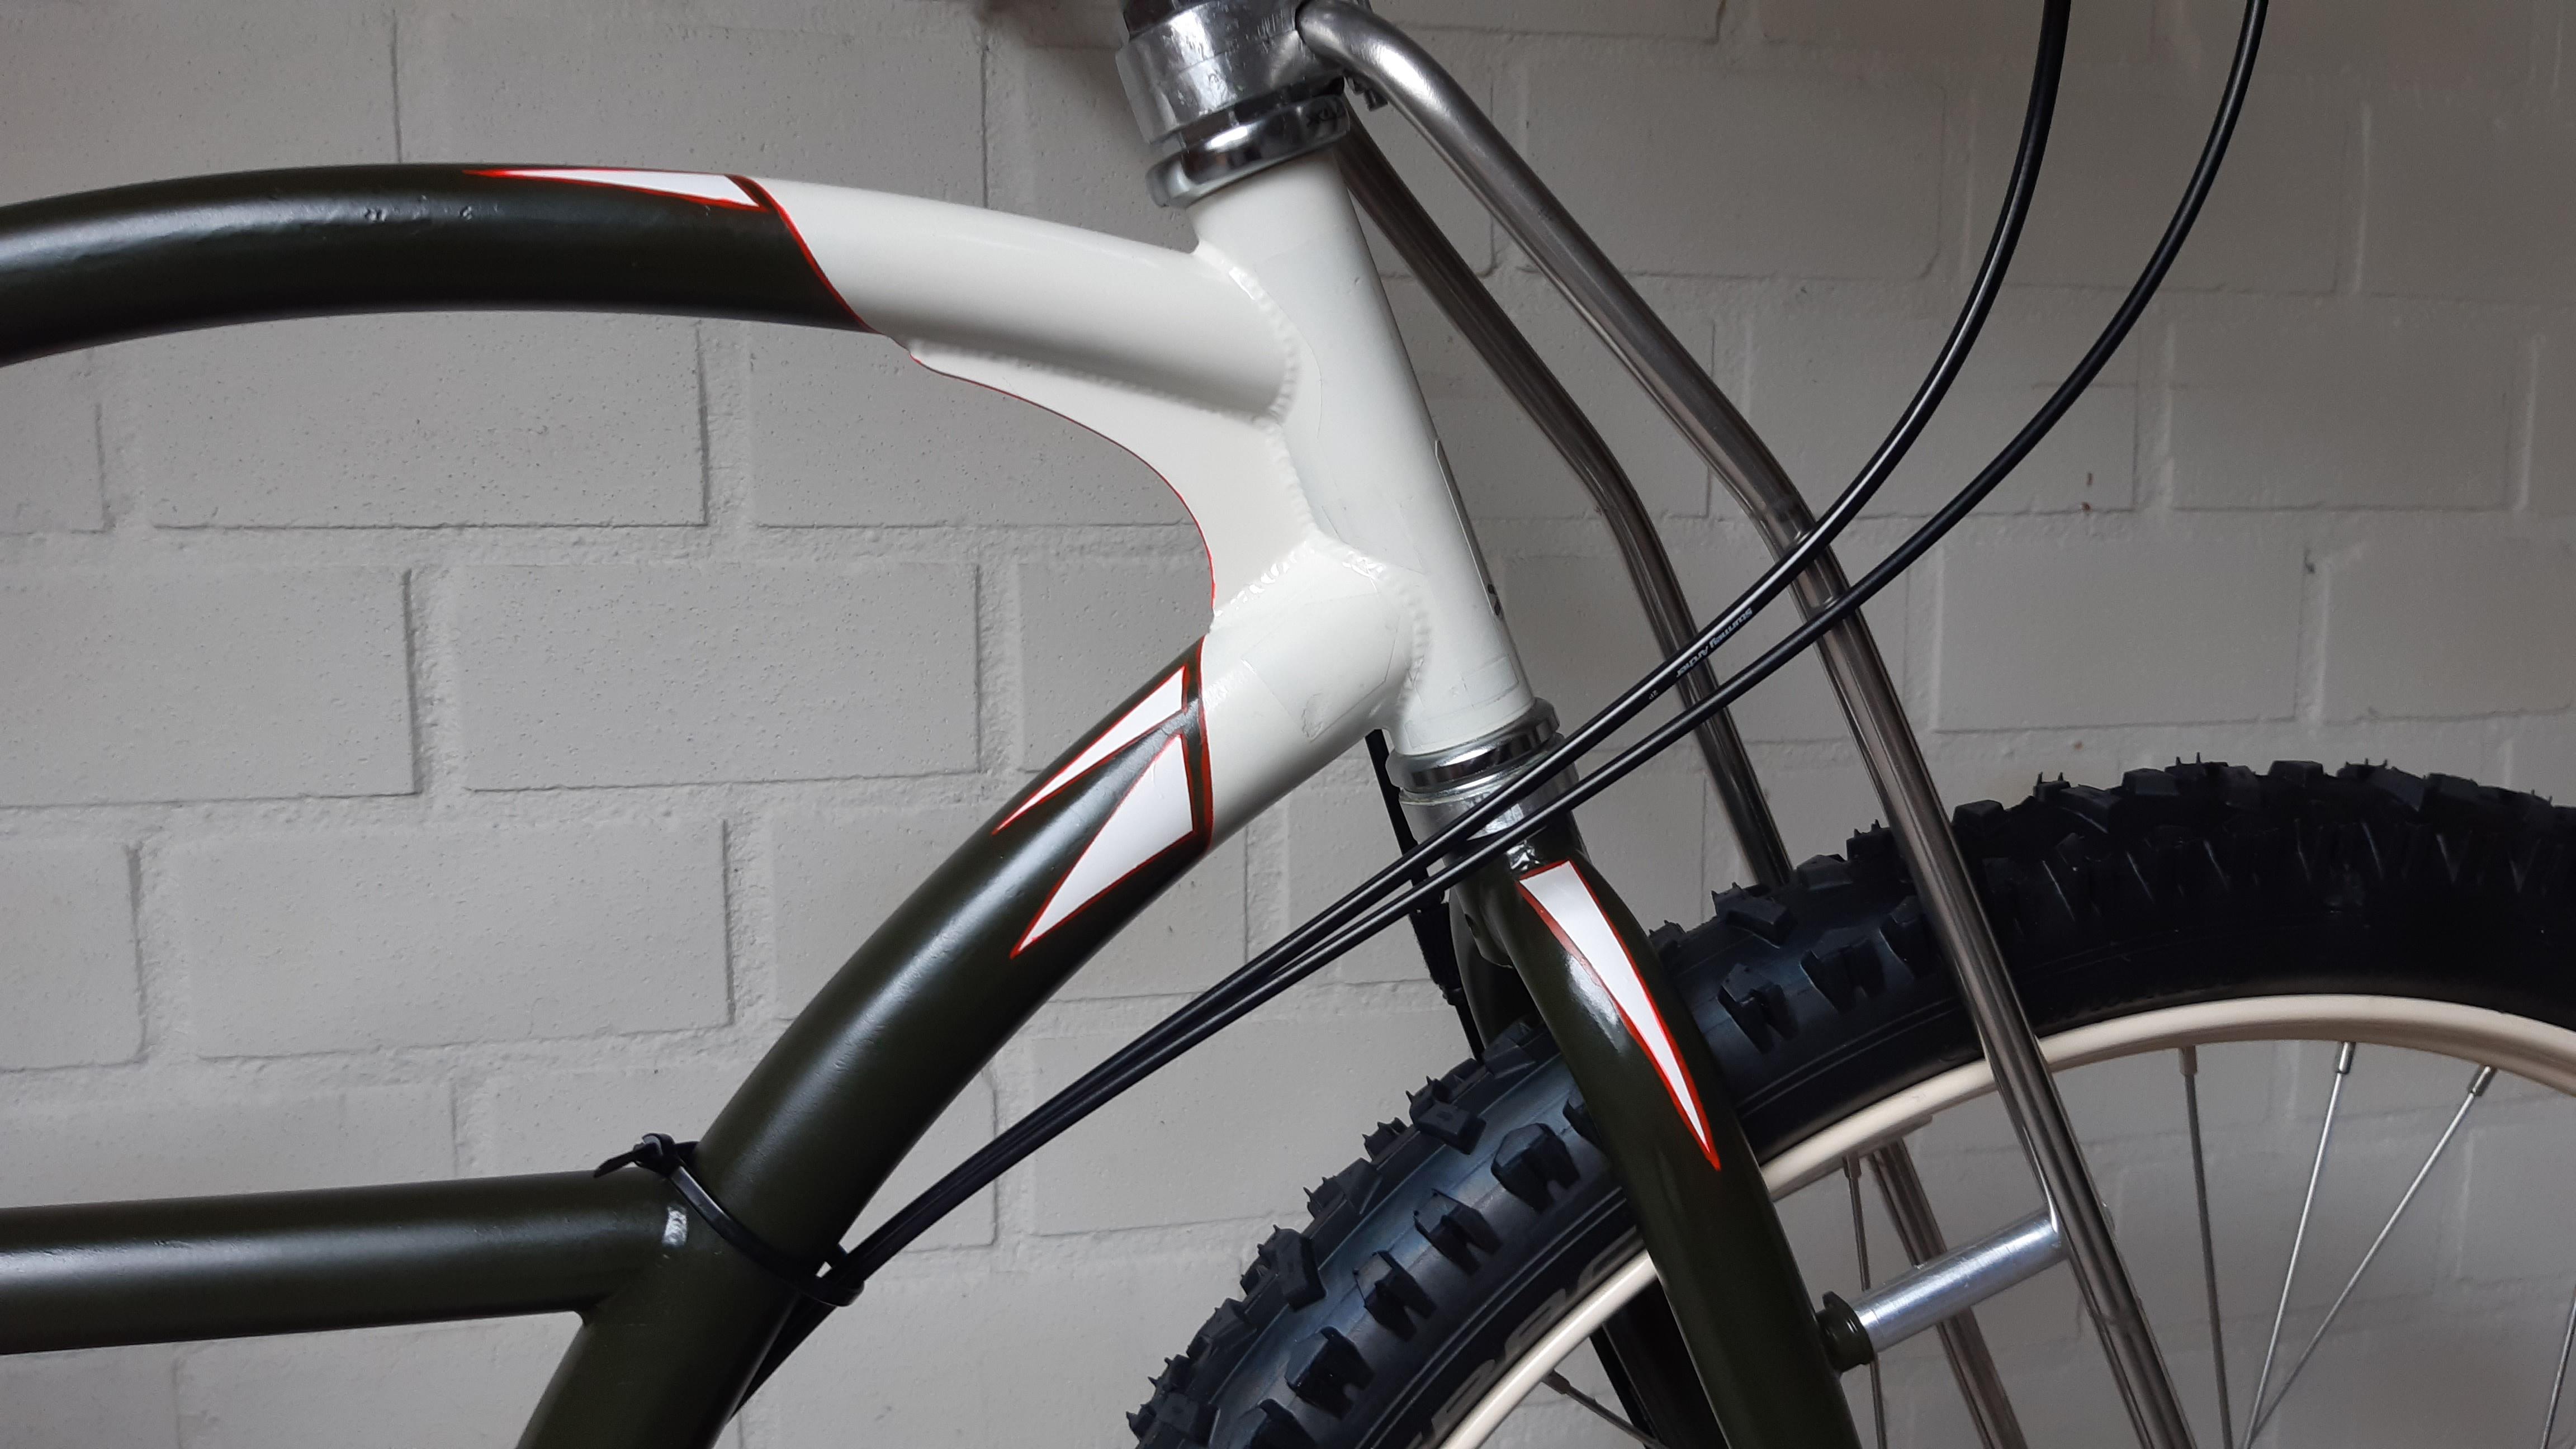
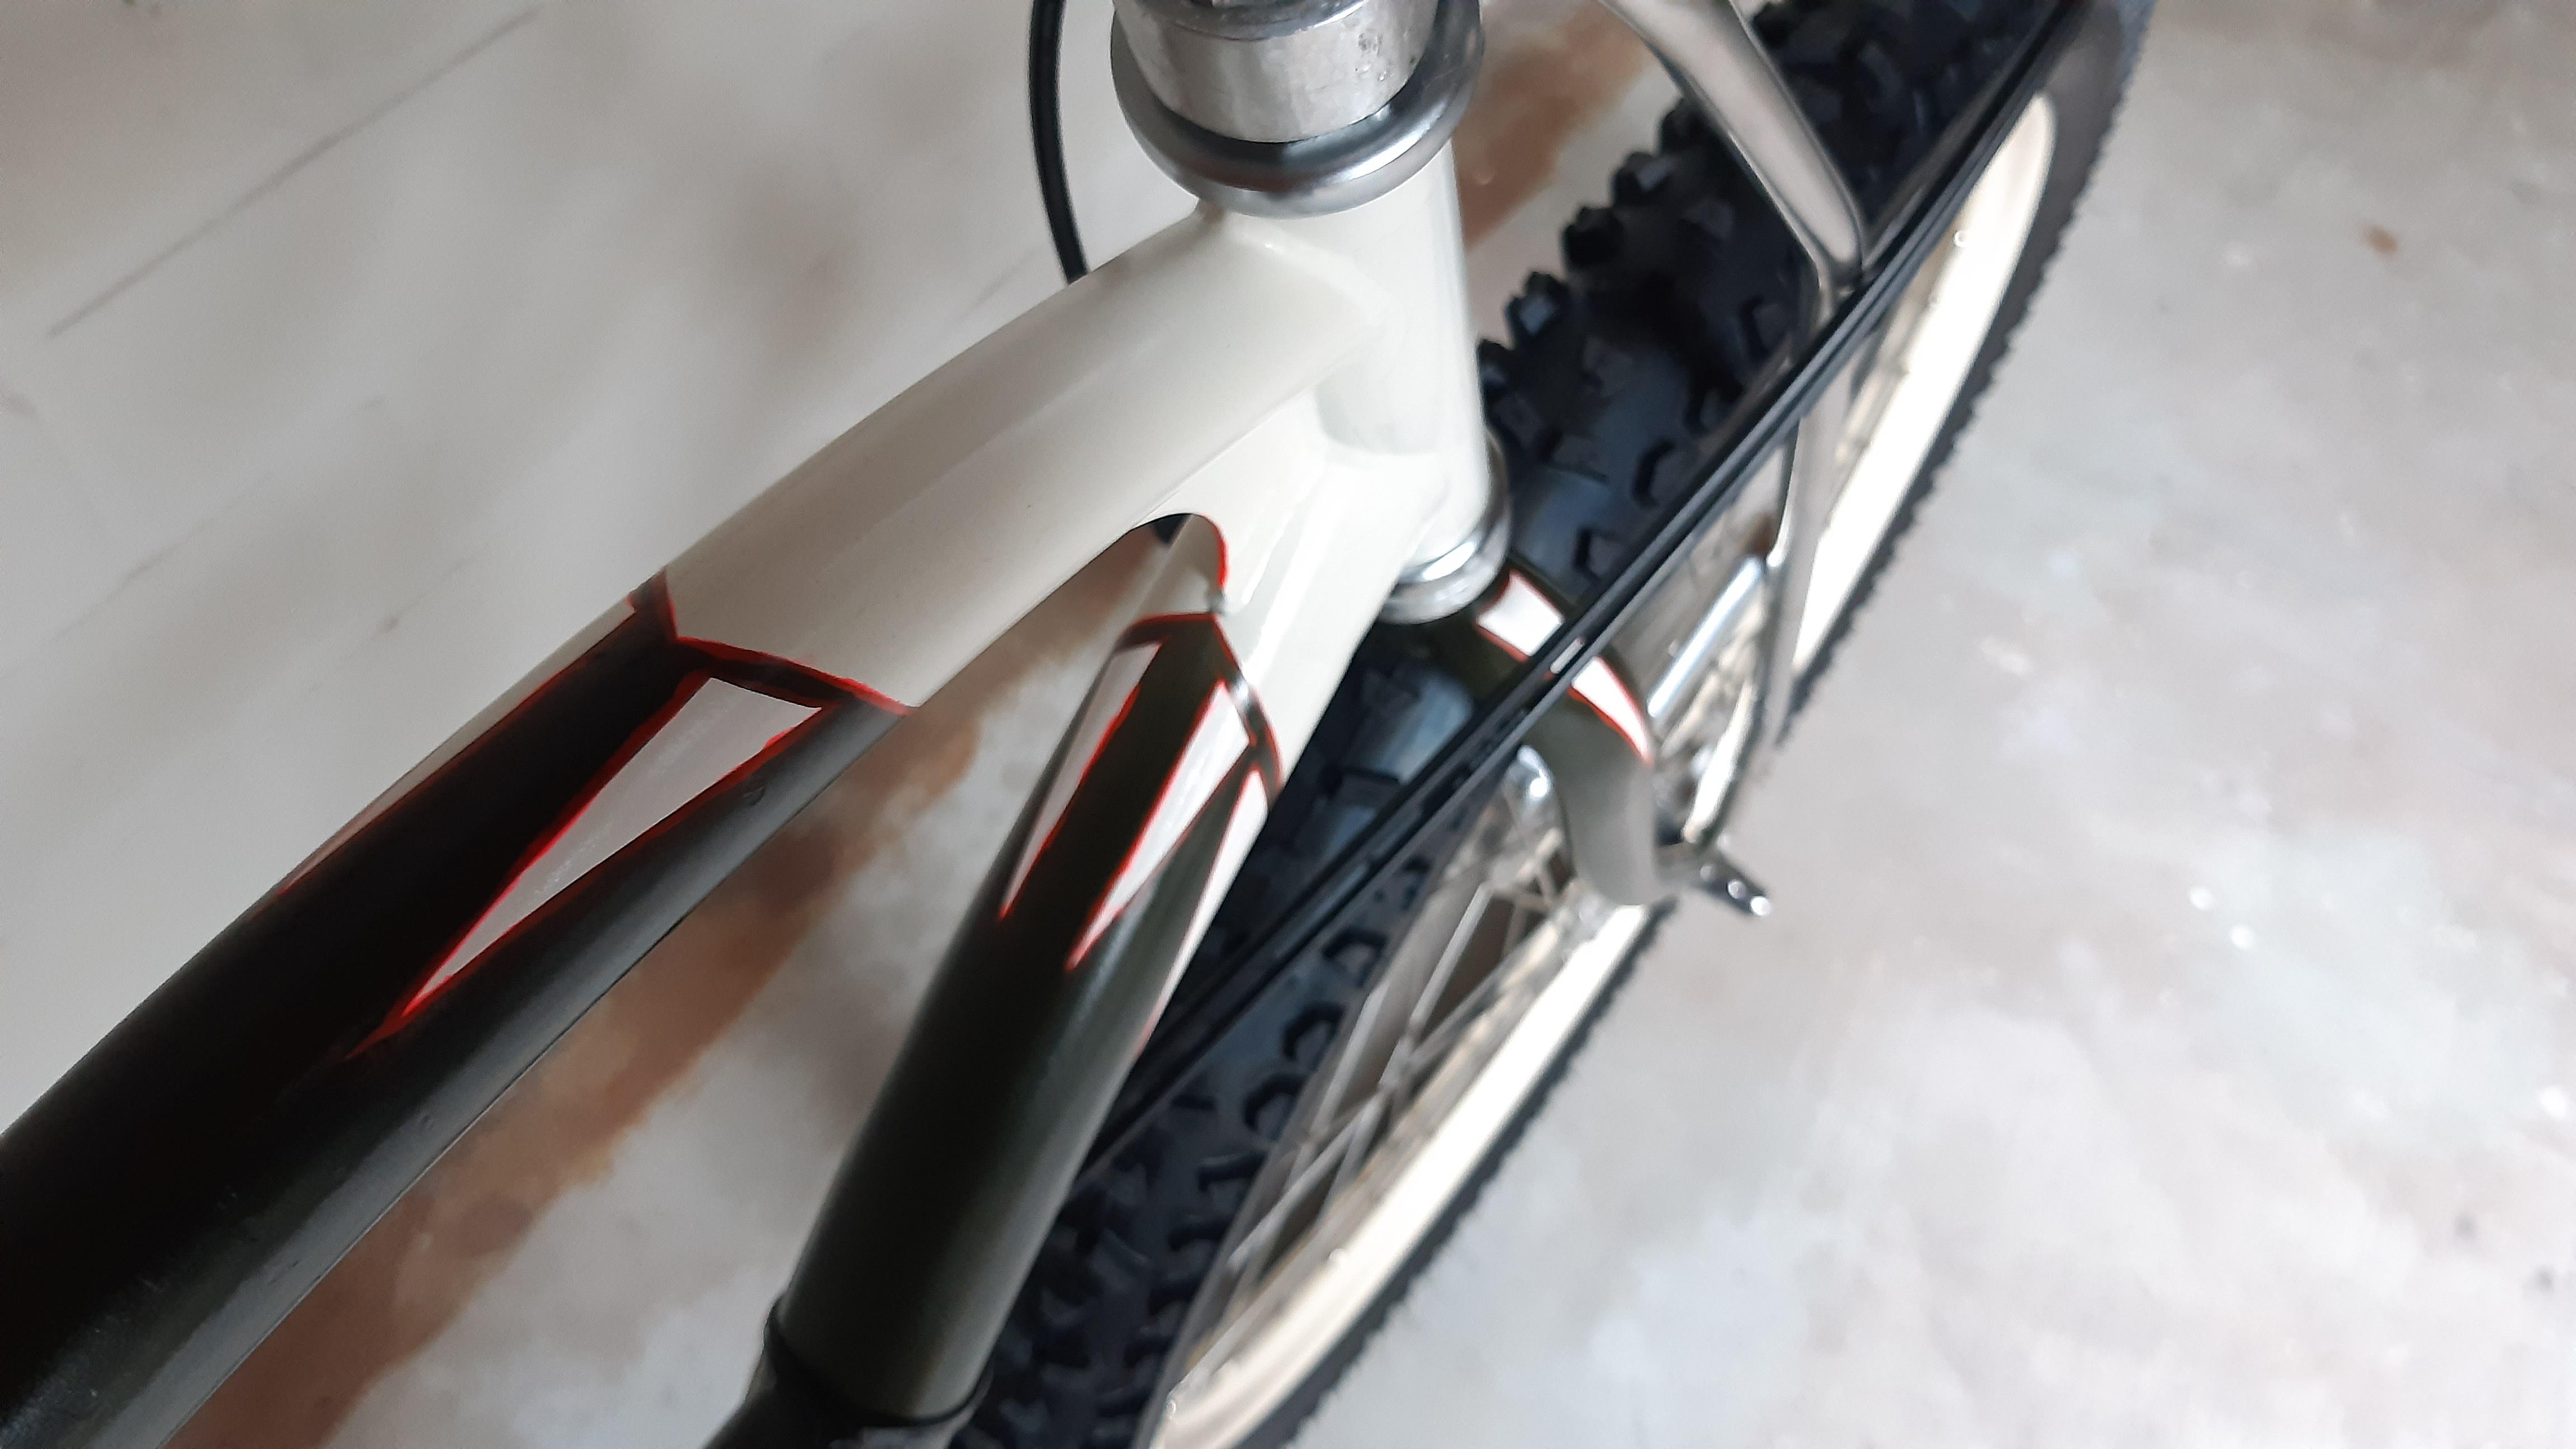
Pictures: During the testrun and after (after = with the rearward positioned seatpost).\

8dg1EKK.jpeg

9NQP0TQ.jpeg

JhMwKLv.jpeg

Tom7aEc.jpeg

tTmcQWD.jpeg

sjLrYGv.jpeg

56sNzeJ.jpeg

BHMGslF.jpeg


xfdmng5.jpeg

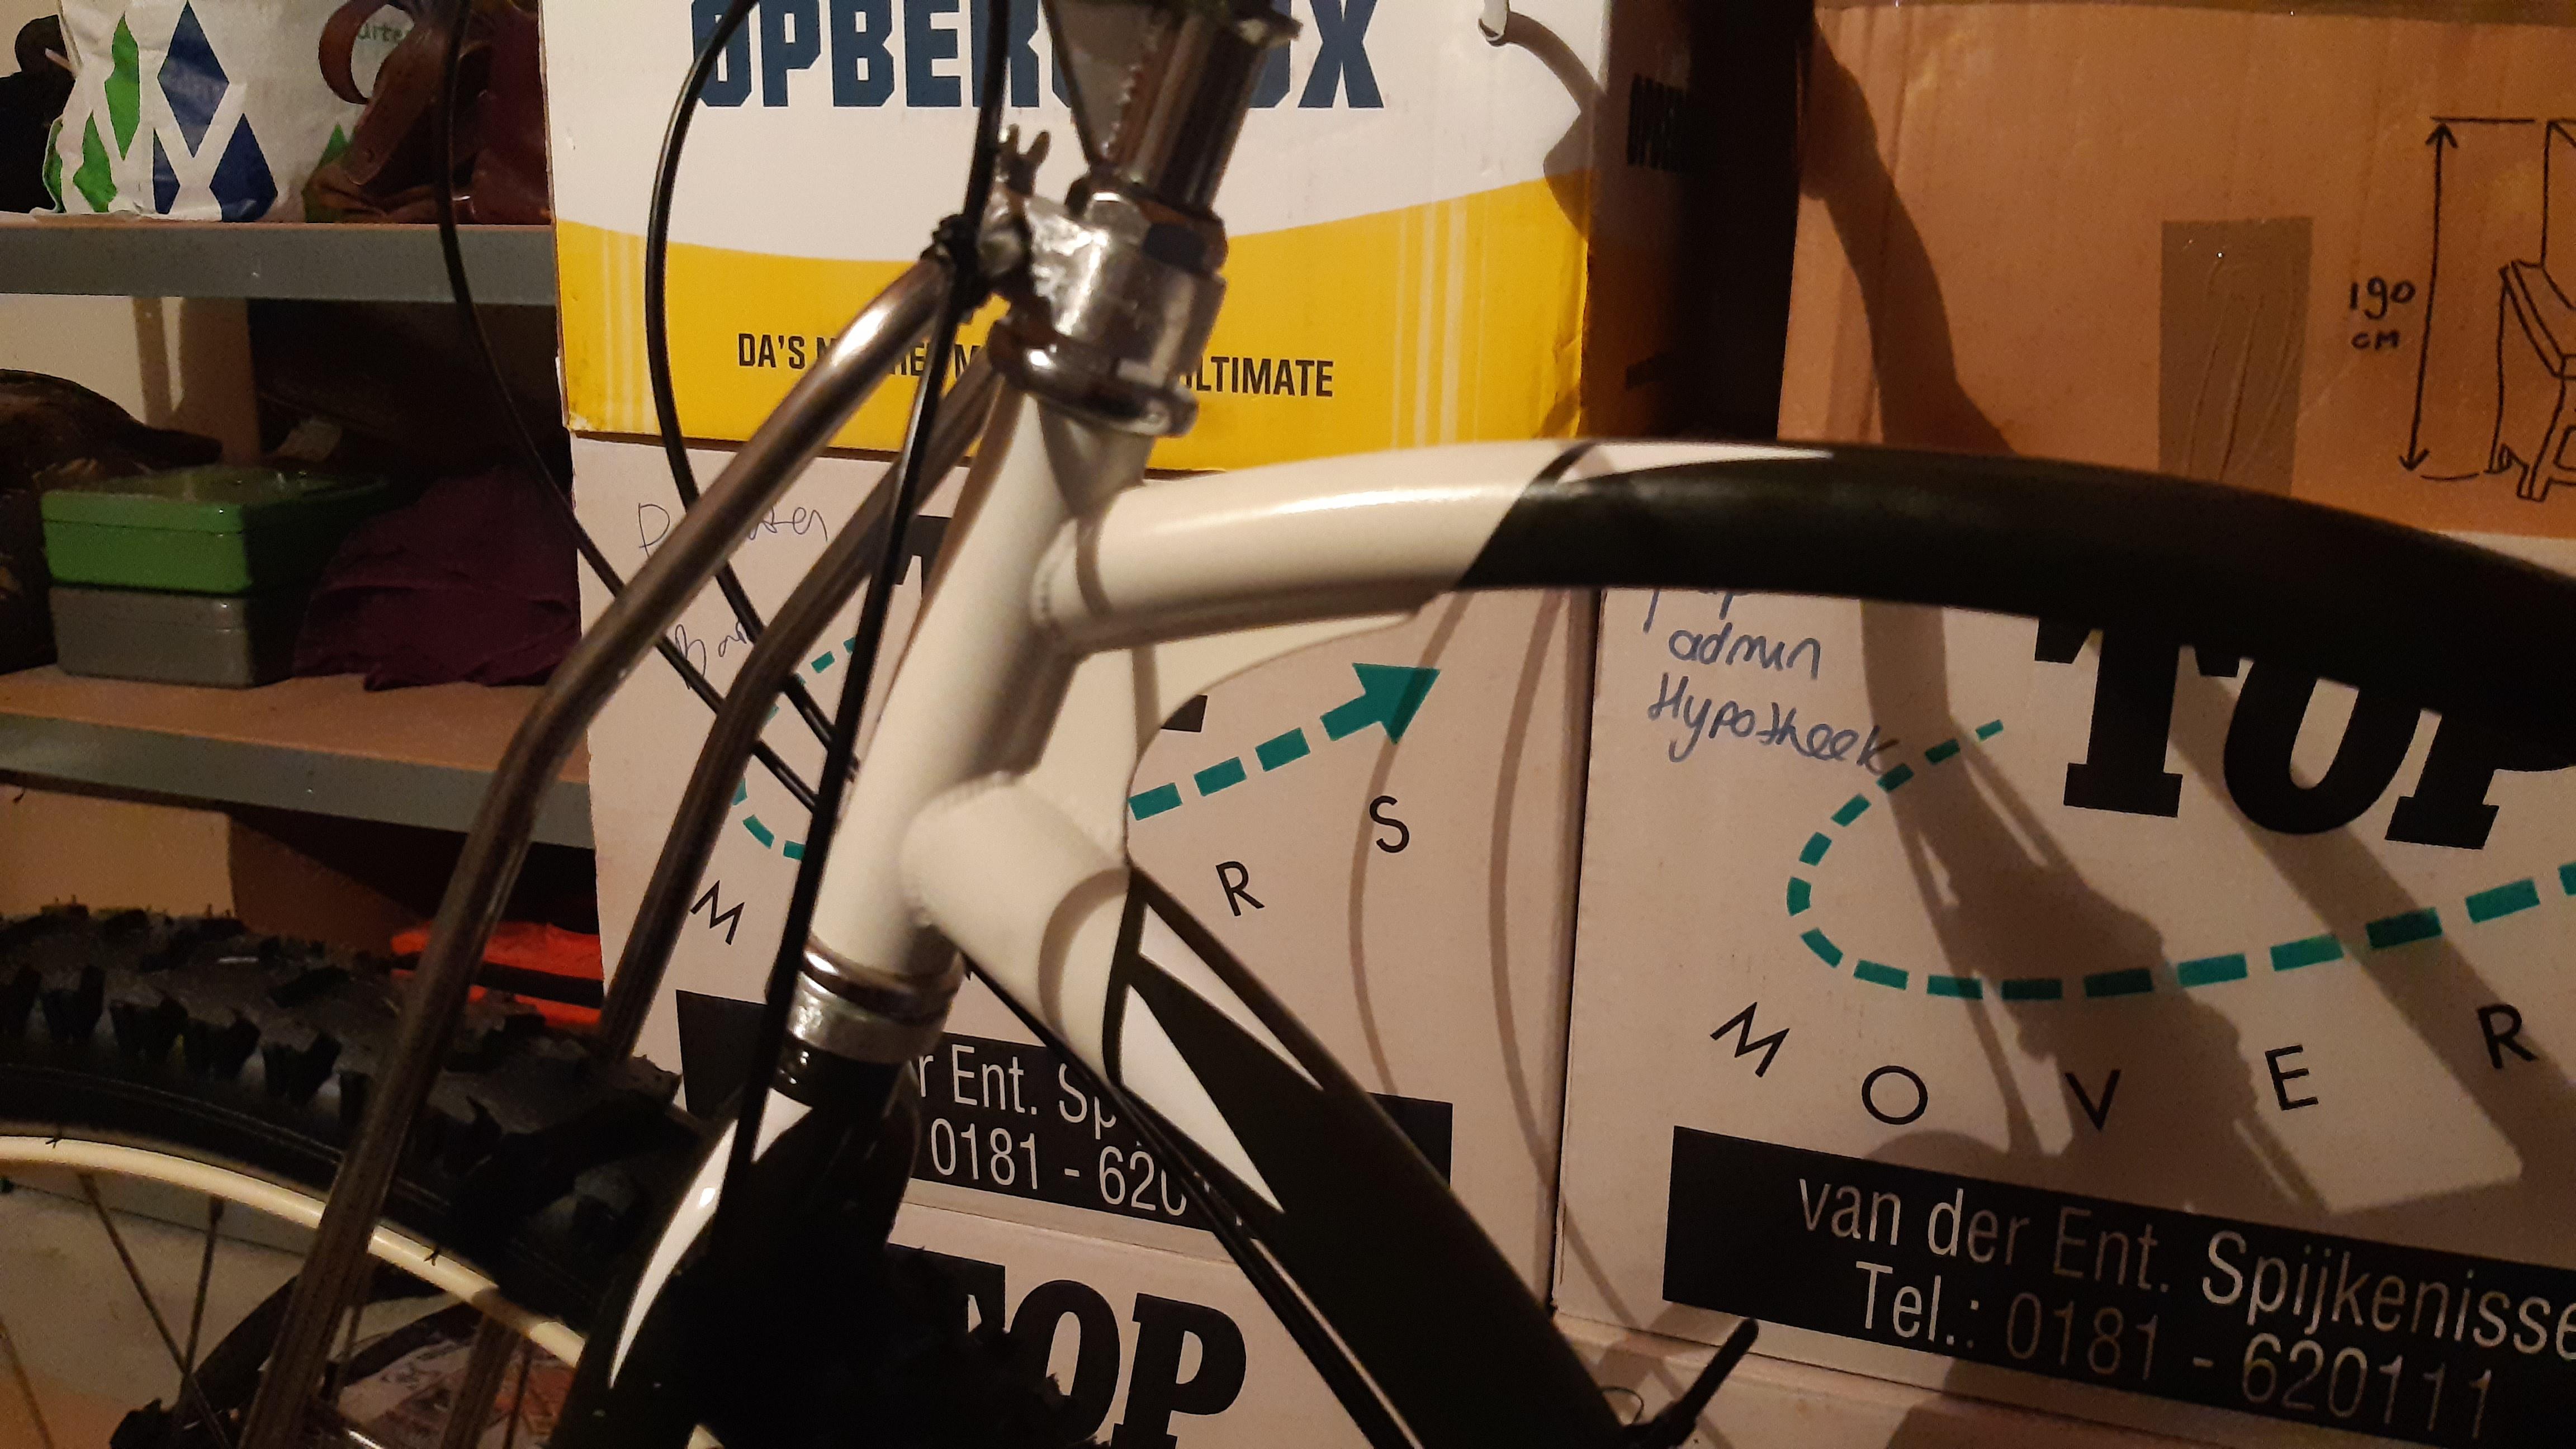
Before: original bolt.

rY0B1EQ.jpeg

After: Drilled through, flattened the surface for the screw head and the nut and re-assembled it.

The threads are made of cast aluminum, which is quite brittle. And the original screw has a surface treatment called dacromet (light grey of colour) to keep it from rusting. This surface treatment also "lubricates" the thread in a way, and you overtighten it very easily.
We had this in our shop: Tightening torque for stainless steel M6 bolts was 17Nm. But the steel dacromet bolts kept breaking off. That how we discovered this "slippery surface treatment" issue.
 

Latest posts

Back
Top