Today I started to build my first ladies bike! I'll draw some inspiration from the -57 Fairlane, and it'll be a bike for a lady, hence the name. ")
It's almost a little ironic that all my previous builds (except the Mustang for last year's build off) have been scratch builds, but when I started the build threads for those there was no separate section for scratch builds. Now when there is such a section here on rrb, I start on a bike that won't be built from scratch! :lol: The frame I'll use will be heavily modified though...
I haven't done a proper sketch of the frame like I usually do, I've only done a little doodle, instead I'll build this bike pretty much by eye.
My mother's cousin and her husband are very kind and let me use their garage! I'll actually be building a bike with a roof over my head!!
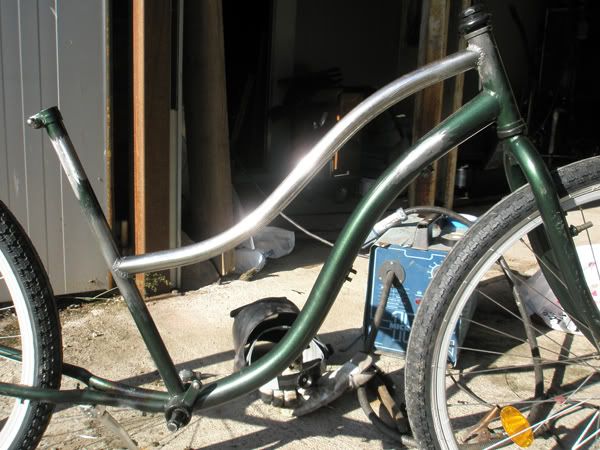
Here's what I've done today:
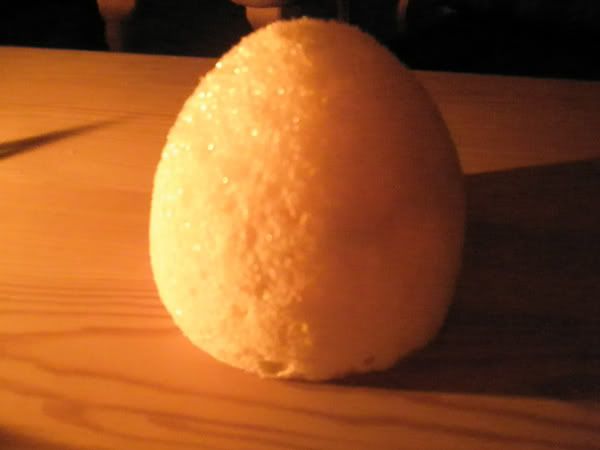
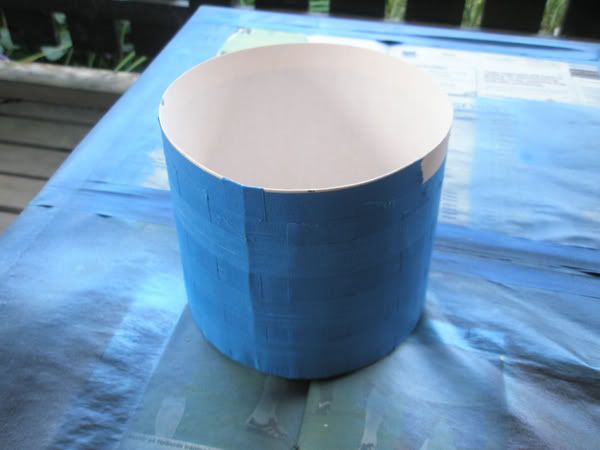
I'll se if I can make a decent headlight out of fiberglass. Made a cylinder from cardboard and filled it with foam.
Actually, I did this yesterday...
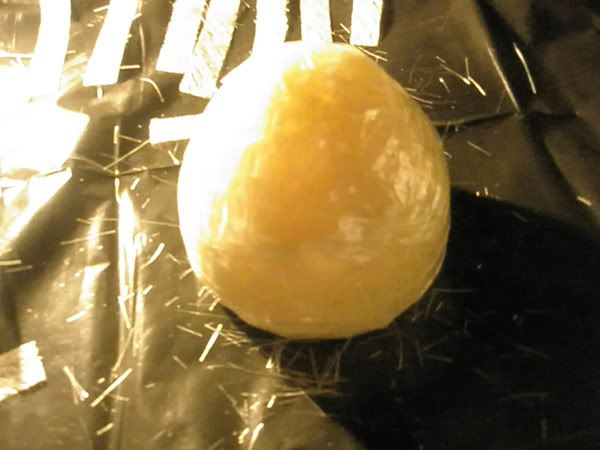
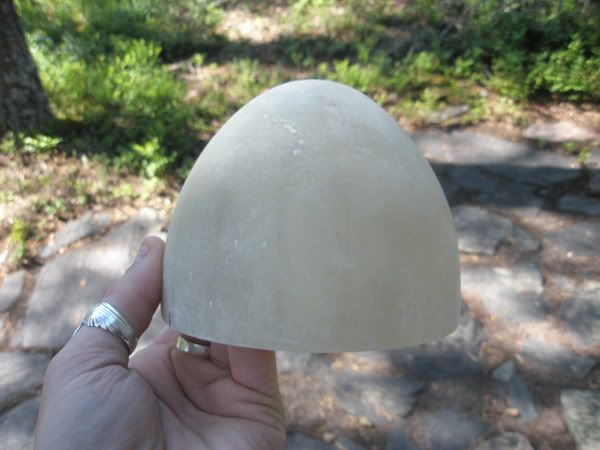
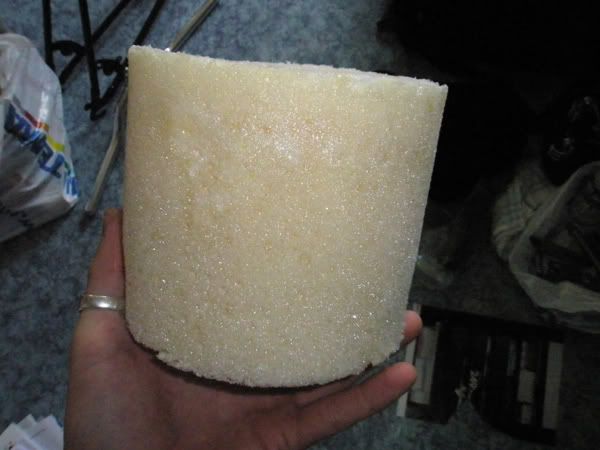
That gave me this to shape into what I want the headlight to look like.
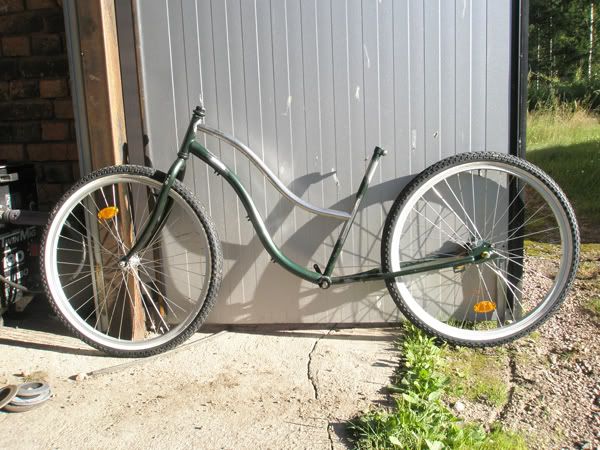
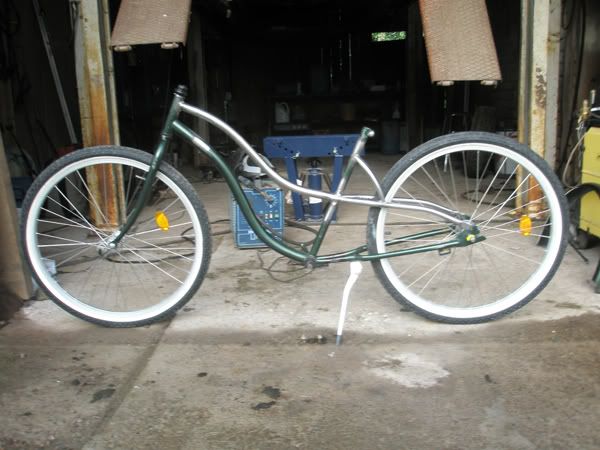
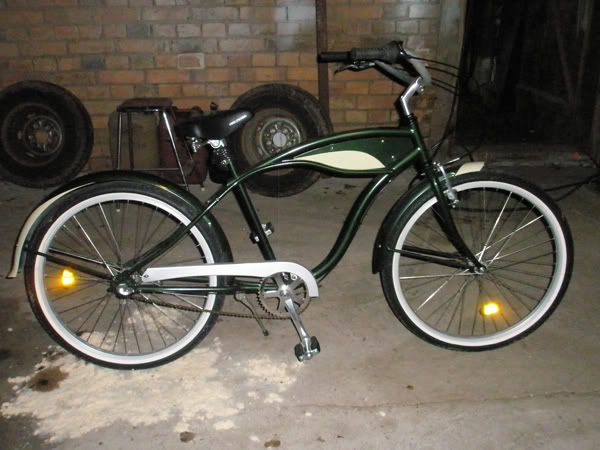
Here's the bike that will be competely transformed!
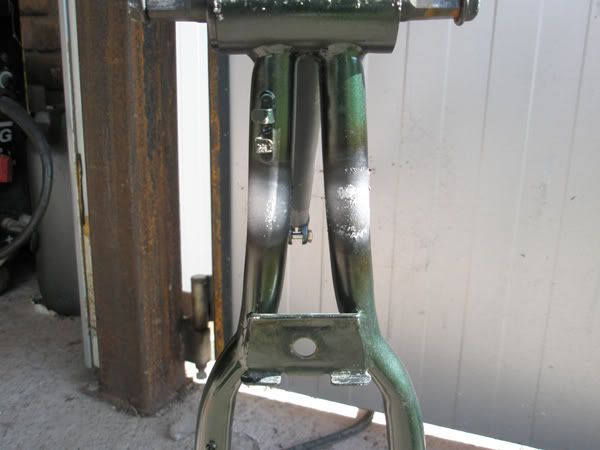
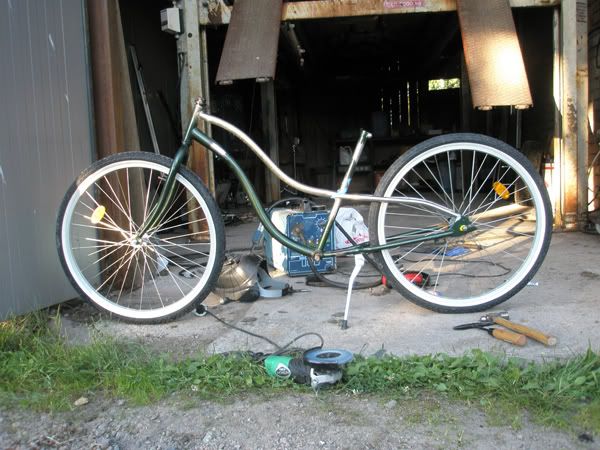
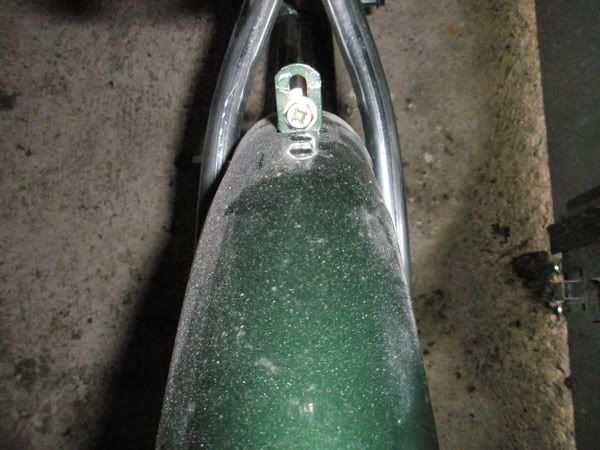
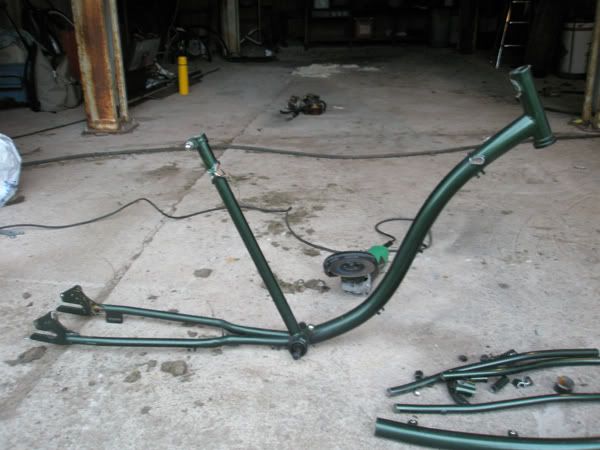
Here's the same bike after some precicion work ( :shock: ) with the grinder. This was done today.
Hopefully I'll be able to do some more work on it tomorrow!
It's almost a little ironic that all my previous builds (except the Mustang for last year's build off) have been scratch builds, but when I started the build threads for those there was no separate section for scratch builds. Now when there is such a section here on rrb, I start on a bike that won't be built from scratch! :lol: The frame I'll use will be heavily modified though...
I haven't done a proper sketch of the frame like I usually do, I've only done a little doodle, instead I'll build this bike pretty much by eye.
My mother's cousin and her husband are very kind and let me use their garage! I'll actually be building a bike with a roof over my head!!
Here's what I've done today:
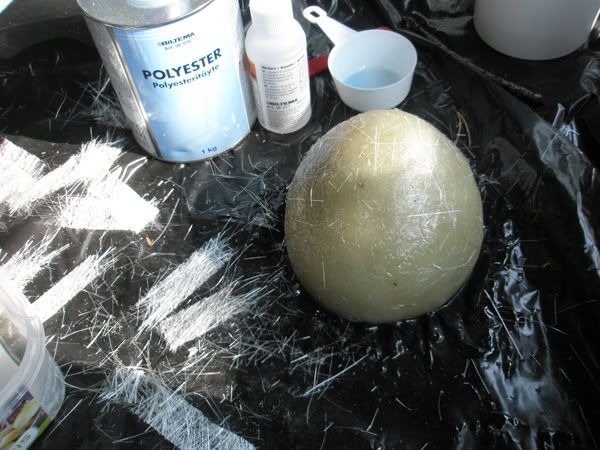
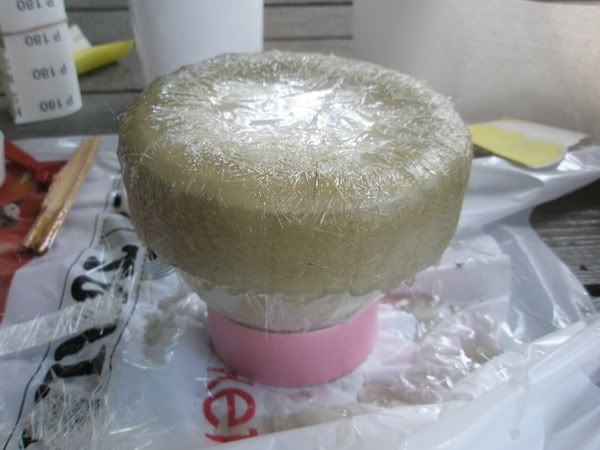
I'll se if I can make a decent headlight out of fiberglass. Made a cylinder from cardboard and filled it with foam.
Actually, I did this yesterday...
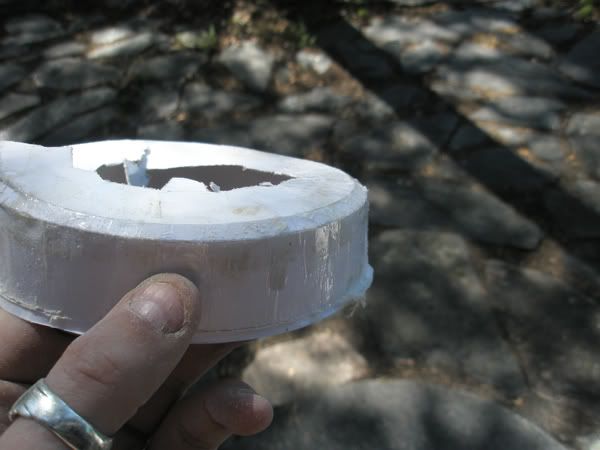
That gave me this to shape into what I want the headlight to look like.
Here's the bike that will be competely transformed!
Here's the same bike after some precicion work ( :shock: ) with the grinder. This was done today.
Hopefully I'll be able to do some more work on it tomorrow!