LaidBack - TransWorld Motobike Rat - Patinafication & Details - 85 Years

Rat Rod Bikes Bicycle Forum

Help Support Rat Rod Bikes Bicycle Forum:

This site may earn a commission from merchant affiliate links, including eBay, Amazon, and others.
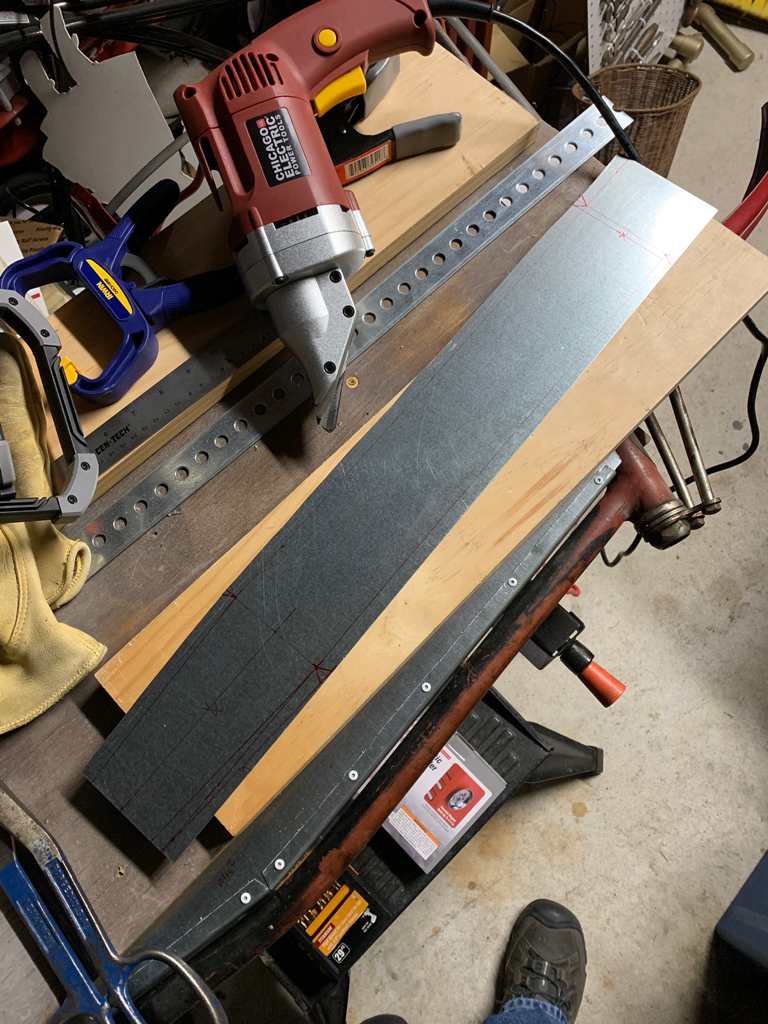
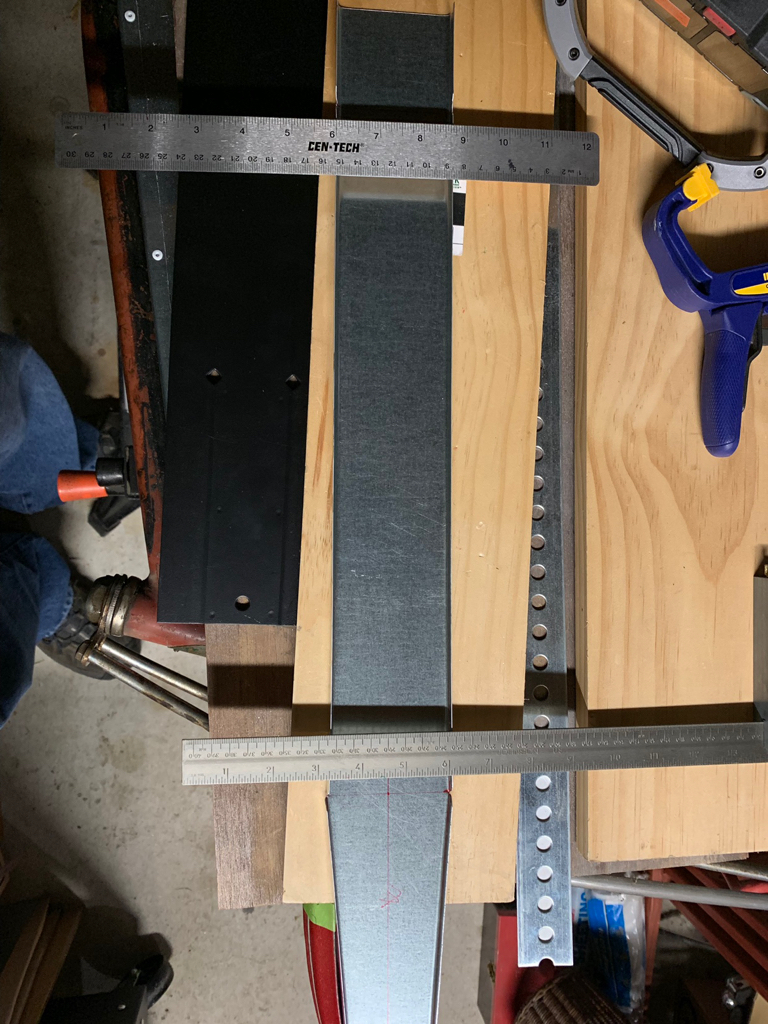
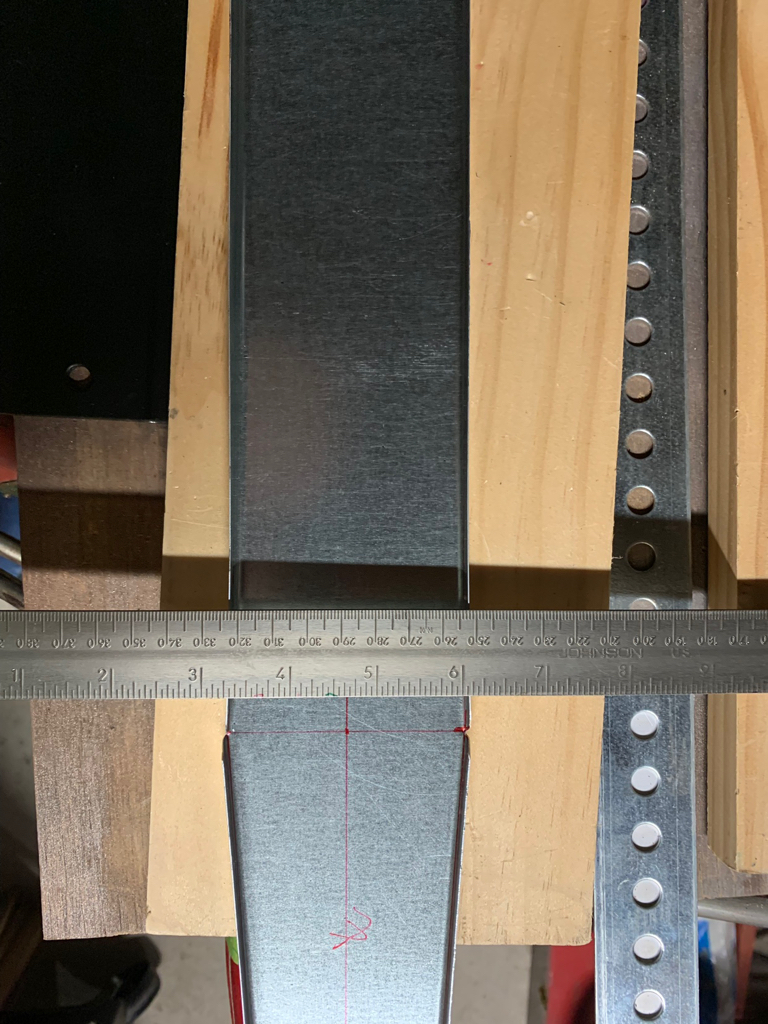
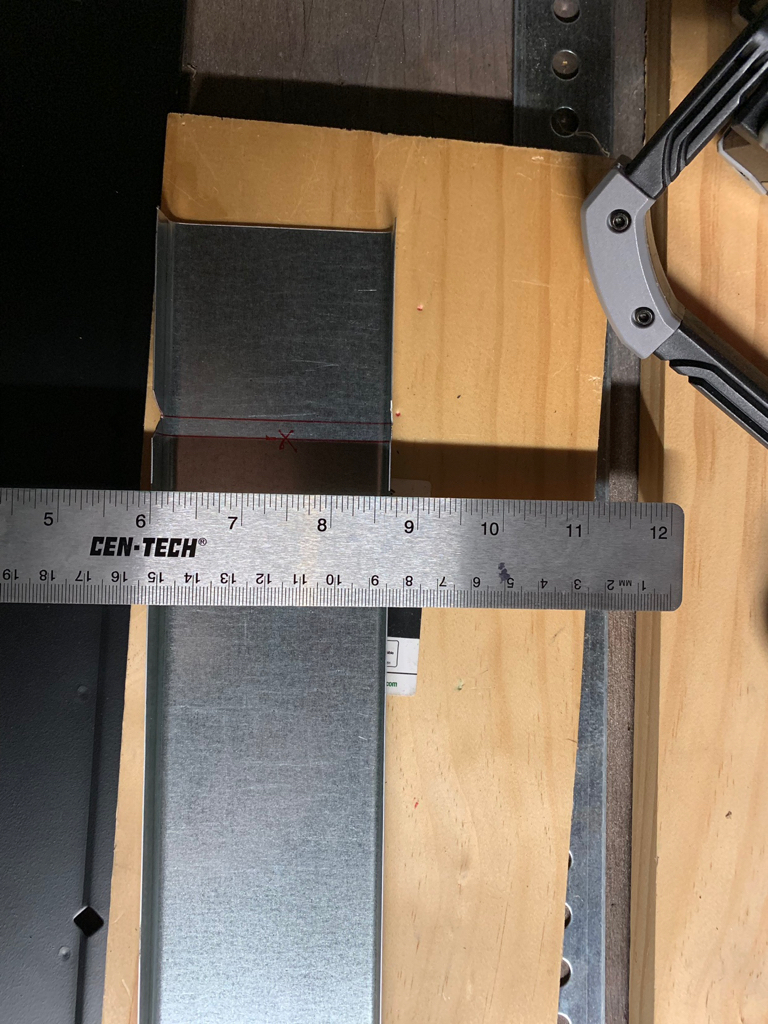
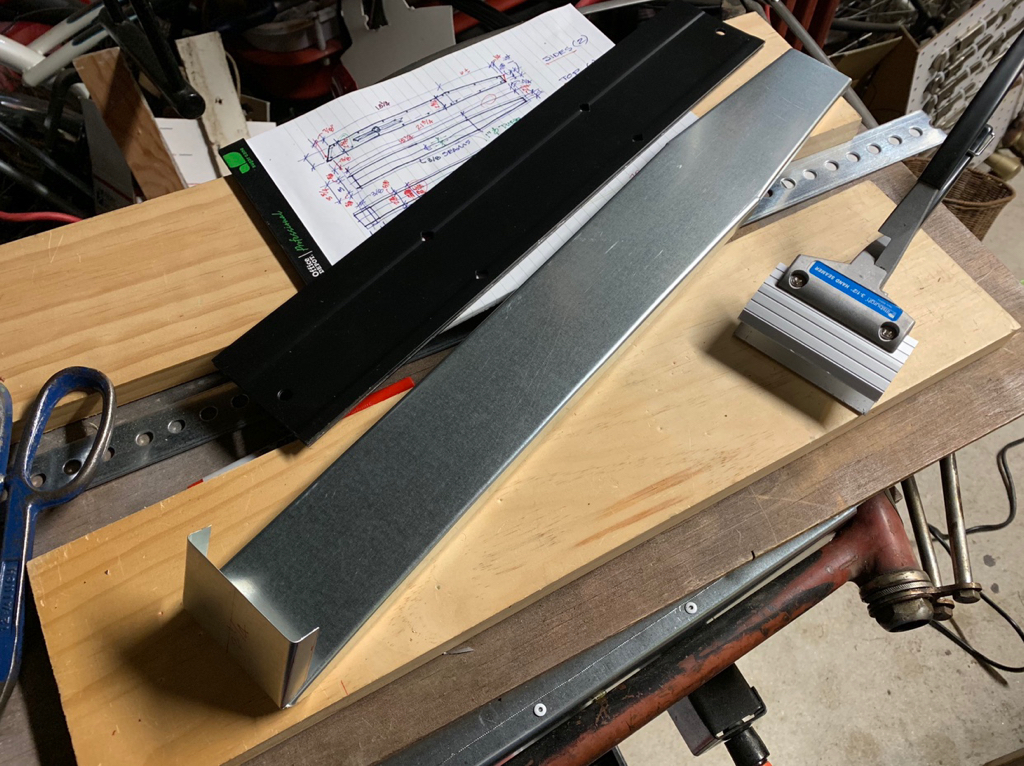
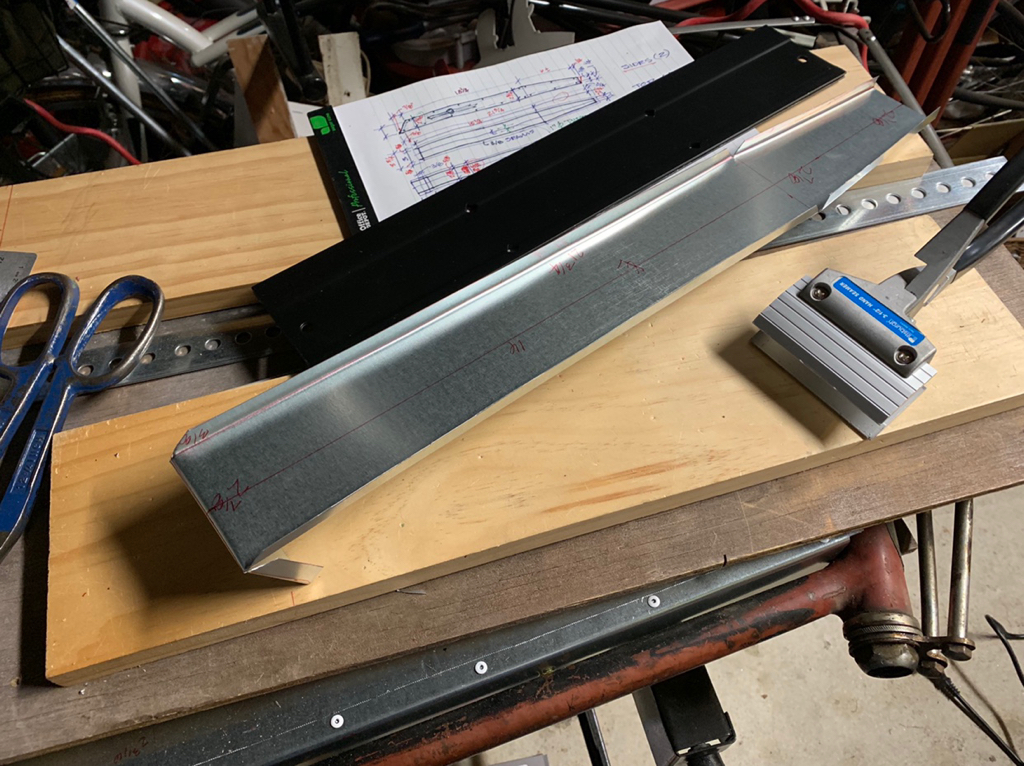
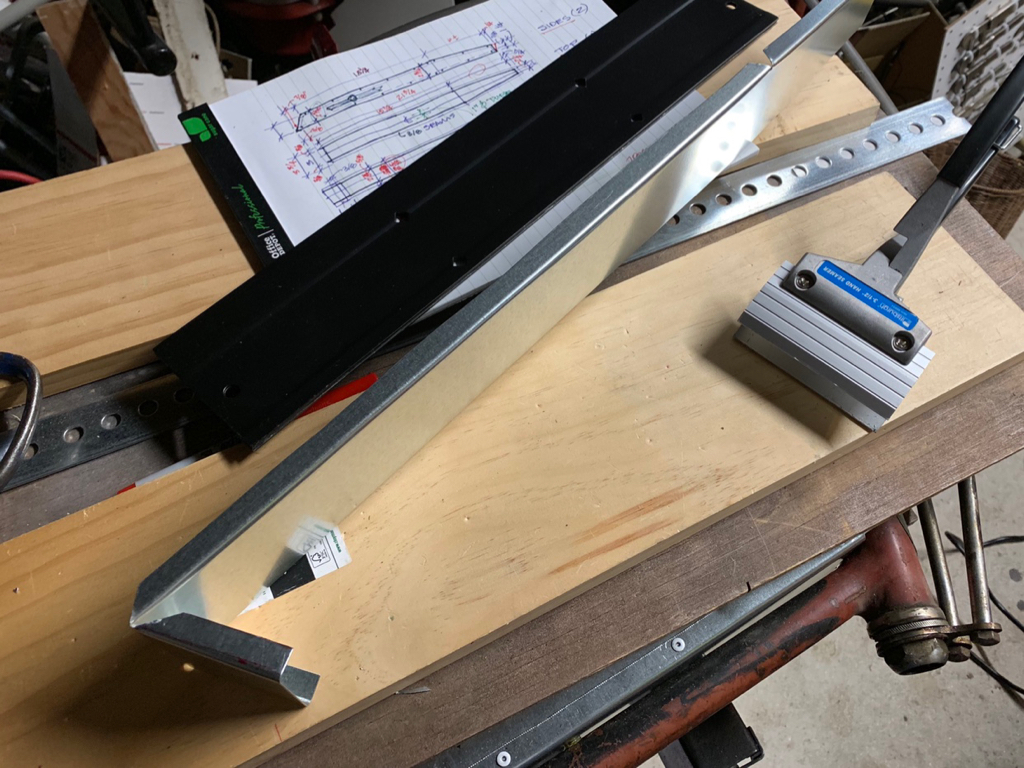
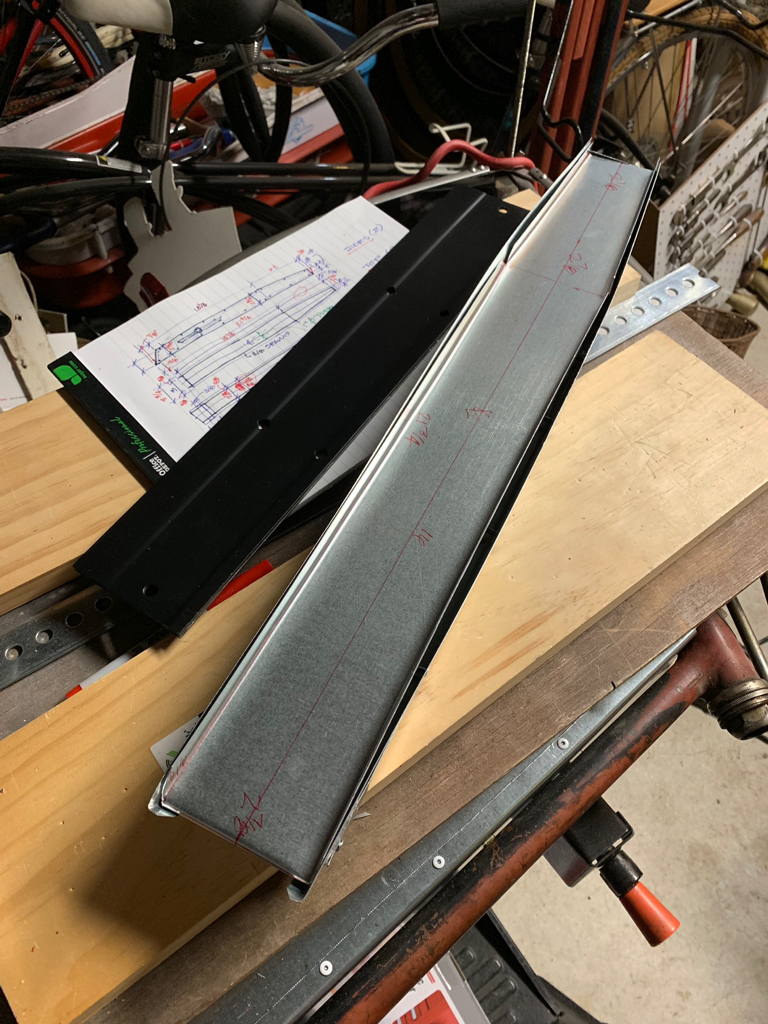
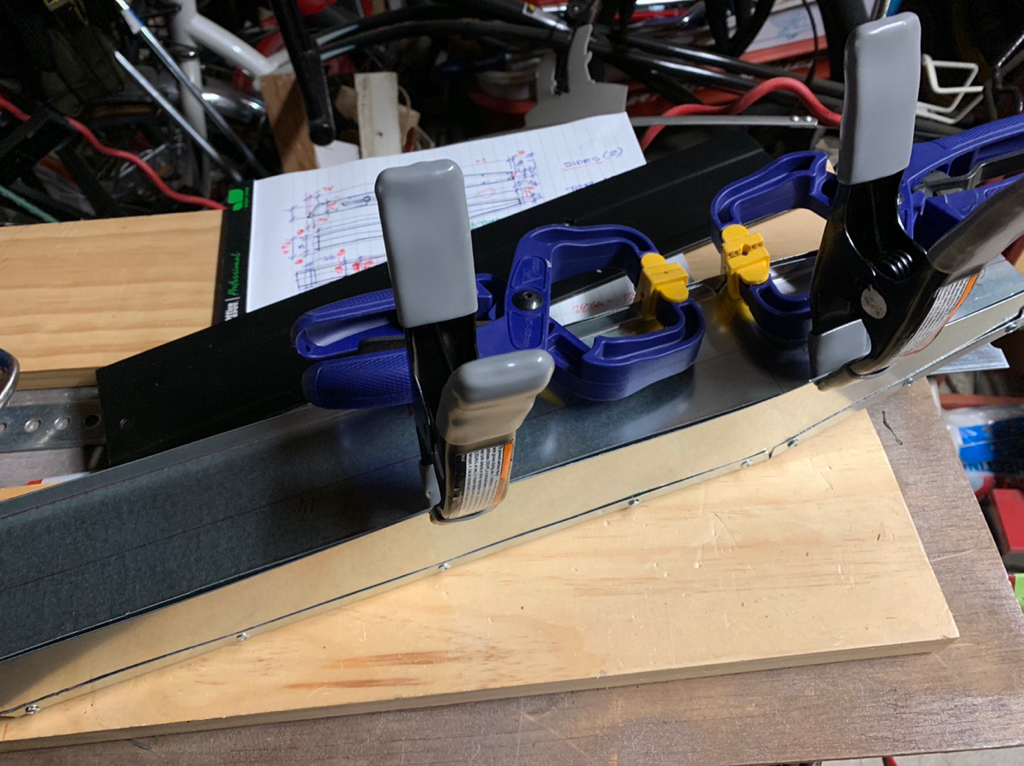
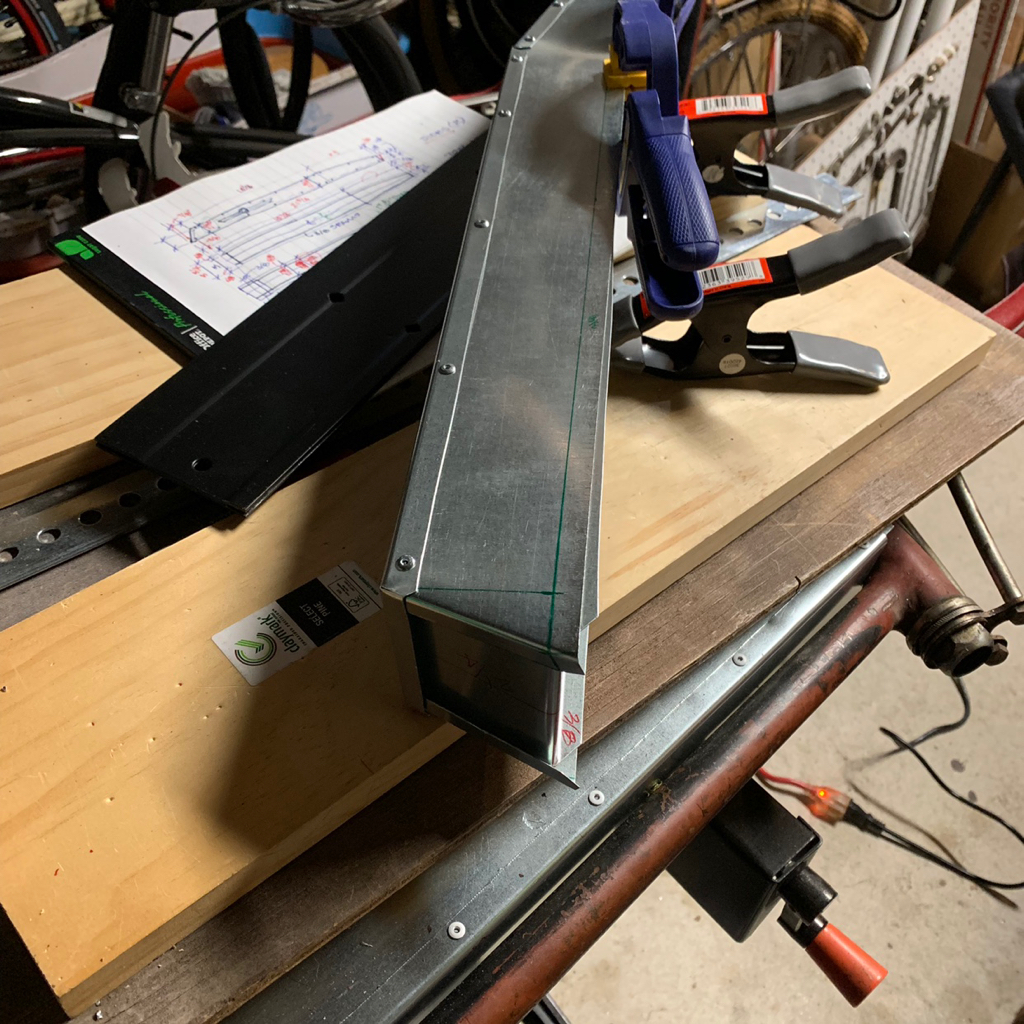
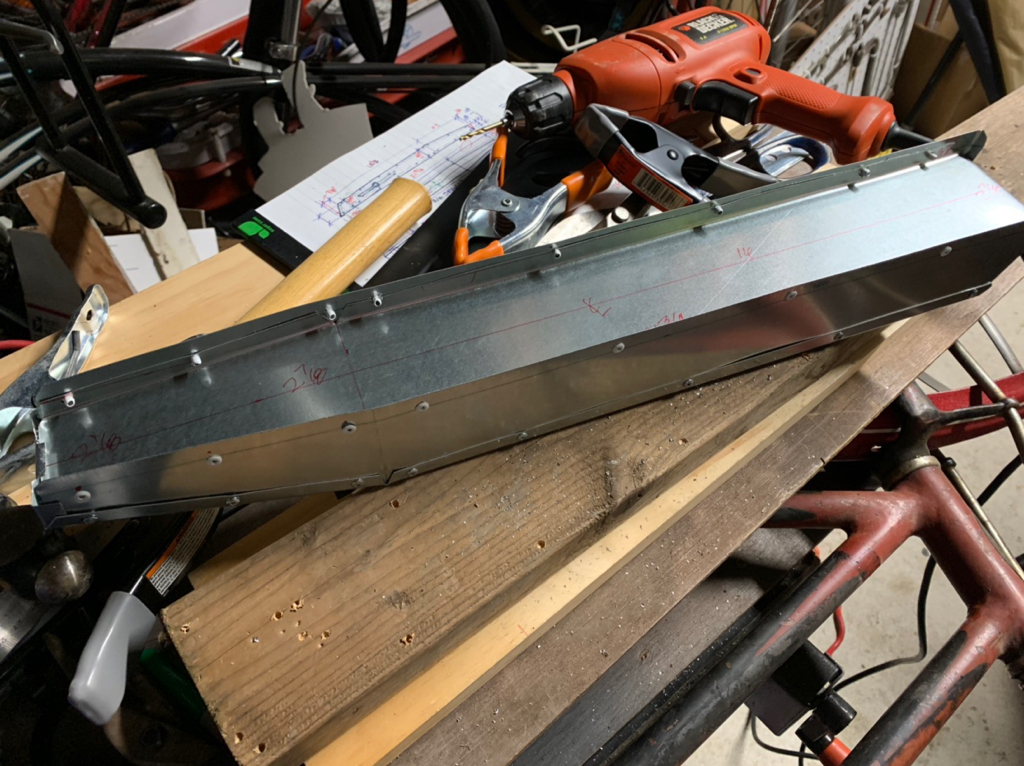
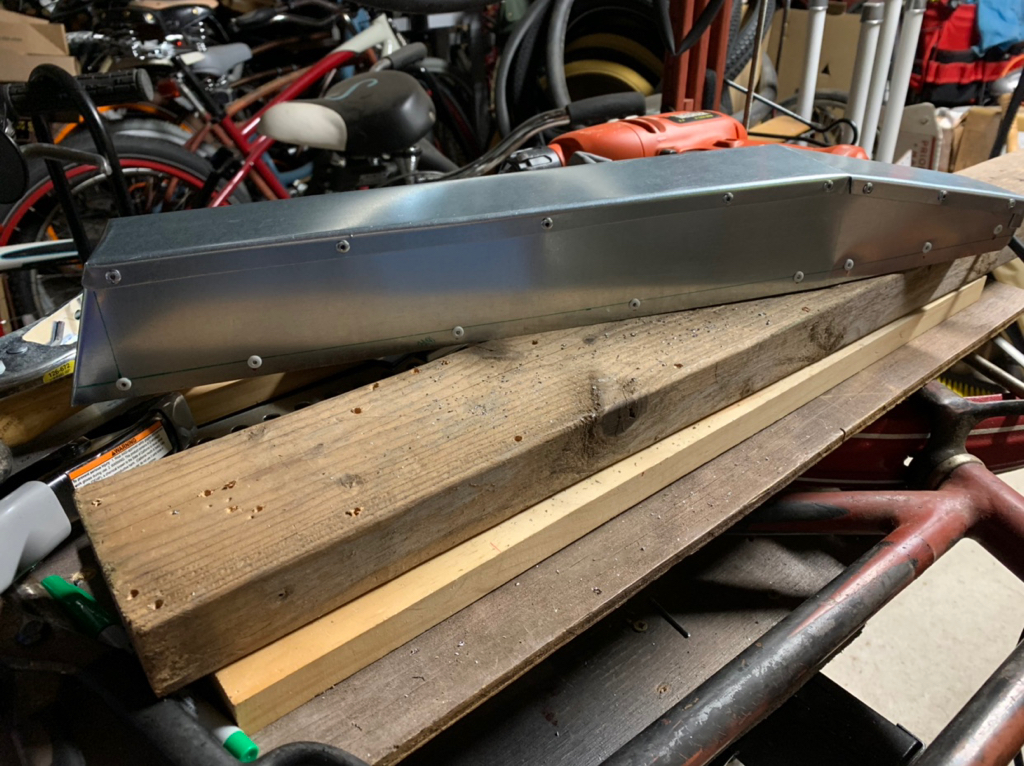
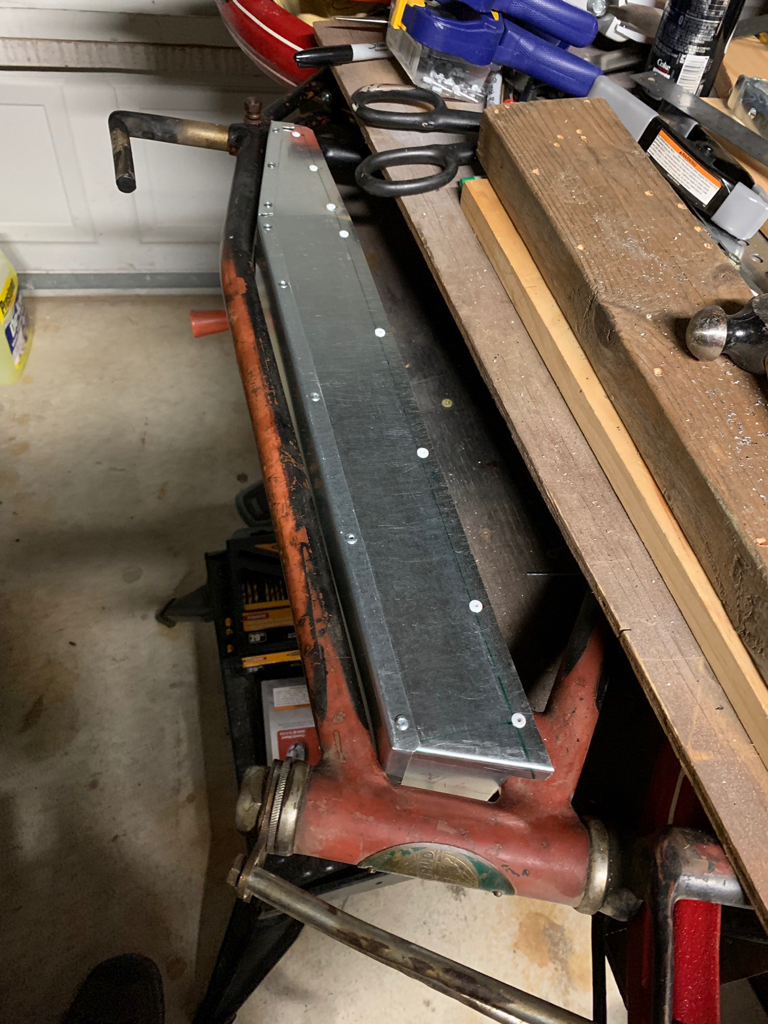
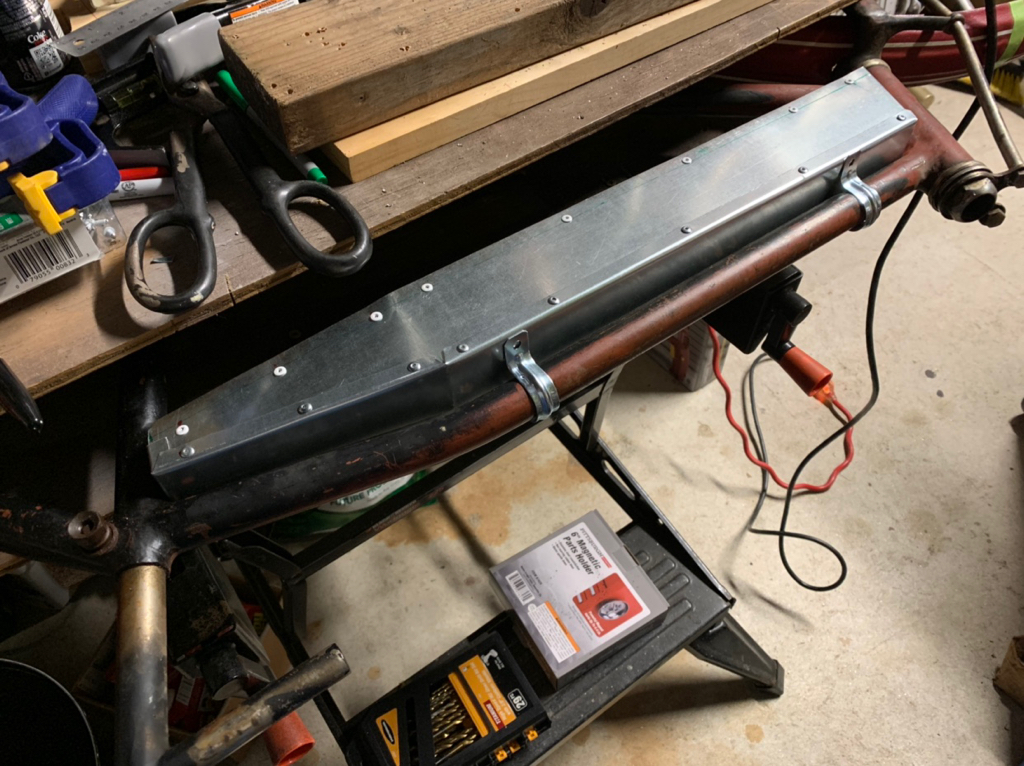
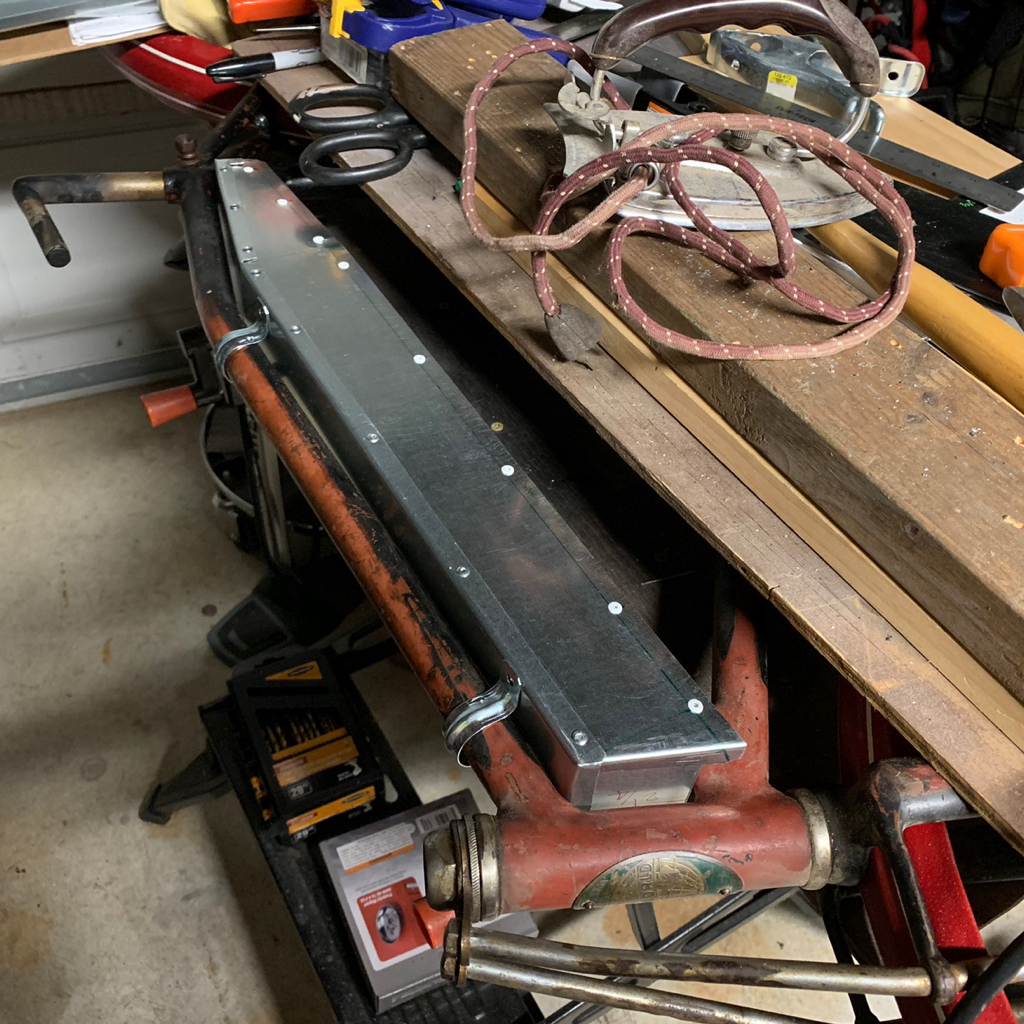
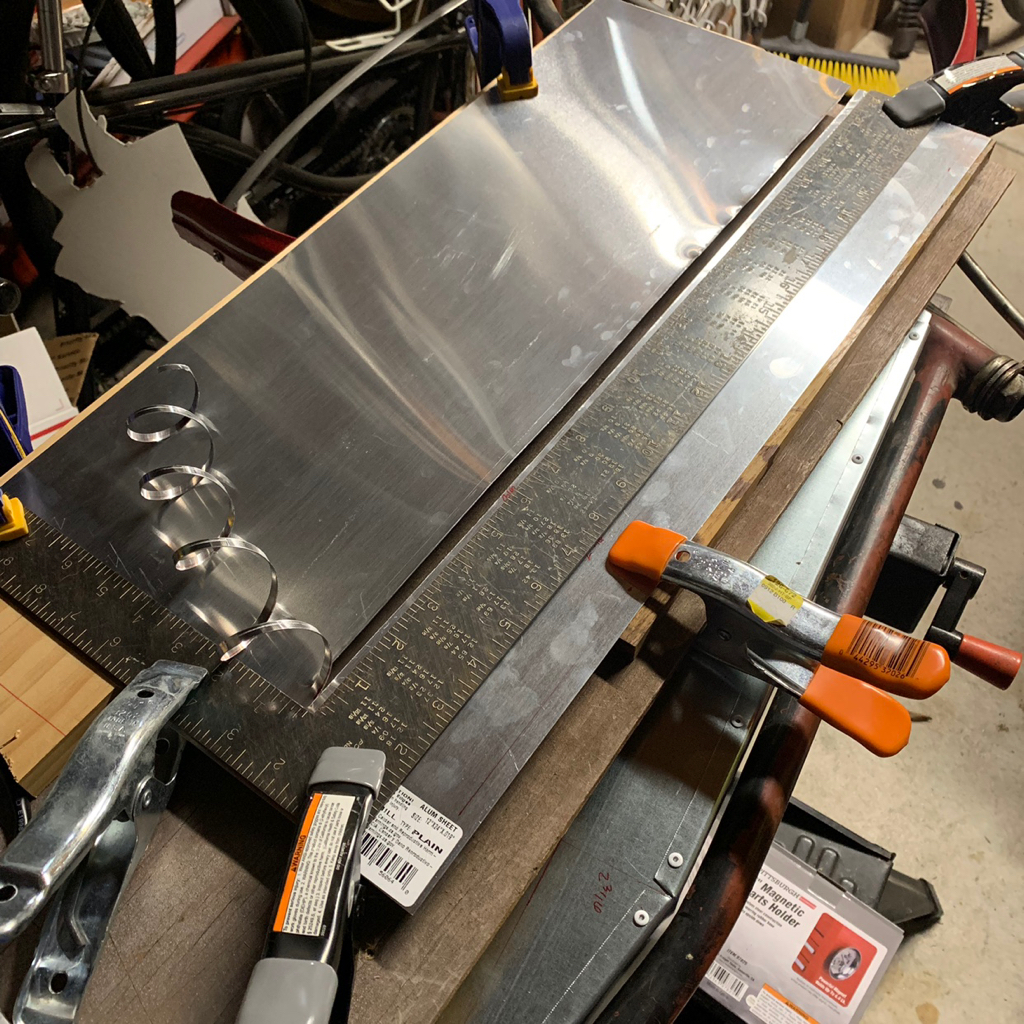
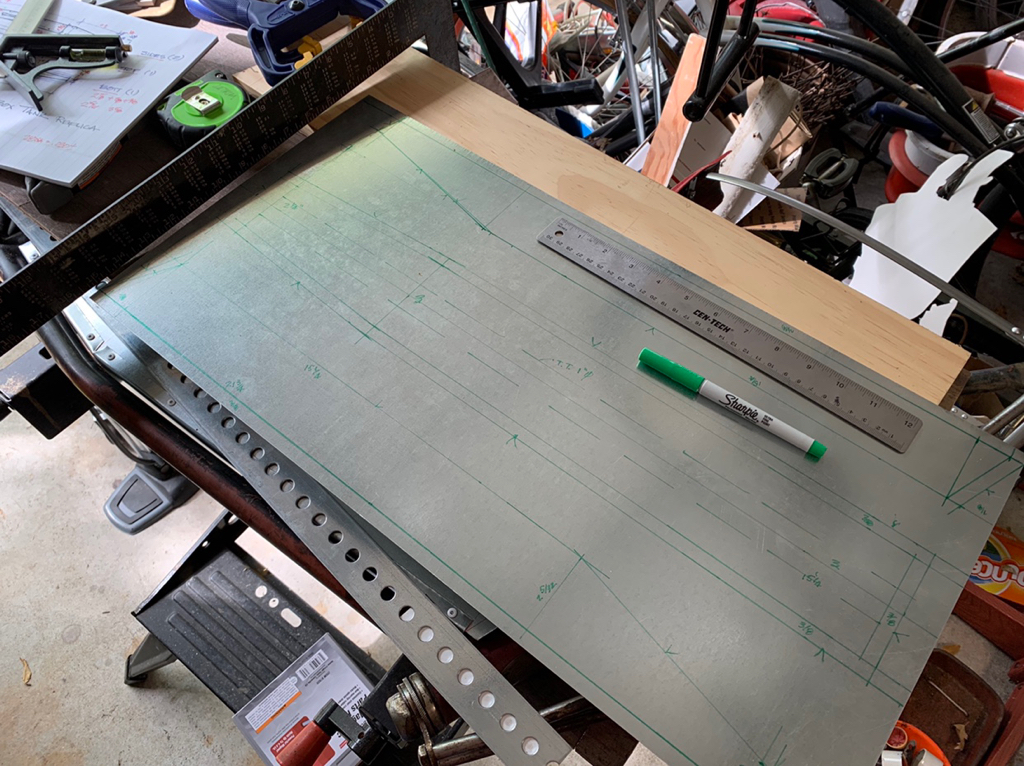
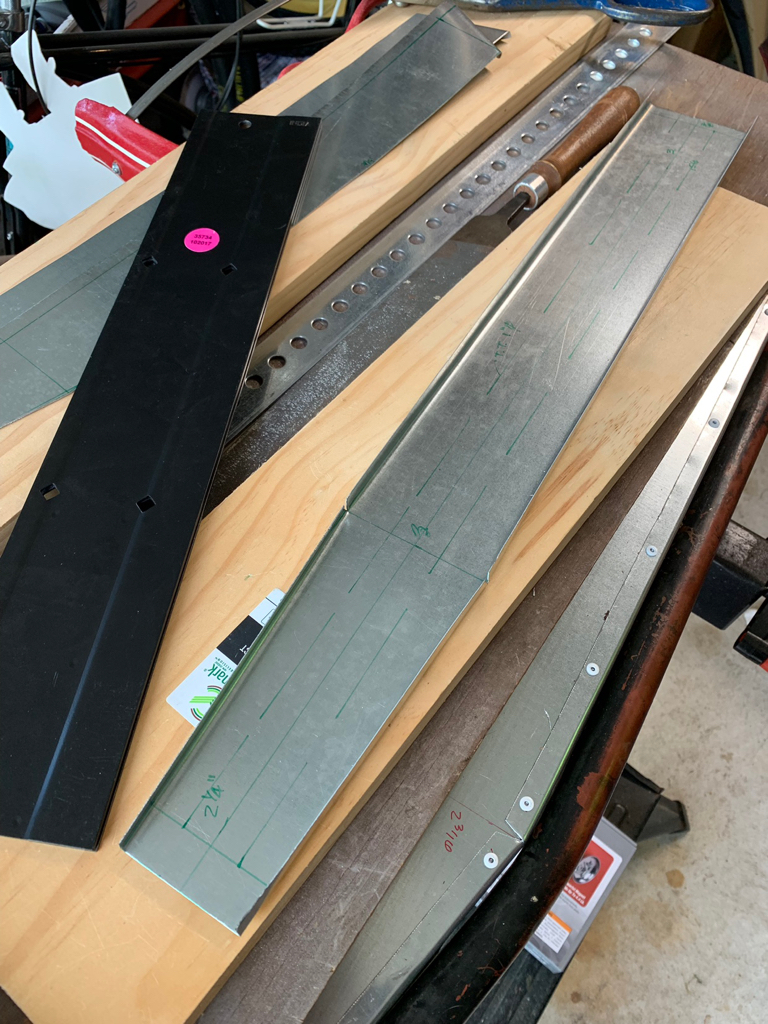
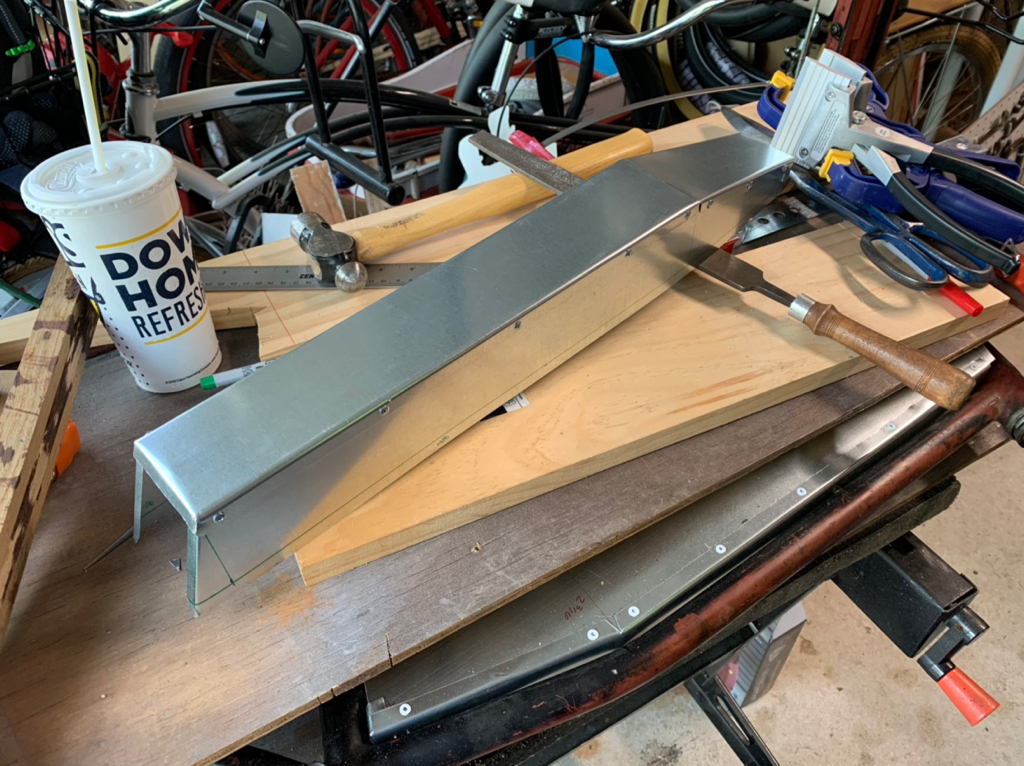
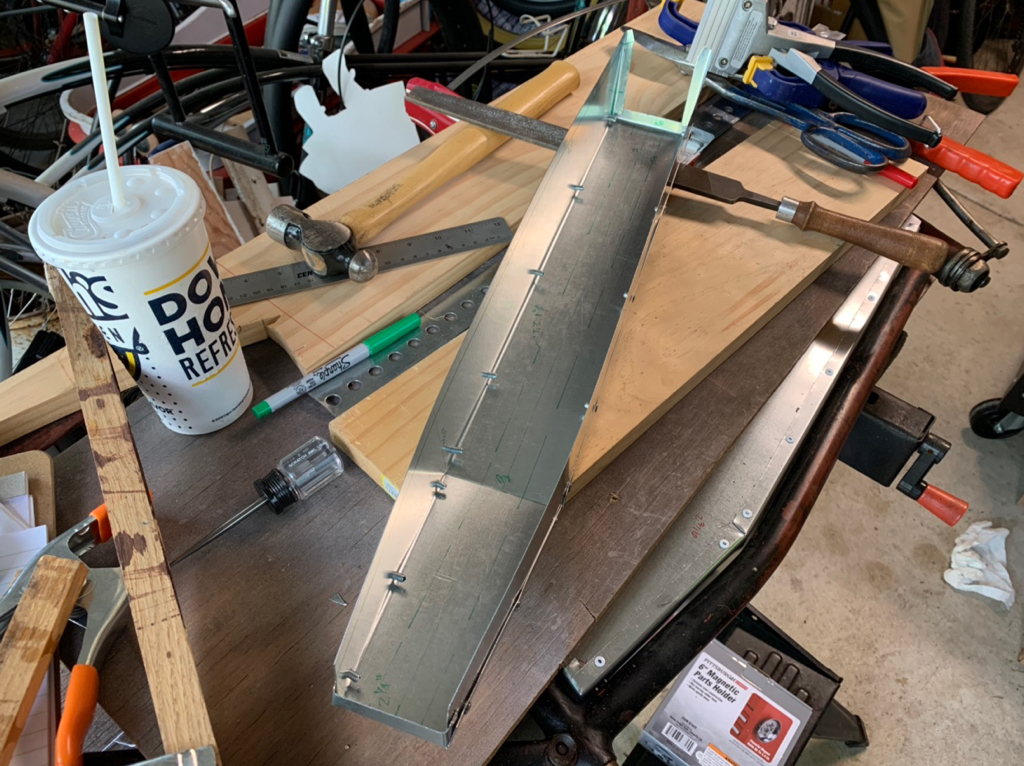
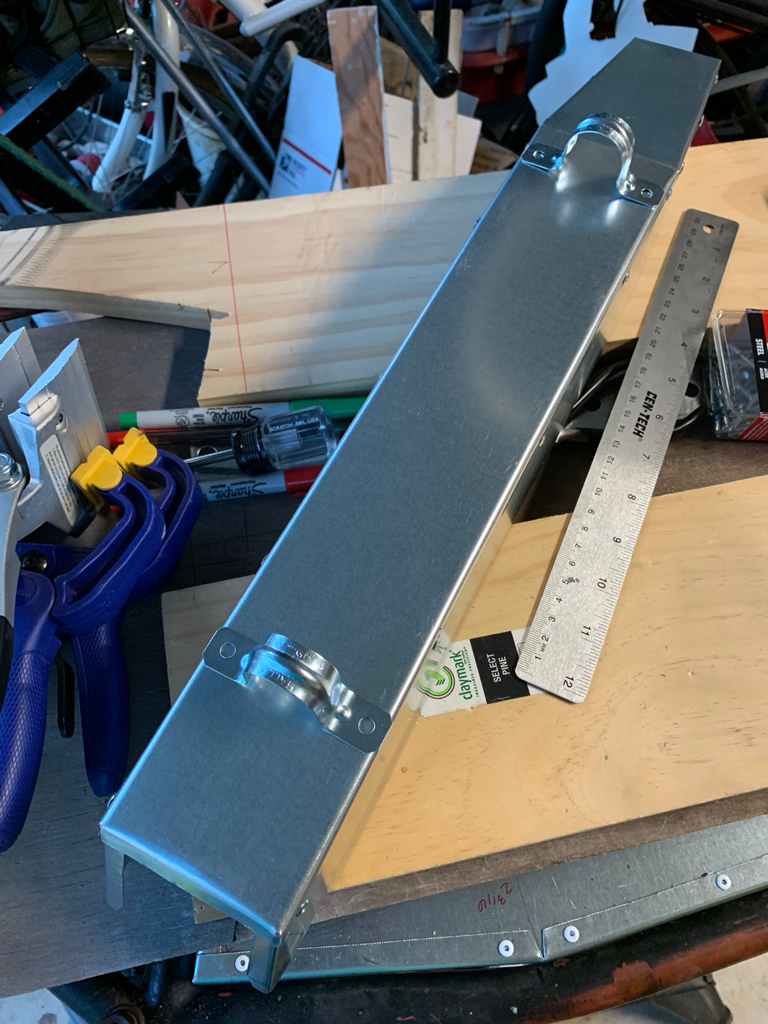
I picked up an electric shear at HF Saturday. We took a building break over the weekend and celebrated Cinco de Mayo with some good food. I got antsy to experiment with the shear. Also picked up some more metal stock for Version 2. I played around with a potential set up to cut the long runs. I used the framing square as a straight edge guide/fence. The shear seemed hang up on the square graduation marks. Think I have some other straight metal to try. Anyway the finished experimental cut is a lot smoother than my hand cuts. The downside is the wasted material strip.
bb878f3cfd1885bdc2f9c5b636cbc8c7.jpg

2e3a99b3c07240e6809c727fb174a082.jpg

2e36a3a5f8f8b29a6650c401e01af754.jpg

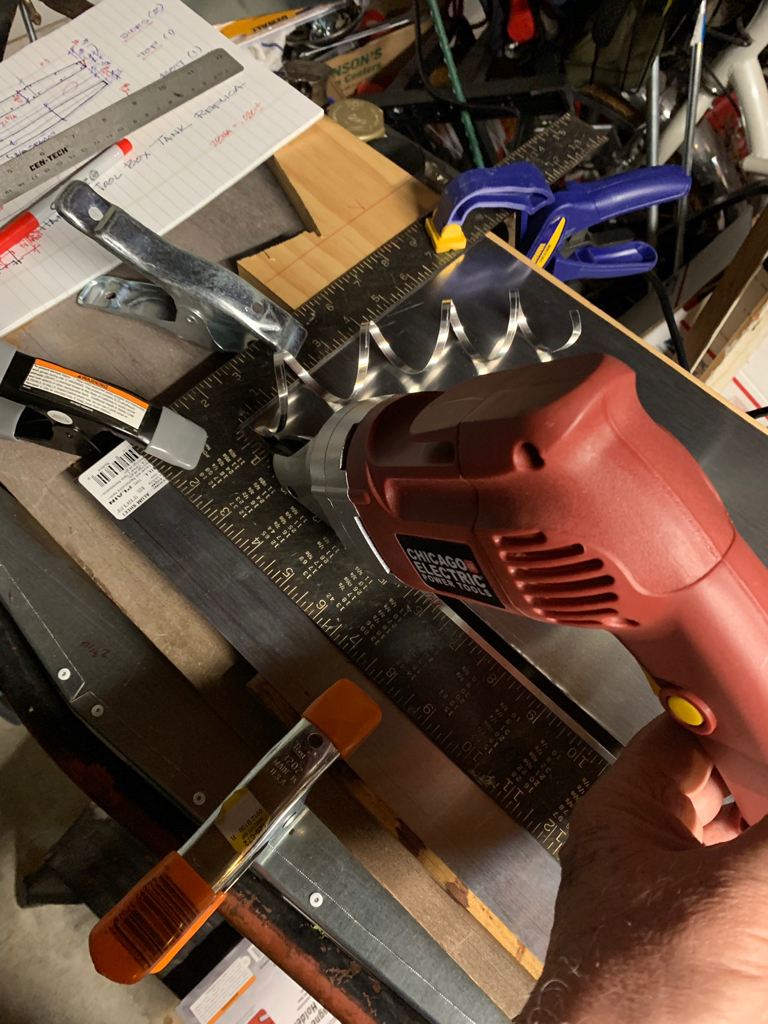
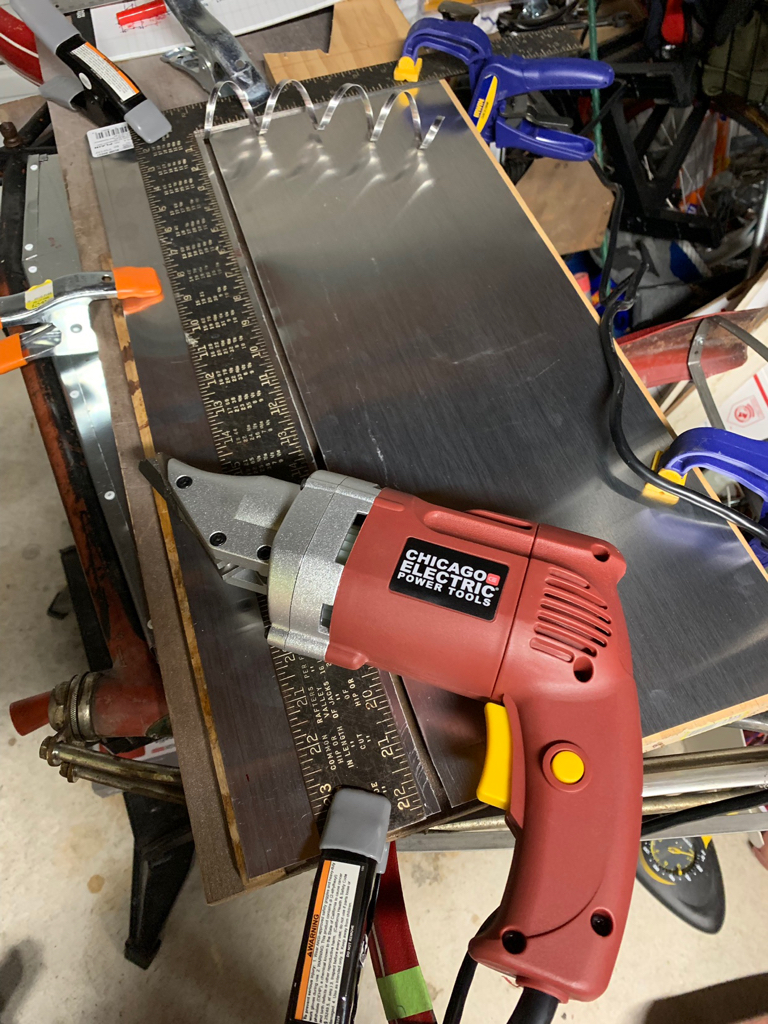
My practice cut was in thinner aluminum than the 28ga galvanized steel I’ll use on Ver.2.0.


Sent from my iPhone using Tapatalk
 
Ver2.0 in the works today. Dimensions and folds were fine tuned somewhat.
11c65a9dcc925d58159ea98a57ca2425.jpg

a7dd887e8e891465cb033acb3559e578.jpg
Two sides and bottom.
The power shear didn’t want to work with a fence. I ended up doing it free hand otherwise it kept hanging up. I don’t think I want to take up pin striping. But better than hand snips. I did end up using made in USA snips that were my dads for small short precise cuts.
c272ef5871a968b09623cb72878b2676.jpg

The folding tool worked good as I cut the reliefs at the down/bend line. That let all the metal fit the tool, thus two bends per side.
0cc9c74262169919e4480d84622589b3.jpg
87e955069569519eacd6d6696f36e31d.jpg

Drilled the rivet holes in each piece separately, most matched up pretty well.
4693c5be7af288051fe3481b1e10e2a4.jpg
58d1f3c7e4d340eb5486b583bff2a697.jpg
2d53f02558e5956bfc0f101b6148a383.jpg

We got Measles shots this morning after laying out and cutting sheet metal. I put the three pieces together this afternoon. Relaxing in back, Dachshund guard dog surveying the yard. Beagle in the chair beside me, life is good after tornado scare last night.
105685506ffa91fec8919004e567e821.jpg
fc2632b3358955252c221733579d7d45.jpg

Tank bottom for another day...real door or faux door to be decided.


Sent from my iPhone using Tapatalk
 
Always have to reshape these hardware brackets when using for alternate purposes.
6ceaaf8adaee176a2beac32f49b0d9bf.jpg


Sent from my iPhone using Tapatalk
 
I passed on a couple of teacup lights at a previous Swapmeet as they were missing key parts like the lenses or reflector. I popped on this light which set me back almost as much as the whole bike. The bike was a C-Note. I thought the bike was a good buy.
f9271fcd7d8c443ecfb00291b6f2e810.jpg

dfbf9b84bd47fd8a265b78675b7f3494.jpg

8b8b489cc29e156926b1ddfb9bd37b78.jpg

The light just needs a little cleanup, a bulb, wiring and a power source. Future battery tube.
05ed70970c9995d00742be3e8b9716ac.jpg

Currently a trucker emergency flair kit with flags. I assume the flairs are still viable, might save them for the 4th. I’ll probably shorten the tube, add a battery pack with wiring to light. If I get energetic I’ll run down an LED bulb or do a conversion. I don’t really want to violate the surviving teacup light though so a bulb would be good.


Sent from my iPhone using Tapatalk
 
Looking good!

Am I the only one that noticed that you are using your bike as a work bench? :)
Thanks! Old B&D folding bench, plywood top, TransWorld Bike, plywood work surface. Think layers. It’s all good.


Sent from my iPhone using Tapatalk
 
Last edited:
Ehh...1K views. Appreciate everyone stopping by to check out the progress. Feel free to borrow ideas. Feel free to comment, critiques are always good. Build on.


Sent from my iPhone using Tapatalk
 
Ed, you are really hitting your stride on this one! You must be feeling good...! :thumbsup:

That tank schematic is bringing back thoughts of drafting class back in secondary school days. I remember making a small tin box with a sliding cover. Yours is more like graduate level construction!

1k views. :praise: I always measure my contribution by the number of views over votes. It means people think you have something interesting to offer, they want to see what you are up to next. So they keep coming back. Congrats.
Appreciate it, staying active helps out with longevity according to my doctors.
In my working years I was an educator teaching multiple subjects and an architectural designer. Taught 9th grade junior high metalworking for a couple years with actual tools and equipment, brake, shear, forge, arc and oxyacetylene welding, door welder, foundry, lathes, bar folder, press, band saw, drill press, lots of specialty hand tools. It could be a dangerous place. We made a few tool boxes.
Did lots of drafting on paper later CADD, AutoCad, Revit, SpecLink. My current access to technology pales to what used to be available. Back to a simpler time.


Sent from my iPad using Tapatalk
 
Last edited:
Super Bright LED bulb on the way.
5bae2696bd86164c11d7b15589eb95d4.jpg
now to find some vintage fabric insulated low voltage wiring without buying a whole roll.


Sent from my iPhone using Tapatalk
 
Keep calm and carry on! Measure twice or three time cut once. Got in a hurry didn’t double check.
027aab62e61ee7fa9fd6516e8b55e7f1.jpg

aa9c2676a831fa14665fb0bd94e99217.jpg

26277f06ddd00428c0037e157d54b9e8.jpg
11e45c1c512629aaef57b9efb4a3cc0f.jpg

Nice extra taper in bottom.


Sent from my iPhone using Tapatalk
 
Think I got it right this time, also changed the fold direction on bottom. Also a mistake on first one were the folds.
fba1d2a44a7432d152b68e02a2851e7f.jpg
5f0a262c5200fb75c123ab4743d4d777.jpg
fde99f41df9a5e9cacb4ea34adab6189.jpg

7d344a7430f3adb907661f66324b60a5.jpg
cb7bda85a5644de16943a99238b4e480.jpg
80b03e19d33afded5c5727deb72c45f4.jpg
Lunch time...maybe assembly this afternoon.


Sent from my iPhone using Tapatalk
 
Just for fun...
ae31b0b159d1555cdcbd371ec4cf5e47.jpg
05e3af486f722e855cd19ce93de7a10d.jpg

140446bb0d0f89f3e76e66190afefb70.jpg
lots of rain, stream running.

Sent from my iPhone using Tapatalk
 
It’s been raining here most everyday for a week. Backyard is a swamp with serious water flow in our normally dry stream/creek. It gets drainage from other neighboring yards.
After getting tank bottom done I did some final trimming and fitting. I attached the bottom and sandwiched it into place, a tight fit. If I were to do it again I’d forgo the extra side flange and just make the profile fit the opening in the frame. It’s in place for now, I think I’ll just add a faux door panel. Finish to be decided. I have decals if I can find them. Otherwise Ver.2.01 is in the books.
7c71d276f8d1fccfc7f82f111f0198d7.jpg

e6167ed595361c86068bbaf40726fe89.jpg

4d82b1a2374ebec5d8c0b3979cc2f435.jpg

63a654f8c53c73f1bc61df54f079dca3.jpg

b27847e2635d327097b105897a9100d9.jpg

d91837b0e3b8202c31d956494acc4434.jpg

Now I can move on to something else for a while. I can iron out some other details.
Sent from my iPhone using Tapatalk
 
Last edited:
@MazdaFlyer
This thread is gonna break the Like button!
Ahh, the more the merrier, thanks for dropping by!
So impressive.
Thank you sir. I’ve just had to have a goal and challenge out there. Rather like the proverbial carrots on a string.
What did I miss, what's the iron for?

Thought I read this was your first try at this? Could've fooled me.

not gonna click Like on purpose this time hehe
Oh the Iron, picked that up today, stay tuned or make a guess. Clues exist.
I made a wooden header tank in a previous build. And I used a hammer for a tank in another build. I’ve done some sheet metal work but never anything quite as complex as this TransWorld tank.
After I got the Schwinn World bike I started looking for a tank. At $400-$700 a pop I decided I could build one. Well it’s not the real deal but it will suffice for me, close enough.
Time to do the ironing?
Sent from my Pixel 2 XL using Tapatalk
You will have stay tuned for the iron.


Sent from my iPhone using Tapatalk
 
Last edited:

Latest posts

Back
Top