Last Ditch Effort... Build Off #7 in one day.

Rat Rod Bikes Bicycle Forum

Help Support Rat Rod Bikes Bicycle Forum:

This site may earn a commission from merchant affiliate links, including eBay, Amazon, and others.
Joined
Jul 26, 2011
Messages
741
Reaction score
2,028
Location
San Antonio, TX
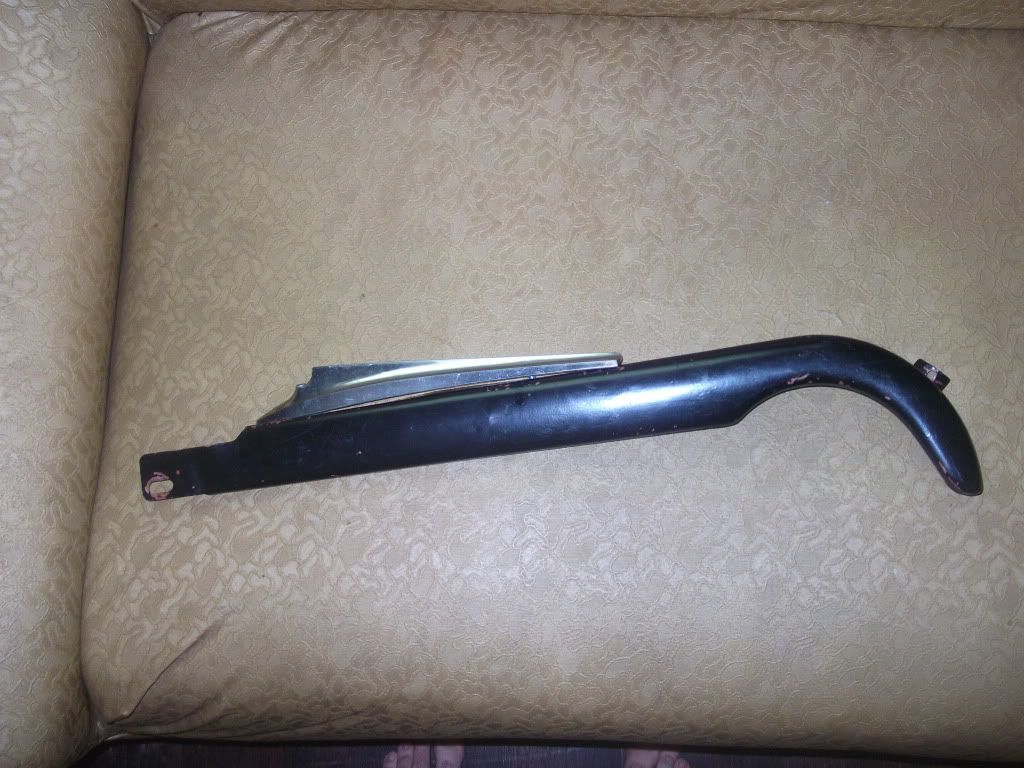
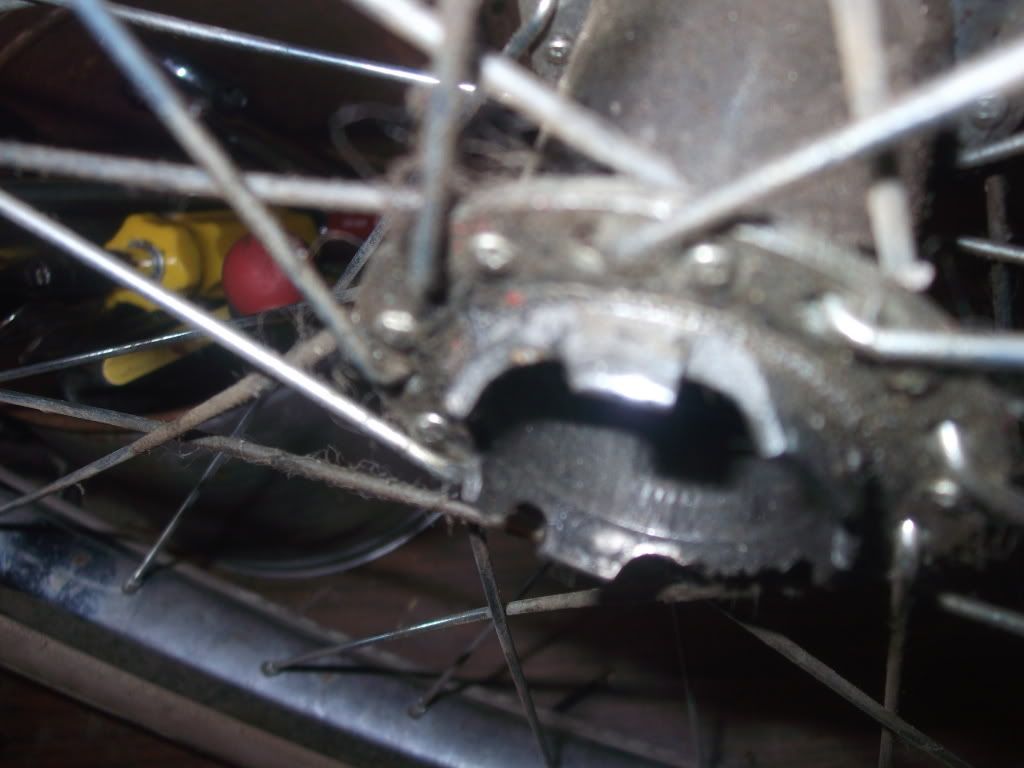
The last two years I've told myself I would enter the build off and the last two years life got in the way, well almost. While returning home from work the other day my rear wheel locked and began spilling bearings all over the road, I limped it home to discover this
July2012002.jpg

I ride my bike to work rain or shine every day because I refuse to pay for a parking tag, so I was going to have to replace the wheel, so why not change the bike all around.
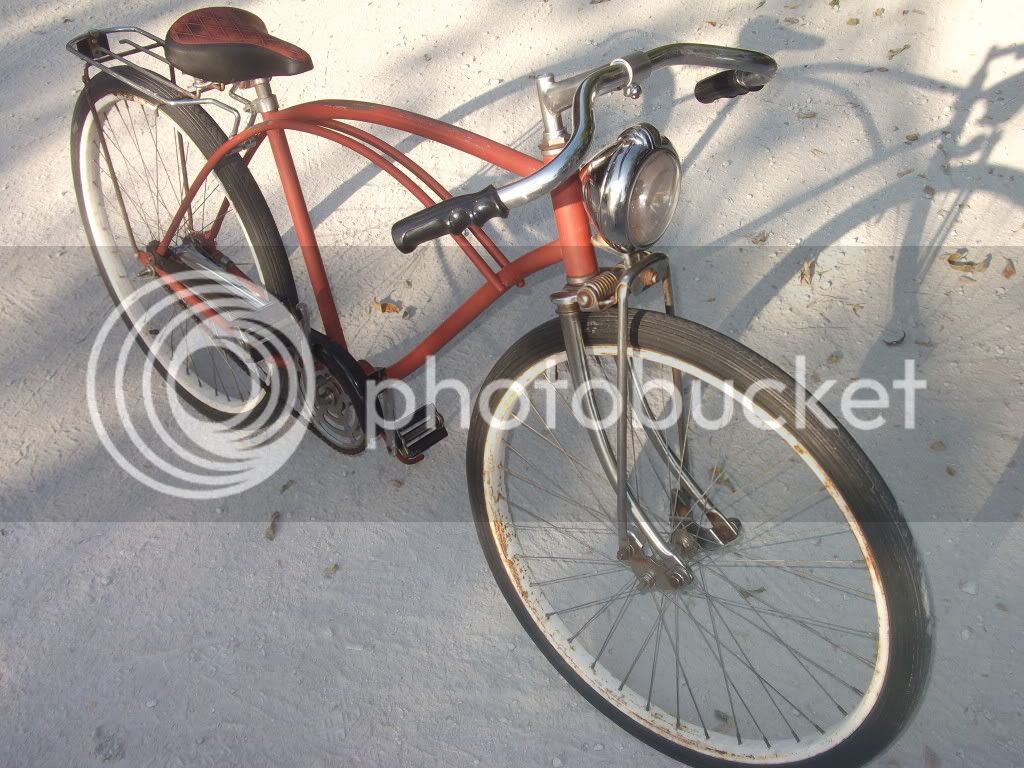
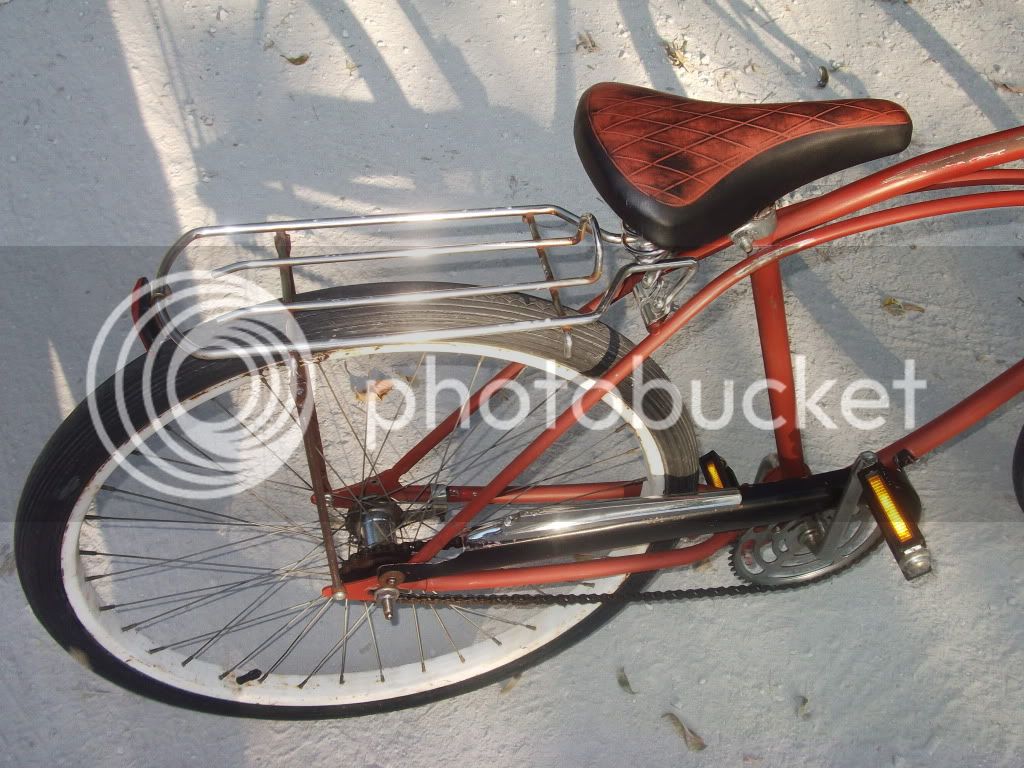
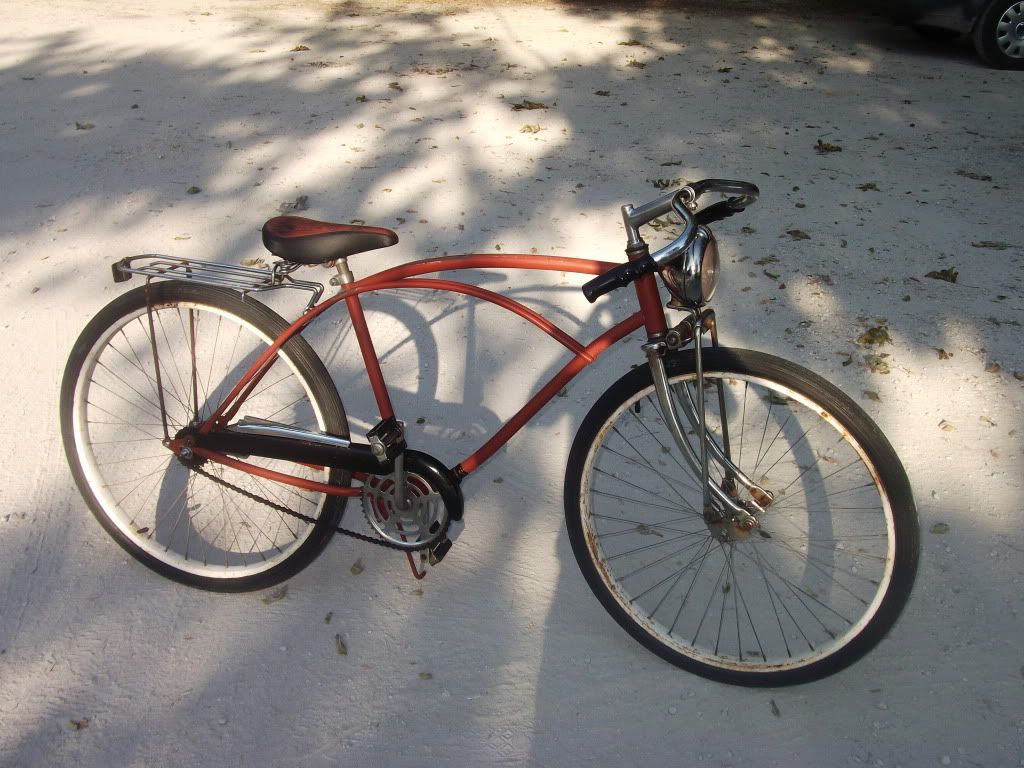
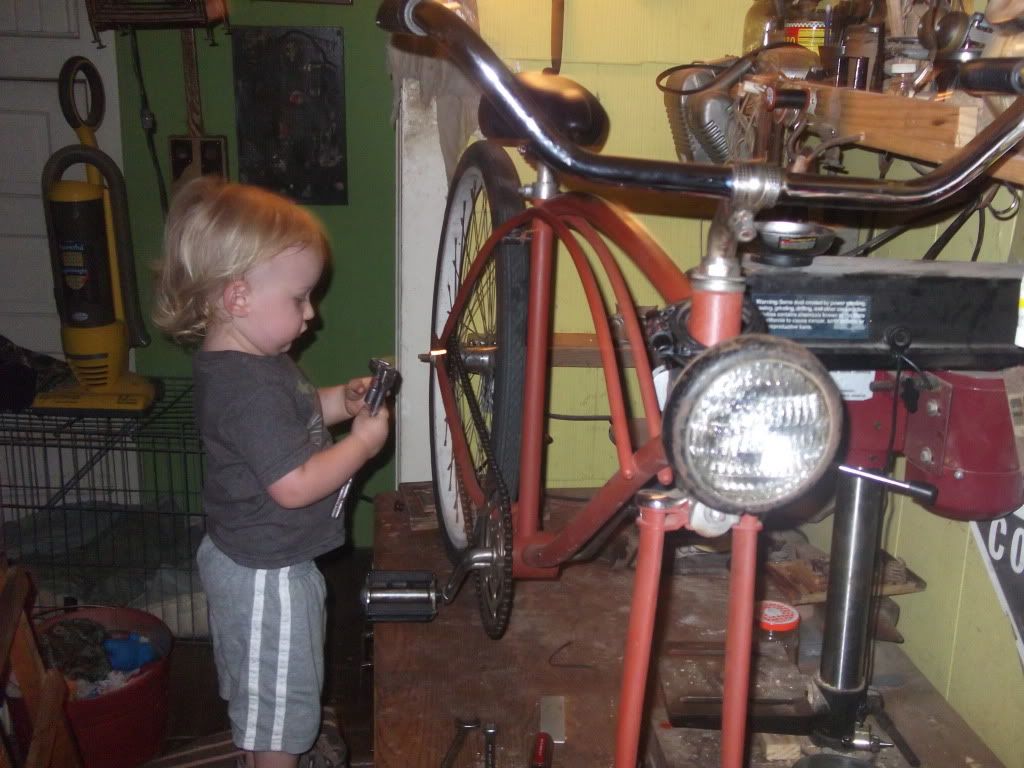
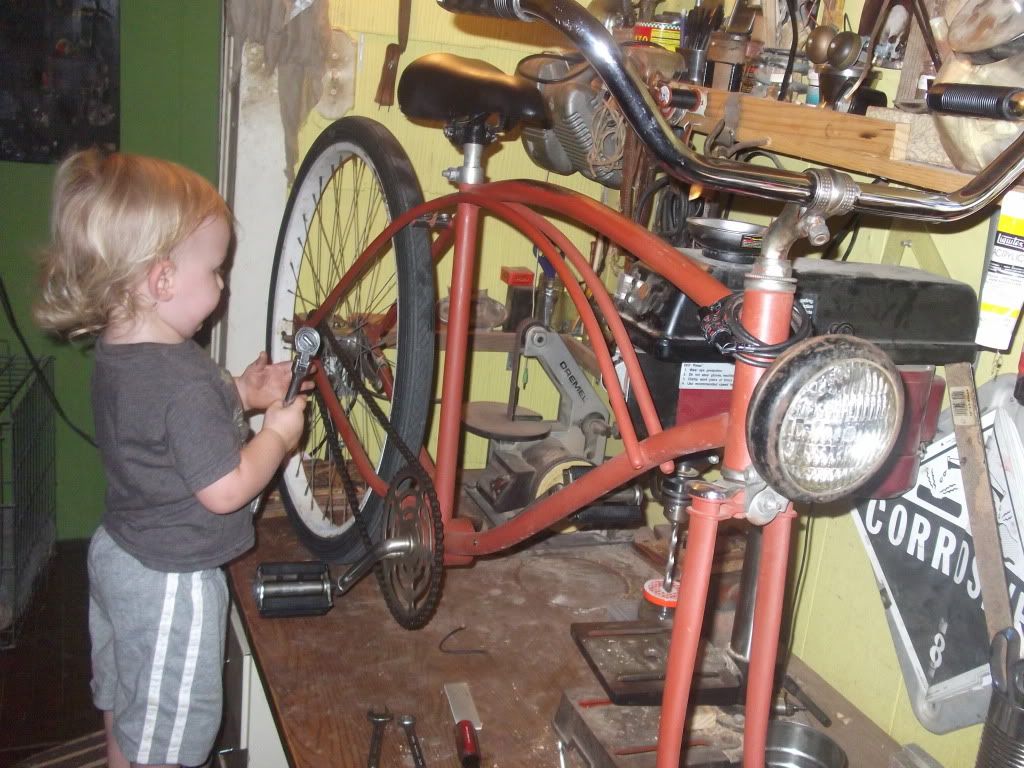
This was my starting point, pictured here after I changed the rear wheel, aside from that as it's been for the last 3 years give or take.
July2012004.jpg

July2012006.jpg

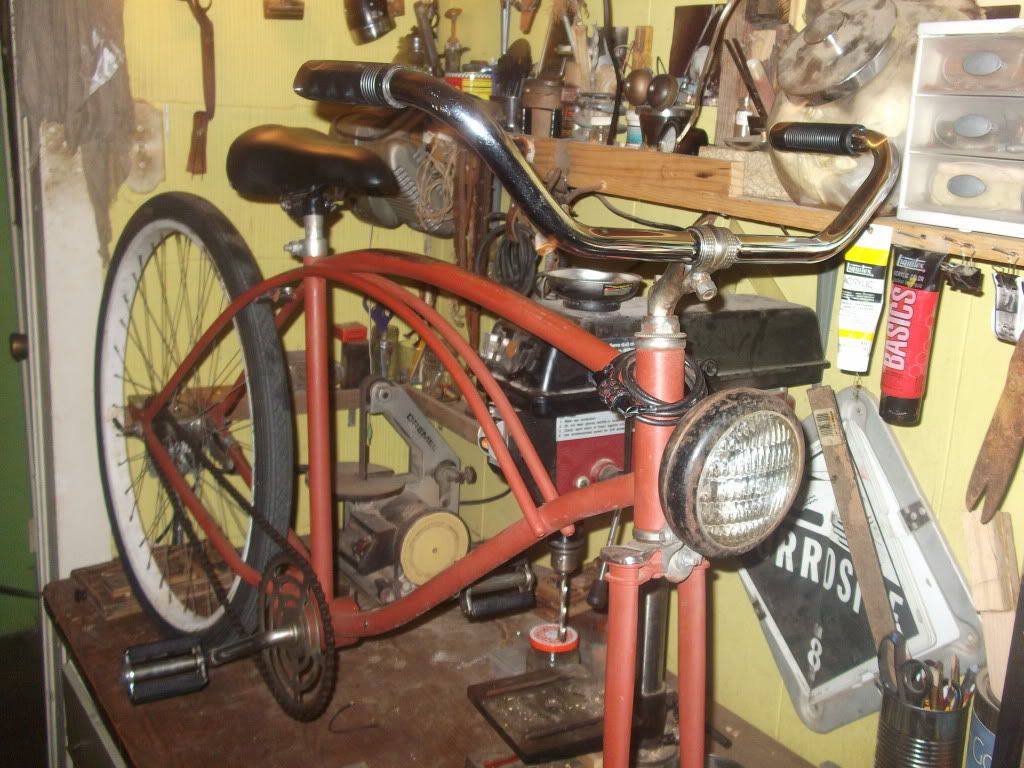
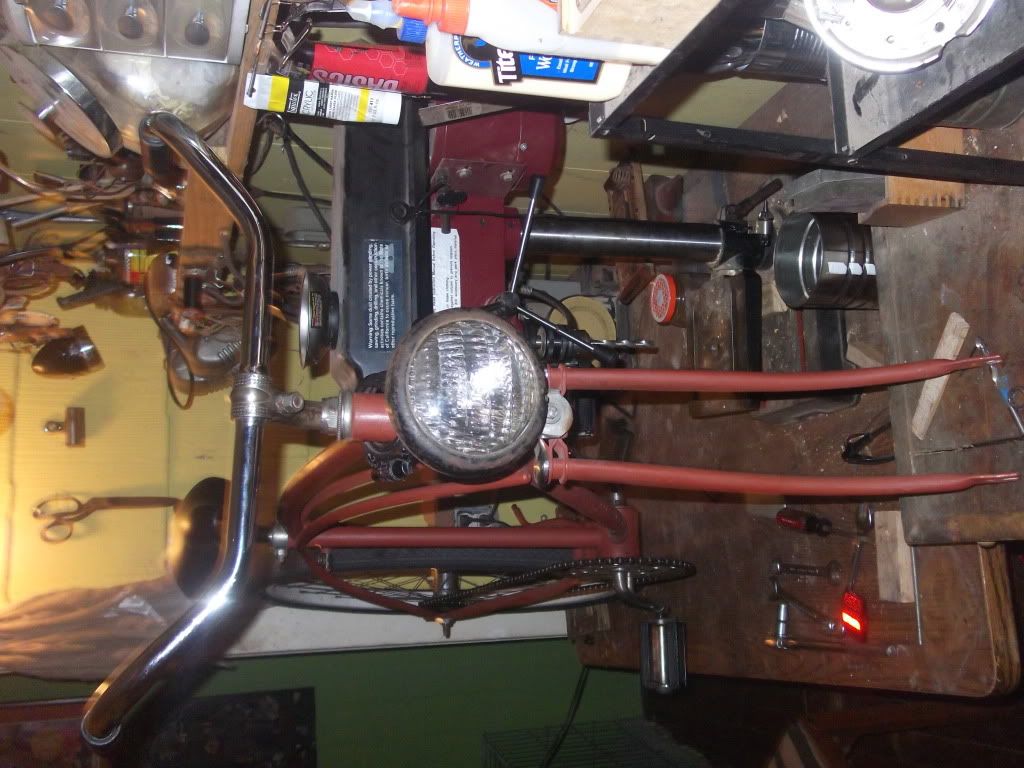
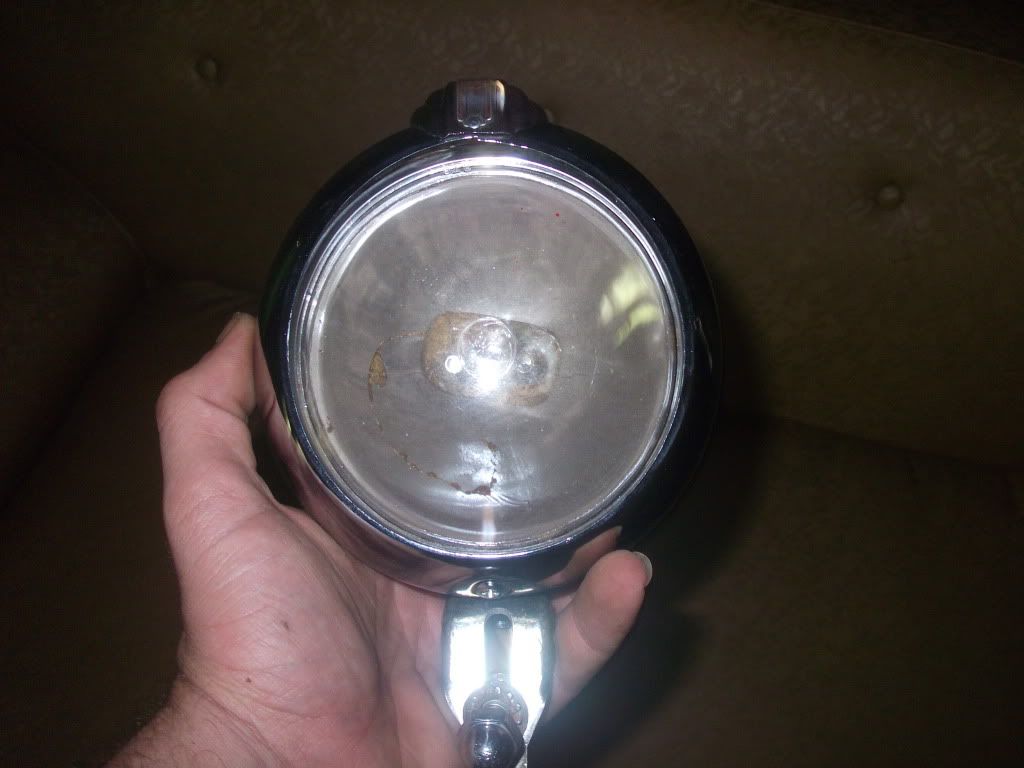
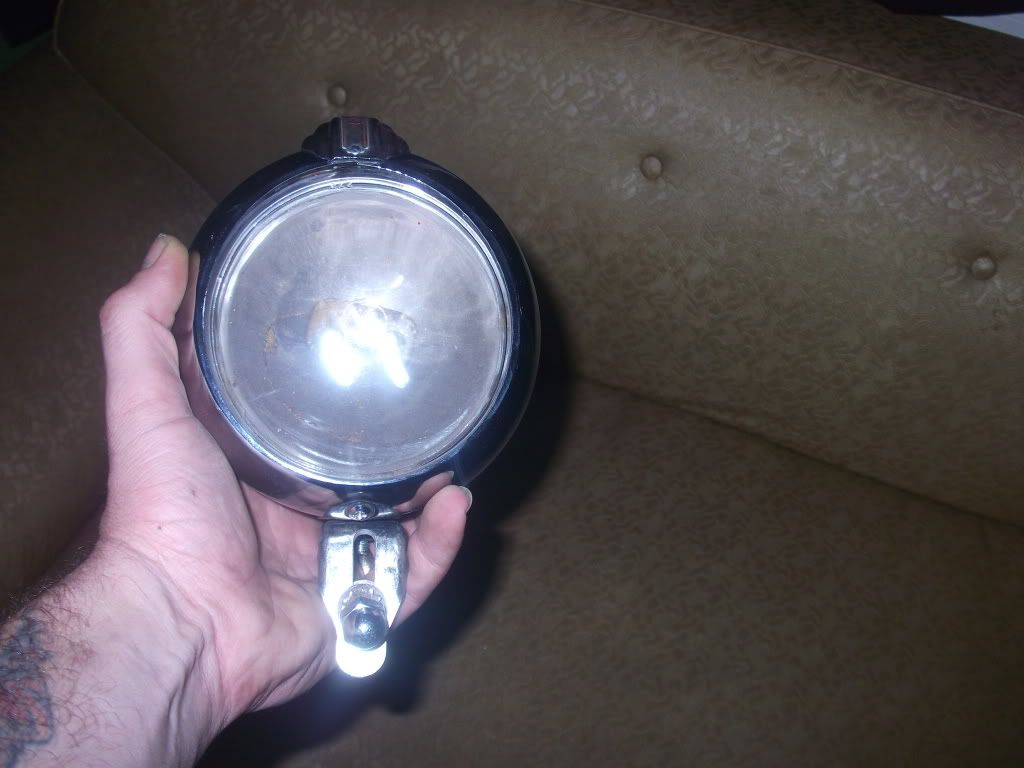
It's a 198? Murray Monterey that was bone stock save some rattle can primer, Wald bars, misc. road bike seat, and a tractor light converted to LEDs.
 
First things first, I lose the seat, stem, bars and fork, with a little help from my son.
July2012010.jpg

July2012008.jpg

July2012009.jpg

At 20 months Henry can actually use a ratchet, among other tools. While he was helping me he sang," Old McDonald had a bike e i e i o."
 
If everything works out I'll be using a rat trap springer of unknown make, I recently got in trade, with a LED converted headlight made from one of these old Mercury cop spotlights I have laying around.
July2012017.jpg

July2012016.jpg

July2012011.jpg

July2012012.jpg
 
Looks like he's doing most the work!!! :lol: :mrgreen: You are already way ahead of me & I've had this project for months!
 
He's tuckered out now, and as everyone knows a tired toddler does sloppy work :D 
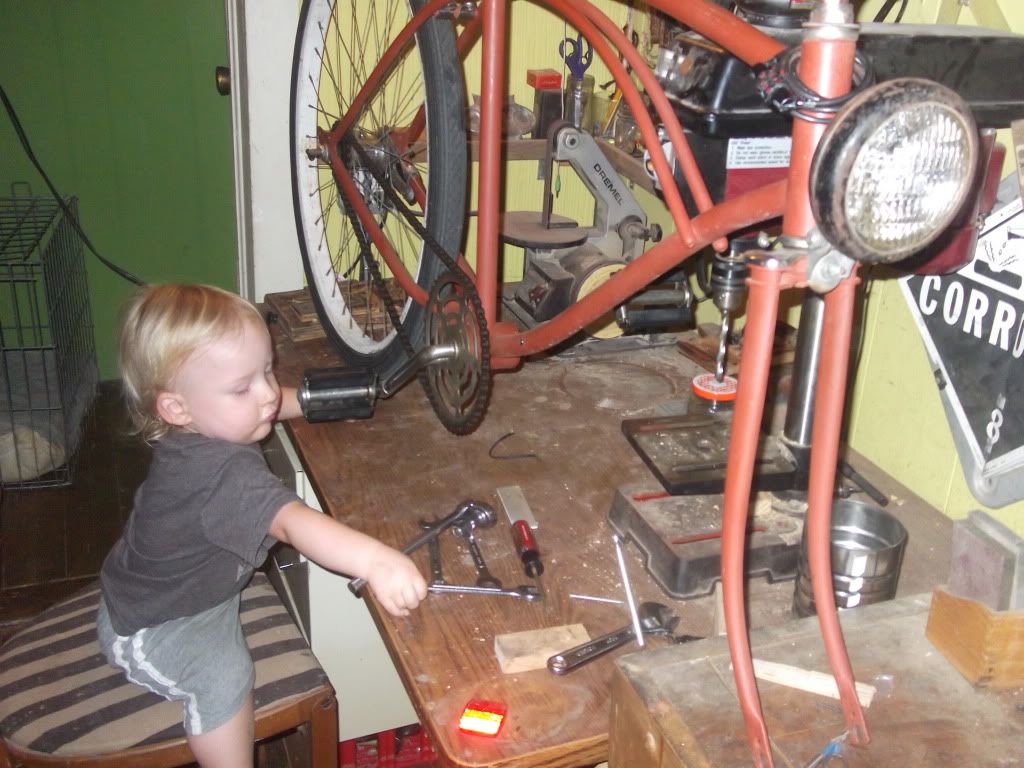
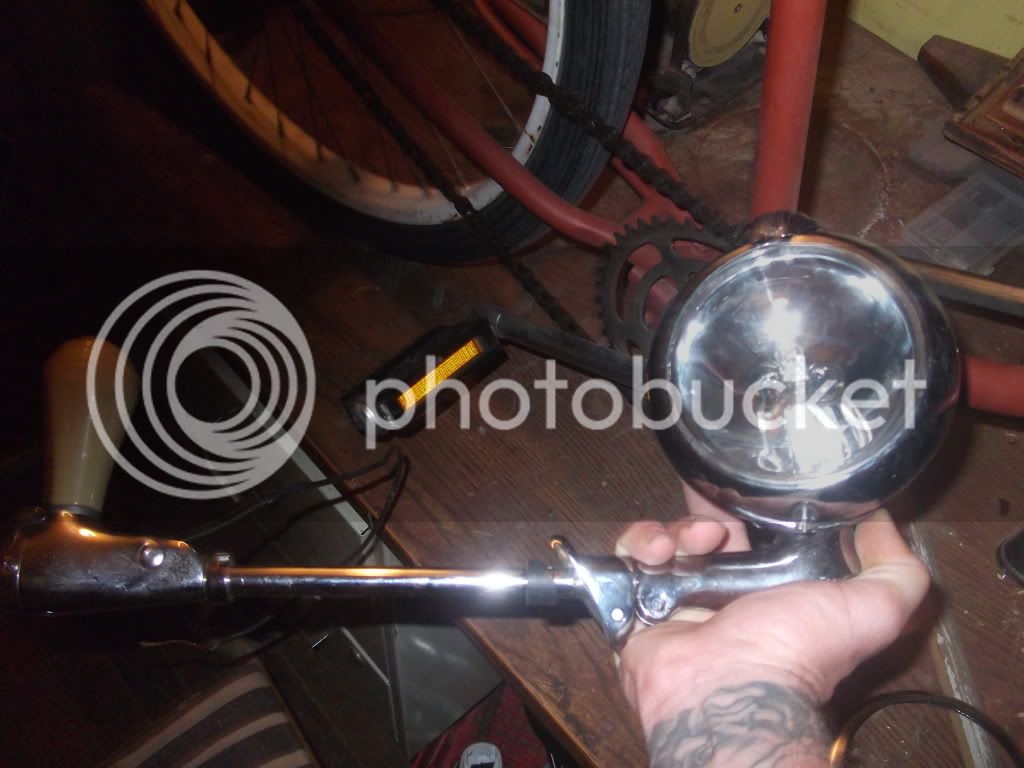
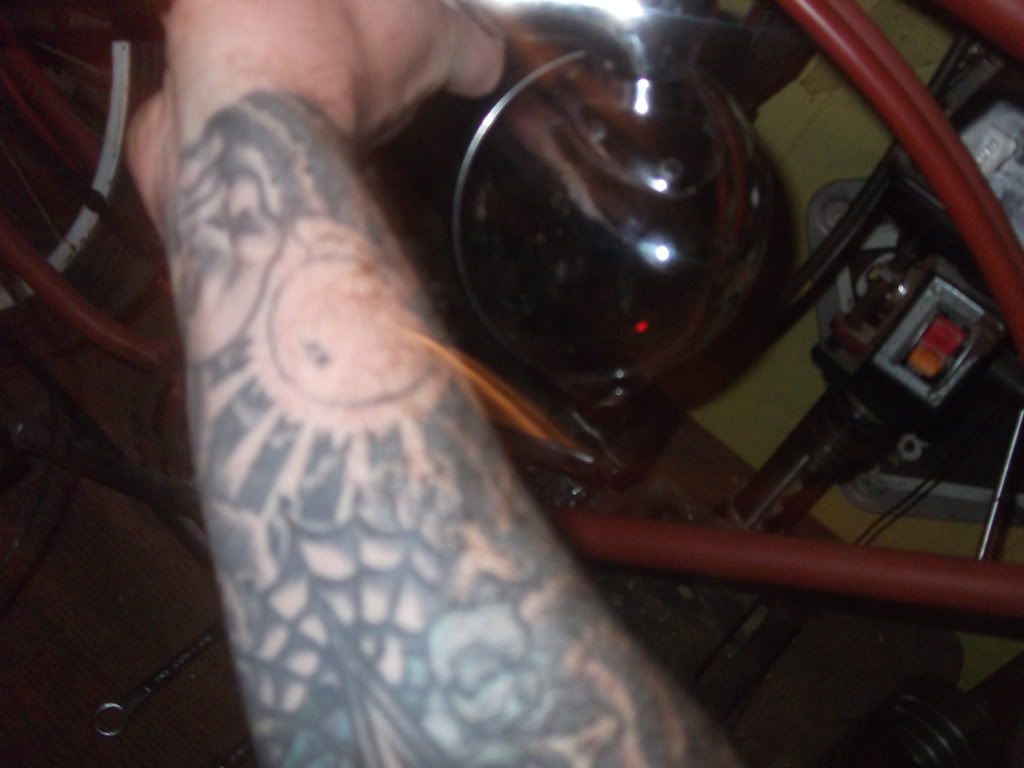
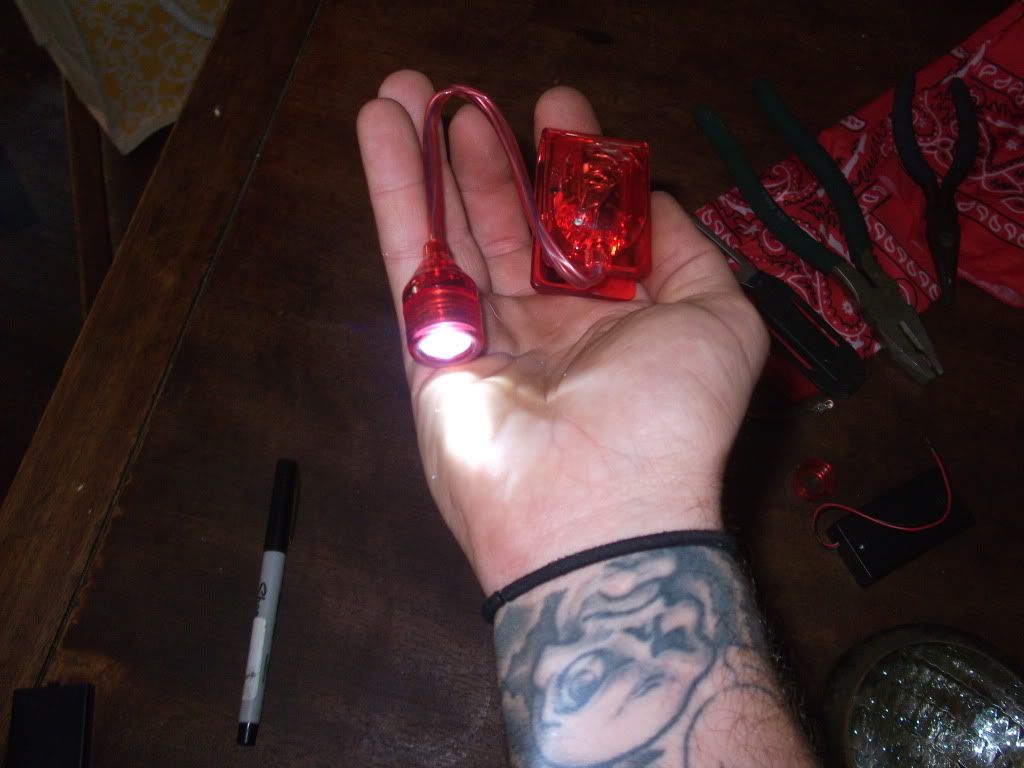
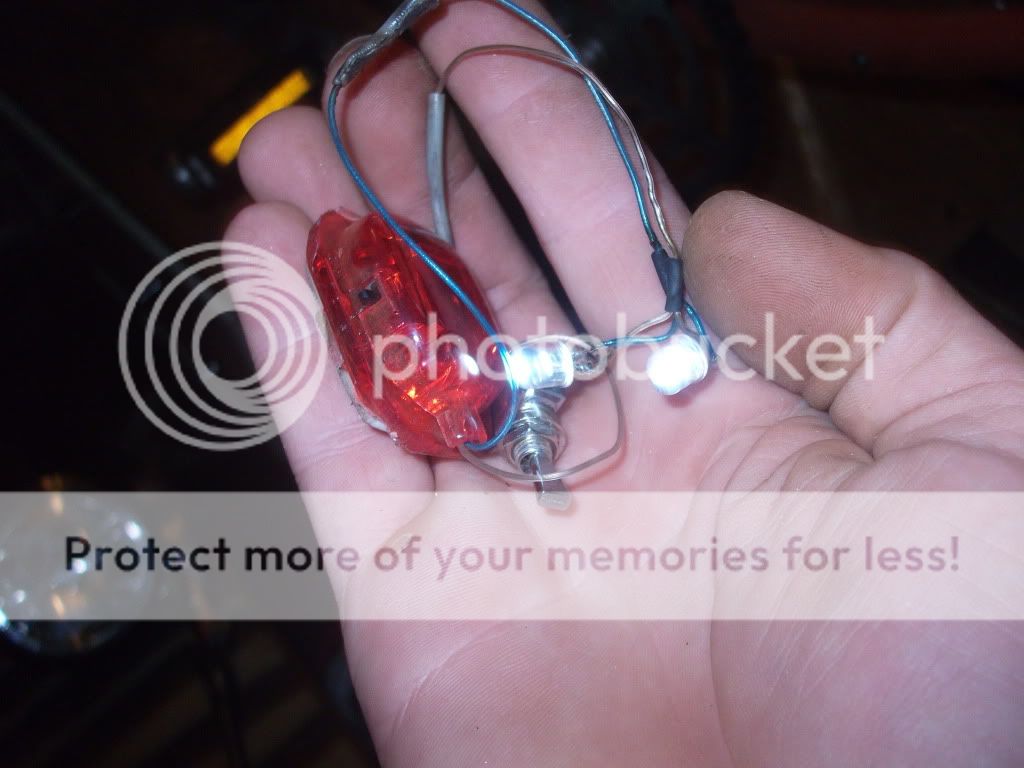
While he's napping with mommy, daddy's going to paint the seat, and wire up the headlight. He's still a little too young for Fisher Price's "My First Soldering Iron". :lol:
 
i considered doing a last minute build as well!!! but instead, im here watching yours. looks like a good start so far! the pictures with your son in them are awesome! cant wait to see what you come up with in the final minutes!

Easy E
 
Paint's drying on the seat, time to start the light. I'll be wiring two, dollar store book lights to one power supply with a two dollar Radio Shack two way toggle controlling it. 4 bucks well spent.
new007-1.jpg

If everything goes accordingly, counting the $15. I paid to ship the tank I traded for the fork and the $4. for the light, this bike will be built in 1 day on less than twenty bucks!
 
Broke the back on the bulb :oops: which made removing the filaments much easier, and what good is having superglue if you never use it?
So, with the help of superglue,double stick tape, a piece of allthread, an old brass weight, and a rear reflector mount from a girls '79 Western Flyer, I give you the headlight. :D
July2012018.jpg

July2012019.jpg
 
I've been bobbing between antiquing the paint on my seat and putting together a chain guard and bar/grip/stem combo getting close to the big bolt up.
July2012053.jpg

OE Murray chain guard painted black years ago, with a '59 Ford fender ornament added.
July2012051.jpg

Misc. mountain bike stem with a set of flipped Wald gullwing touring bars, with funky Hunt Wilde grips.
 
This is gonna be fun!!!!!

You should call it Old McDonald!
 
Had to take a break, as of 4:00 the temp. was around 101, and most of what I have left to do I'll be doing outside, so I packed up the family and hit the public pool. I am now home and have to get this done tonight, or I'll be hoofin' it to work in the morning.
 
"Last Ditch Effort" AKA "Old McDonald" is done :D With any luck I'll get better pics tomorrow but as of now here's what one days hard work can accomplish.
July2012064.jpg

July2012060.jpg

July2012059.jpg

July2012057.jpg

July2012055.jpg
 
Dang, I just wasted 2.5 months!!!!!! :shock:

OLD McDONALD HAD A BIKE, E - I - E - I - O !!!!
 
Toeslider said:
Love the look of the seat. Explain how please?
I masked the sides of the seat with painters tape and sprayed a light coat of red oxide primer. Once it had dried I went over it with a soft cloth and acetone being very careful to only remove the primer in the right places. When I was done I went over it with a clean rag and alcohol to get rid of any tackiness.
 

Latest posts

Back
Top