M*A*S*H 4077 tribute bicycle; FINISHED!!

Rat Rod Bikes Bicycle Forum

Help Support Rat Rod Bikes Bicycle Forum:

This site may earn a commission from merchant affiliate links, including eBay, Amazon, and others.
Thattaboy! It's your bike anyway! The Fed standard changed quite often...Why? Who knows.

As you probably found out.....you can make a case for hundreds of different colors being "correct".
 
Fun fact; Jamie Farr aka Klinger was born od July 1. 1934.
Happy birthday Klinger, you Section 8 hunter! :)
klinger.jpg
 
...and it's painted (almost)!
this weekend I went to the shop to get the paint; I went in with intention to buy RAL 6005 and I came out with two cans; one flat black and on...RAL 6009. It looked smoother on day light, and I liked it better, so I changed my mind in the last minute (also, my girlfriend approved it :) ).

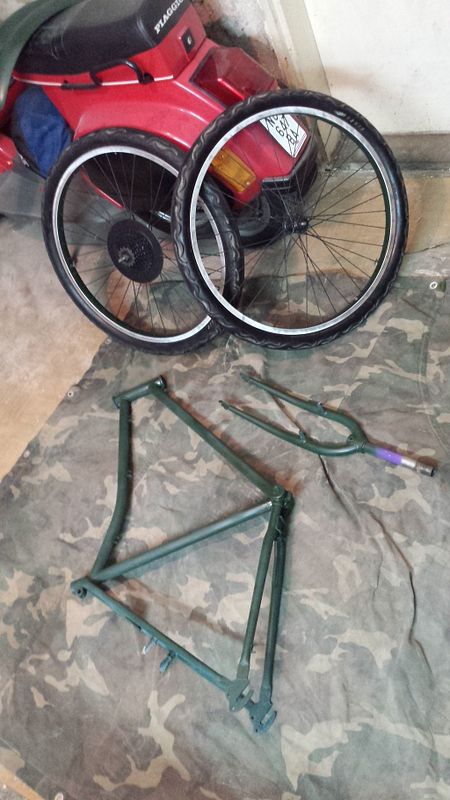
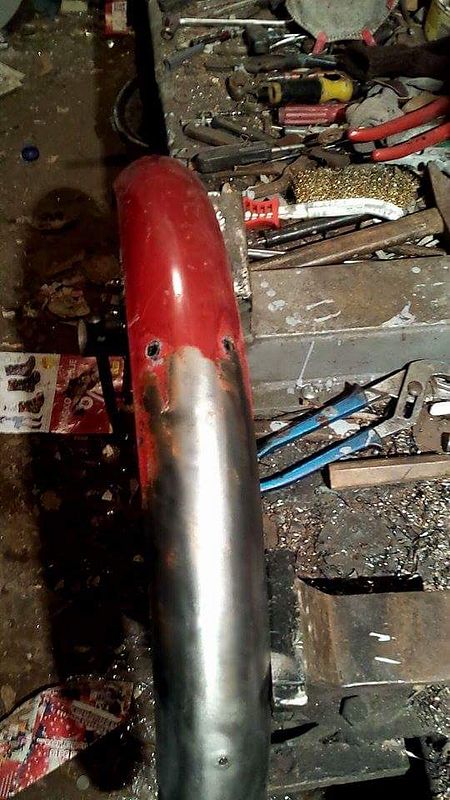
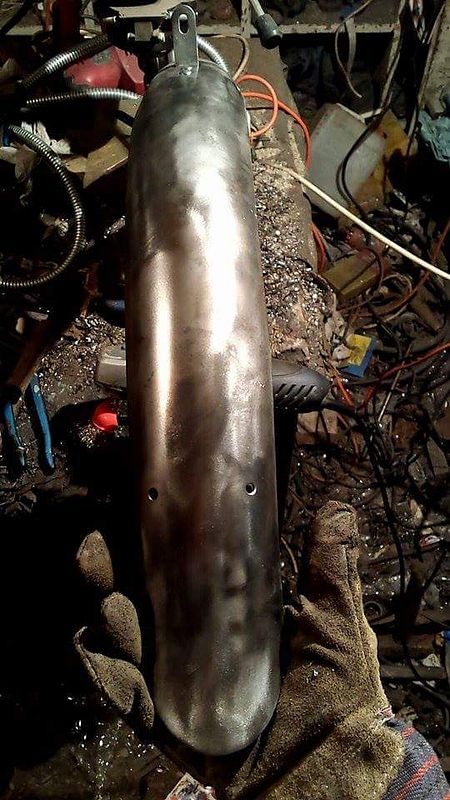
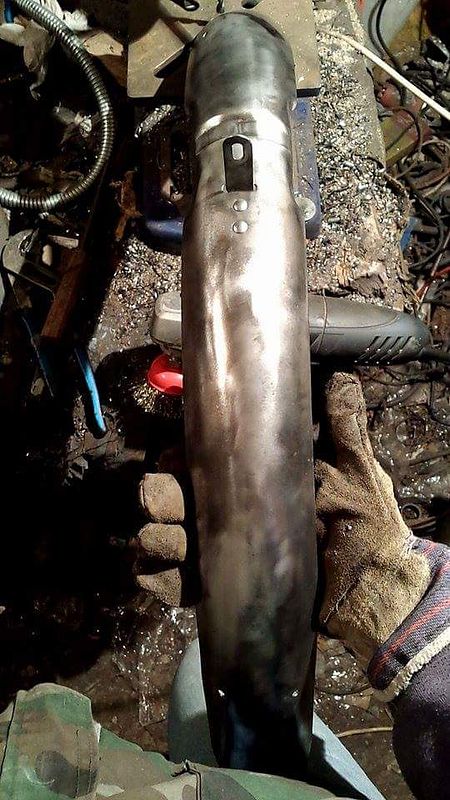
When I came home, first I cleaned the fenders with wire brush and angle grinder; it came out pretty well, so I got the urge to keep them like that. Fortunately, I came to my senses because I already have one bare-gunmetal bicycle that I sprayed with transparent finish to keep it protected.
received_bWVzc2FnZV9ibG9iX2F0dGFjaG1lbnQ6MTAxNTMxNjkyNjM0NjcyNTg_zpsfmez6ng0.jpeg

received_bWVzc2FnZV9ibG9iX2F0dGFjaG1lbnQ6MTAxNTMxNjkyNTA4MTIyNTg_zpsoznjodva.jpeg

received_bWVzc2FnZV9ibG9iX2F0dGFjaG1lbnQ6MTAxNTMxNjkyNTAyNTIyNTg_zpsme3y3cgt.jpeg


Than I tried to clean the frame with paint stripping gel; after application it did get some of the paint off, but it became all sticky and messy and hard to get of (and that was just the top layer that was painted over factory hardened two layers of paint). It wouldn't come down with a pressure washer, wire brush got all stuck up with residue and hard to clean...then it was time to get the angle grinder. At first I was all sticky with the gelated paint flying all over the place, but the bare metal was starting to show off. After an hour or so, the frame was clean; unfotunately, I was so pissed off that the gel didn't work out the way I tought it would that I forgot to take pictures of the naked frame (actually, the first pics I took was when I already painted almost everything-sorry guys!).

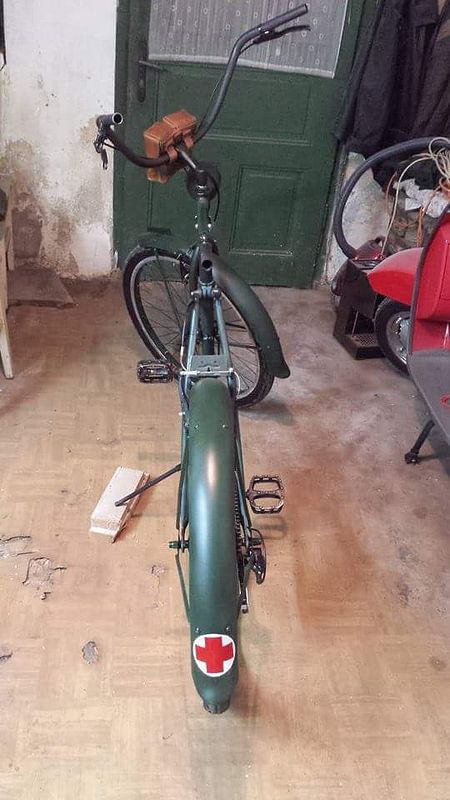
Just to mention, this was my first time using a spray gun, and choosing the flat matte finish probablly isn't the easiest way to start, but I'm here and I'm going for it. First I applied 3 coats of active primer, and then 3 coats of paint.
Oh, I forgot to mention that the paint is some polyurethane finish that's been used on undercarriages of trucks and other working machines, resistant to mechanical wear and tear, most of the chemicals, weather conditions and salt.
I used minimal paint setting on the spray gun and lots of air, to get the rough and rugged finish, and tried not to stay too long spraying on same place, because then it would smoother the finish.

I was felling like Walter White aka Heisenberg :D
received_bWVzc2FnZV9ibG9iX2F0dGFjaG1lbnQ6MTAxNTMxODg2MTgyNTIyNTg_zpsswxmwwxv.jpeg


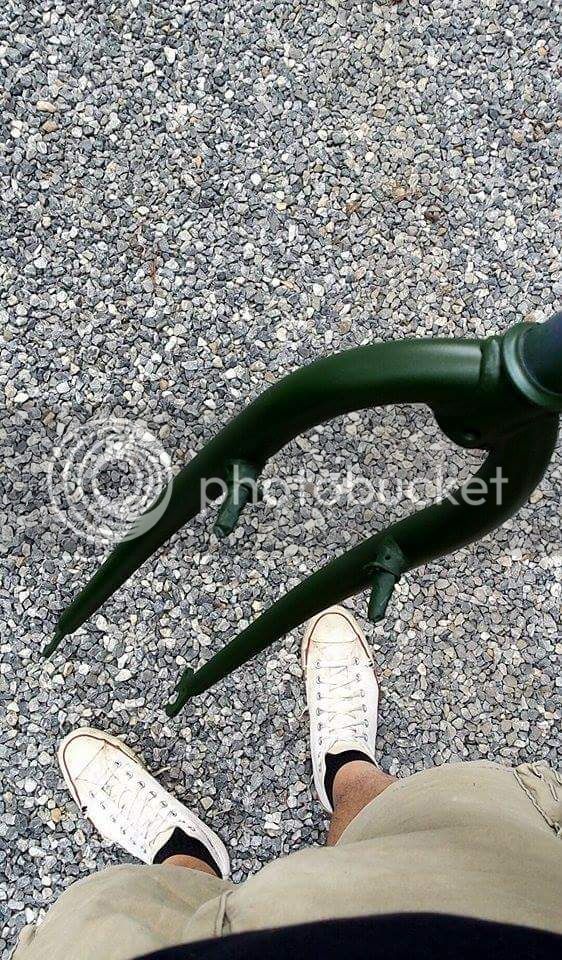
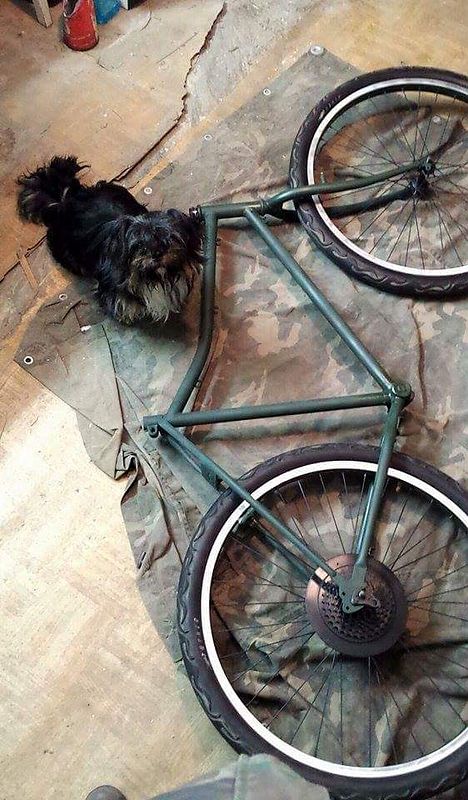
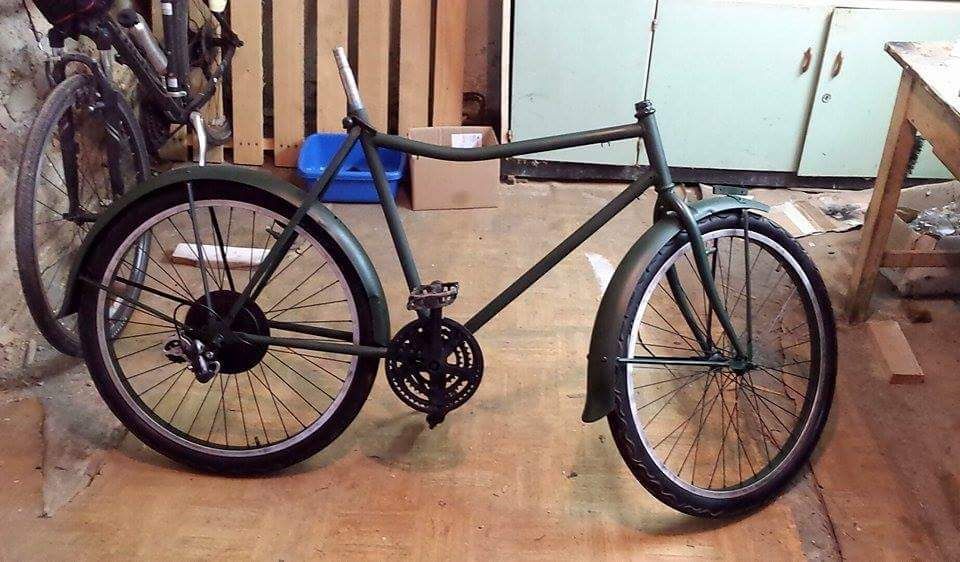
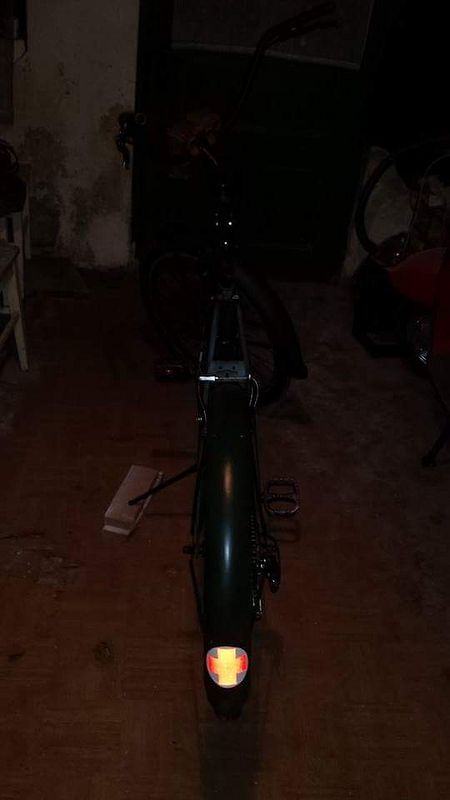
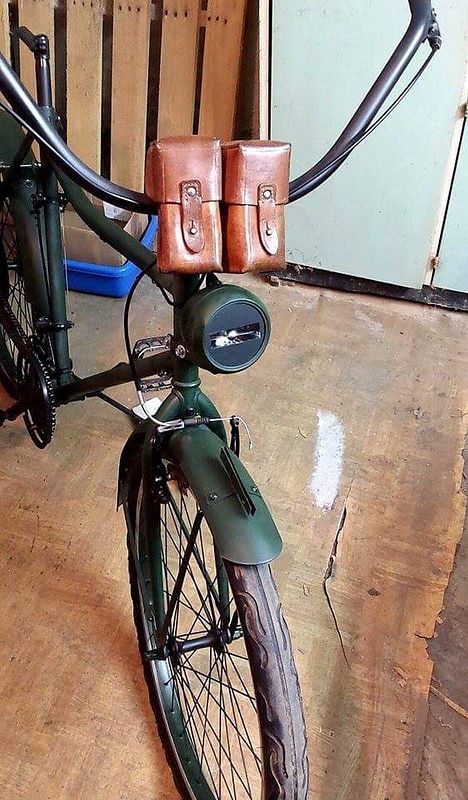
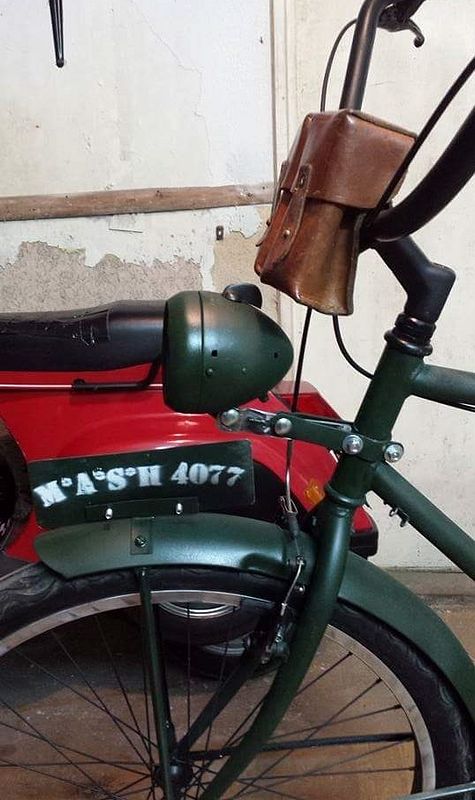
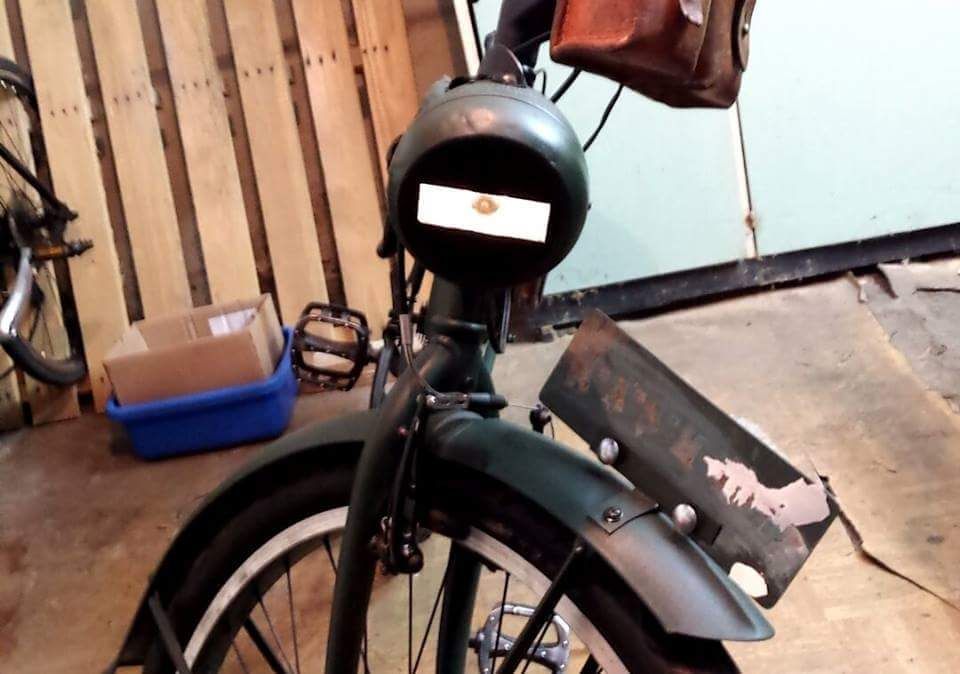
When I finished that, my phone died and I was too tired to get back to the garage when it was charged enough to take some pics, so...tomorrow I came to see this:
received_bWVzc2FnZV9ibG9iX2F0dGFjaG1lbnQ6MTAxNTMxNzMyMjI5NzIyNTg_zpsoh5bctcw.jpeg


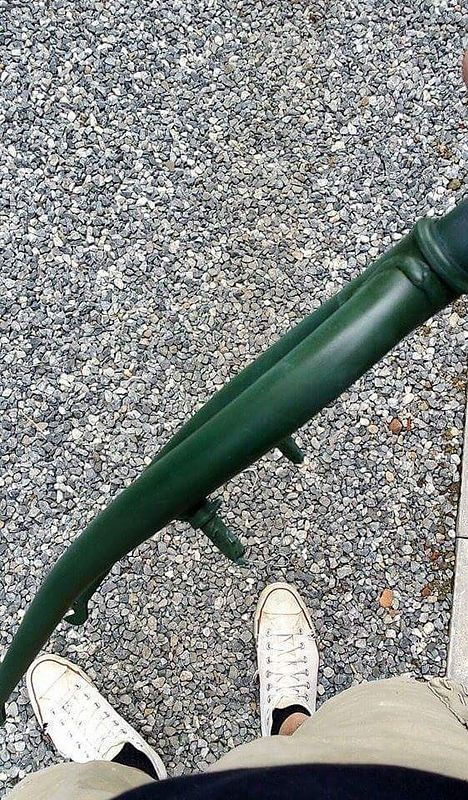
I wasn't fully satisfied, it all looked too glosy for my taste so I sat down and let myself think. After a short brainstorm I took a piece of rough cloth and chafed over the paint-the result was satisfying to me:
received_bWVzc2FnZV9ibG9iX2F0dGFjaG1lbnQ6MTAxNTMxNzMyMjY1MzcyNTg_zpsjs1tdrez.jpeg


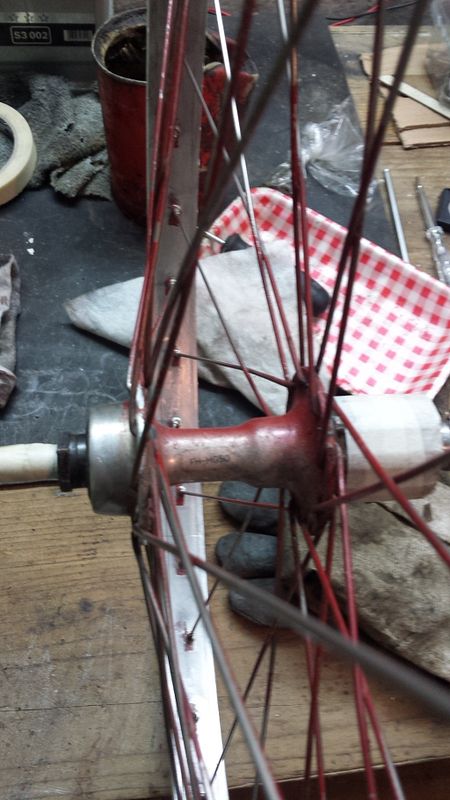
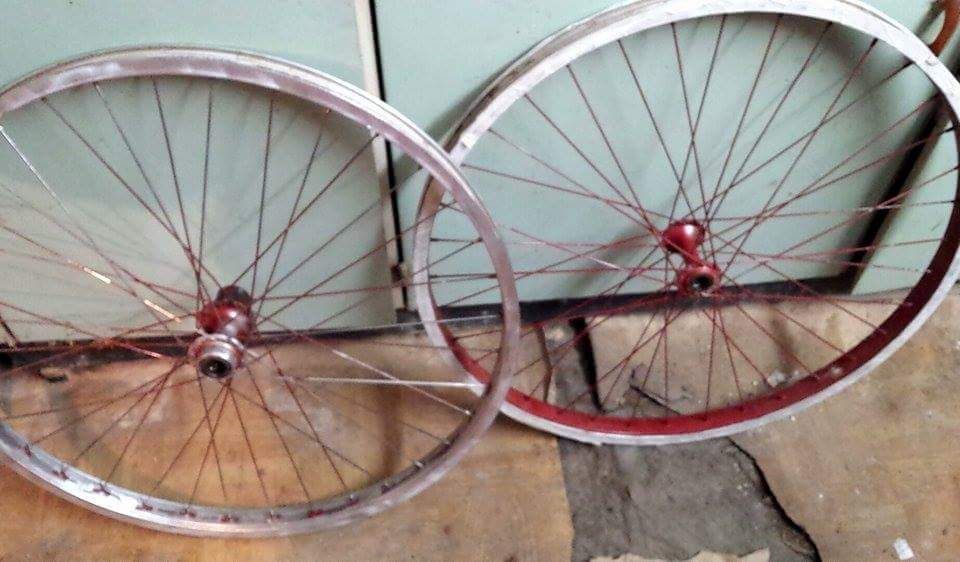
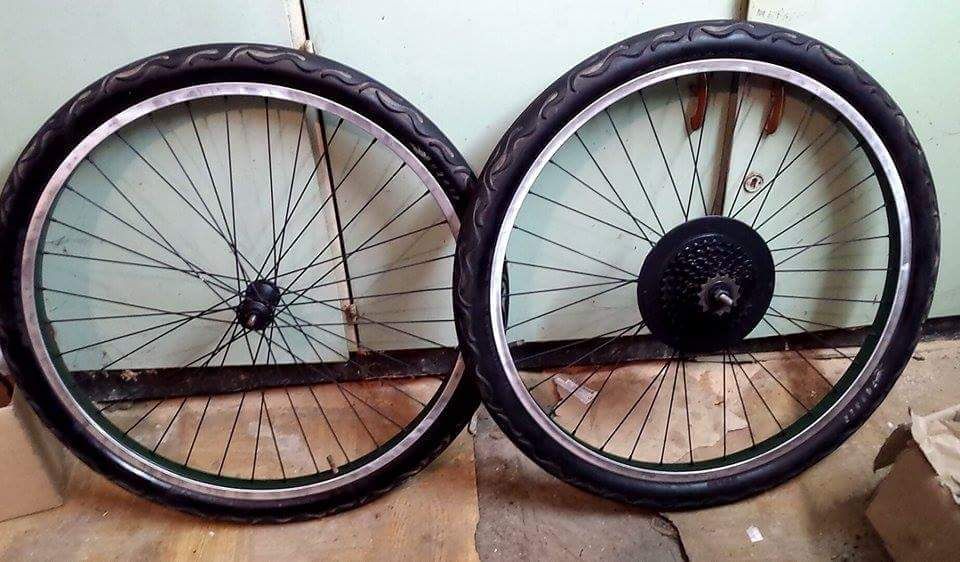
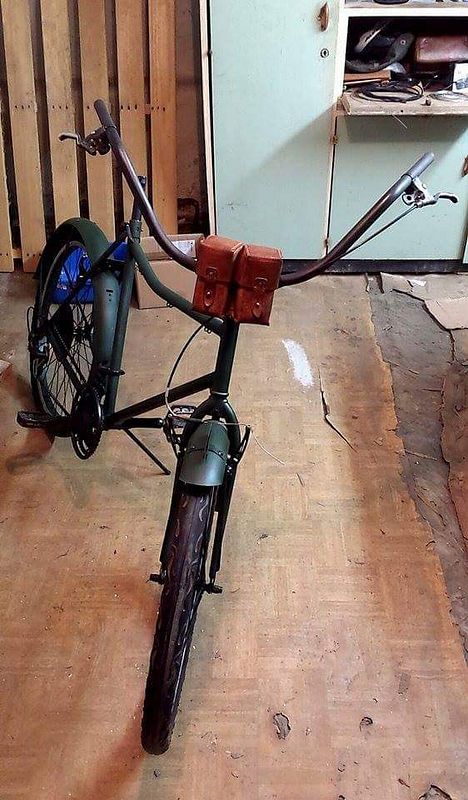
next thing is to clean the wheels without taking them apart (I admit, I don't know how to lace a wheel and don't have the time for that now, but I wanna learn that in the near future!), including cleaning the tires from paint, and to start putting things back together if I wanna finish in time.

I know I'm not up to the standards of the forum builders, but I'm trying and I hope you can see that. This build is my blow-off valve because I have a pretty stresfull job, and I want to make something that I'll enjoy whenever I take a ride or look at it, or when I remember how I built it.
 
When you get around to a relacing project, find a some applicable videos on Youtube (Same number of spokes and same # of cross spokes.) After you watch them a few times you may find out it isn't as hard as you might think. My first set of wheels turned out really nice and the main hassle was getting them true and round,mainly because I was using an antique set of not quite straight hoops. If you got new rims and new spokes it would be a lot easier I think.

Your shop looks like mine. I think next one I build will have vertical flat surfaces like the bench top....as it seems every horizontal surface attracts stuff. ;):headbang:

I see you are keeping the military theme in your shop clothing.. now that's being a stickler for accuracy!:41:
 
Oh yes; when you're 3rd generation of some sort of mechanical enthusiast, it can get a little bit crowded with stuff..all sort of stuff! :D

And for the shop clothing; after latest war in Croatia in the '90s we all have a lot of military surplus clothing, so it's been used in so many ways you can't even imagine (contest; spot military surplus on pics in this post).

Yesterday I managed to clean the wheels and tires of red paint, got them properly masked and painted green and black; brake surface on the rim was protected and later just gently touched with electric die grinder to clean it off.

Somewhere halfway through the job wheel looked like this:

20150707_172114_zpsjkrujuju.jpg


Then I took the hubs apart, cleaned and degreased them just to get back on the rims:

received_bWVzc2FnZV9ibG9iX2F0dGFjaG1lbnQ6MTAxNTMxNzY1NzU5ODcyNTg_zpspgakucww.jpeg


I cleaned the tires with aceton free nail polish remover, washed them in mild temperatured water and then treated them with glycerine.

First idea on the rims was to paint the rim green with black center line of the rim (spoke nipple line). Easier said than done, that failed because it's pretty hard to make a straight even line on the curved rim surface WITH spokes, so I gave up on the line idea.

I painted the rims green and spokes and hubs are black;
received_bWVzc2FnZV9ibG9iX2F0dGFjaG1lbnQ6MTAxNTMxOTM4NjY1MTcyNTg_zpspaj4bps5.jpeg


I couldn't wait to see how it'll look on the bike, so I took a jump start, mounted the fork on the frame and put the wheels on it. Then quality control supervisor came to make a quick inspection:
received_bWVzc2FnZV9ibG9iX2F0dGFjaG1lbnQ6MTAxNTMxOTg0NjY5MjIyNTg_zpspghsbvya.jpeg


He said I can go on for now but he'll keep an eye on me and whenever he feels something is wrong, he will steal something from the shop (gloves, cloths, chain connectors, nuts, bolts, wrenches etc.).
 
Flea market trip paid off; I found this military surplus bag that will go in front, attached to the handlebar.
10961904_10153055791457258_2060159078_n_zpsiufsjbkc.jpg


Then i dug some more and I found these brake levers with wonderfull worn out patina that will go perfectly with my "militar-rugged-worn out" style, and will match my black flat pedals which are also color worn out.

11004697_10153106243052258_182766744_n_zpsekre273p.jpg


And now you're wondering what's going on with the assembly proces? It's going fine, for now. I actually always really hated the restoration phase when you have to assemble something freshly painted; no matter how much you stay alert and cautious something always happens and you scratch that paint job. But when you're doing it military style, battle scars are more than welcome. :D

So, just as you could see few nights ago, I started the assembly process; it came from this stage.....
20150330_194504_zpsshhlzhal.jpg


...to this stage
received_bWVzc2FnZV9ibG9iX2F0dGFjaG1lbnQ6MTAxNTMyMDA2ODIwOTIyNTg_zpswdbgwkth.jpeg


And I must say; I really like the way it's starting to look. :)
 
Last edited:
Coming together well. Cool bag.
 
another little fun fact~ jamie farr was the only actor on the show that actually served in korea in real life. now you know.
 
That looks great! Certainly looks like a military bike.:113:
 
Over the weekend I managed to do a lot of work done.
I finished assembling the bike (most of the bearings are new, all old ones are fully cleaned and well lubricated), put on new bottom bracket, cleaned and painted Biopace chainrings and cranks, cleaned the pedals from red paint preserving the rough patina, mounted front and rear derailleurs, painted the moon handlebars, mounted complete brakes with levers and cables, and of course...the bag. :D
received_bWVzc2FnZV9ibG9iX2F0dGFjaG1lbnQ6MTAxNTMyMTA1OTkyMjcyNTg_zpscto3uuxe.jpeg


Next thing is to mount gear cables and new, realocated shifters, and to tune up everything. Also, tomorrow I'll make another trip to a place where they deal with leather, hoping to score some for handlegrips and the seat.

In the meantime, I did some touch-up details; air valve caps are made from real ammo casings.
received_bWVzc2FnZV9ibG9iX2F0dGFjaG1lbnQ6MTAxNTMyMzg5OTY5MDIyNTg_zpsfercqlo8.jpeg

Yes, you can still see traces of red paint on the tire, but I don't have the energy any more to fight with it.

Also, I had an idea for the rear light; considering it's a MASH tribute, it must be marked with a red cross sign. So I took some white vinyl and some red reflective one and did this:
received_bWVzc2FnZV9ibG9iX2F0dGFjaG1lbnQ6MTAxNTMyMjc0NDM0MDcyNTg_zpsidsln2sr.jpeg


And in dark, when phone camera flash lights the red cross it looks like this:
received_bWVzc2FnZV9ibG9iX2F0dGFjaG1lbnQ6MTAxNTMyMjc0NDM1OTIyNTg_zpsf7adktcg.jpeg


As for the front light goes, I started working on an german WWII bicycle light; I found it pretty shattered and incomplete, so it will be going through some changes considering the inside of the lamp (I'm trying to keep it as original as possible from the outside).

And yes, I know it's a sacrilege to put a german light on a USA themed bike, but as I said before-this is a mix of everything, so if it works-it goes. And from here it's a lot easier to find german military gear than US.

Like the Tenacious D said-this is just a tribute! ;)
 
Very cool MASH fender light!!!!!
 
official post soundtrack:


It was time to get the lights on, so I had to get old unreliable brain crankin'.
First, the power source; front handlebar bags seemed like a ideal place for them.
I'm not so kean on the idea of searching the battery of the appropriate size, so I made one from scratch.

Took a wood block, cut it down to size, drilled some holes in it...
11079232_10153229724777258_1851858536_n_zpsaczpechy.jpg


Holes are made to fit 8 AA batteries, and the idea was to made a power source as close as possible to 12V; so I had to connect them in a serial connection.

Little bit of yellow metal thingies, some batteries...
received_bWVzc2FnZV9ibG9iX2F0dGFjaG1lbnQ6MTAxNTMyMzQ4OTgwMTcyNTg_zpsjbqafwwd.jpeg


Two connection terminals are placed on the upper side, if I ever want to charge the batteries without taking the whole pack apart (not sure if it will charge all the batteries equal if connected that way and in what time), but the bottom connecting terminals can be rotated so I can easily get the batteries out.

received_bWVzc2FnZV9ibG9iX2F0dGFjaG1lbnQ6MTAxNTMyMzQ4OTc5NTIyNTg_zps3acfrosn.jpeg


After fidling with that, I got to the light.
I found an old german WWII bicycle lamp made by BERKO, but unfortunately it was missing lenses, insides of the lamp, the switch was broken....I managed to get the houselight ceiling spotlight lenses cut down to size, put the flat glass with masking blackout vinyl (to cover up the modern lenses), instaled LED bulb in it (with warm, yellowish toned light instead of ice cold white one), and saved the switch using ballpen parts.

received_bWVzc2FnZV9ibG9iX2F0dGFjaG1lbnQ6MTAxNTMyMjI1MTUxMDcyNTg_zpsmuwhmugz.jpeg


Because of the specific location of the lamp I couldn't use the original bracket (handlebar bags are in the way, as you can see on the upper picture), and I didn't want to use the fender bolt on the fork. So I made a compromise in a way that I made original bracket longer and I attached it to the headstock of the frame. Yes, now the light doesn't turn with the handlebars, but I like it this way; it sits just where I want it to, enough clearence for the pedestrian slicer plate and the bags AND it doesn't stick out like I was afraid it would.

received_bWVzc2FnZV9ibG9iX2F0dGFjaG1lbnQ6MTAxNTMyNDc3Njk0MzcyNTg_zpsx6z1s2q2.jpeg


NOTE: Ignore the MASH 4077 plate; it was my first ever attempt in stencil painting and it didn't went well-I'll get to it later, now I'm using the plate just for proportions. And yes, I have to paint the nuts and bolts matte black.

And after some electric mumbo-jumbo....
received_bWVzc2FnZV9ibG9iX2F0dGFjaG1lbnQ6MTAxNTMyNzA1MDg3MjcyNTg_zpspqns1js6.jpeg


I got these delivered to my office the other day, and as we speak my guy to go when it comes to leather is loosing another night sleep putting endless seams on the seat and handles. I don't have the tools for working with leather, don't have the time (if I want to finish in time and I do want to get on this bad boy ASAP), don't have enough leather for try and mistake method and I do want to be made as good as it gets. So I went to my man and in return I'll do some other work for him, regarding mechanical work.
 
That homemade battery is so cool!!
Digging the blackout light too!
 
Back
Top