Muscle Memory - starting back up

Rat Rod Bikes Bicycle Forum

Help Support Rat Rod Bikes Bicycle Forum:

This site may earn a commission from merchant affiliate links, including eBay, Amazon, and others.
Joined
Apr 19, 2019
Messages
50
Reaction score
173
Rating - 0%
0   0   0
Originally started in a build off thread I had run out of time and had a few other jobs going on. Will continue the build in this thread. Reposting previous post to get it back how it was.

Forget to build for too long and your skills will suffer, but once you return the gains will return fast – thanks to muscle memory.
 
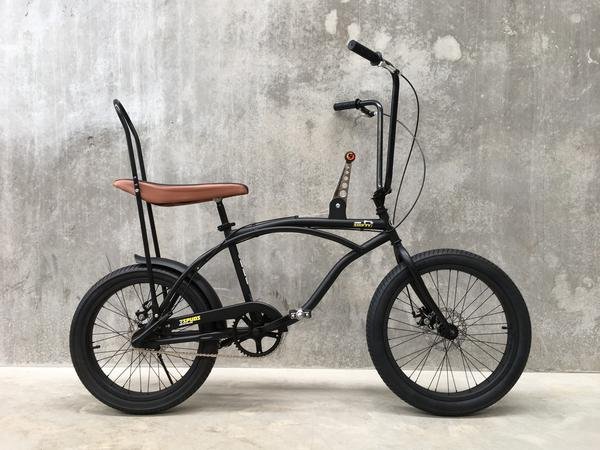
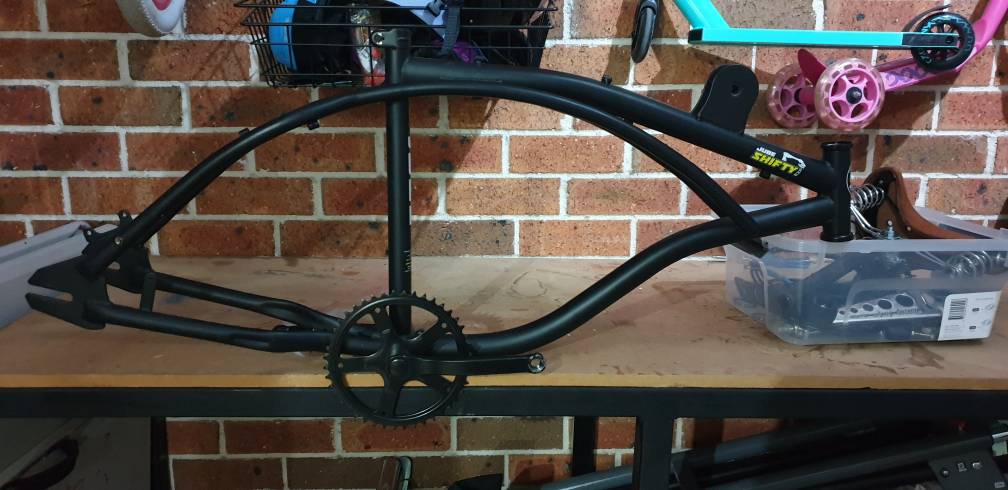
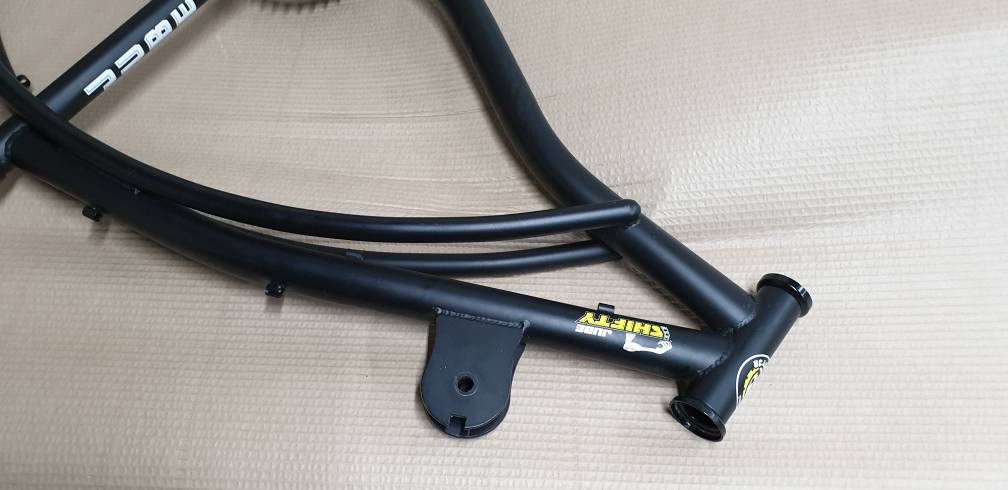
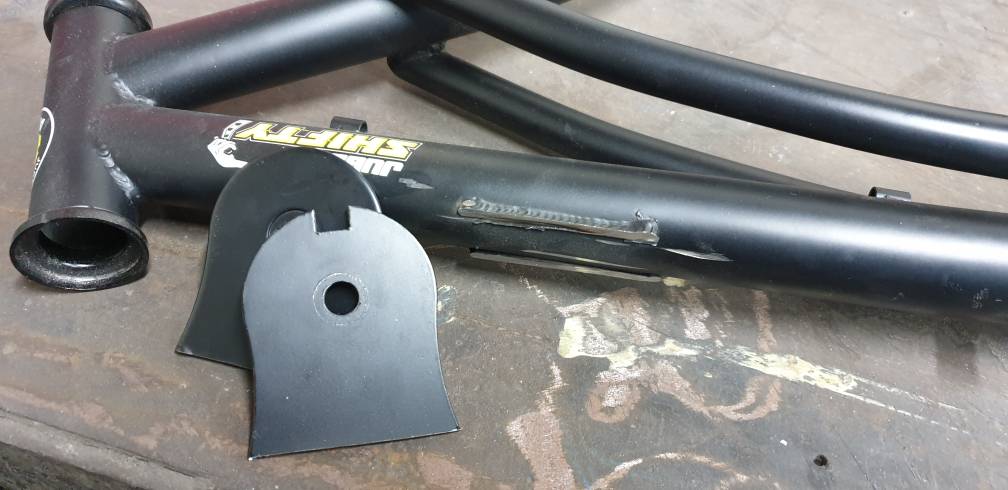
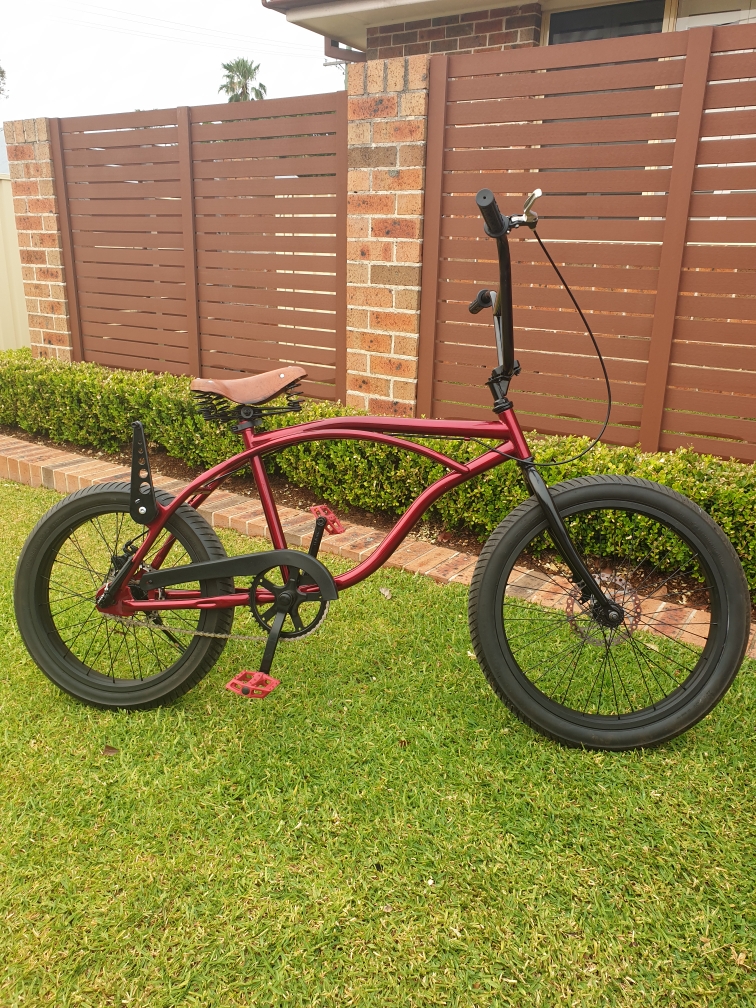
I am going to start this build off with an Australian built Reproduction Bike, based roughly of the Dragster Bikes of the 60's, 70's and 80's. The Jube Shifty. They ran a smallish production run of these bikes in a few different varieties and continue to change up the roster every couple of years. No new ones have been sold for a while so I had to find one previously loved.

Found this one a 1000km North and shipped it back. Been holding off modifications for the last month so I can build along with everyone else here.

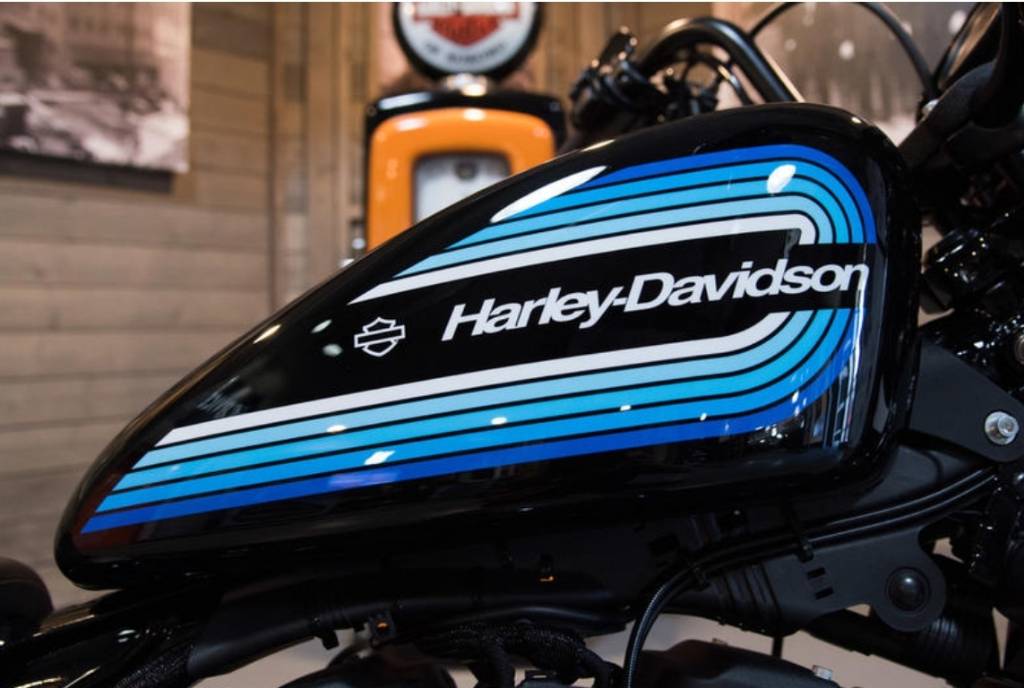
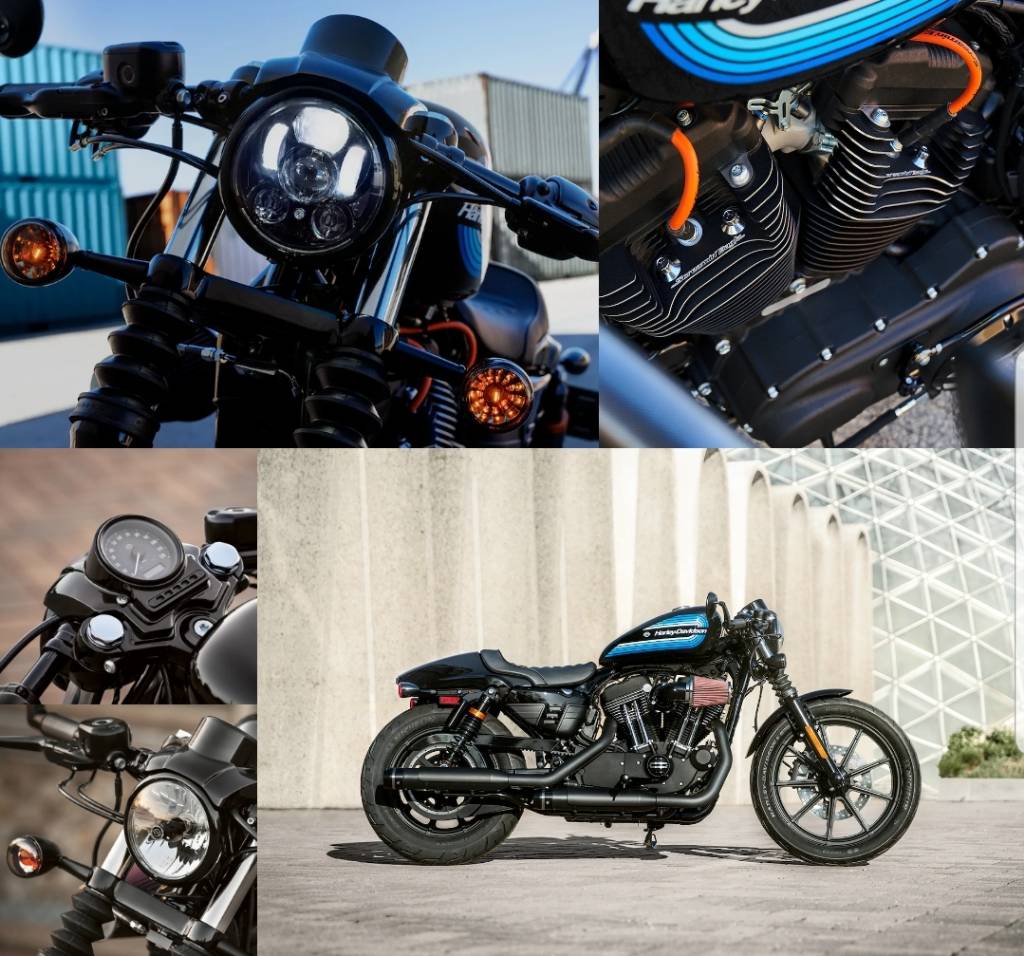
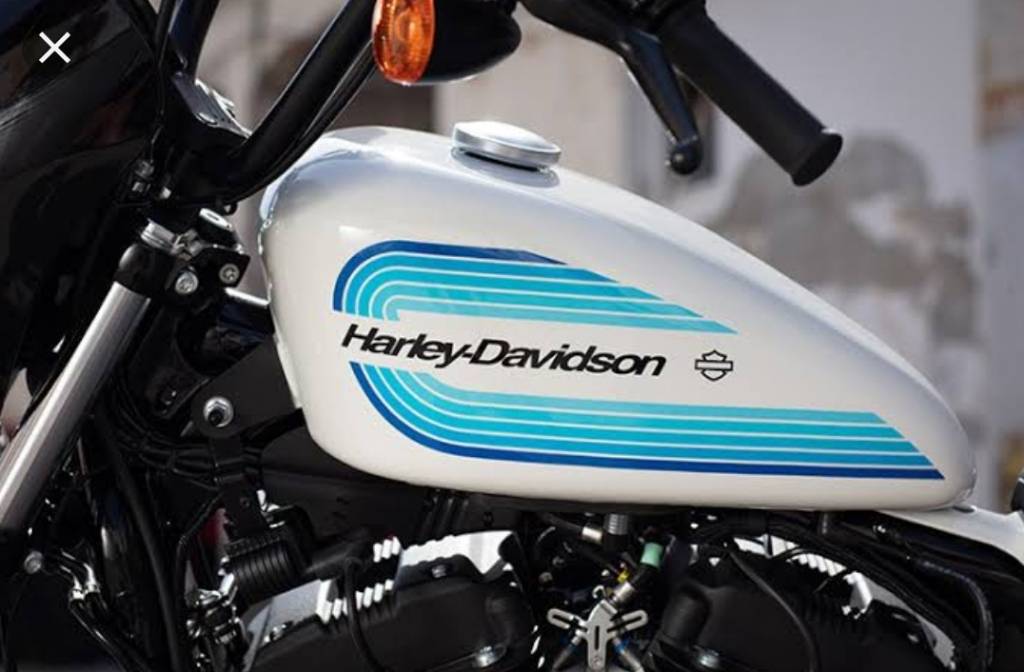
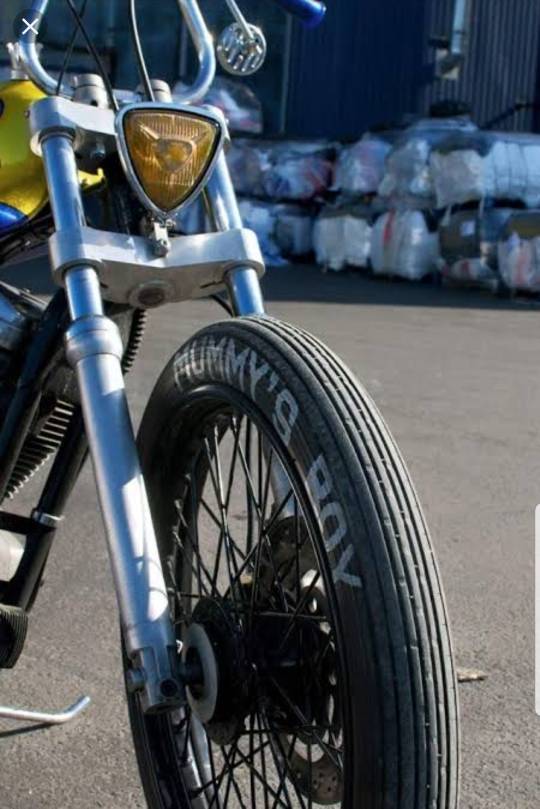
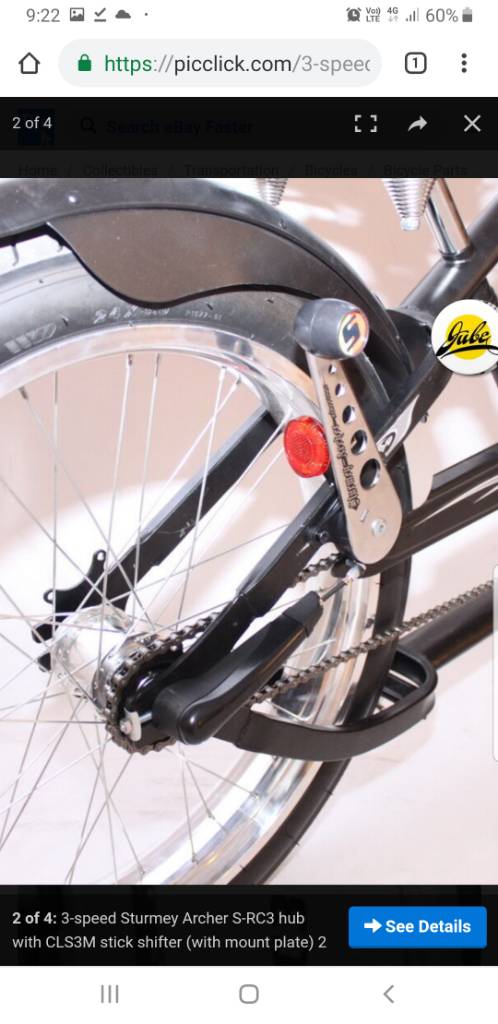
Bike Info and Original Sales Photos form their Website


FEAT:

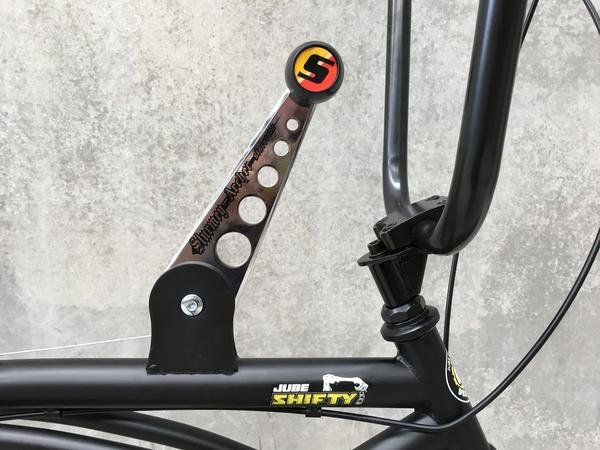
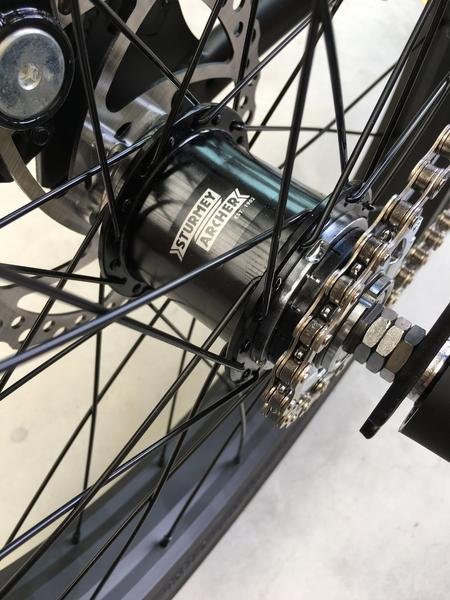
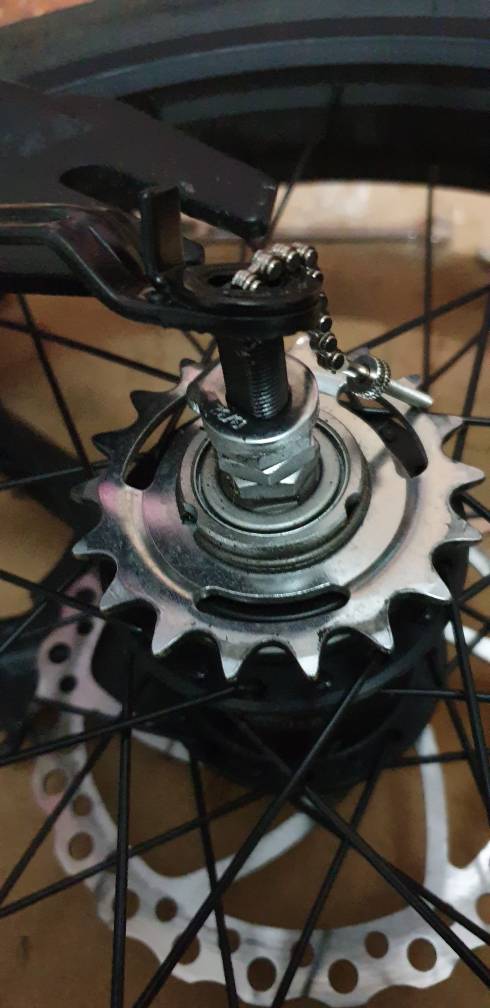
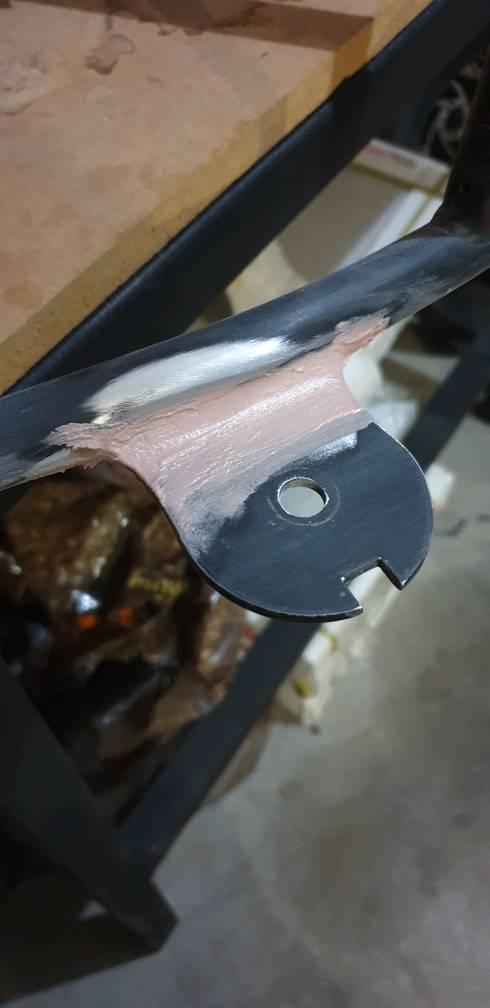
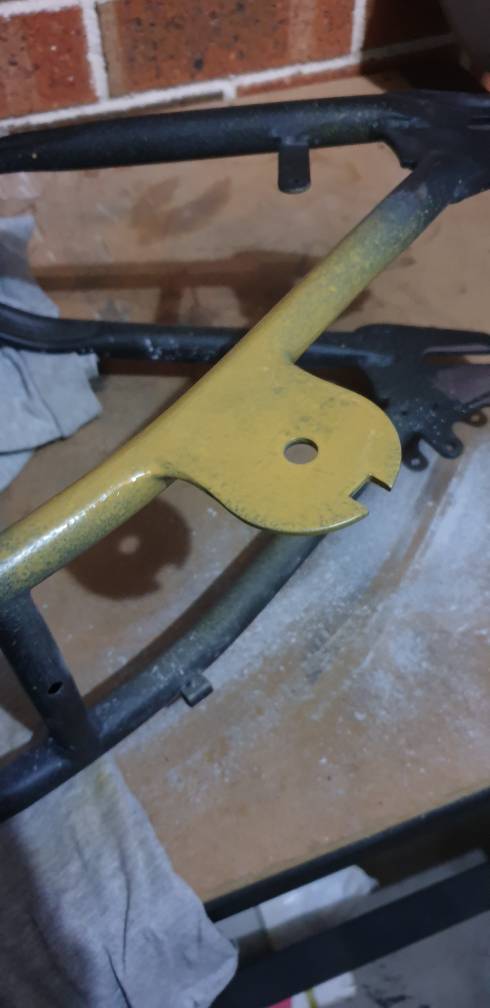
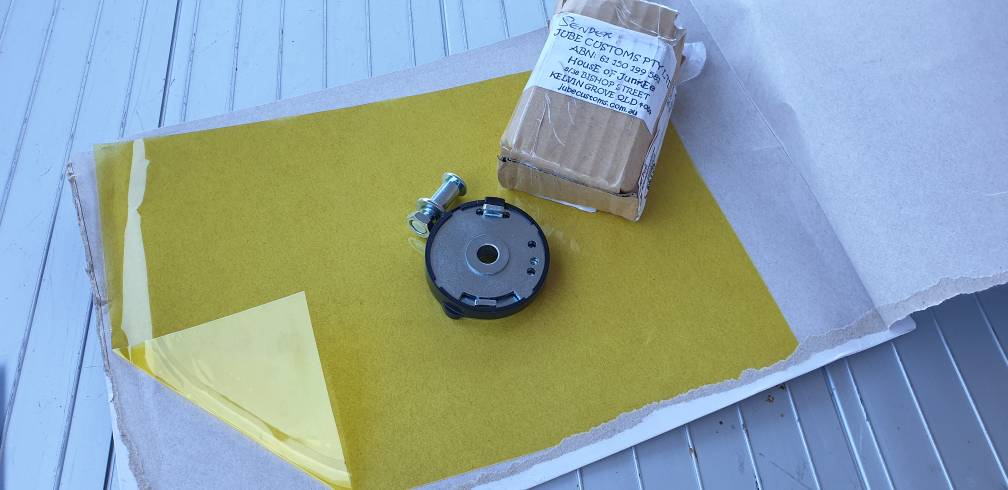
- 3 Speed retro top rail stick shifter and hub(by Sturmey Archer)

- Higher 400mm Ape Hanger handlebars

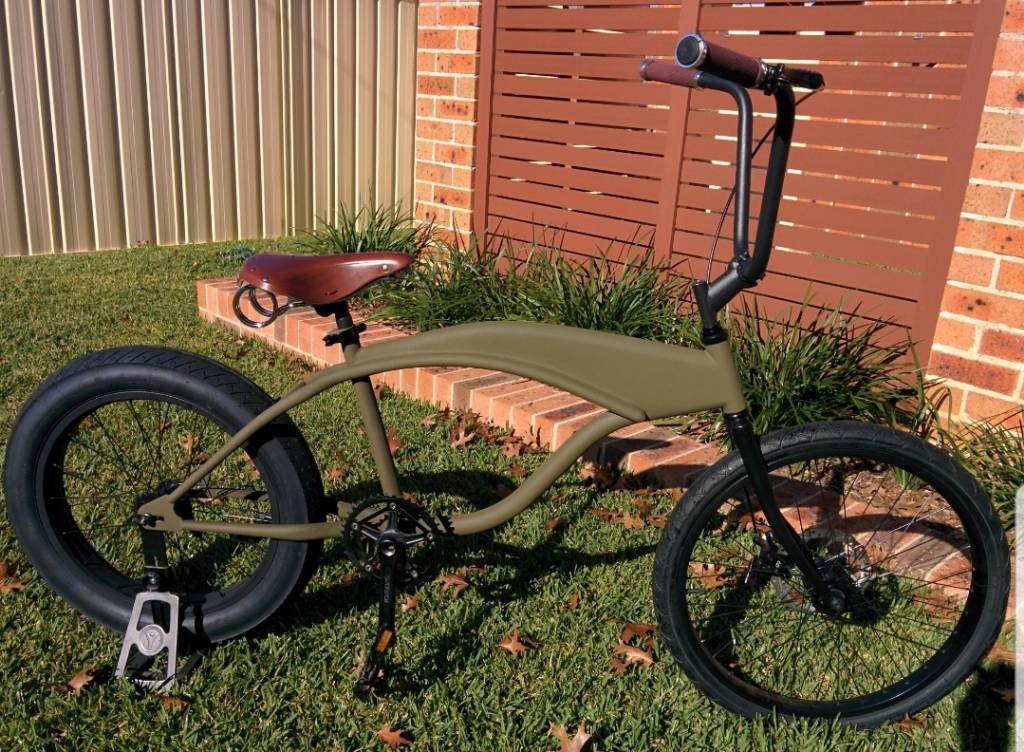
- Matte Black and Matte Brown frame options w all black accessories

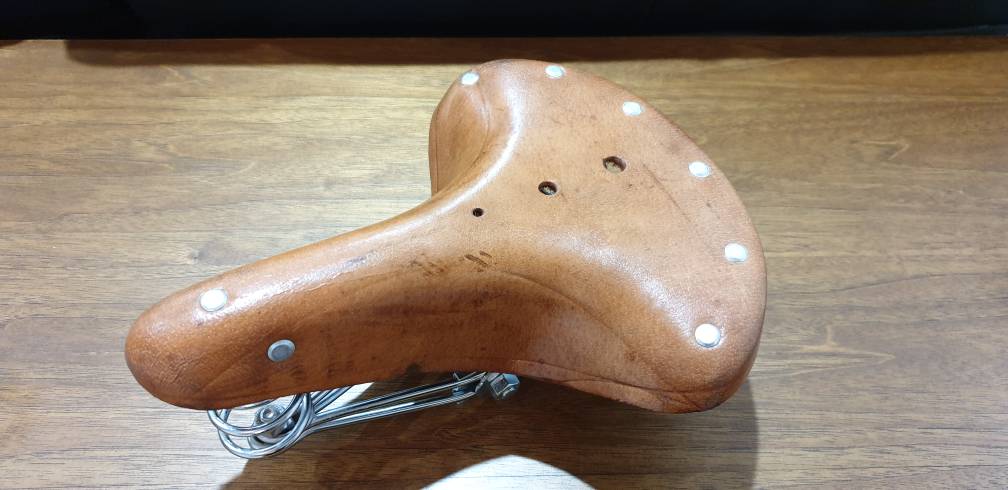
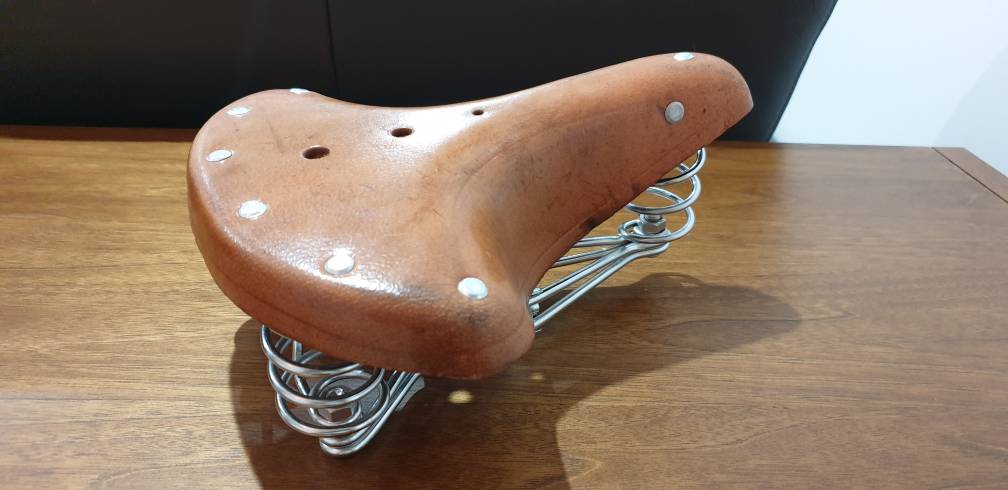
- Banana Seat & Sissy bar in 2 tone black and brown
- Front and rear 60mm super wide alloy rims

- 22x2.5" (F) & 20x3.0" (R) V tread chuBBy ruBBeR

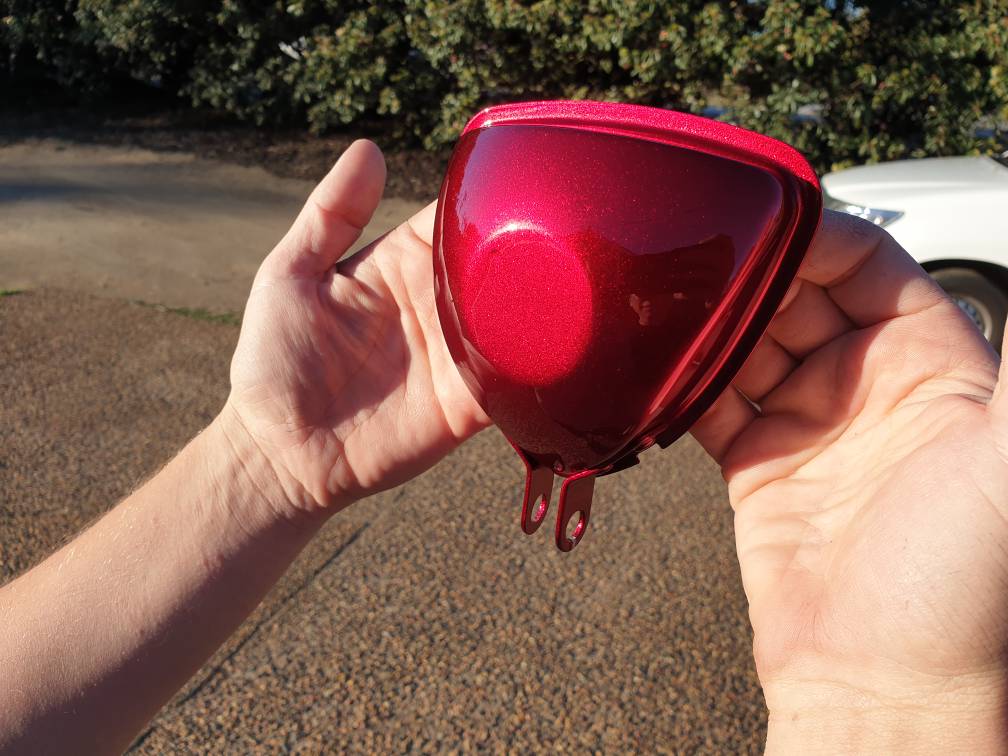
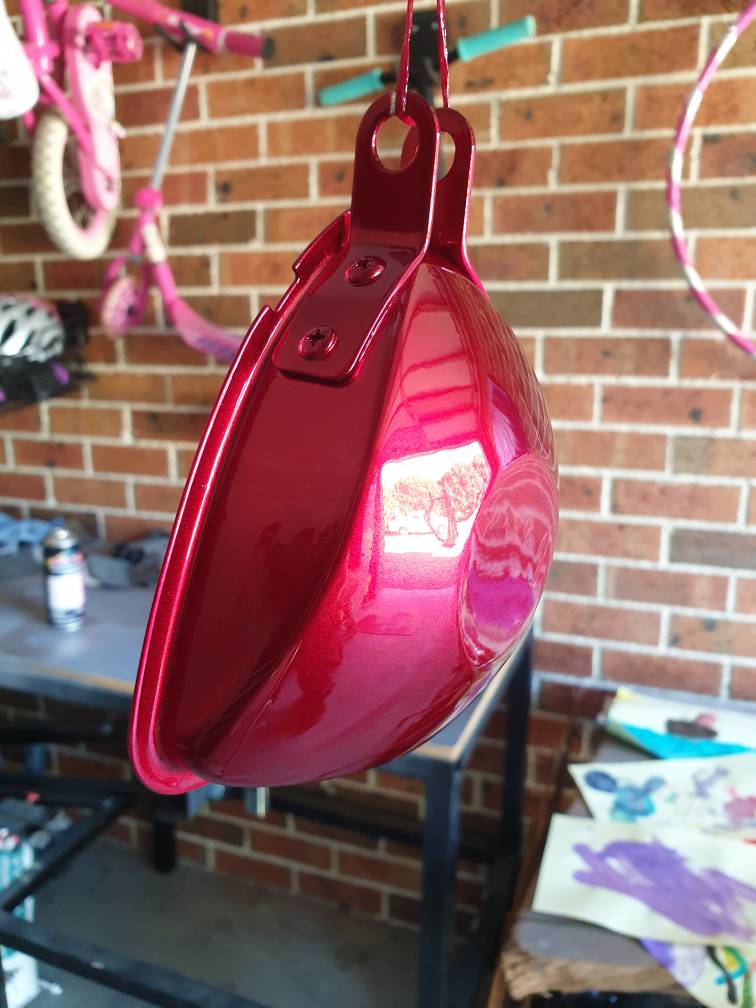
- Rear duck tail mudguard

- Front and rear 160mm Disc Brakes

- 4 bolt BMX style headstem

- Wikked graphics by local Brisvegas (Brisbane, Australia) artists LOA BRANDING


a26421f59f99a71c54d9f4b70c5f836f.jpg
2d3889320e39c2b2445598481a68845a.jpg
b1d26719fb3eee4a94de96d7d3048ec0.jpg
d8a3d586472553d1b18c8d8e62445fbc.jpg


Sent from my SM-G965F using Tapatalk
 
Built one around 2 years ago.Was a quick build but didn't own it for more than a month. Besides that I haven't touched a Bike in 6 years.
2181803e2f1fb6c9a7fbfa8e7a26dd01.jpg


Sent from my SM-G965F using Tapatalk
 
First parts for the build.

The Seat was $21.99 AUD with Free Post from eBay. Same as all the other one on AliExpress and other Overseas Traders. Not bad quality for the price.

Blue Brake and Gear Cables. Continuing with the colour theme, but a lighter blue. I want a full range of Blues with the Black and Silver. Originally got the idea from the Harley ( Changed this colour theme later on )


5fa5a4ce7f5c5adaf4f8a86bcf6e2360.jpg
12705a8a9df2862becfa4c55c5869f3f.jpg
dfb9ff2627dd973dc4b05faf2091a876.jpg
53b6e651f92716bccb877a35030c36ce.jpg
6902231da057add4817778dd390ec157.jpg
f638471a01c4d1c8e2e3099a4078b606.jpg
b7af5859eacc8222c344aa97d3b4c640.jpg


Sent from my SM-G965F using Tapatalk
 
Ordered a few more parts. Thinking I should have ordered all of this before the build off. A lot of you have a secret stash at the start all ready to go. It's so quick to be bumped to the last page.

Bought a Triangle Headlight and still deciding to go with the Yellow tint on the glass or leave as is. I think it might be a bit larger than I want but will see once it's all here. Bought the tint and a squeegee to try it myself. No fun in buying it pre tinted.
3dcc1f7041339e7b7f338e694a564636.jpg
eac40664a0b4c8c545cb596bfa2ec023.jpg


Sent from my SM-G965F using Tapatalk
 
Shifter Update

It's always seemed to have a extra bit of movement on this shifter. Took it apart and seen the problem. The tab connectiolng to the shifter was bent slightly. Replacement has been ordered, a bit more expensive than expected but the overall product im happy with. Should be here by the end of the week.

Placement will be behind the seat. Didn't much like it on the top of the frame. Attached a few photos of similar setups to give you an idea. Would like to get some ideas to make it more of a solid shift linkage rather than cable. Will have to look into that. Will change the mounting tab to only one as there isn't much need for the otherwise of the plate as seen on other builds. Will Tig this to the frame hopefully this week.
838c8eefd5b6bcff17e38cb12f94afae.jpg
afede450d70a219f5f59a16ddd99a7f8.jpg
641475861a8f68b09a71a40e6352fff2.jpg


Sent from my SM-G965F using Tapatalk


Sent from my SM-G965F using Tapatalk
 
More time spent on taking most of the parts off. Will get to the Crank tomorrow hopefully.

Never taken a wheel off with internal gears in the hub so found a YouTube video to walk me through. Easier than expected.

2a32d2806e0f442a70e51445b1c1230a.jpg
0a1fada724e02406150319109eb76c2e.jpg
42b0b7661e678084cc4b9be79f9c050d.jpg
9455f804facdc12e414a886181a38bce.jpg


Sent from my SM-G965F using Tapatalk
 
It's here. Couldn't be happier with the quality of the light. Feels real solid. Nice quality glass. Been following a few different tutorials for applying the film.

Looking for a few LED tutorials and this seems to be the best. Towards the end of the build I'll look at possibly doing this, but shrink it to fit inside the light.


cda4409290f3e88329203fd7d71c0945.jpg
0b101a7e641d1eaeacdb12970c36f29d.jpg
8a0acbbd37dab1b8e661495f88c4d1f1.jpg


Sent from my SM-G965F using Tapatalk
 
Moved the rear shifter this morning. A bit obtrusive where it was. Removed the exisiting tab bracket and moved it to the rear. Only requires 1 of the brackets not both. Not sure why it was done with 2. Possibly strength or for looks.

Tig Welded the bracket. No crazy stacked dimes for me. Just enough strength to hold it on for life. Tig welding is fairly new to me. Practiced a bit but it's about as good as I'm going to get. A lot more relaxing than MIG or Stick.

Welder is an ESAB Caddy. Stick and Tig.
0ffbb67b60e66ae9a497098bce07cb47.jpg
11483223d575bcb0b54107bc5fd1e201.jpg
6d1afbc5783603e53ccd90f083024940.jpg
571010e5086facc1f3445f5030f62fcb.jpg
00968d6168989cf9a6dded2910de6d29.jpg


Sent from my SM-G965F using Tapatalk
 
Ground back old mounting points and then welded them back up. First coat of filler on the shifter bracket. Real thin as I got the bracket flush. Etch Primer and Primer Filler. Will give a light sand tomorrow and see how it's all come out. Blending seems good so far.

Should have really got the frame sandblasted first.
1aebc5a28d35c6d8ea5376d5c0762fcb.jpg
e40cfd88982f4c52a1dba548bed44700.jpg

9e97944d956473e96522ae8bec711beb.jpg

7c0d009c636dead50ee9c0651d713e44.jpg

24b98d9e0b45c2aa7e8031775b66224a.jpg


Sent from my SM-G965F using Tapatalk
 
Replacement shifter mechanism came in today. Previous one was a bit rough, plastic cover was cracked.

Yellow tint film came in also. Shoved in the mailbox to give the corner a nice fold. As expected. You think if your business on eBay was selling stickers you would have a Do Not Bend on the outside
42bdd9ba456a2da2c78ade84c705c0bd.jpg


Sent from my SM-G965F using Tapatalk


Sent from my SM-G965F using Tapatalk
 
First attempt, not so good. Will try again but that will be the last of the material. Heat gun probably focus too much rather than a spread.

Doesn't help that the glass is so intricate with the raised sections in 3 different directions.
f0434fbbe483a35a214fd83cb9abd10c.jpg
7d87915720d4c9d7c44031aa4725220e.jpg


Sent from my SM-G965F using Tapatalk


Sent from my SM-G965F using Tapatalk
 
Quick rundown of the process.

Materials
- Wax and Grease Remover
- Wide Blue Painters Tape
- Tamiya PS-42 Translucent Yellow

First attempt. I have gone with painting on the inside of the glass. In the hopes to minimise and chips or flaking off it should be well protected.

Applied Wide Painters Tape around the glass to prevent any overspray from coming onto the front of the glass.

Wiped down the glass with Wax and Grease Remover to remove any dust or fingerprints.

2 Light Coats of the Tamiya Translucent Paint. Let to dry for an hour.

Came out pretty nice, maybe a touch foggy. Temperature was fine so not sure what has caused this. I'm tempted to remove and try again on the front of the glass to see if I get a different finish.

9483dda5c6ebc590d521cf45ef504a83.jpg
993bcb3c1834cd2553e6a96047c865c6.jpg
56b7f57ec03a8dda793ff345892066cb.jpg
ec0c33f112c12312c1a71a52558f3dba.jpg


Sent from my SM-G965F using Tapatalk
 
Loooking into Tank design for this bike. As much as I would like to build a Buck and Mould for the Tank, I just can't spend that kind of money of the bike as of yet. Hoping to do the Tank towards the end of the Build.


Plan would be to lay out the base of the Tank similar to how Rusty started and then use a MDF Board cut down to shape. Use a larger radius router bit to get the outside shape. Get this as close to how I want the finished product then lay a layer of weaved Fibreglass over the top. Coats of Filler and Paint. Hopefully. This will always leave the option of making a mould but also the cheaper way out too.


A Member on here ( Rusty ) was working on a great Tank design but never got around to finishing it. Check out his post

http://ratrodbikes.com/forum/index.php?threads/building-a-fiberglass-tank.20039/


fea4fb16584a813fdc3ce6d77a58bb49.jpg
907405771699f58100b5f40c341f16f0.jpg
034f6839022bc697b6629b887e4c596c.jpg
bc50c062d80b089ed90940e8216146c9.jpg
78cd7138e0ae293f7ec40426c7a065b2.jpg
61f6c4c445a5793f1b8537a1d3d2052c.jpg


Headlight looks good!

Hopefully you get to doing the tank, looks interesting...
Not 100% on the light yet. Will try Tinting with Paint next. There seems to be heap of tutorials and ideas on Pinterest. The current yellow looks too bright and not the exact shade.
7941dc626ddc523376a34862808f85fa.jpg


Sent from my SM-G965F using Tapatalk
 
How do I look at moving or copying this build into another section of the forum. Even if it's just my posts I would like to push it over so I can continue updating.

Been busy with work and just haven't had time to work on it. Got some paint down today and happy with the results. Course Silver Base ( Metallic ) with a Candy Brandywine over the top. Topped off with 2K from a Spray can, never had a can lay down so smooth. Easily worth the $50 AUD per can. Makes the world of difference. A few problems spots so I'm thinking ill go over it next week with a wet sand, touch up and maybe another coat of Brandy and clear it all again.

Can was small for the Brandywine and with bad lighting in the garage ( Mounted the door opener directly over the single Small globe ) I had missed the back of the middle tube.

Will be another $80 to touch up but I'd rather be happy.
3a988445b1f670f8fe9717aa3d3b4c45.jpg
99ae1055c0163f89b1f58911e9c09bae.jpg
645c0420b3bbeef792cd486ad5a0b989.jpg


Sent from my SM-G965F using Tapatalk
 
So that's where I ended up from the Build Off. Ran out of time and took on a few too many ideas when what I wanted was a bike I could ride once the weather picked up. I finished the paint. Got most of the parts Powder coated and put it together. Been riding it for the last 2 weeks as is. Little rough and still need a few more parts and pieces changed.

Will keep updating the build on here

Last photo is how it sat last weekend. Did a 15km ride around Olympic Park in Sydney with a small group. It held together enough for the ride. Had to throw Ina set of BMX bars as the original bars were made from such thin walled material and bent easily.

Set of new pedals and that's about it for now.

Headset needs to be looked at, something isn't right with it.
da57910b3b40bb877e43b4a1cd942dac.jpg


Sent from my SM-G965F using Tapatalk
2710e218760066fce322a8e8e2eb479f.jpg
 
Last edited:
Never heard of those bikes before. They must not export too many. I like the bigger wheel up front. There are are a couple on their site that interest me...
I wonder if they'd do this with internal hub gears
imagejpg_f2e65e89-03c8-4be7-b076-8f1343483be9_large.jpg
 
Never heard of those bikes before. They must not export too many. I like the bigger wheel up front. There are are a couple on their site that interest me...
I wonder if they'd do this with internal hub gearsView attachment 109096

Yea don't think they sell large quantities. They seem to offer small runs of different styles. All imported from China.
 

Latest posts

Back
Top