Re: Still Obscured
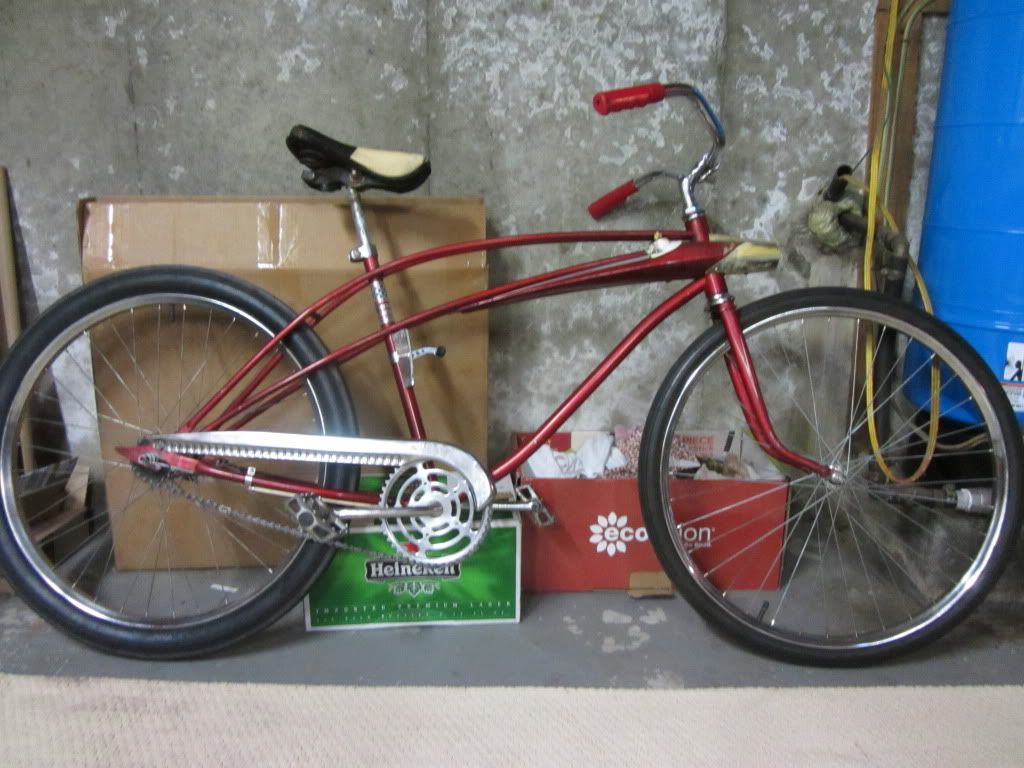
Good idea, I'll have to give it some more thought. Do you think if I was careful I could pull this off without having to do bodywork? I'm going for the bare metal thing so bodywork could be another issue.
Thanks for the idea. Got any pictures of yours?
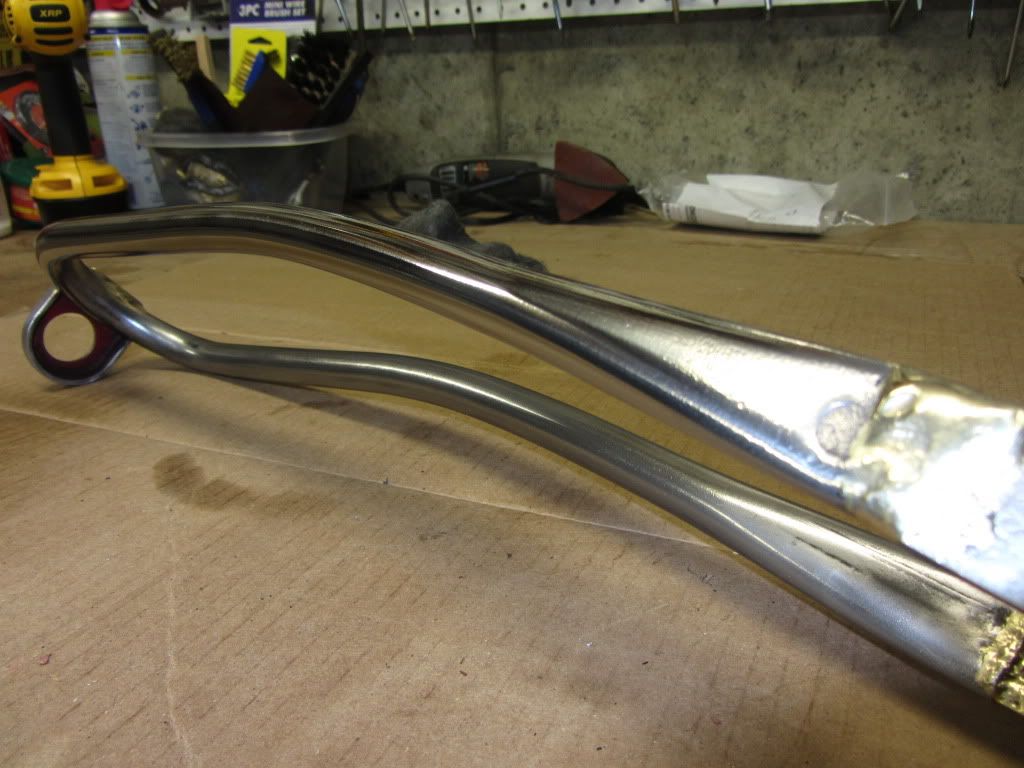
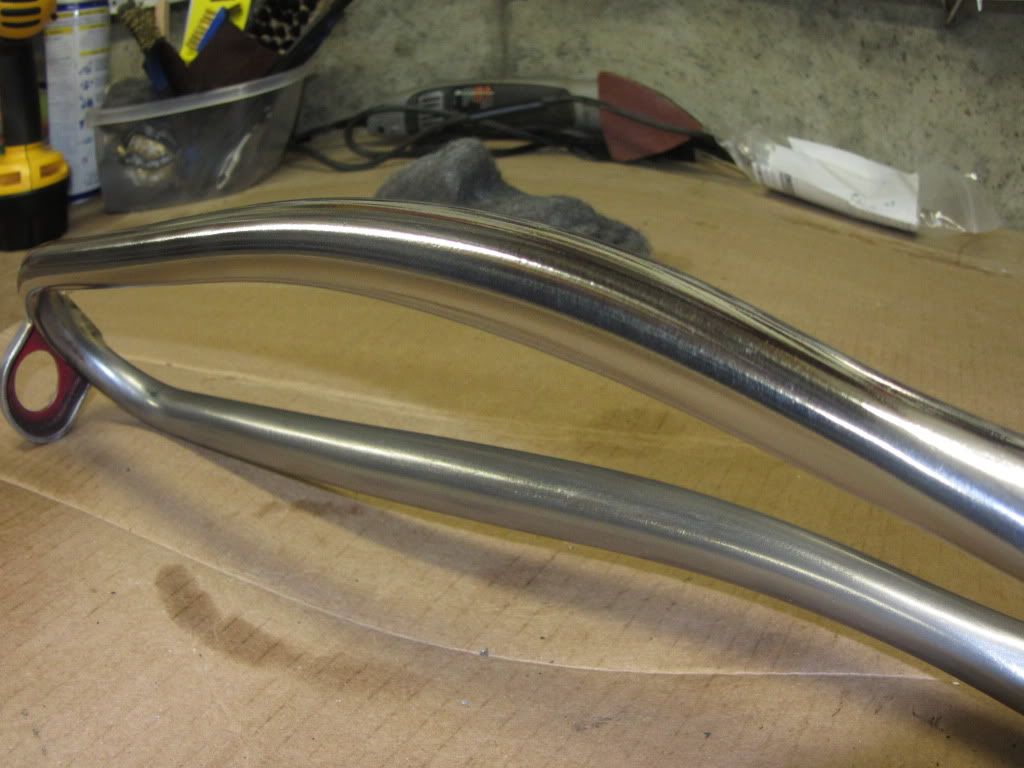
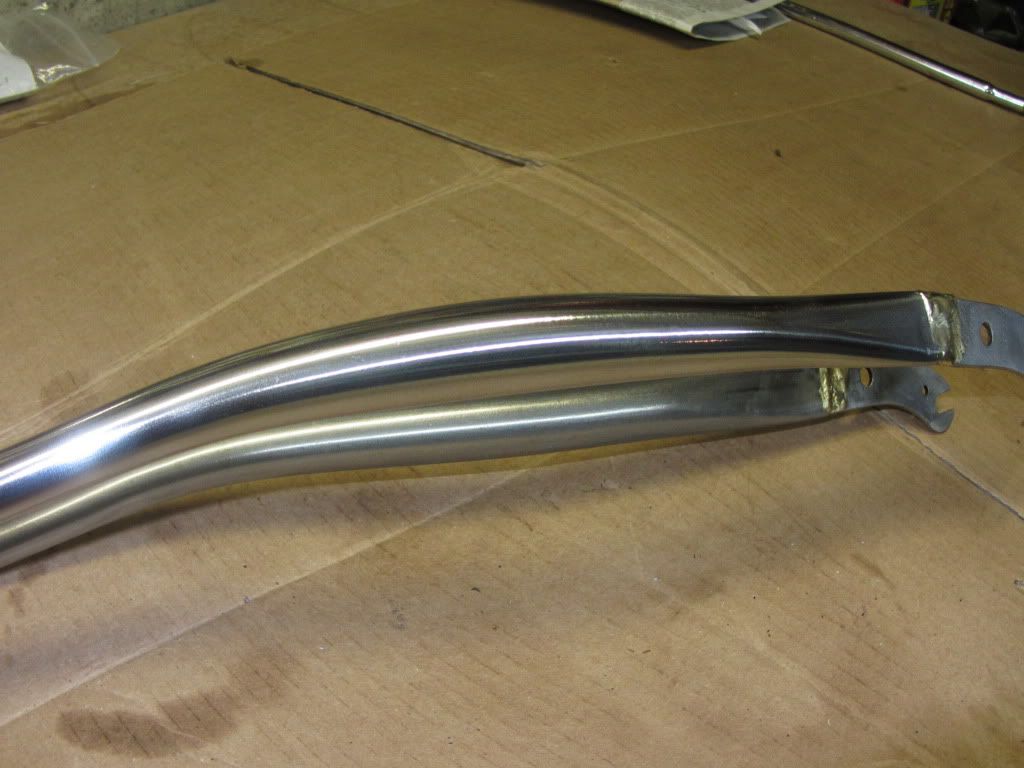
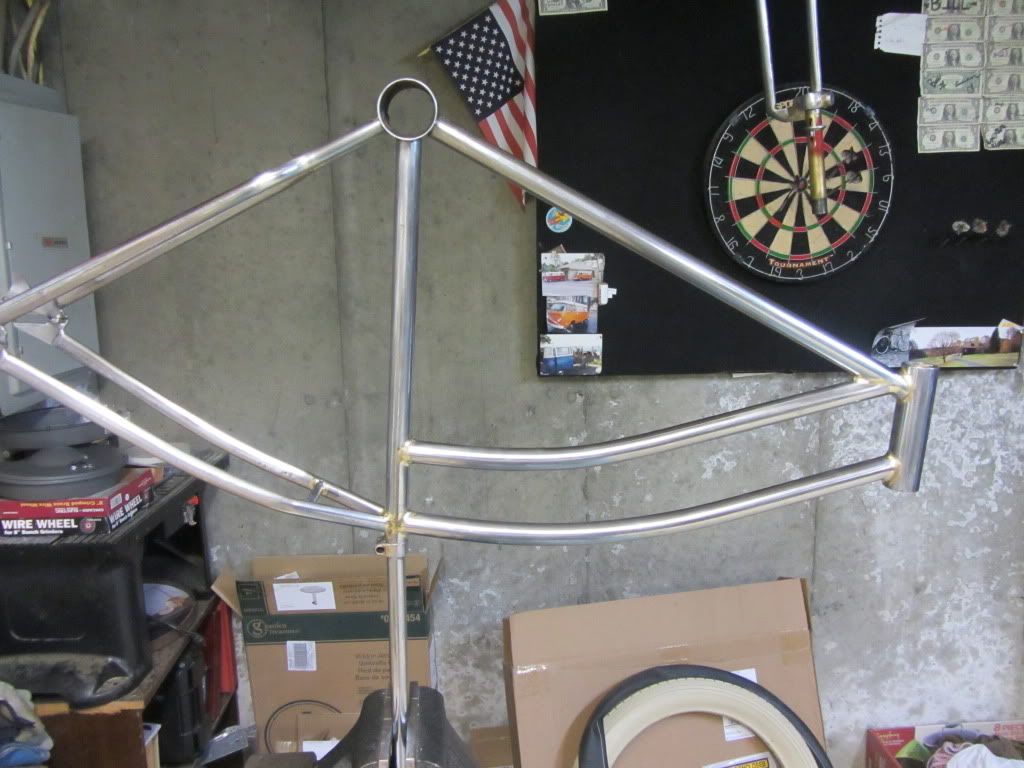
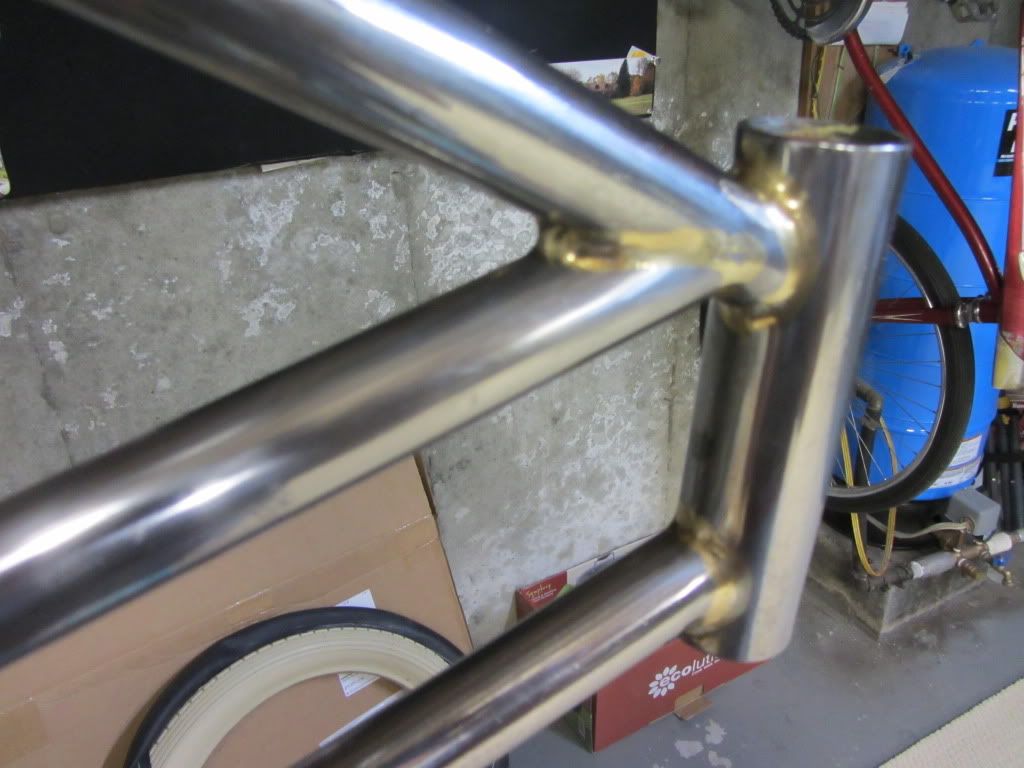
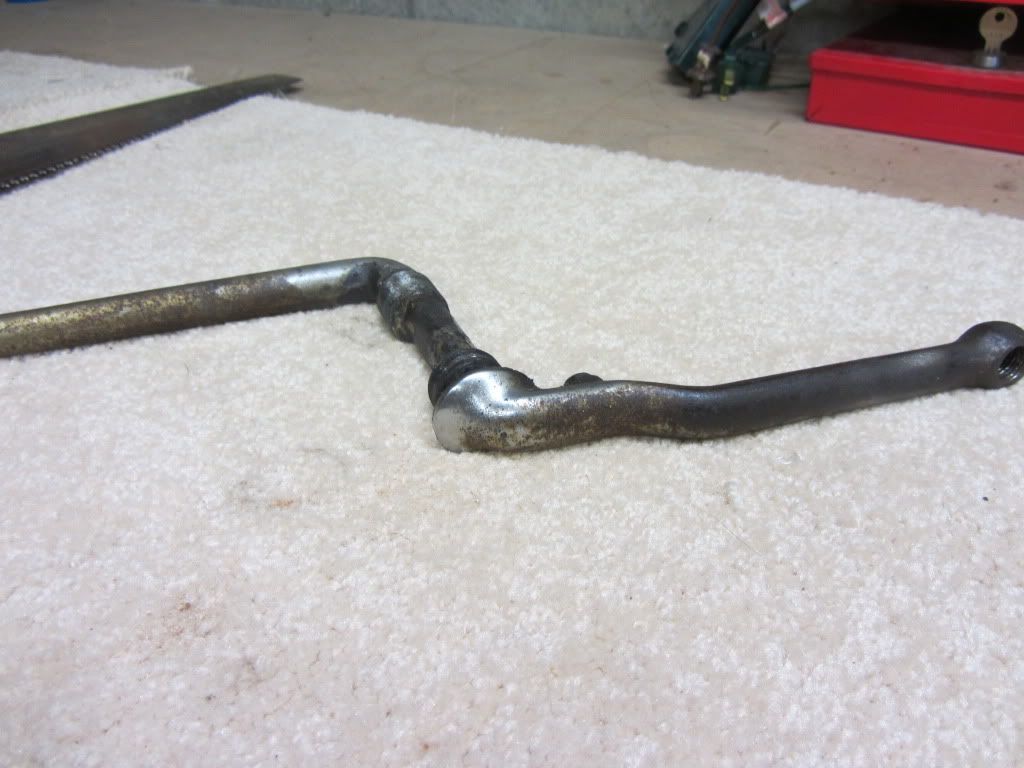
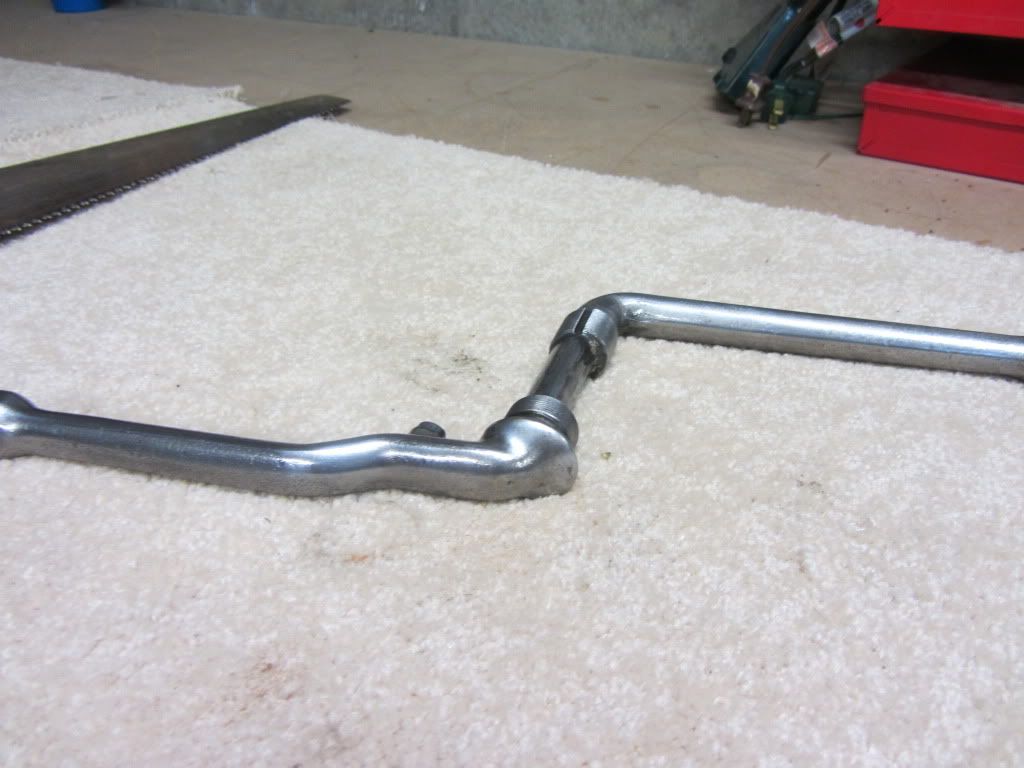
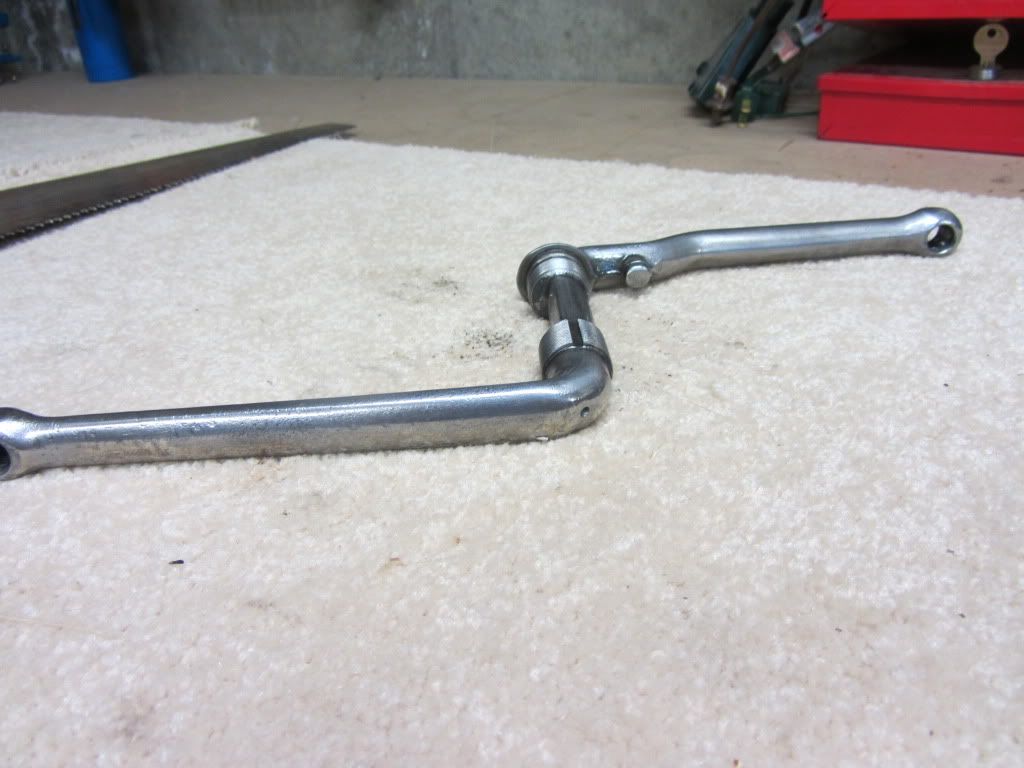
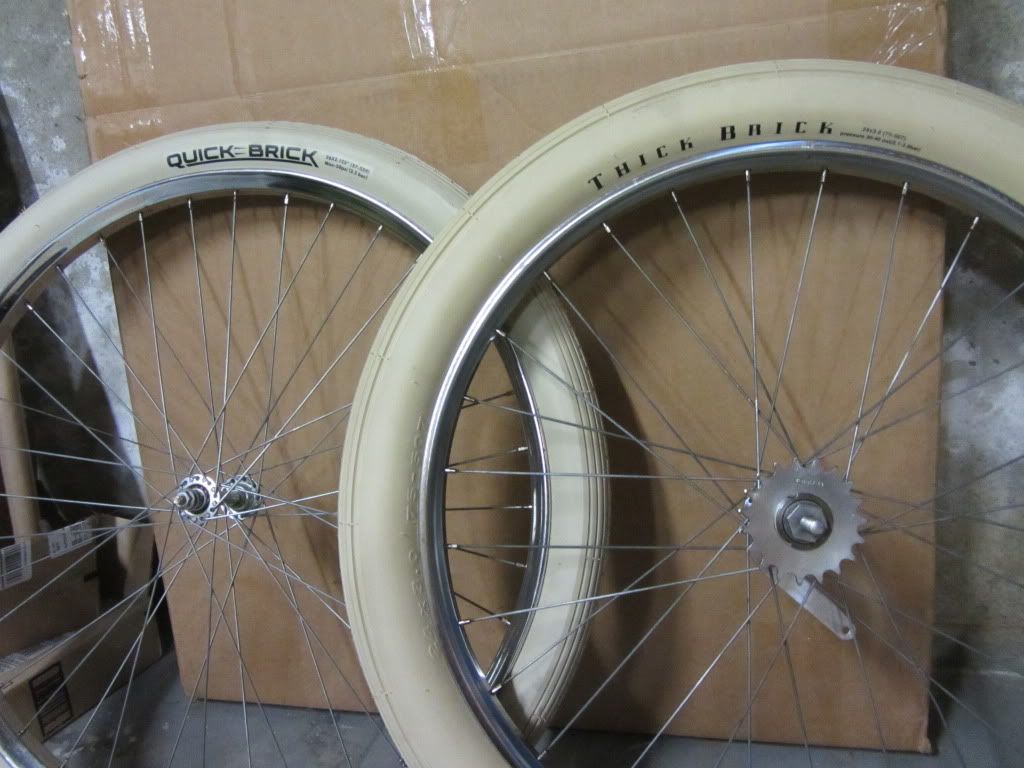
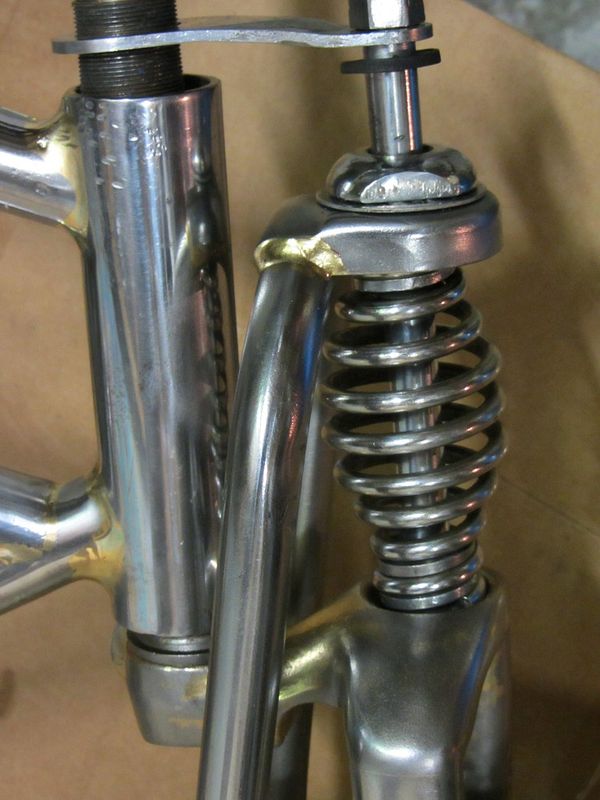
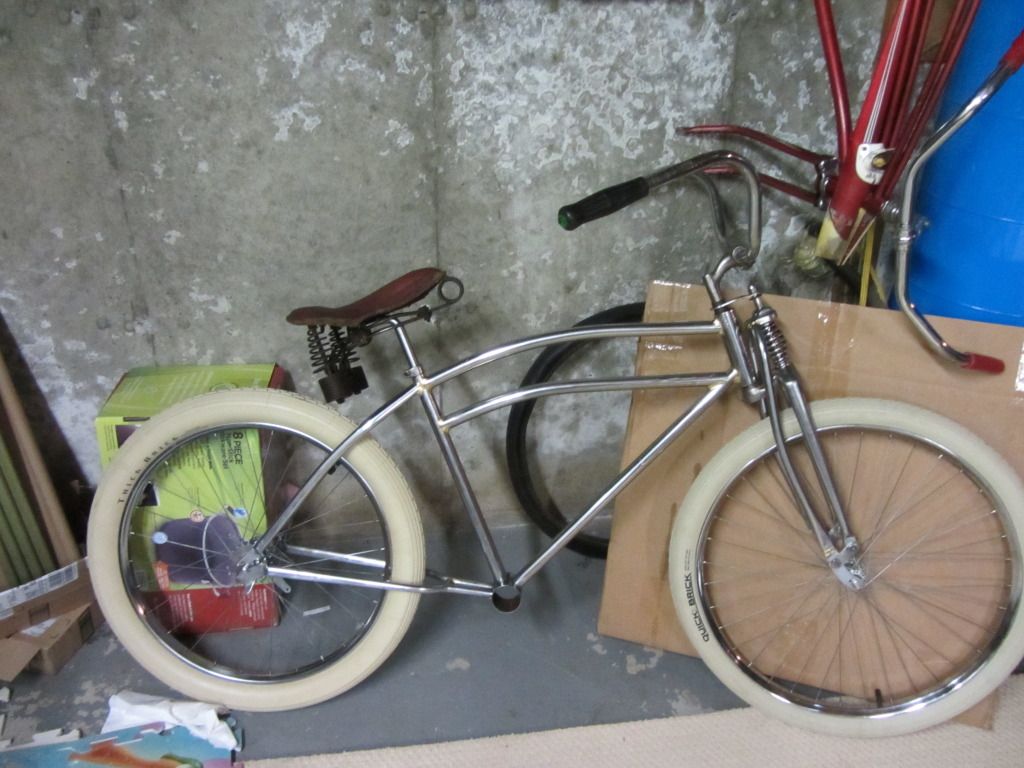
Chips_Mahoy said:I had the same issue with my forking clearance problem with my Thick Bricks. It was suggested to me that i do what you're talking about with cutting, flipping and rewelding the piece back in but I didn't want to cut anything. It was also suggested that I cut the top on each sideofthe steer tube and widen it to spead the fork tubes wider apart. I didnt want to do that either. I ended up going to a friend's shop and taking a couple scrap pieces of a 1x3 piece of pine and putting one on easch side of a tube, placing it in his giant bench vise and giving it a couple good go's. That compressed the tubes some but not enough. So I took the pine pieces and went to a different friend's shop with bigger tools (
Good idea, I'll have to give it some more thought. Do you think if I was careful I could pull this off without having to do bodywork? I'm going for the bare metal thing so bodywork could be another issue.
Thanks for the idea. Got any pictures of yours?