- Joined
- Jan 1, 2013
- Messages
- 1,340
- Reaction score
- 31
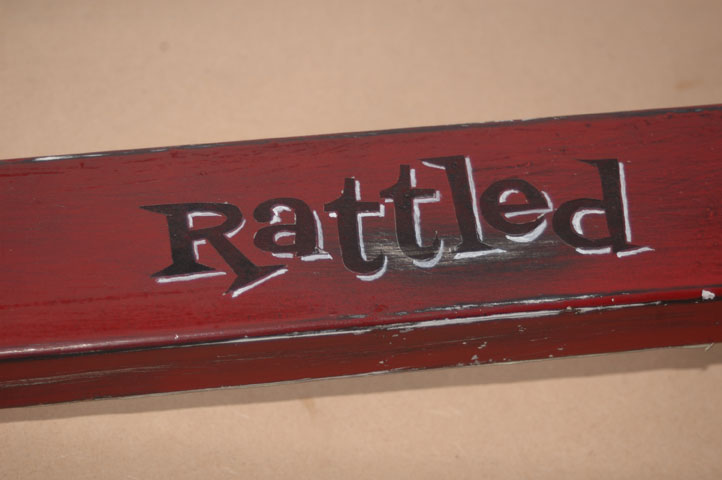
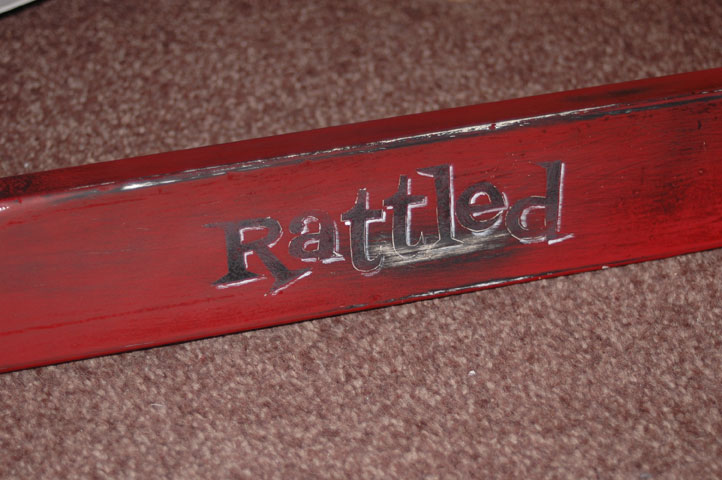
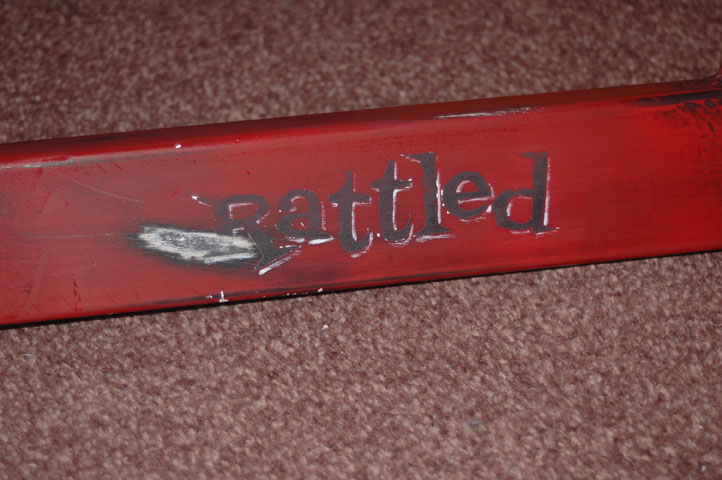
Looking good!


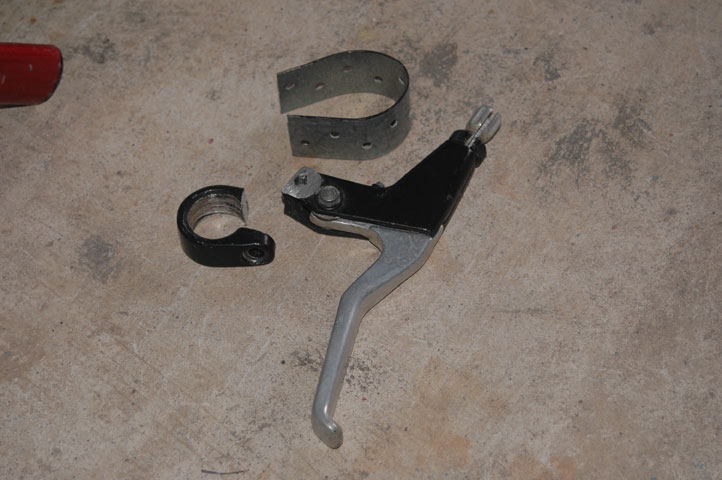
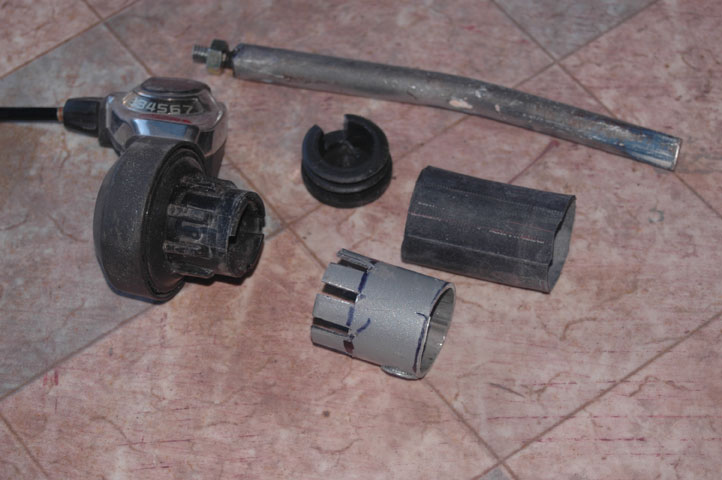
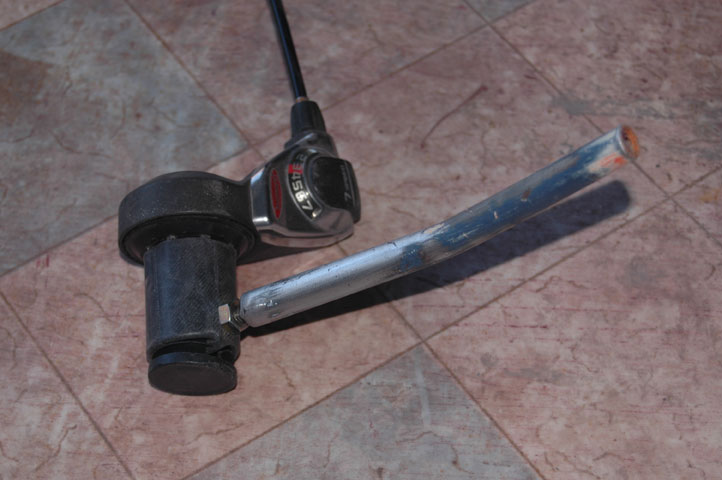
junknutz1975 said:Great work on the shifter! 8)
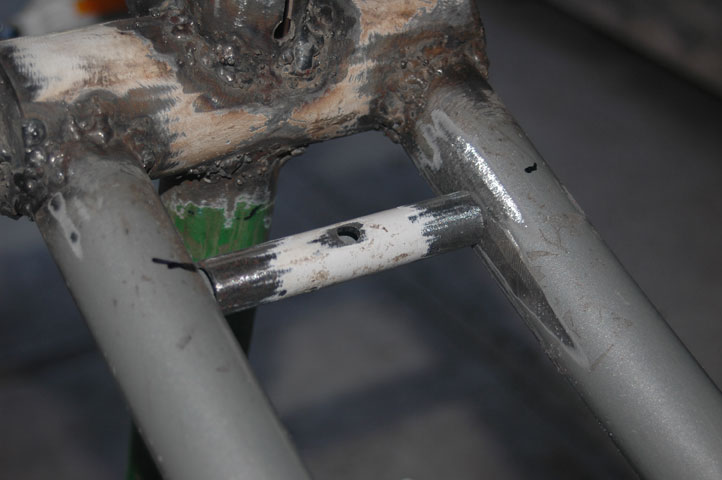
Really comin together here!
:mrgreen:
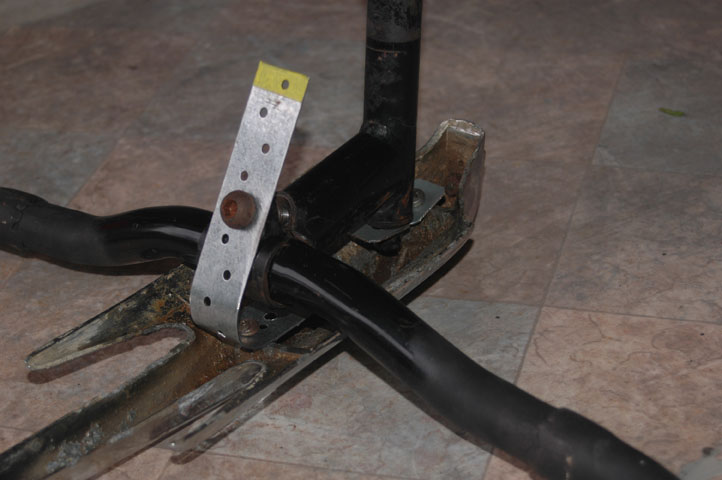
Missing Link said:Great job on the bike, glad to see you got to use the spotlight in it's entirety. I've used a couple on different builds and always took the handles off because I couldn't figure out how to mount the whole thing. Cool and unique mounting bracket, it fits the rest of the build.

+1! Keep it coming Glen!kingfish254 said:You've been hard at work on the details.
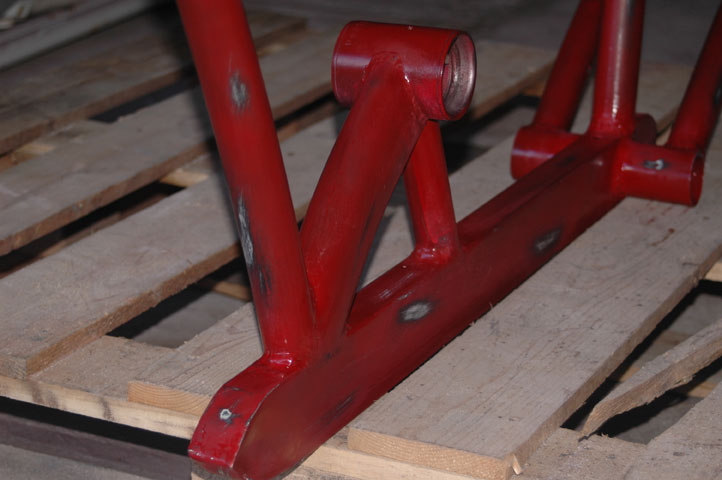
I look forward to seeing this baby painted

Glen said:


Tommy Atoms said:Lots of detail on this one. I thought you were finished but you just keep going. Nice job.
Enter your email address to join: