Re: Seat rebuild.
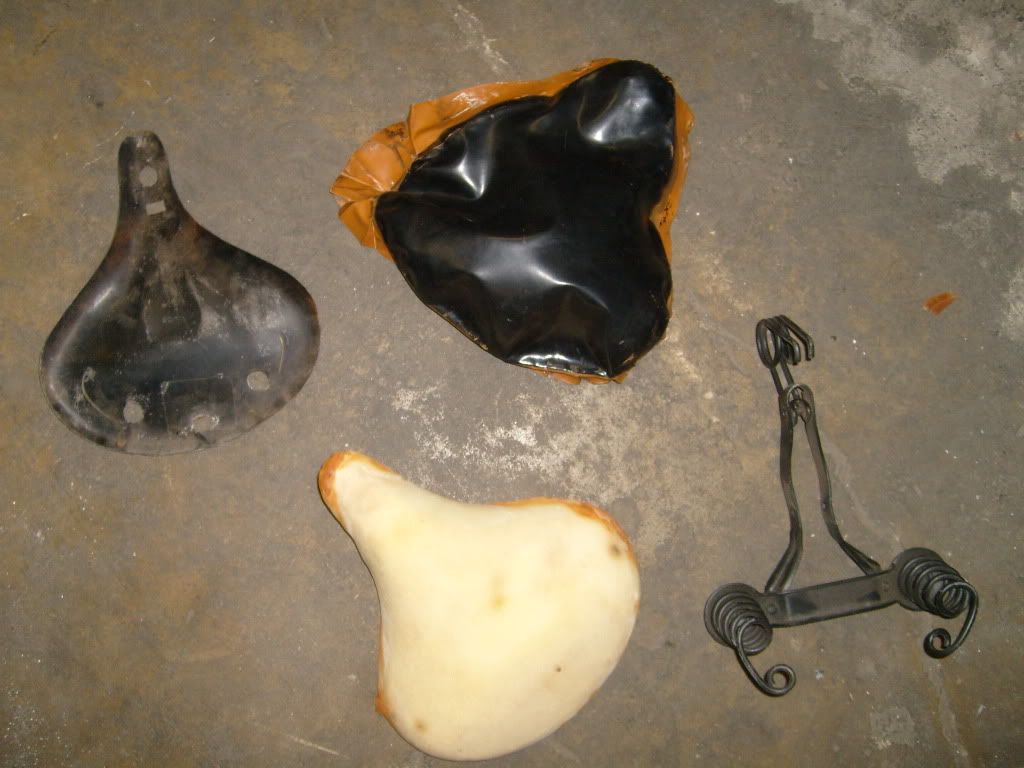
As mentioned I started work on seat for my 57' Colson. Bought the bike with no seat.It had original off white grips and pedals so I wanted to continue with that color. Alas, I didn't have one.
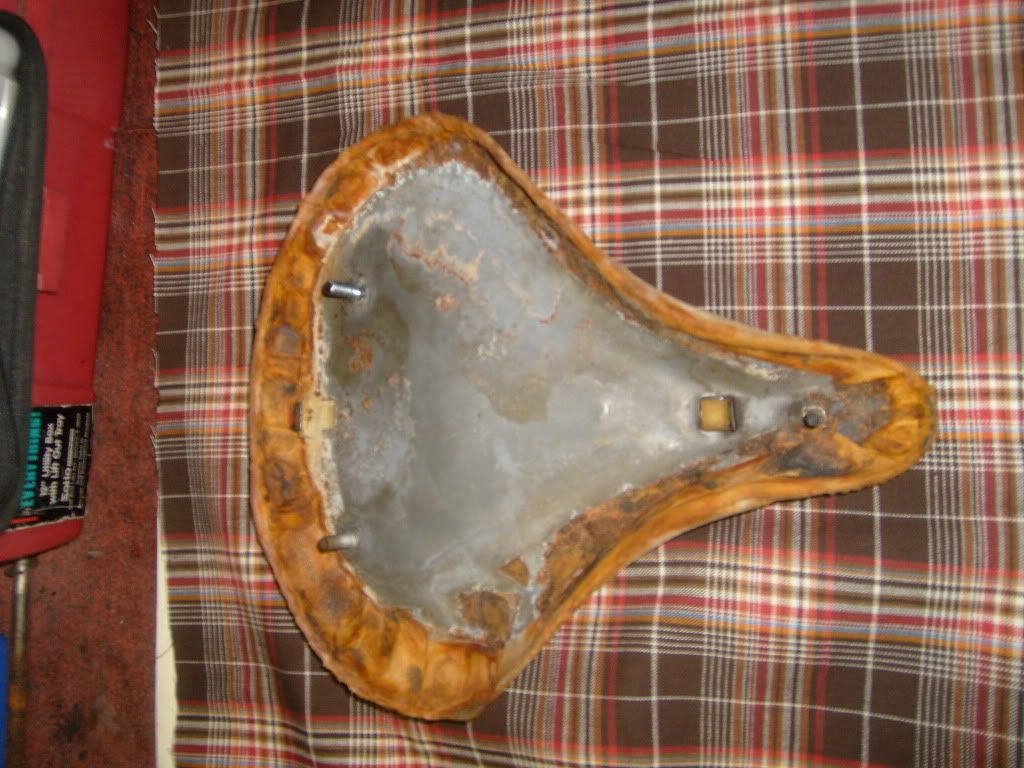
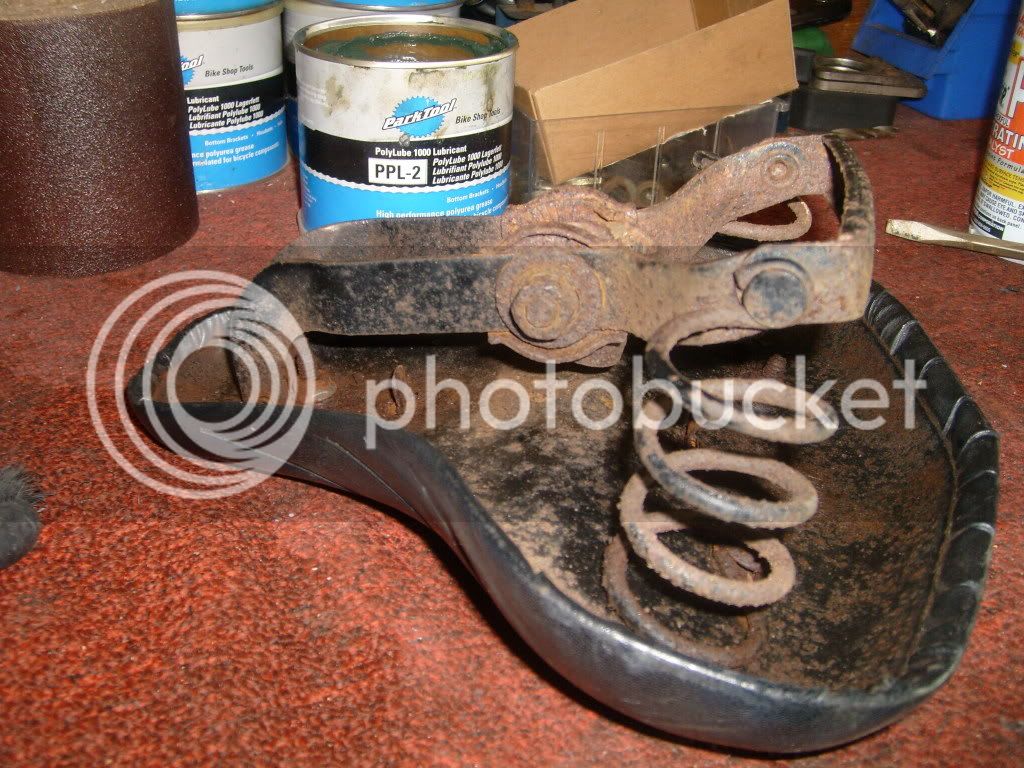
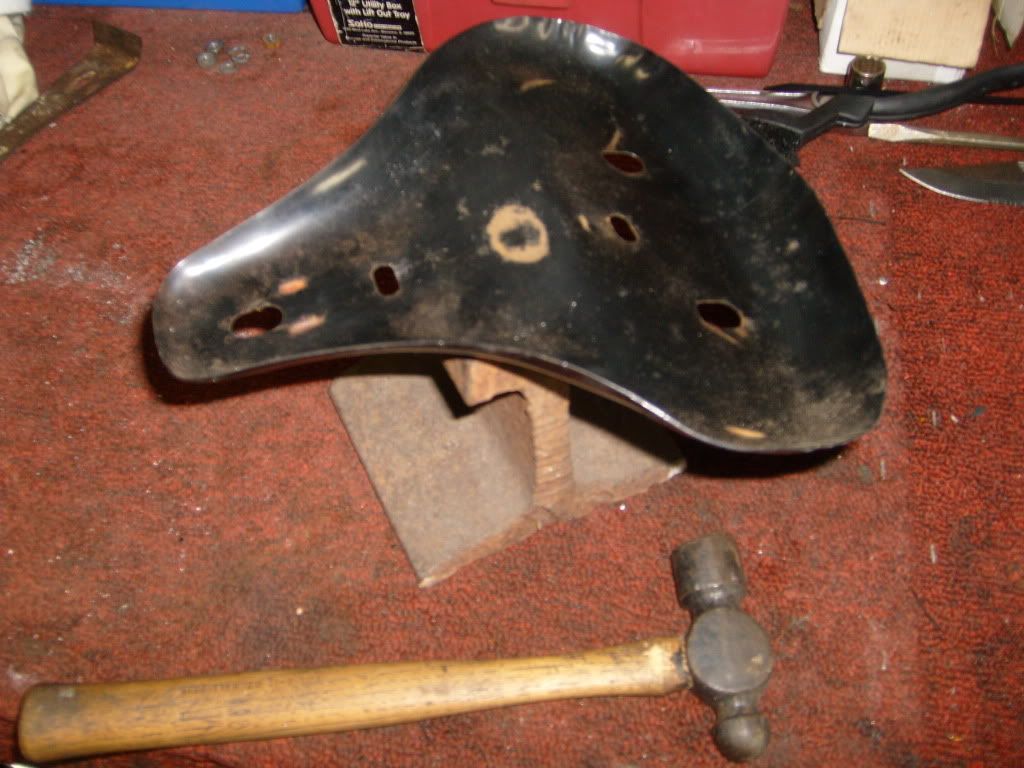
This Is what I started with. A black vinyl seat with a pretty rusty bottom.
Started by pulling it all apart.A tip-soak the nuts in PB for a while before attempting to remove them. They have a tendency to strip out the seat pan bolts if not.
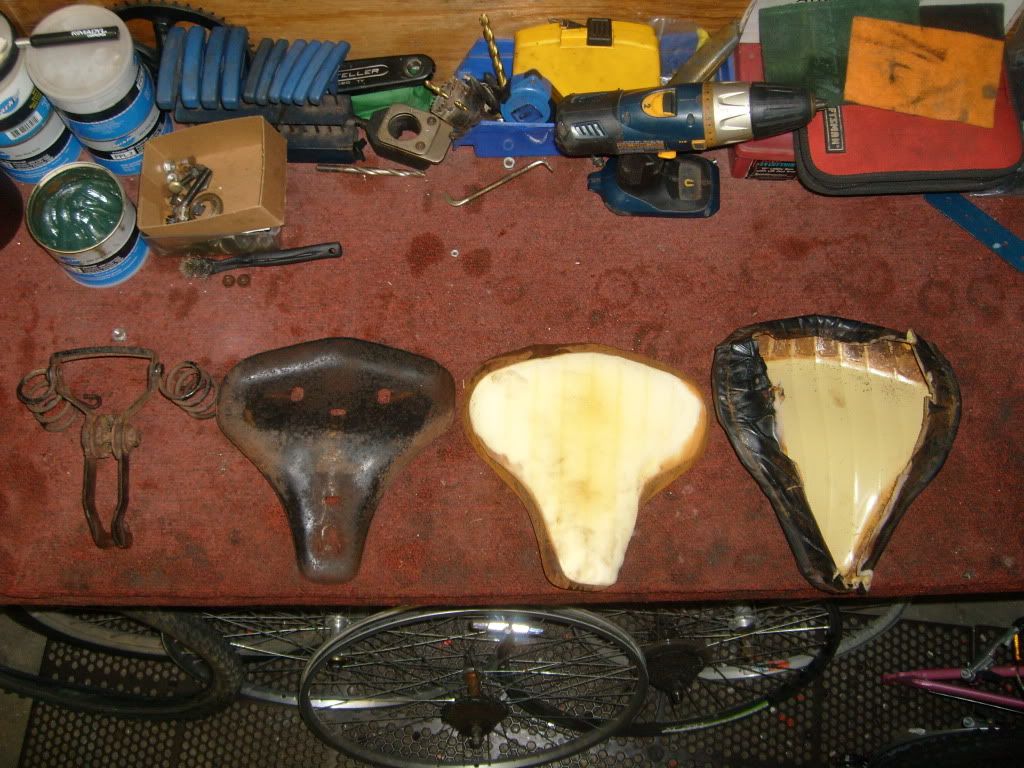
Started to remove the foam pad from the seat pan.it also was rusted and glued to the pan.It helps if you soak it in warm water and take your time with a small scraper if you plan to reuse this(witch I did).
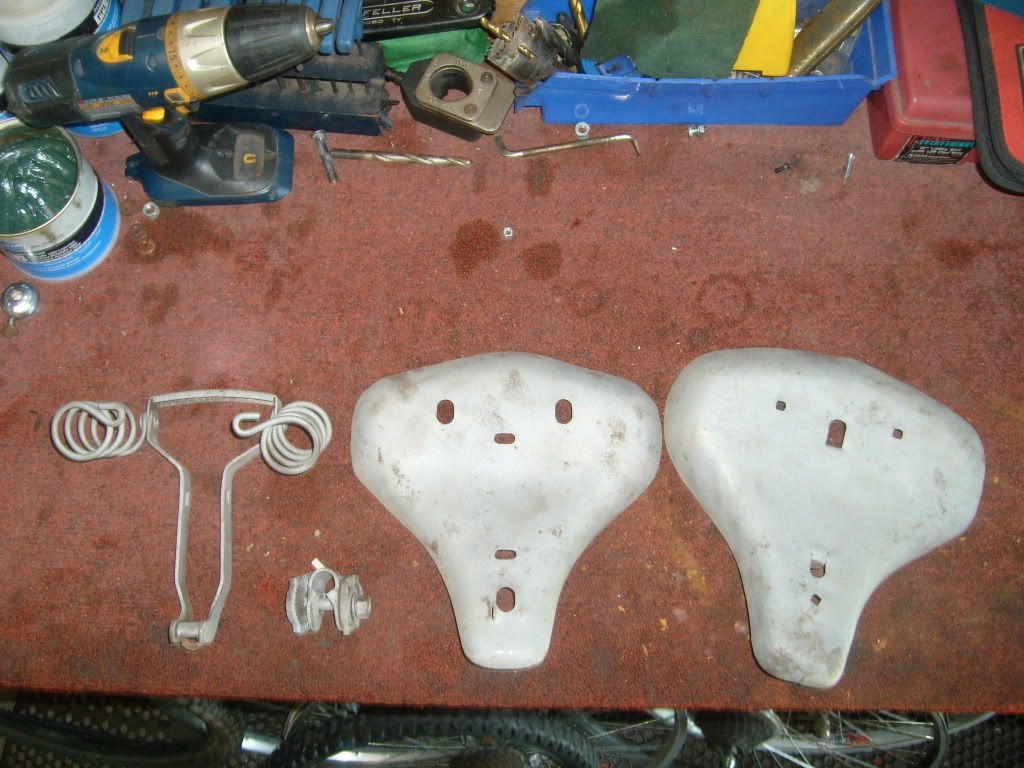
Then scuffed up the pans and springs to make sure there were no cracks or holes.then off to the sandblaster.
After sandblasting I found out there was a hairline crack running almost the entire length of the seat.I found another seat pan that was identical and gave it the same treatment. Including hammer and dolly to get out dents and the mark left from the old seatpost.
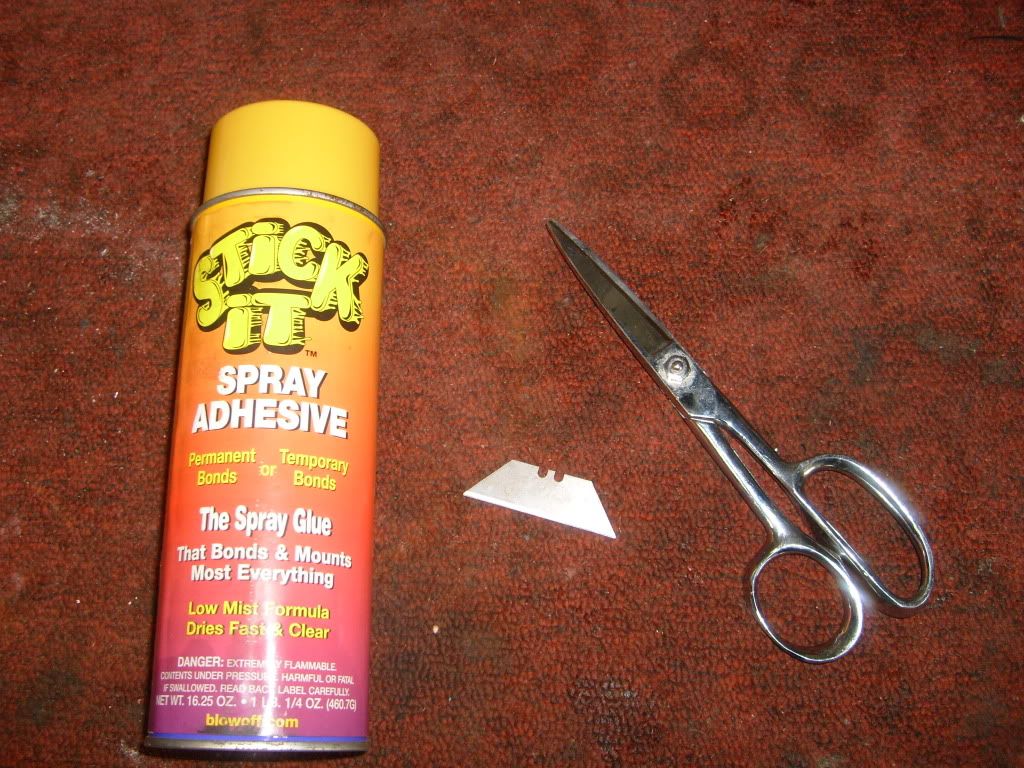
As far as tools,you don't need a whole lot. Scissors,razor blades,spray adhesive your recovering material and some time and patience(and of course a few of your favorite beverages :wink: ).
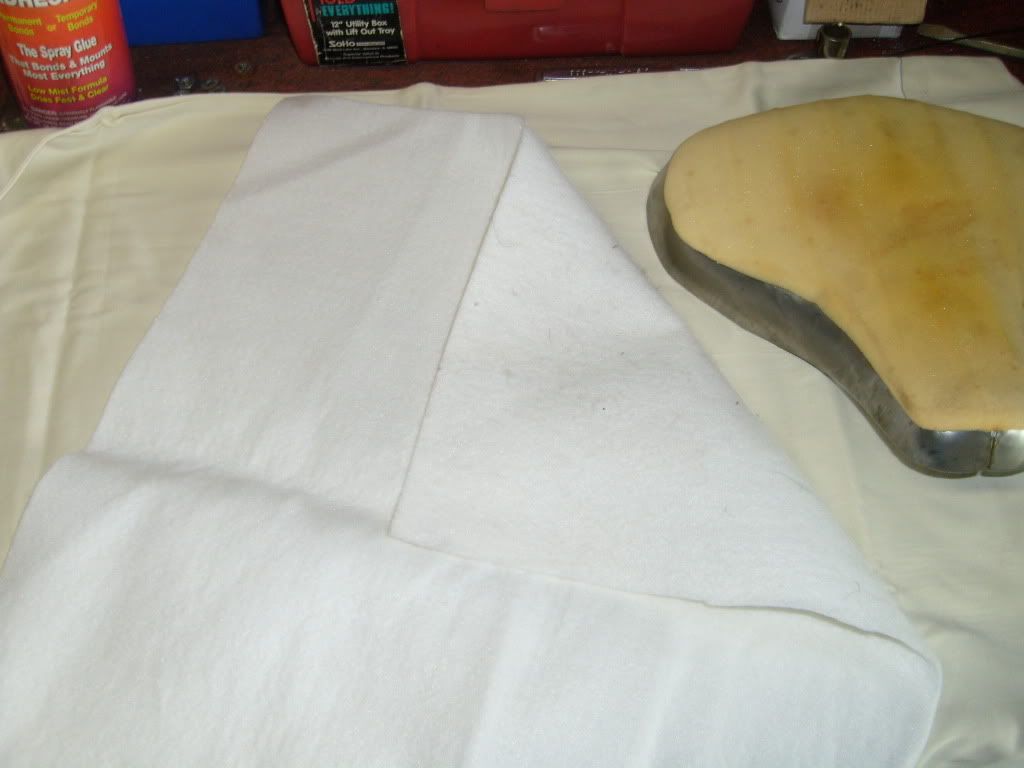
I chose a foax leather print on a nice sturdy Vinyl and some thin cotton batting for this one.
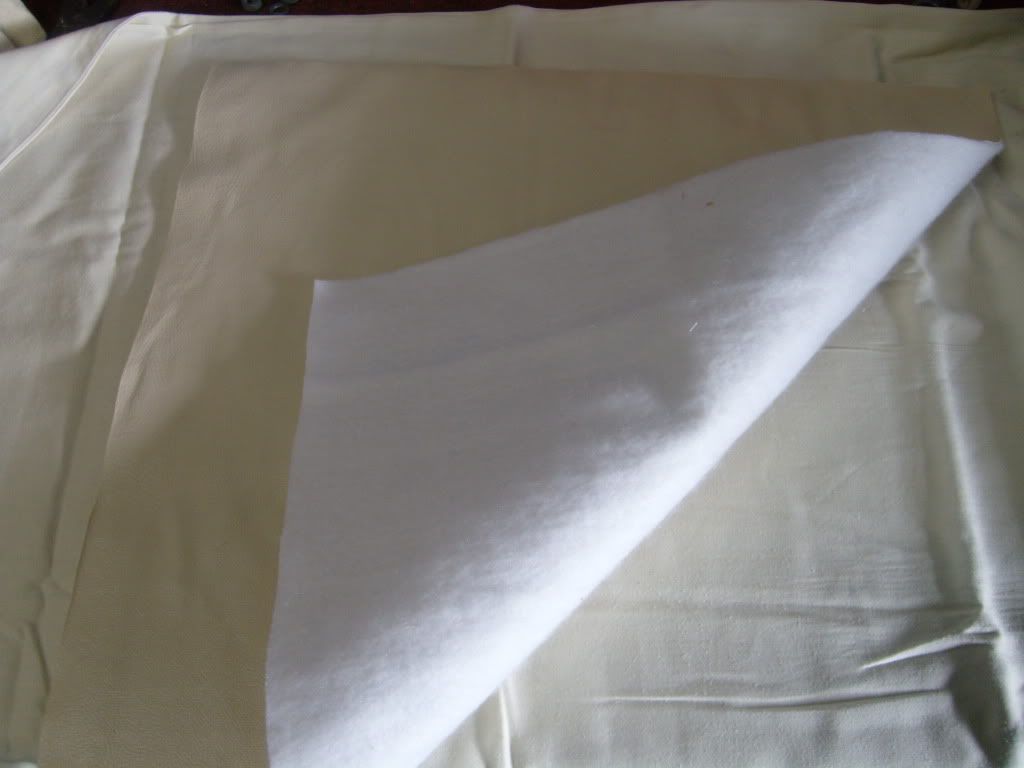
Sprayed both pieces and made a sandwich then trimmed them to one size.
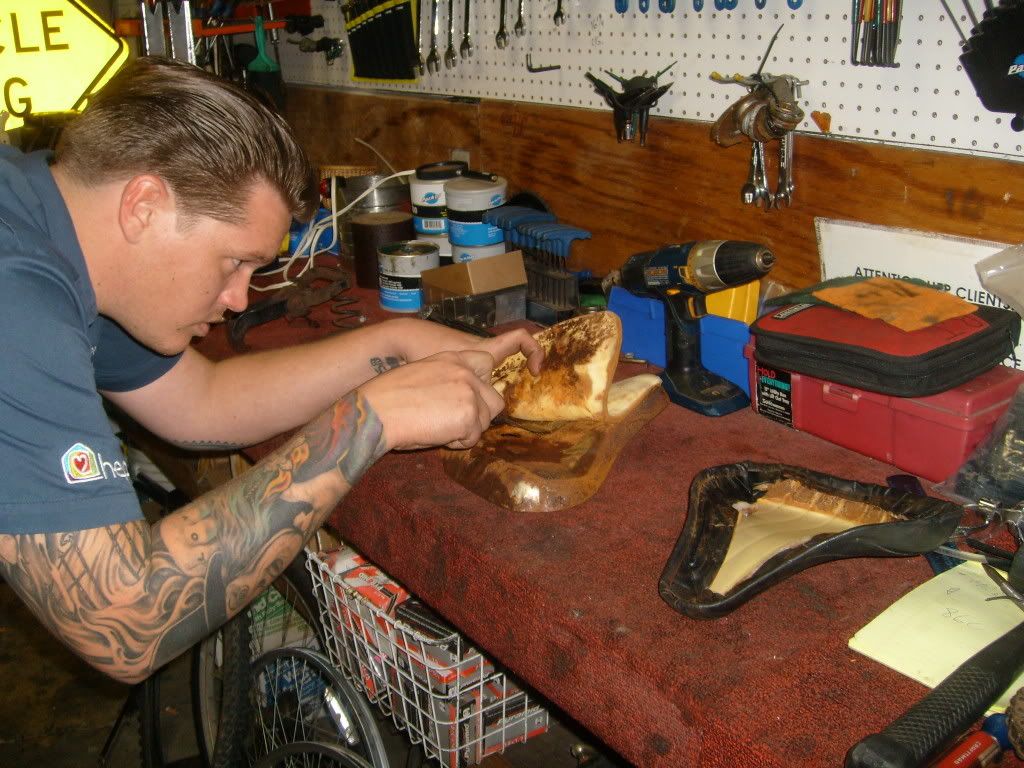
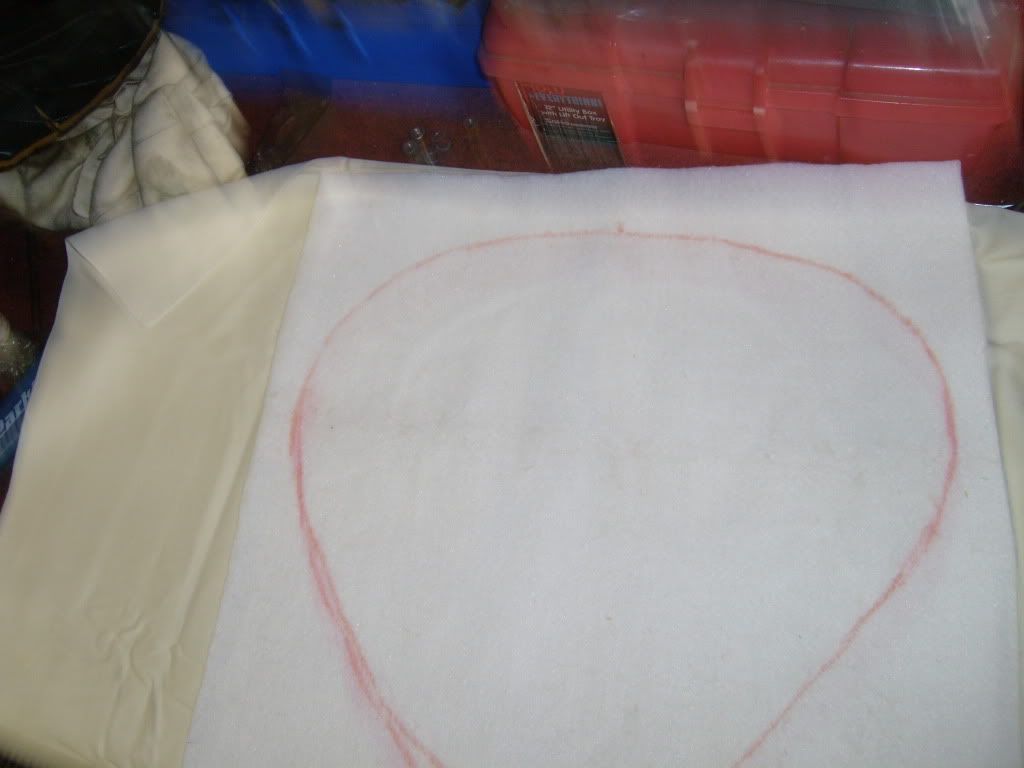
I used a heat gun on low to heat and flatten out the old cover somewhat so that I could get a rough pattern for the new peice.
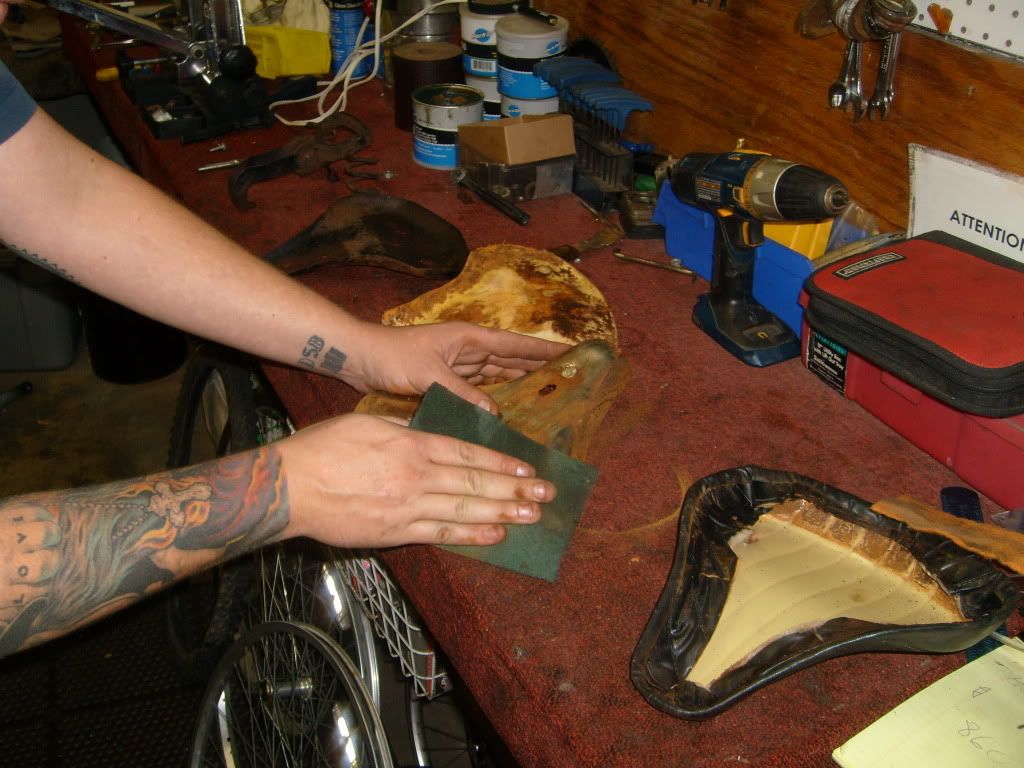
Once trimmed I heated the new piece up so it was a bit more pliable.(it helps to have the heat gun handy throughout the process).Then I sprayed it and placed it on the seat pan. Just work with a little bit of glue in the middle and work your way out while you stretch and form it.
Made relief cuts in the fabric to get it to stretch and form over the round surfaces and the lip of the pan.Just keep your cool and work with it.it is not a fast process and the glue allows you to fix mistakes.
Once it was wrapped and I was happy with it, I flipped it over and lightly ran the heat gun over the entire thing at the same time pulling it tighter over the pan. The heat gun shrinks the material and removes any small wrinkles.
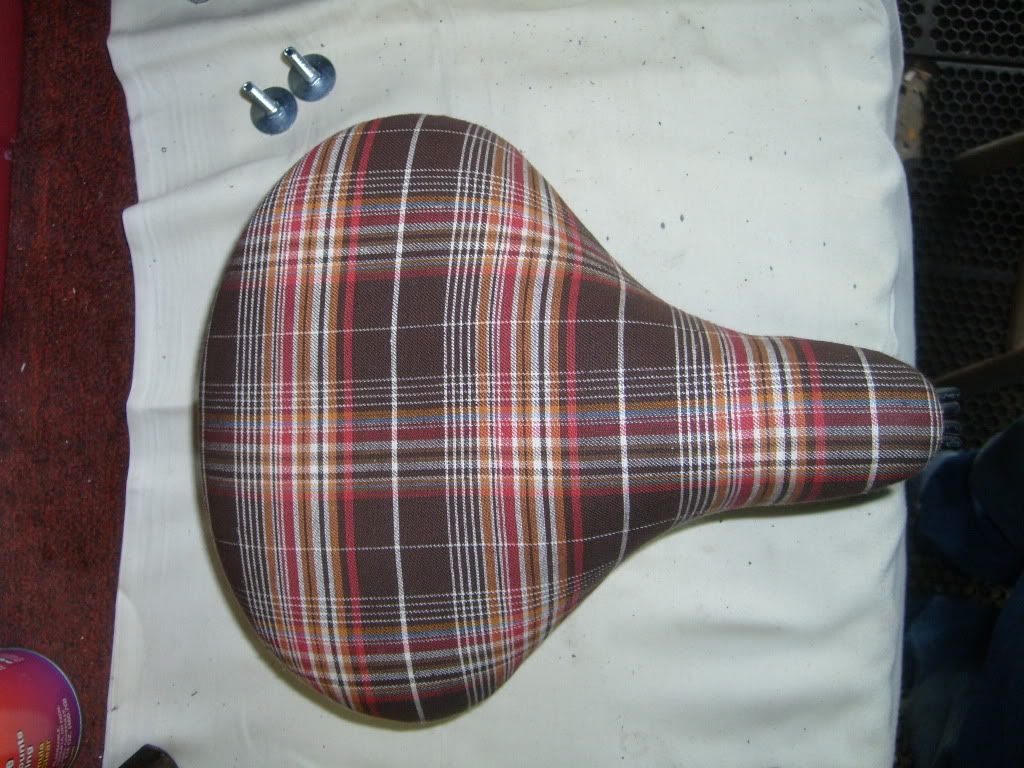
Got all the hardware primed and painted. I just used a self etching primer and a brushed alum. enamel with a few clear coats.
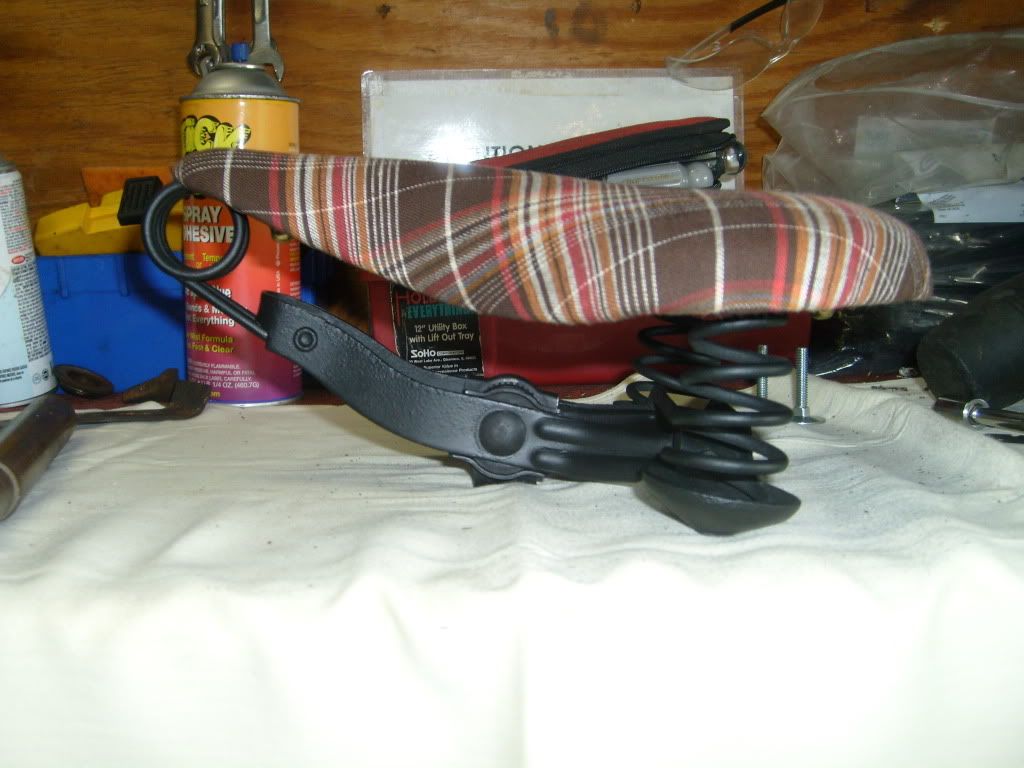
Once I had the bottom pan on I flipped it and hit the whole seat again with the heat gun to more or less shrink wrap the fabric onto the seat
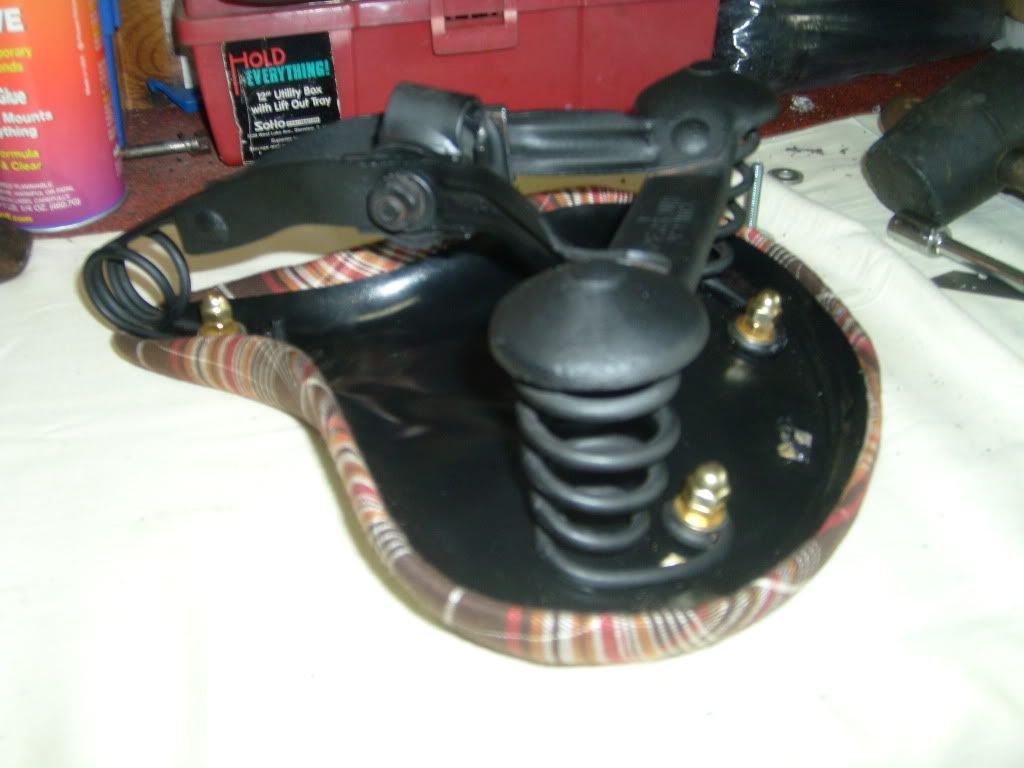
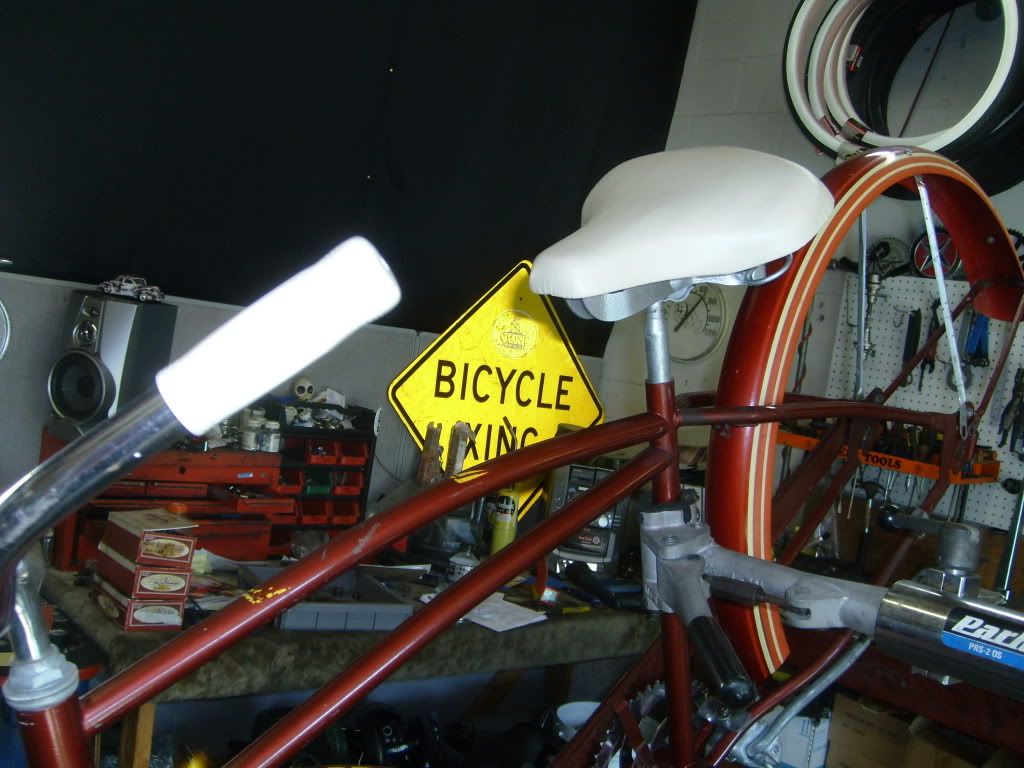
And the final product that I am really happy about.
I know it was a lot of pictures and blah blah blah but I figured it could help some of you out there with your projects. A seat is a main part of any build and without the right one it never looks right.
More pictures of the bike coming soon in another thread when its all buttoned up.
-Kreep-