Hey! Really good to meet you at the swap meet on Sunday. And fun to see some pics of your builds and get a feel for your stuff. Let's do a classic / rat rod bike ride around the lakes some afternoon / evening. ")


My wife got a good laugh on that oneTwisted Sister in Law

Haha, I like that name!!Twisted Sister in Law
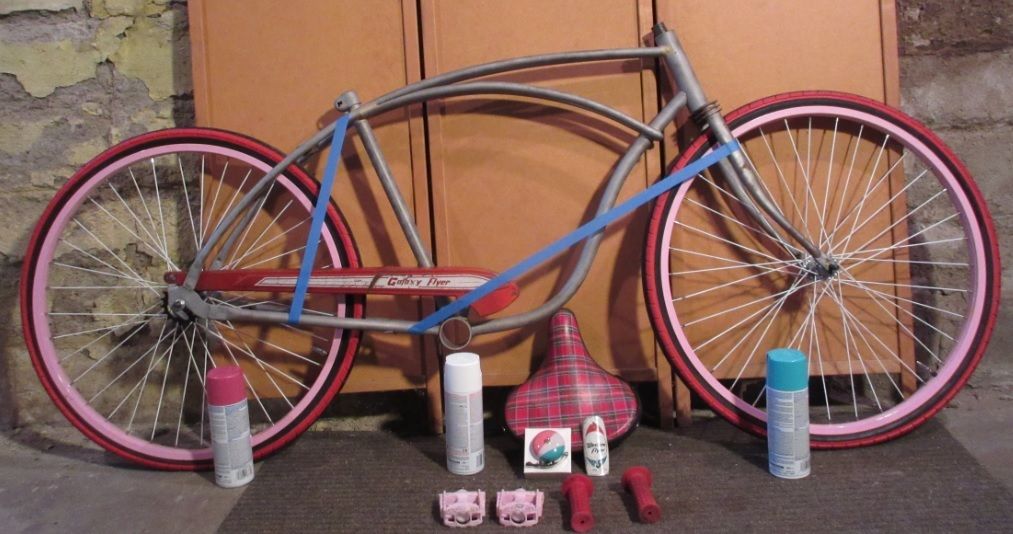
. Sorry guys but the headlight is going to be a DooDad instead of a working light, Style over Function at crunch time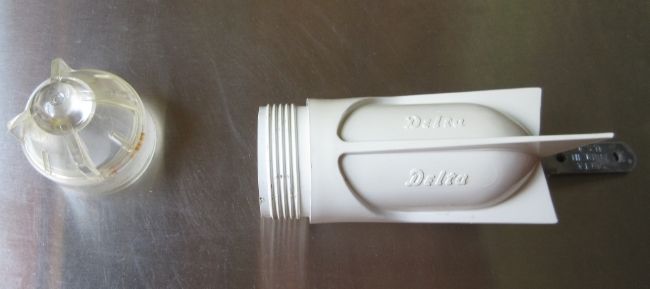 . I know I had the fork straightened so it's here somewhere (maybe). I guess that's what happens when you have a parts pile... Anyways, I ripped down to Sunrise Cyclery and found another one with the right tube length. It's for a taller tire but it was straight and $5. Ground off the fender loops, stripped it down, and painted it up. I think it looks okay and I like the negative caster rake to it.
 ) but again, it is what it is... It's not suppose to cool down until late next week when my SIL leaves so it was crunch time. I think it came out okay. My wife likes it, so that's the most important thing . I'm the type that likes following the shapes and she likes a more abstract style. I just glad that the angles and paint lines came out reasonably okay.
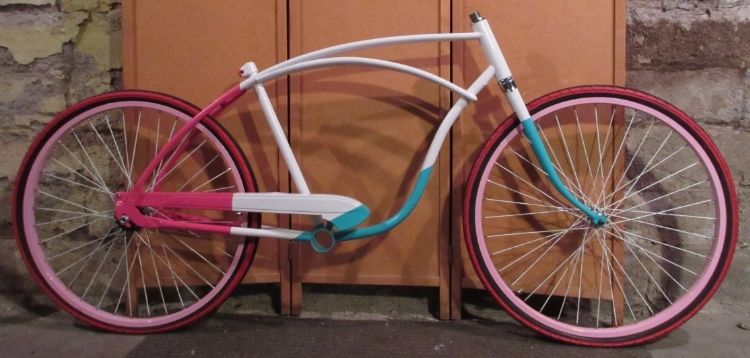
Looks greatThanks Guys for the input and support. That's why this contest is so cool, it not just the bikes, its the people
So I had to get some class work done but now my SIL is here (drove from Oregon) and we've been trying to hide our activities. My Wife has been helping a lot with the suggesting/checking how paint scheme/things look and cleaning parts. Thanks Honey!!
My Wife came up with a great trick for cleaning old plastic parts. She uses Baking Soda (like how she gets the porcelain sink super white again too). Now I know people here love patina, but old plastic can get kinda yellowish and when the rest of the bike is newly painted white, it doesn't look so good. The headlight turned out awesome! She lightly rubs it in with a little water. Most of the rust on the lens came off too
Then, somehow, I used the wrong fork or different headset (deeper cups and bearings) or something
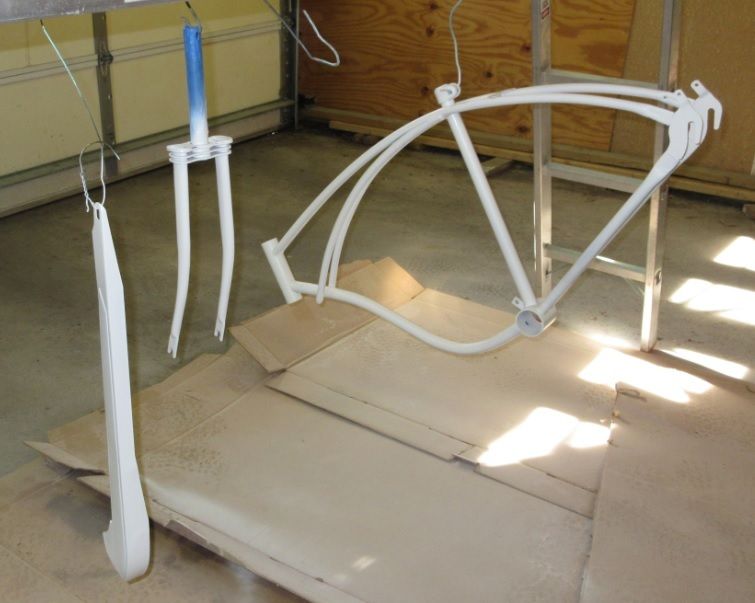
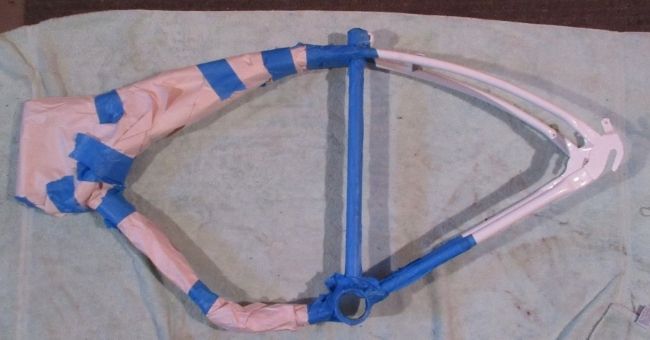
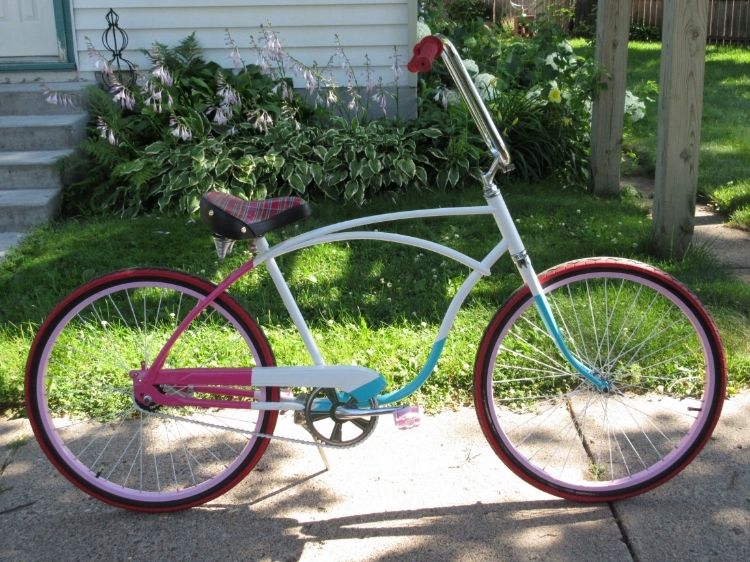
So I then had all the right pieces to get the angles right for the paint job. Yeah, Kingfish, it's going to be atypical and that was kinda the point. It is the Build Off so I want to try new things. Last year, I was trying to paint 56T two tone like the Chevy by painting the parts a certain way. This year is 3 tone and a little more bold. I masked off the front for the rear "Muted Rose" Rustoleum. Had to custom cut the tape into shapes to get the angles/look right.
I used the expensive, higher quality tape at on the edge then the cheaper tape and paper to cover the rest. You can almost see how a tank might look (maybe next year LOL)
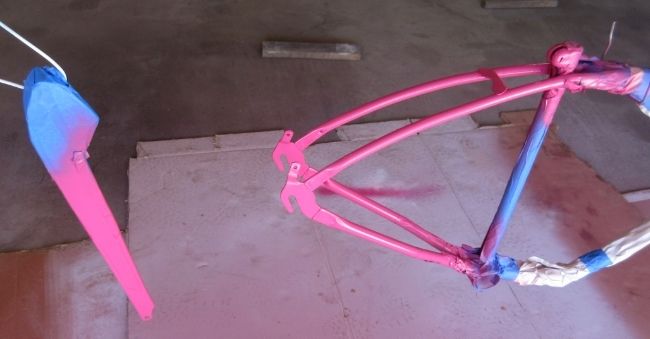
The paint hasn't been super smooth coats but the rose and aqua are 2X and they seem to "run" a lot easier so "it will be what it is".
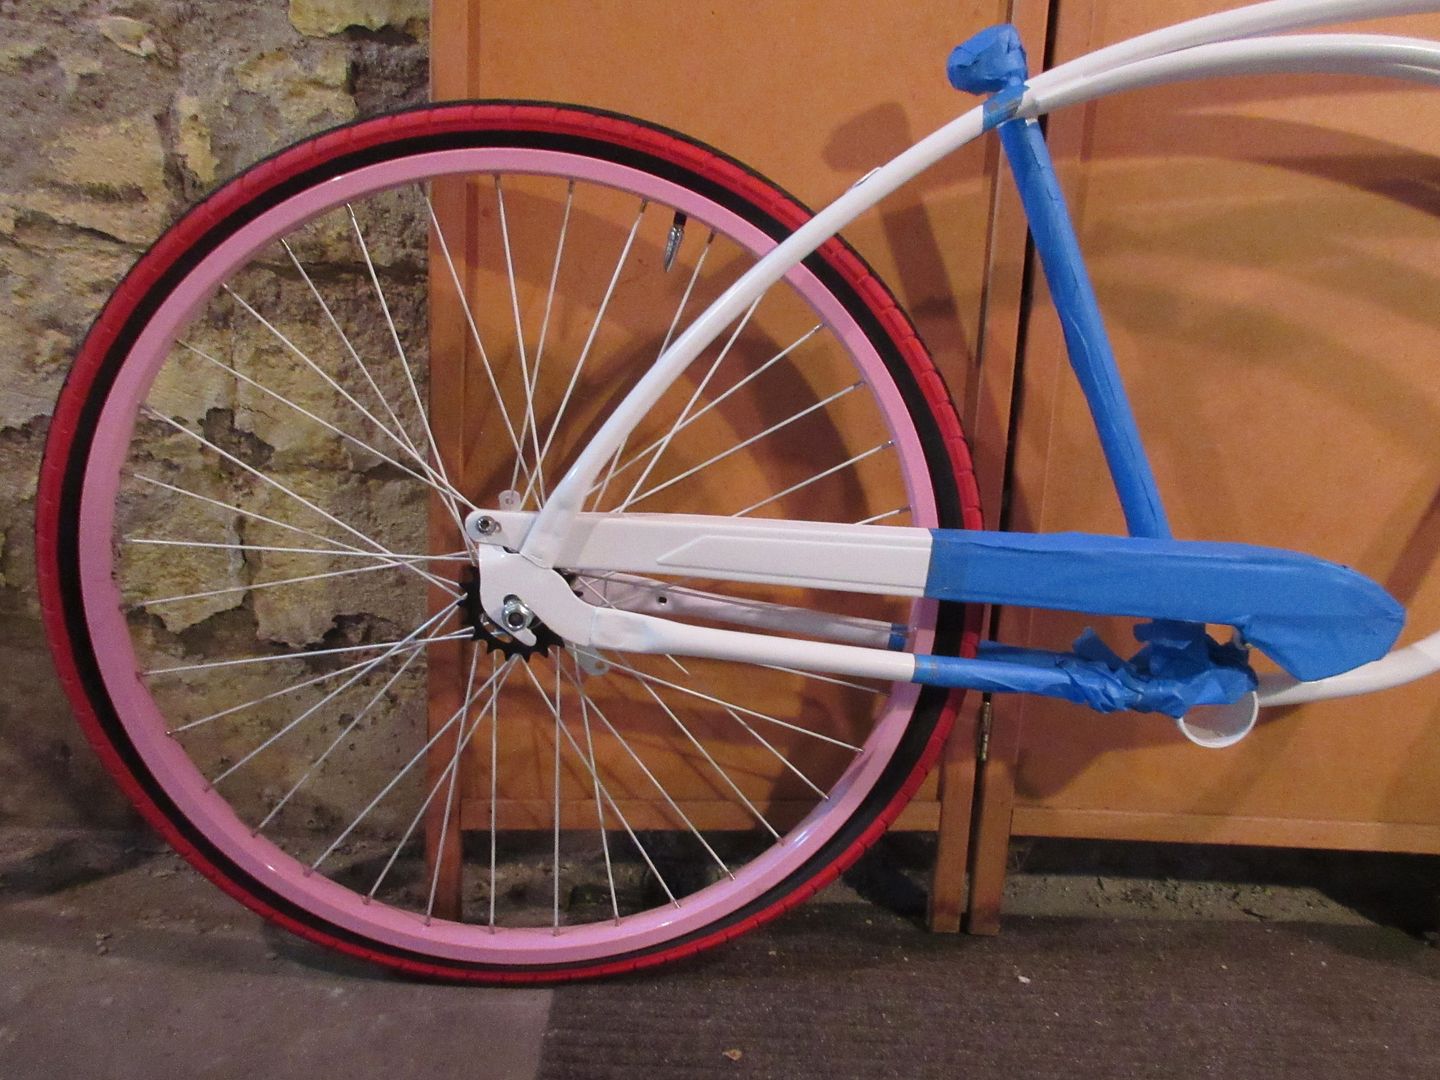
So with the rear part done, now the hard part of the bottom/front Seaside Rustoleum (similar to the bell style). I installed all the races, bearings, upper/lower cups on the frame/fork to get the final setup right. I used the wide tape again for the angle both front and rear. I tried to eye up the angle closeup then back a ways for perspective. I used the top edge of the wide tape as the guide for the bottom edge of the masking tape. Then lots of cutting, trimming, and custom shapes for the tape to get the side angles to match up with the top and front/back angles.
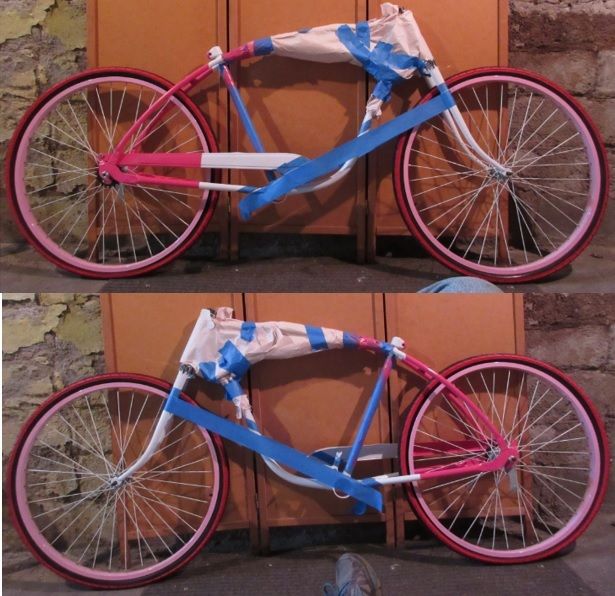
Well, I barely got the painting done before the big wave of heat and humidity hit. I think the humidity affected the last coat (Of Course!
So now all the assembly, hardware, and details (the last two will take most of the time) but I should be done with it by Saturday. Well I better stop jabbering and get my homework done so I can get back to building
Thanks for looking
Steve
Looks awesome Steve! The colors remind me of the taffy we used to get at the Five and Dime (Ben Franklin) or the Fruit Stripe gum...that's it! Fruit Stripe! Inventive and abstract use of paint lines, kudos to your wife / co-builder! Can't remember, is there a basket? I love rust, but am anxious to use a colorful paint scheme on my next build now that I have seen this! Well done!Thanks Guys for the input and support. That's why this contest is so cool, it not just the bikes, its the people
So I had to get some class work done but now my SIL is here (drove from Oregon) and we've been trying to hide our activities. My Wife has been helping a lot with the suggesting/checking how paint scheme/things look and cleaning parts. Thanks Honey!!
My Wife came up with a great trick for cleaning old plastic parts. She uses Baking Soda (like how she gets the porcelain sink super white again too). Now I know people here love patina, but old plastic can get kinda yellowish and when the rest of the bike is newly painted white, it doesn't look so good. The headlight turned out awesome! She lightly rubs it in with a little water. Most of the rust on the lens came off too
Then, somehow, I used the wrong fork or different headset (deeper cups and bearings) or something
So I then had all the right pieces to get the angles right for the paint job. Yeah, Kingfish, it's going to be atypical and that was kinda the point. It is the Build Off so I want to try new things. Last year, I was trying to paint 56T two tone like the Chevy by painting the parts a certain way. This year is 3 tone and a little more bold. I masked off the front for the rear "Muted Rose" Rustoleum. Had to custom cut the tape into shapes to get the angles/look right.
I used the expensive, higher quality tape at on the edge then the cheaper tape and paper to cover the rest. You can almost see how a tank might look (maybe next year LOL)
The paint hasn't been super smooth coats but the rose and aqua are 2X and they seem to "run" a lot easier so "it will be what it is".
So with the rear part done, now the hard part of the bottom/front Seaside Rustoleum (similar to the bell style). I installed all the races, bearings, upper/lower cups on the frame/fork to get the final setup right. I used the wide tape again for the angle both front and rear. I tried to eye up the angle closeup then back a ways for perspective. I used the top edge of the wide tape as the guide for the bottom edge of the masking tape. Then lots of cutting, trimming, and custom shapes for the tape to get the side angles to match up with the top and front/back angles.
Well, I barely got the painting done before the big wave of heat and humidity hit. I think the humidity affected the last coat (Of Course!
So now all the assembly, hardware, and details (the last two will take most of the time) but I should be done with it by Saturday. Well I better stop jabbering and get my homework done so I can get back to building
Thanks for looking
Steve
 . Oh well, it's almost done.
Enter your email address to join: