Spreading Drop Outs for Wider Hub

Rat Rod Bikes Bicycle Forum

Help Support Rat Rod Bikes Bicycle Forum:

This site may earn a commission from merchant affiliate links, including eBay, Amazon, and others.

The Renaissance Man

__CERTIFIED DIVER__ (Open Water & Open Dumpster)
Staff member
Moderator
Pro Member
Joined
Nov 24, 2012
Messages
9,771
Reaction score
27,076
Location
The Tropics of Alabama
Rating - 100%
26   0   0
Now that everyone and their brother has purchased a Nexus 7 recently (except me sense I already had a used one), a lot of us are faced with the problem of forcing it into a frame that was not designed to accept it. We probably all know about using 2x4's to pry open the rear stays and other equally barbaric methods. Today I discovered an easy CONTROLLED method for this. If you own a hand screw wood clamp or have a friend with one, it's a piece of cake.

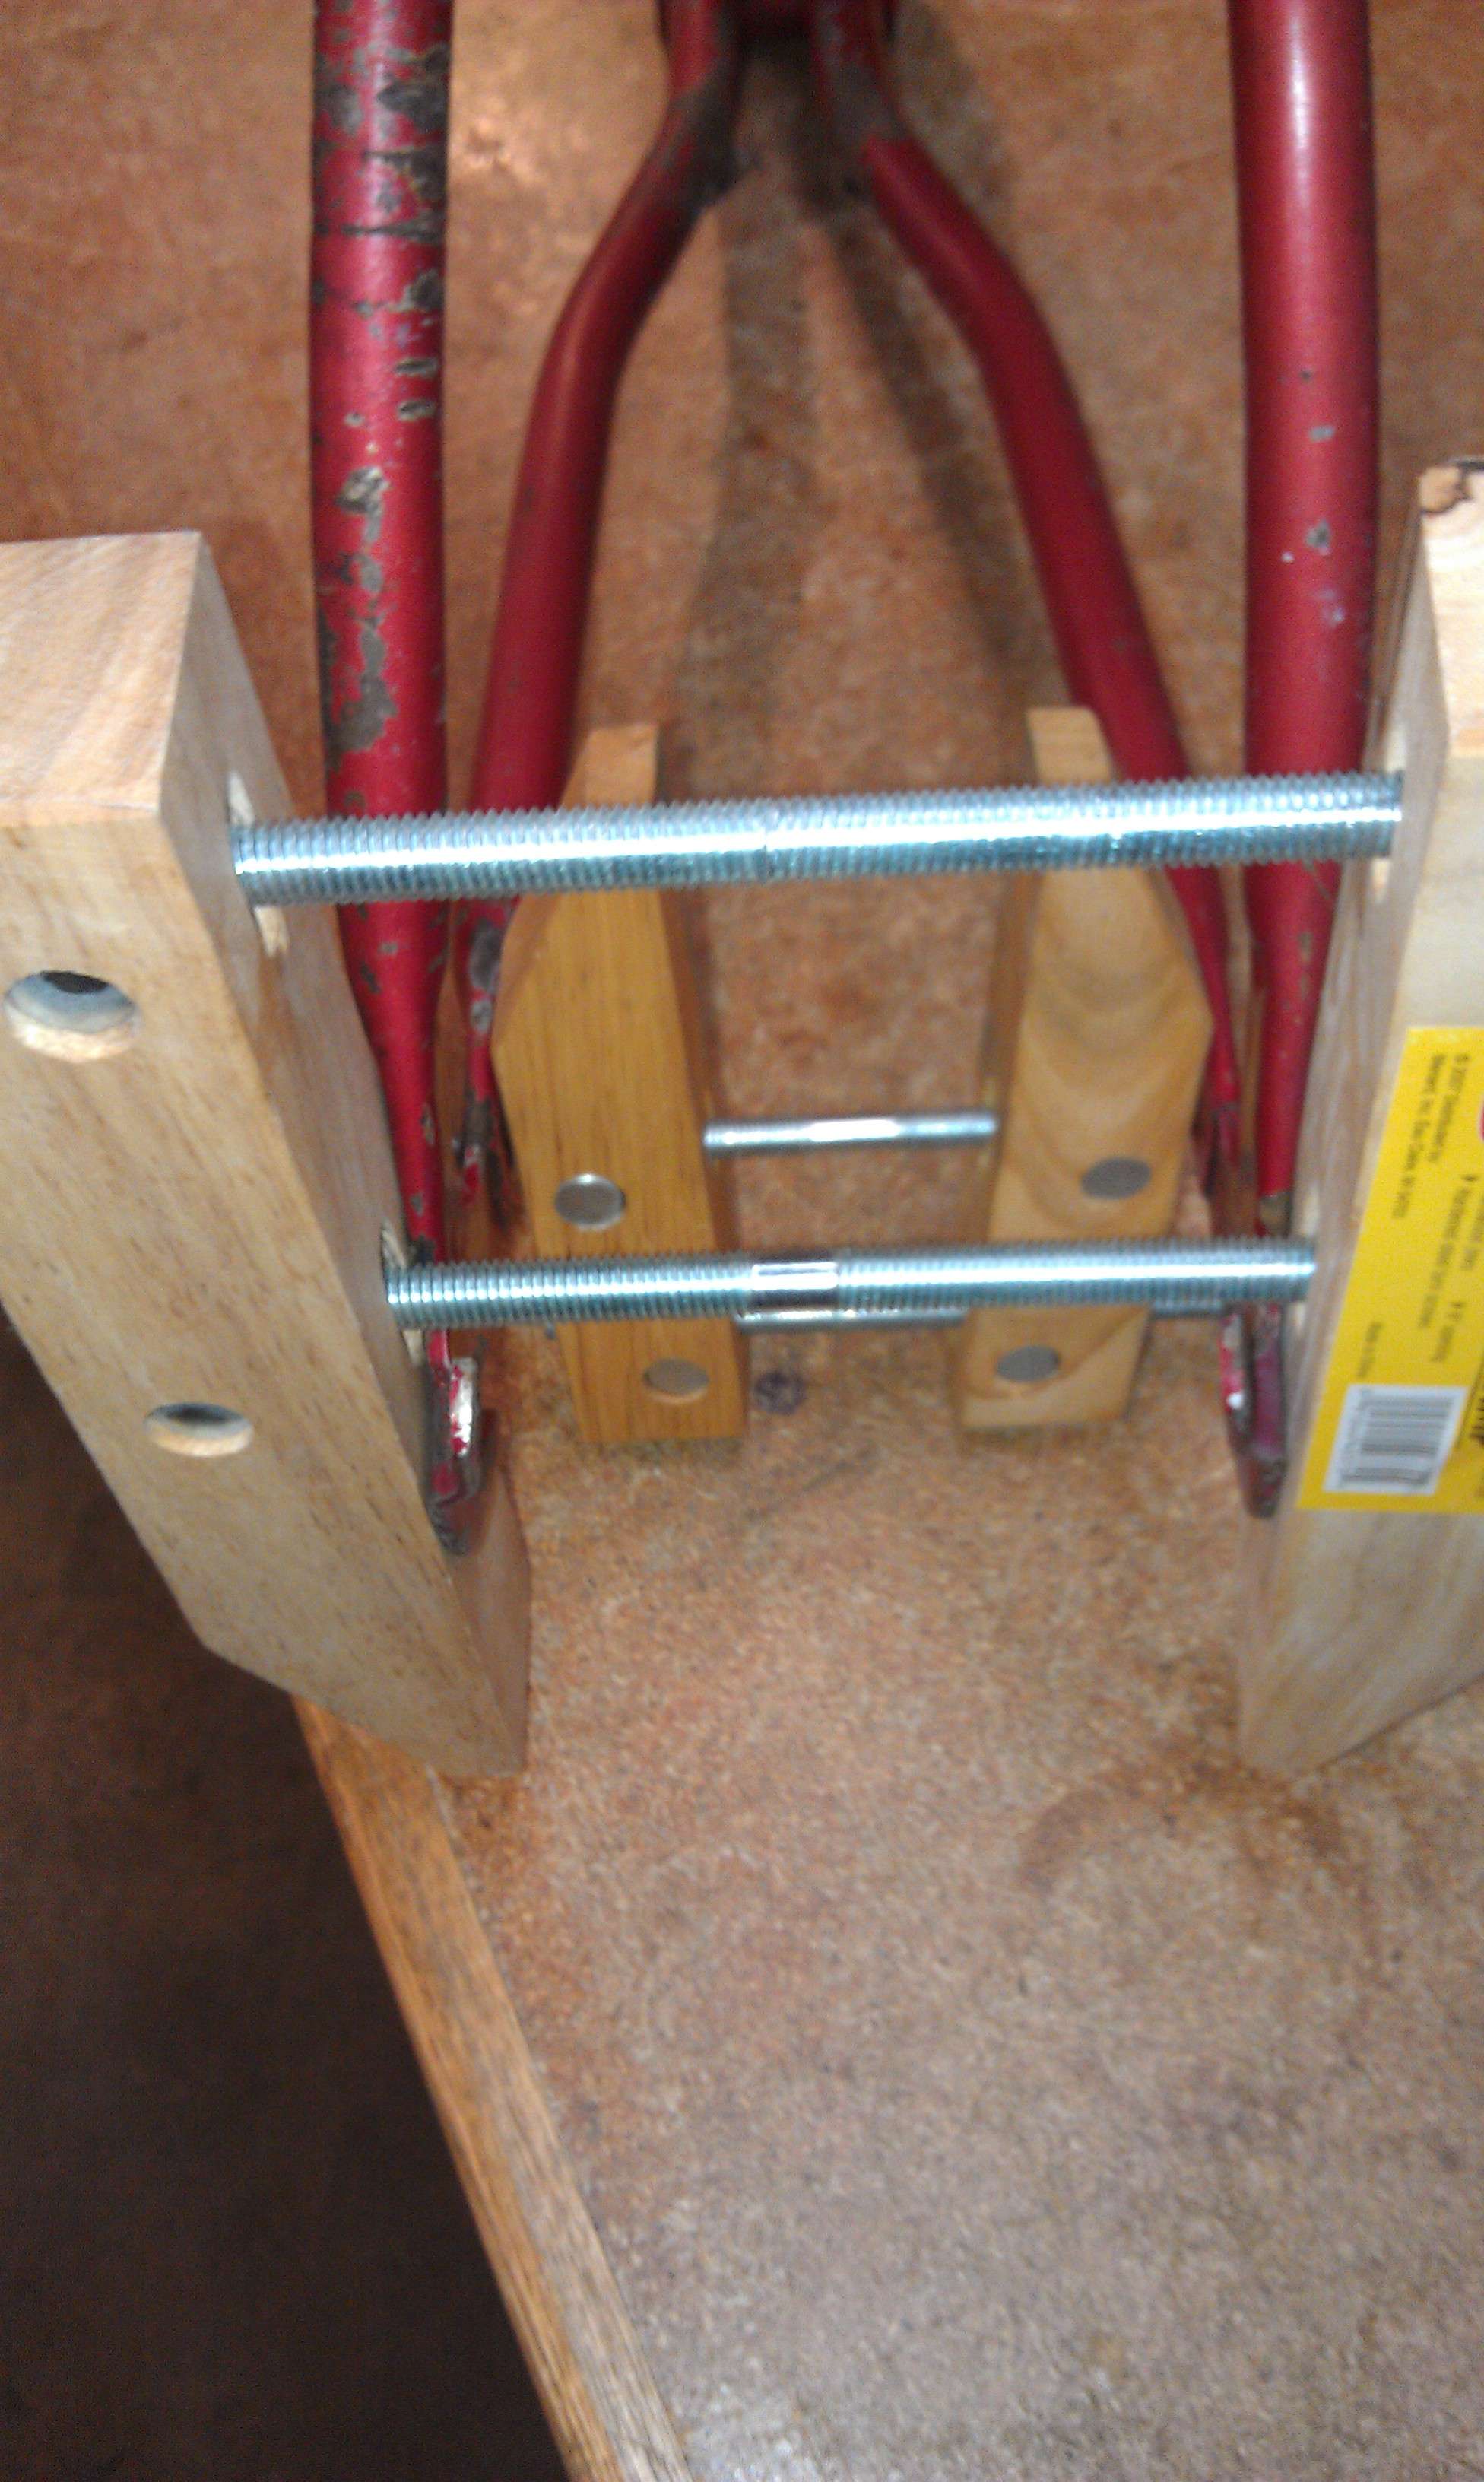
Just slide the clamp between the drop outs and screw them apart. Of course (as with other methods) you must go past where you intend to finish so as to allow for the metal to spring back a little. The good thing is that you're applying equal pressure to both sides with very little effort and you're not going to scar up your paint if that's a concern.

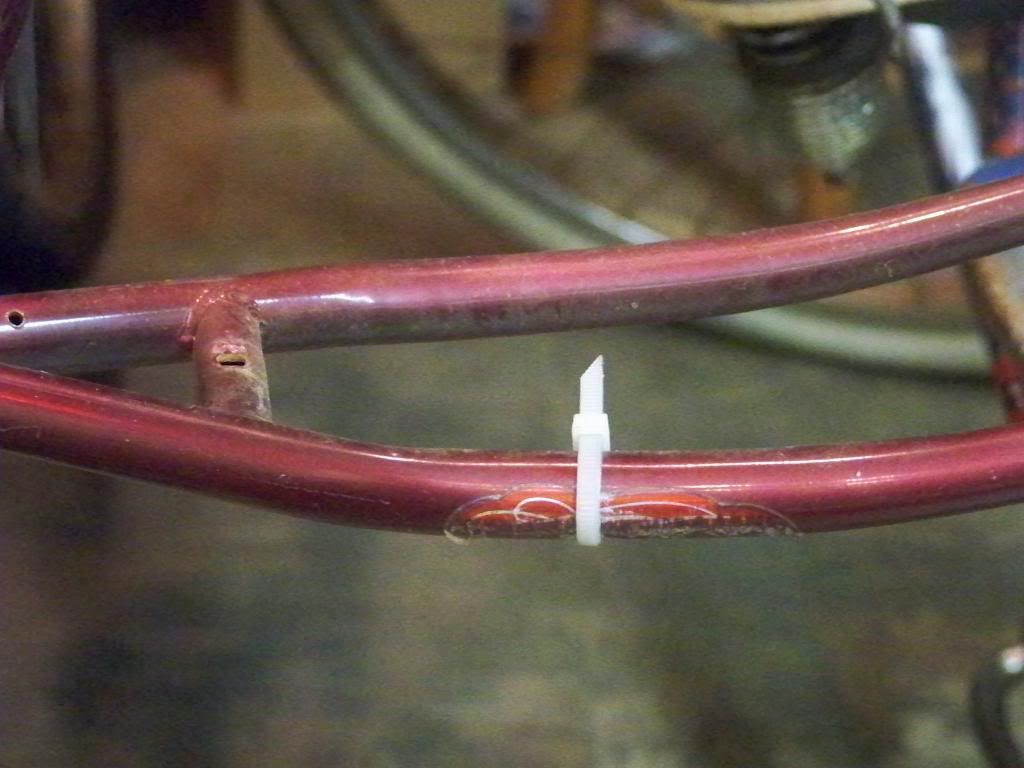
I didn't feel the need for a before picture, but it was a normal width for a coaster hub.
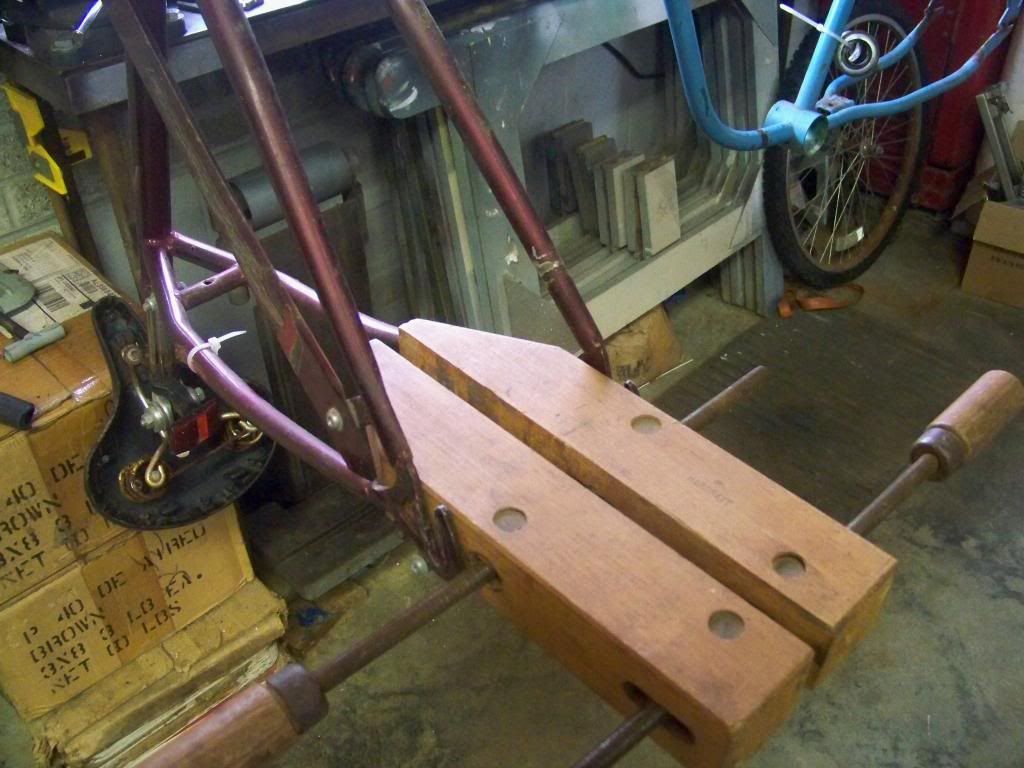
Here's the clamp (these things have some real force):

100_4679_zps9477b99a.jpg


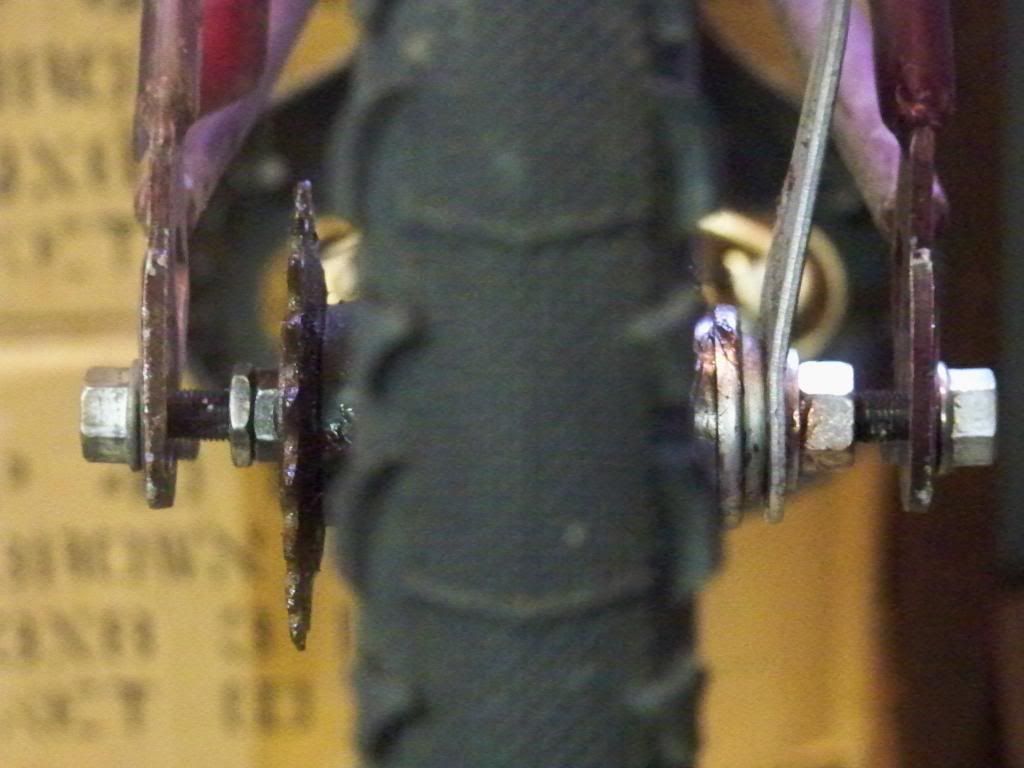
And here's the coaster hub back in place showing the added 1/2" or so on each side:

100_4685_zps63378912.jpg


If you over shoot it, you can open the clamp, put it on the outside, and squeeze it back.
 
Perfect! I always use threaded rod and that's a lot of nut turning especially checking for spring back. My wooden clamps are ironically clamped to the floor rafters right above where I work on the bikes. Very good idea.
 
Man I bought one of those once. I never knew what it was for. Little did I realize
they were bike tools. :lol: :lol: :lol: :lol: :lol:
 
Everything in my shop is potentially a bike tool. :D

Even that bike is a bike tool. It's my wheel truing stand (look closely and you'll see the zip tie gauge)! That's the reason I needed to spread it in the first place. :p
 
the zip tie gauge is a great tip too! I usually use blue painters tape in front of the rim with centering marks to true.
 
Spread the dropouts on my latest build using this idea. I am also going to mod the clamp with a v groove to use on the chain and seat stay tubes so it won't move around when using it.

Sent from my ADR6350 using Tapatalk 2
 
LukeTheJoker said:
Nice "How To" The Renaissance Man, thanks for sharing!
Thanks Luke, that's what I like about this forum. Two heads are better than one and at this site thousands are way better. I've already picked up a lot of knowledge that I wouldn't have otherwise.
 
XC204 said:
Spread the dropouts on my latest build using this idea. I am also going to mod the clamp with a v groove to use on the chain and seat stay tubes so it won't move around when using it.

That's awesome! Let us see a picture after you make the 'upgrade' to your clamp.
 
mitchelangelo said:
the zip tie gauge is a great tip too! I usually use blue painters tape in front of the rim with centering marks to true.

I don't find myself truing wheels enough to justify a real stand so this works fine for me.

The zip tie is actually very easy to use! I cut it a little long and to a point. It can be adjusted to the edge of the rim by rotating in or out. Then it slides back and forth to meet the top edge for checking wheel hop. Pretty simple.

100_4701_zps09766f87.jpg
 
Actually, I needed about 3/8 inch more opening in the chainstays for a wide tire. I think if I go real easy, it'll work.
 
I didn't cut the v grooves yet but I did buy a bigger clamp to bend the dropuots back to parallel to frame after spreading.

imag0675a.jpg
 
I have used various methods. On bigger wheeled bikes I have laid the frame on the ground, stood on the lower stays and pulled the other stays away from them.
I now have a diamond/ scissors action car jack. I screw it to near flat. Put the foot, top, in between the drop outs. Then screw the handle, till its the width, maybe a bit more, as it will spring back.

The problem with both these methods, is that it cold set the tubes unevenly. So the wheel will sit to one side, tyre or rim might hit the frame, guards, brake.

A good way to set it so its straight and even. Is to strip of all the parts from the frame. All the BB parts out of the BB shell. Then Clamp the BB shell in the vice. Now for instance, if your frames got a 110mm gap for the rear wheel over locknuts. And your wanting to go to 130mm. Thats 20mm wider. 10mm per side.
I get a long scaffold pole/bit of wood/garden spade. I put one end in thru the drop outs, and then over the seat tube. Sort of like the same position of a chain guard, but maybe not so low on the seat tube. Then lever against the seat tube. Till the drop out width is 120mm from the unadjusted drop out. Then when thats ok. put the pole/etc, on the other side and move the other drop out. If you go to far, put the pole to push the drop out, in again.
 
Thanks for the tip... I am going to try this over the weekend... " we have the technology..."
 
Yes!
This is just what I needed. Thanks for the tip!
Off to Harbor Freight for some wooden clamps!
 
Today we are going spread the rear dropout. I will introduce you to some highly specialized bicycle tools that you might aspire to own someday. Heretofore, I have been wresting this wheel into the rear triangle with some difficulty. Today we will rectify that. I have learned that Morrow hubs are a little wider than New Departure hubs.

Our spacing is presently a piddling 4 1/16in. :(


The hub itself measures 4 1/2in... doesn't sound like much of a difference, but this traingle is stiff! I struggle every time to get this installed.


Our first specialized bicycle frame tool... the "RM-1 Rear Dropout Tool" (Renaissance Man). This photo is of the second application. The first attempt was only partially effective. You can see I have cranked it out to 6in this time! :shock:


So how did we do? The spacing is now 4 5/8in - just about perfect. BUT - how do we know if the rear triangle is still in alignment??


So here is our second highly specialized bicycle frame tool - the "SE-2 Frame Alignment Gauge" (Straight Edge) The result is not quite perfect... The right side is out about 1/8 more than the left side... :(


Lucky for us; we have another highly specialized bicycle frame tool at our disposal, the "ZAD-56 Rear Triangle Fine Adjustment Jig" (Zora Arkus Duntov). This is really the only tool for the job. :)


So, how did the ZAD-56 perform? ...Dang!, 4 1/2in - right on the money and perfectly centered to boot...
 

Latest posts

Back
Top