Cool, looking forward to the update! :mrgreen:
Luke.
Luke.


i will let the belt sander do most of the job :wink:LukeTheJoker said:Looking good 1HP!
You have a lot of sanding ahead of you though... :mrgreen:
Luke.
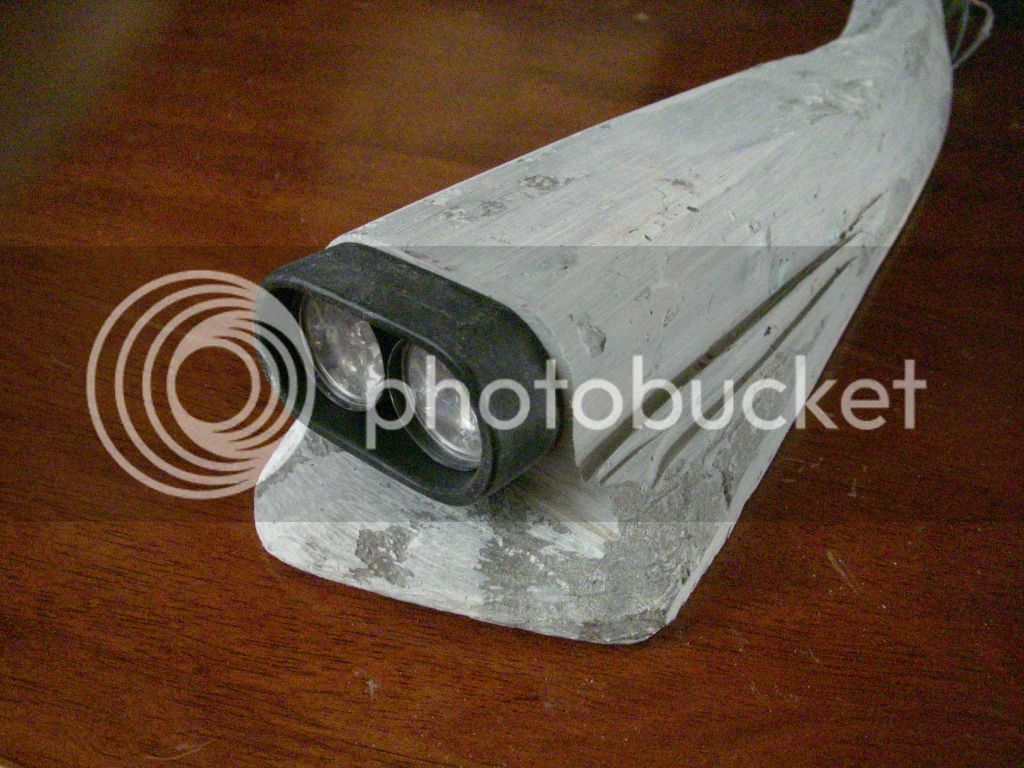

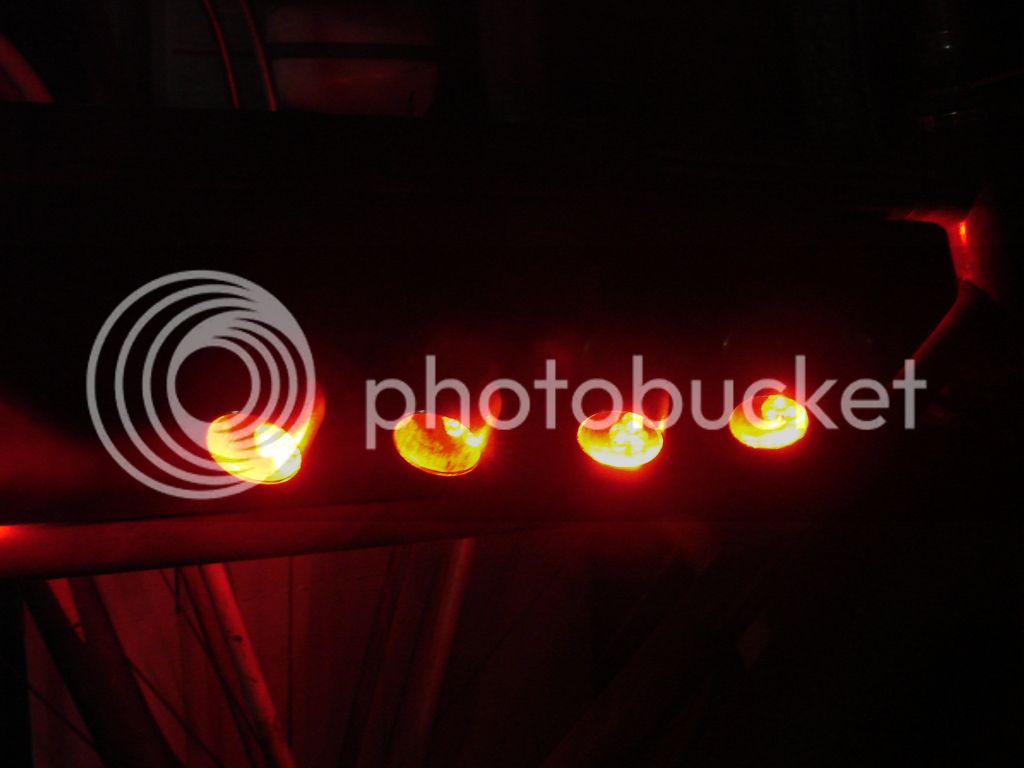
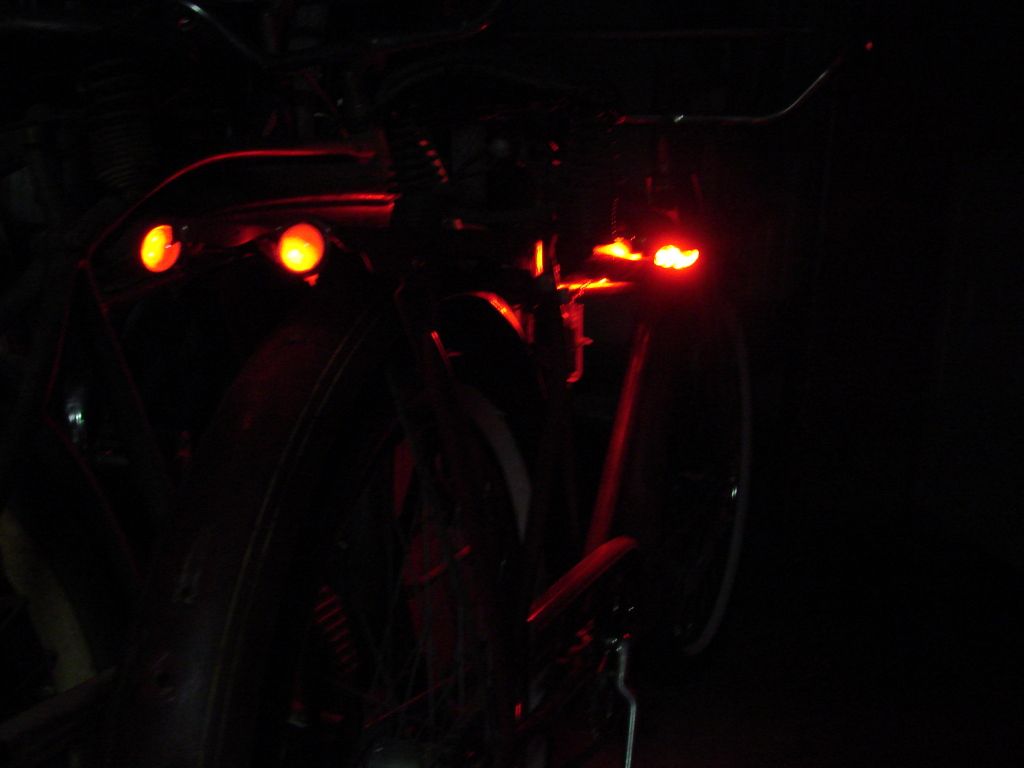
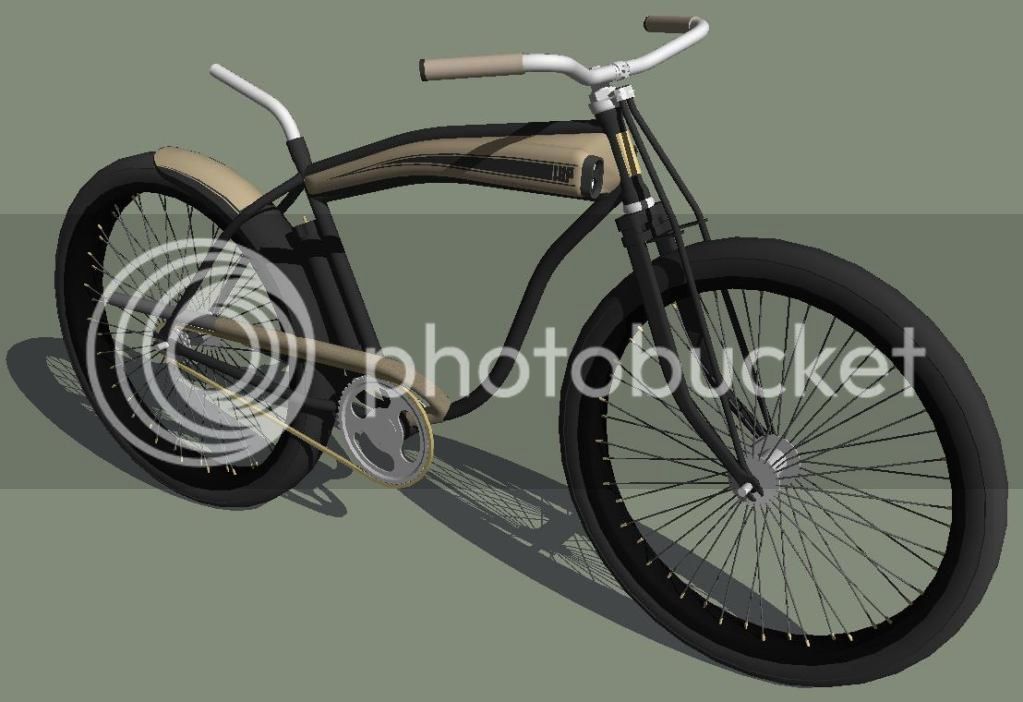

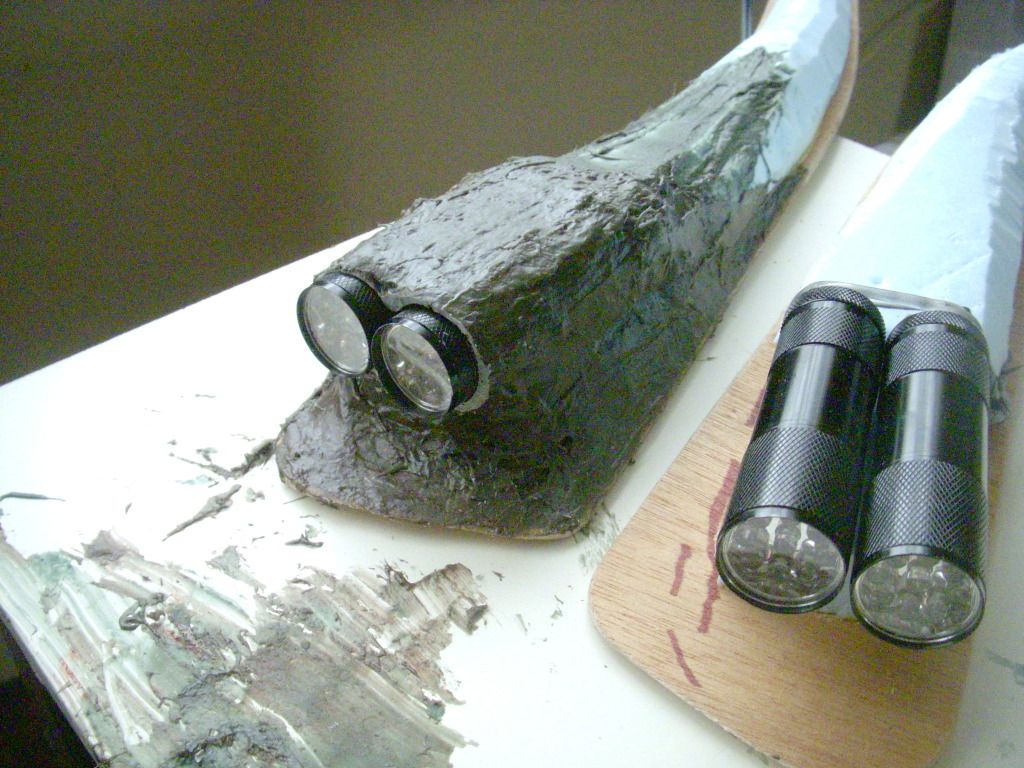
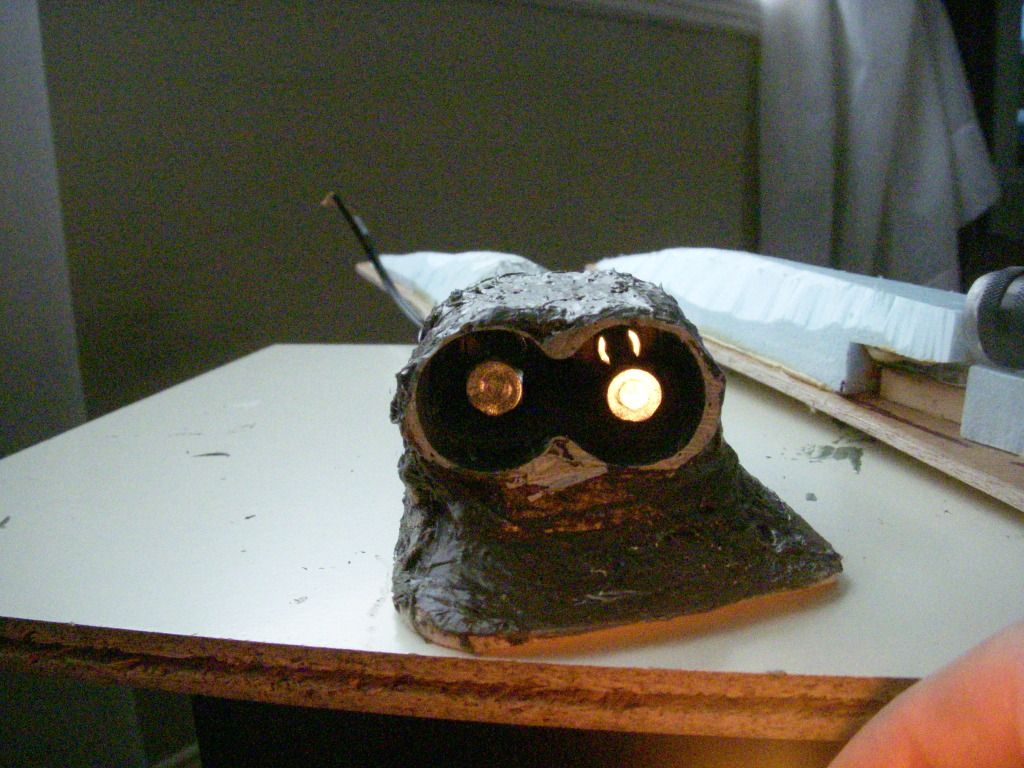
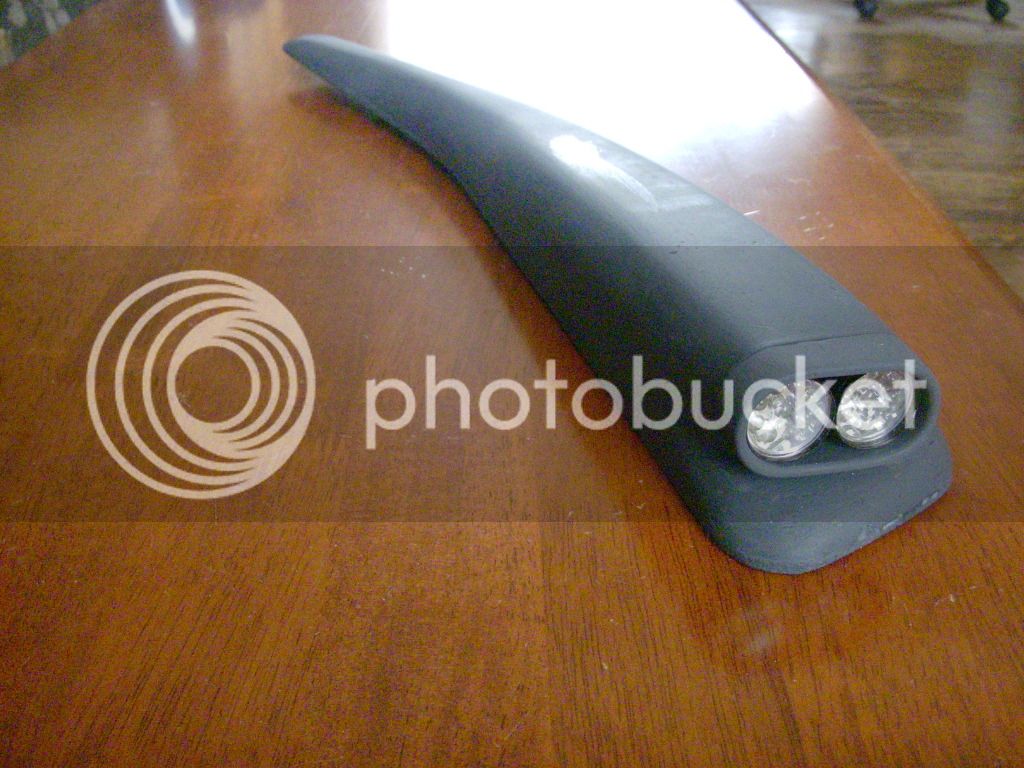
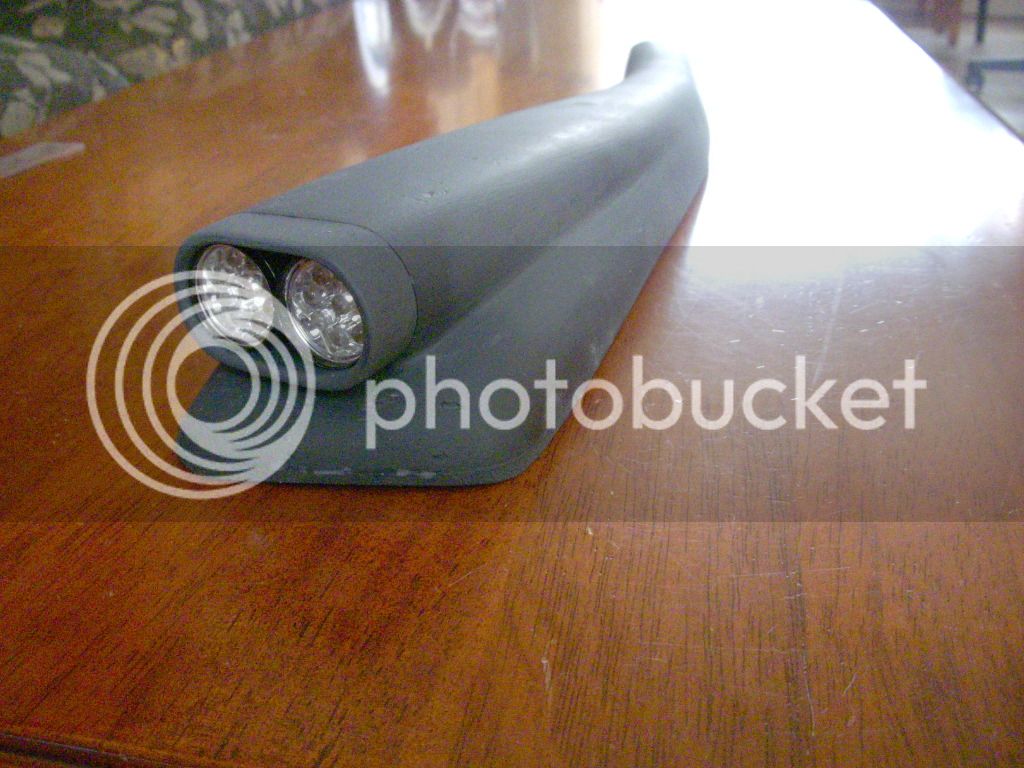
Yes , the light can be changed (cheap 2$ 9leds flash lights)that i can buy at allot of stores around here , but i purchase 2extras , just in case they stop selling them in the future, you can look at previous posts to see how i made it work..tanksalot said:I used a light string of 30 leds & tripled them up on the tank exhaust ports .. You can buy the lights on the bay for $6.00 shipped ..As you can see they are bright as heck using 3 AA batterys .. Im going to do more builds using these leds .. They work great . My build thread is route 66 in the builds section.I have have the bike entered in the musclebikeamerica site build off . I like your tank idea a lot I just hope you can change out the leds if your ever need to. I also like you Cad program what are you using for you mock up program?
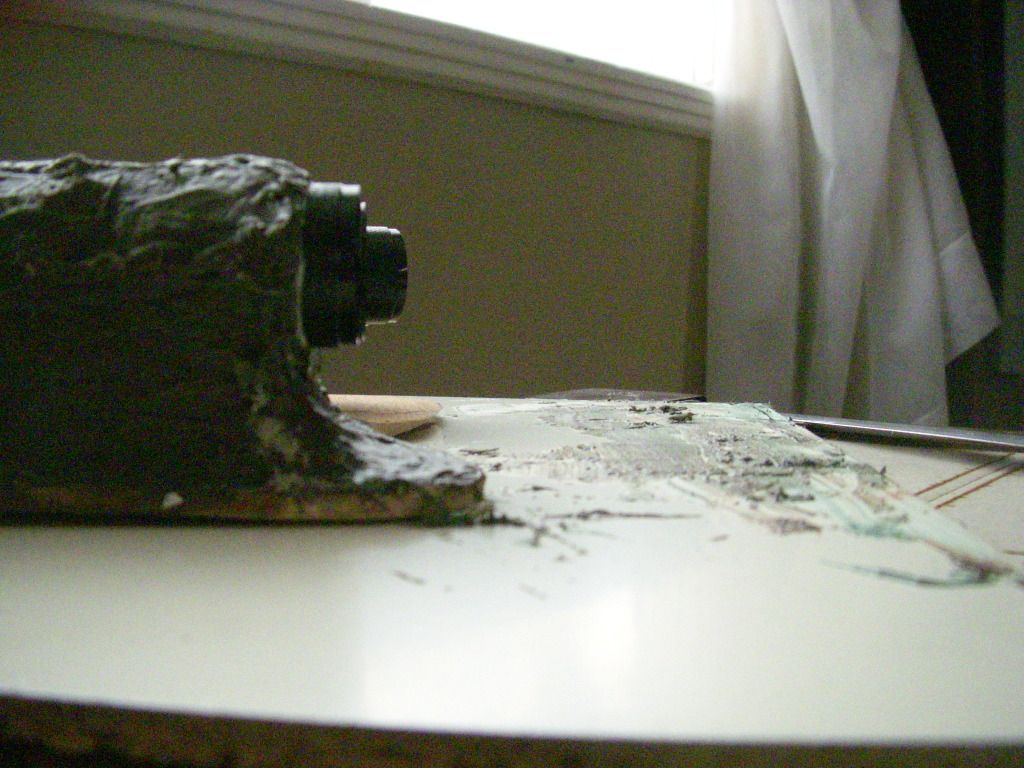
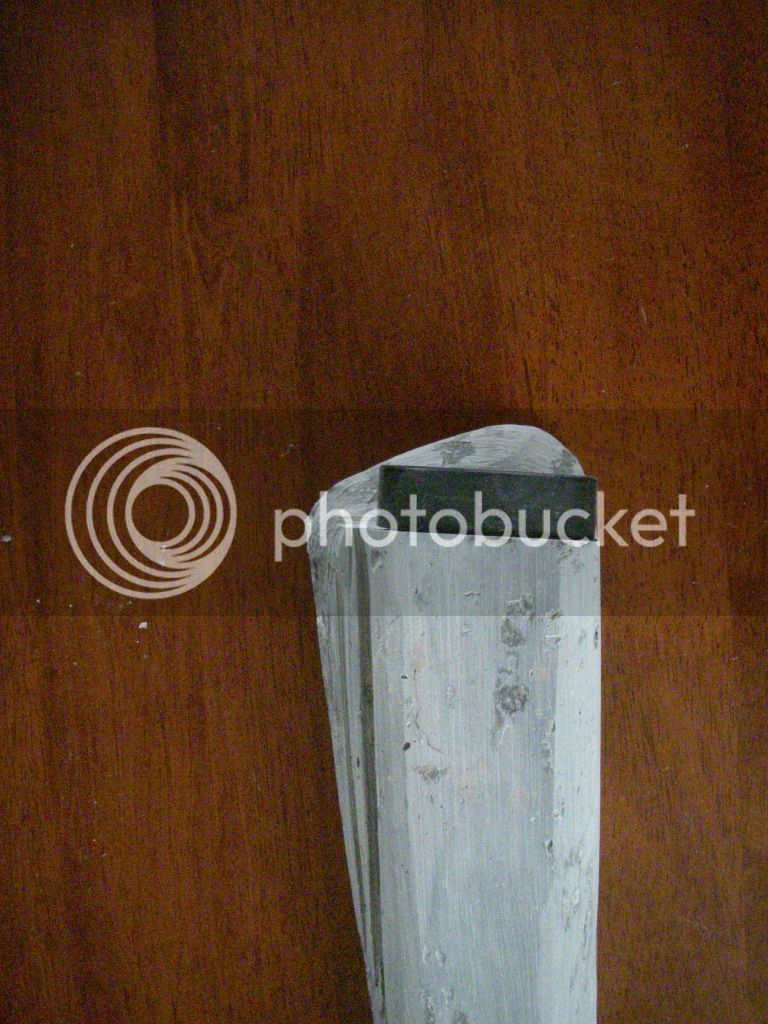
, still need some miner adjustments on this part , and of course trying to sculpt the other half exactly the same :wink: 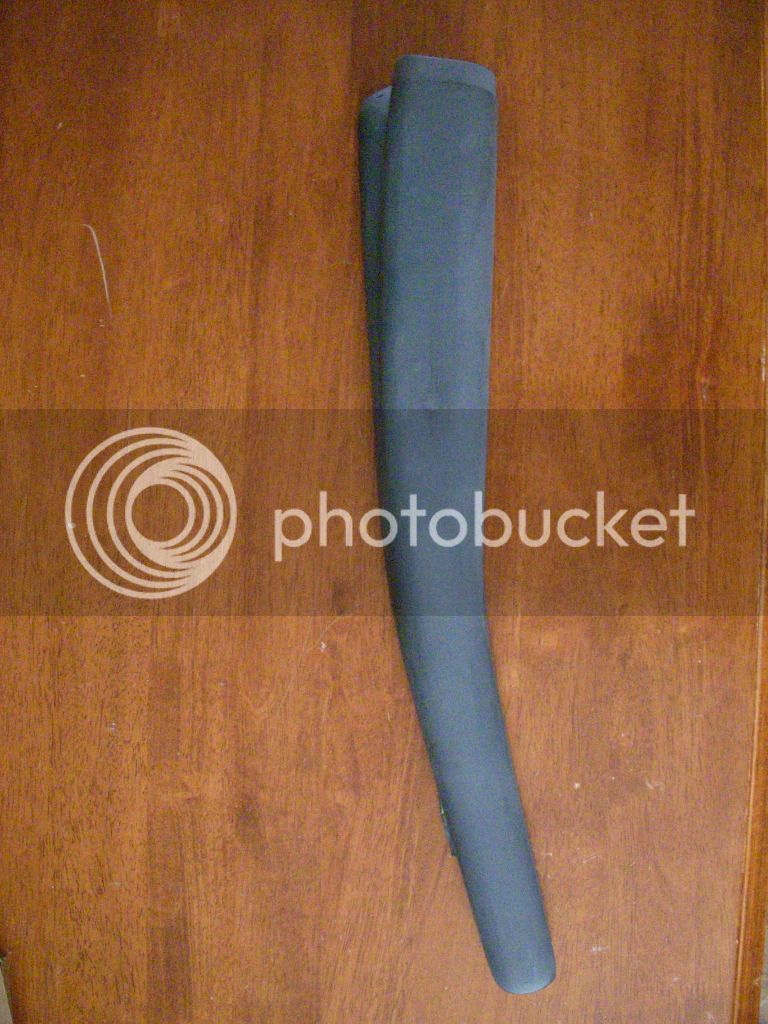
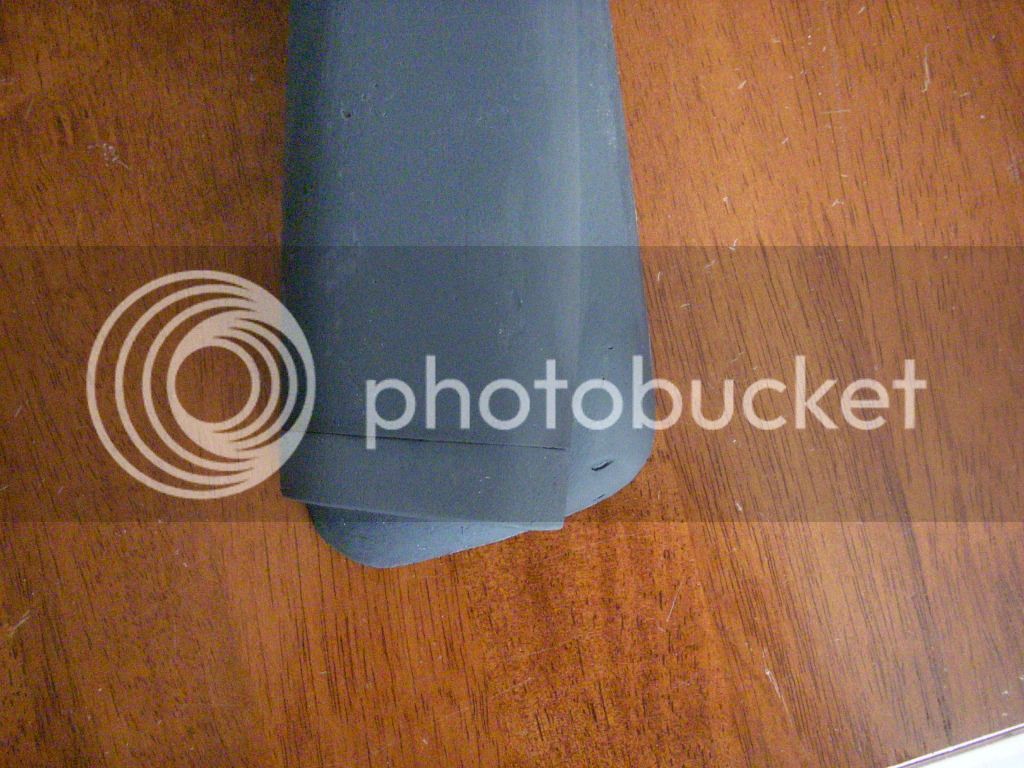
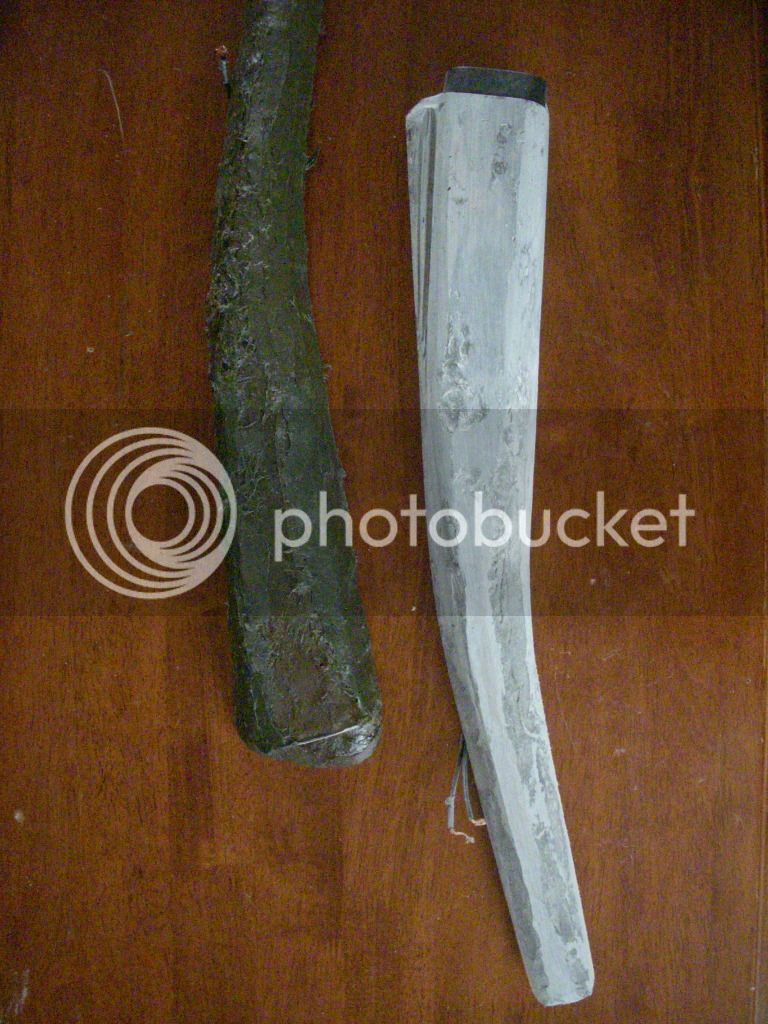
thanks man ! , i dont have a clue what your talking about for the ""speaker grill replacement clips"" maybe a link or a picture would help me ... as for fiber bondo , had no problem sculpting it with a "rasp file" and rough sand paper , it was actualy pretty quick ... i build up a good solid base with it and the rest was ordinary bondo ...and i let go the idea of epoxy and fiberglass , 1-cause i dont want to wait till summer to finish this cause it stink to much inside 2- for the build budget and 3 - That! is the most horibble thing to sand and its messy.. its plenty strong now anyways :wink:pholTmonx said:thats coming out slick 1HP!!!!!
.... :idea: next time your at a hardware store, check out the bin section for a furniture hardware drawer. For future use or ideas, the speaker grill replacement clips are impressively strong and durable, they are my go to for removable blind mount panels. really easy to install, and replace if there is an issue later on. I even use them to install headliner panels and consoles in rides, with quite a bit of electronics dangling in the air with no issue.
also, i noticed you used kitty hair/ marglass/ fiber filler, that stuff can be a bit of a pain to sculpt with. i usually cut it back with regular bondo or resin so if will lay down better and leave less pin holes. careful with adding resin, it kicks off faster and harder, you only need a few drops, its exactly the same stuff they sell as filler honey. on my final skims, I like to cut back my filler with glaze putty (catalyst putty not red or green) because the resin honey will make it tougher to feather and sand..
"chops" ? if you mean its still pretty rough, thats cause its sanded with 80grit , i primed it cause i could not see clearly the shape cause of the 2 colors of bondo :wink:mastronaut said:I'd say you got some sculpting chops! Lookin sweet...cheers!
oh! :roll: Thank you 8)mastronaut said:
"chops" ? if you mean its still pretty rough, thats cause its sanded with 80grit , i primed it cause i could not see clearly the shape cause of the 2 colors of bondo"
It's a guitarists term for knowing how to play...looks like you know how to do some creative bondo work... :lol:
http://www.nexxia.co.uk/pics/NX-GF-001.jpg this is a sample of the clip, they make all sizes and shapes, but the idea is they are made to be "blind" mounts, as in not visible from the front.. as for the bondo, was just suggesting to mix the 2 together, so it gets less pin holes etc, Im used to automotive finishes and pin holes can be a major issue to chase around later.. any way looks great, and good luck!!OneHorsePower said:thanks man ! , i dont have a clue what your talking about for the ""speaker grill replacement clips"" maybe a link or a picture would help me ... as for fiber bondo , had no problem sculpting it with a "rasp file" and rough sand paper , it was actualy pretty quick ... i build up a good solid base with it and the rest was ordinary bondo ...and i let go the idea of epoxy and fiberglass , 1-cause i dont want to wait till summer to finish this cause it stink to much inside 2- for the build budget and 3 - That! is the most horibble thing to sand and its messy.. its plenty strong now anyways :wink:
thanks! , but i could not find them anywhere , ill keep searching tho , cause if i can avoid a apparent screw , i will !pholTmonx said:http://www.nexxia.co.uk/pics/NX-GF-001.jpg this is a sample of the clip, they make all sizes and shapes, but the idea is they are made to be "blind" mounts, as in not visible from the front.. as for the bondo, was just suggesting to mix the 2 together, so it gets less pin holes etc, Im used to automotive finishes and pin holes can be a major issue to chase around later.. any way looks great, and good luck!!OneHorsePower said:thanks man ! , i dont have a clue what your talking about for the ""speaker grill replacement clips"" maybe a link or a picture would help me ... as for fiber bondo , had no problem sculpting it with a "rasp file" and rough sand paper , it was actualy pretty quick ... i build up a good solid base with it and the rest was ordinary bondo ...and i let go the idea of epoxy and fiberglass , 1-cause i dont want to wait till summer to finish this cause it stink to much inside 2- for the build budget and 3 - That! is the most horibble thing to sand and its messy.. its plenty strong now anyways :wink:
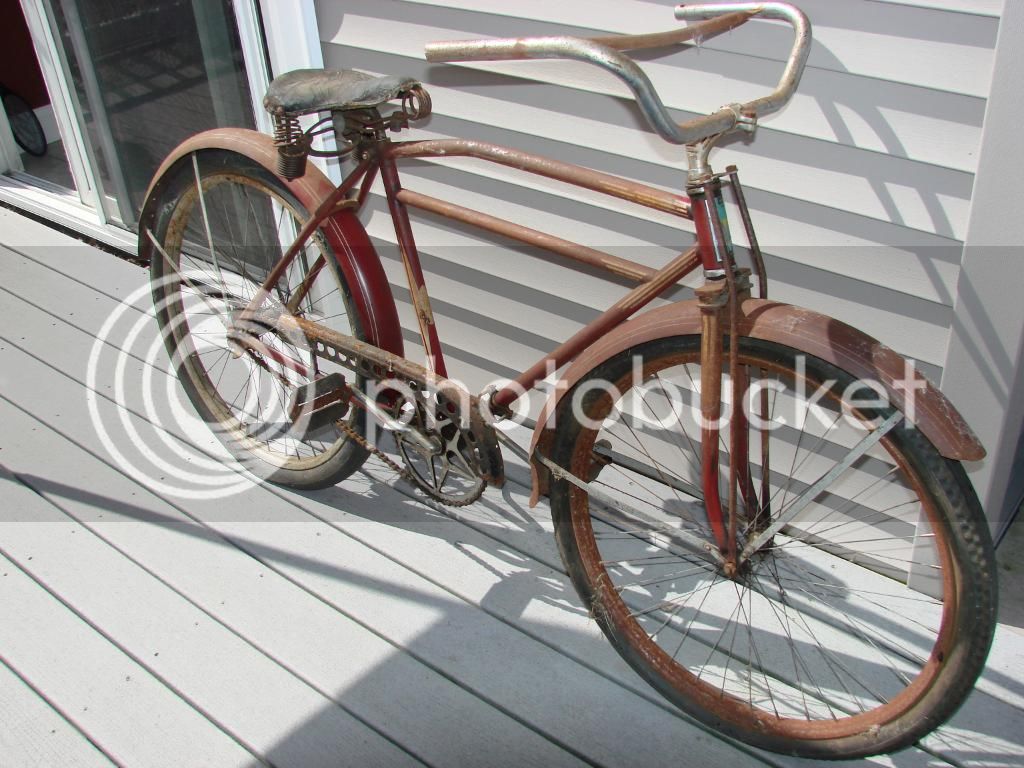
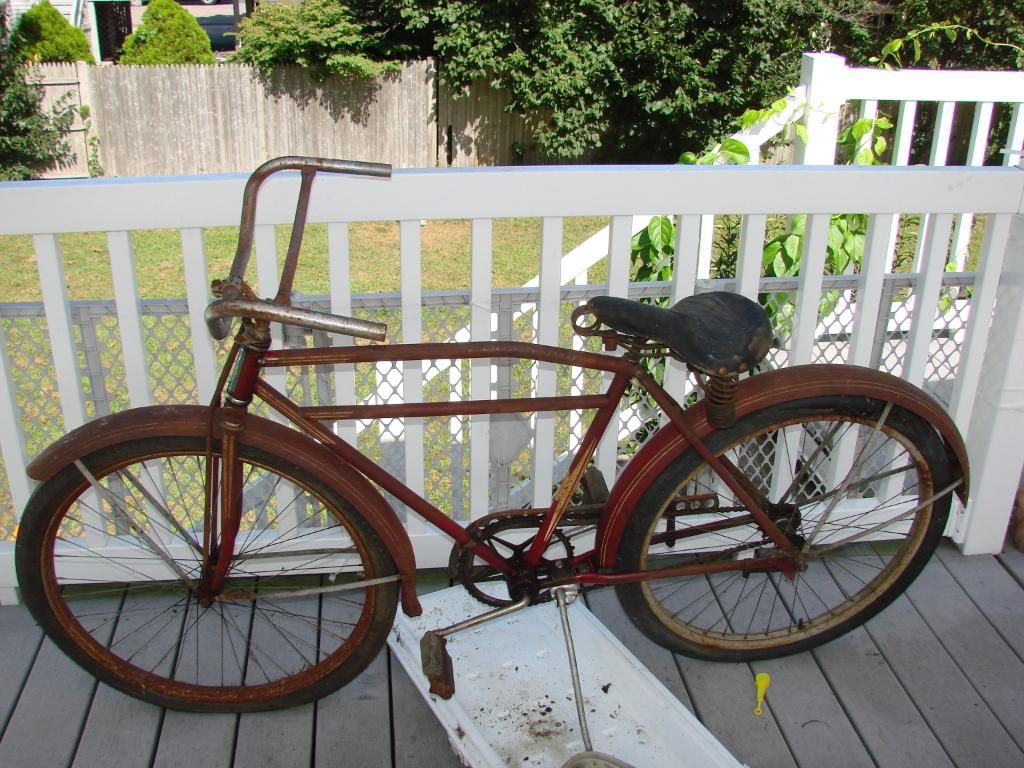
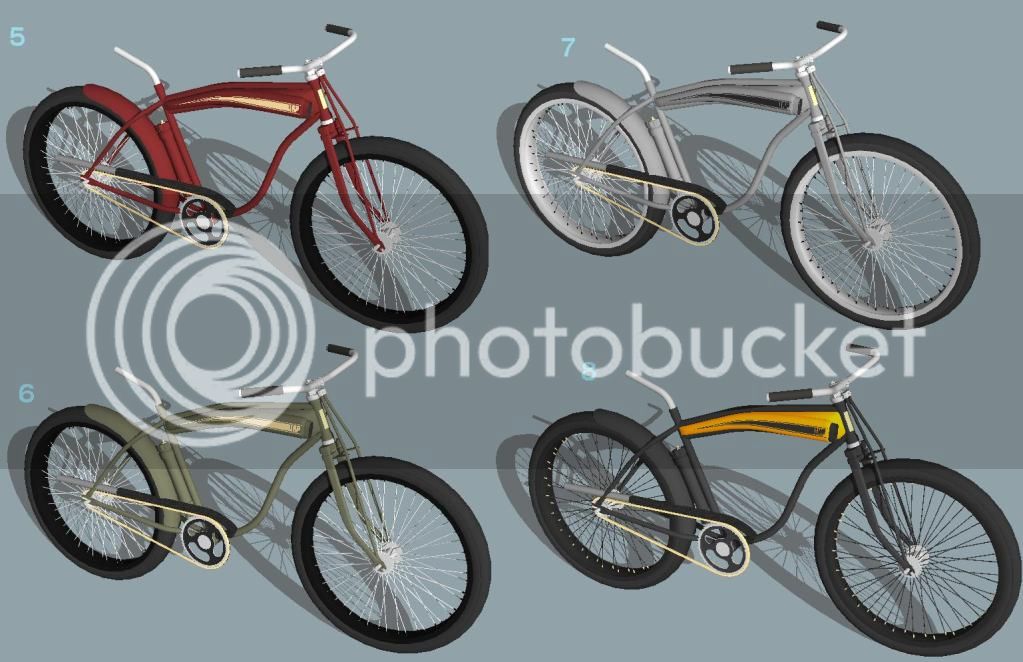
but now i cant decide which colors (2 tones) i will paint the bike 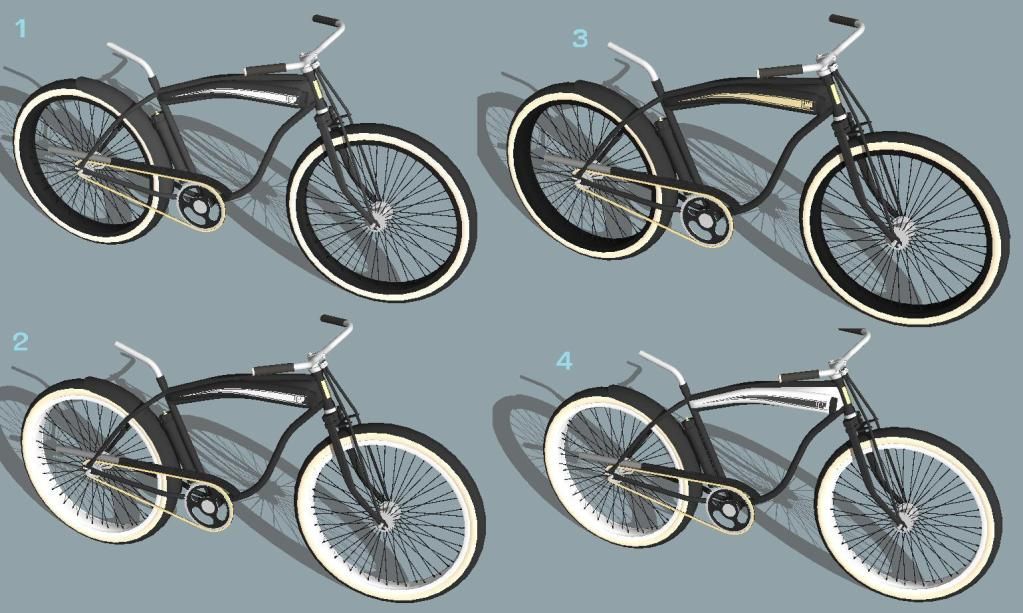
Enter your email address to join: