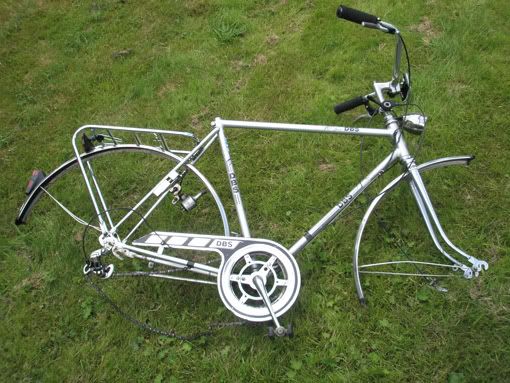
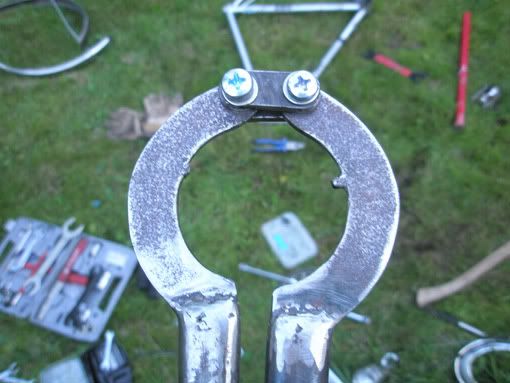
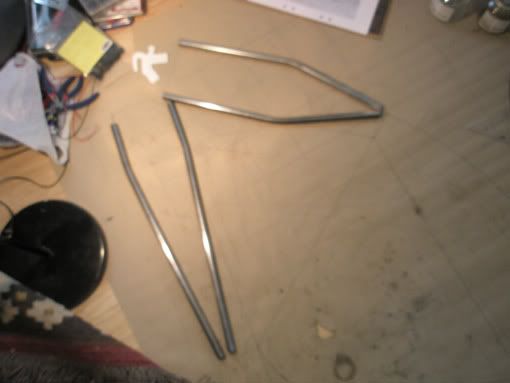
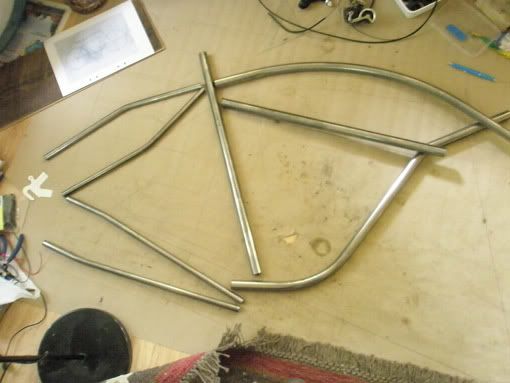
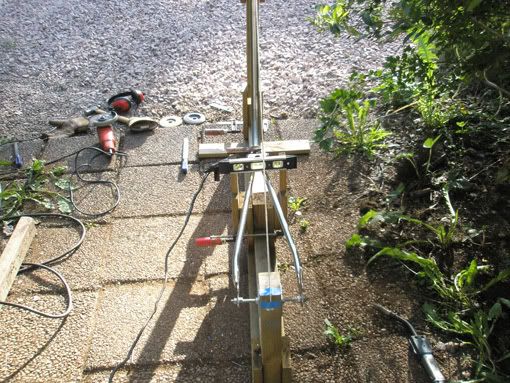
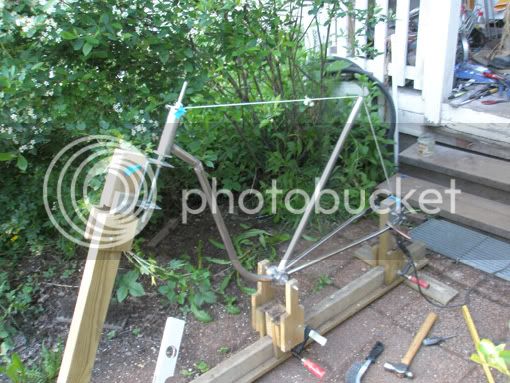
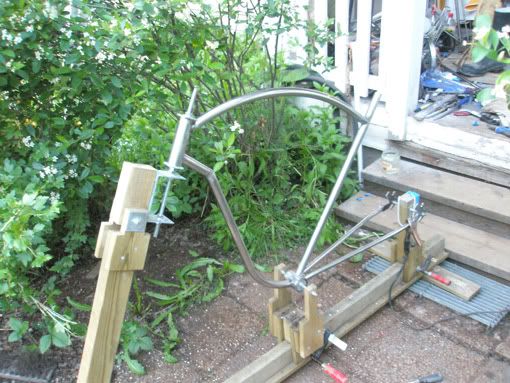
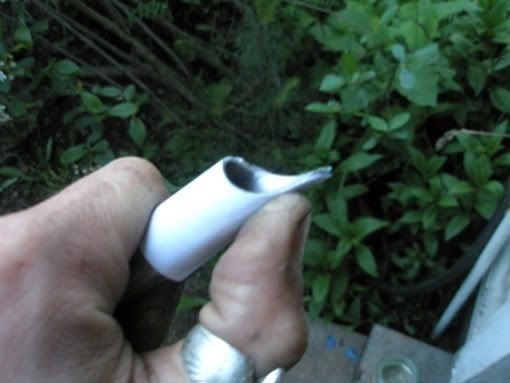
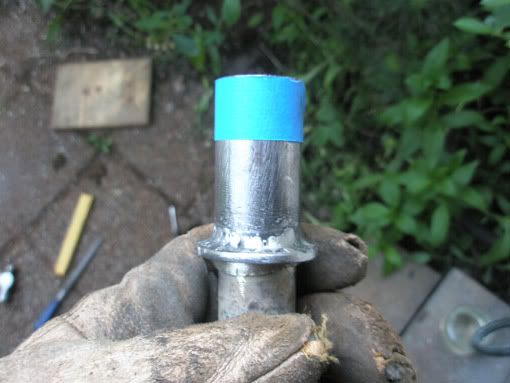
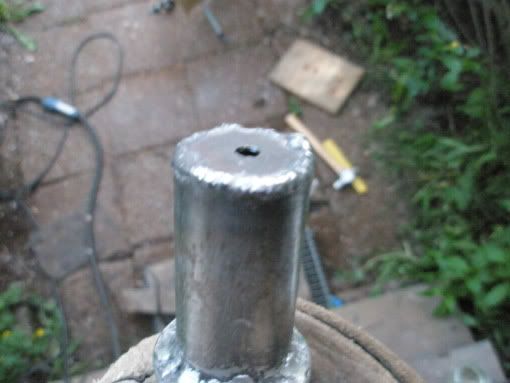
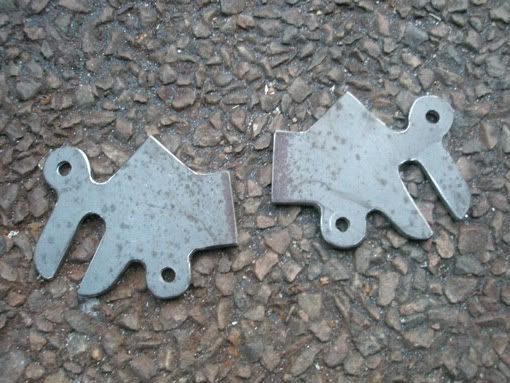
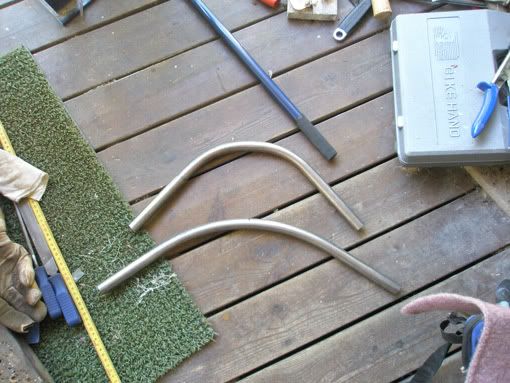
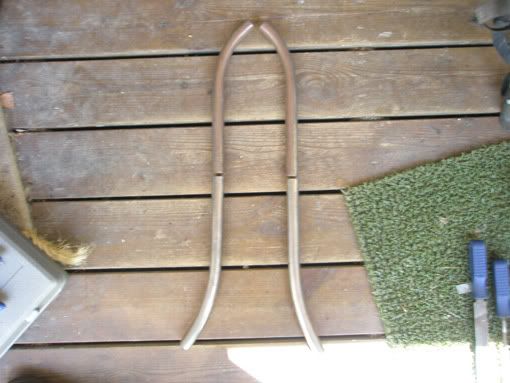
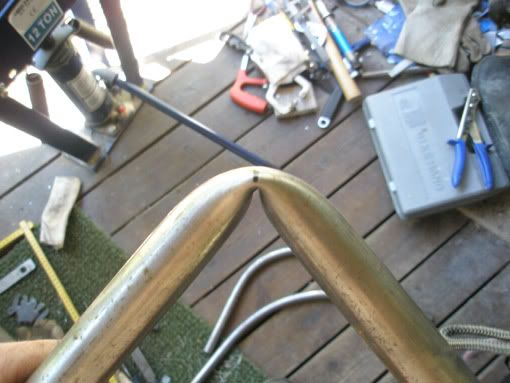
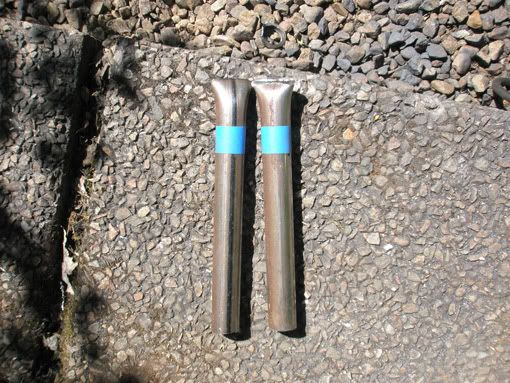
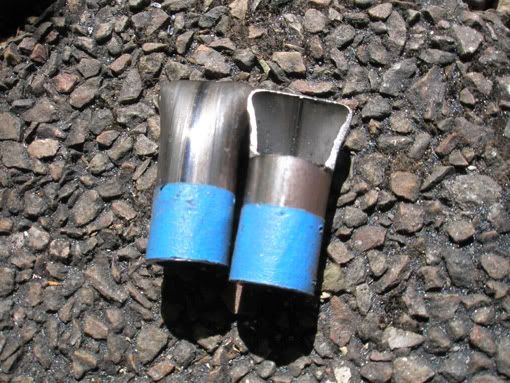
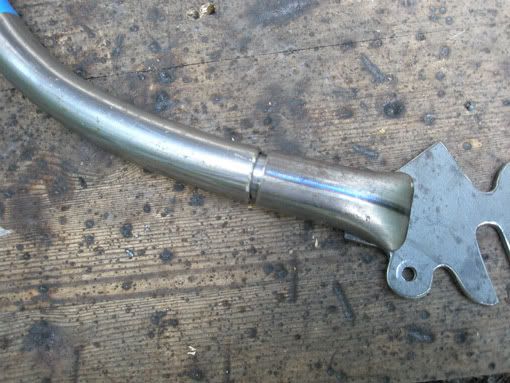
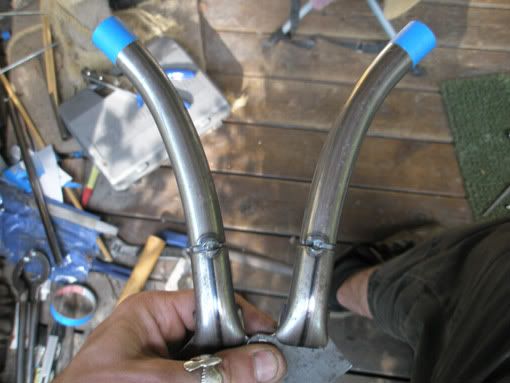
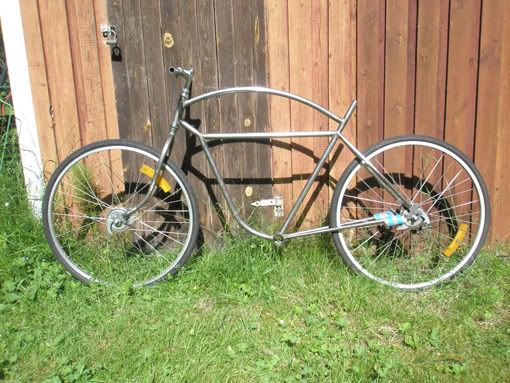
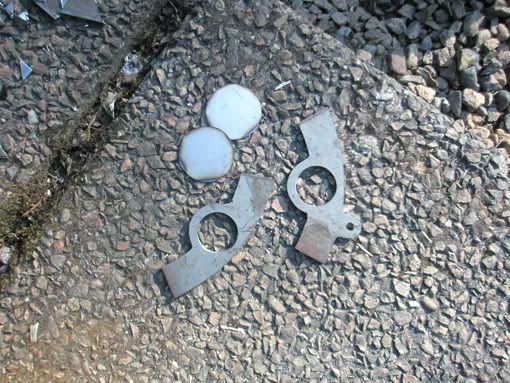
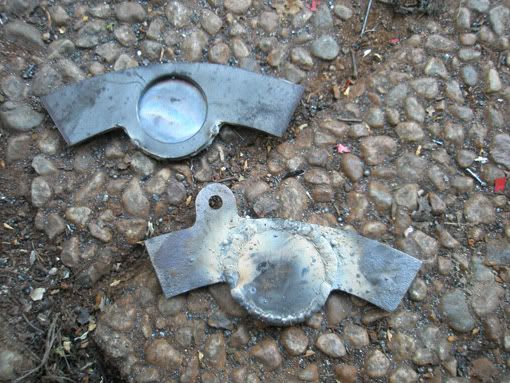
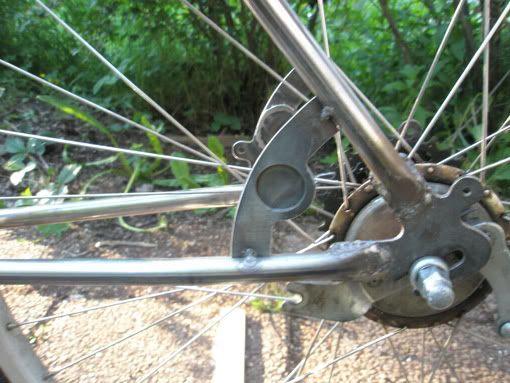
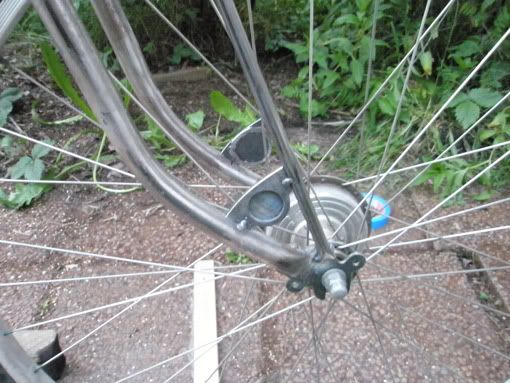
I really liked the basic design of the Retro Racer so I want to build a similar bike for myself. The Retro Racer was made on commission. Anyway, I don't wanna make the exact same bike twice, so I've done some changes to the design. I've tried to incorporate a little of the look of a modern roadracer motorcycle mixed with parts with an old looking design. Got some inspiration when I was watching Superbike or Moto-gp on Eurosport a while back. So I designed this bike to have a lower stance and a slightly more compact look. It will only have one top tube, not two parallell ones like the Retro. This is because I think one tube will work better with the paint scheme I have in mind for it.
Well I can't wright down all the stuff I've already worked out in my head for this bike (because in there it's already finished!!)...that would take up precious building time! :lol:
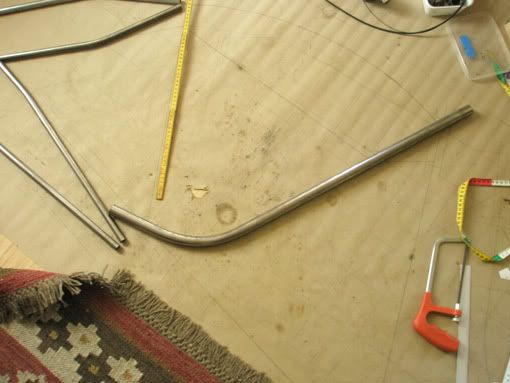
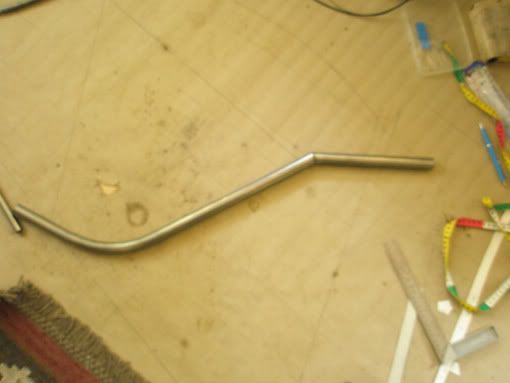
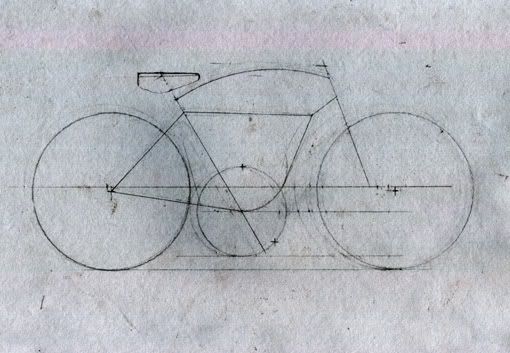
Here's the basic sketch of the design:
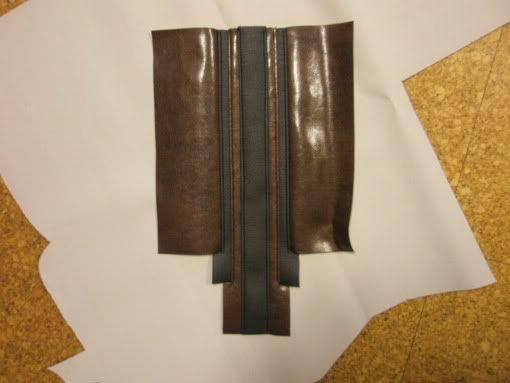
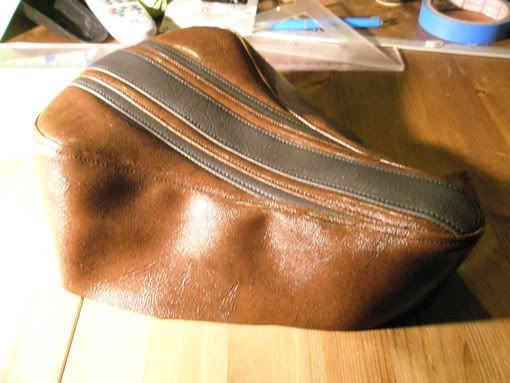
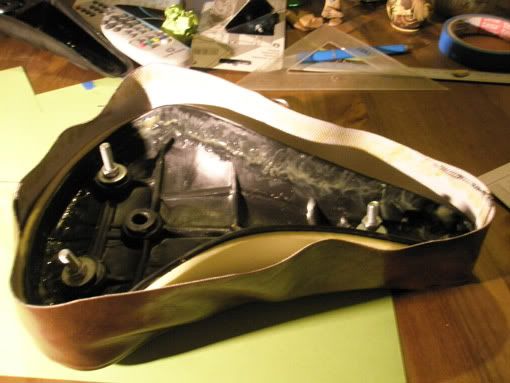
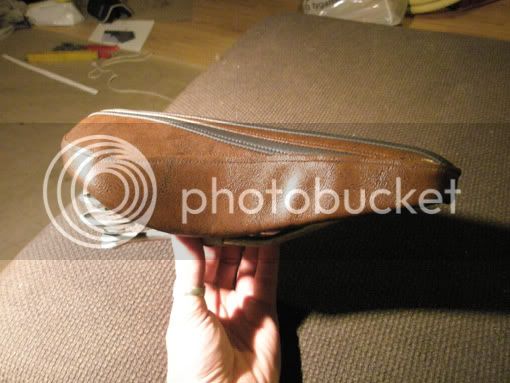
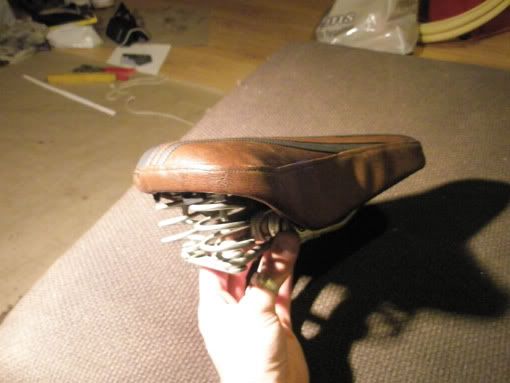
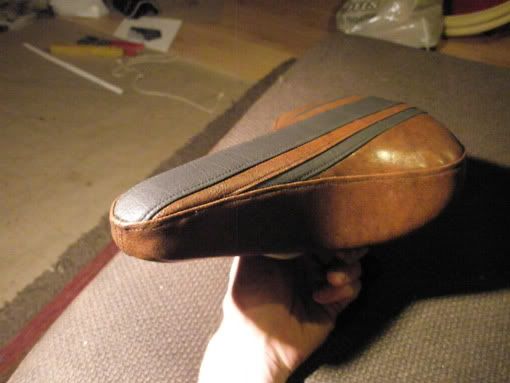
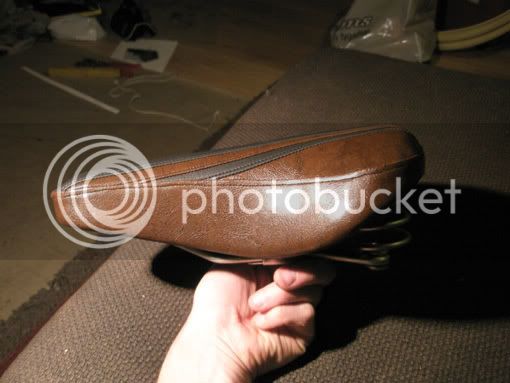
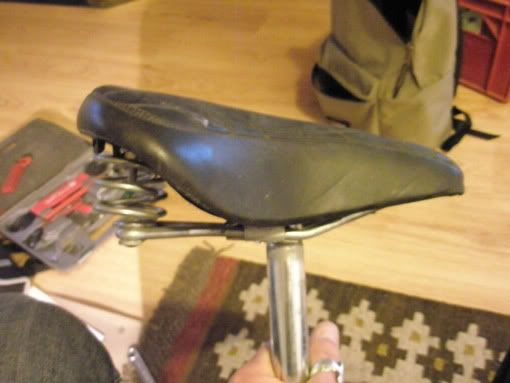
I'm using the seat from the Mustang. It's exactly the kind of seat I wanted for this bike!! With springs but not wide.
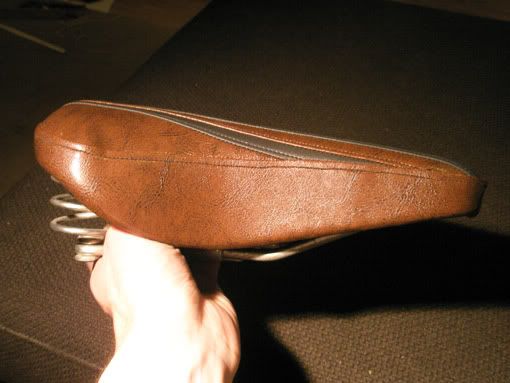
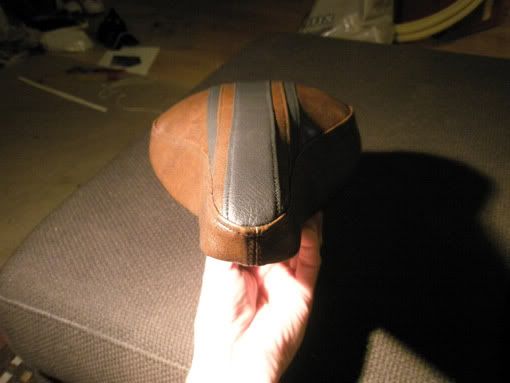
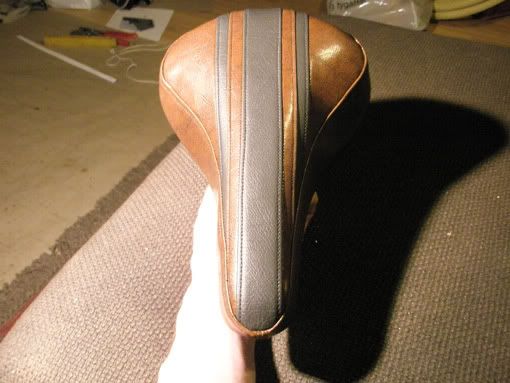
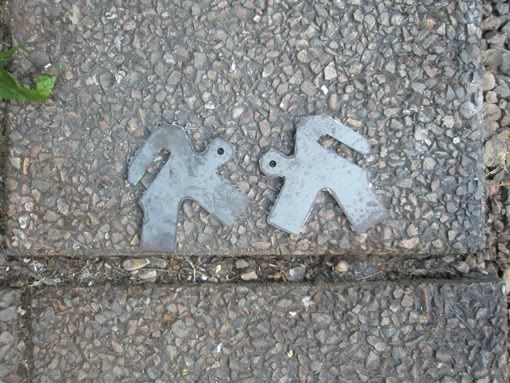
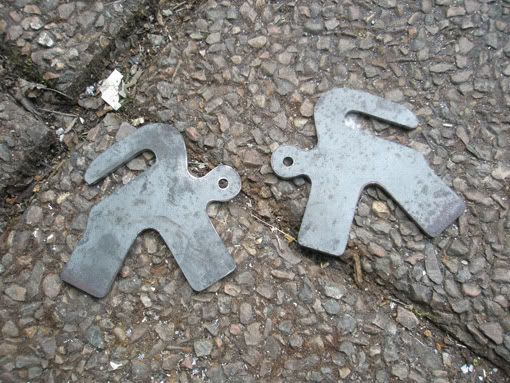
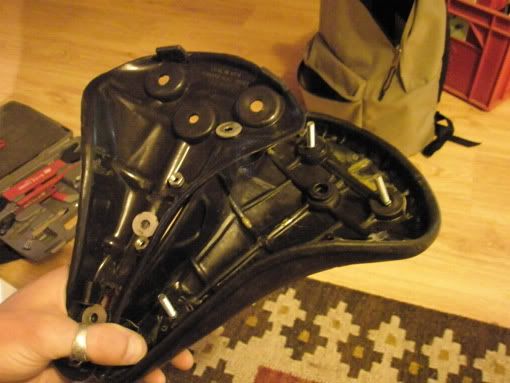
I love a well designed and constructed piece! This seat is made of two seat pans. I'll just make a new seat cover and reassemble it and then it's done!
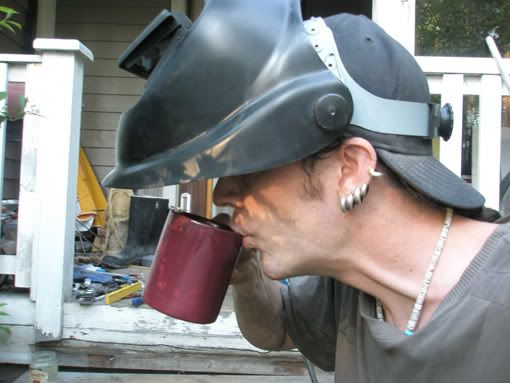
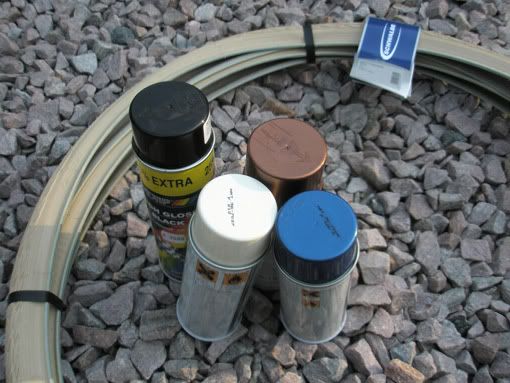
Now I'll go home and clearcoat the J.B.40! Hope to be back with progress pics soon...
Well I can't wright down all the stuff I've already worked out in my head for this bike (because in there it's already finished!!)...that would take up precious building time! :lol:
Here's the basic sketch of the design:
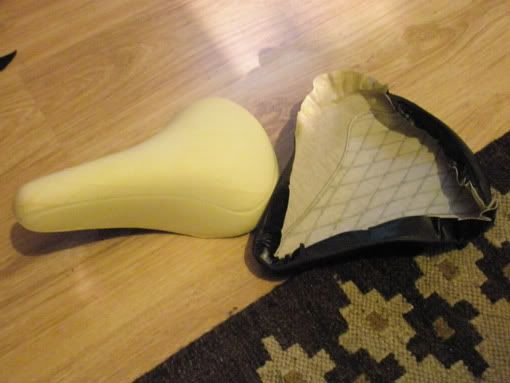
I'm using the seat from the Mustang. It's exactly the kind of seat I wanted for this bike!!
With springs but not wide.
I love a well designed and constructed piece! This seat is made of two seat pans. I'll just make a new seat cover and reassemble it and then it's done!
Now I'll go home and clearcoat the J.B.40! Hope to be back with progress pics soon...