RRBBO13 The Moonlight

Rat Rod Bikes Bicycle Forum

Help Support Rat Rod Bikes Bicycle Forum:

This site may earn a commission from merchant affiliate links, including eBay, Amazon, and others.
Nice lines and execution.
Just make sure you have chainline clearance in your mockups before final dropout weldng. from your computer drawing it looks like it should be fine
Oh yea, the chain line is always my issue. Pity i did not read that reminder BEFORE i have done the welding yesterday :D
Today is my last day of working at the workshop on that project and it is going to be brought to the garage, so i am going to hope it would be fine :)
 
So, yesterday was a dropout day!
Started by finishing the second dropout and clamping them to the wooden piece to make sure they'd have 120mm in between.
f4b52a5971a61546ec9d81c2bc949680.jpg


Cutting the frame from the back. A lot of grinding!
3b788c7beac3d2250ecea39ddc5b7c18.jpg


I can see the light in the end of that tunnel!
8613915c279541ef7636d7484ded8287.jpg


Fitting the clamped dropouts.
13eec8c45877a2175b596470aac0ec92.jpg

87457dcb4e7b3d538626104947086fb7.jpg


Welding the tube ends closed. Then cleaning some welds lightly.
ac32c08427ac54c69b3af3ee3b6e72b3.jpg


And here we go! After a lot of welding that's how it looks:
20dc7370b1a1e7c0cfc585341a741d1a.jpg


If there is one thing i am sure of about this frame, is that the dropouts won't fall off!
5334e00afabbbd39038e17791582b943.jpg

cb272195823301ad60a701668421b294.jpg

852df7b97f440505256540d62209b4d7.jpg


So, today i have to weld the coaster brake loop, maybe kickstand mount if i have time for, and to make the seat. I really hope to manage!
 
Thanks everyone for kind words and support :)
Here are the news.

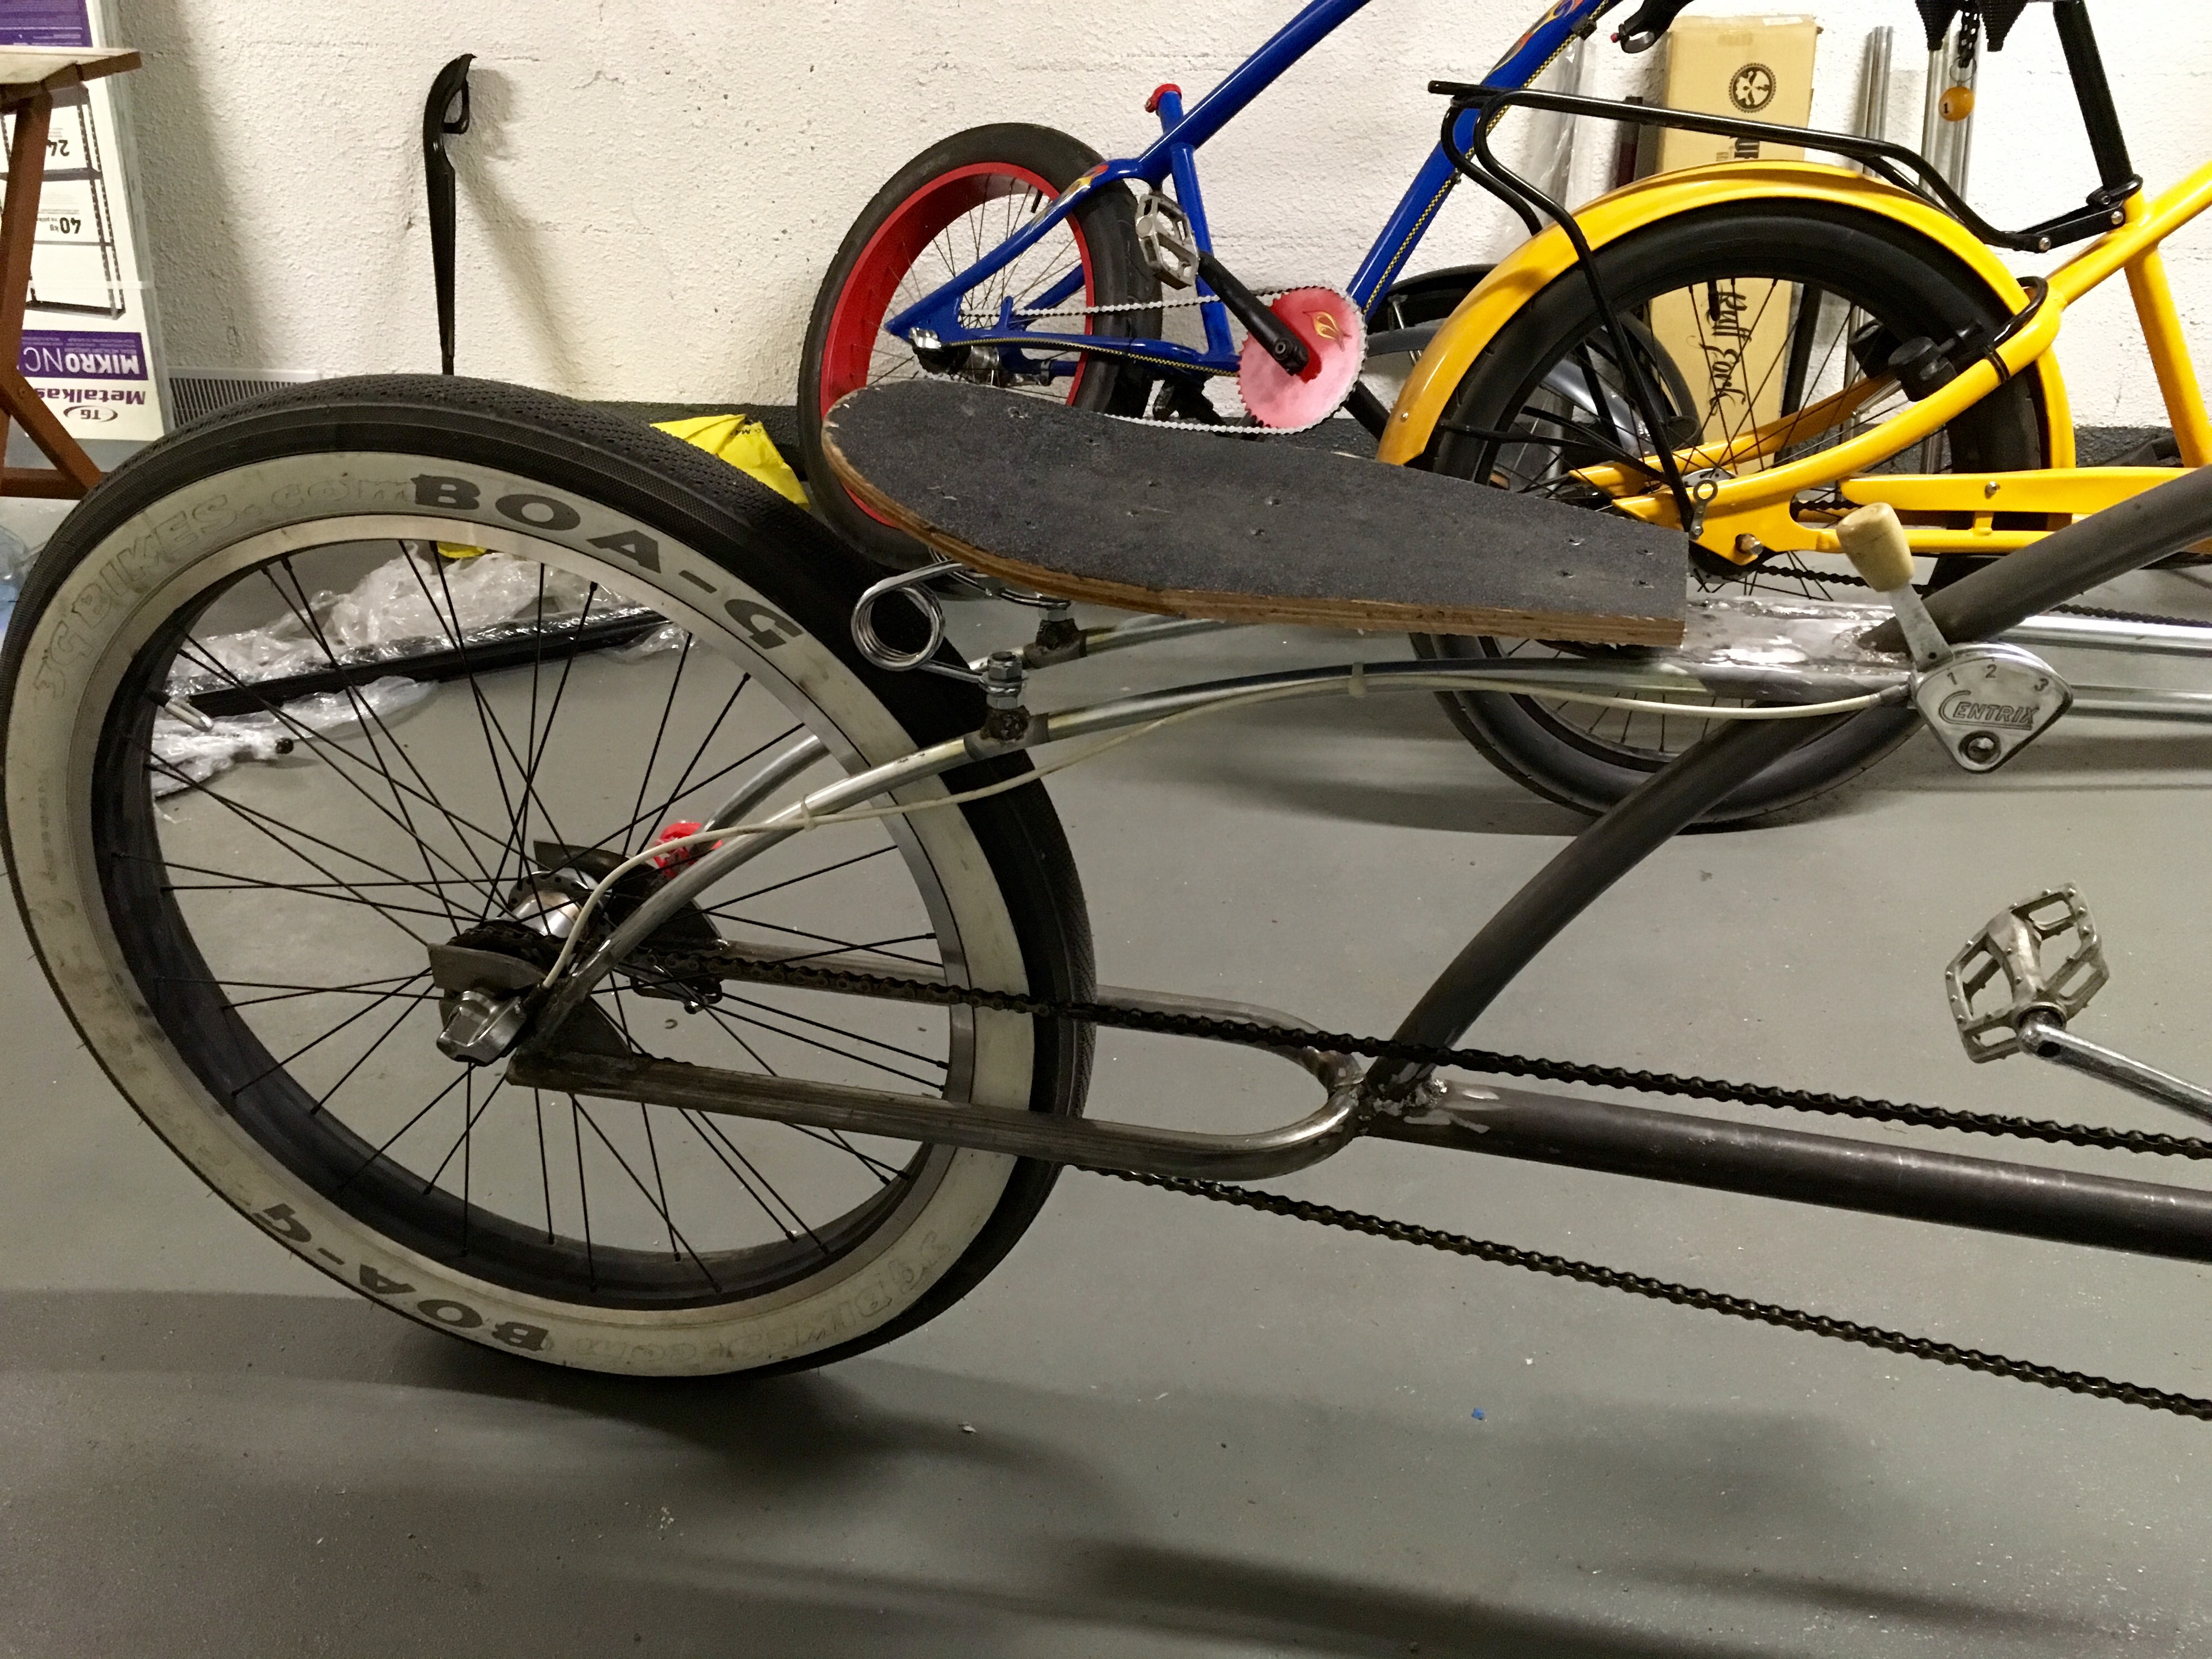
I have started a day with mocking up the bike.
030c85e28d183c8dac51bf58457177f0.jpg


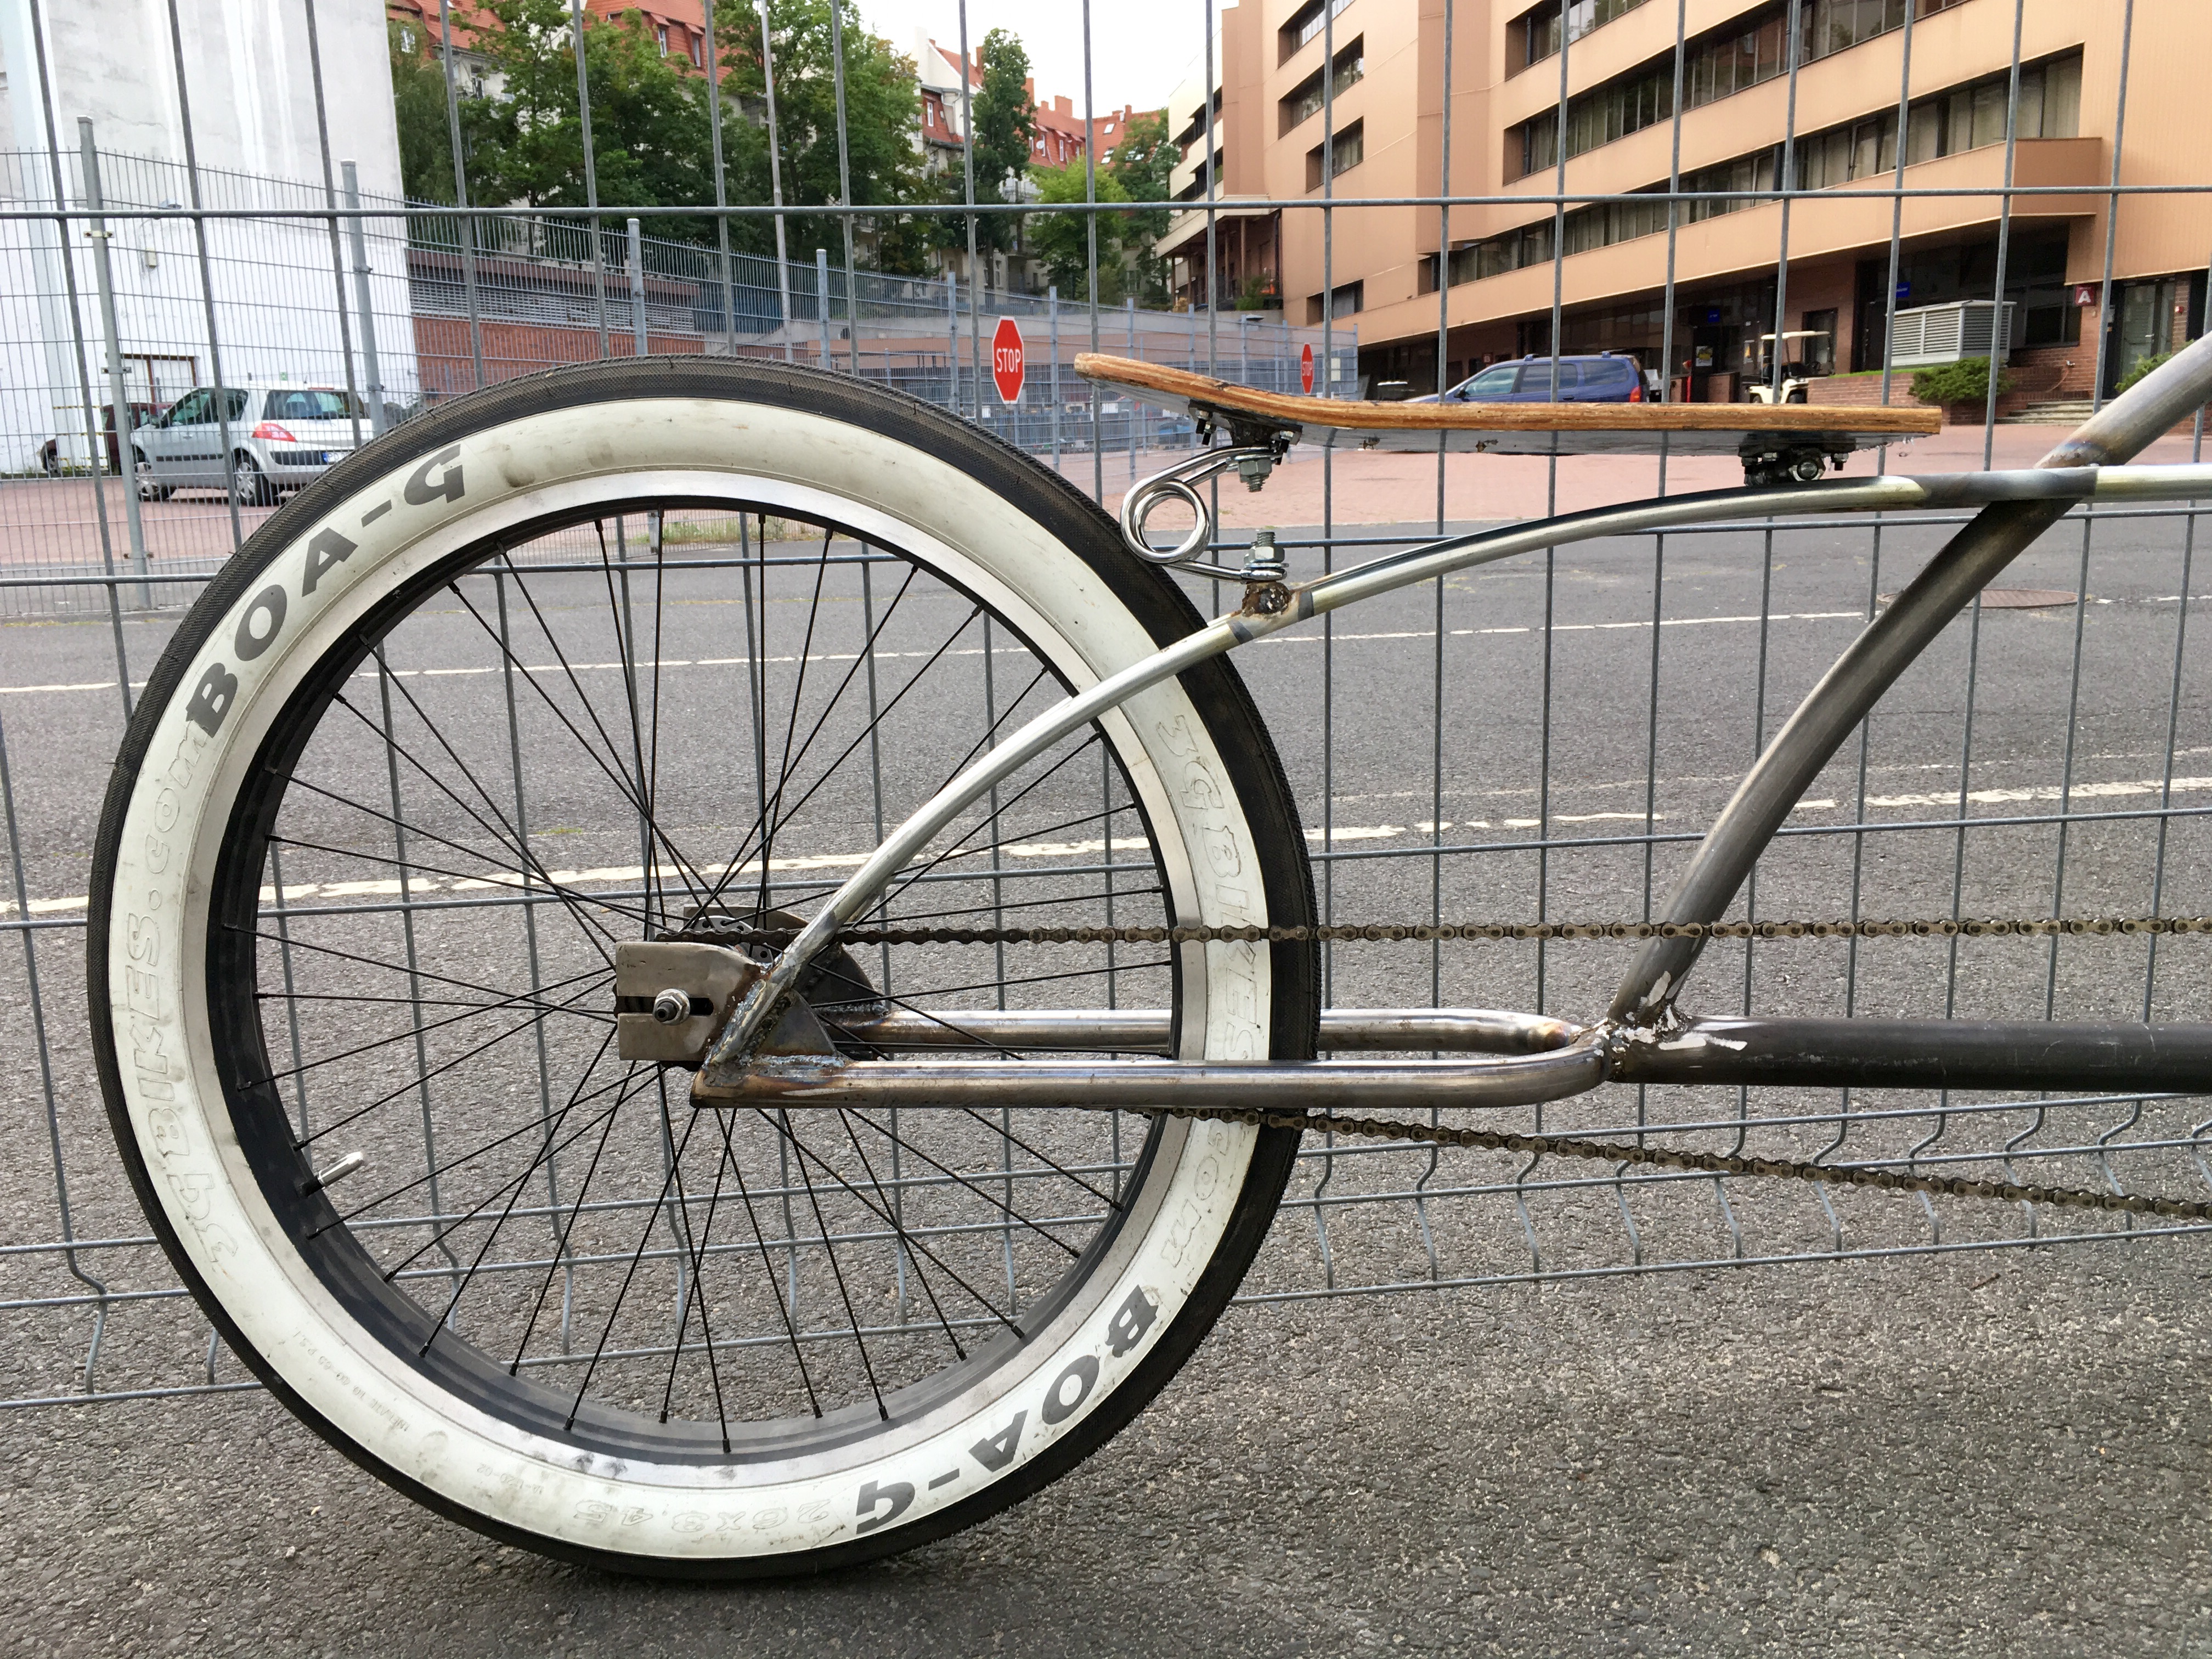
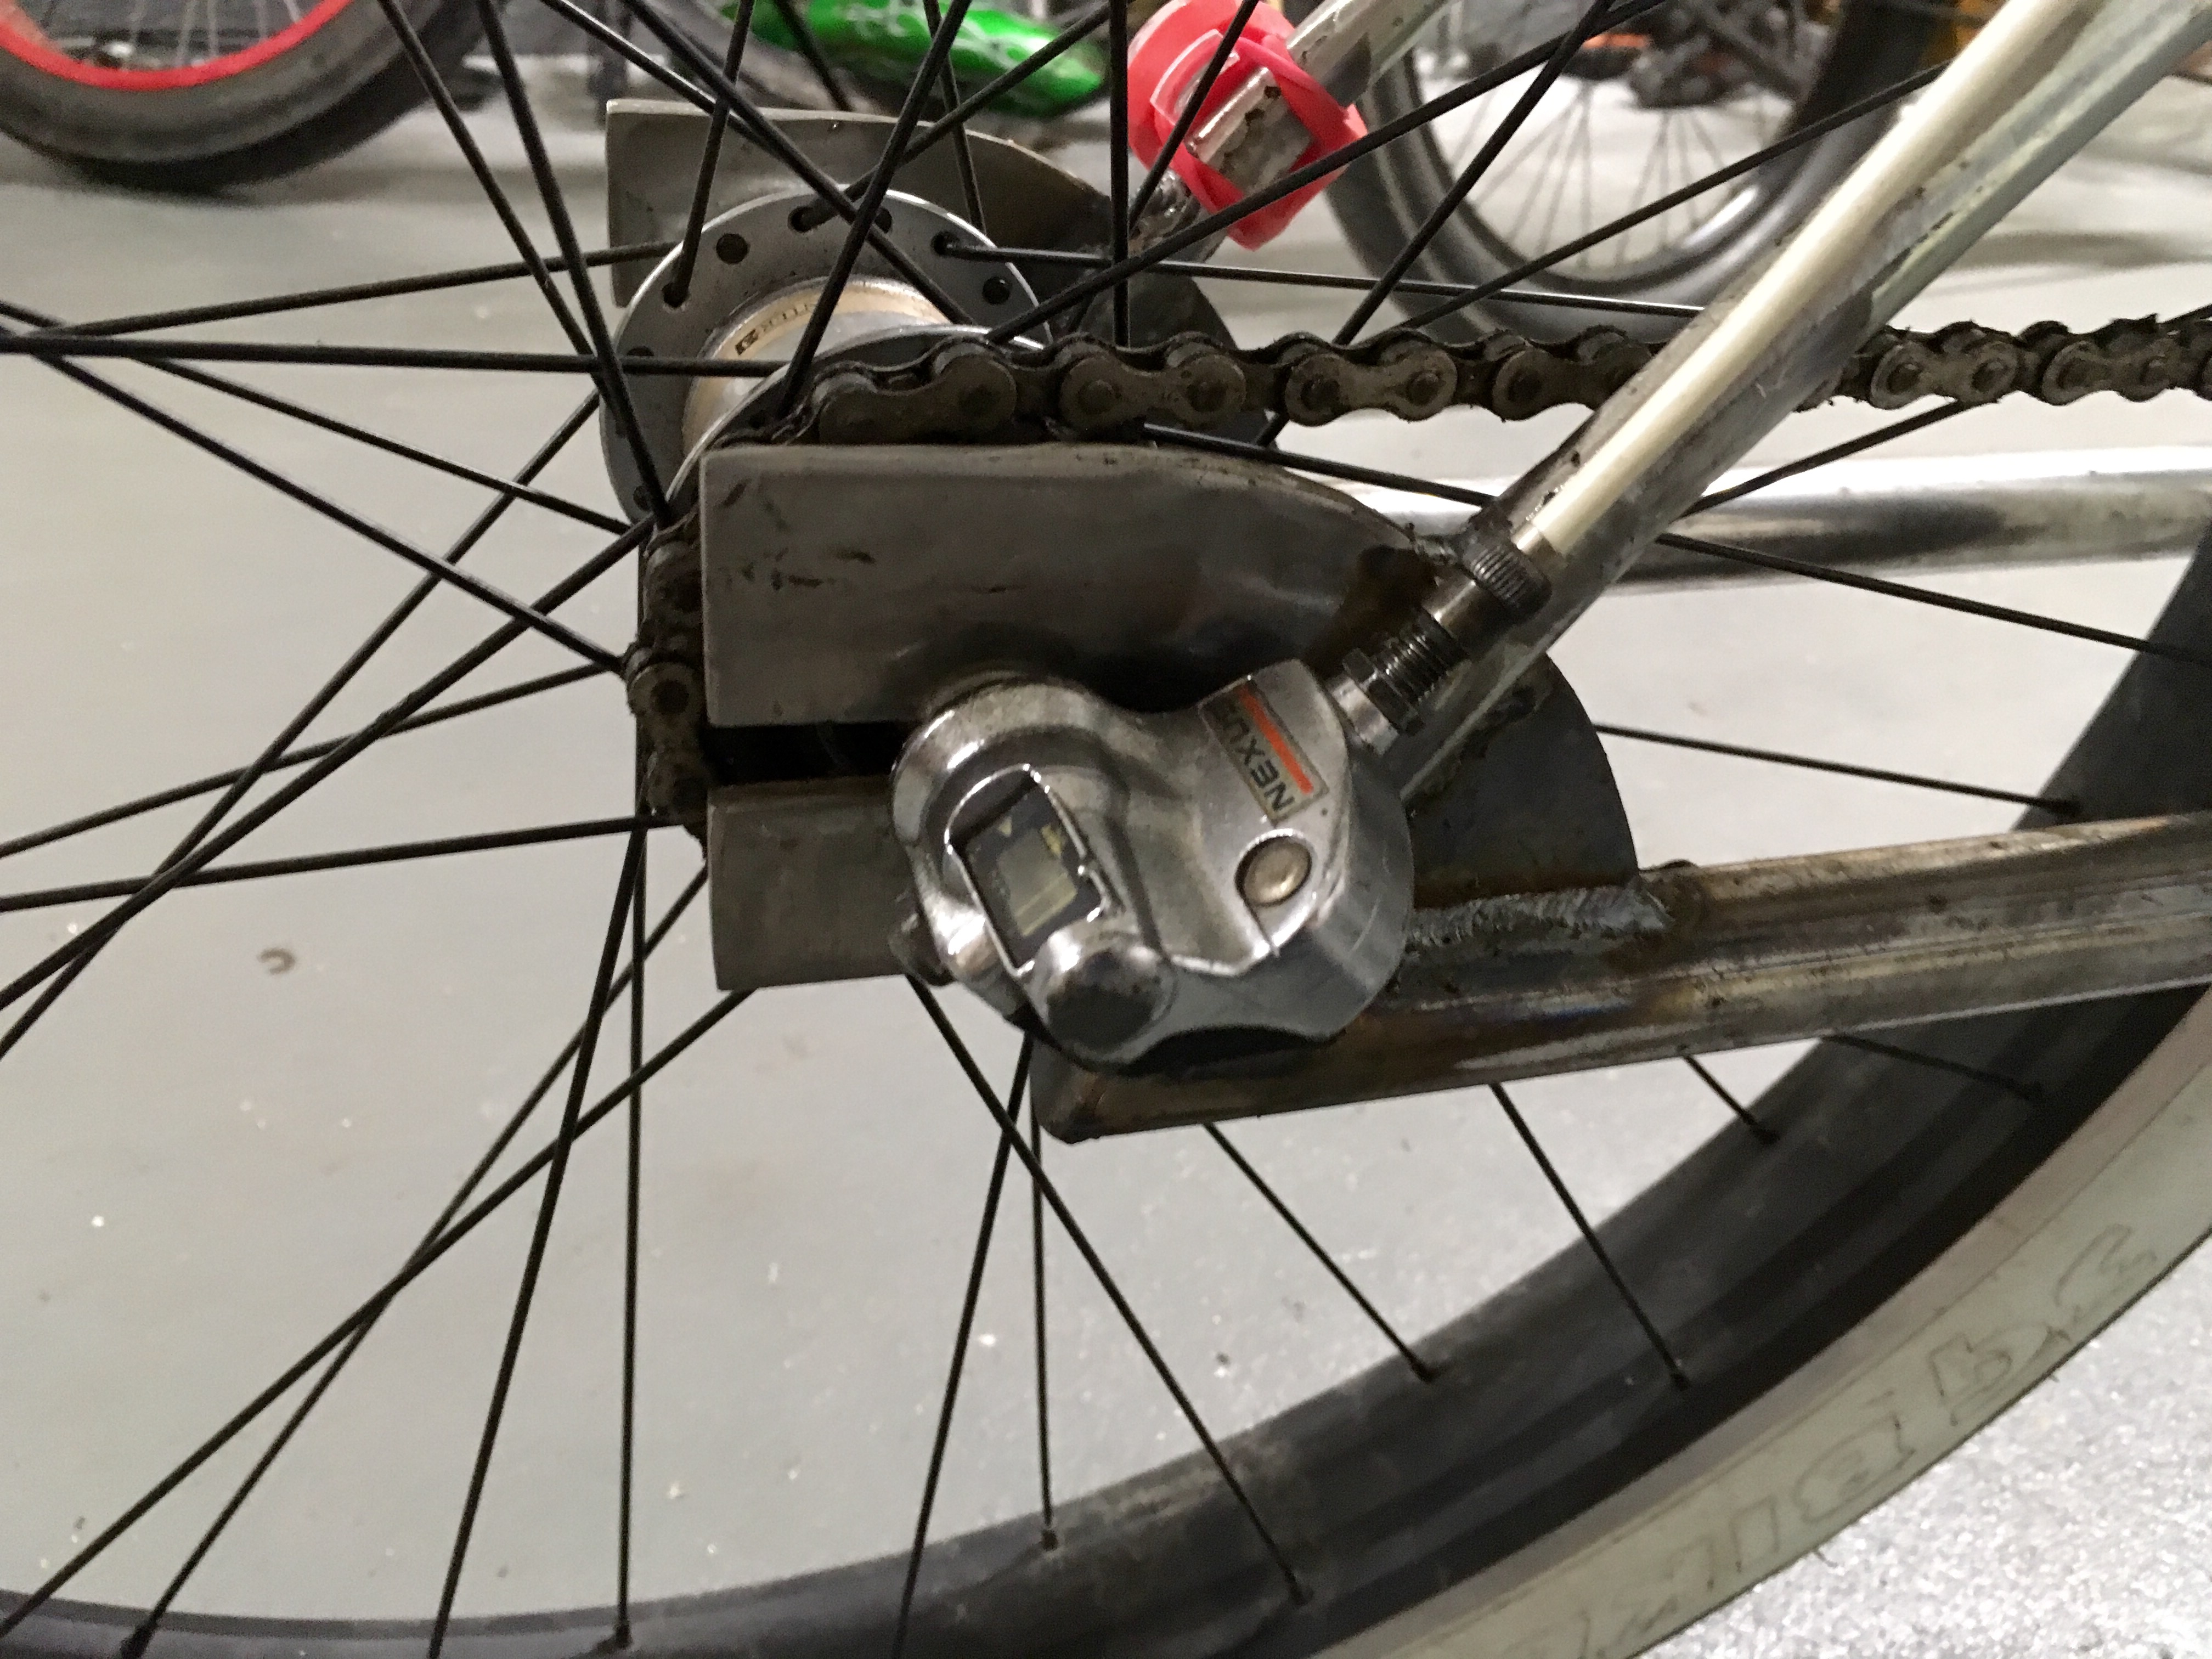
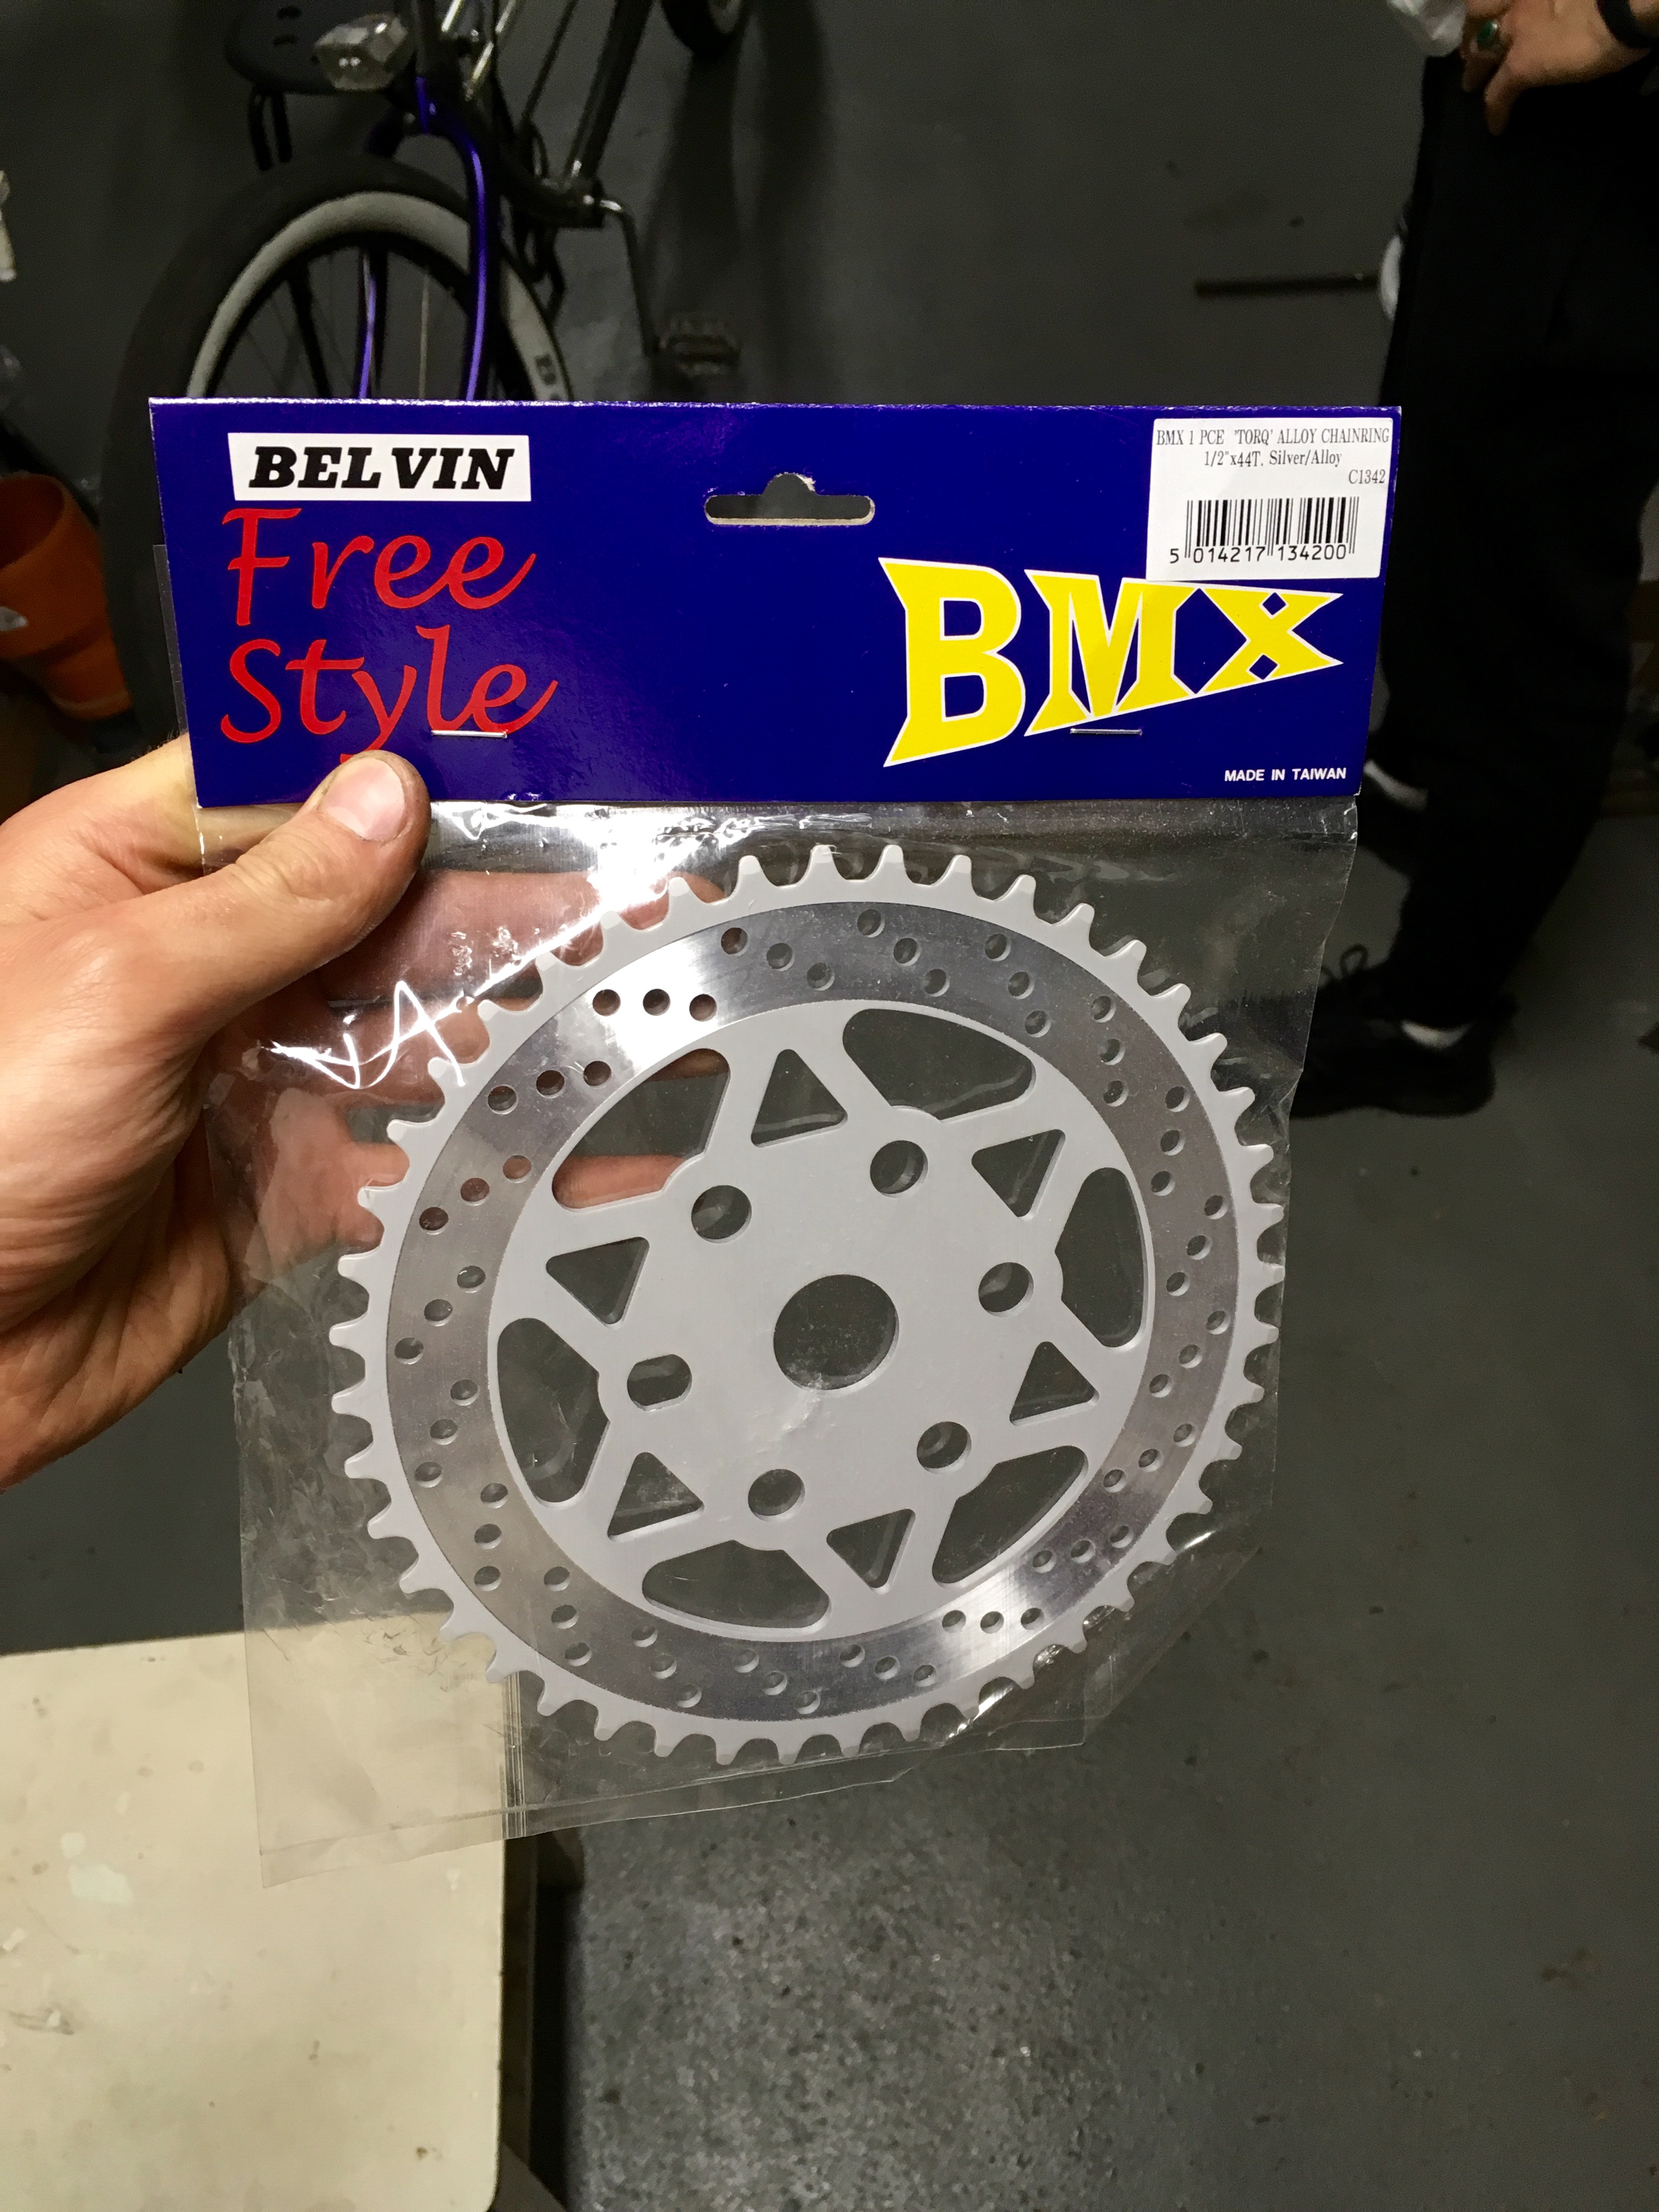
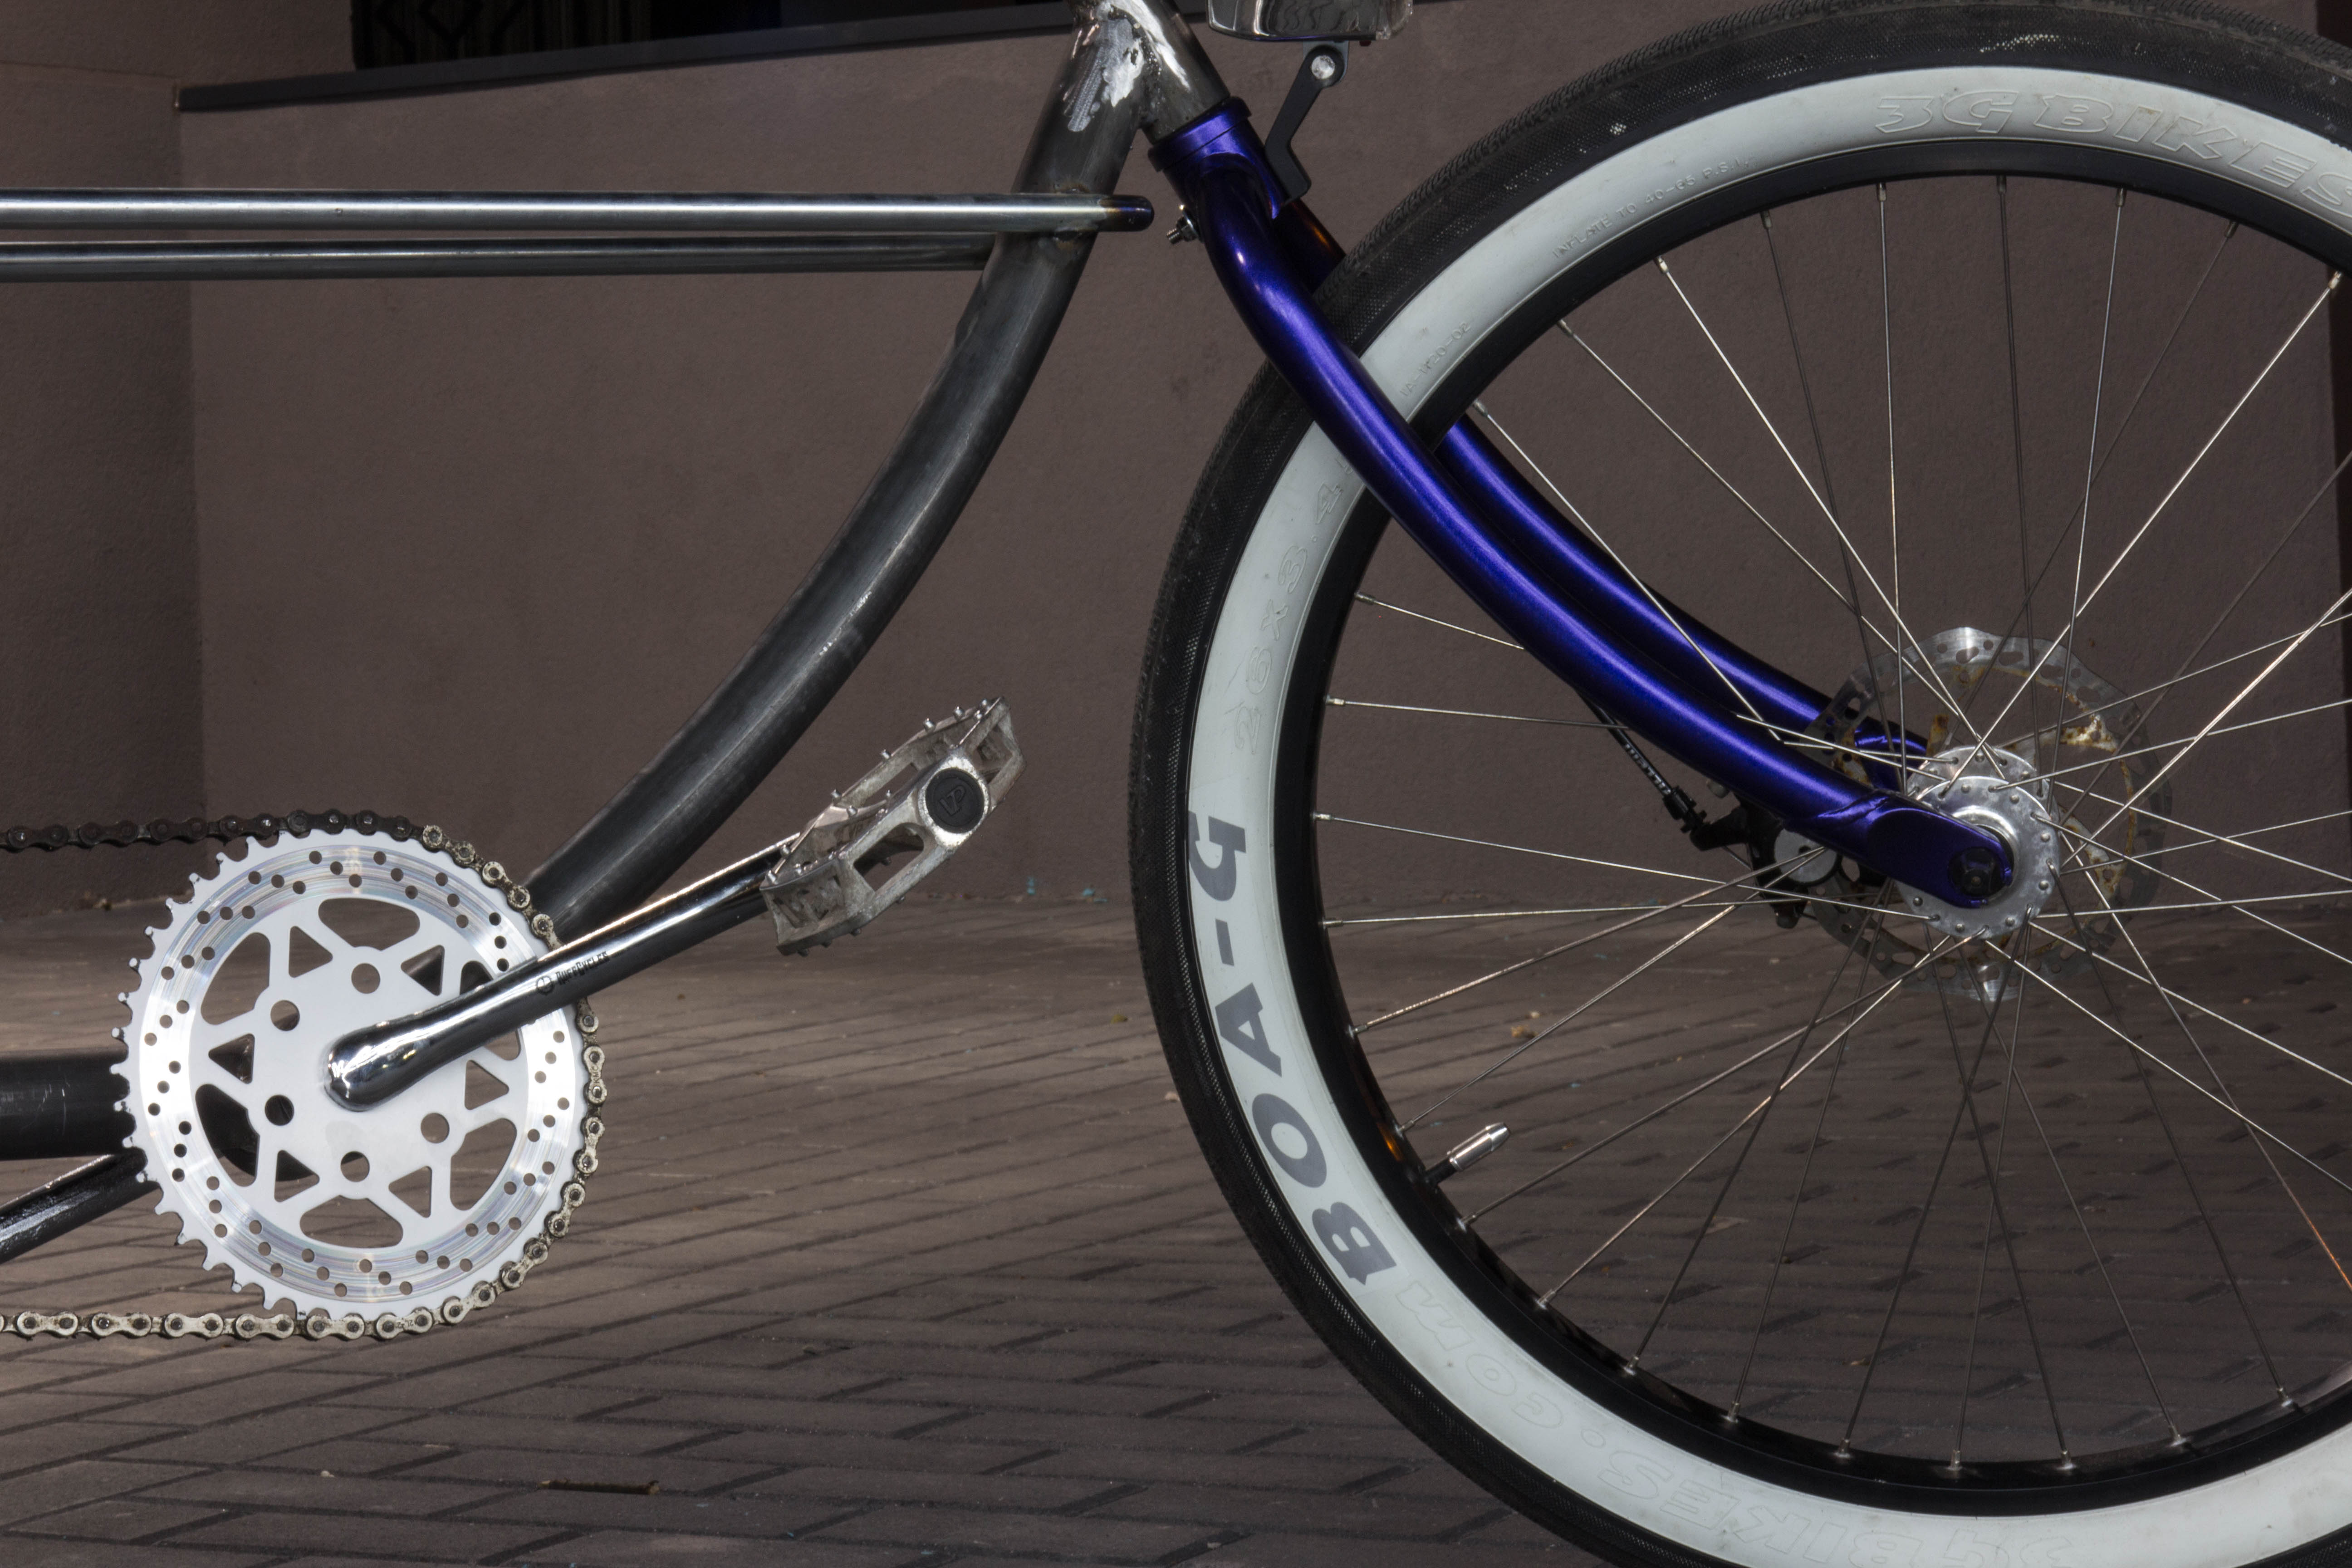
And surely checking the chain line! It is all good, there is a little bit of contact sometimes between the chain and the inner side of the chain stay, but it could be fixed by flipping the sprocket, and so i am going to do.
5f9a62c8e1528230daea6787911665d1.jpg


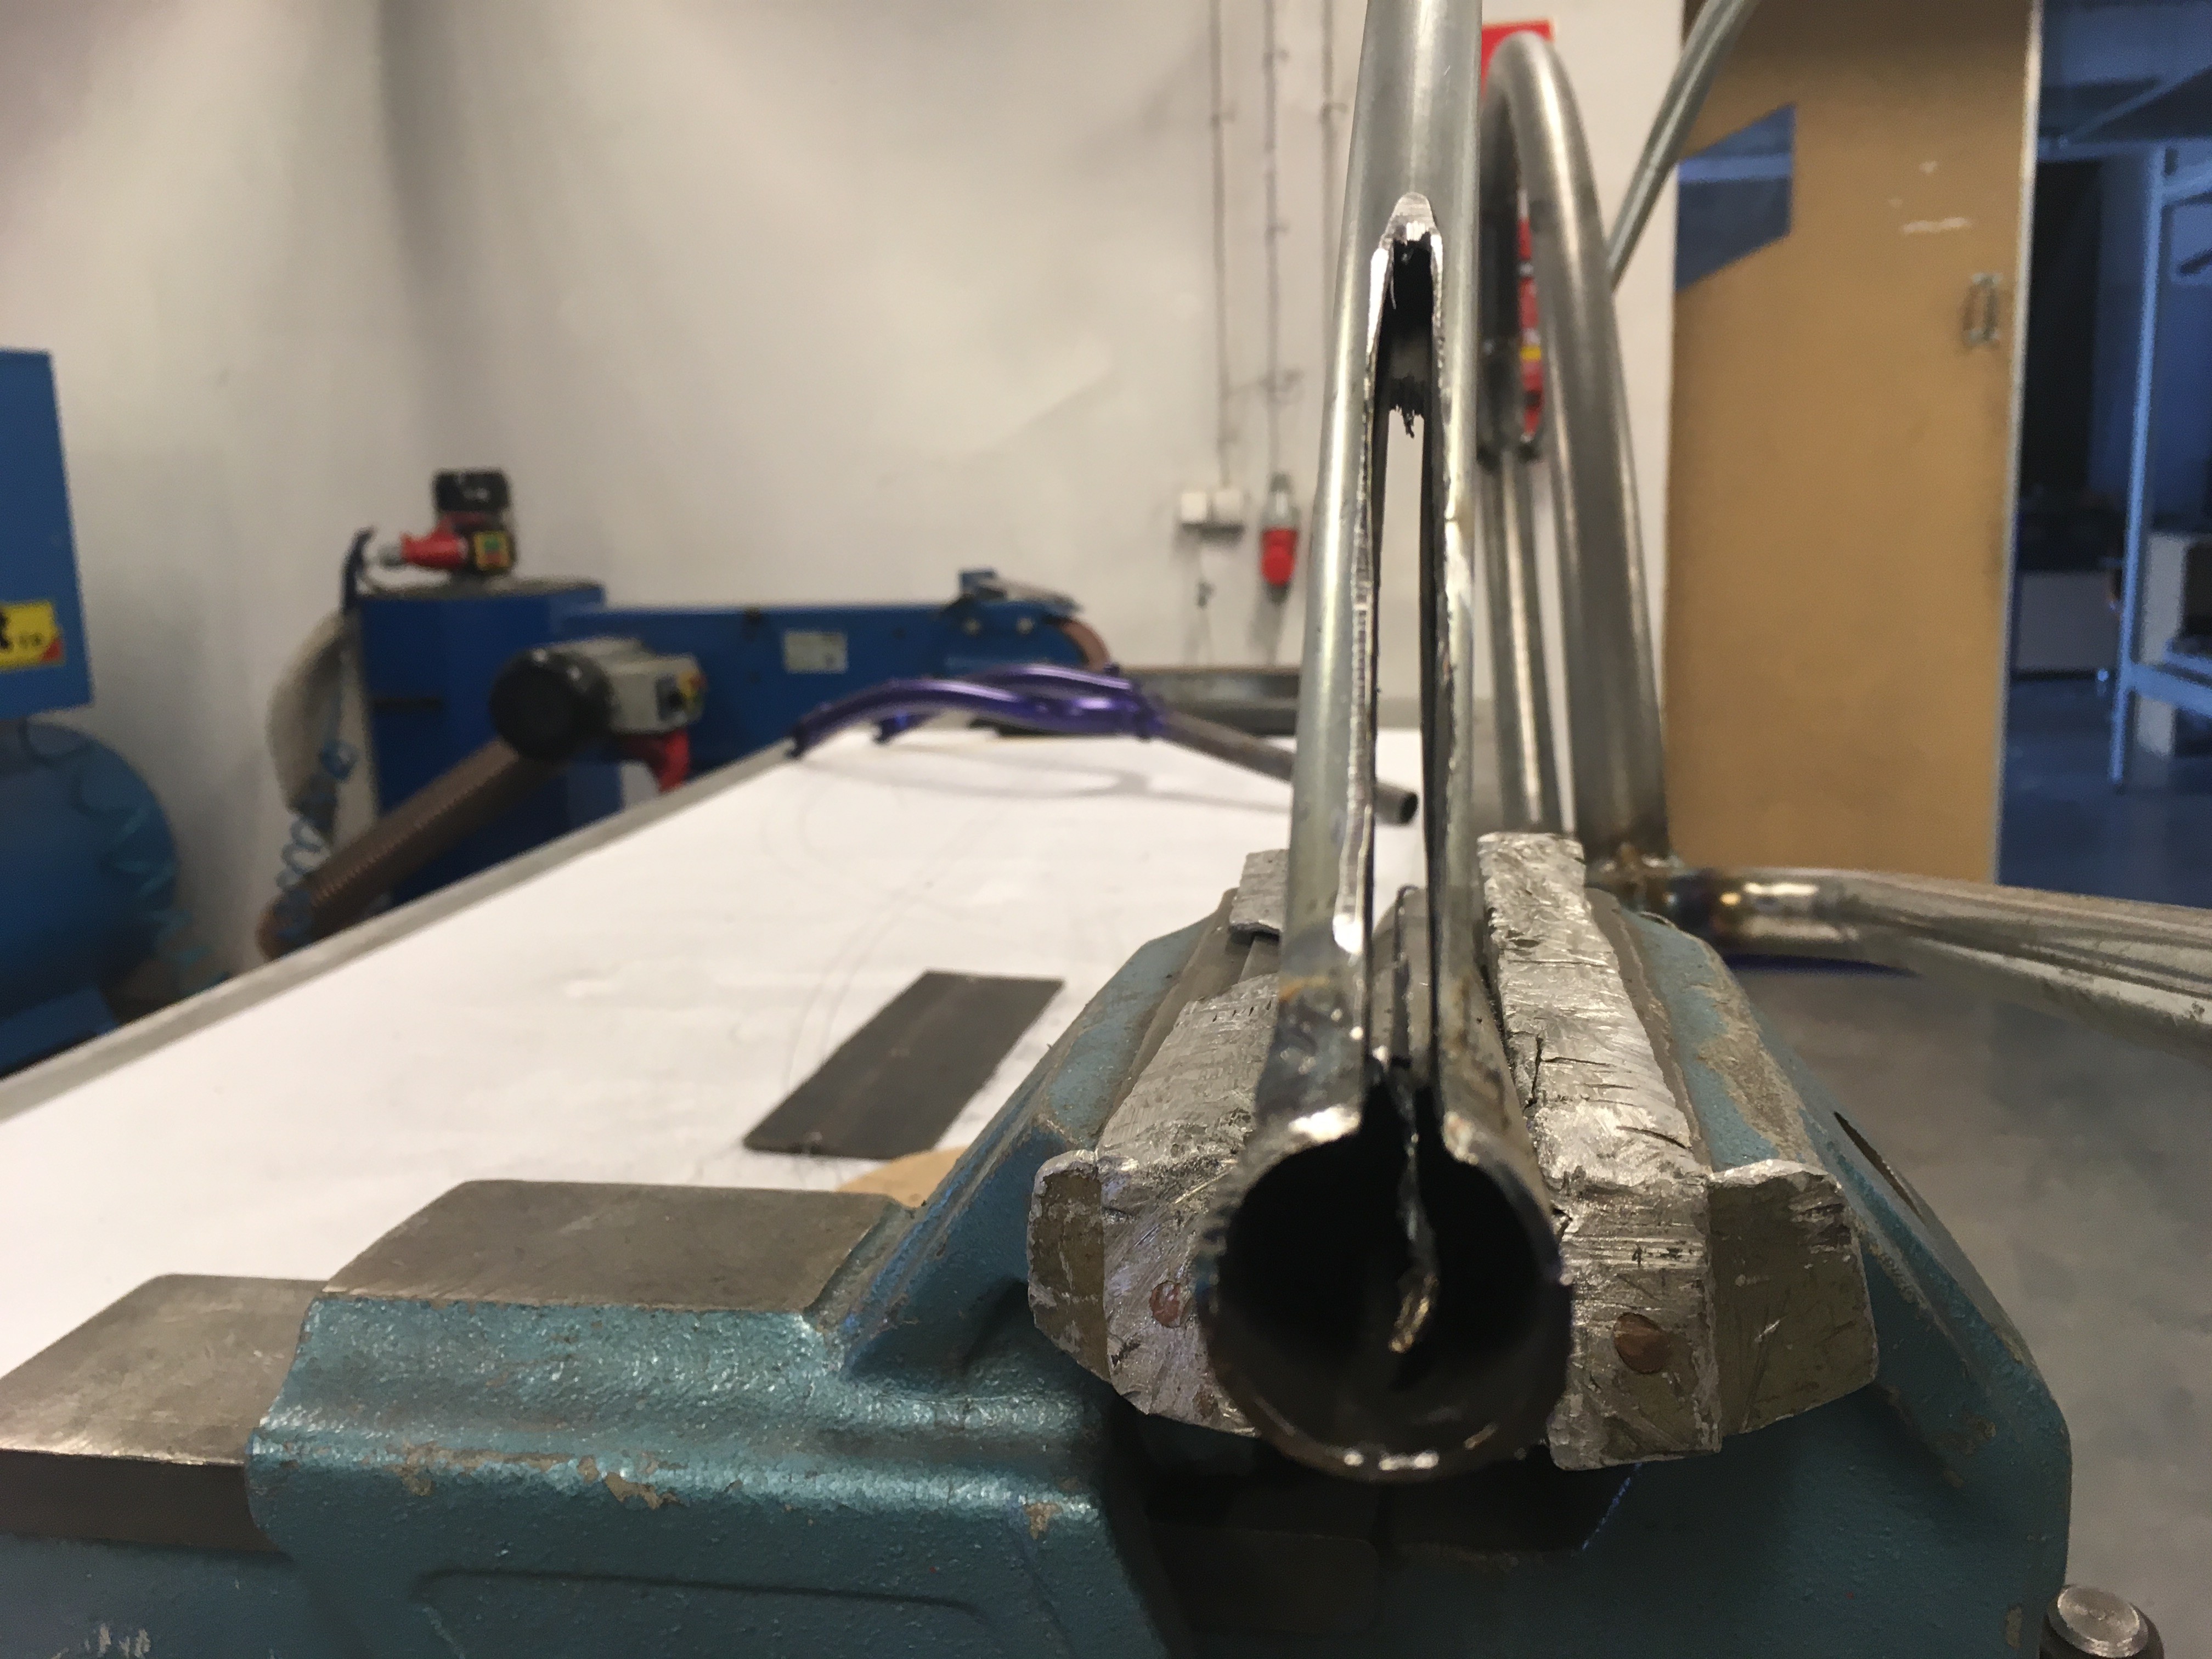
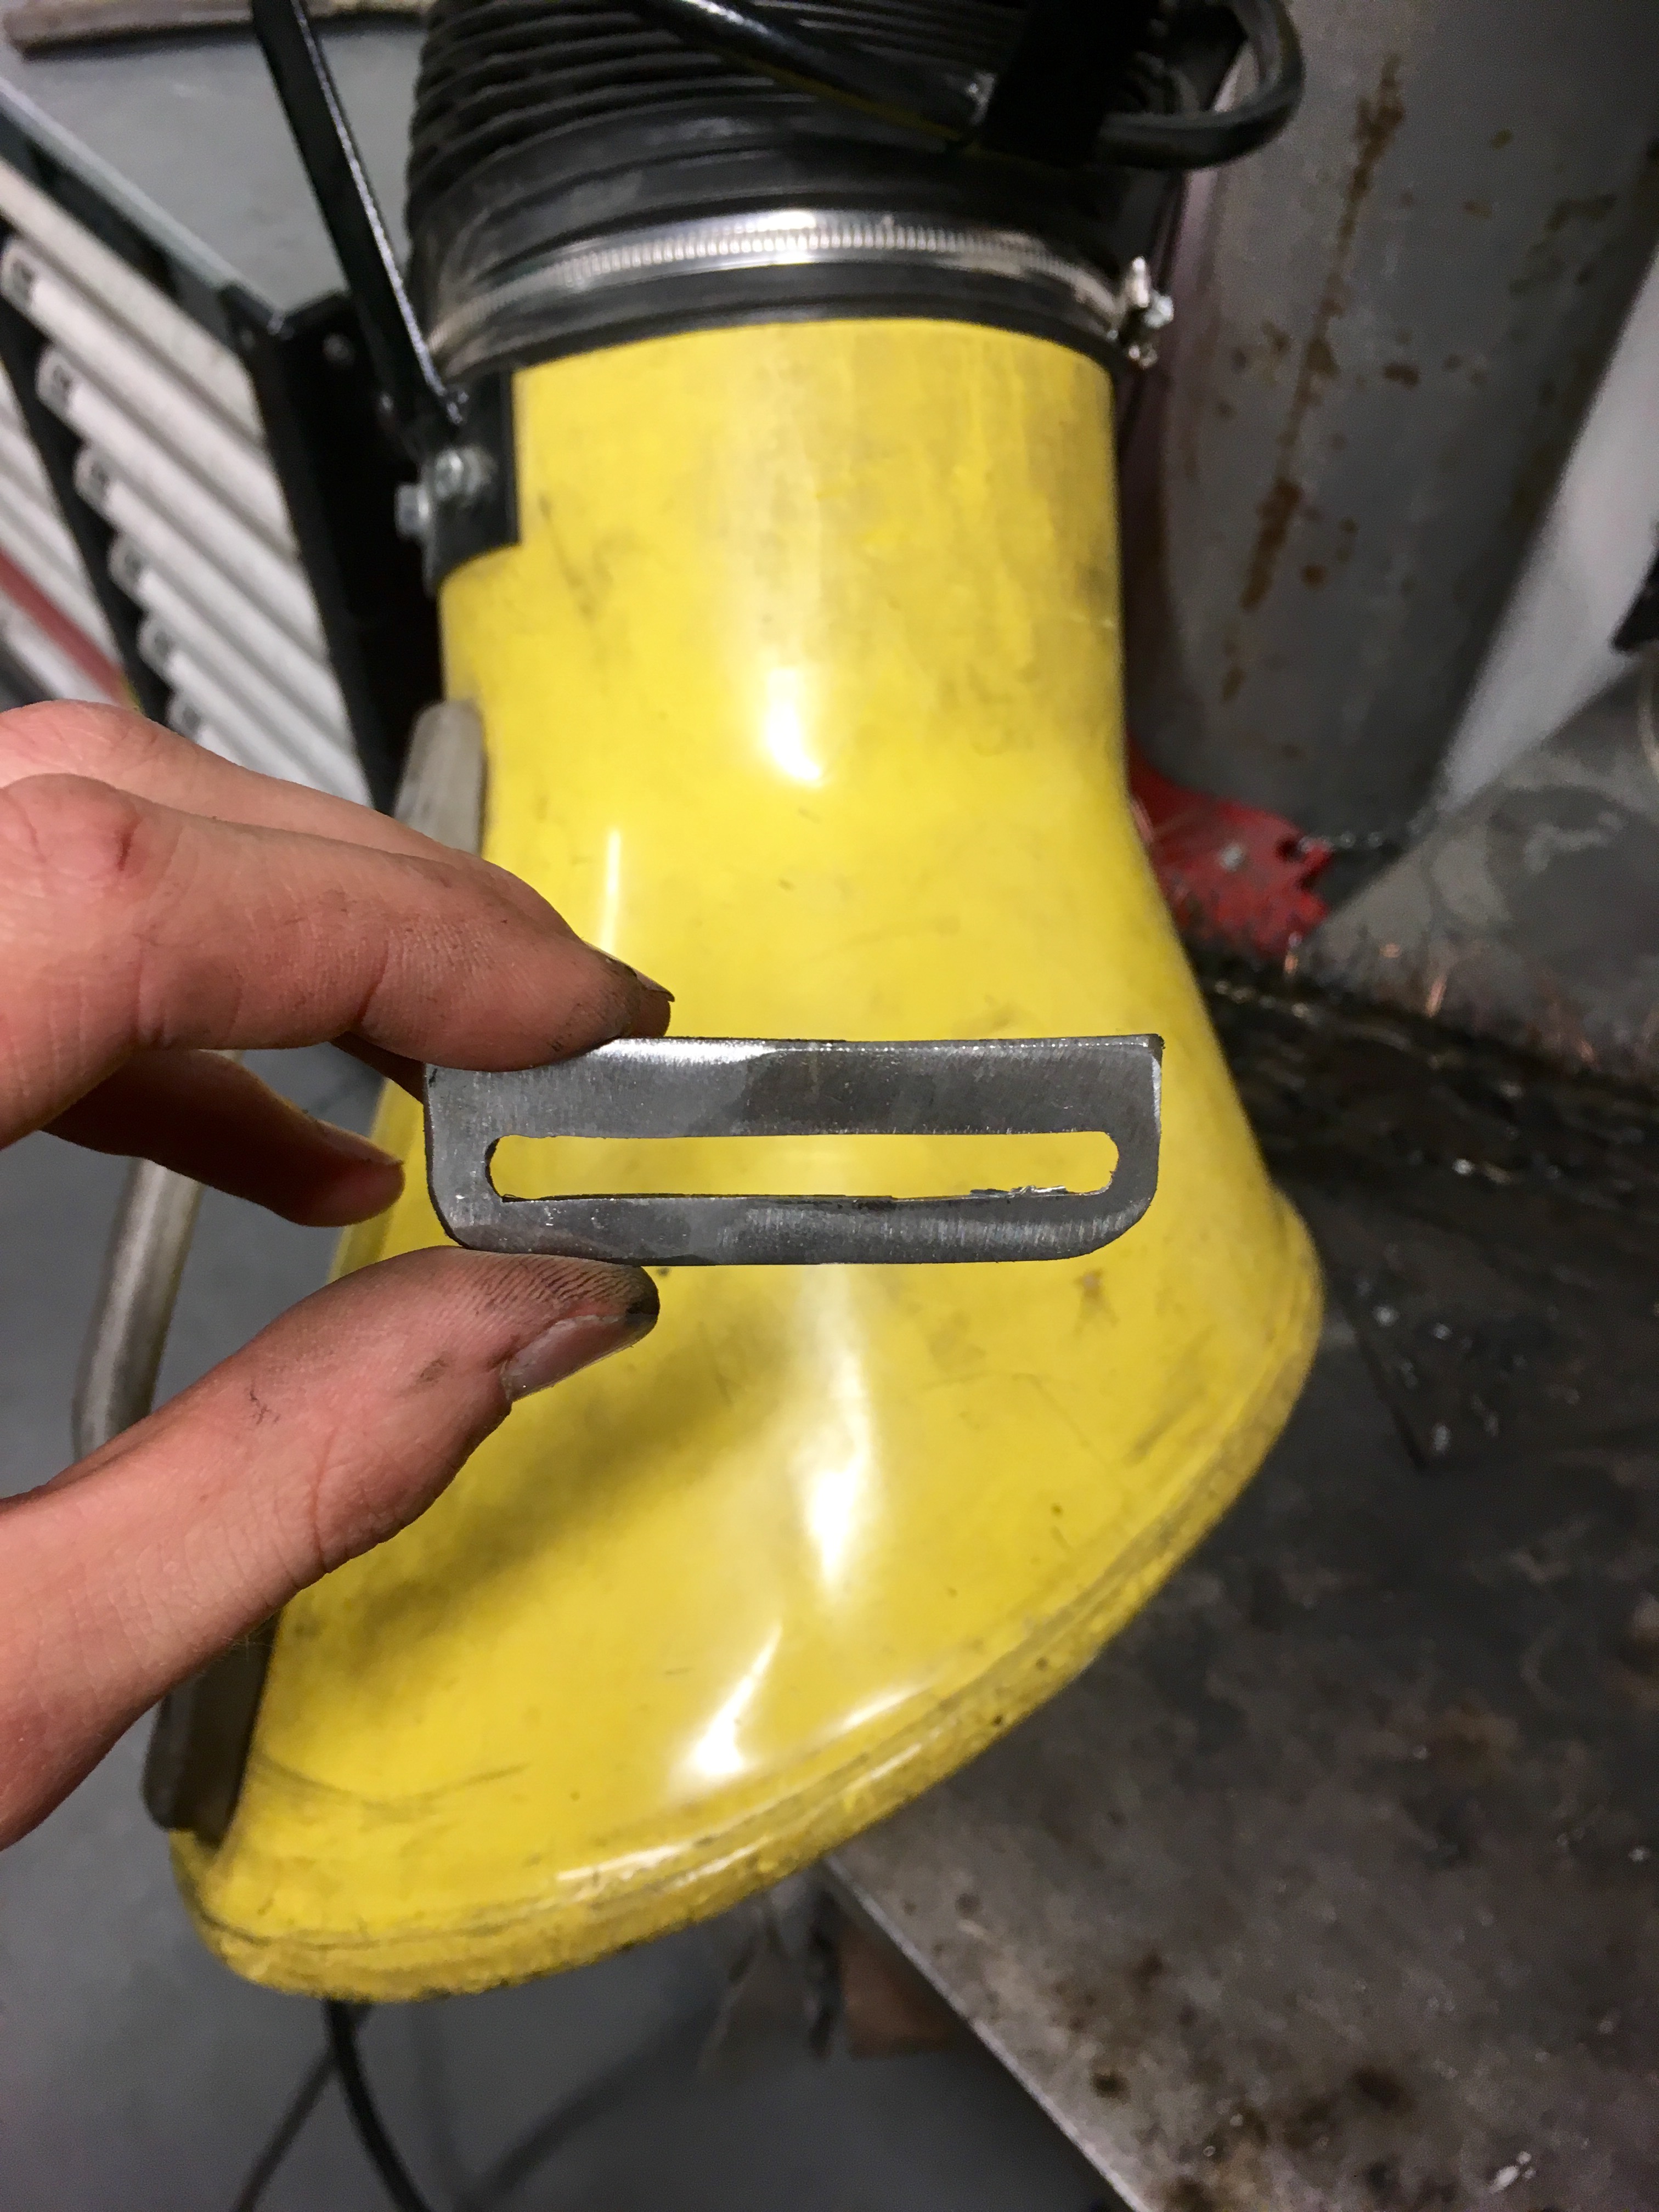
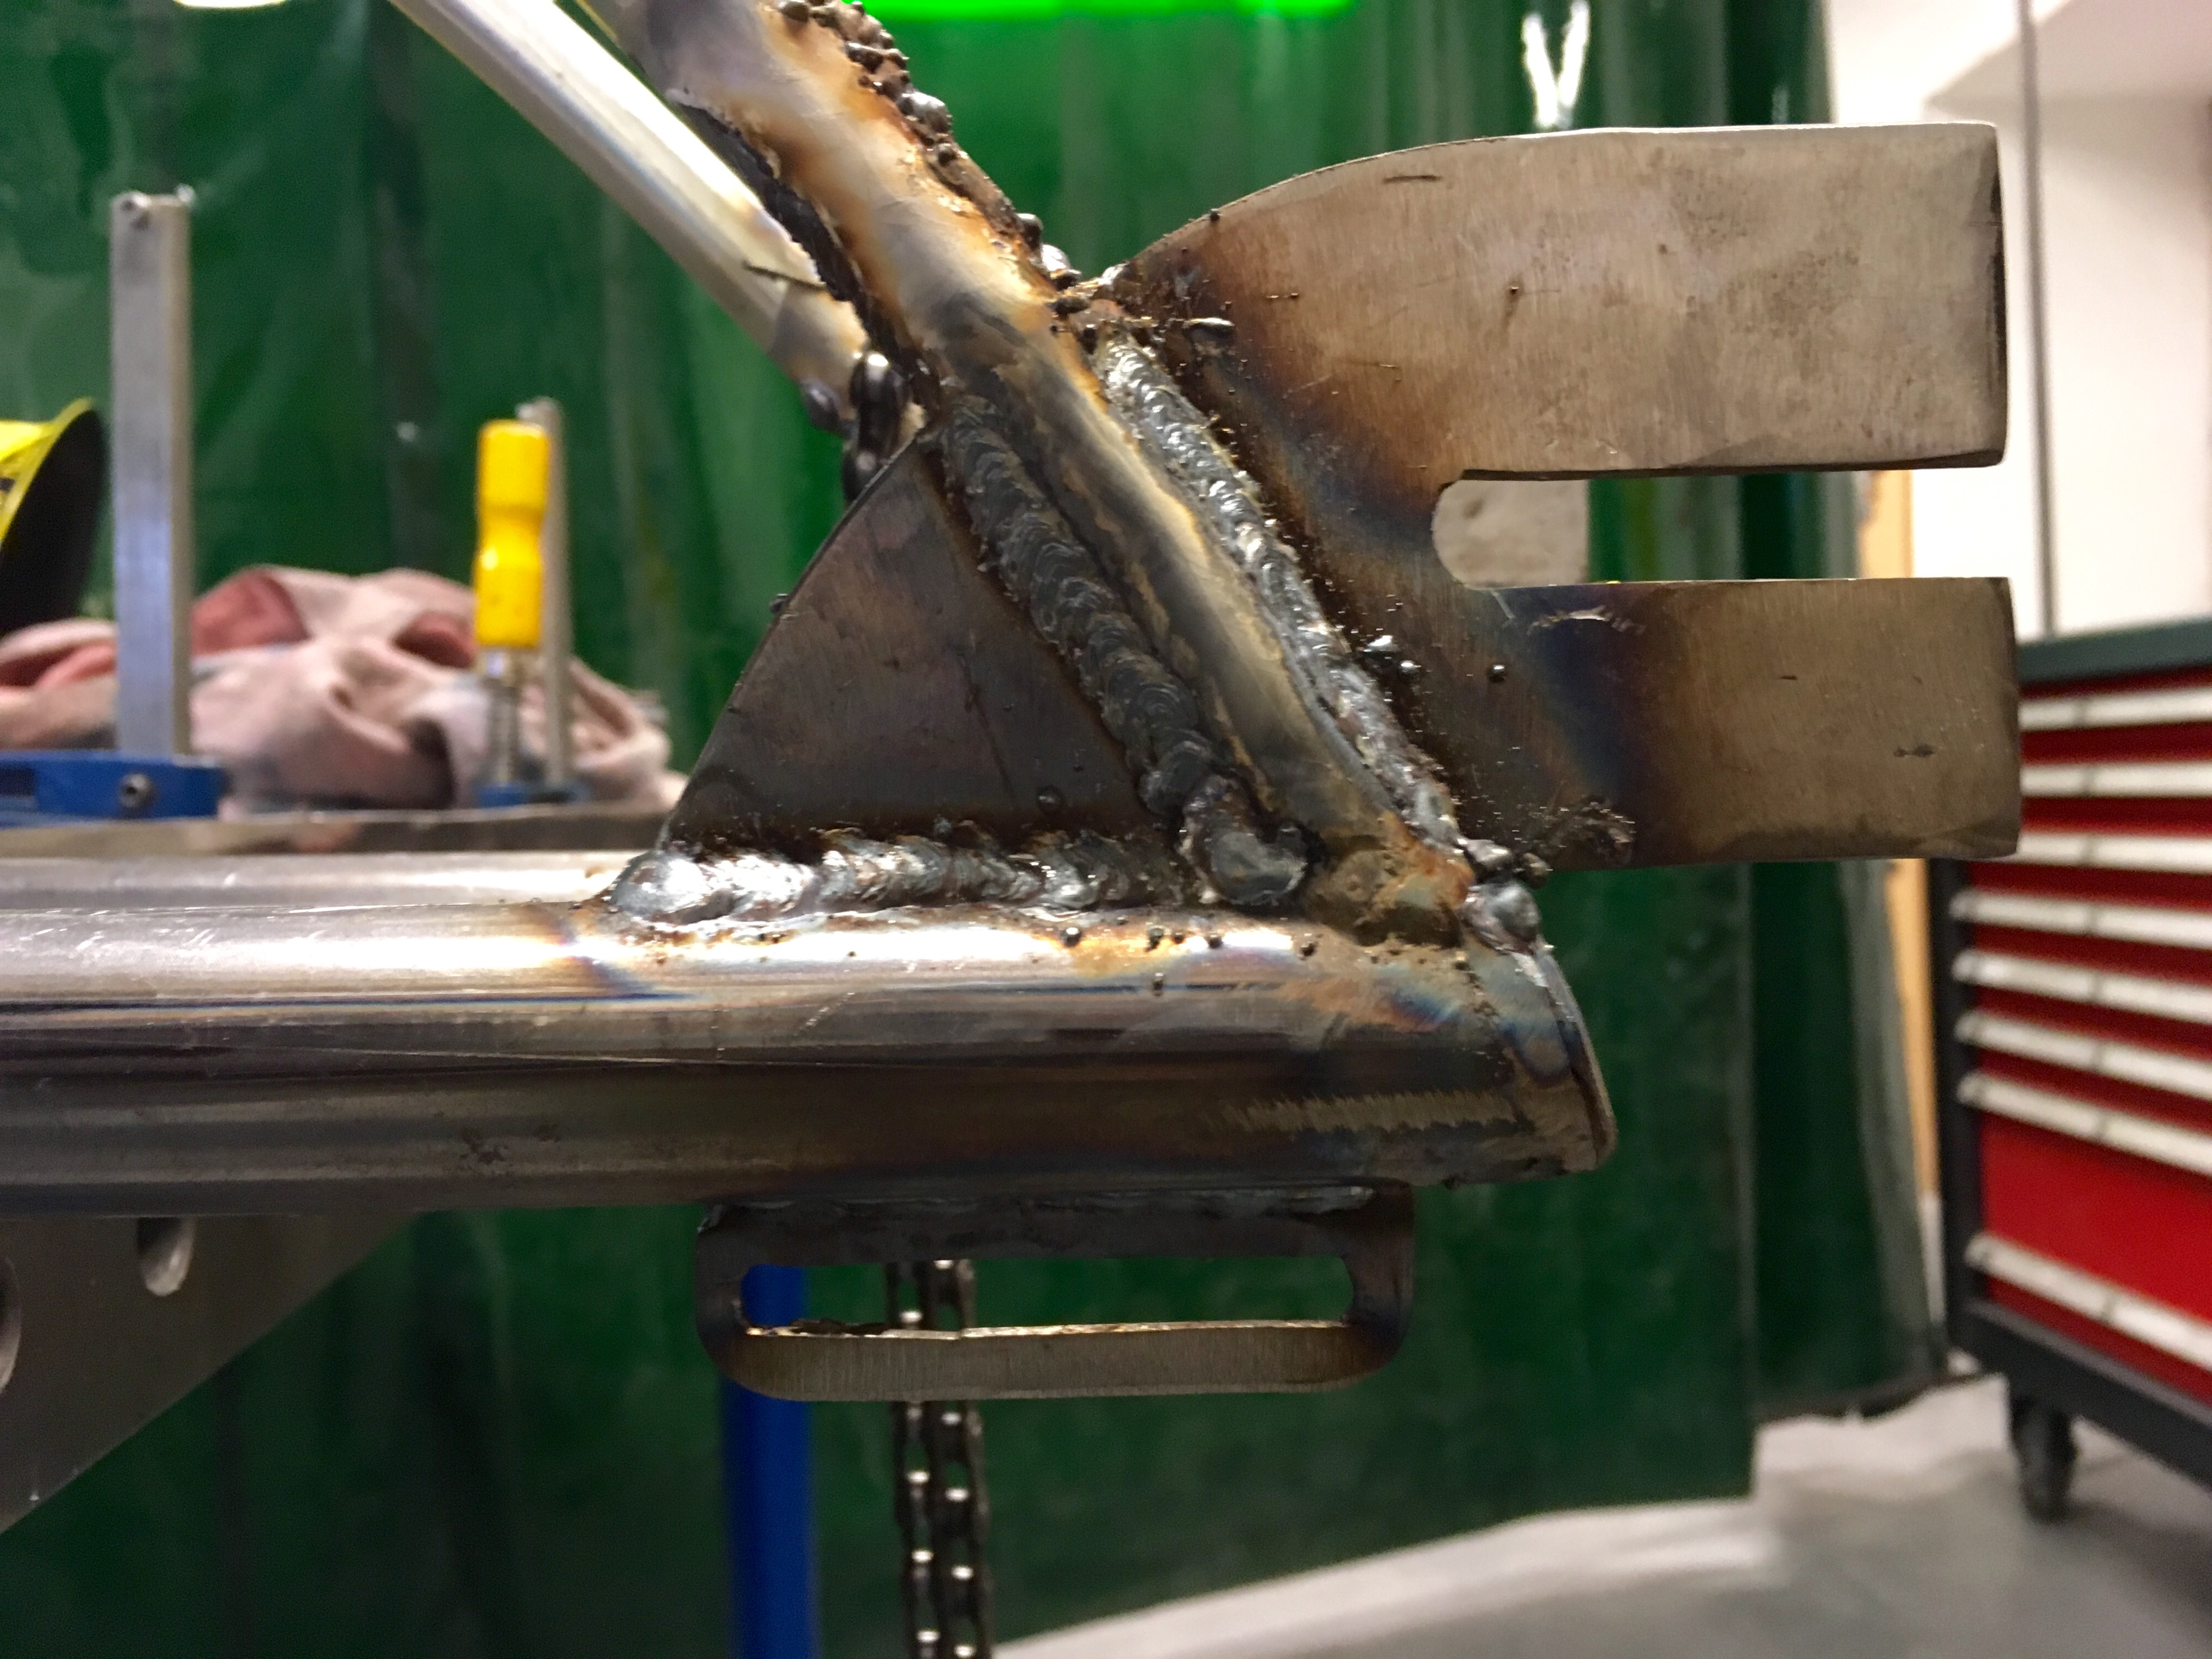
Then i have made a coaster brake tab. I have chosen not very thick, about 3mm, but very hard steel. Honestly by the evening i have started doubting that decision, maybe i should have taken 5mm in the end. Anyway, i believe this should be strong enough.
6bfae882cefea78d3d27225263387230.jpg


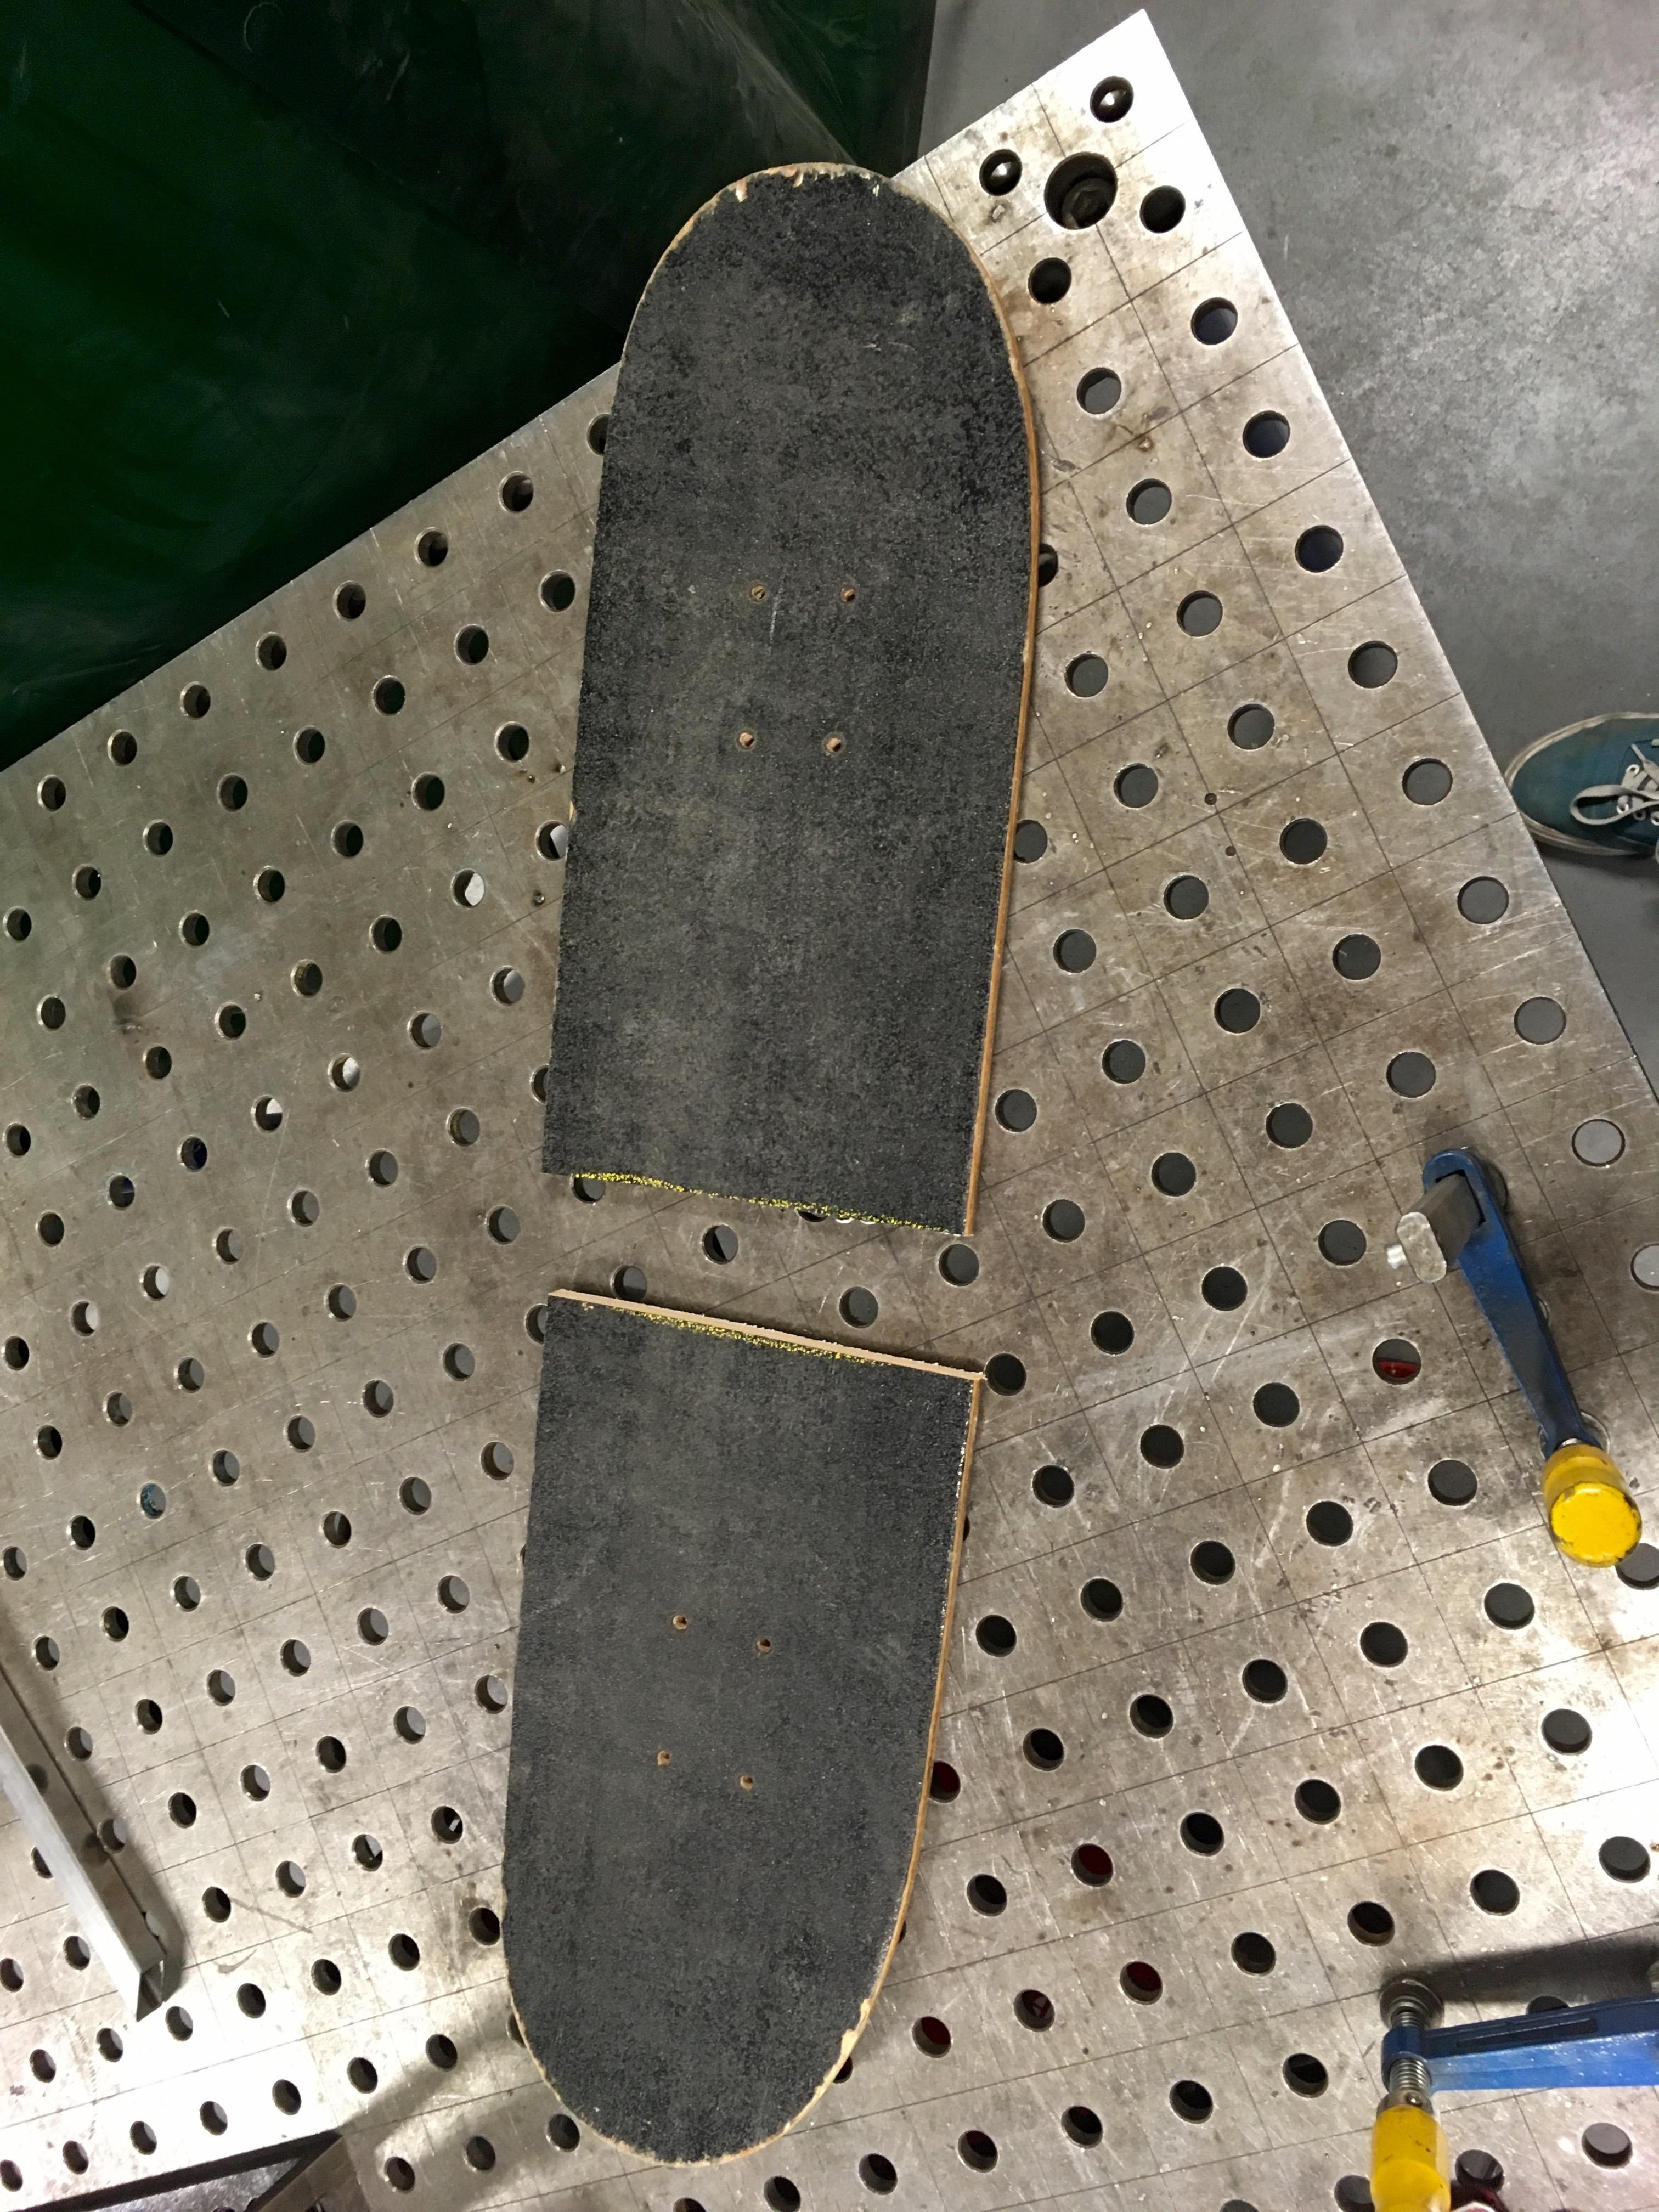
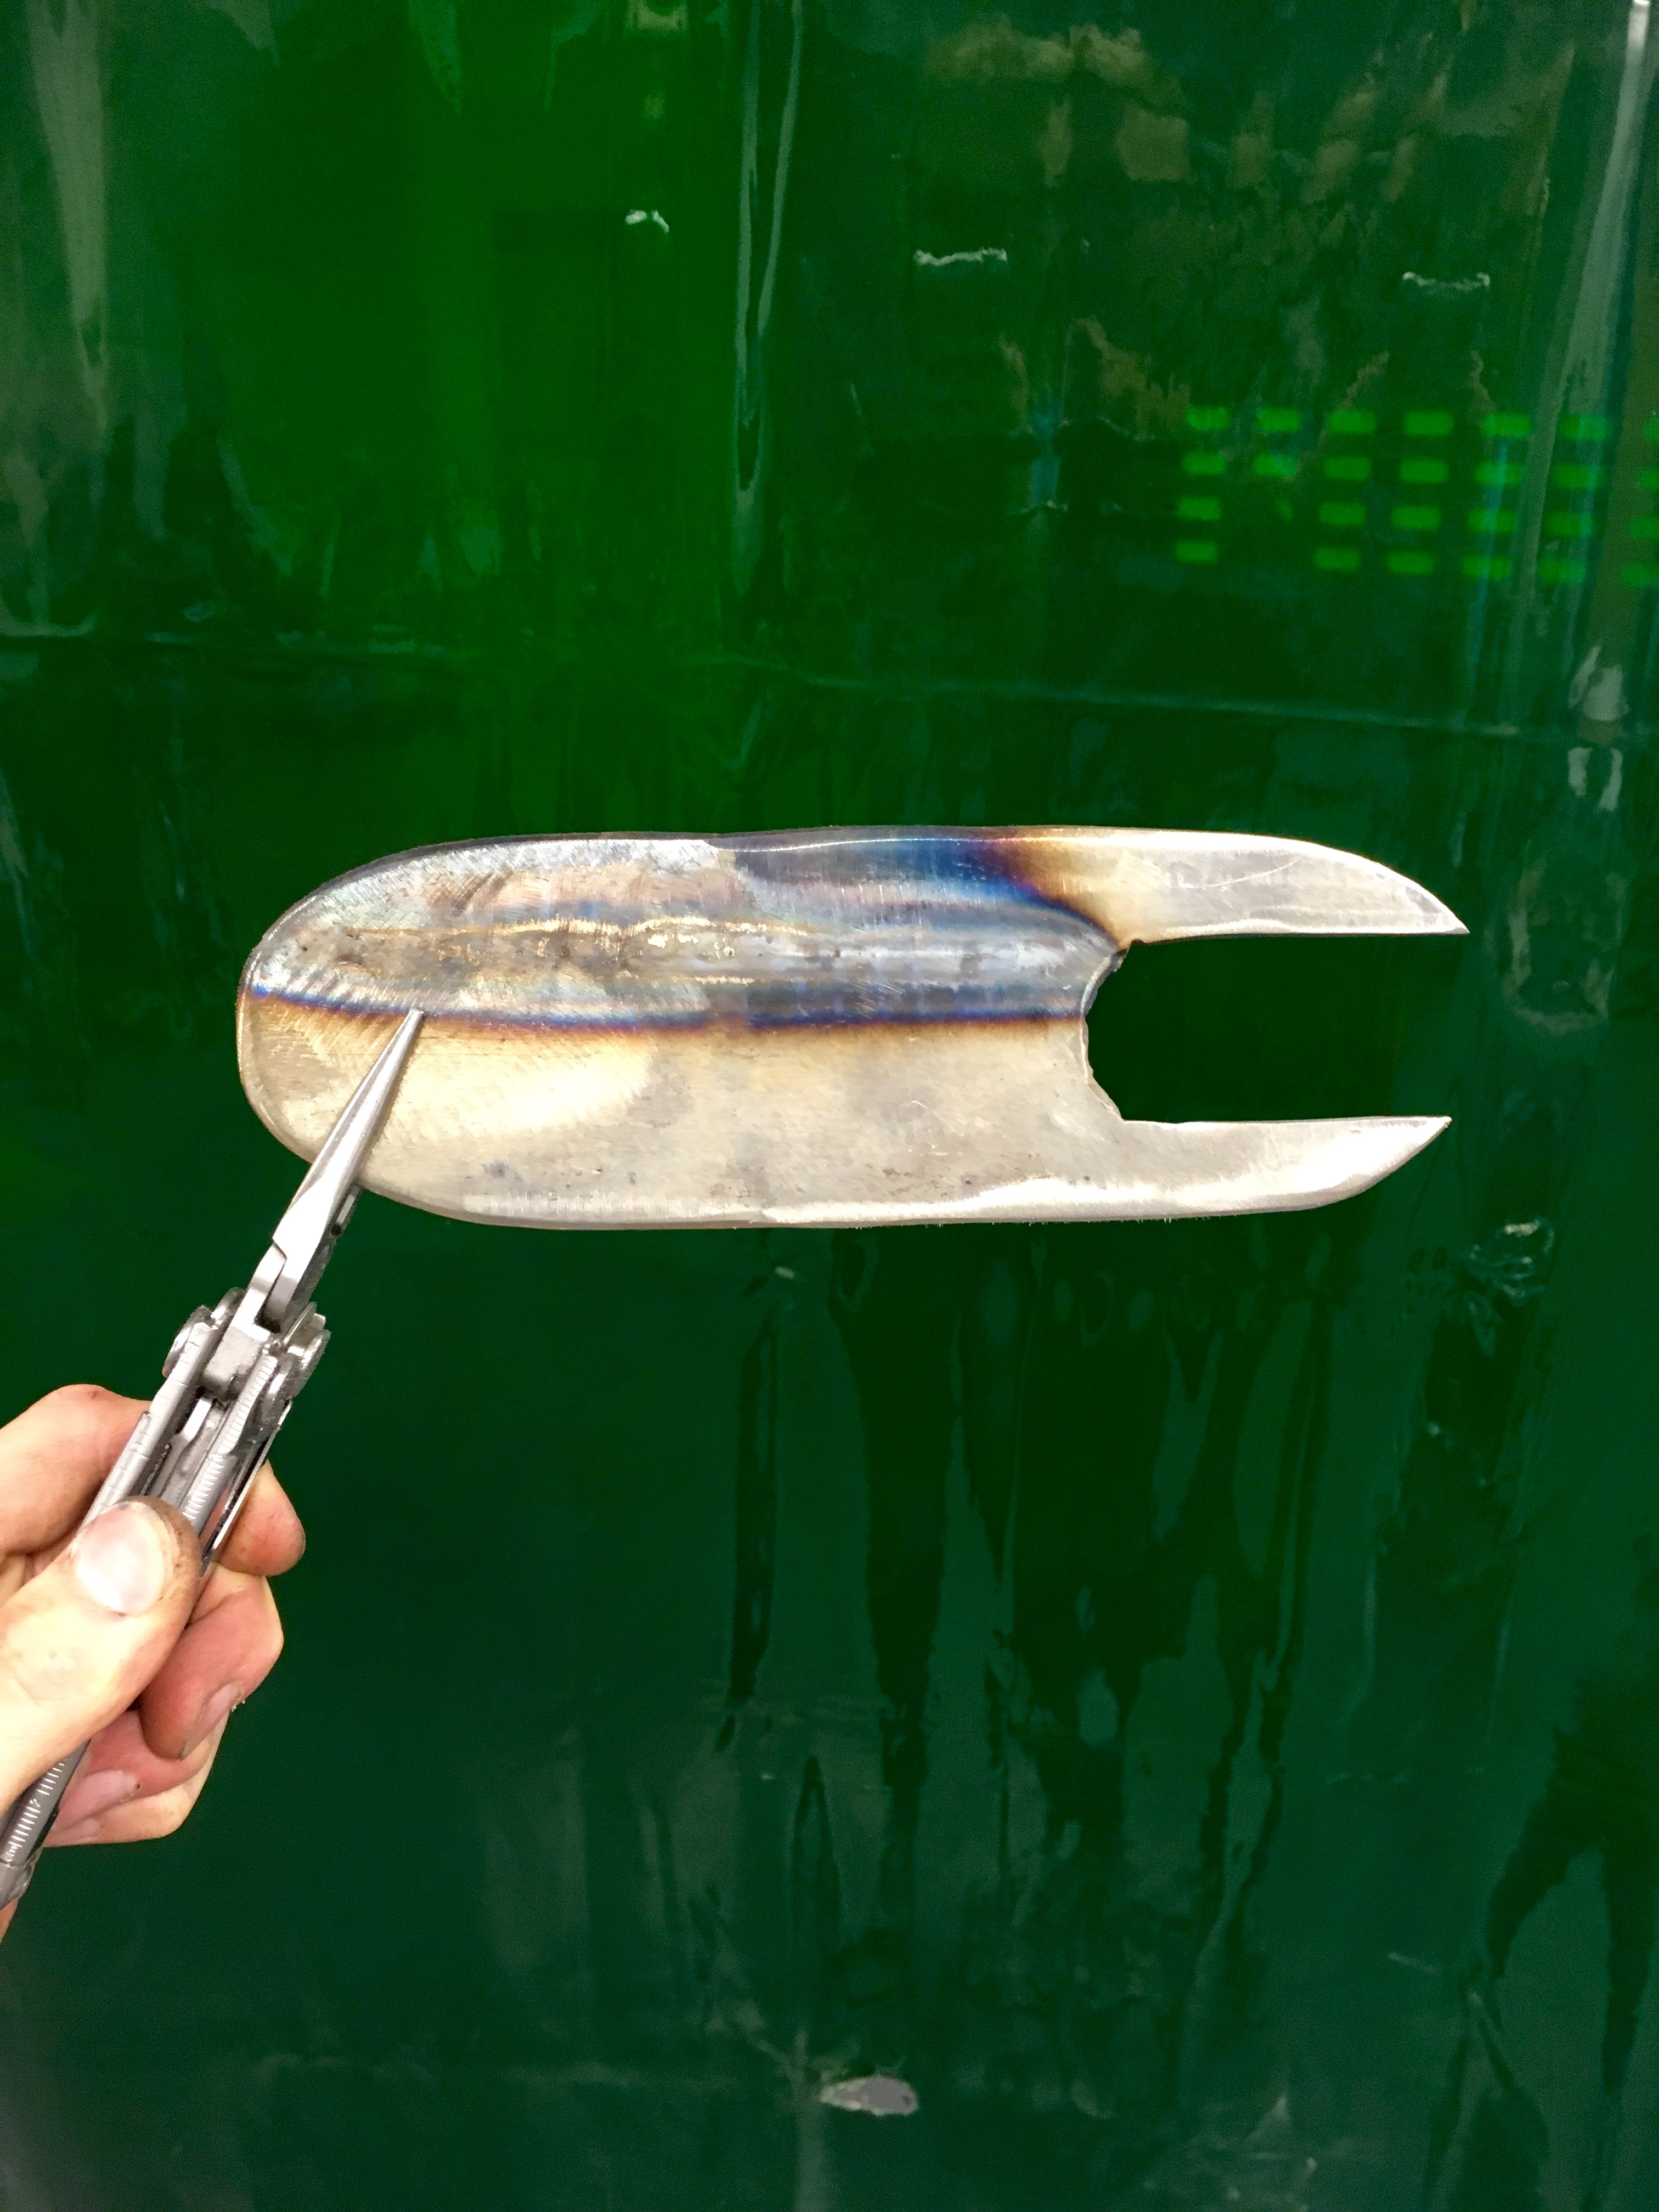
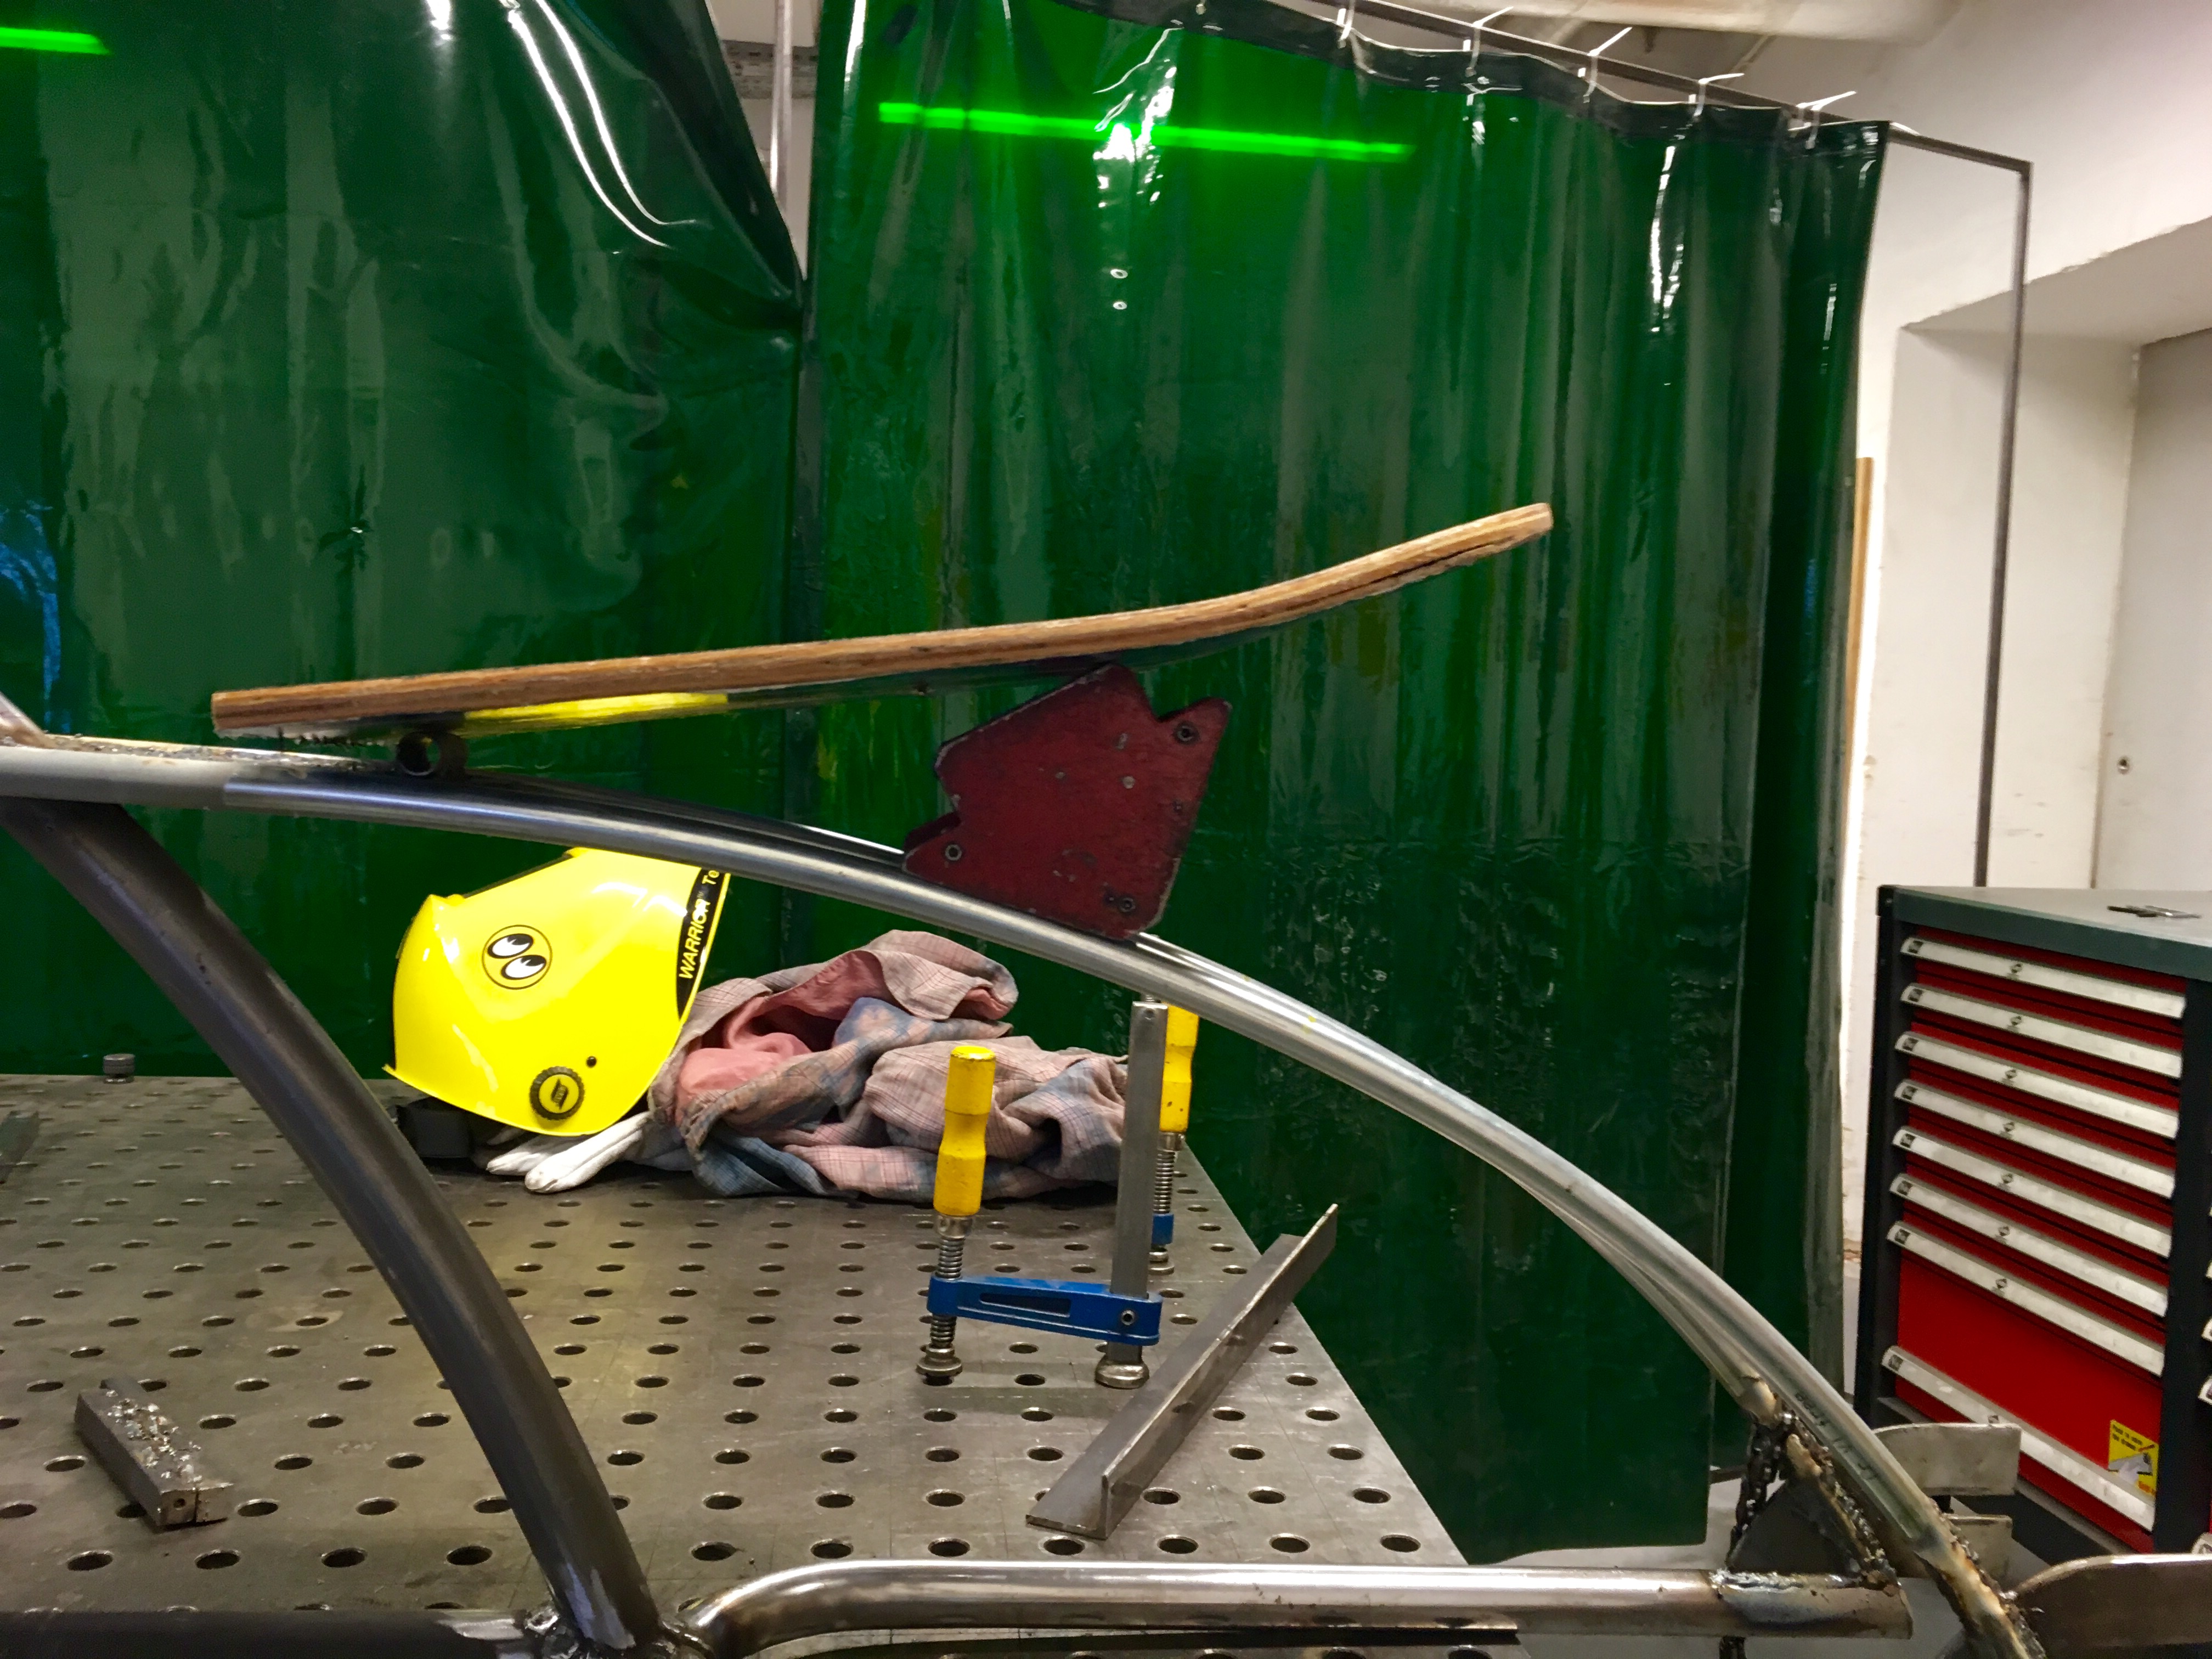
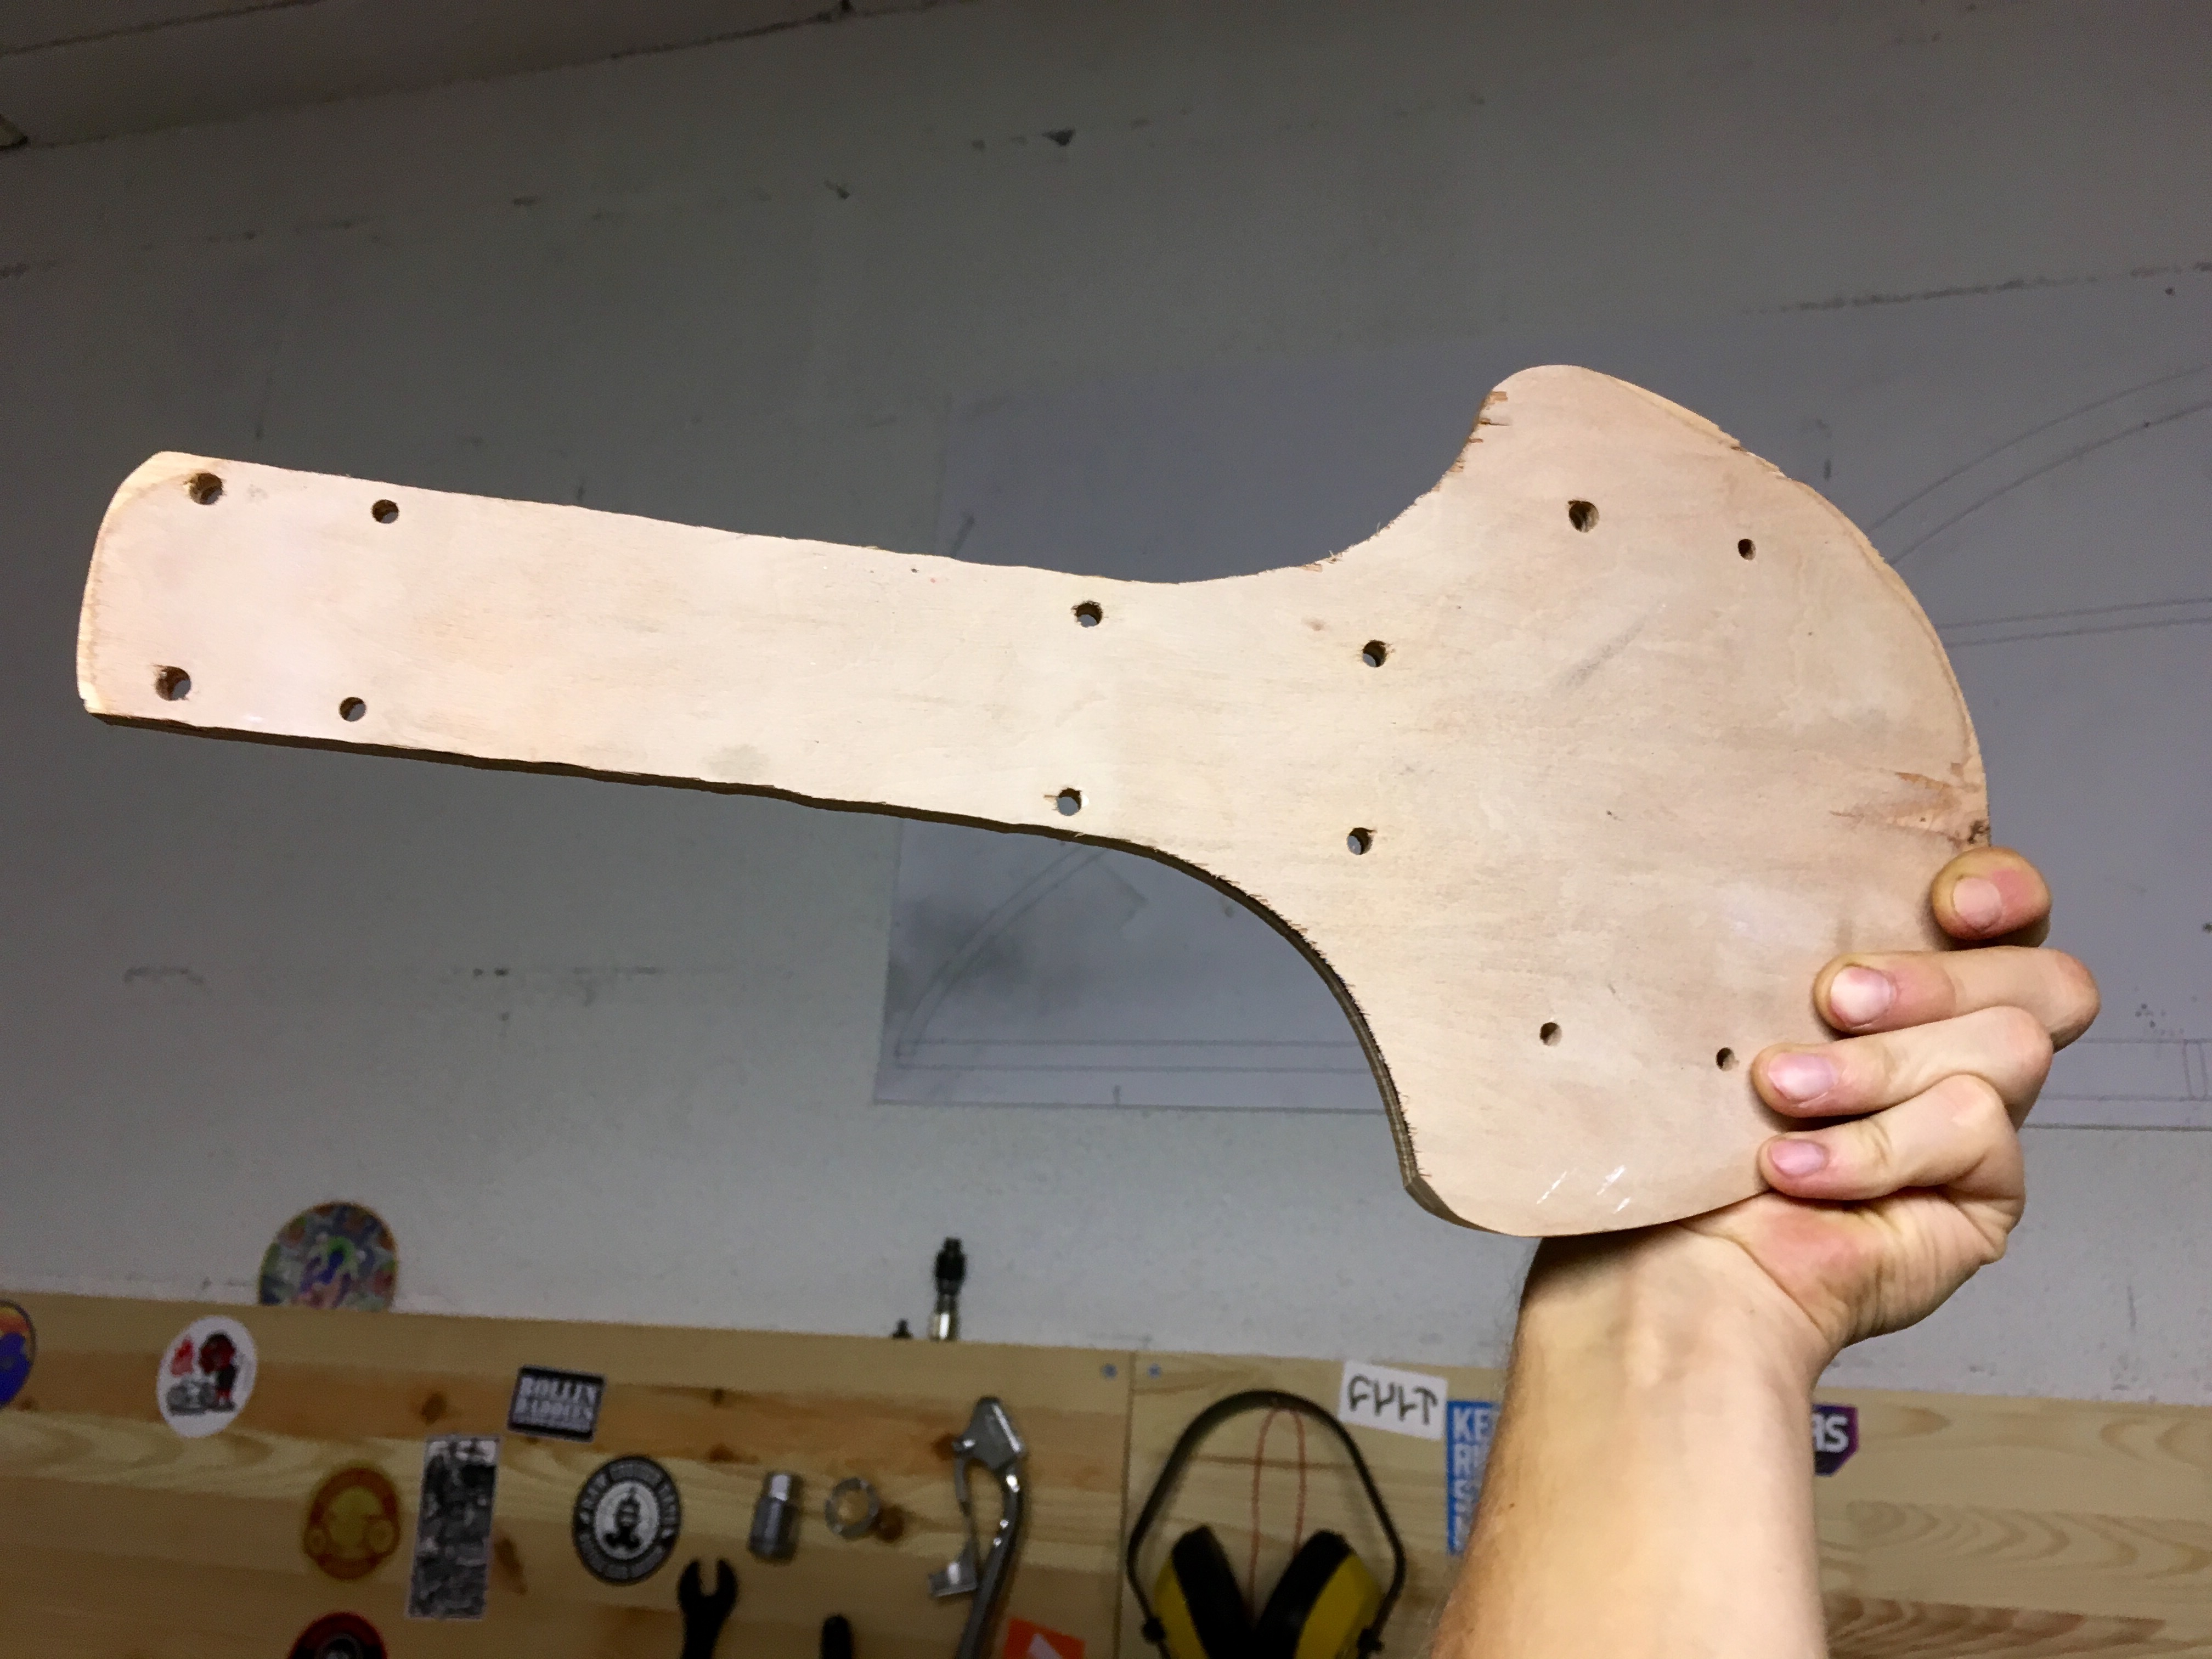
And that is going to become my seat pan!
d88d211082043f0e946bbc592a05f4e0.jpg


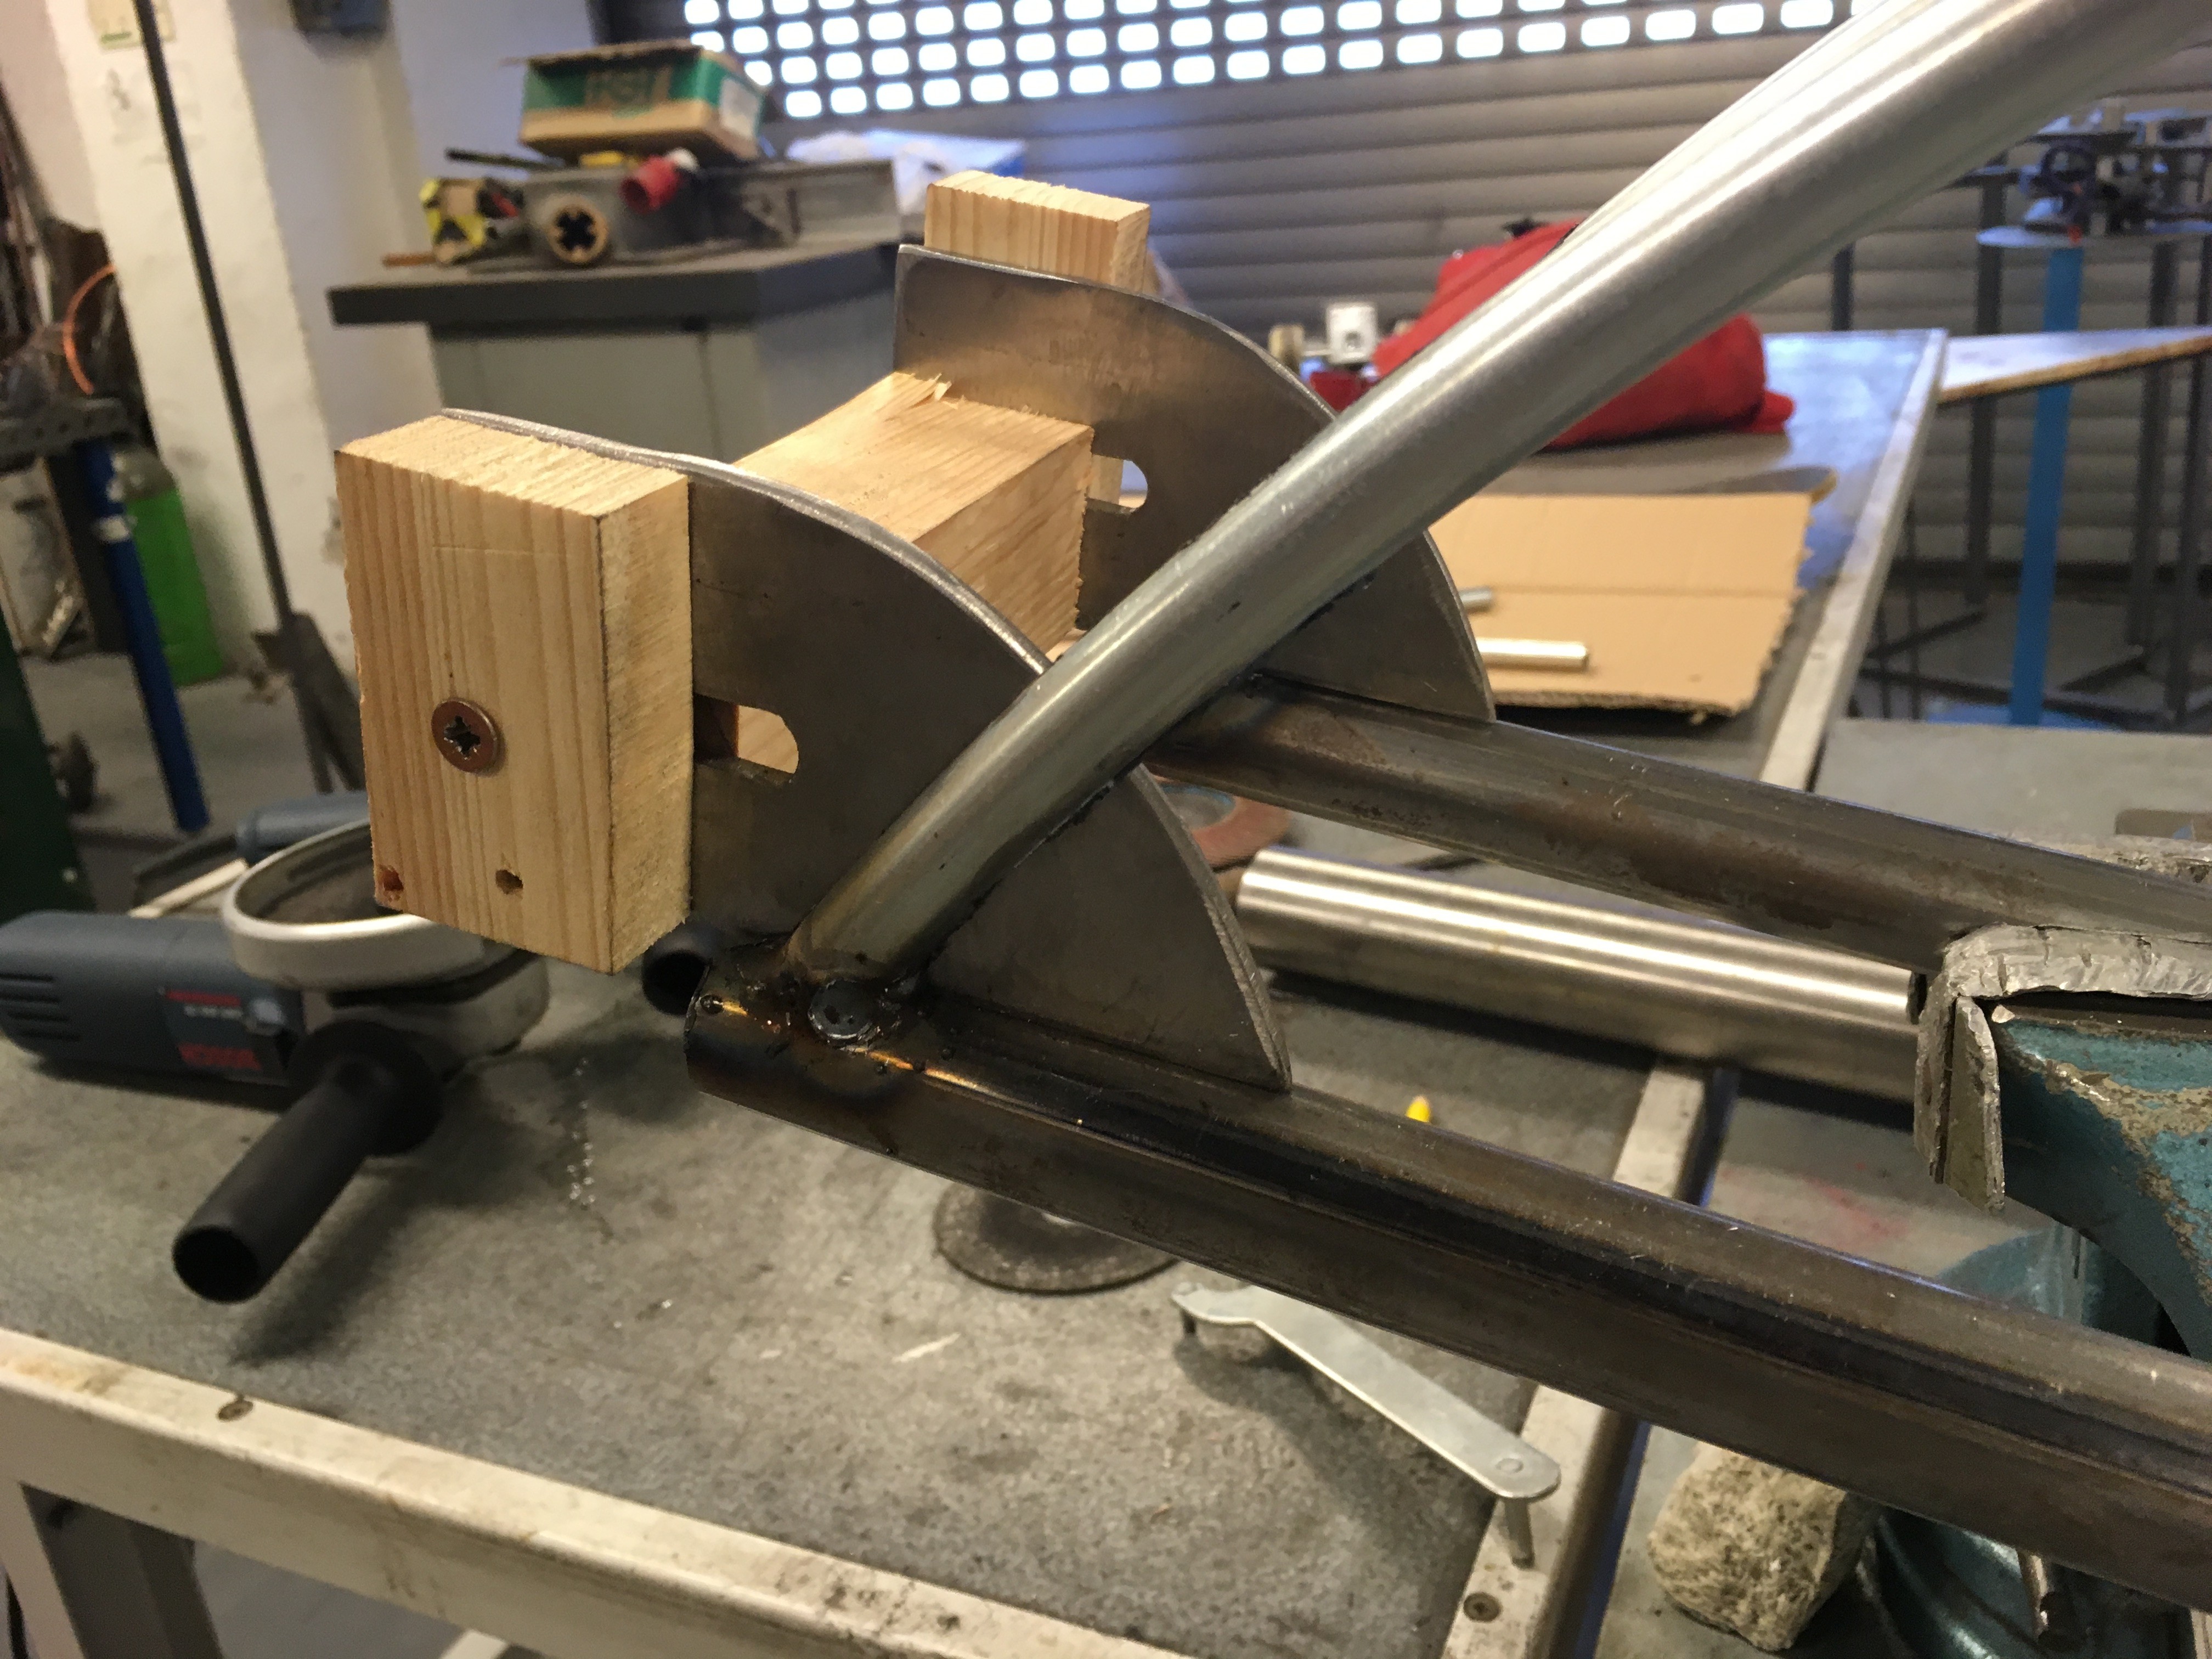
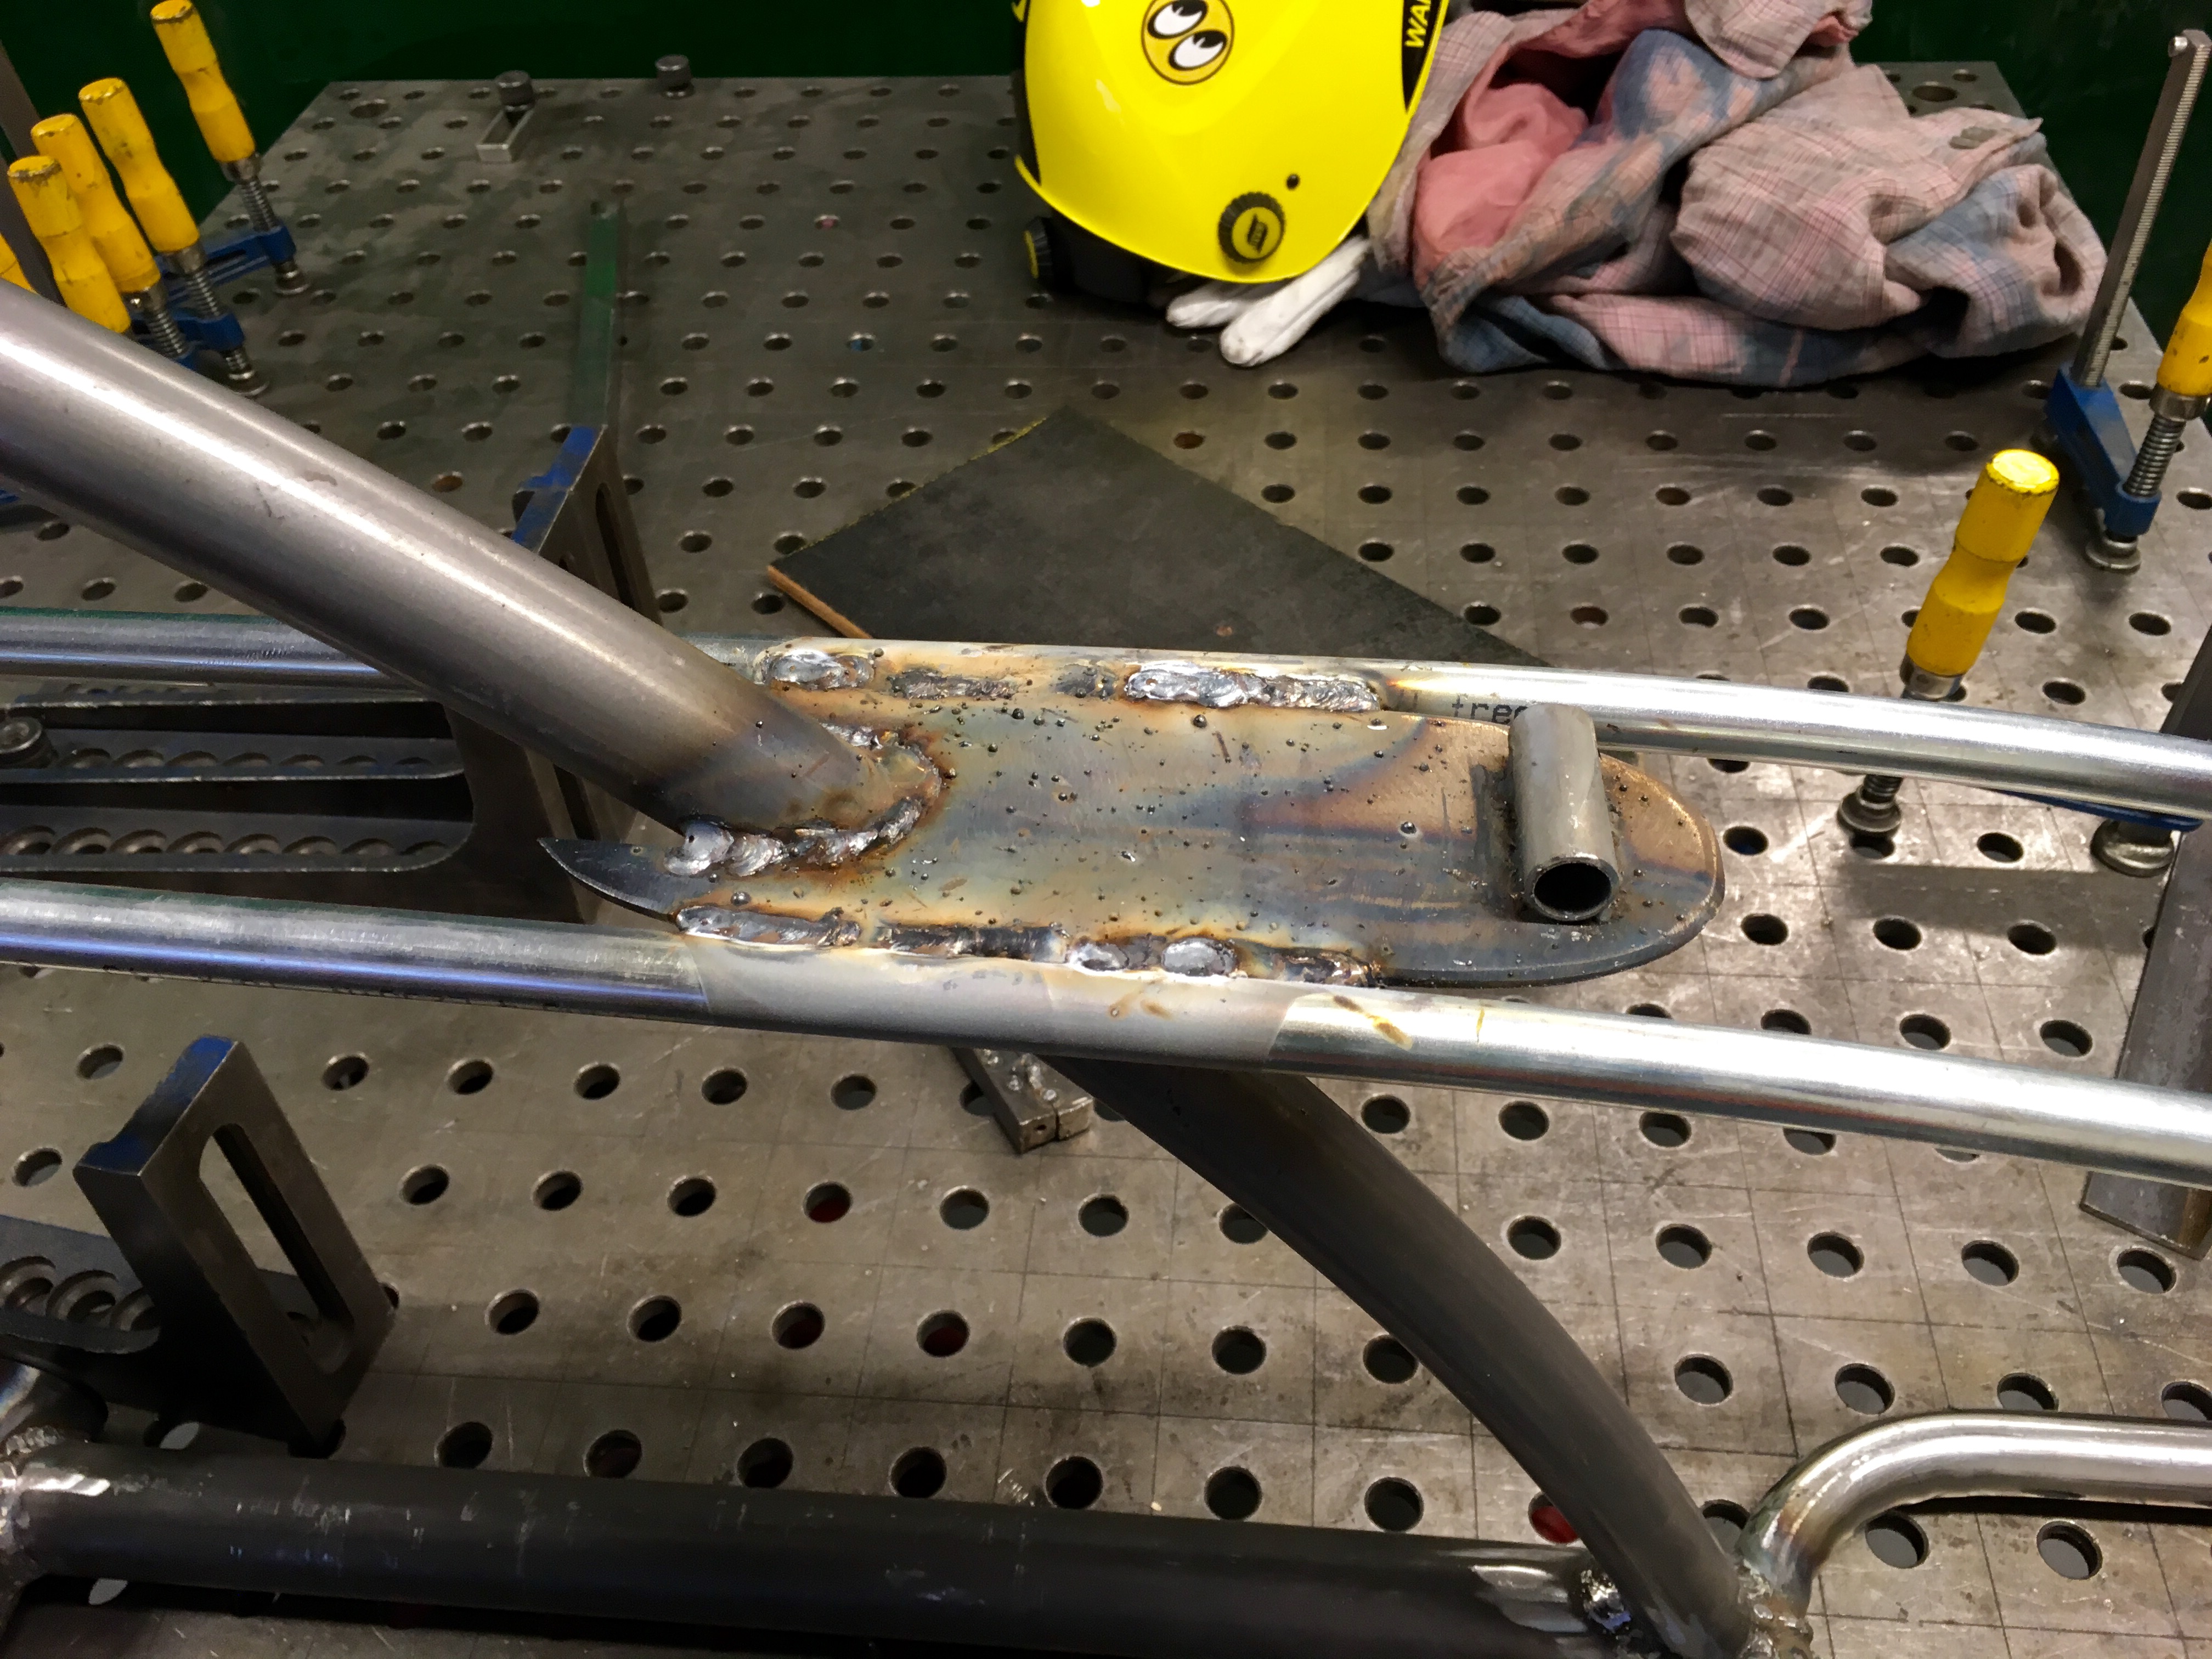
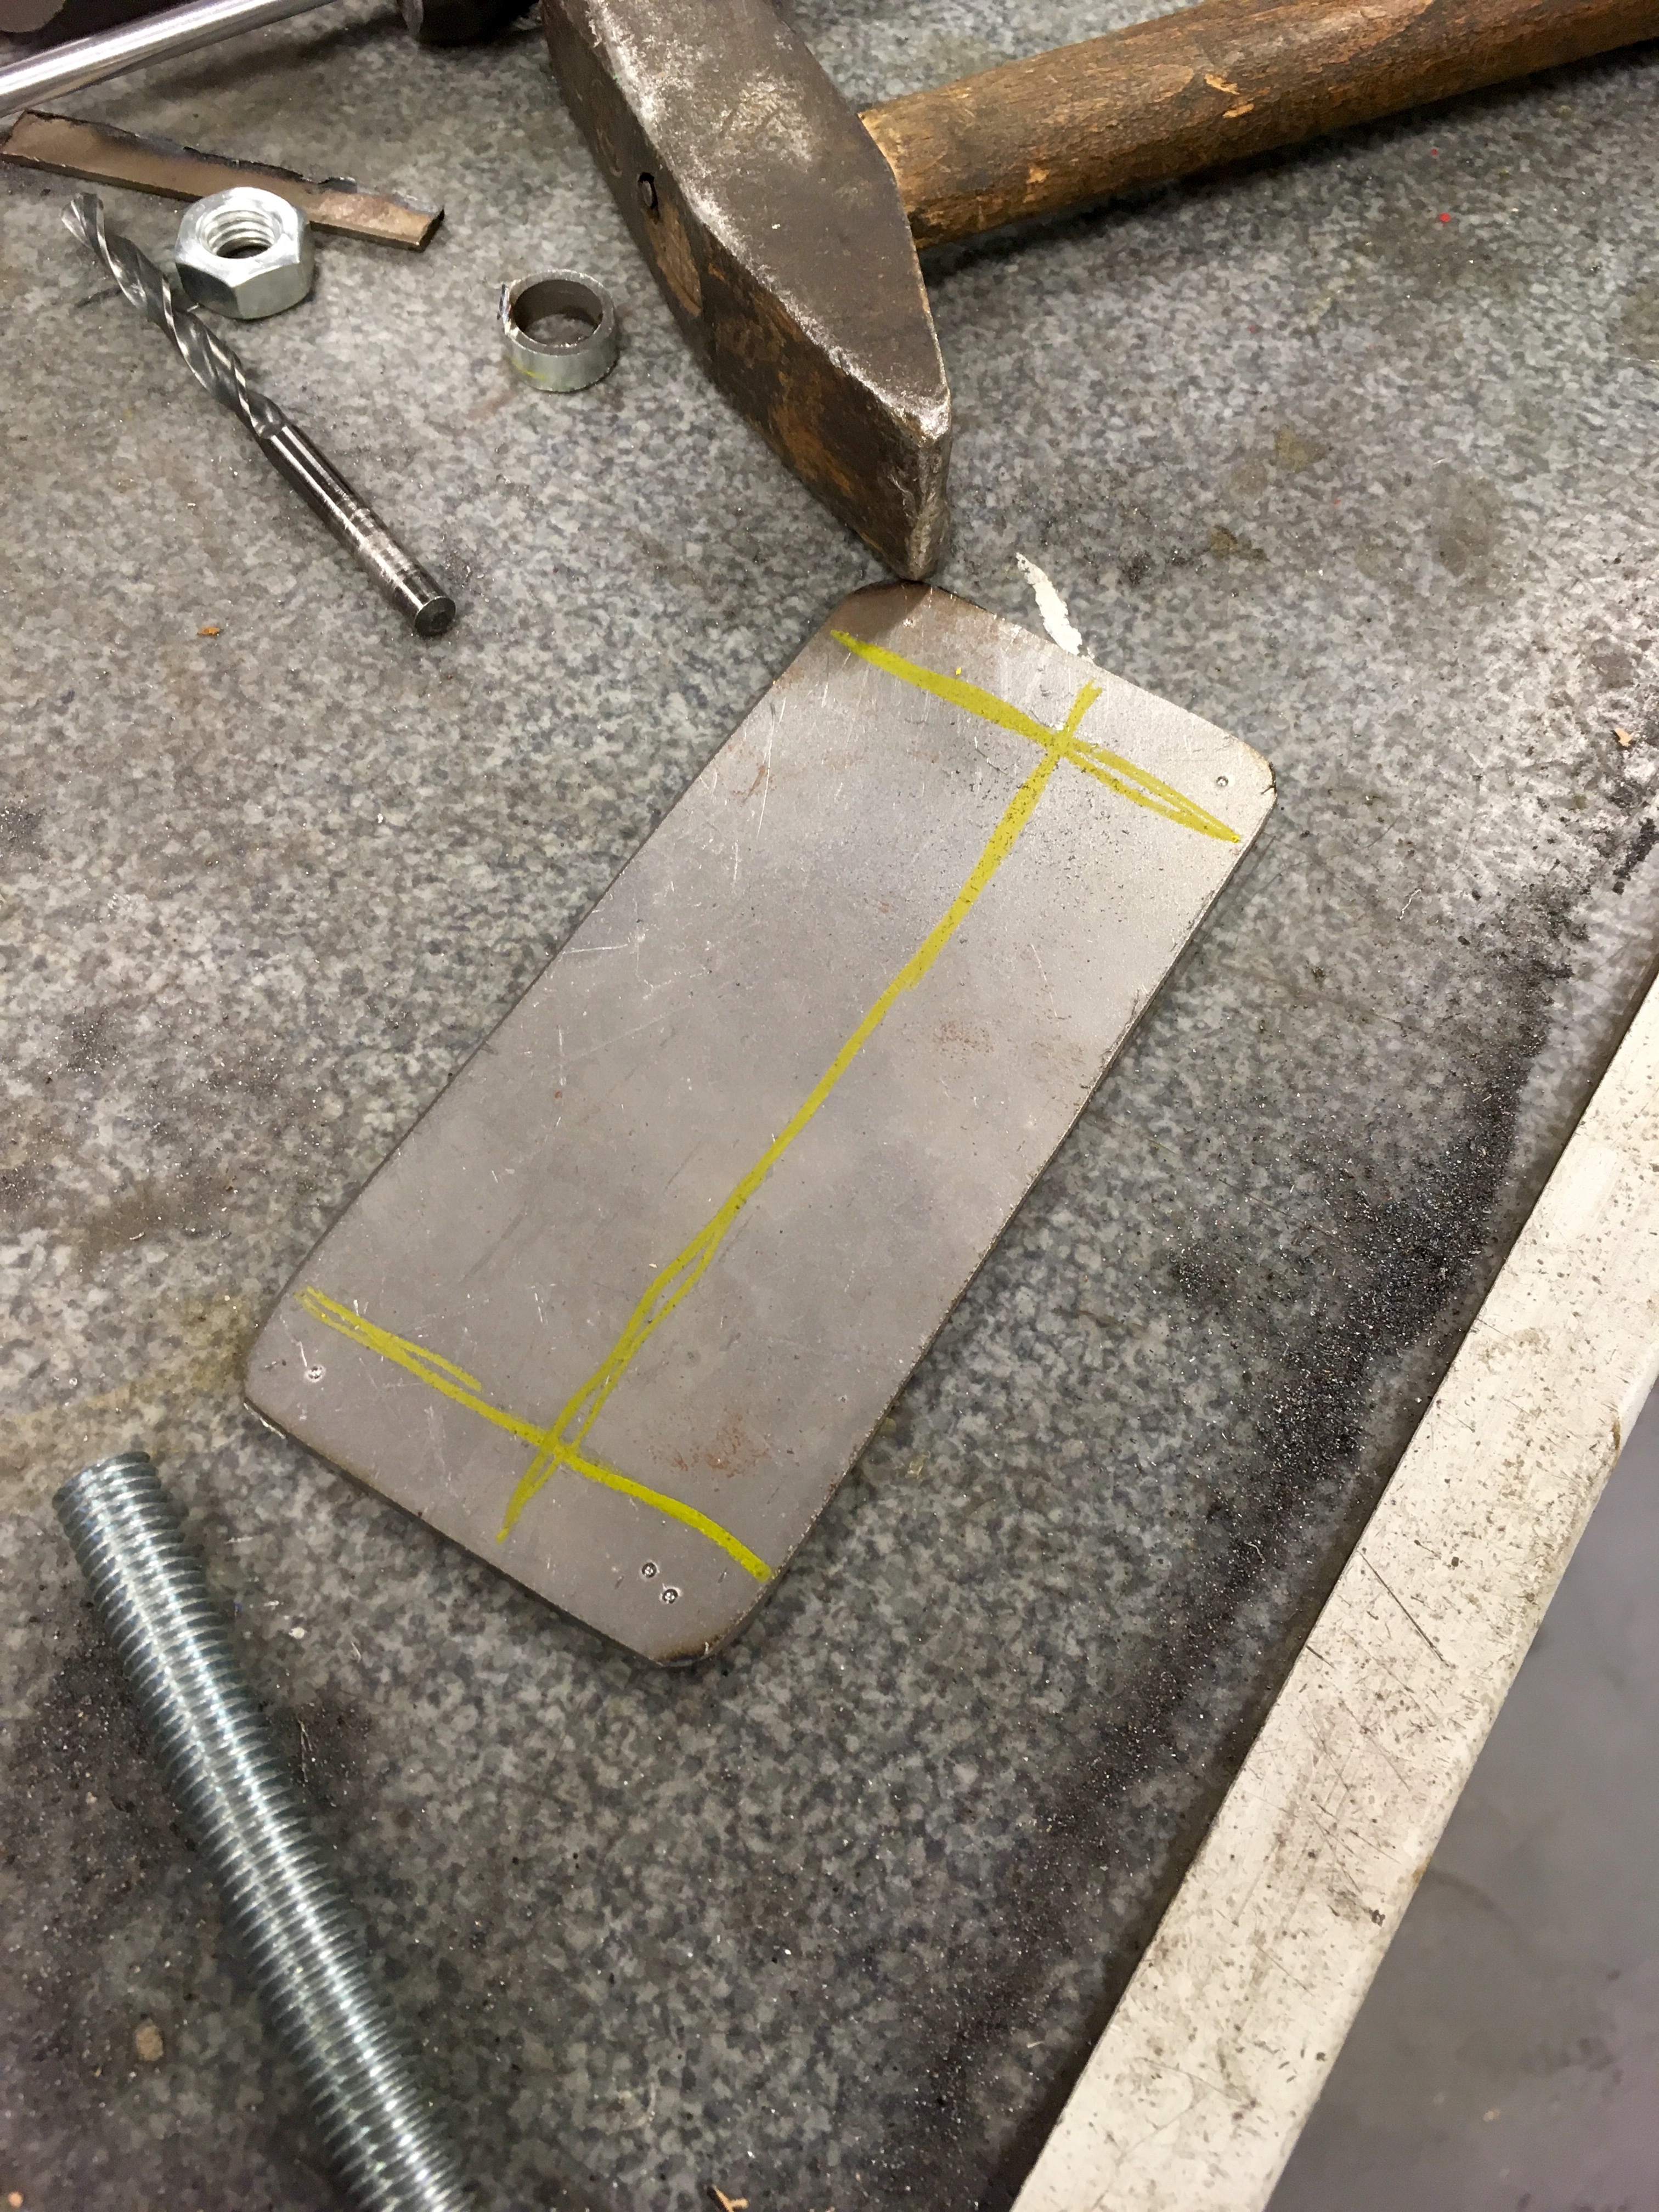
Here i am sketching a reinforcement plate for the place where cantilevers meet the top tube.
82860b5d9d7e7b8491285d854b295a98.jpg


And here after an hour of grinding and welding there is the same plate out of 5mm steel.
6693082658a378e76272b066def1e636.jpg


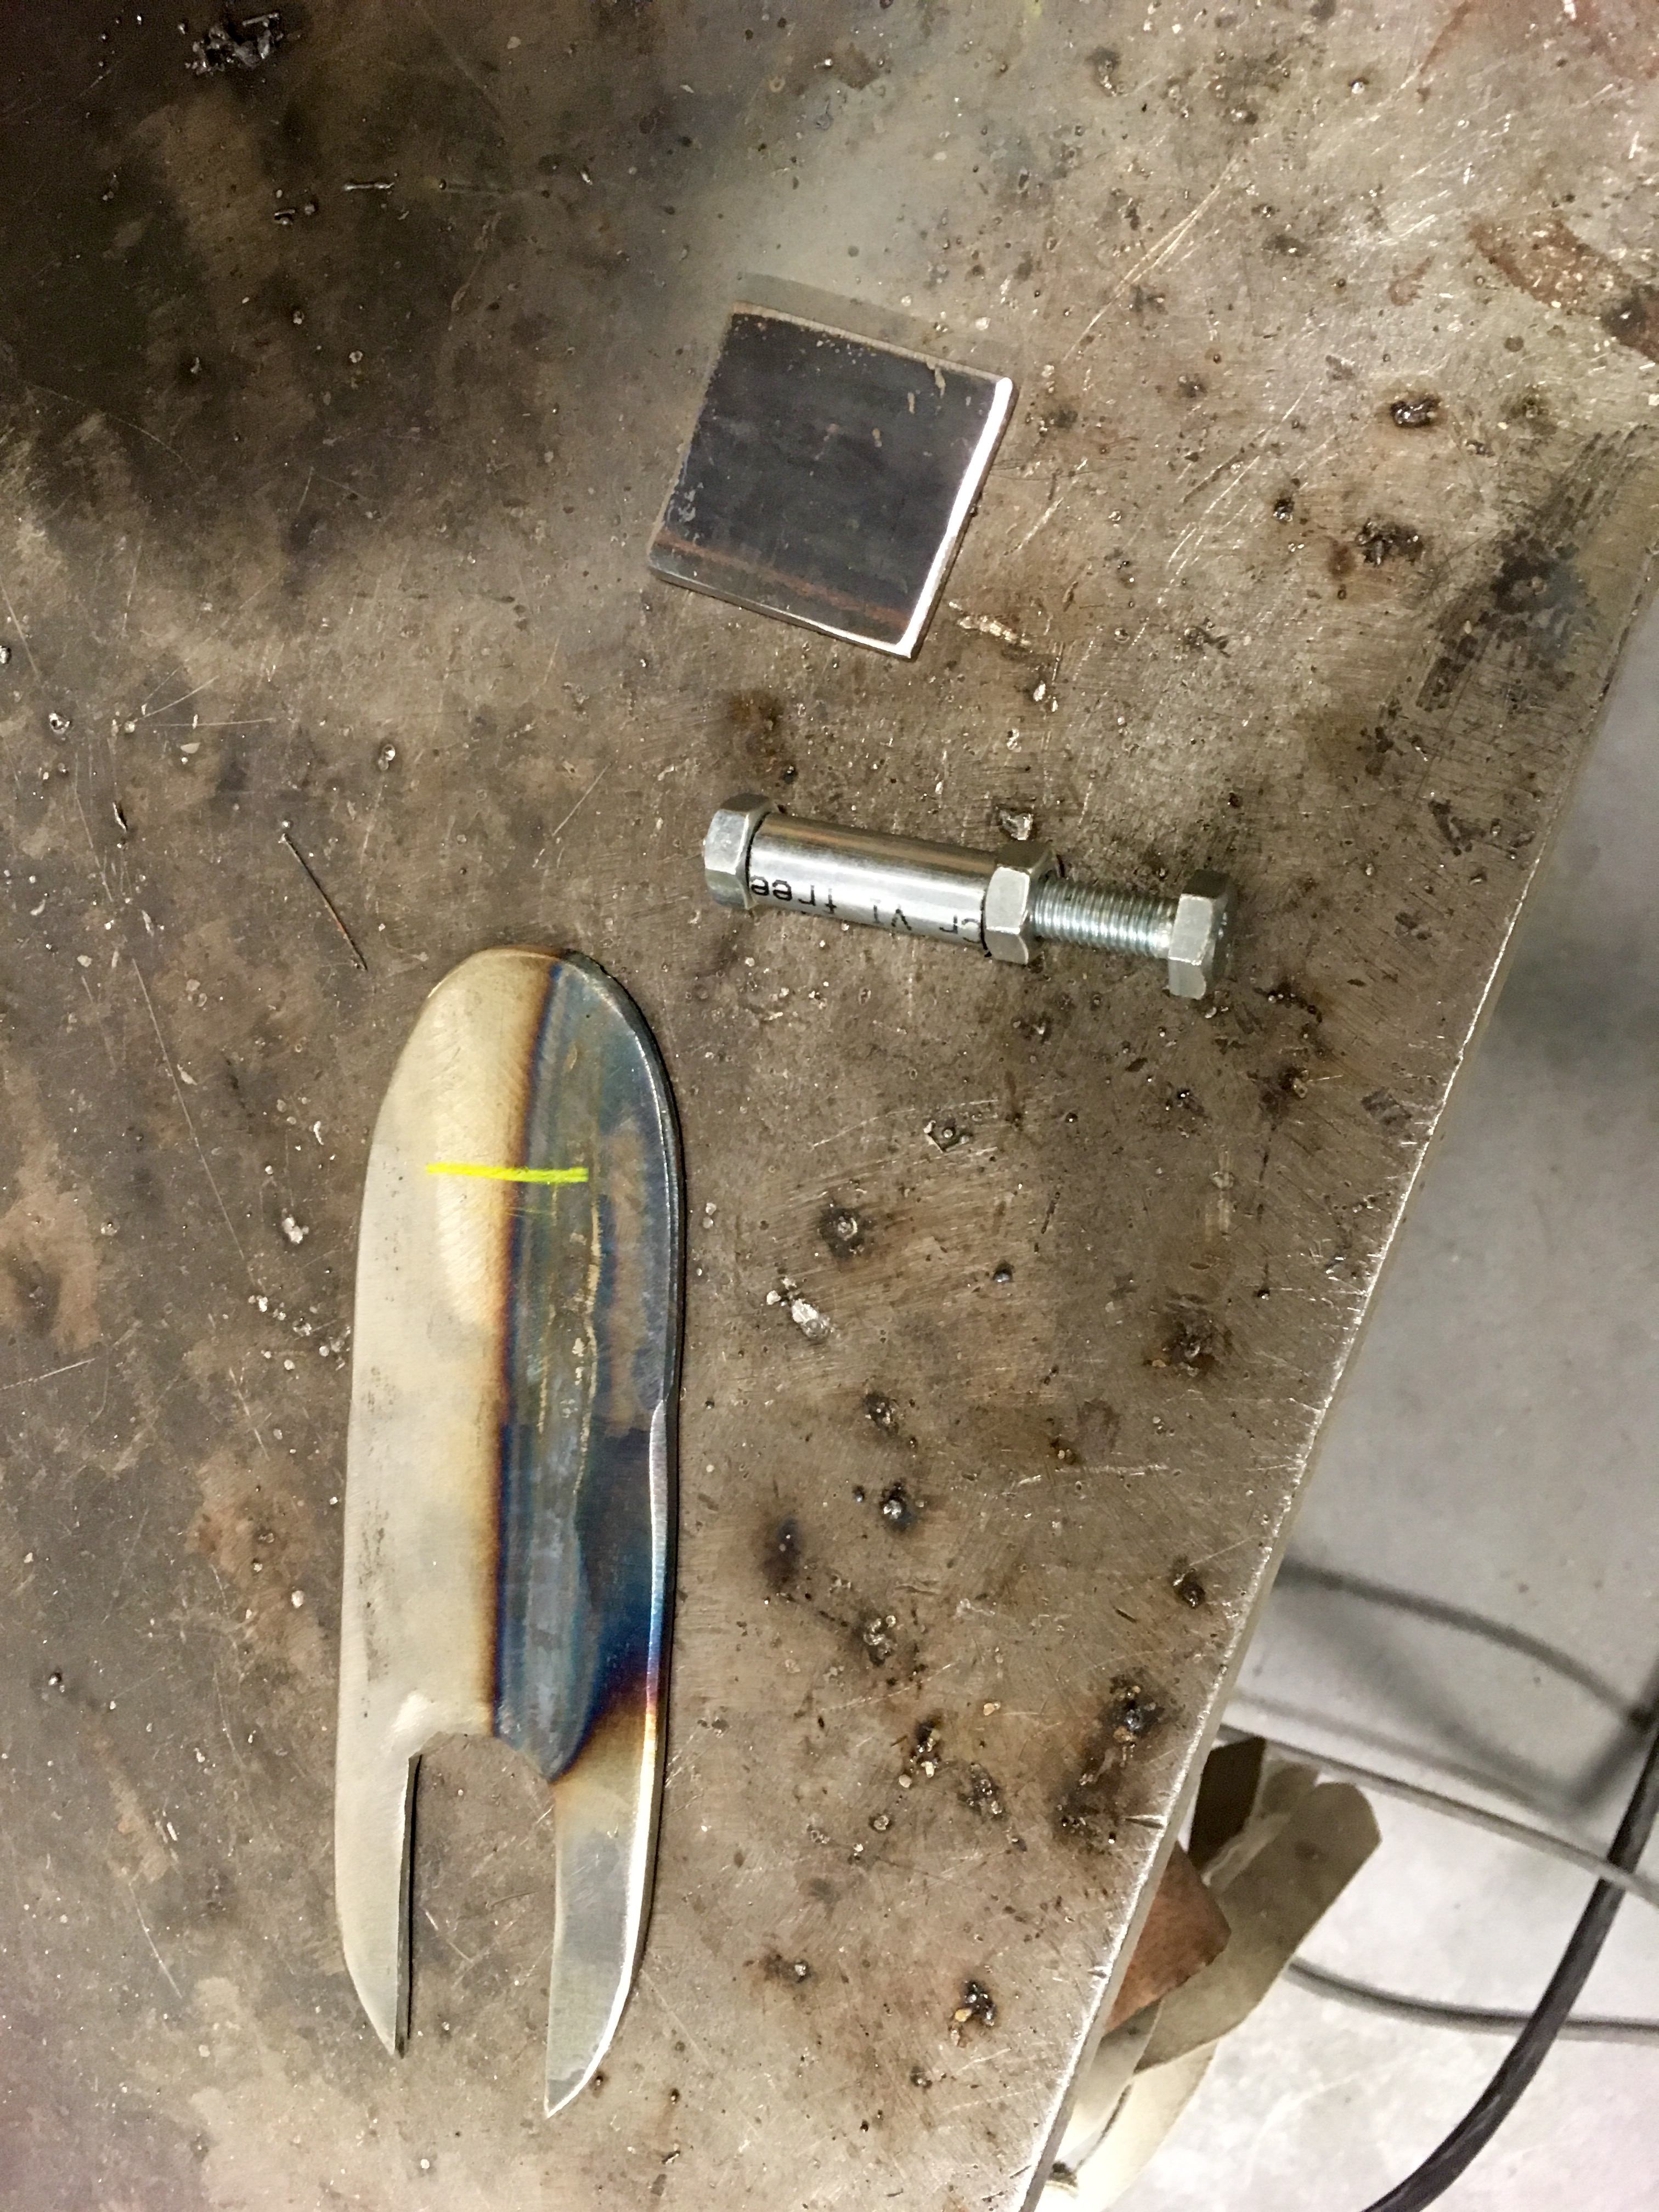
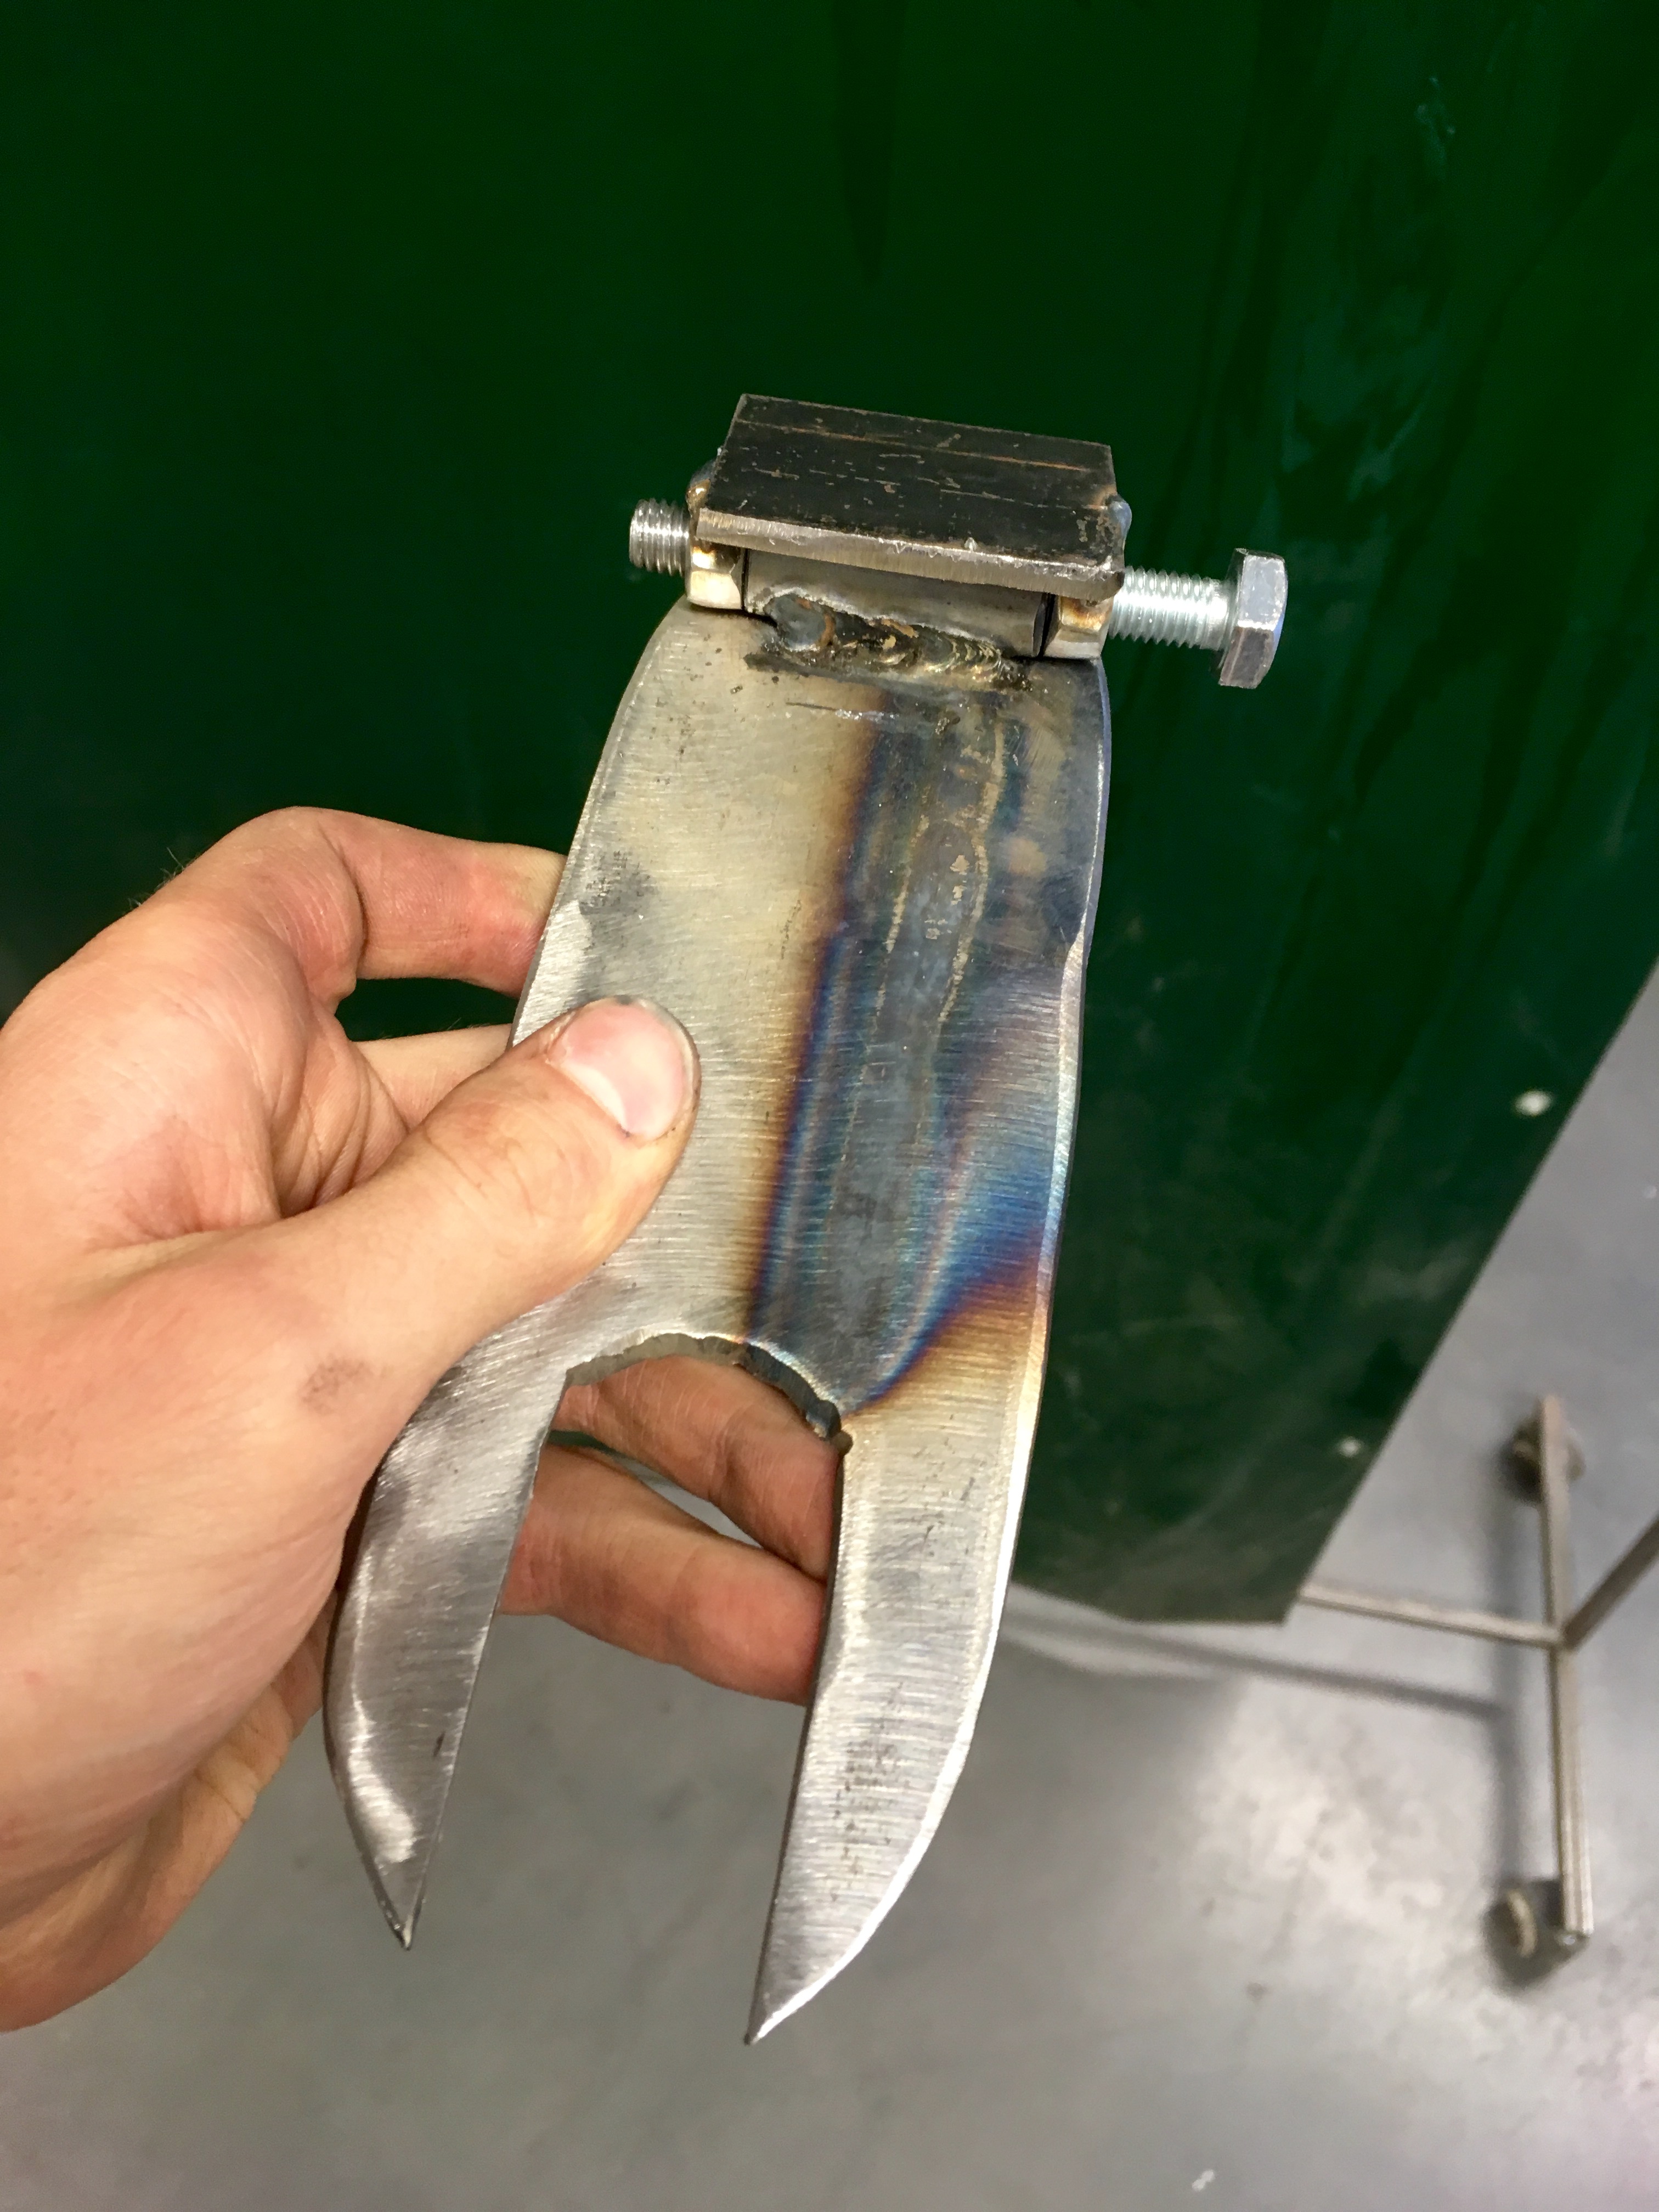
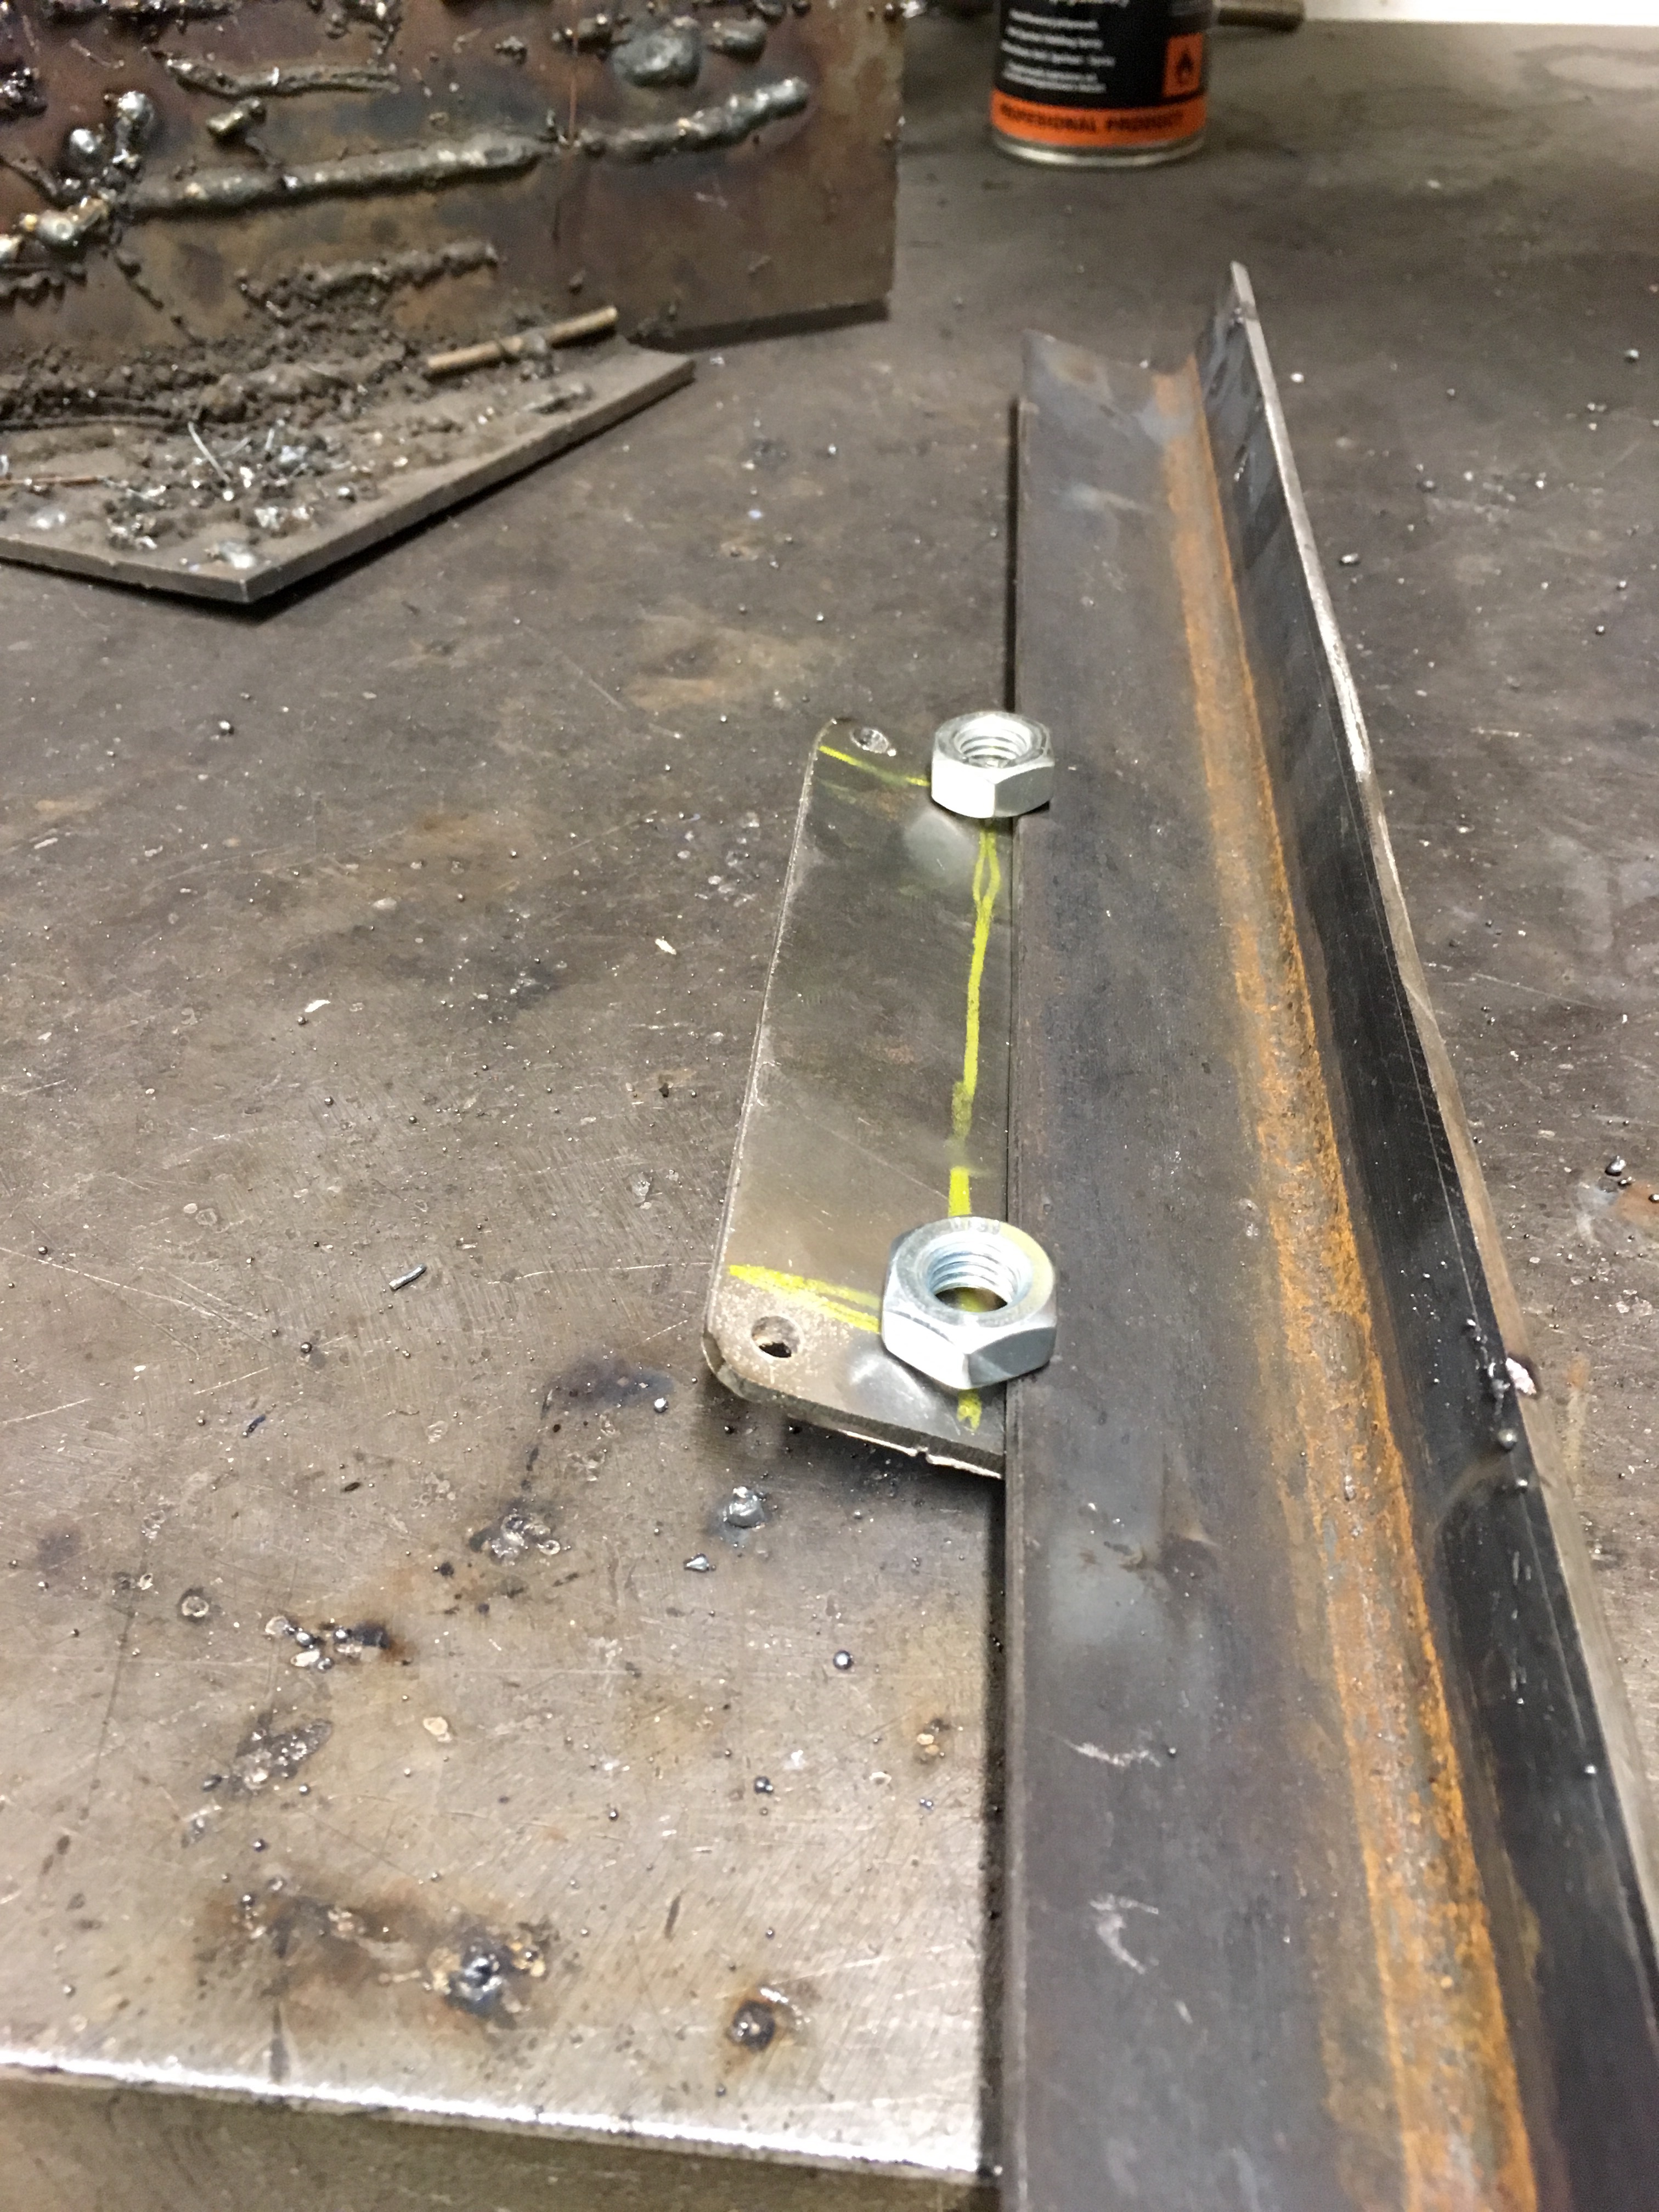
These objects are: two steel plates, two m10 nuts and one bolt and a piece of 15mm tube i used for cantilevers.
7f0fea7ed711e5a98b78ef2e03cf316f.jpg


And now they become a hinge for the seat!
e059424729c6d8b5a86486c1e503b2be.jpg

7608e033965ad8031bc78800d549ddcc.jpg


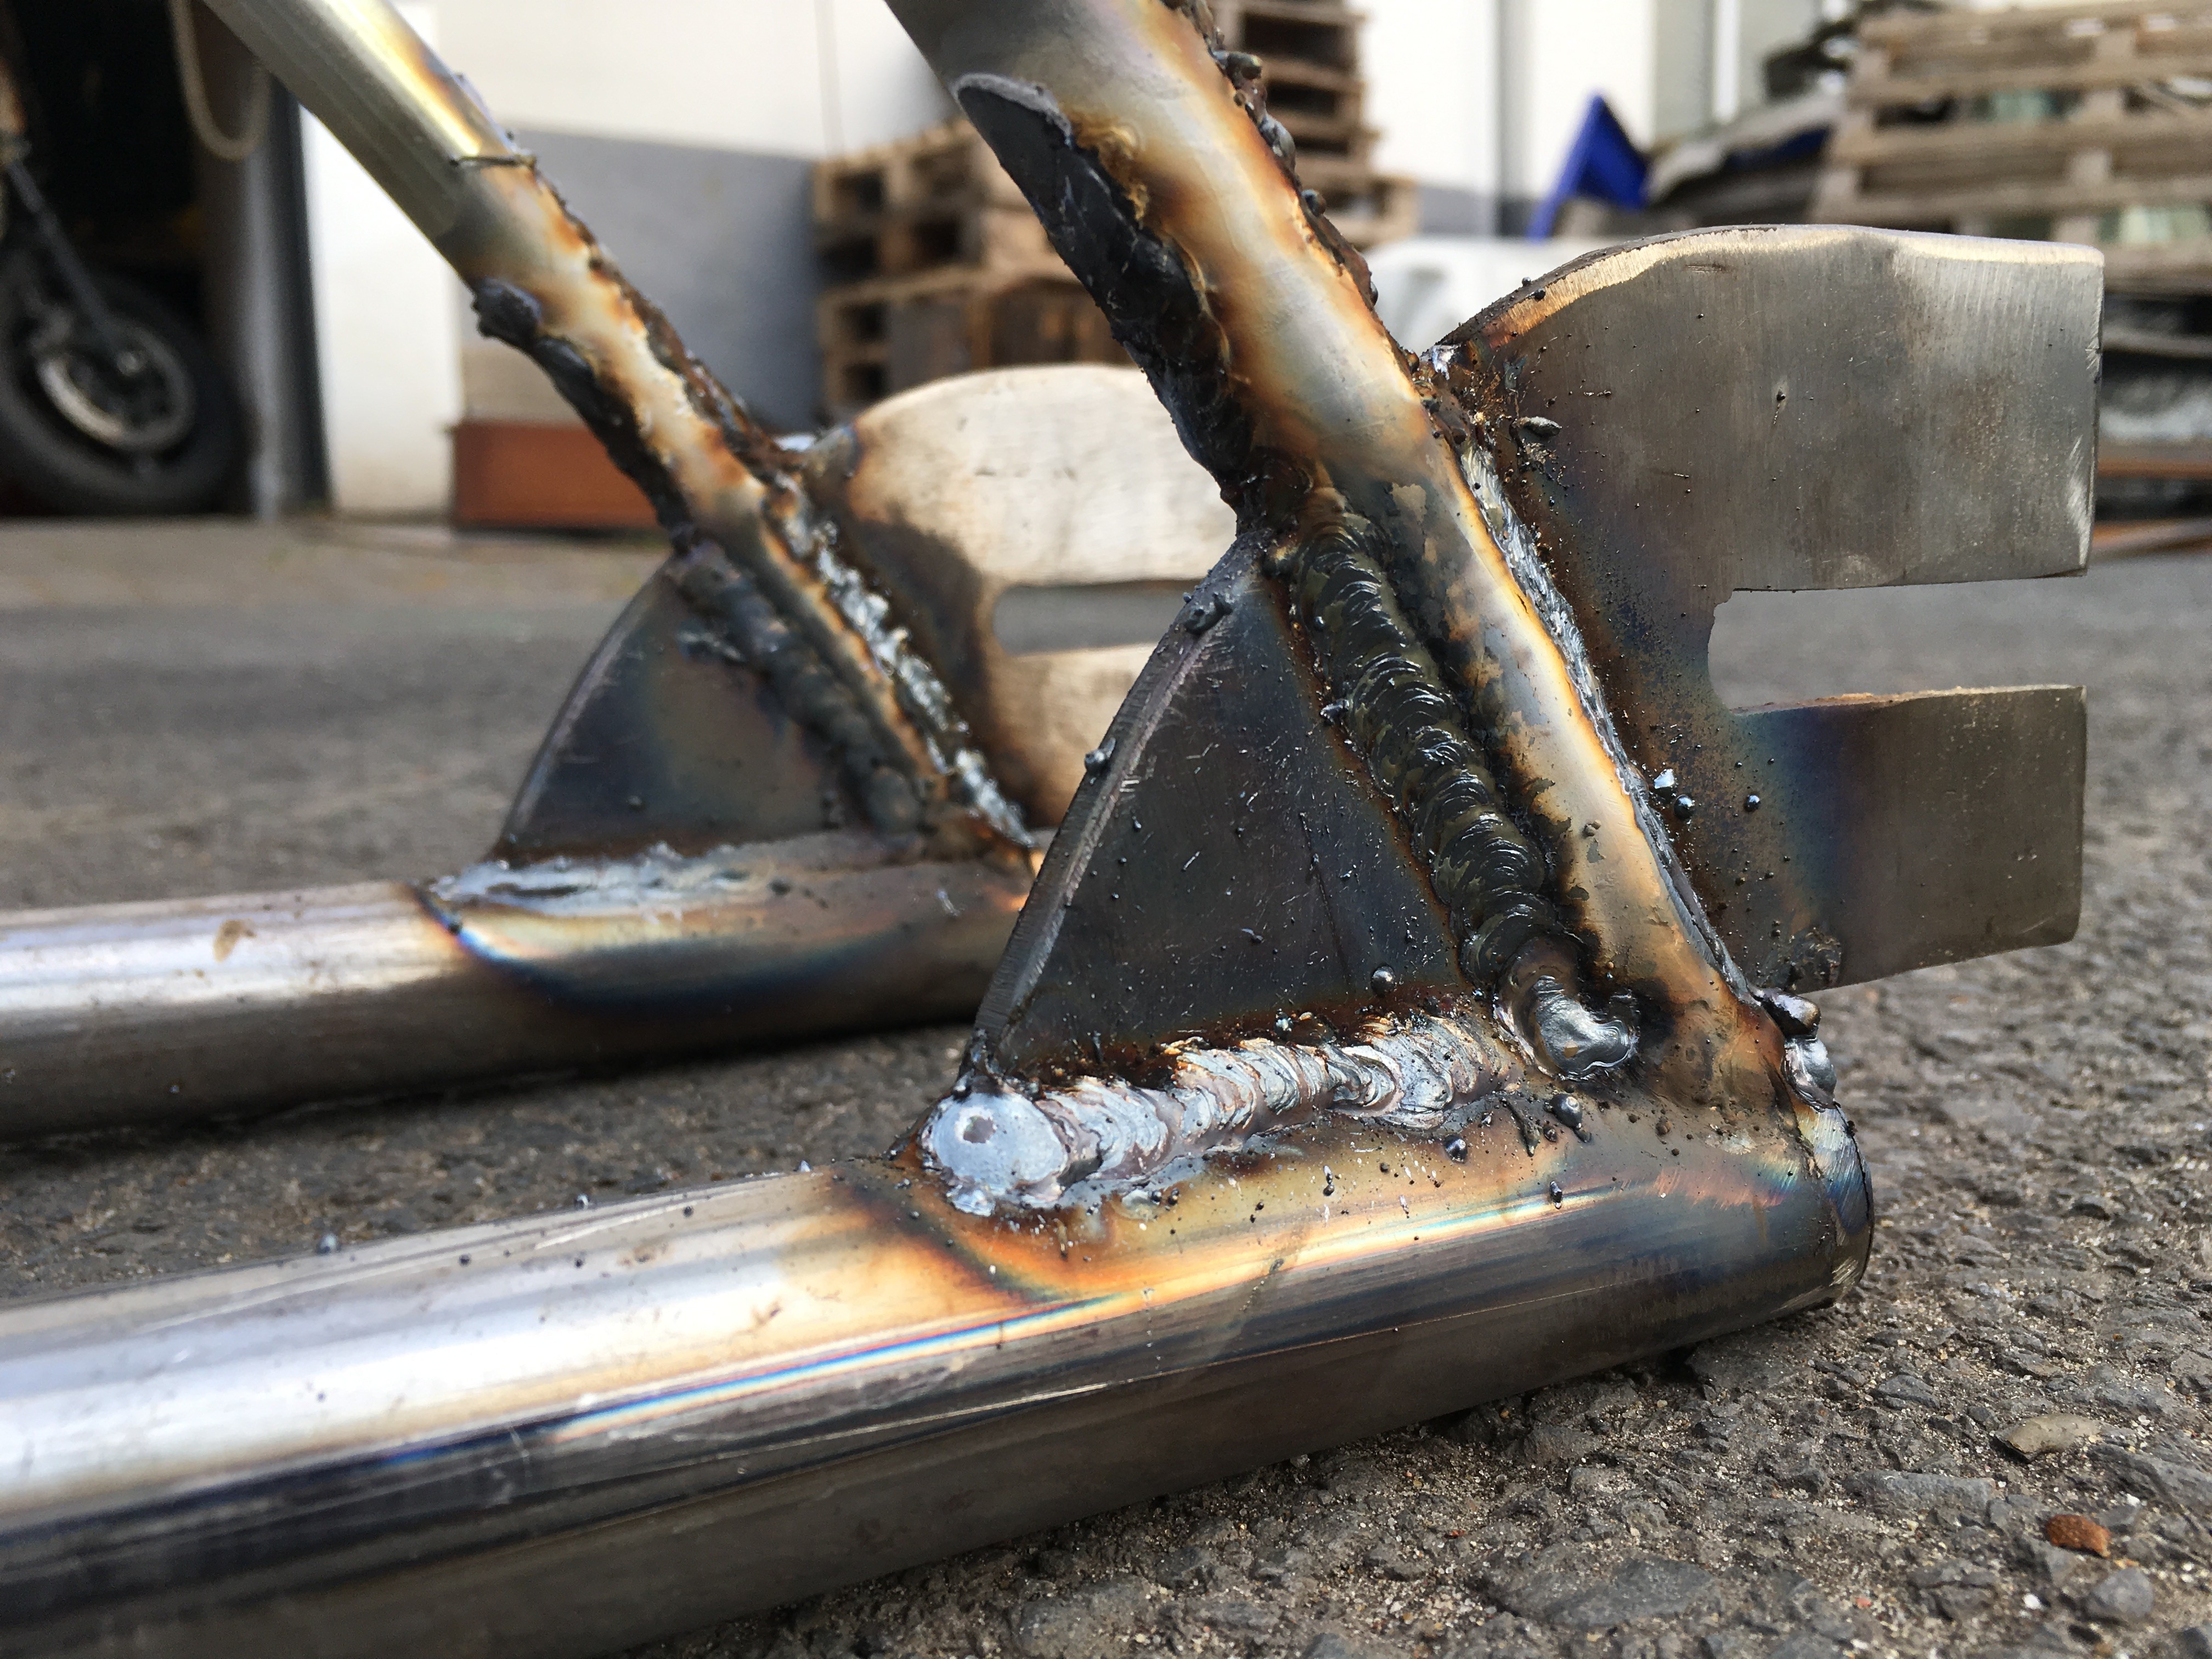
The plate is welded in place.
b5d1d3159f37bf7934ba273aad7a97c9.jpg


Same goes for coaster tab.
f6698c85e6f9bcb0399fed32200c78bd.jpg


Checking the position of the seat.
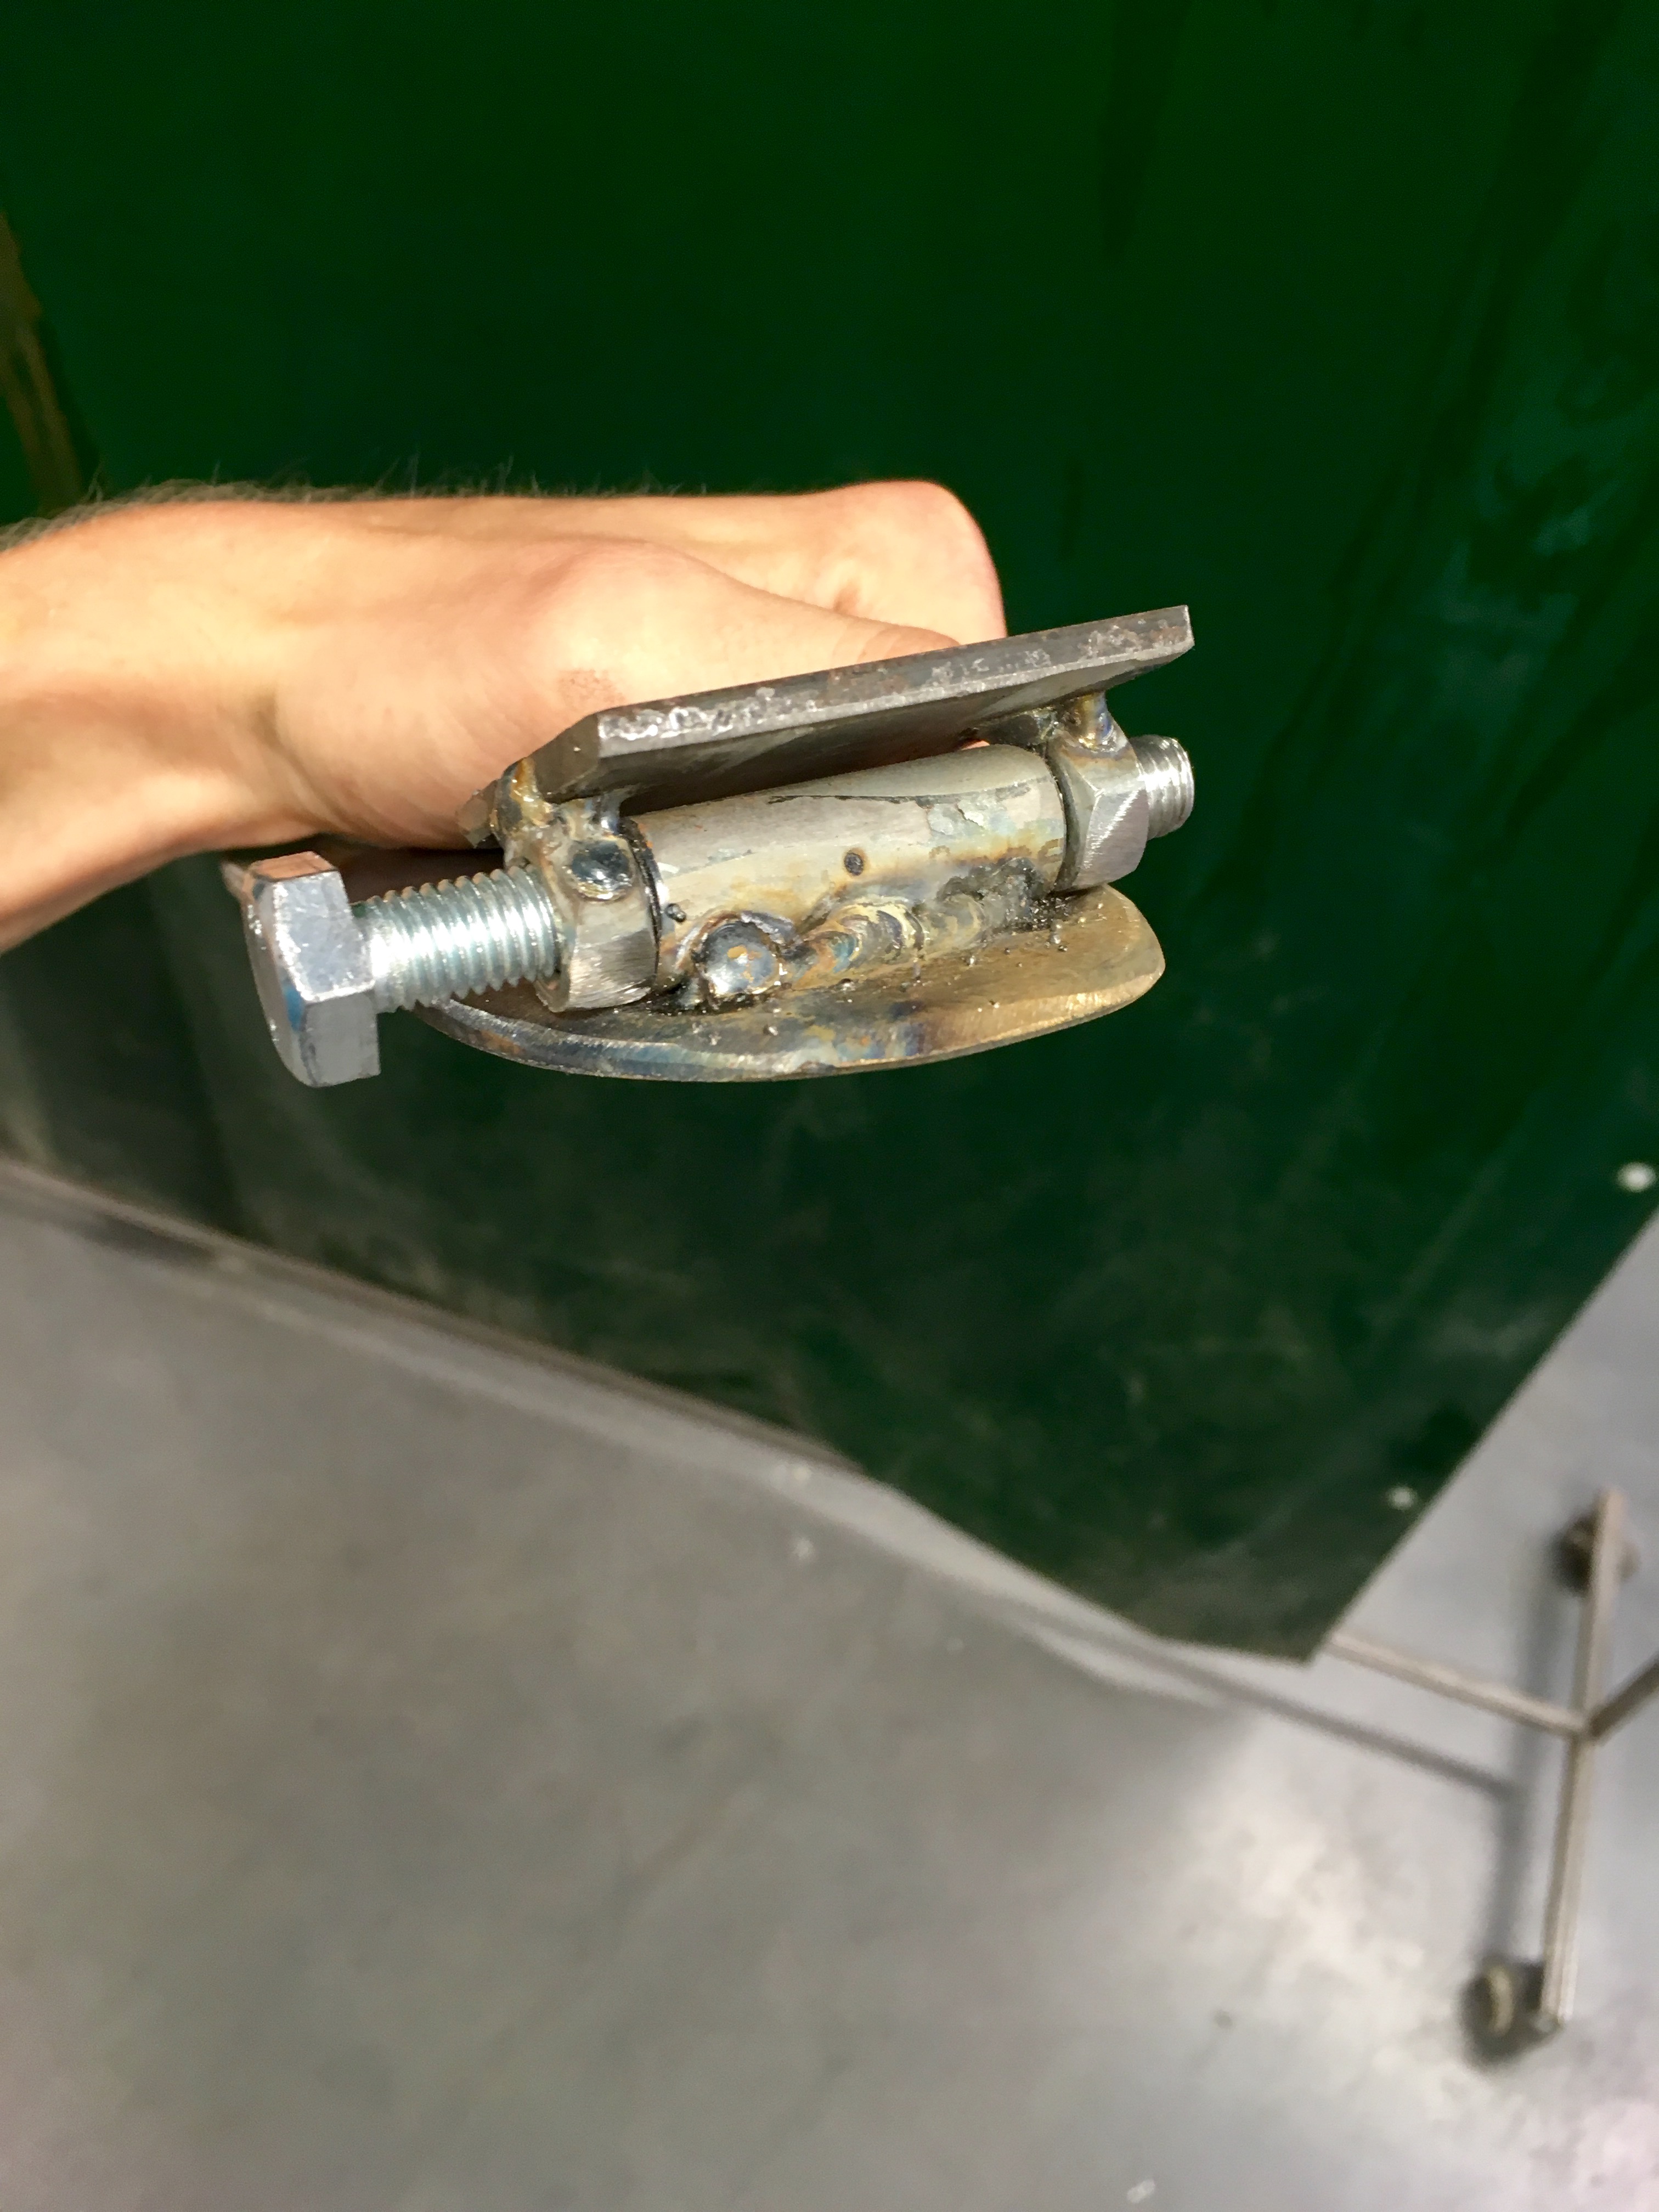
a0de5409a2feba84018e6c23825c5088.jpg


Guess what this is:
c467441635af52d5a73d4db68547a13f.jpg


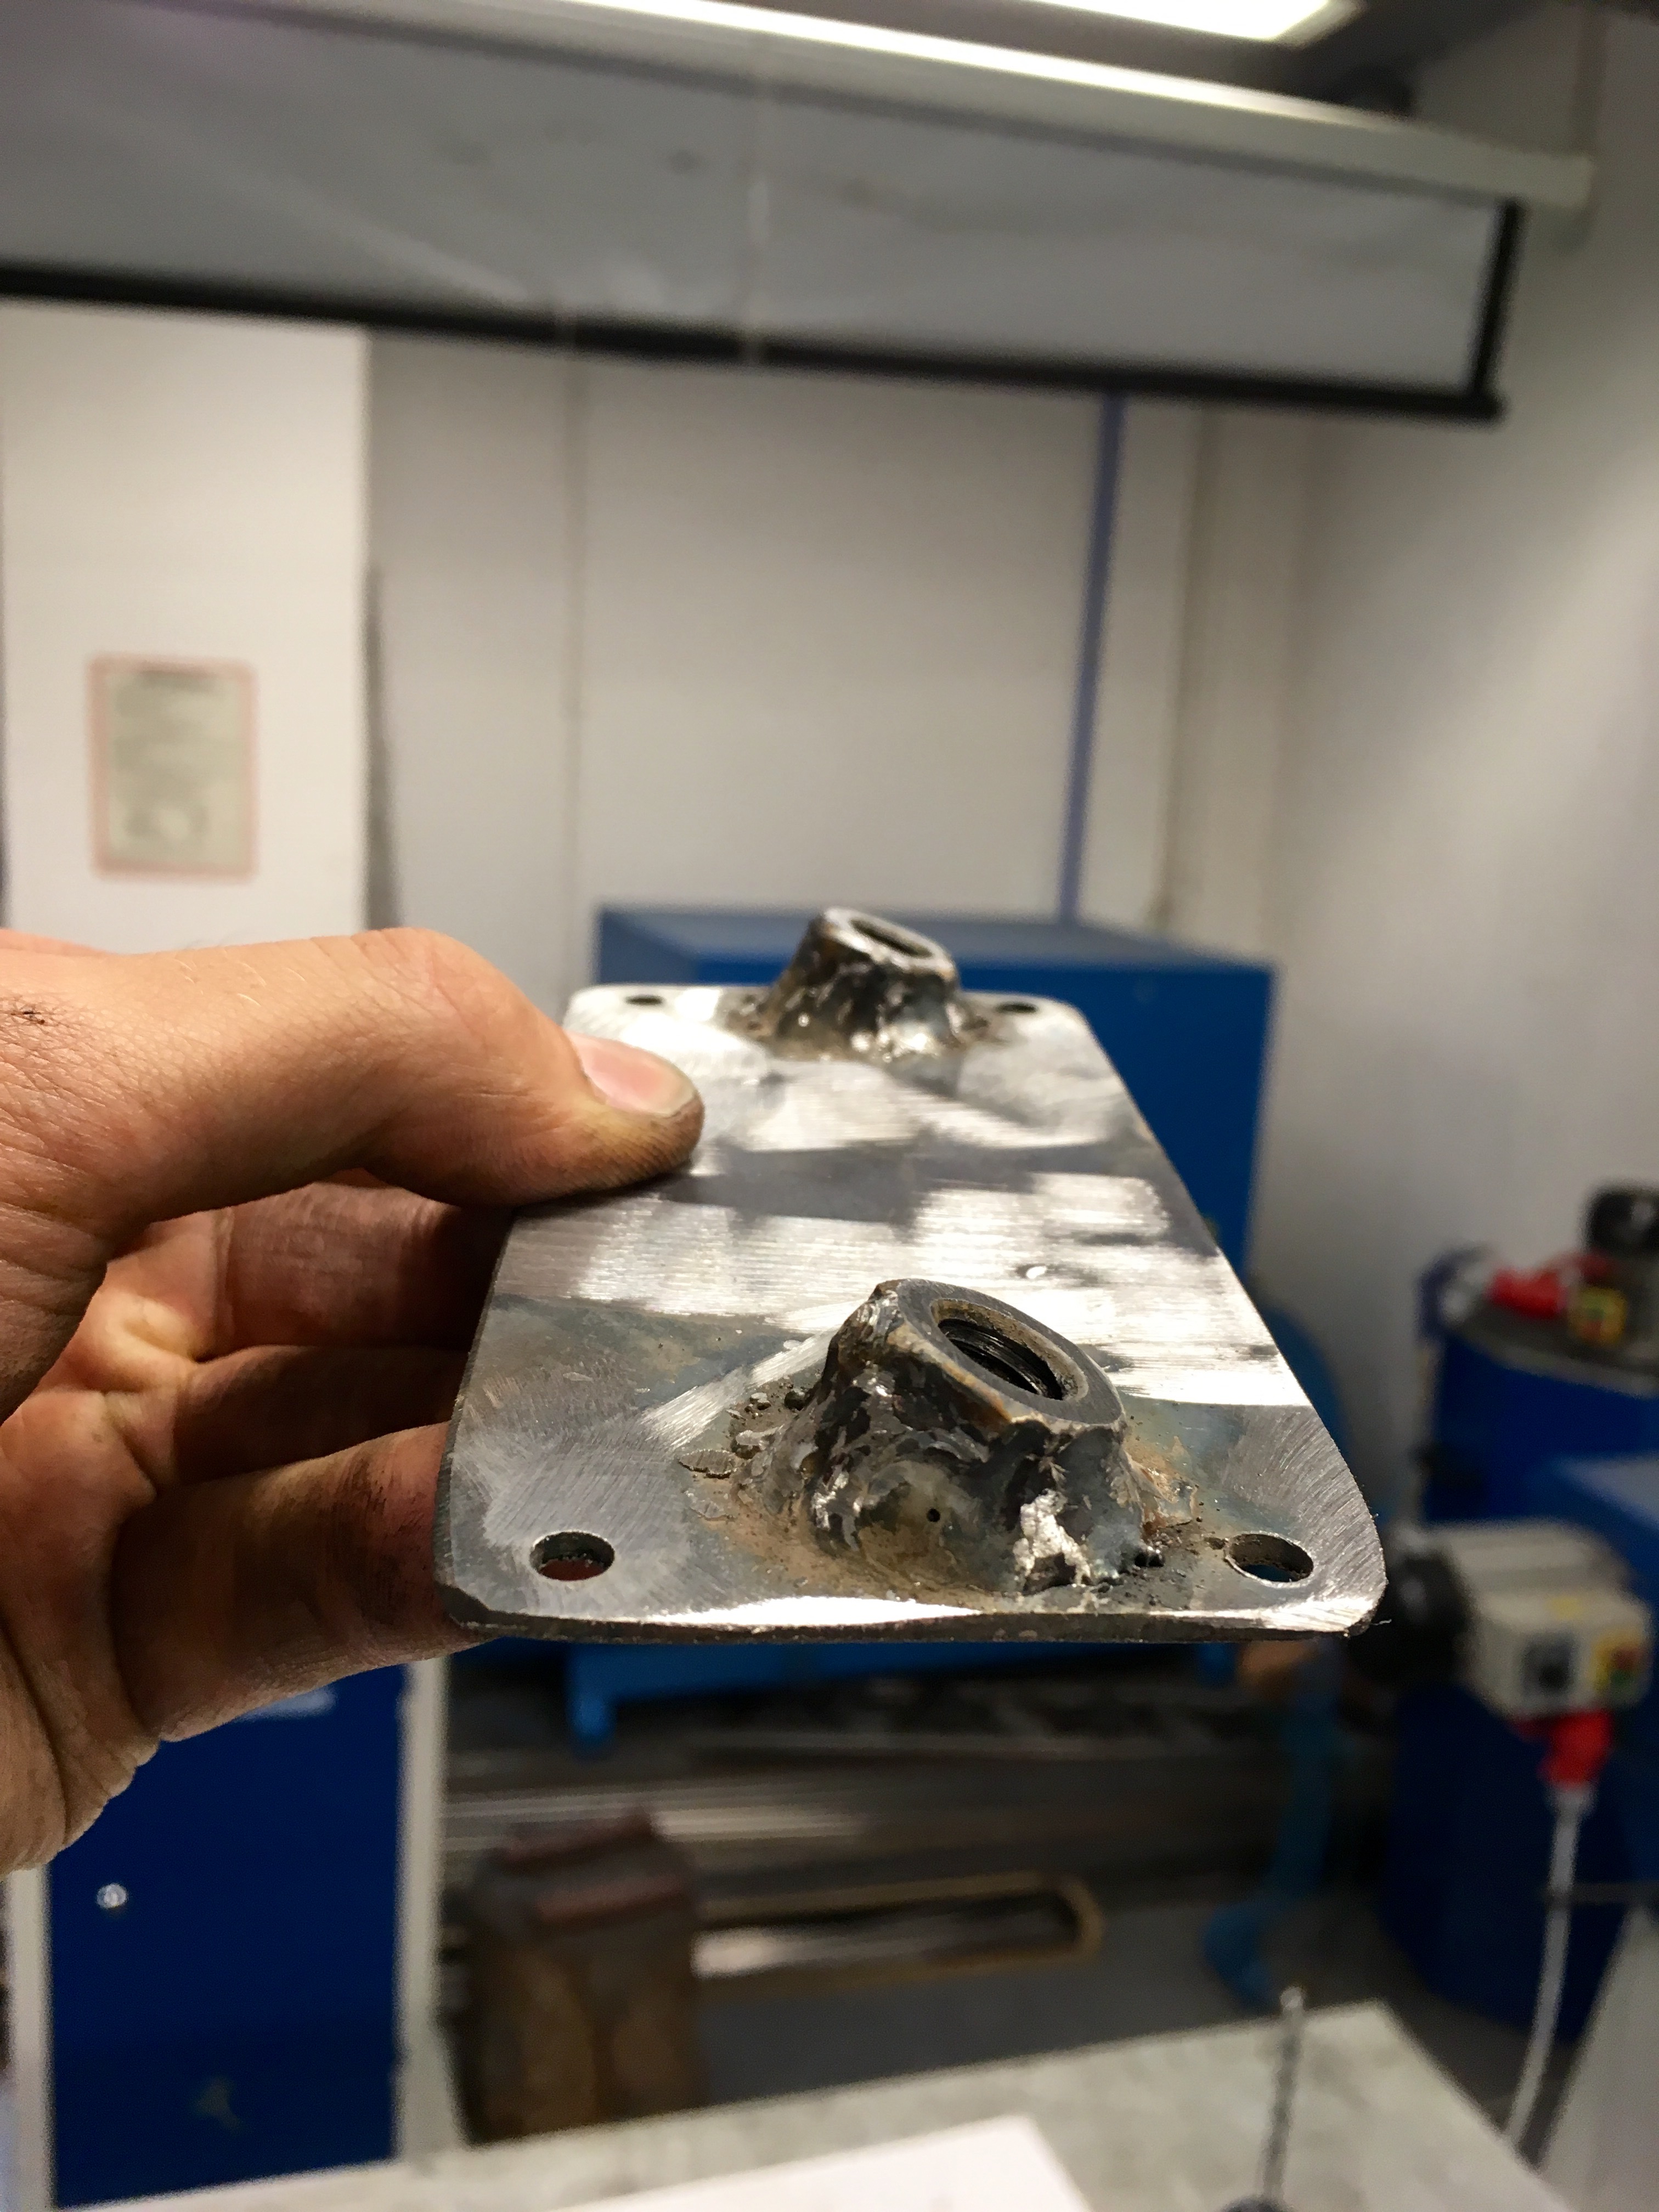
Two m10 bolts are welded on at an angle.
5d82d5347e1d7a2a6fb826cce1074490.jpg


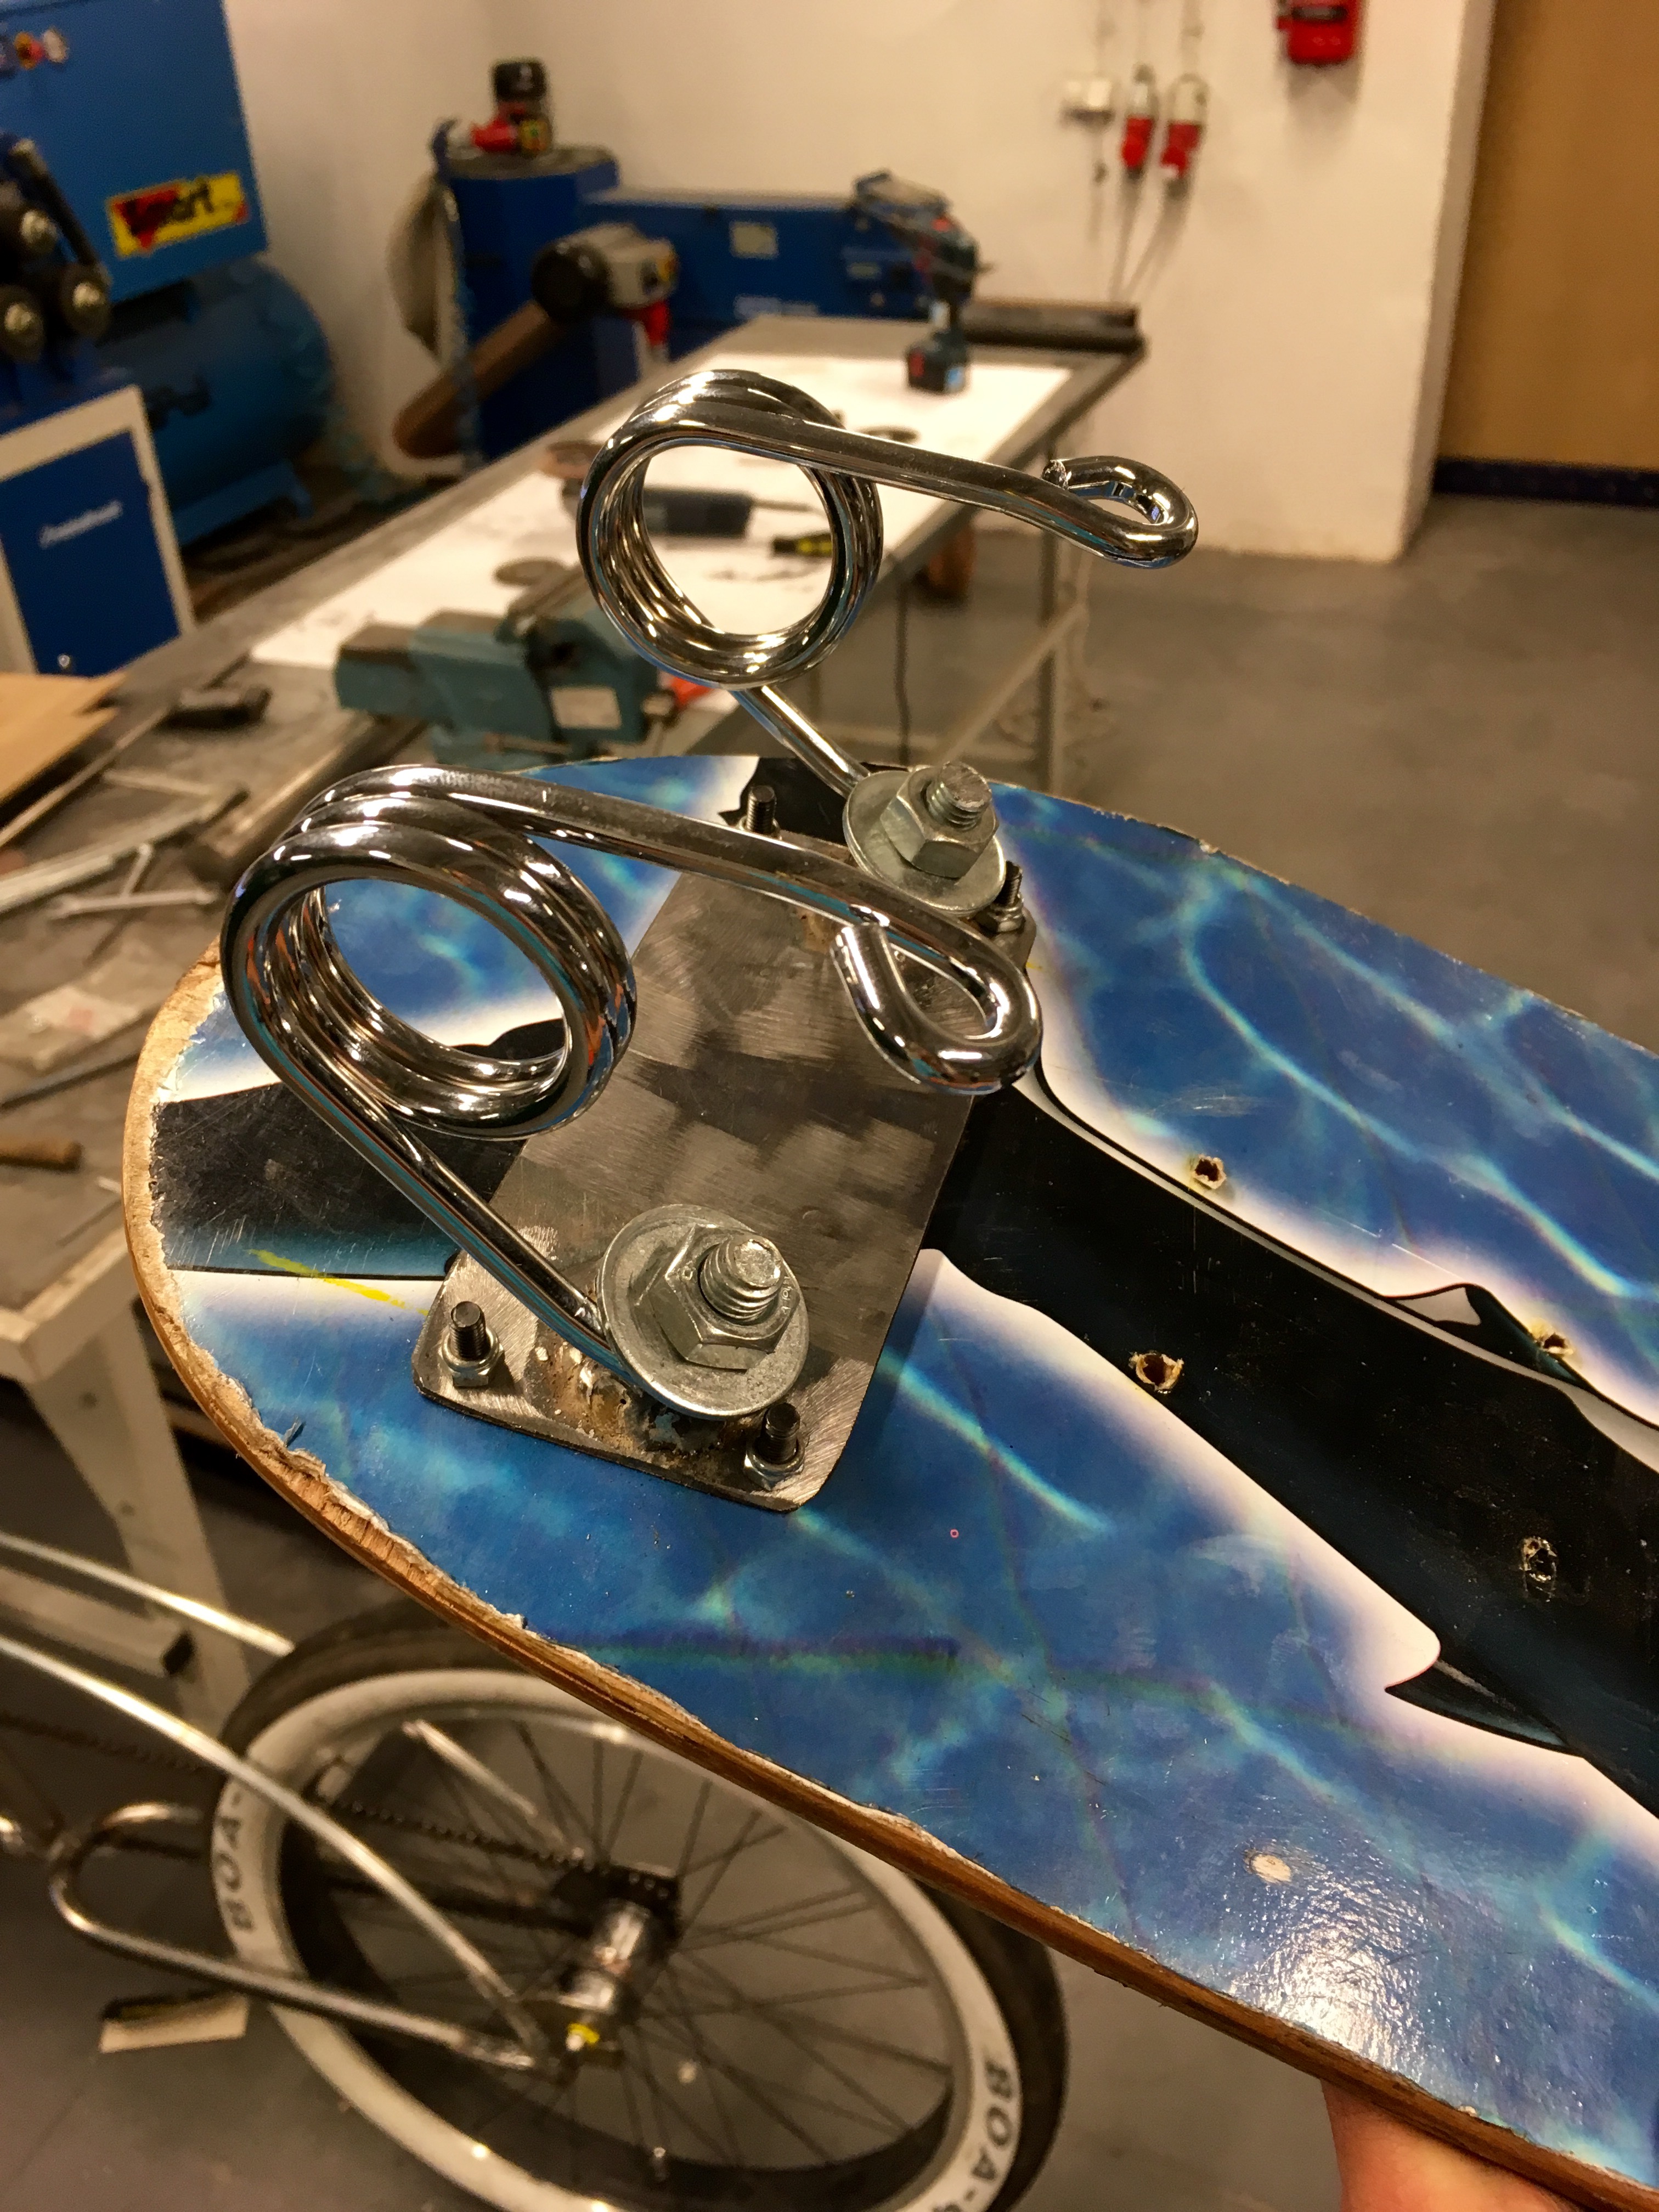
Now here how that part looks when done:
f4c4aa0c626a11144da0a928300f8fa2.jpg


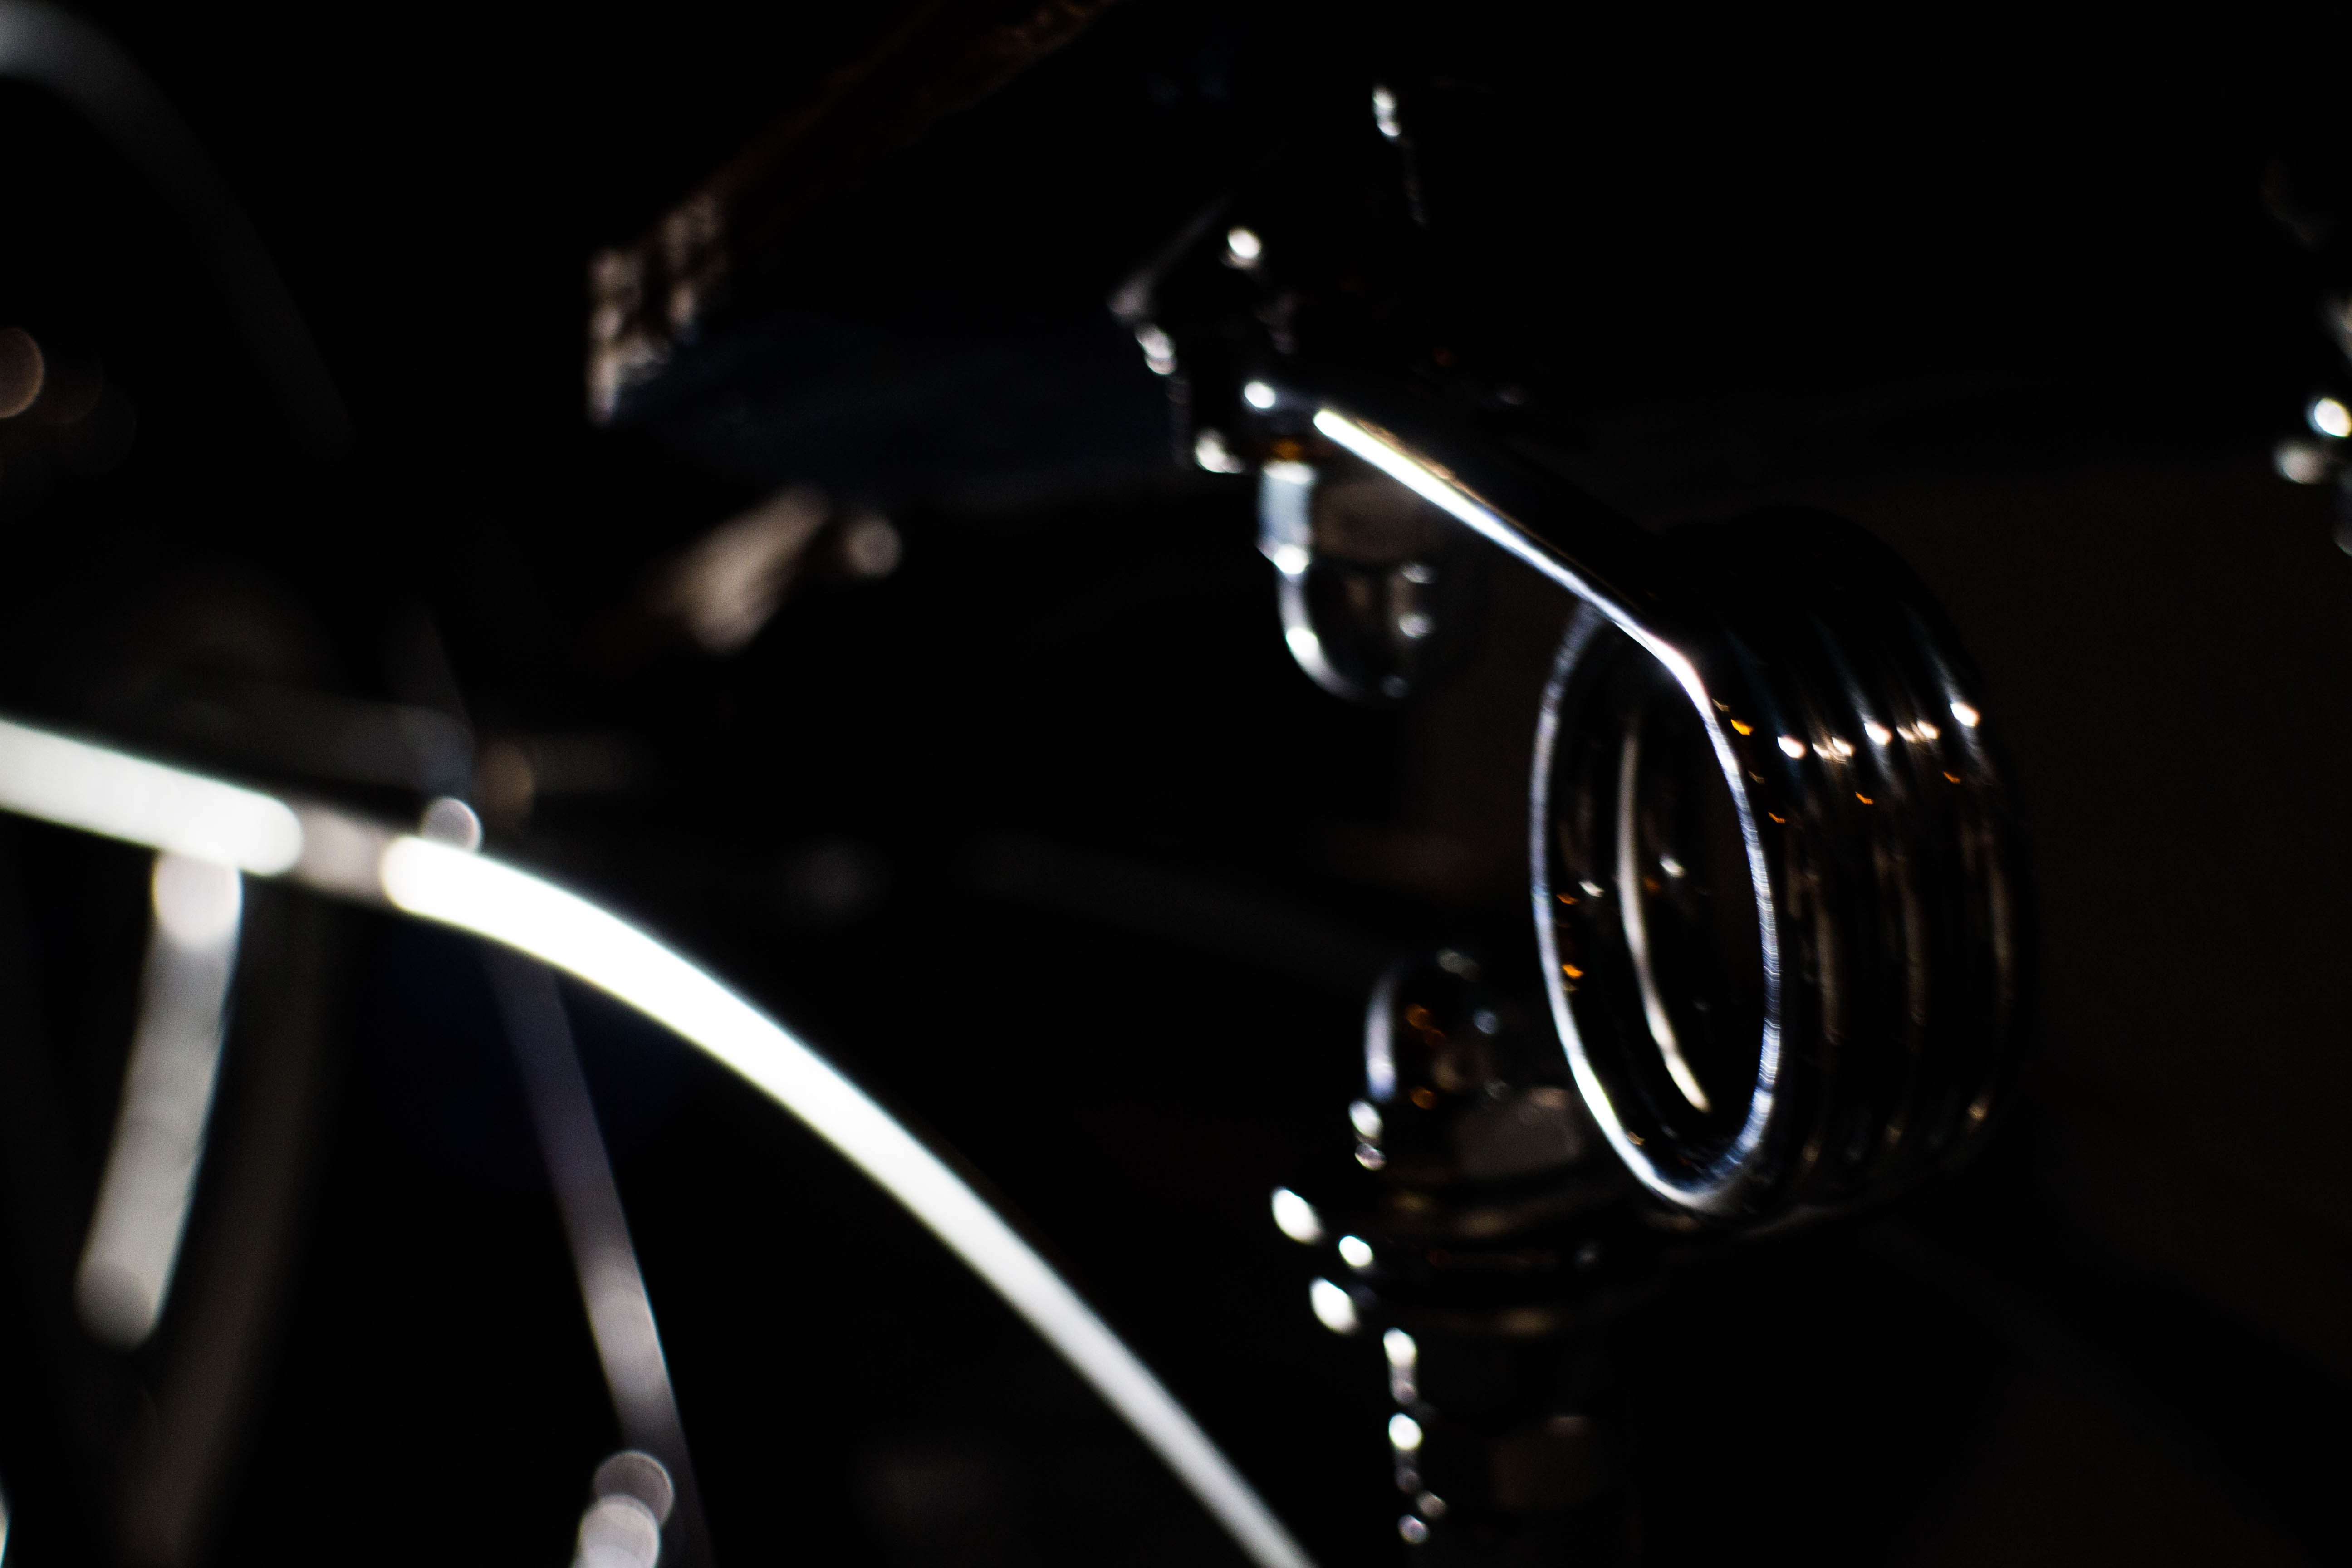
And here it is assembled. I used some bobber-style solo seat springs that i have ordered some time ago from local motorcycle parts website. All the plates are bolted on the board with its original bolts.
c9096479200dfe964dbc8f7a49b2ff96.jpg


At this point the day was coming to end and i had just about an hour to finish my work and clean up the workshop, so i forgot to take some process pictures. But the frame mount for those springs is made in the same way.
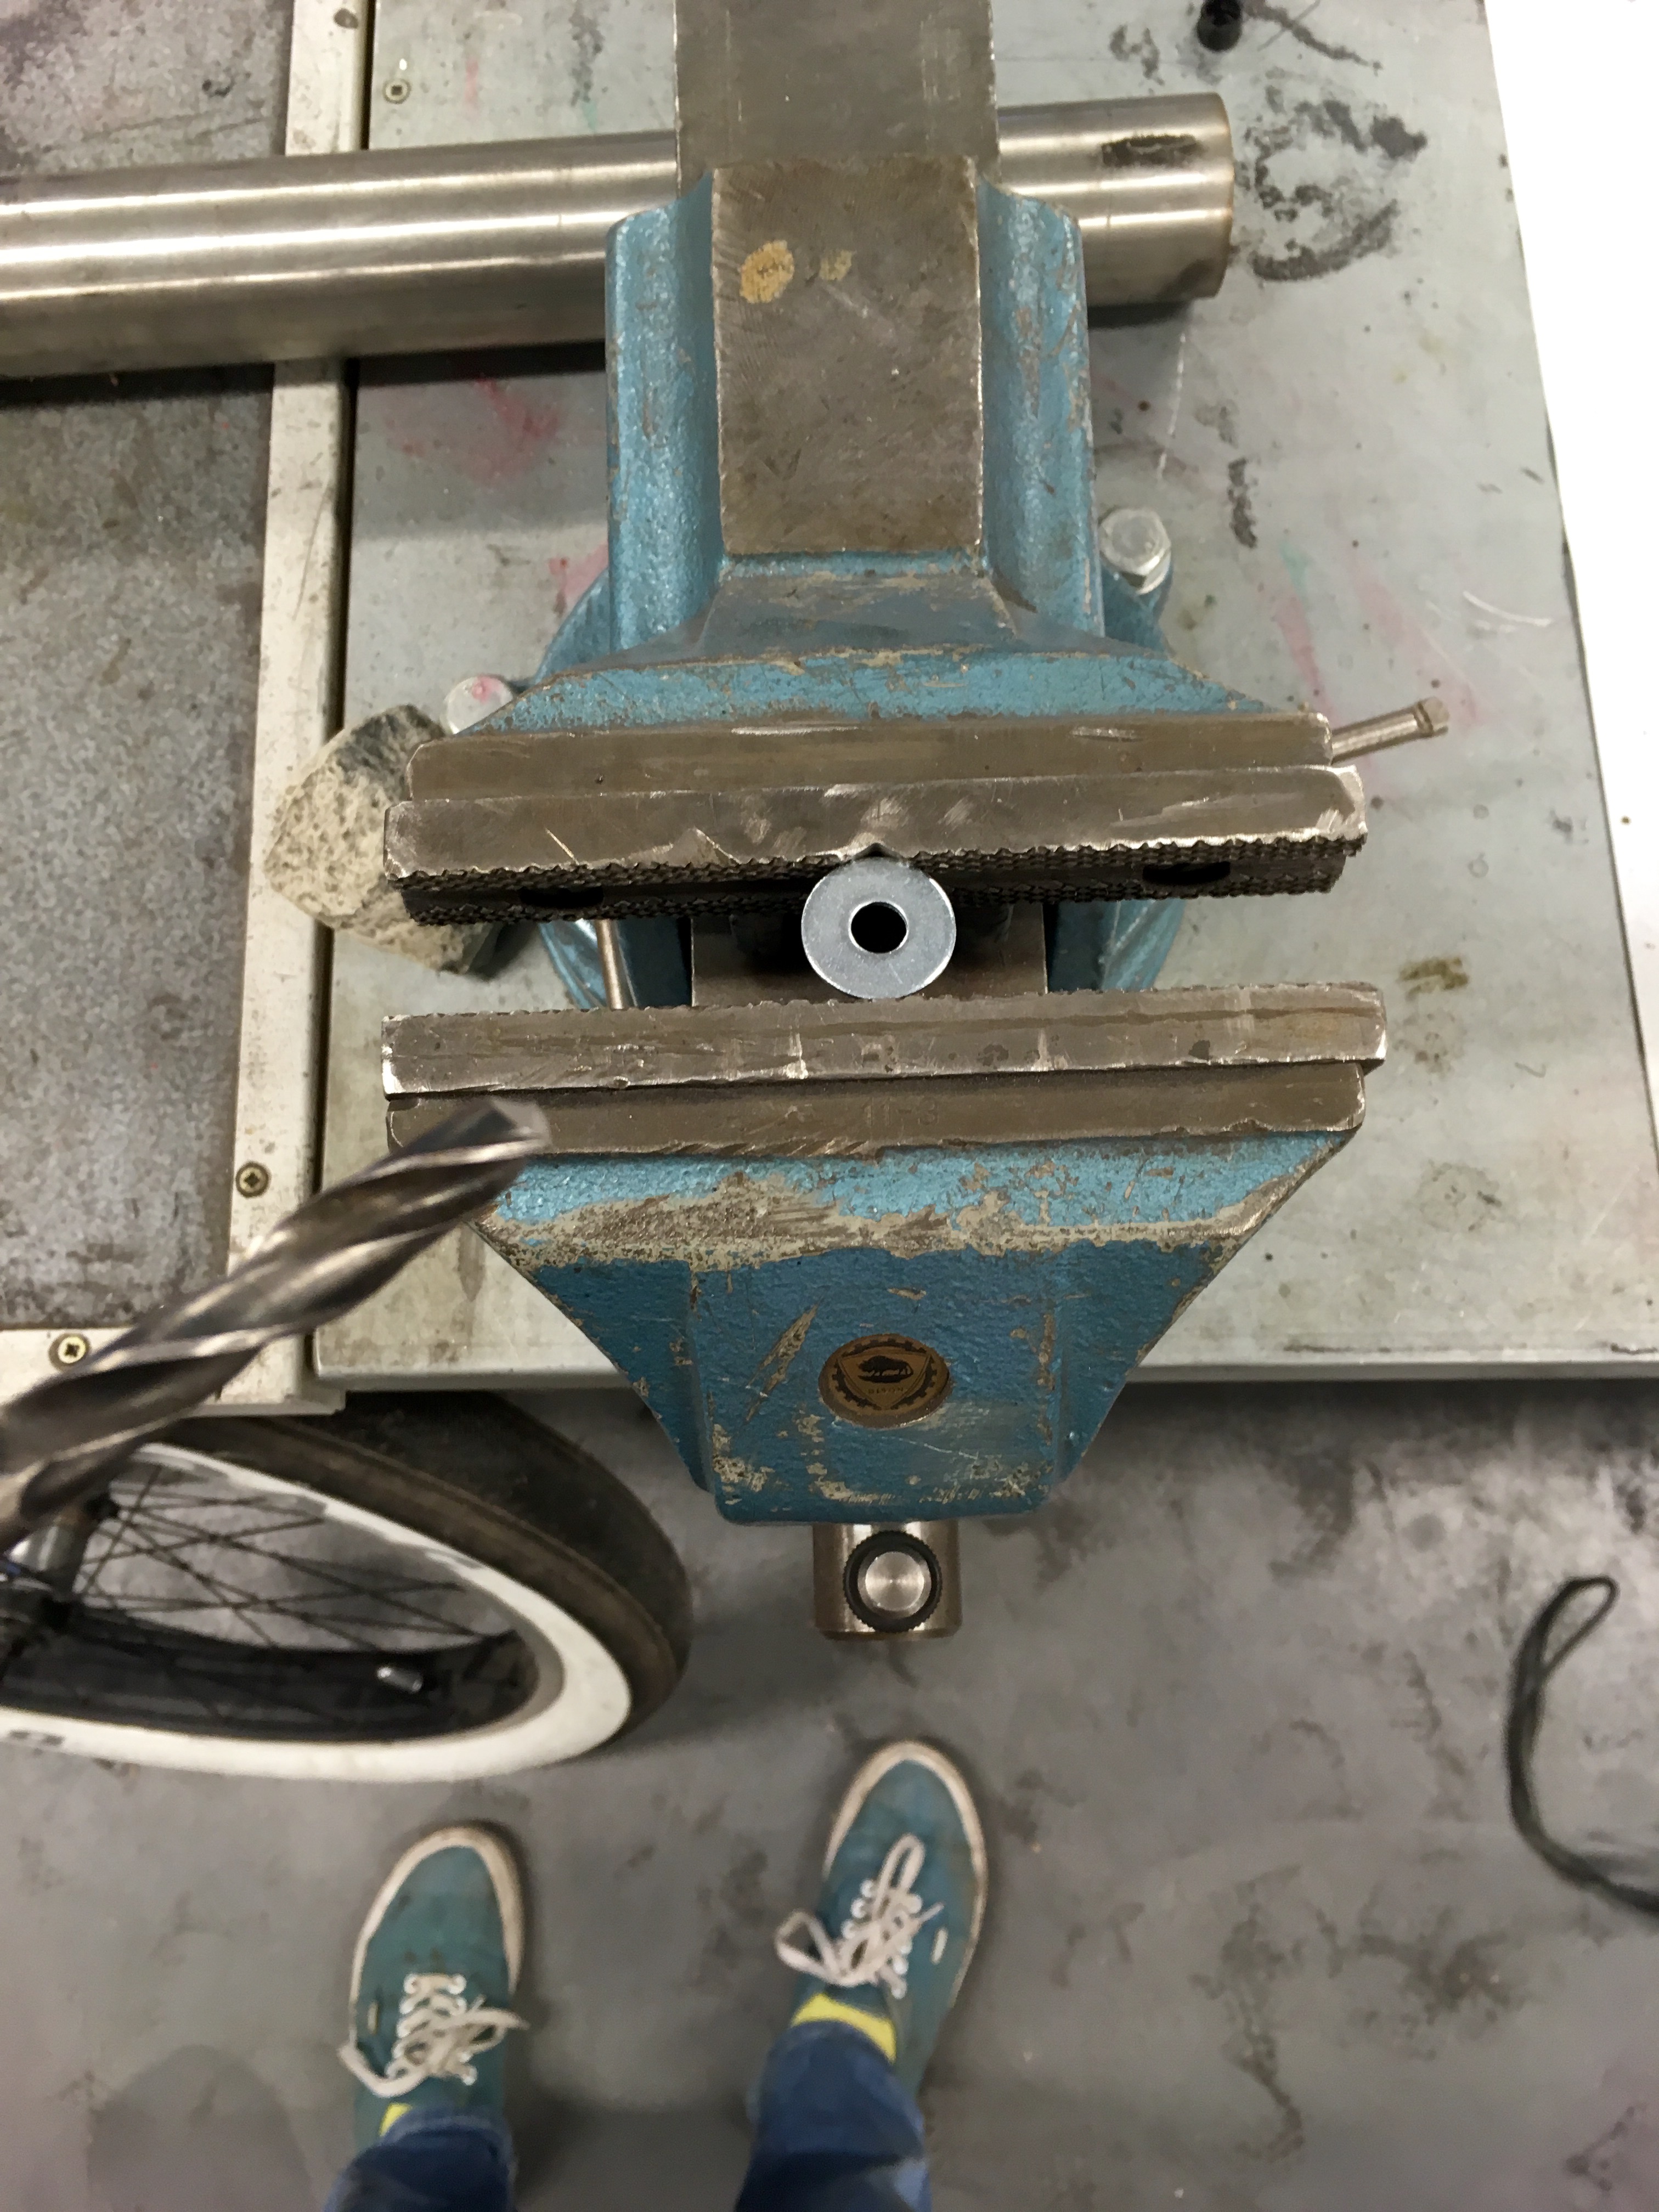
Here i am cutting the hole in existing washers, because i ran out of the size i need and had no time to buy new ones :D
4a45e90c0e8e2851c69679eb58d517ca.jpg


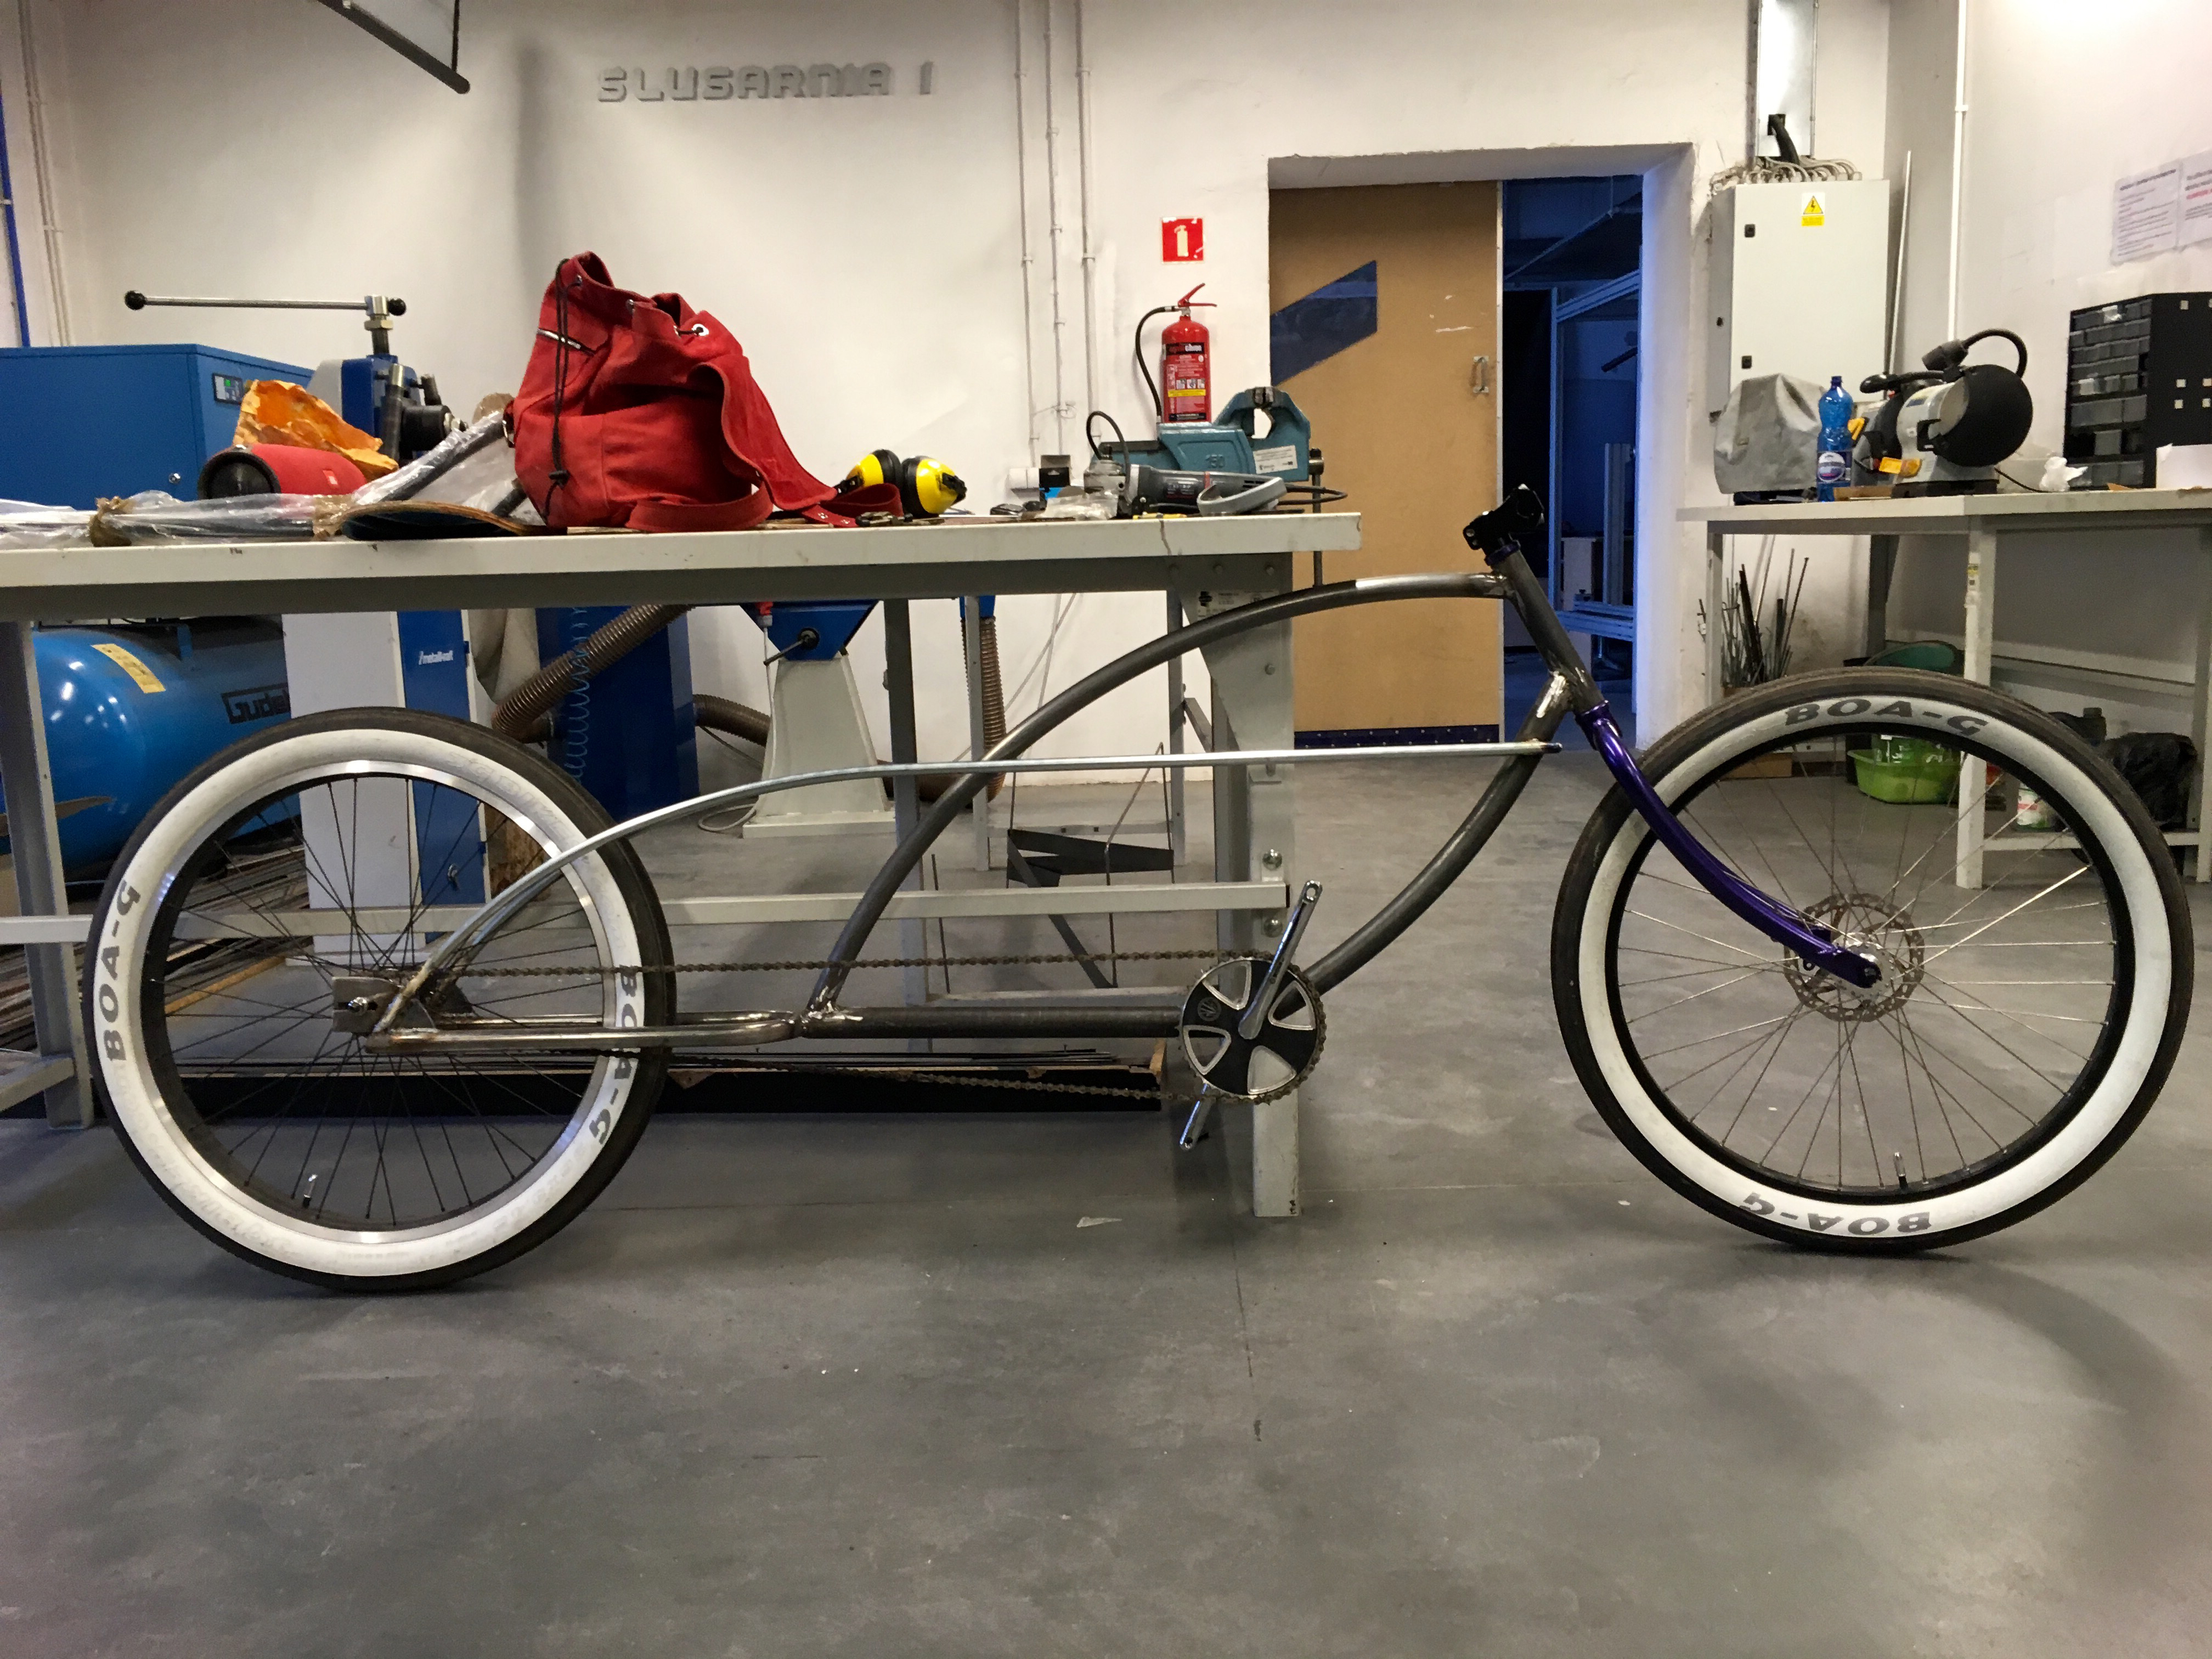
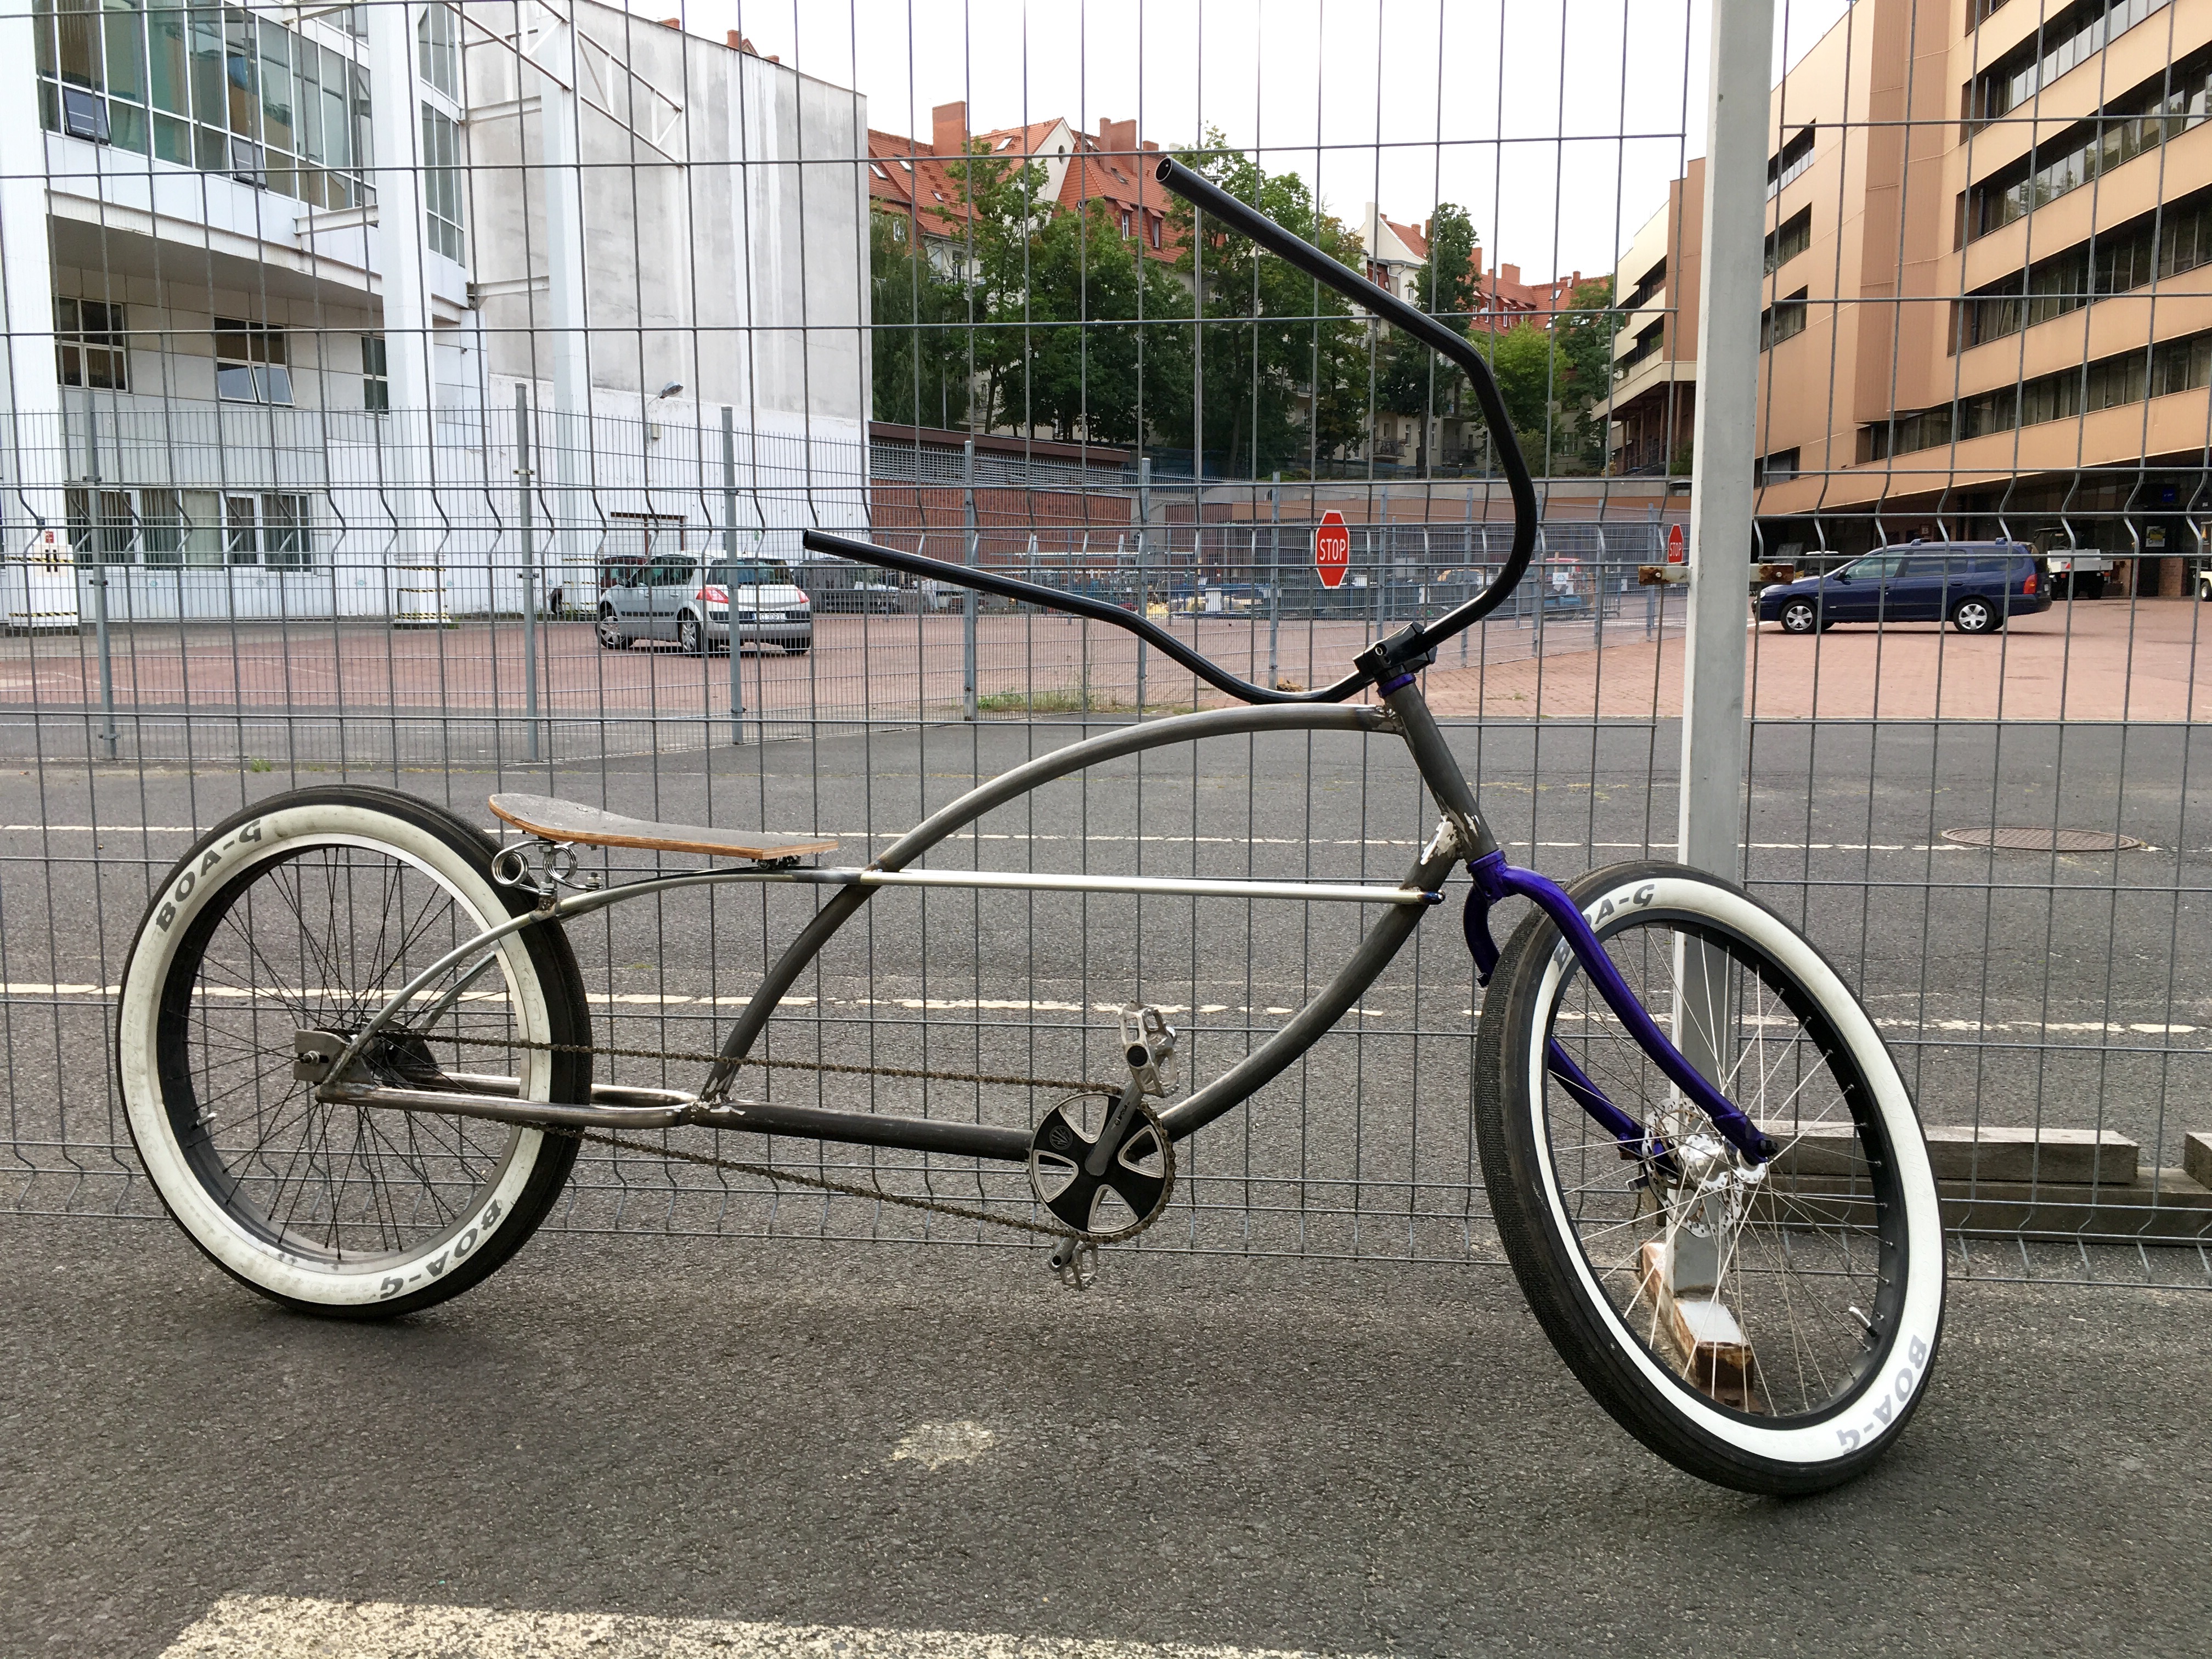
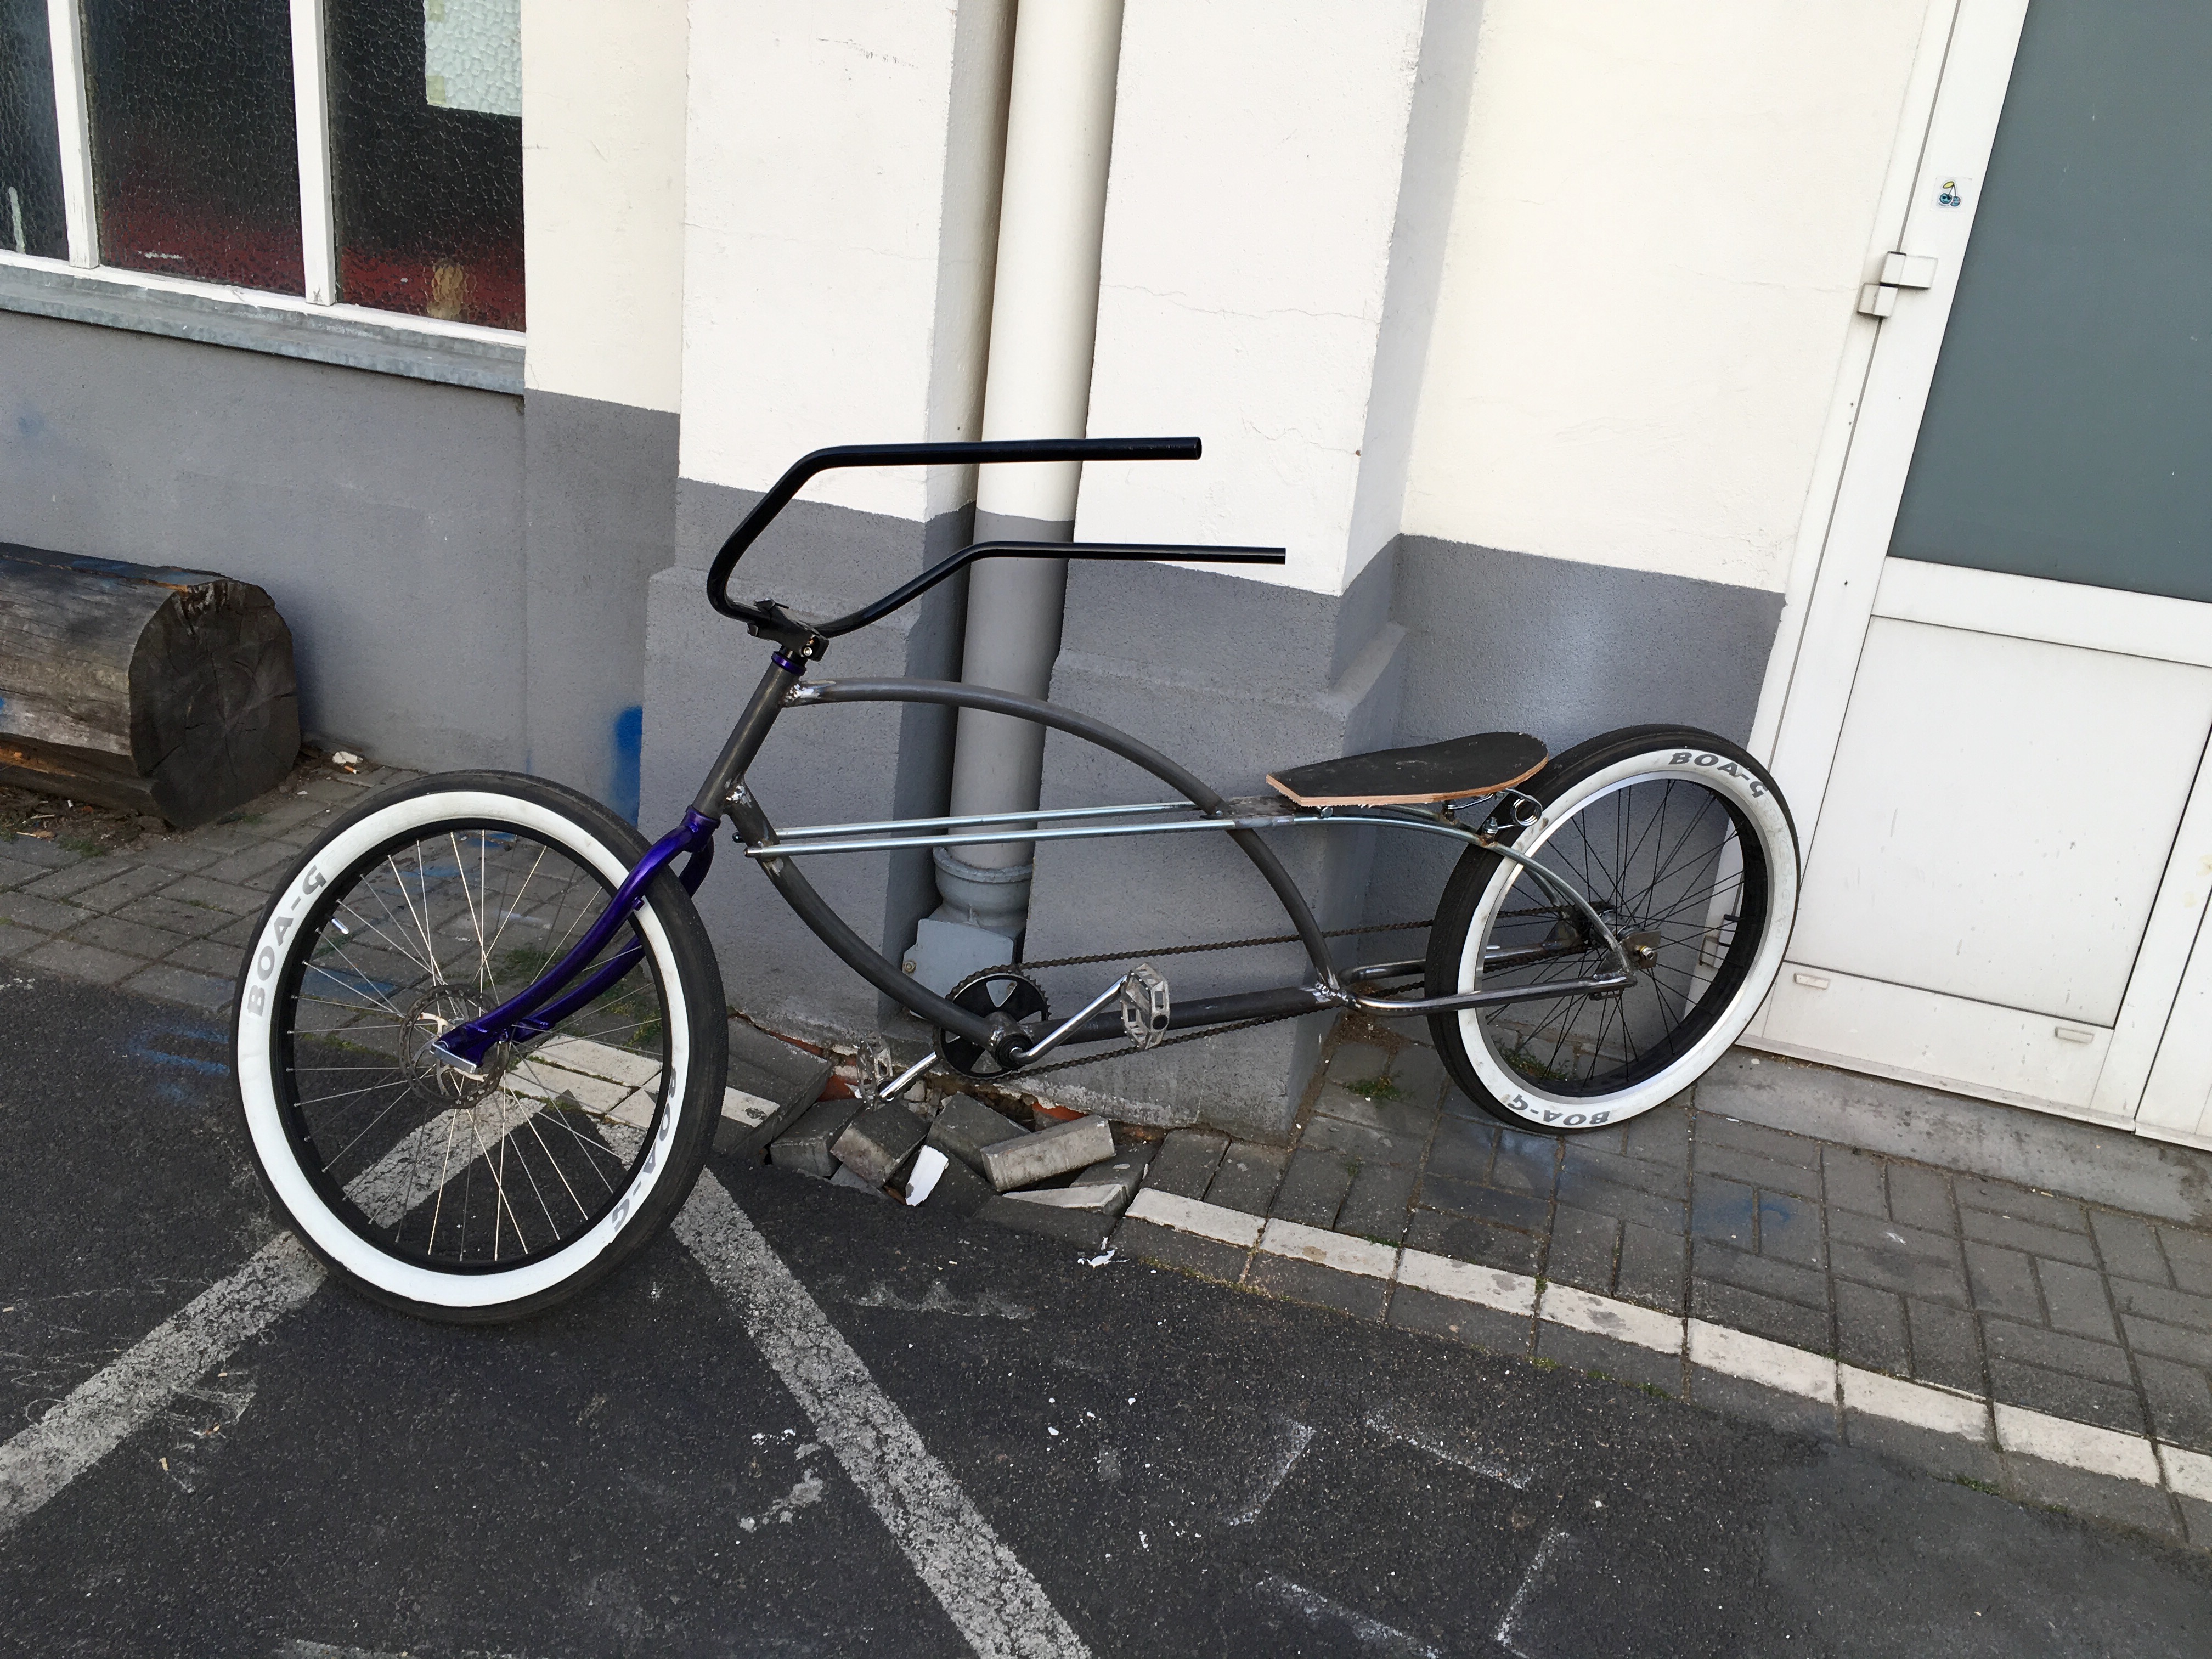
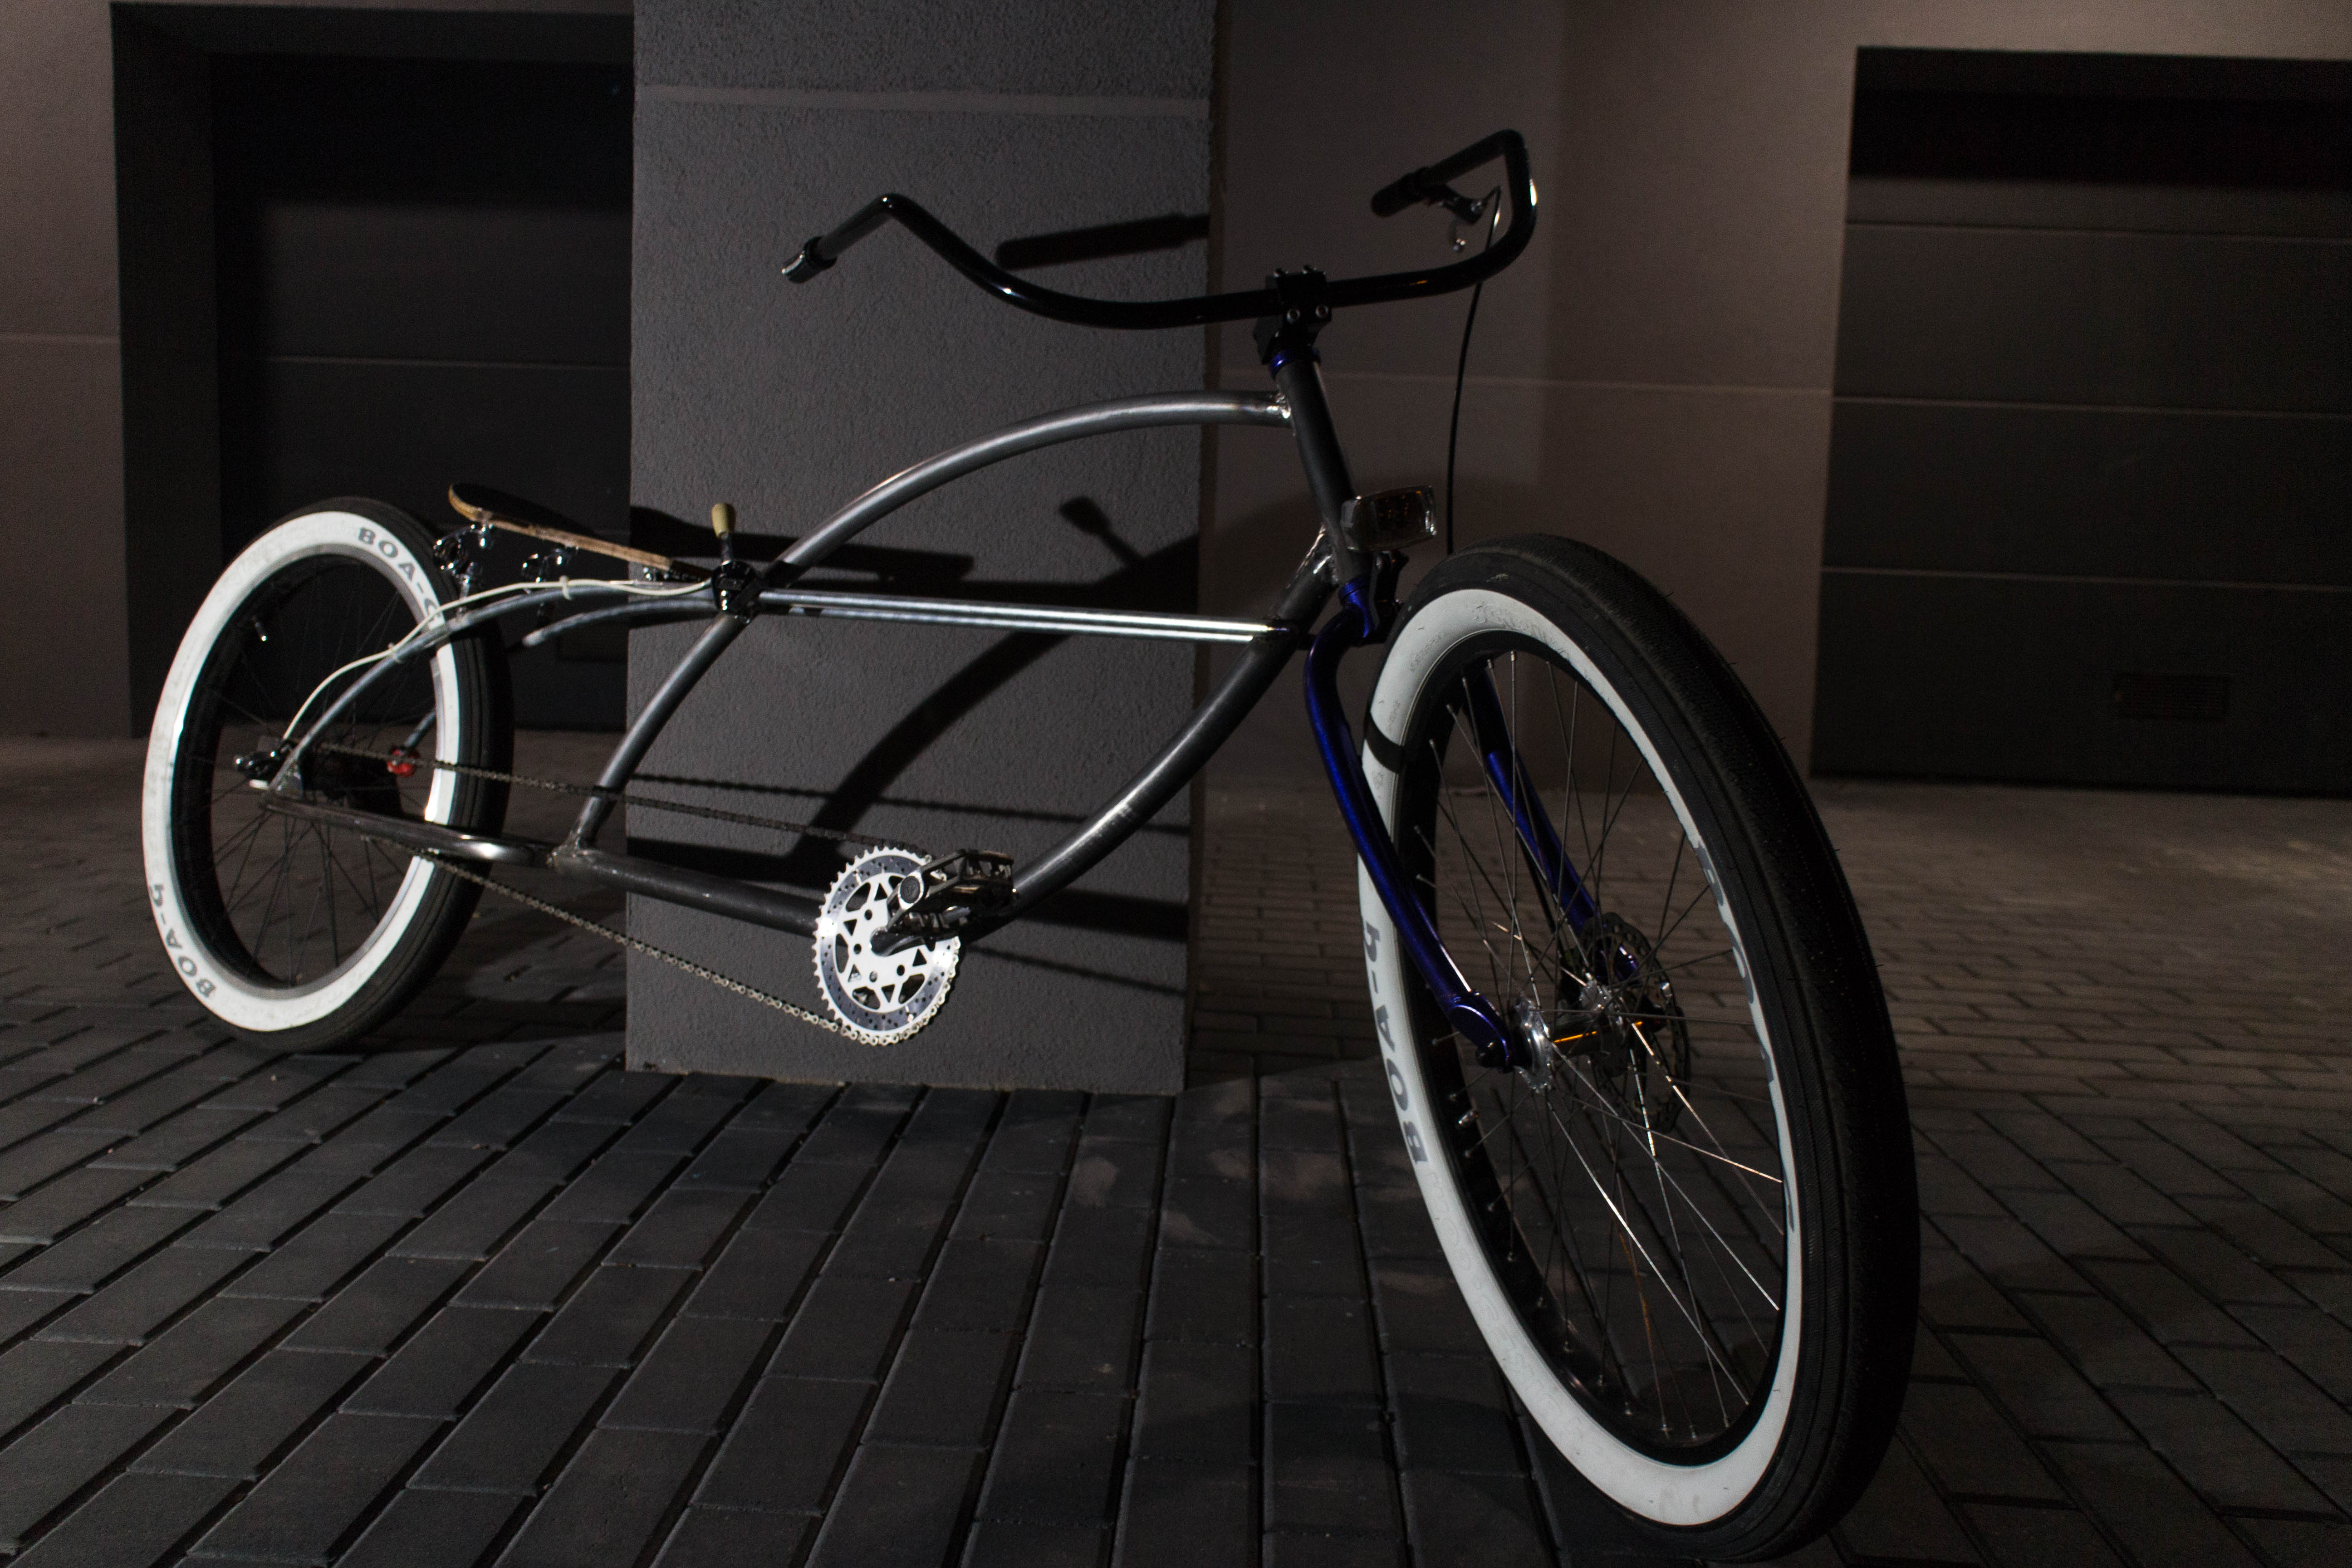
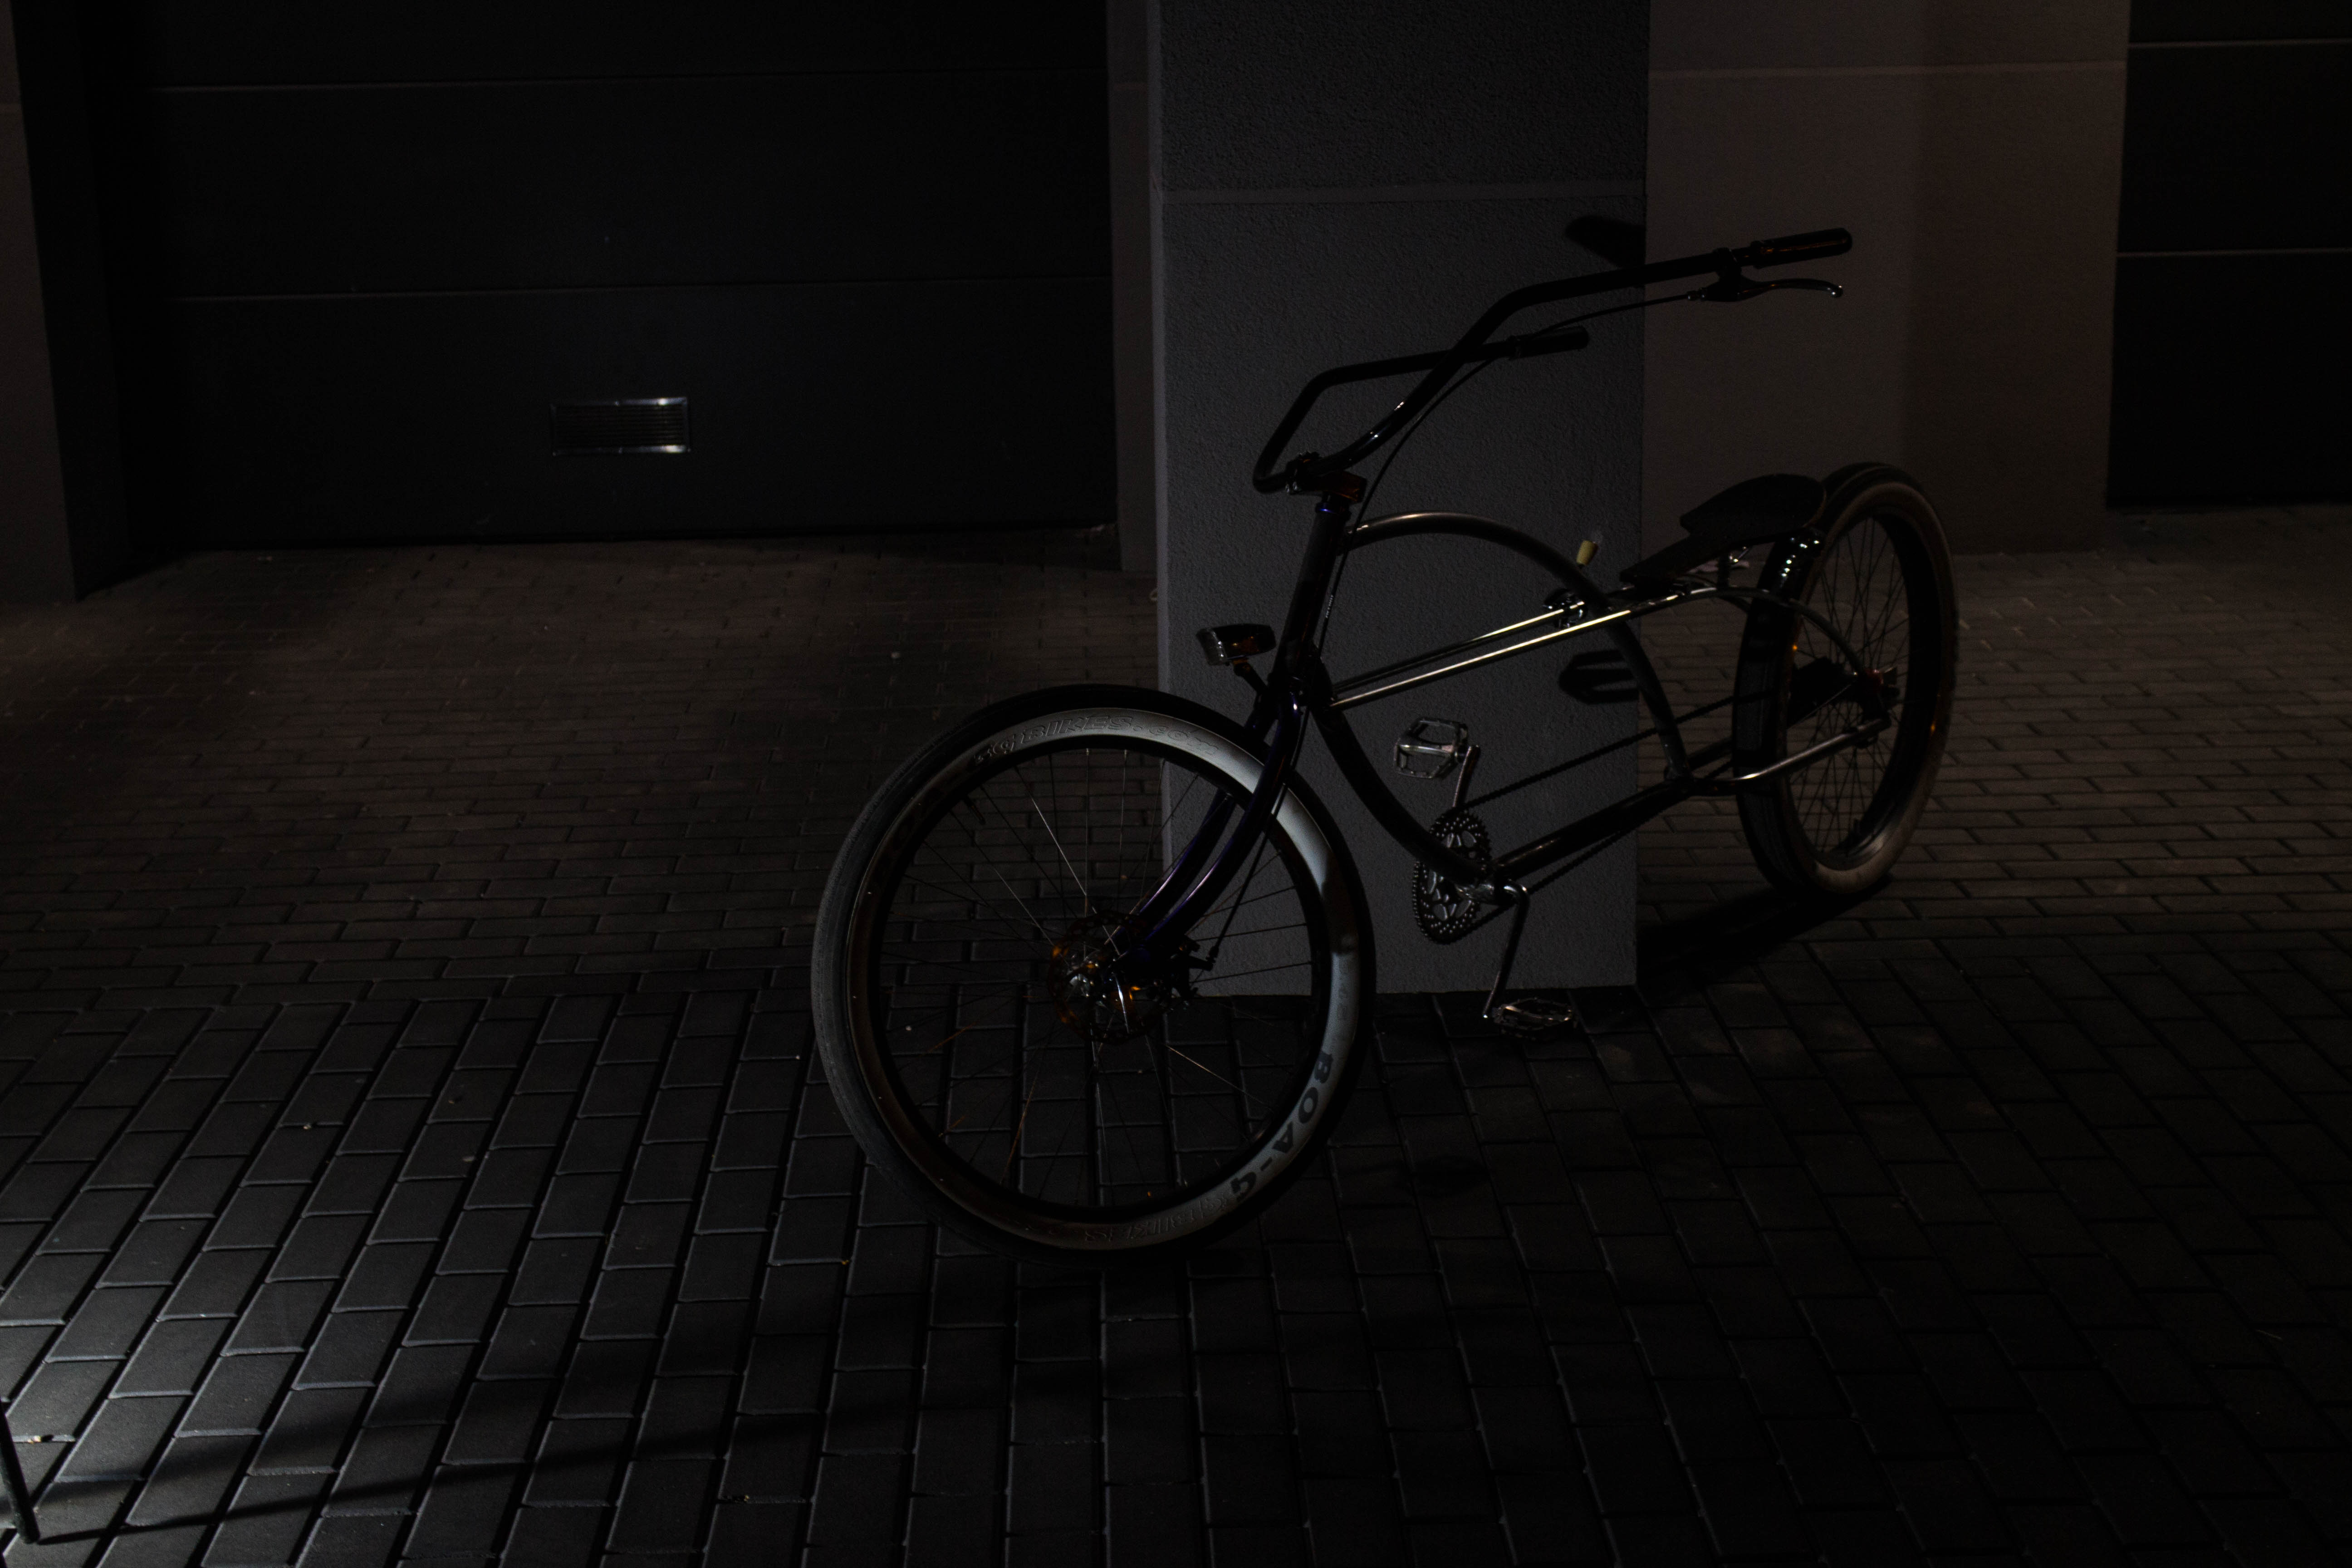
And here we go! By the end of the day i have the bike practically done. I even had time to clean up after myself :D
be2337ae12143507d51fba69c3d666f6.jpg


Still i am thinking of maybe remaking a coaster tab and adding the kickstand mount to fill the space between the chain stays after the wheel in future.
6e6a65fe5db184782bc9bd0e376a3c3c.jpg


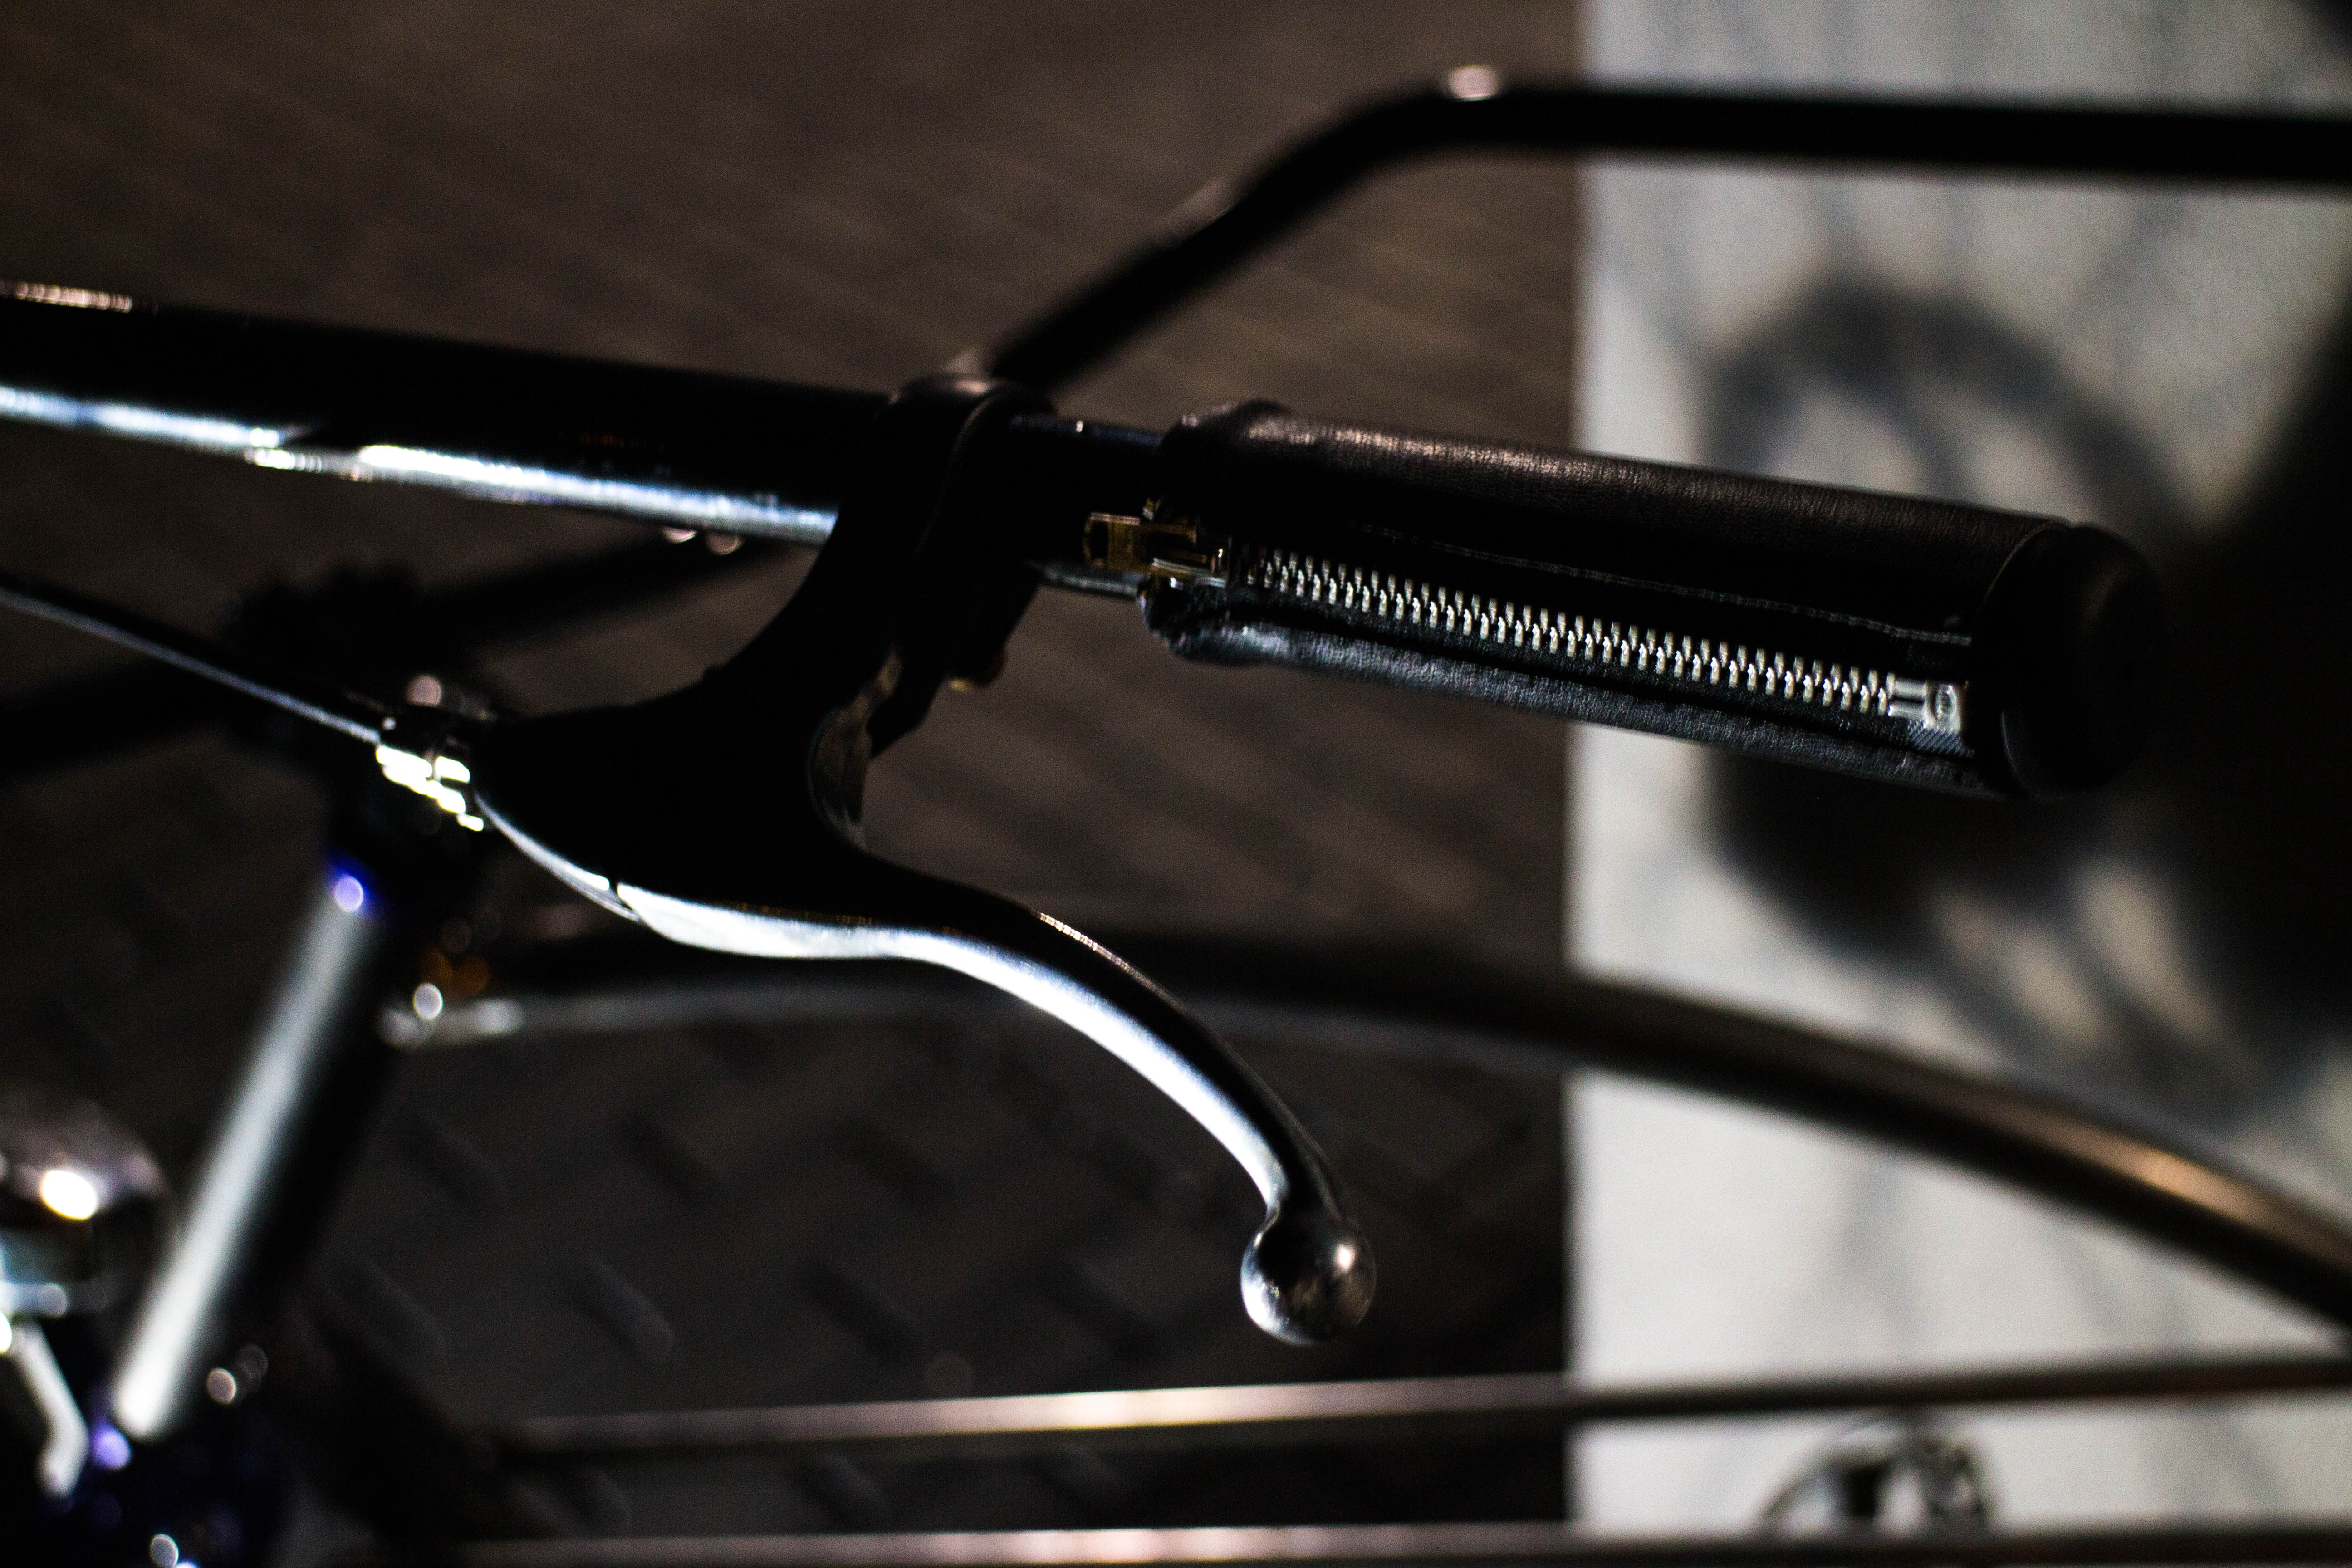
I love the looks of those bars and KK front end here!
69b7e81b521a55d36520c7865ddcfbf7.jpg


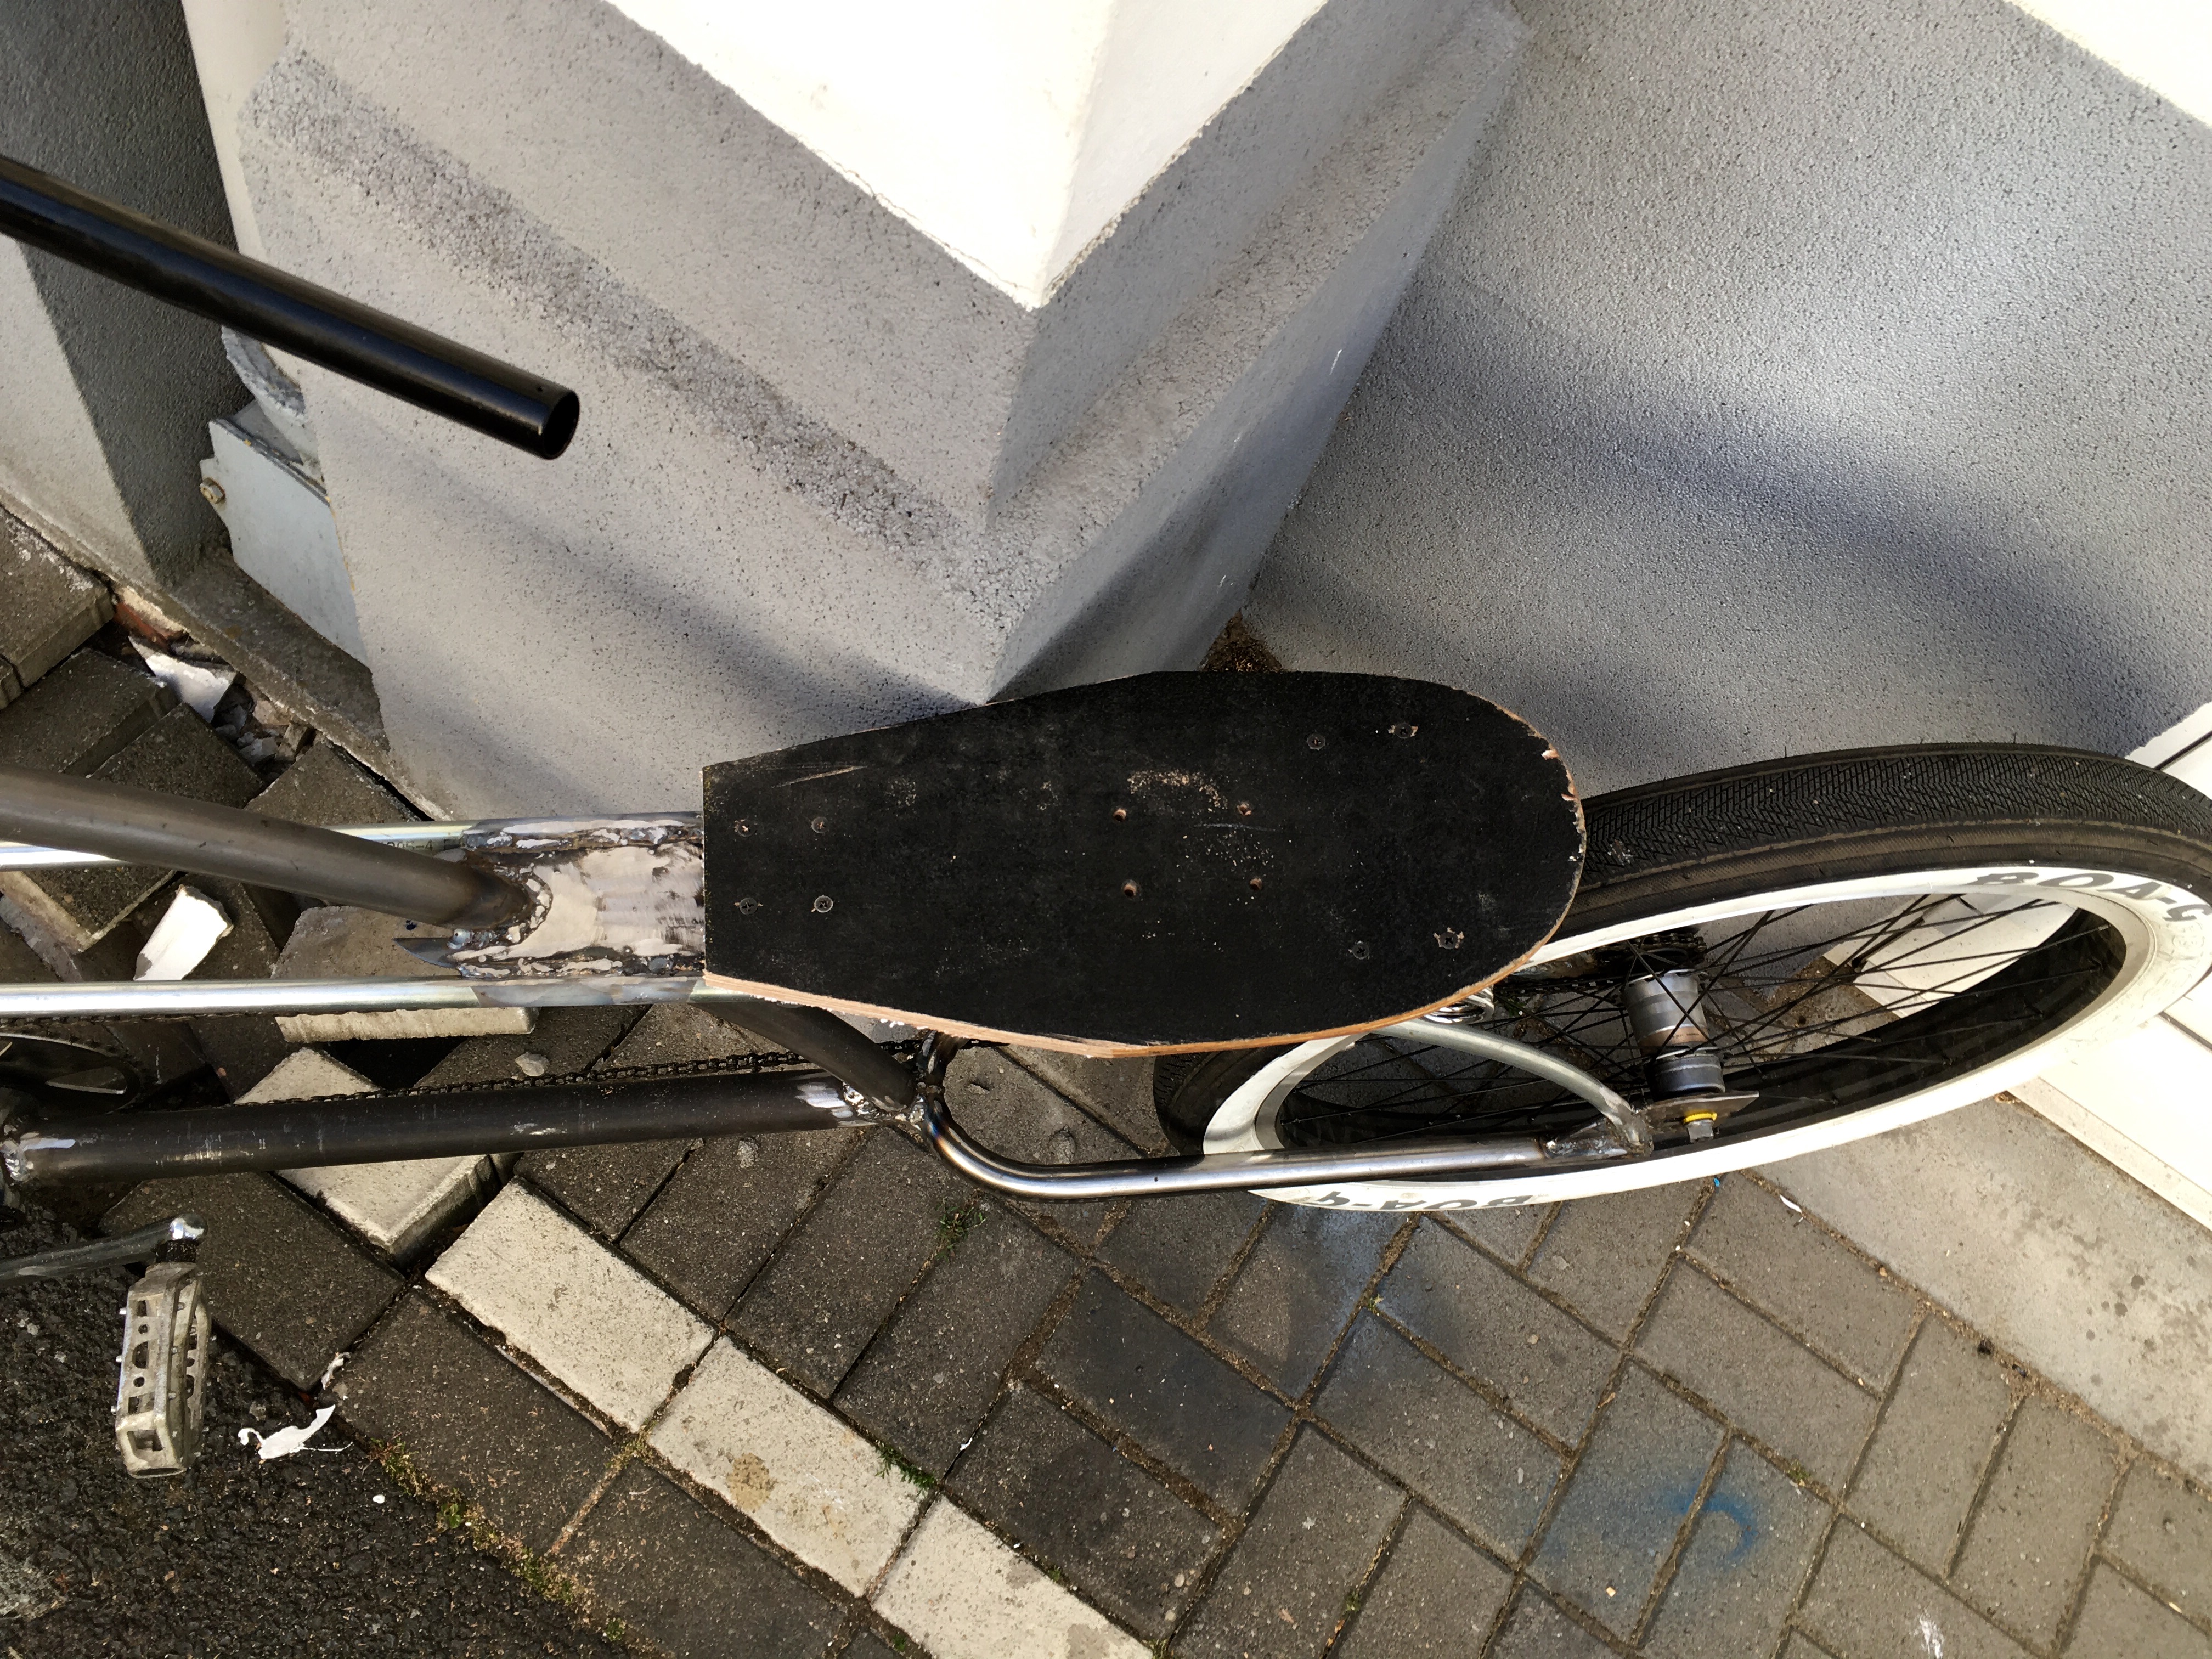
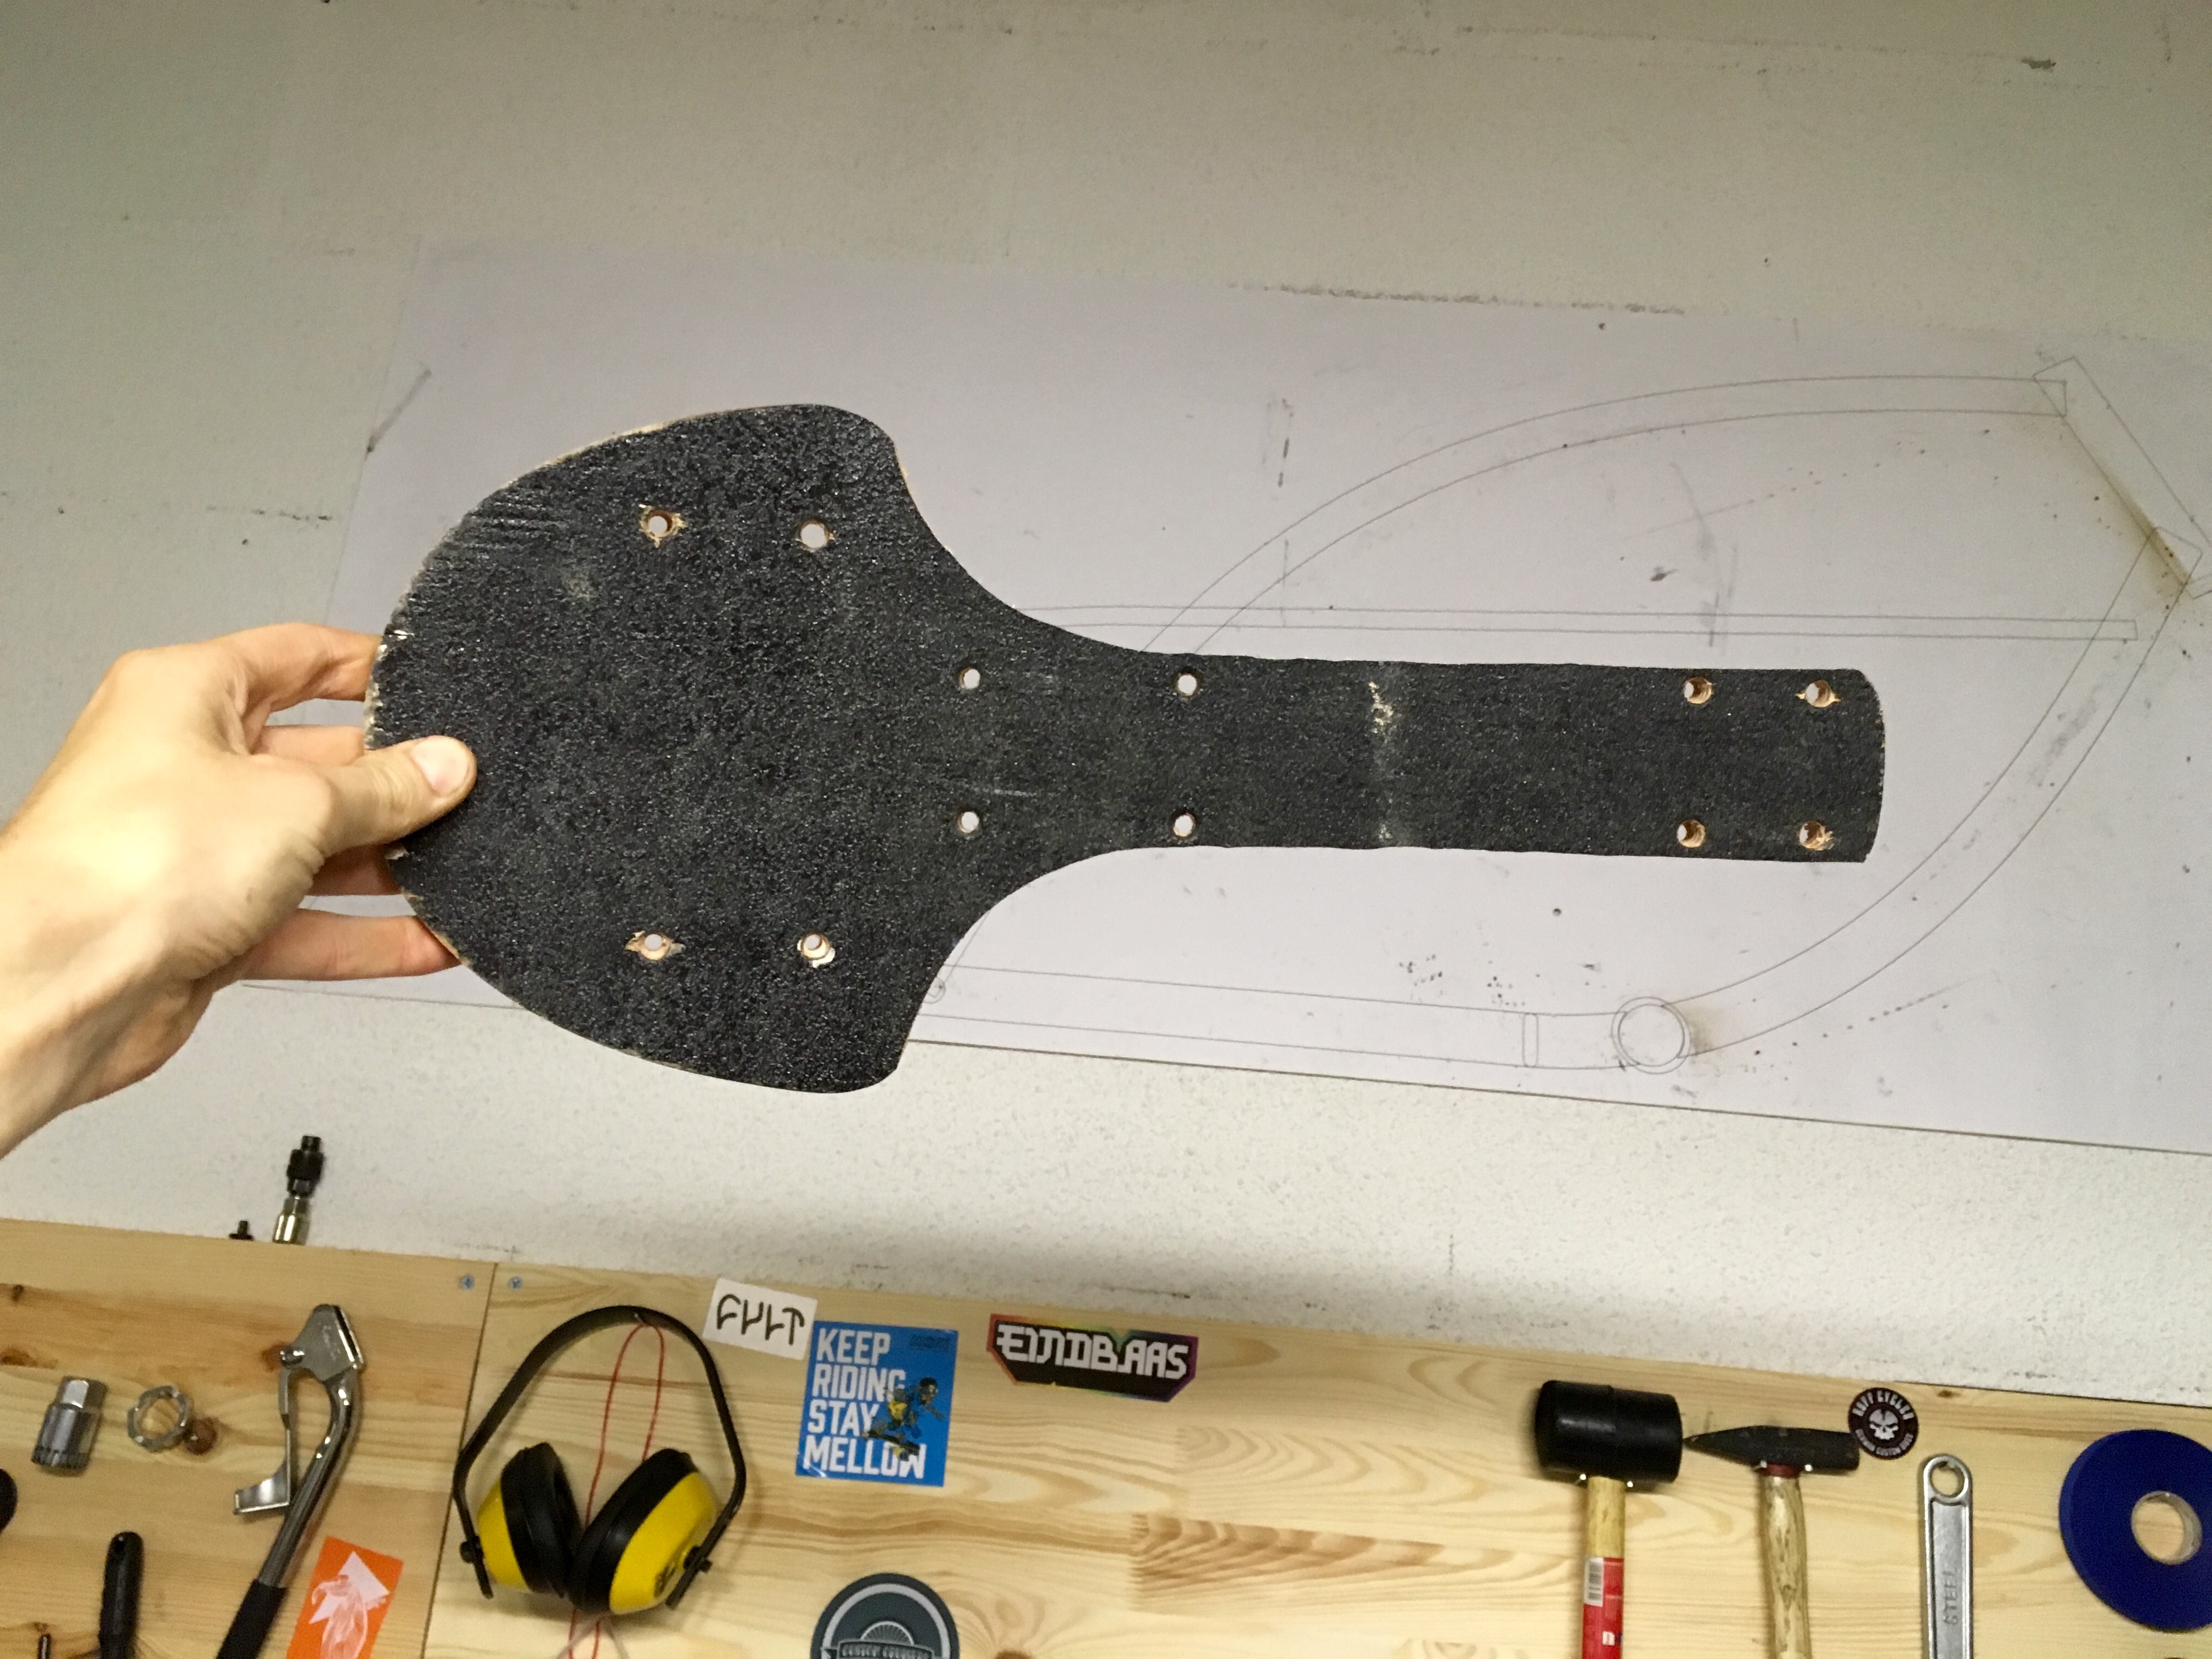
One last thing i have done before leaving is cutting the board.
524abff42252c96cd7be3821b48ae8b9.jpg


Still the shape has to be altered even further, it is very uncomfortable to ride while touching the corners of the board with your shin.
a339de8f096dee89562a125c28f12dc6.jpg


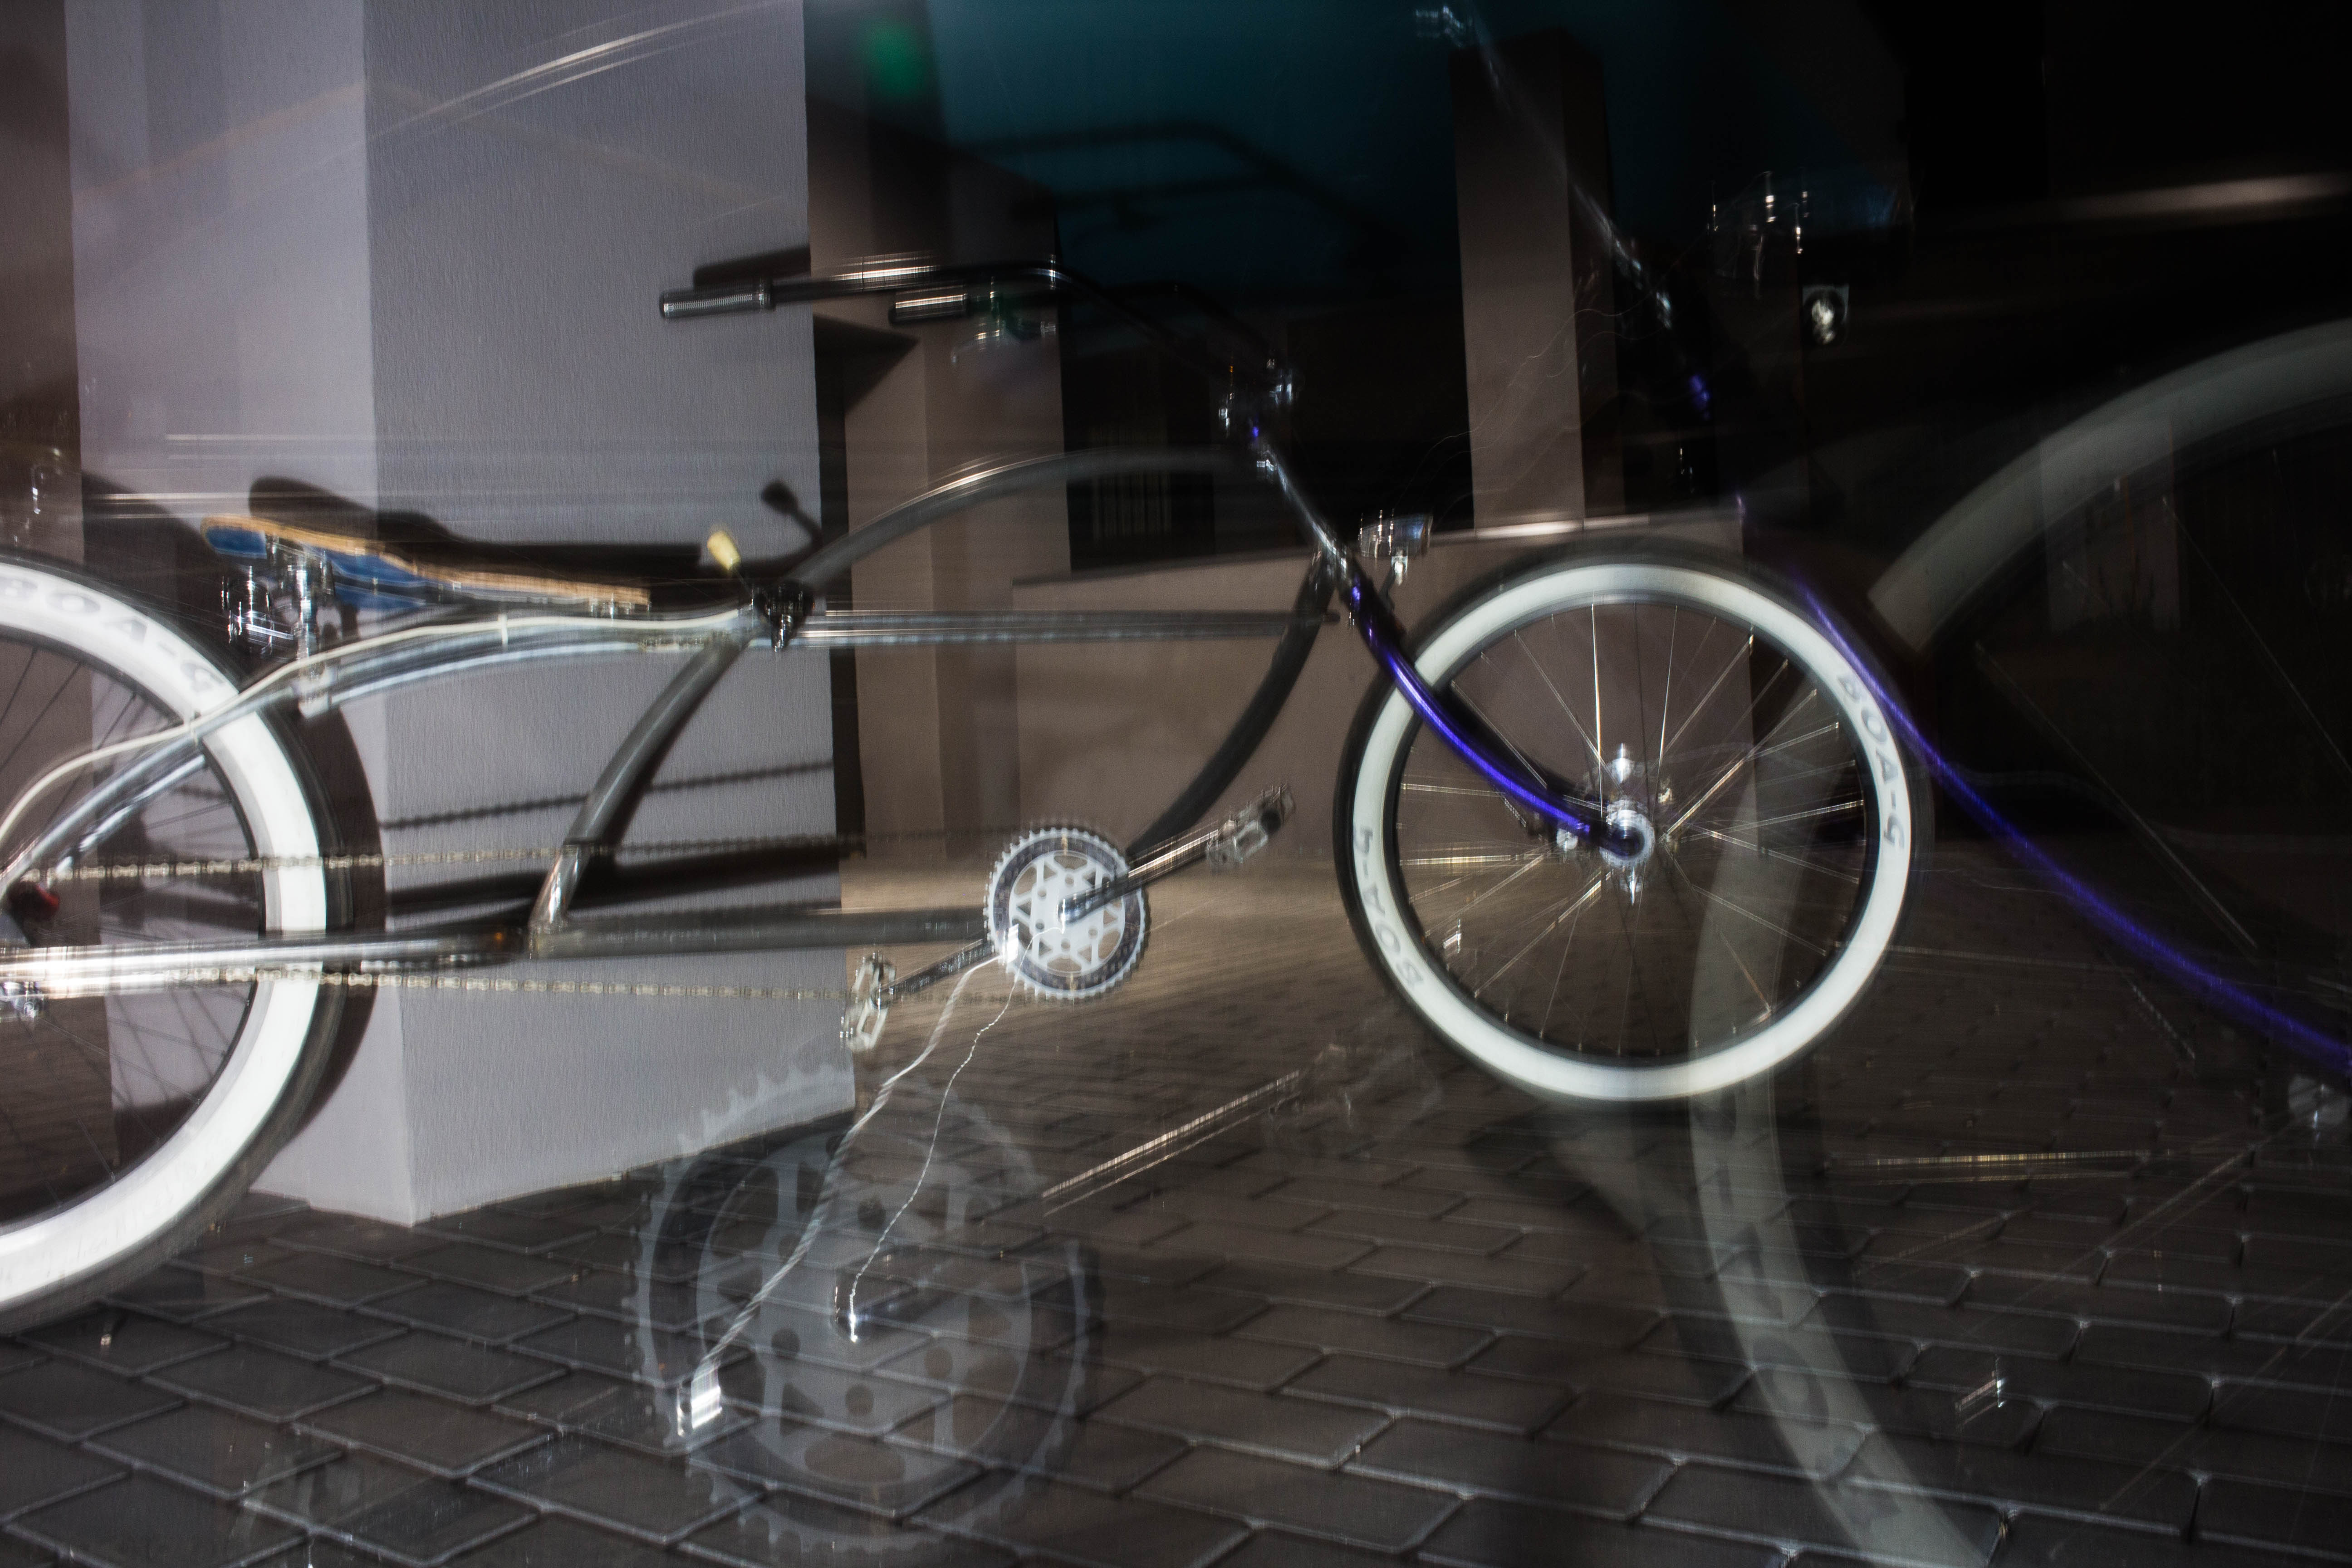
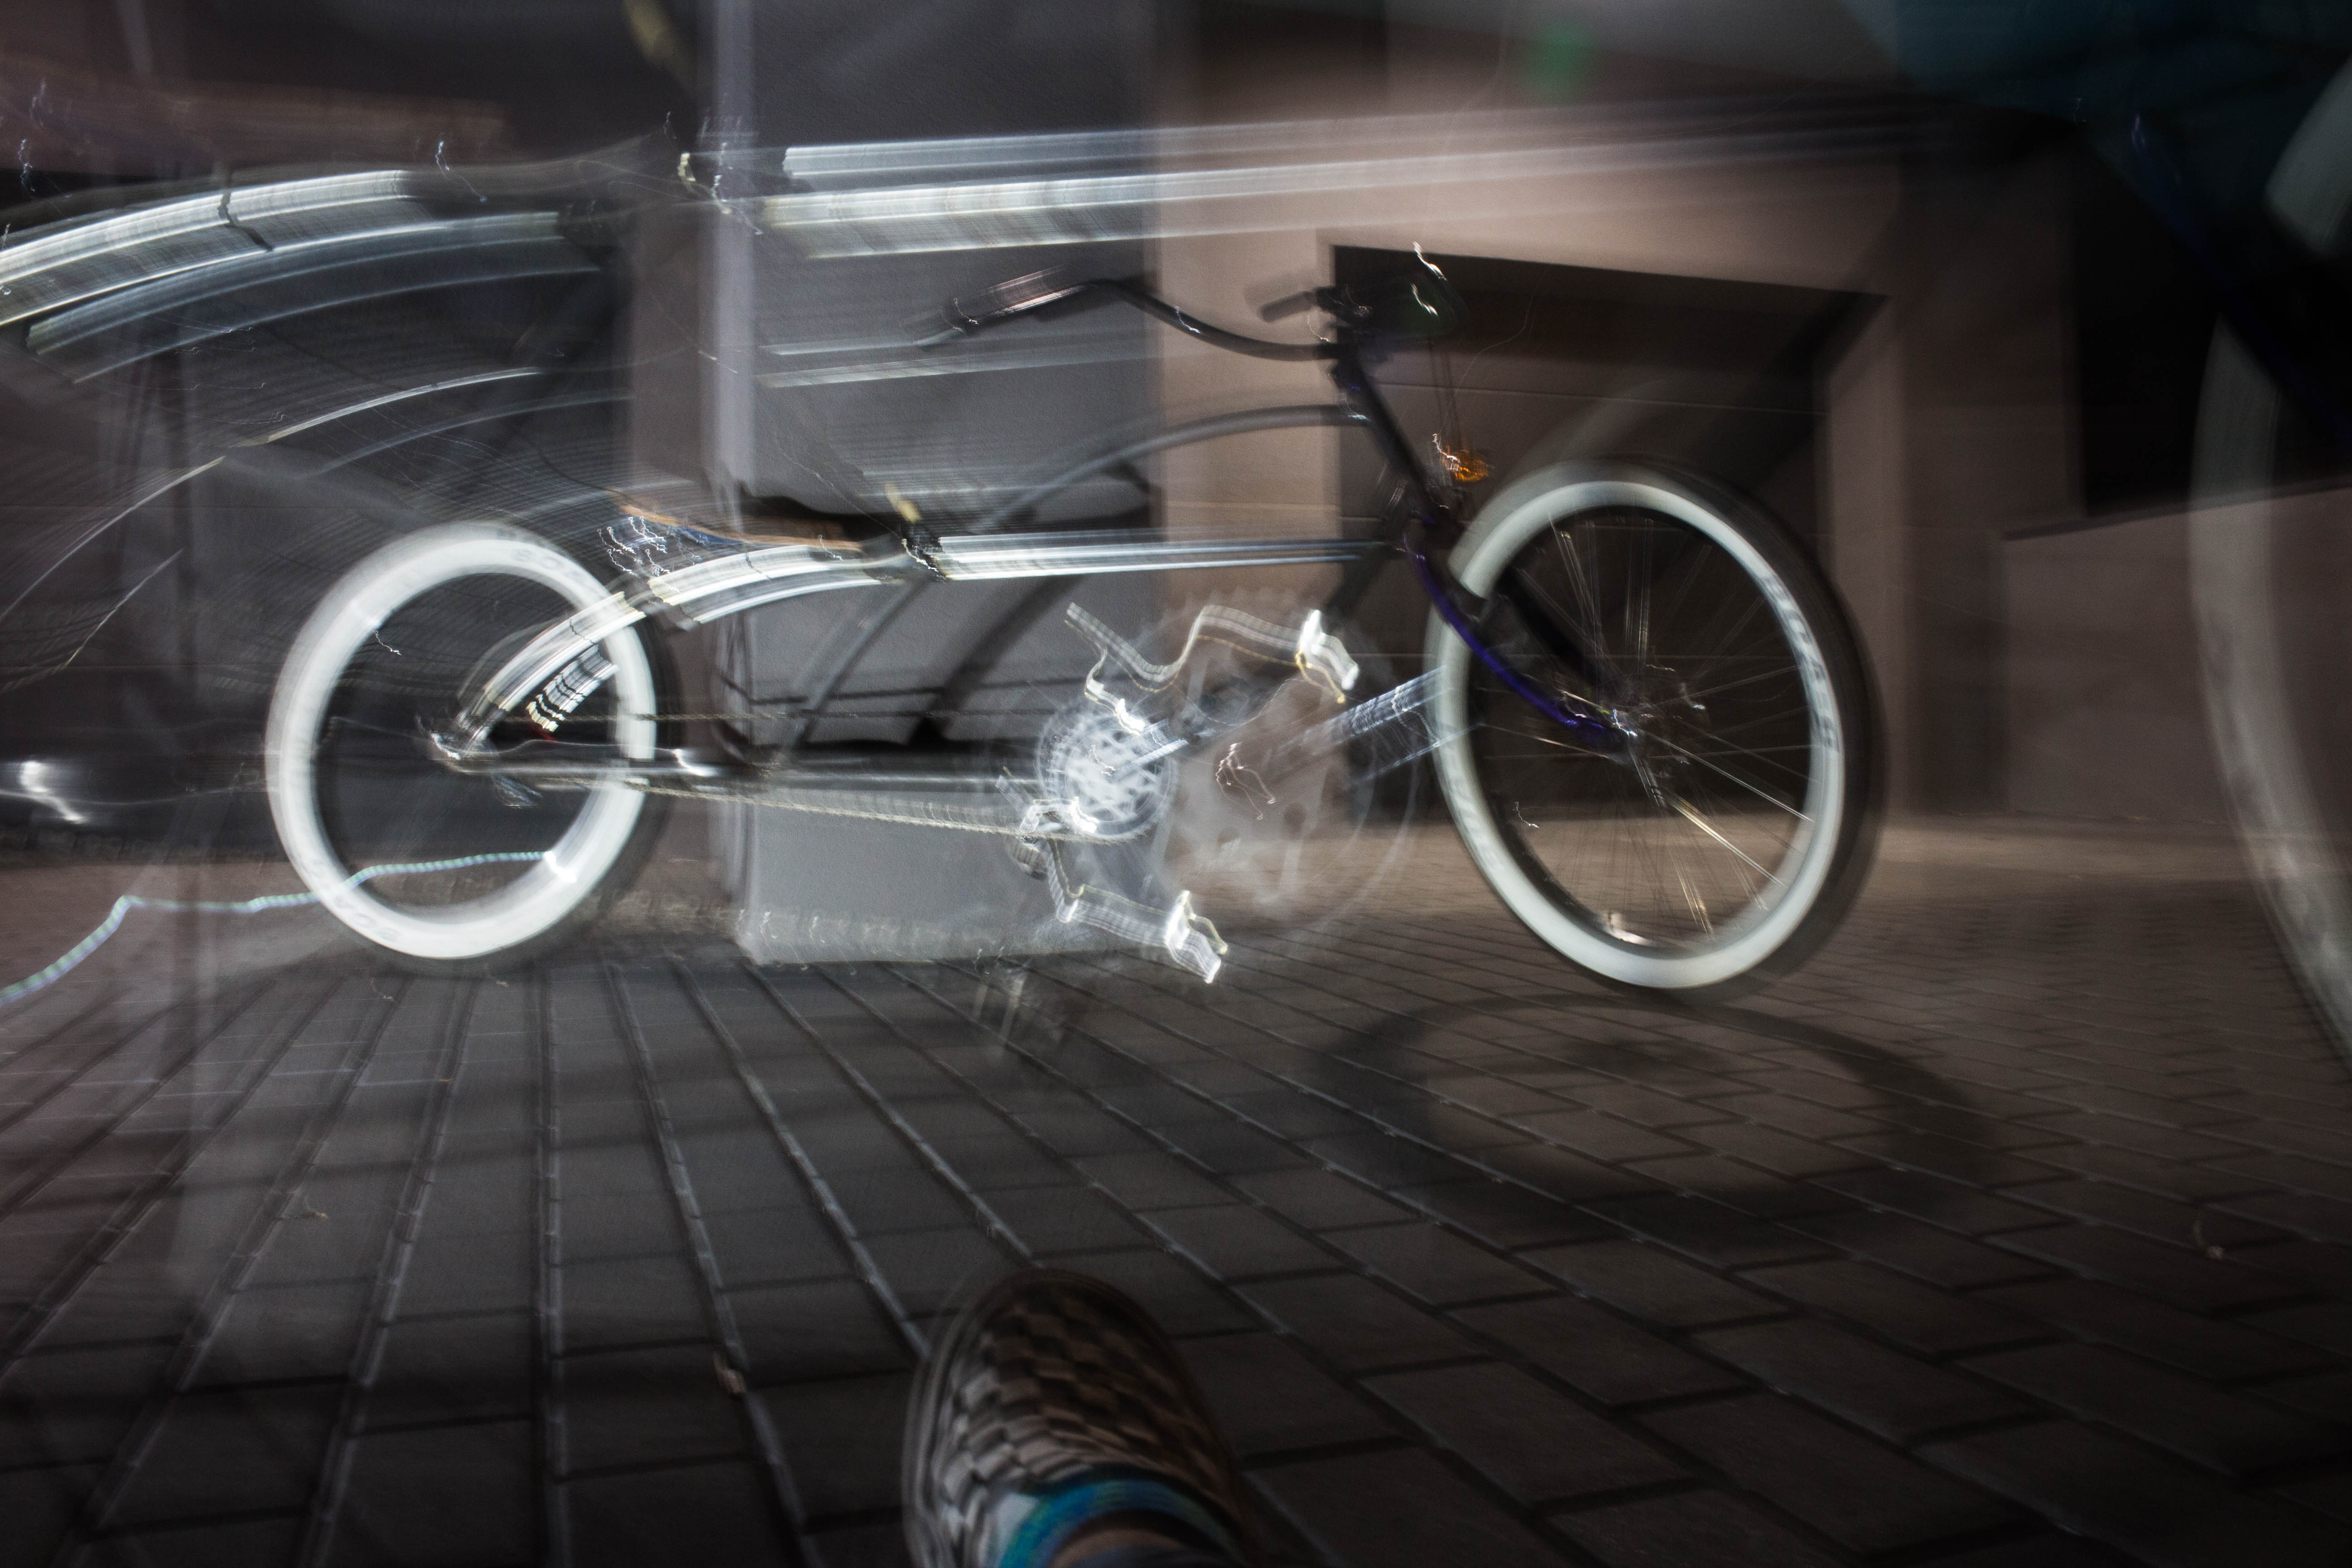
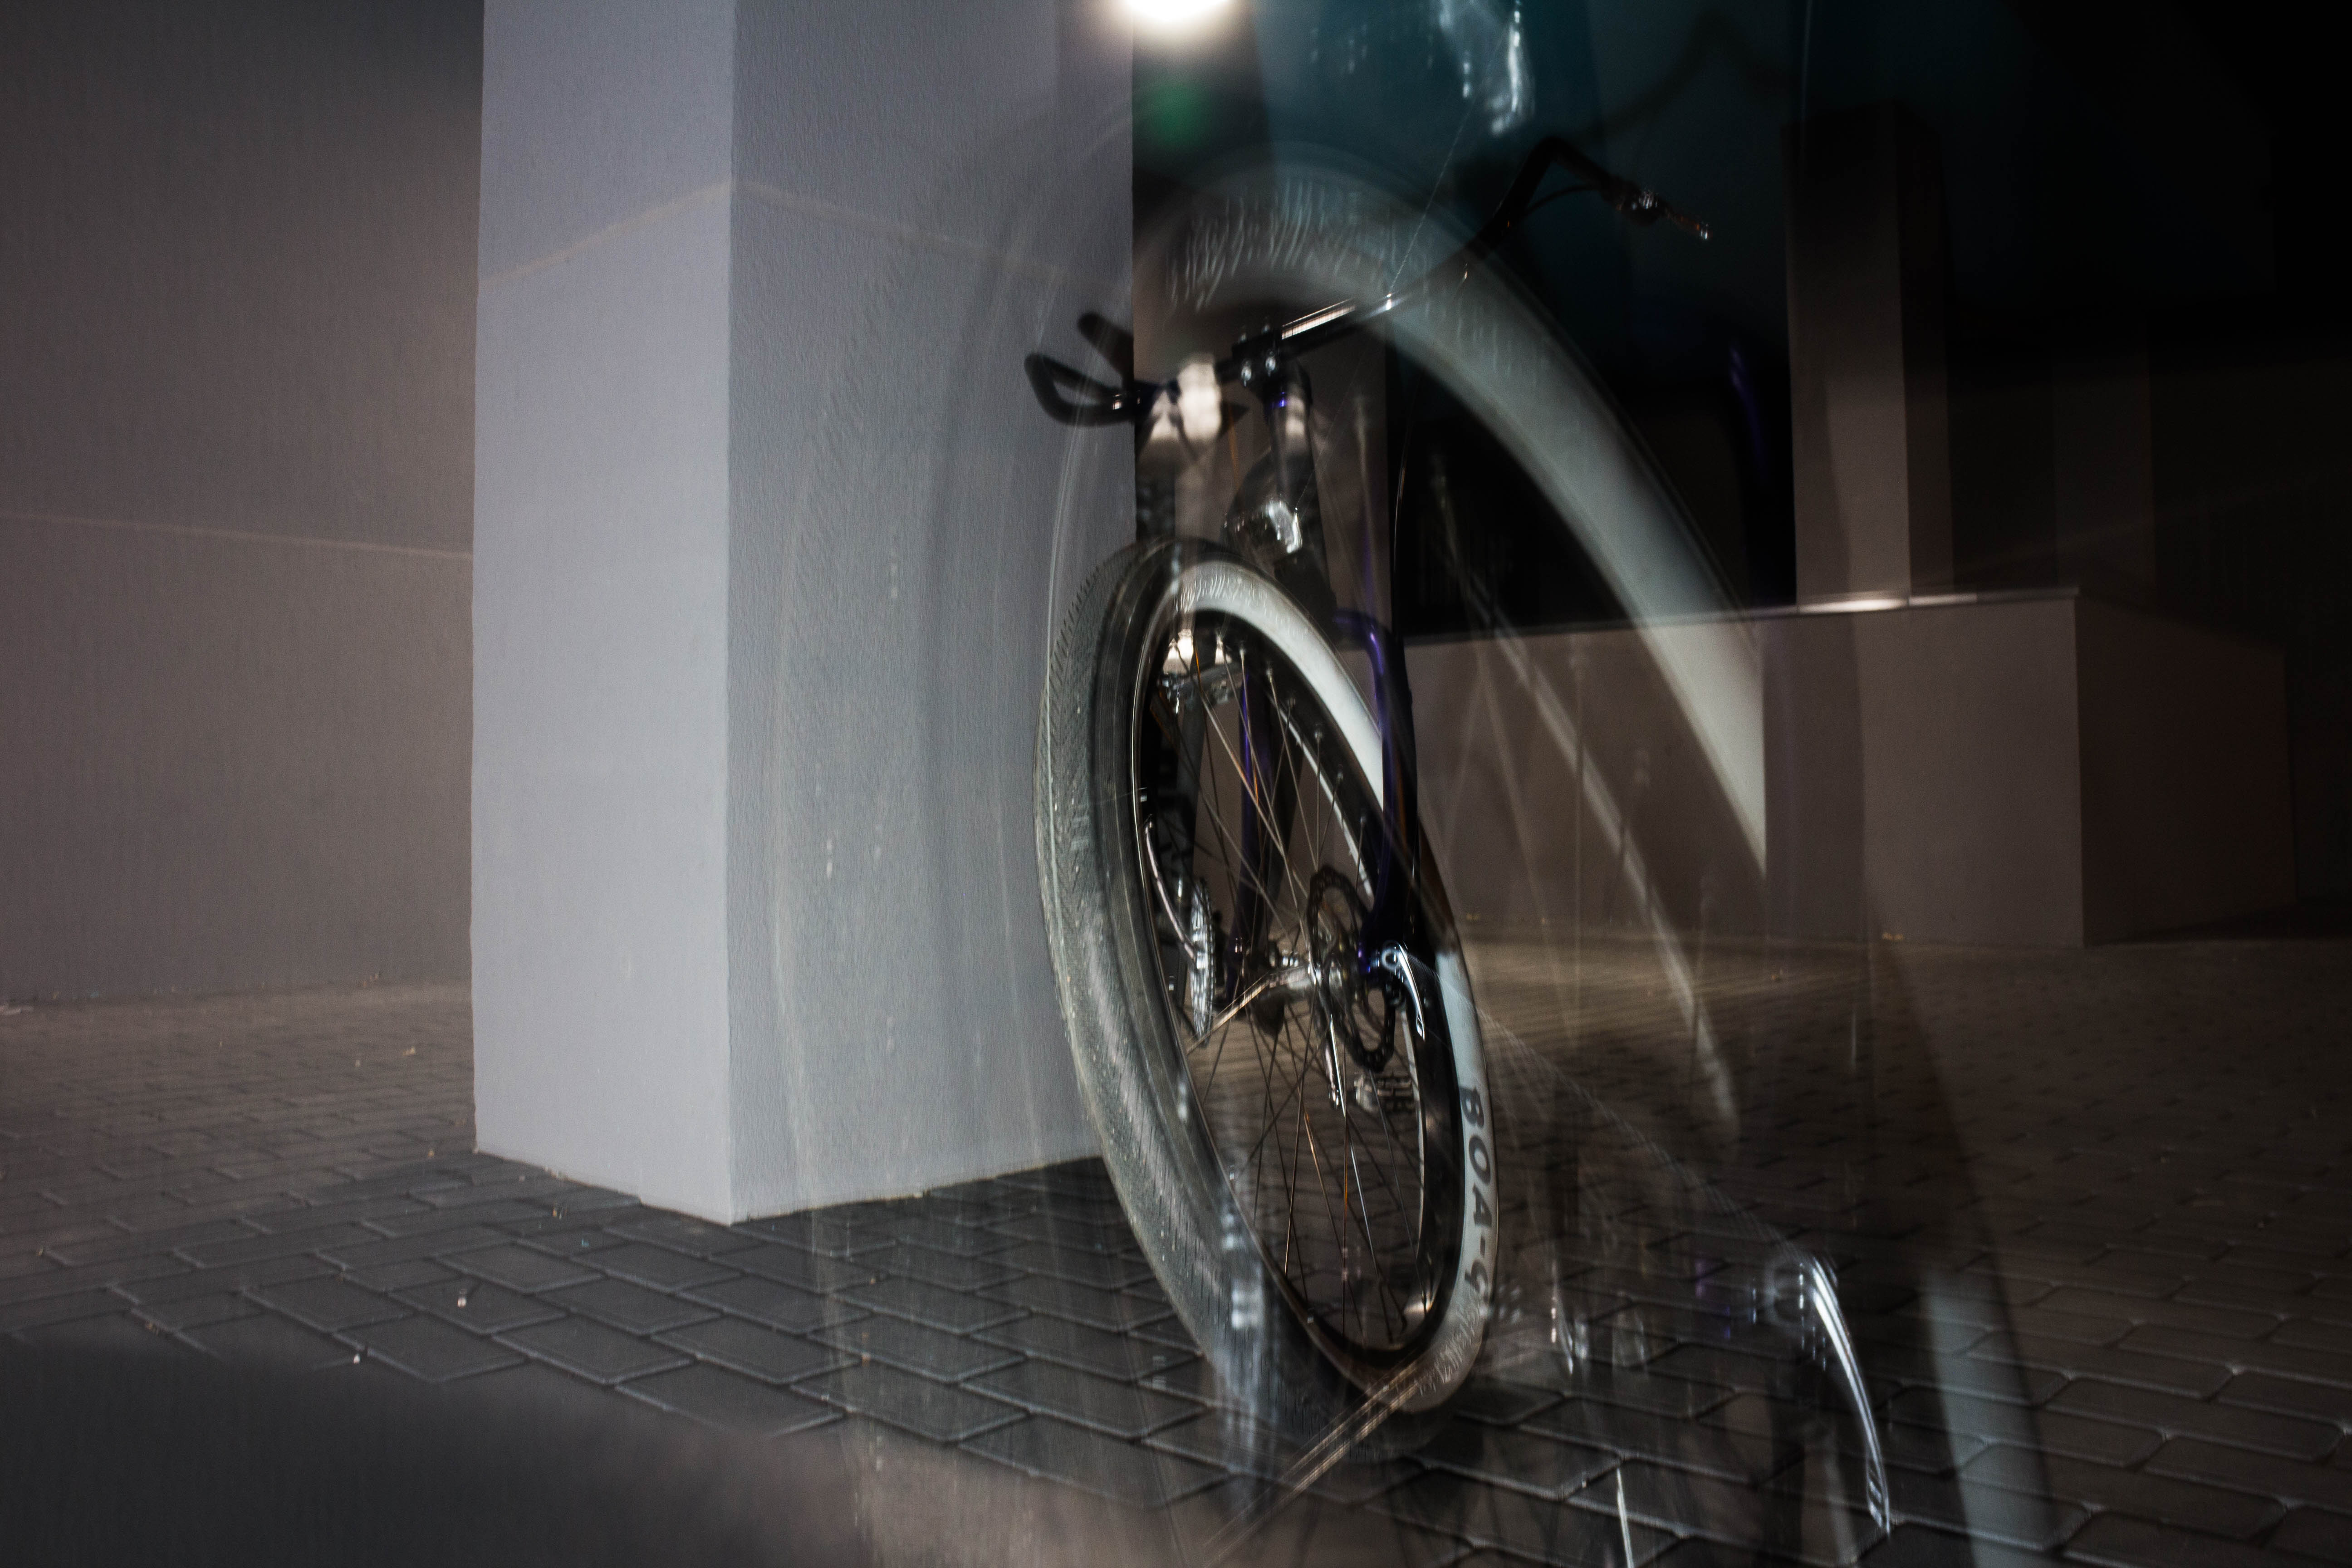
And here is a first ride! YAY! Still can't believe i have done it in such a short (for me) term!


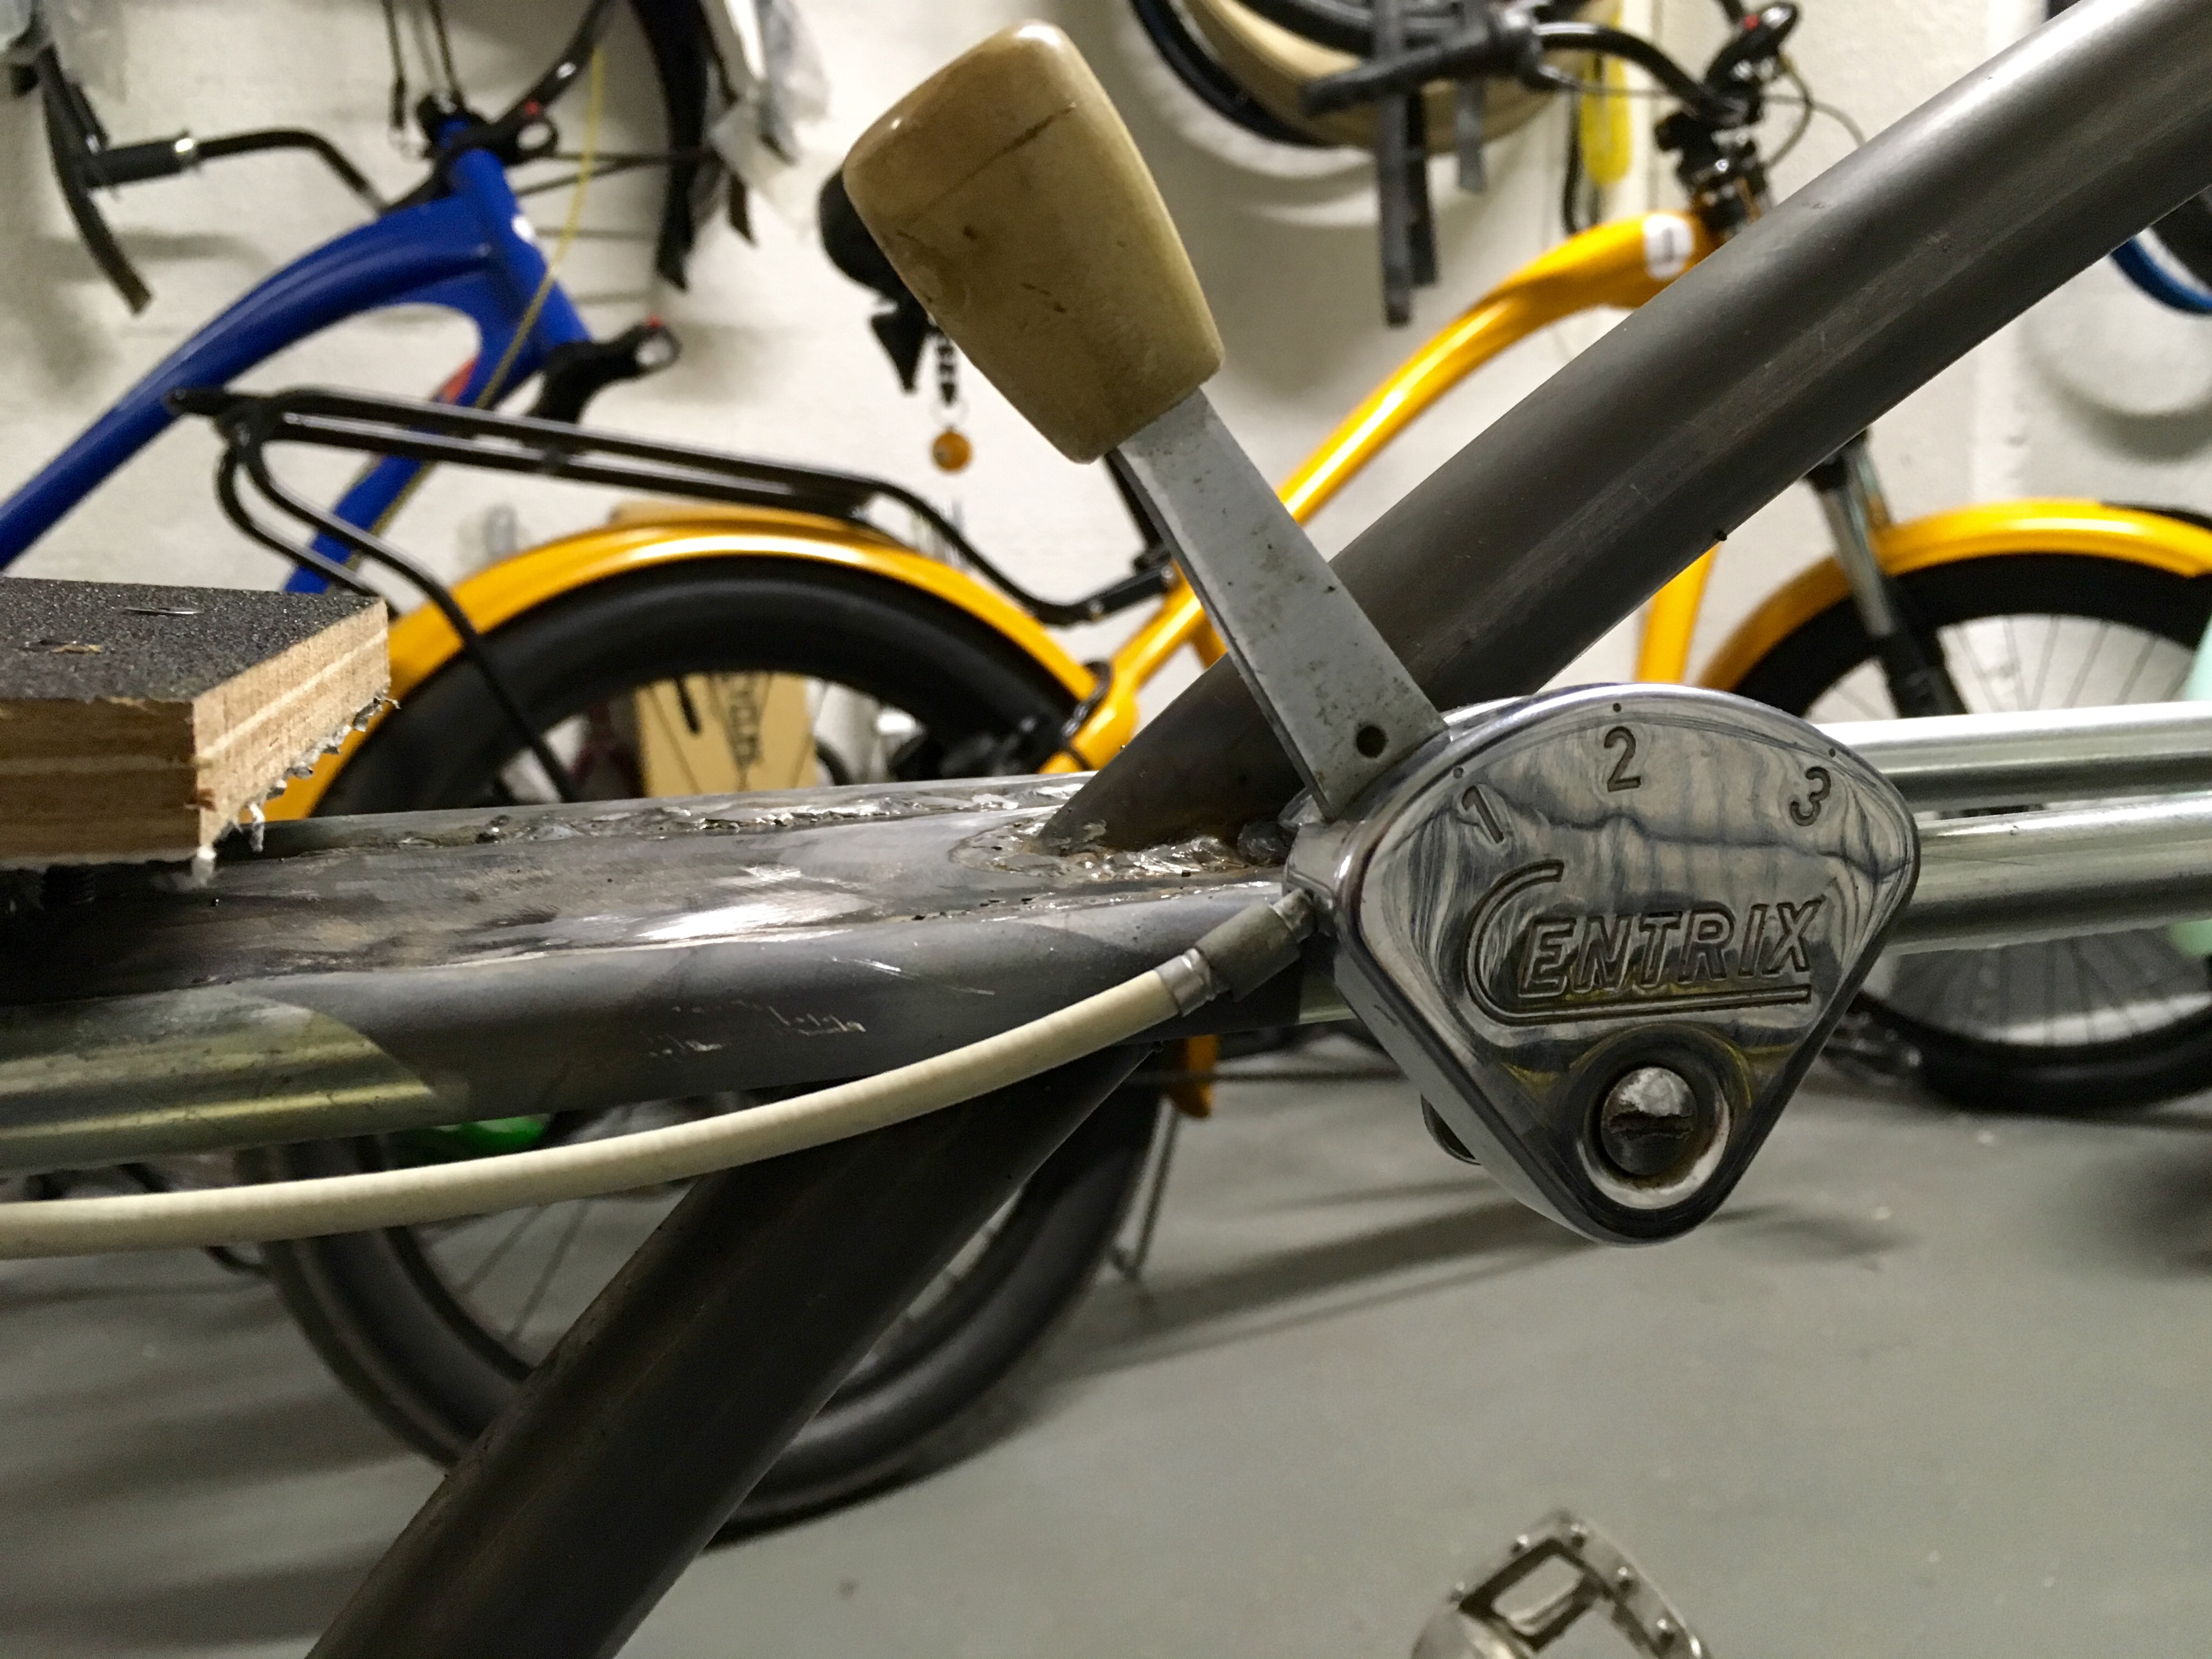
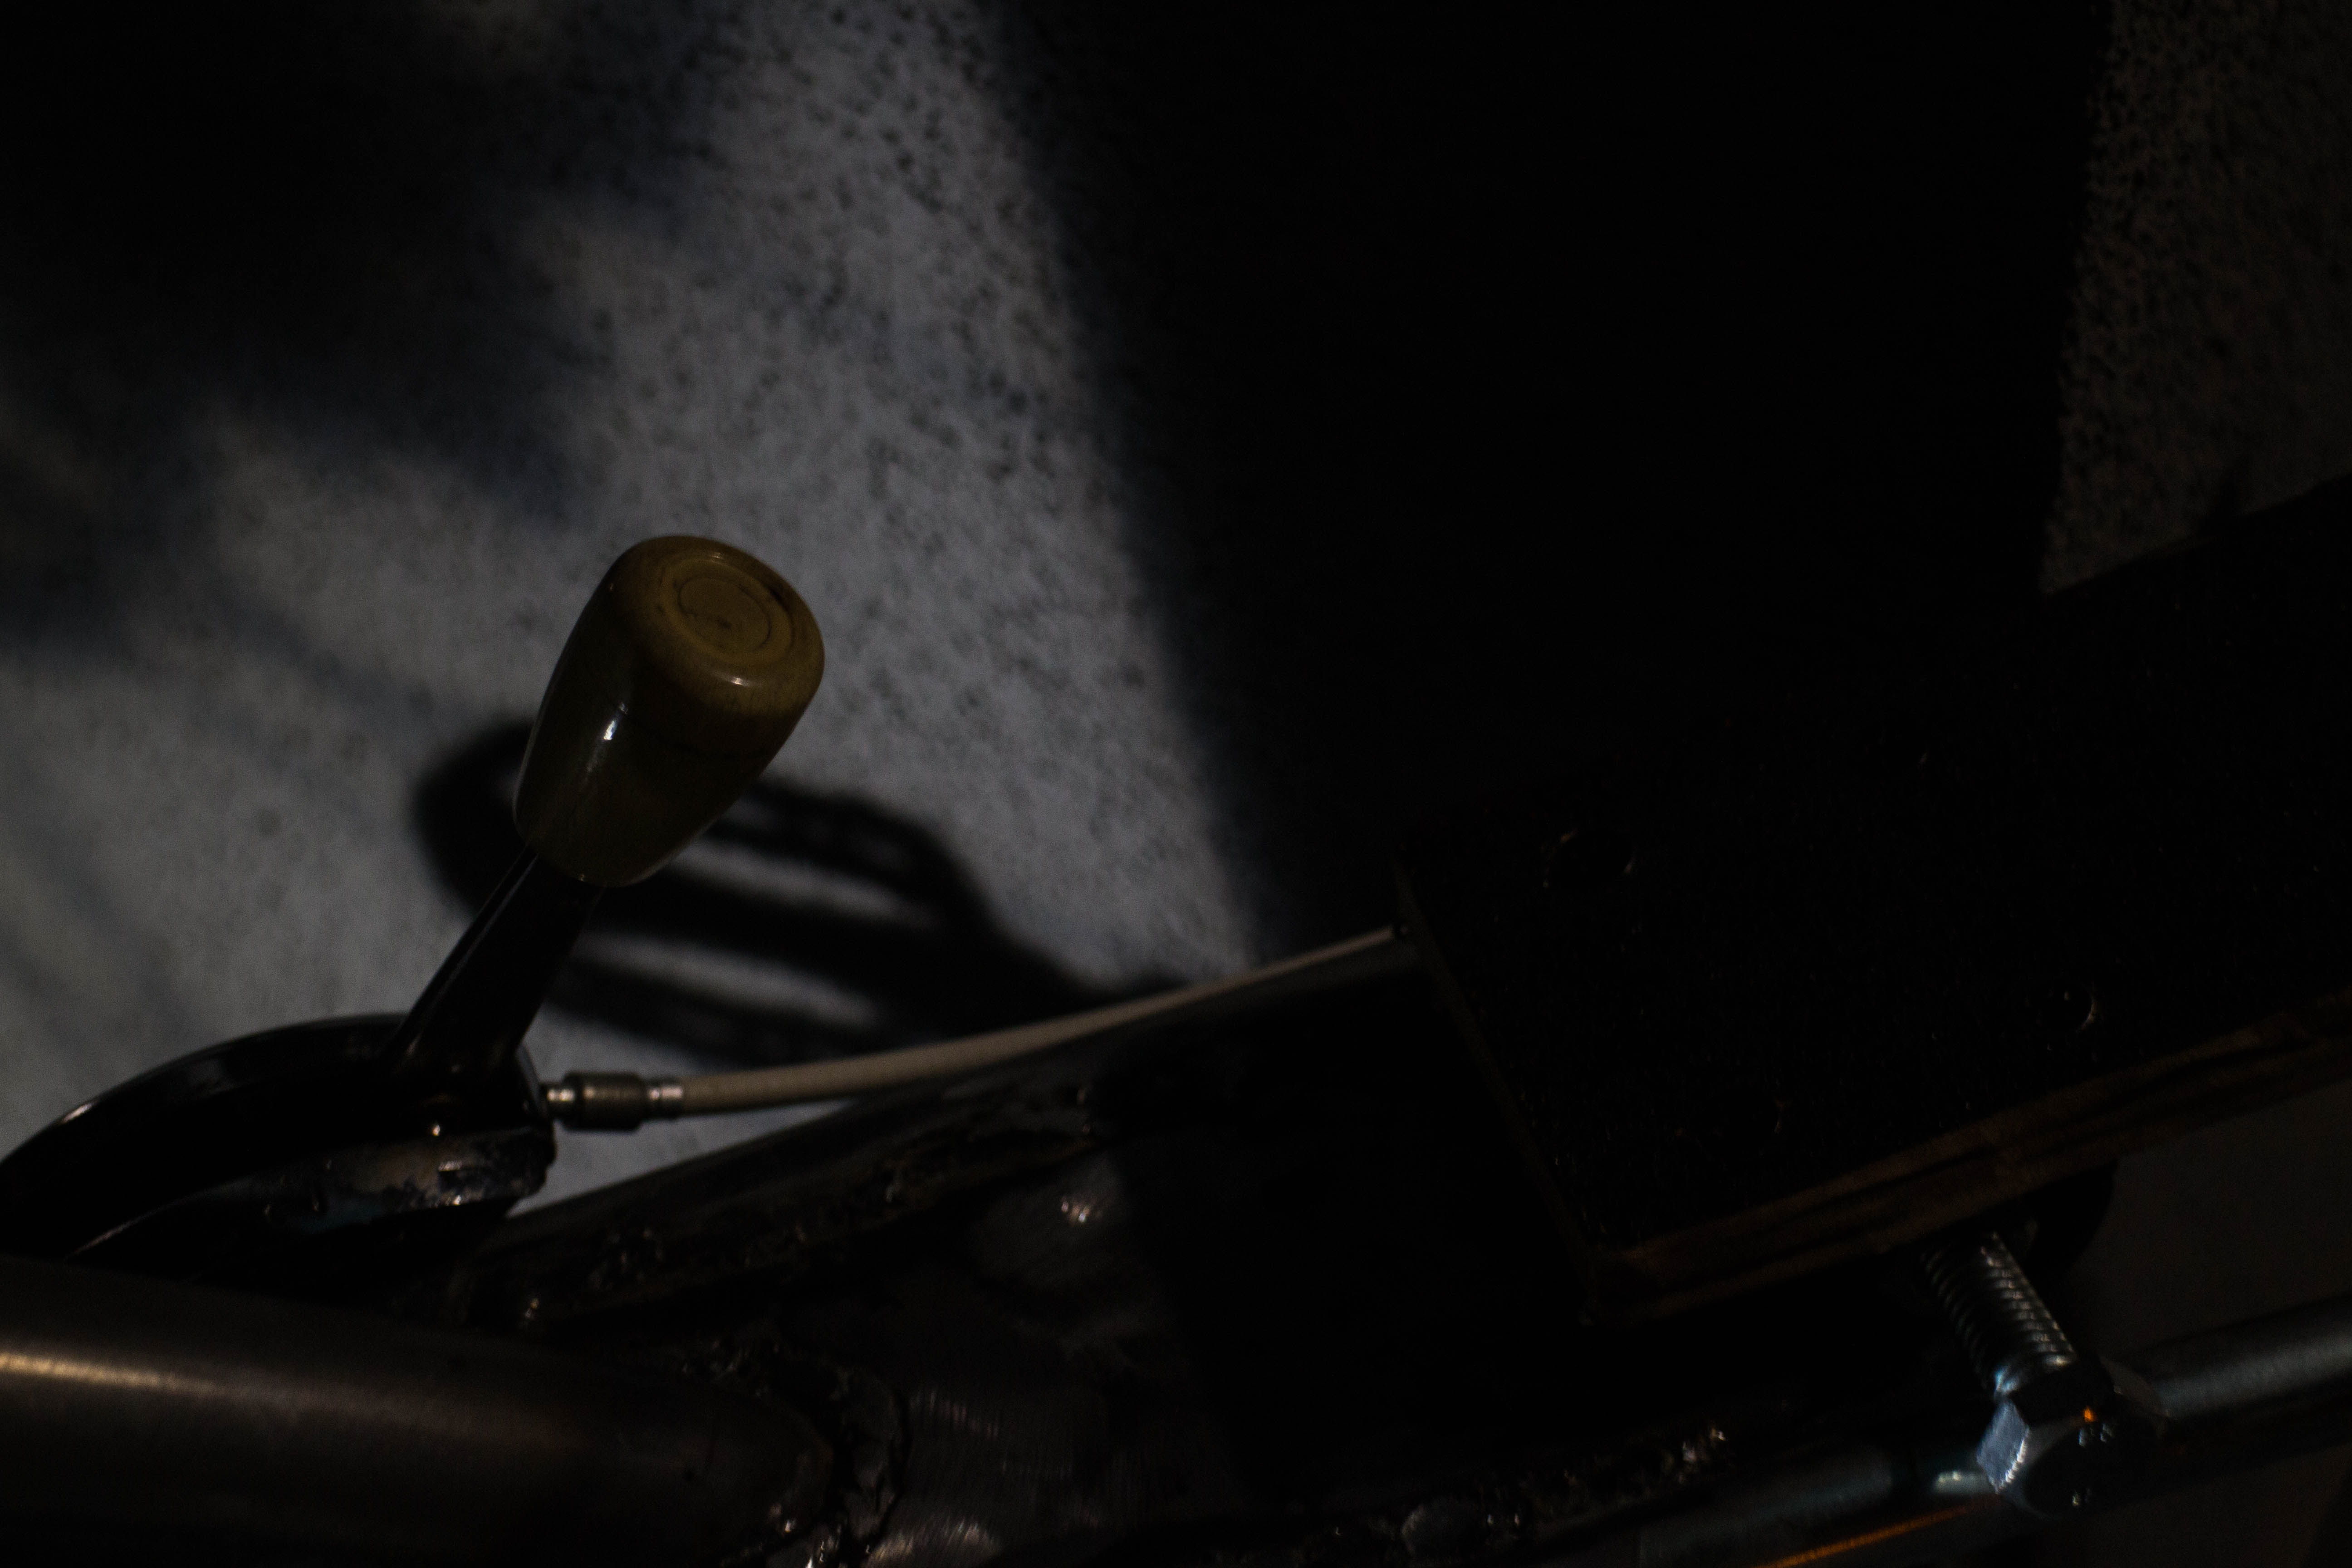
When back to the garage, the first thing i have done is installing the shifter. Since this build has this kind of raw ratty vibe, i have decided to put on old Centrix shifter i have got at swapmeet at CSI last year!
ac7238a069d35750ee6157cb5cd046a5.jpg


Even though it has more travel then nexus shifter it kind of works okay. And i have used an old baking cable for shifting! Braking the rules! :D
d50a96c204a5ed25c635b9b7f5bdc54c.jpg


One other thing i have done is adding extra nuts on the frame mounts to put a seat a little higher.
b7075307797061e6338148d7e1e7813a.jpg


And this is it for now. In my last days before leaving i might change some other details, but i guess the bike is more or less done at the moment. Painting and other details and adjustments i am going to do after i come back in august.

Oh yea, and did i tell you it is an awesome ride? Could not convince myself to leave it at the garage yesterday! :)
 
Last edited:
2m is tall ! That's like 6 foot 5 inches where I live. :grin:
I could tell you were lanky in the picture. You built a bike that fits you well. Nice work all around. :41:
 
Love how this build pulled together. Great original lines. It's a long one, but fits you perfectly! Your smile was almost as big as the bike.
Love it man!!!
 
Great job!
I'm not sure if you will be gone until August or if that's when you will have access to the shop again. Just make sure that you get your finished photos (whatever state that is) submitted before the end of the build-off.:thumbsup:
 
Great job!
I'm not sure if you will be gone until August or if that's when you will have access to the shop again. Just make sure that you get your finished photos (whatever state that is) submitted before the end of the build-off.:thumbsup:
Thanks for your care! I am gone until August, going for a bike trip from Poland to Netherlands, for CSI cruise, a kind-of-big international custom bicycle event :) Then i'm back, but since i am using my school's workshop, i will only have access to all those fancy tools in late September - early October. But i still am having my garage, i can do pretty much everything except for bending and welding there.
I am planning to make some last adjustments and take pictures today. Maybe but just maybe, if i have a little time and the workshop is open, on Monday i can fix some little things like kickstand mount or making a thicker coaster tab. Otherwise i call it done for now and will be waiting for a kickstand delivered from Ruff-cycles. It is a clamp-on kickstand for chain-stays, if it fits my 1' tube then i will probably be fine with that, and otherwise i can always try to use a mountain-bike style kickstand with two bolts with threaded rivets in the chain stays. In case if none of that works well i would wait until the fall to weld on a plate kickstand mount. But if some of the other options works out, i probably am going to paint and finalize it in August.
 
Sooo!
My departure to NL has delayed because of the rainy weather and some unfinished business, and that allowed me to make some final adjustments to the build before i leave.

I have installed the brakes, the light and some more parts.
For example those old Electra YKK grips!
ad2ff18eb31d0e041ebaf2e48140330e.jpg


Or this cool looking NOS BMX aluminium sprocket i recently got from UK. It is super light, weights liturally nothing, and i guess it is vintage. Can someone prove or refute that?
fc4600416c0a4fc43598e7329ca27621.jpg


I have also altered the saddle shape once again, but that happened after i have taken "final" pictures, so you won't see it installed on a bike.
e227d728fbd61041640c9ab87a89ea45.jpg


Still not perfect, but more symmetrical then before :D
b44abf740cfaa547ab922a3cbd3ff44c.jpg


And here are some beautiful final photos of the bike!
8e3ac68a5084f756d25cb23d46e08b9c.jpg

35ad9bd4e275731850d4b59918a42cc5.jpg

25e4d448c9a0f9903630714d4eb5ab2c.jpg

98968ce643bc17f641fac3e09fad9e94.jpg

a79ce3baba326a23b134e58545701314.jpg

448d5c01e03b3541177b015aa65c3f87.jpg

009f6a775a685c4cf6d30b569227e684.jpg

c73da544218e8620aa7ba77ad889345e.jpg

870846f84c9feae0c6686f0d02aa3135.jpg

47f655fffdeb1b53cad890eadd129a0e.jpg

5999b19b8ddb790349dd98e0009a2810.jpg

b1ed7b33584b60dd154d68f372647673.jpg

7d4ebd3bfb2fc7384867604f1aa9a66b.jpg
 
That second photo from the top, with the shadows and the way the bike leans, that's a winner! Make sure you have one particular photo labeled as your Final Photo in your thread somewhere. And maybe, since you won't be able to put it up once the Finished Build Thread is established, @Rat Rod (Steve) could post it on the Finished thread for you.
 
...this cool looking NOS BMX aluminium sprocket i recently got from UK. It is super light, weights liturally nothing, and i guess it is vintage. Can someone prove or refute that?
fc4600416c0a4fc43598e7329ca27621.jpg
I can confirm that Belvin branded BMX parts existed in the 80s & 90s. I can tell you that the sprocket is after '86 when they moved exclusively to the UK, because there isn't a 'Stadium' branding on the packaging.

That's all I know though...they could still be in existence for all I know :grin:

edit...I'll also add, Belvin wasn't a high end brand...so given the complexity of the machining on what was probably a relatively cheap part...I'd guess mid-90s or so...maybe early 90s.

Jason
 
Looks like the Finished Build thread is up and running! Put up your favorite pic first (that will be used for the voting) and add a few more and copy and paste a link to this build thread so guys that just look at the Finished bikes can come back here and see all the hard work and creative energy you put into this build! Well done!
 

Latest posts

Back
Top