"The Wonderful What Ev"

Rat Rod Bikes Bicycle Forum

Help Support Rat Rod Bikes Bicycle Forum:

This site may earn a commission from merchant affiliate links, including eBay, Amazon, and others.
Joined
Sep 27, 2007
Messages
7,775
Reaction score
766
Location
sac. valley
Rating - 100%
6   0   0
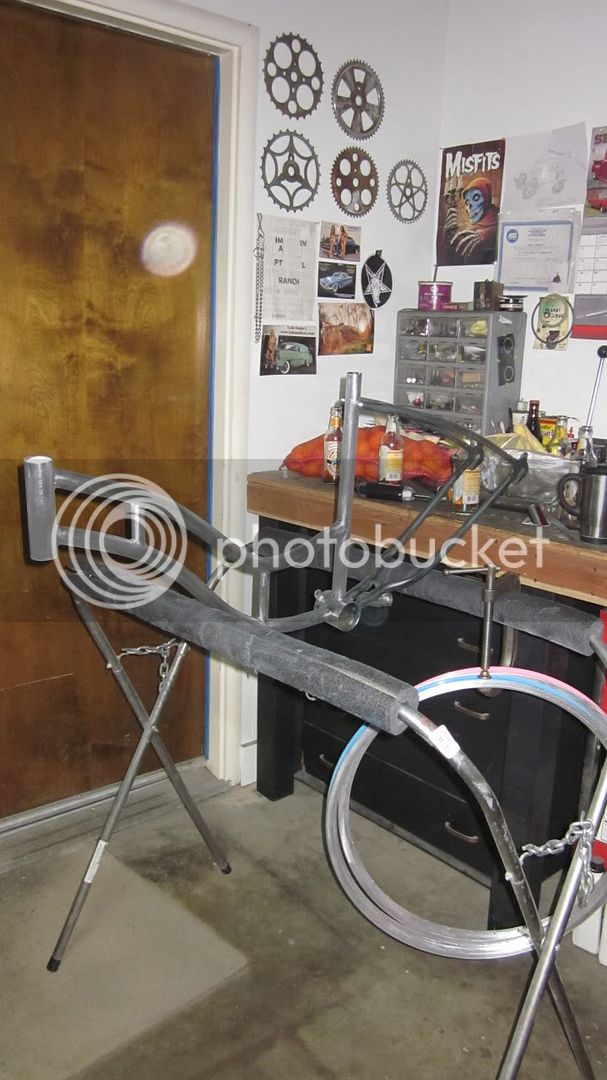
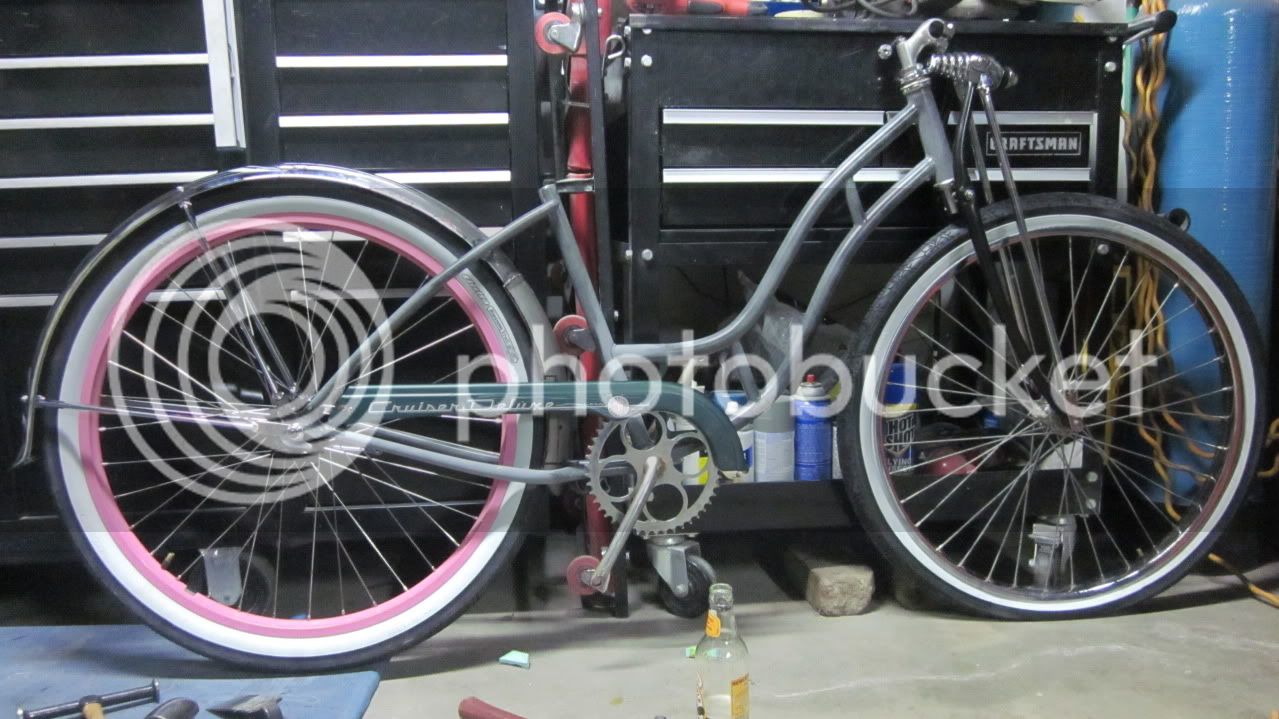
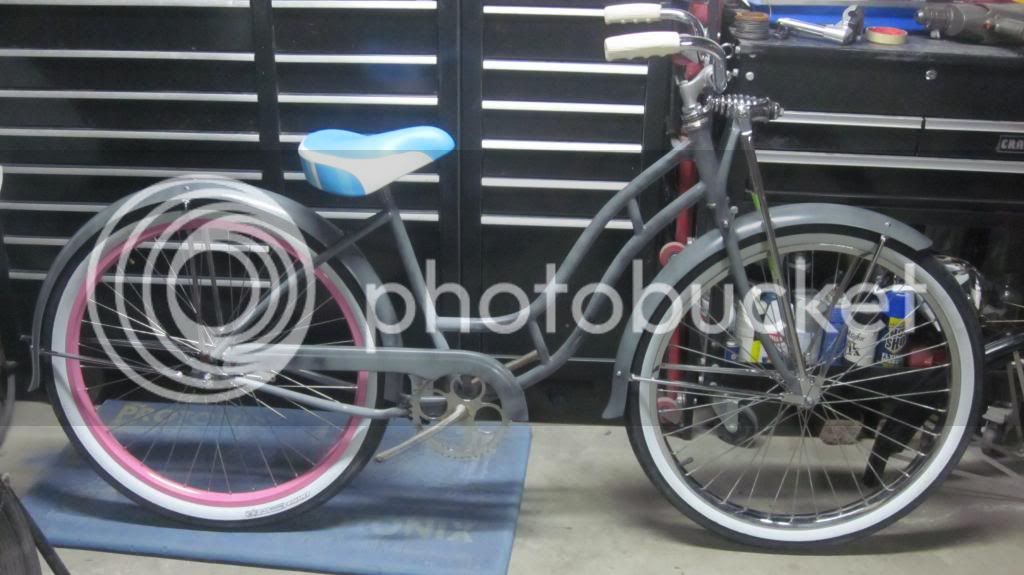
Nothing to exciting, mostly paint and bolt on's but It's a customers bike so I have little to no say. :lol:
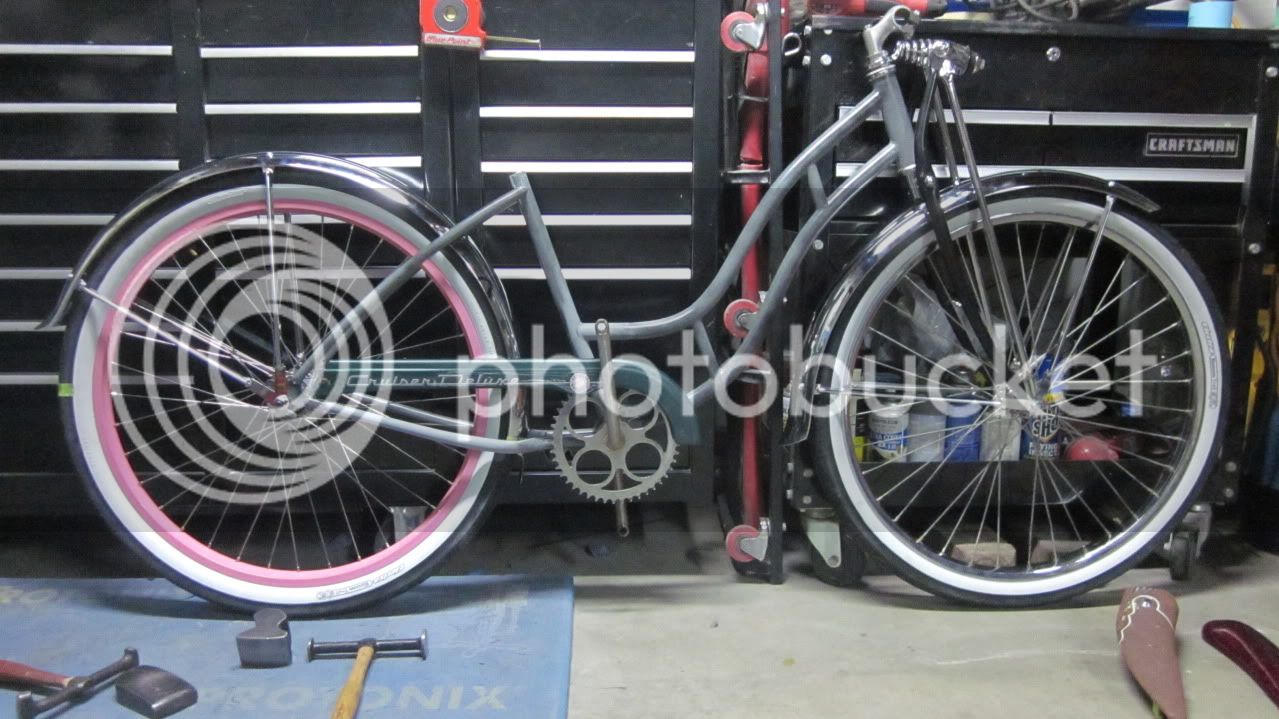
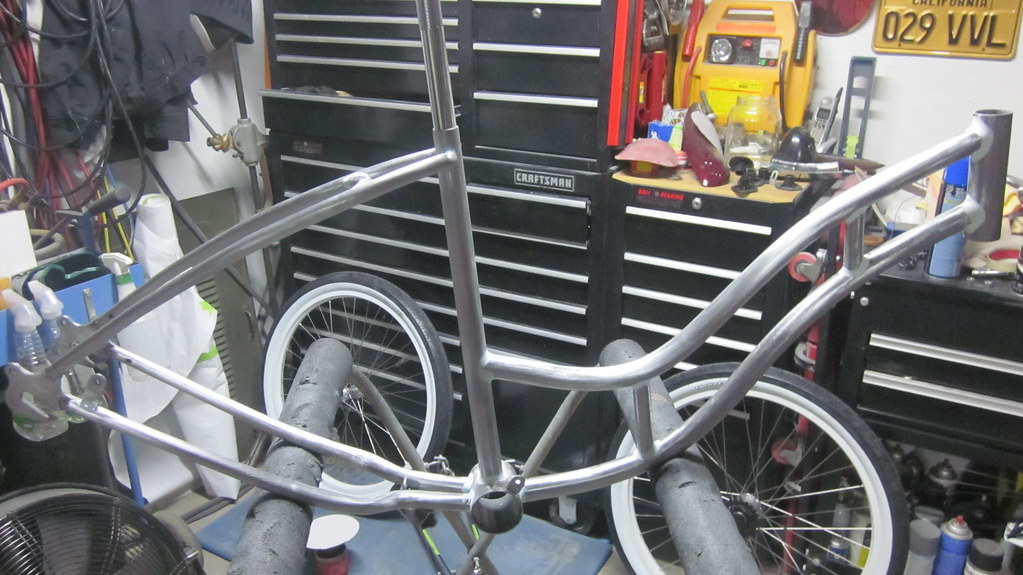
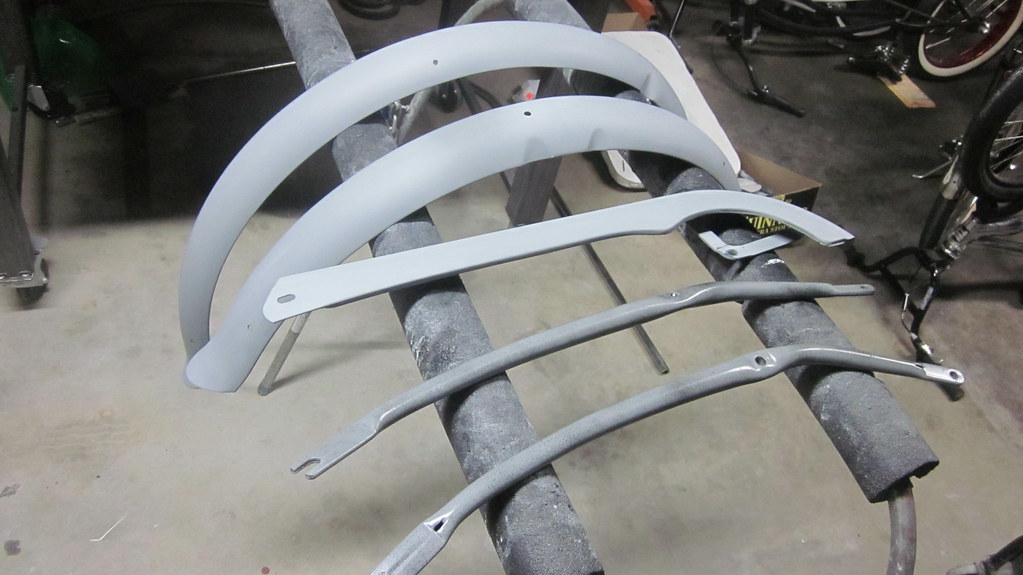
Anyhow, here's the start:
IMG_0033.jpg

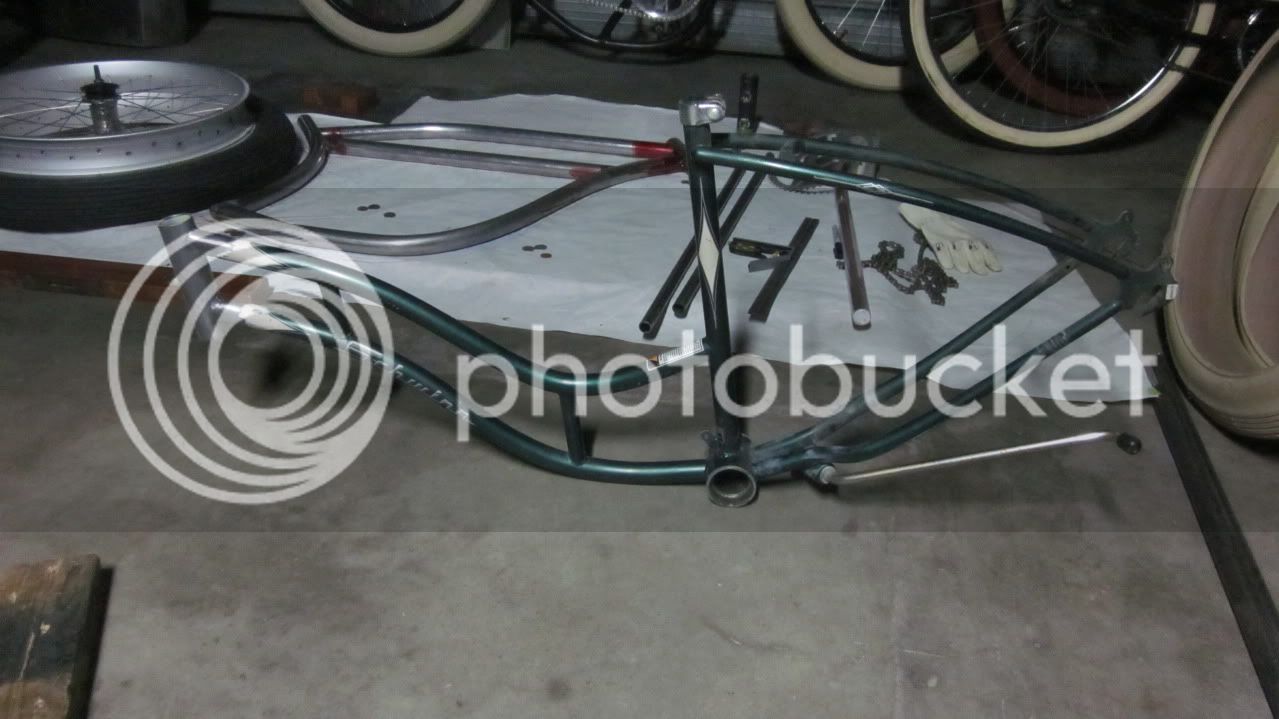
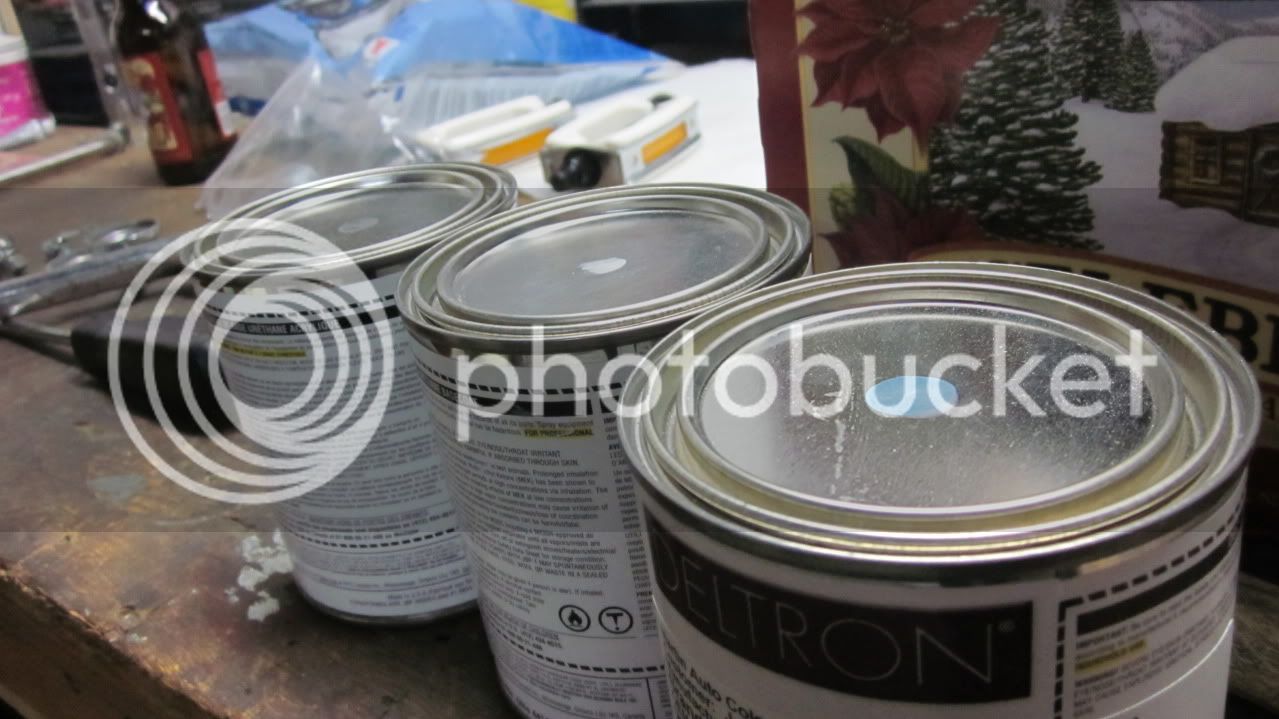
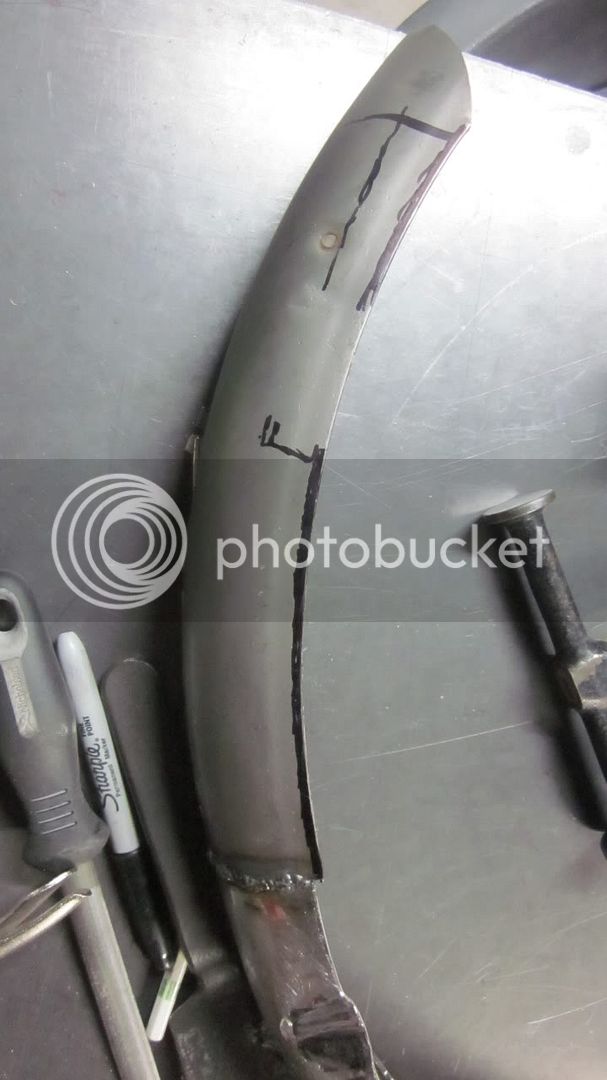
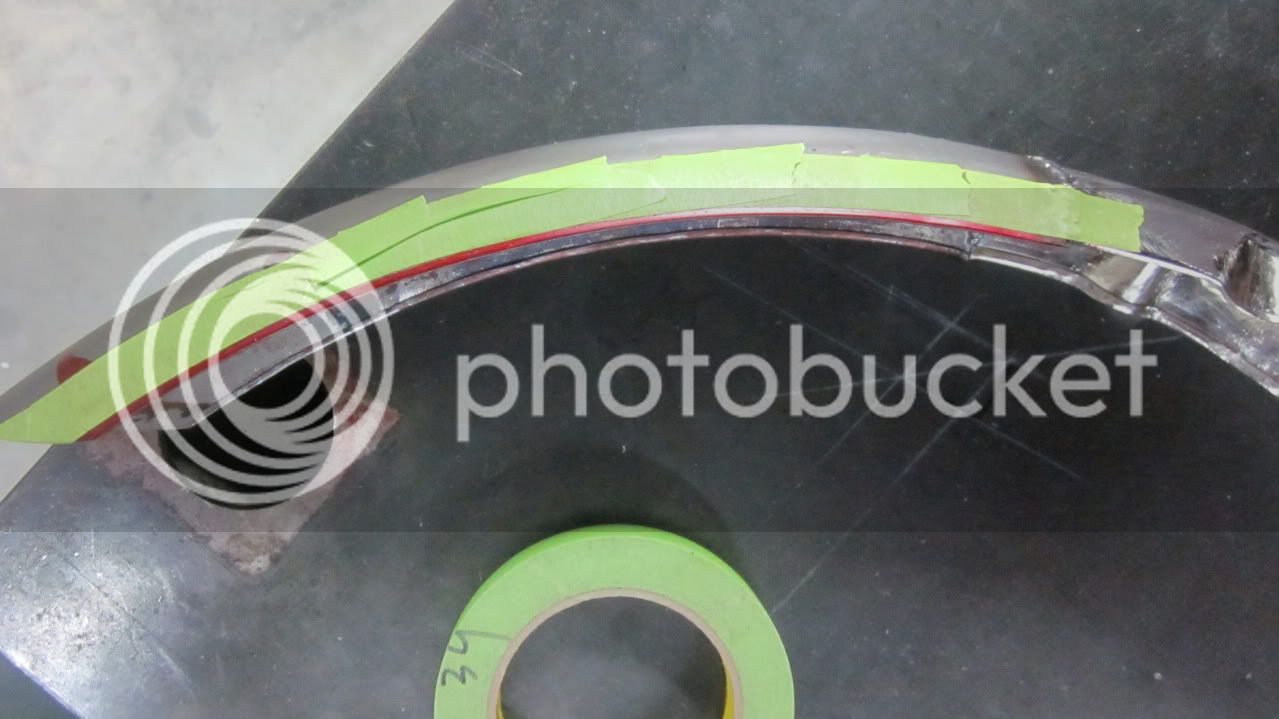
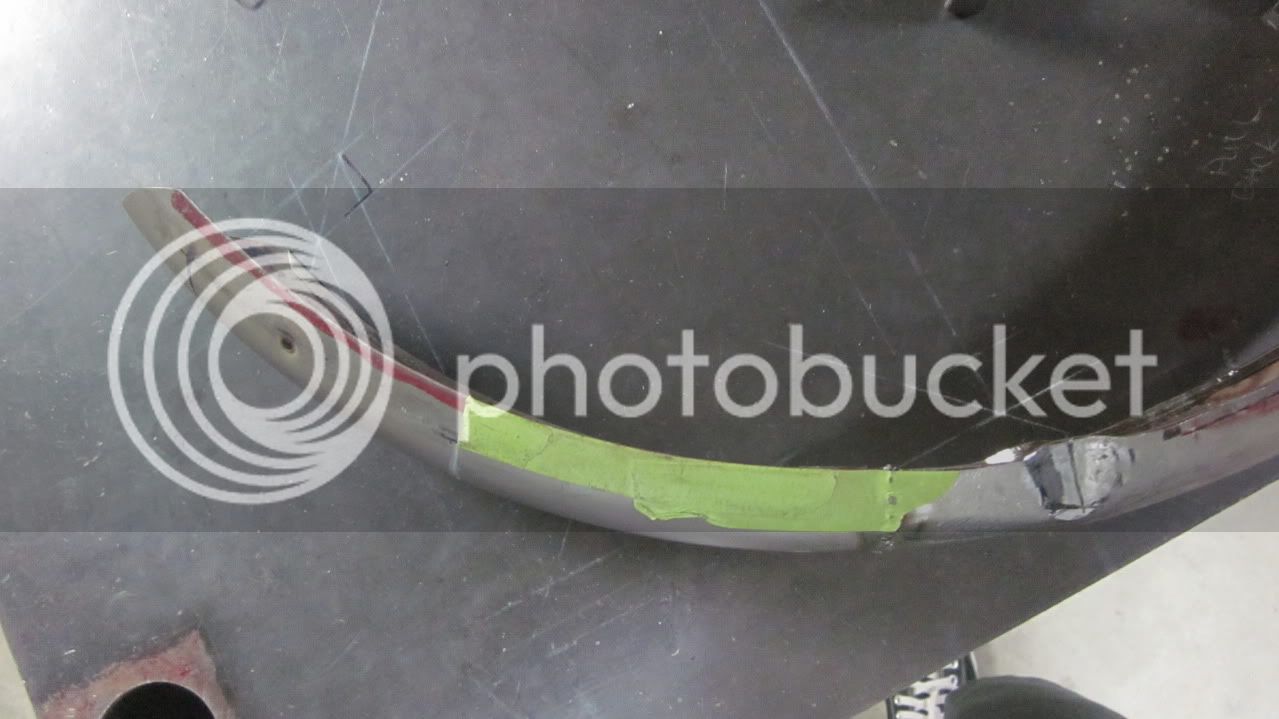
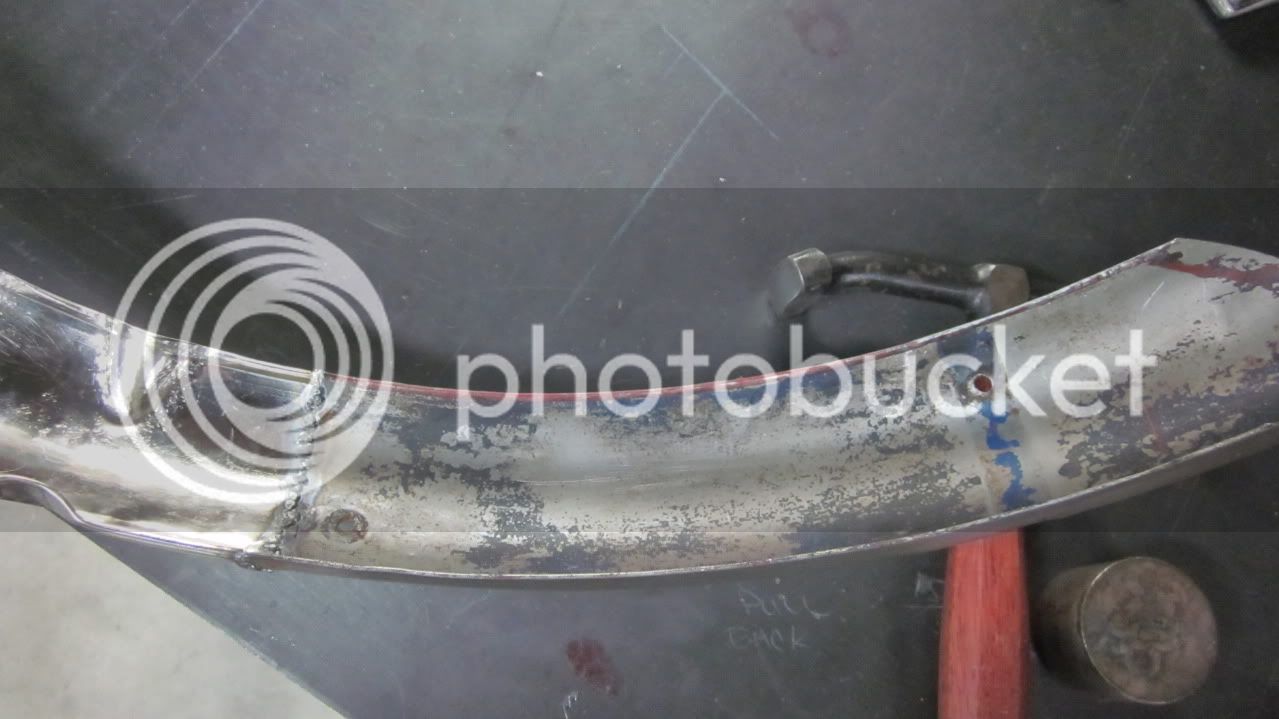
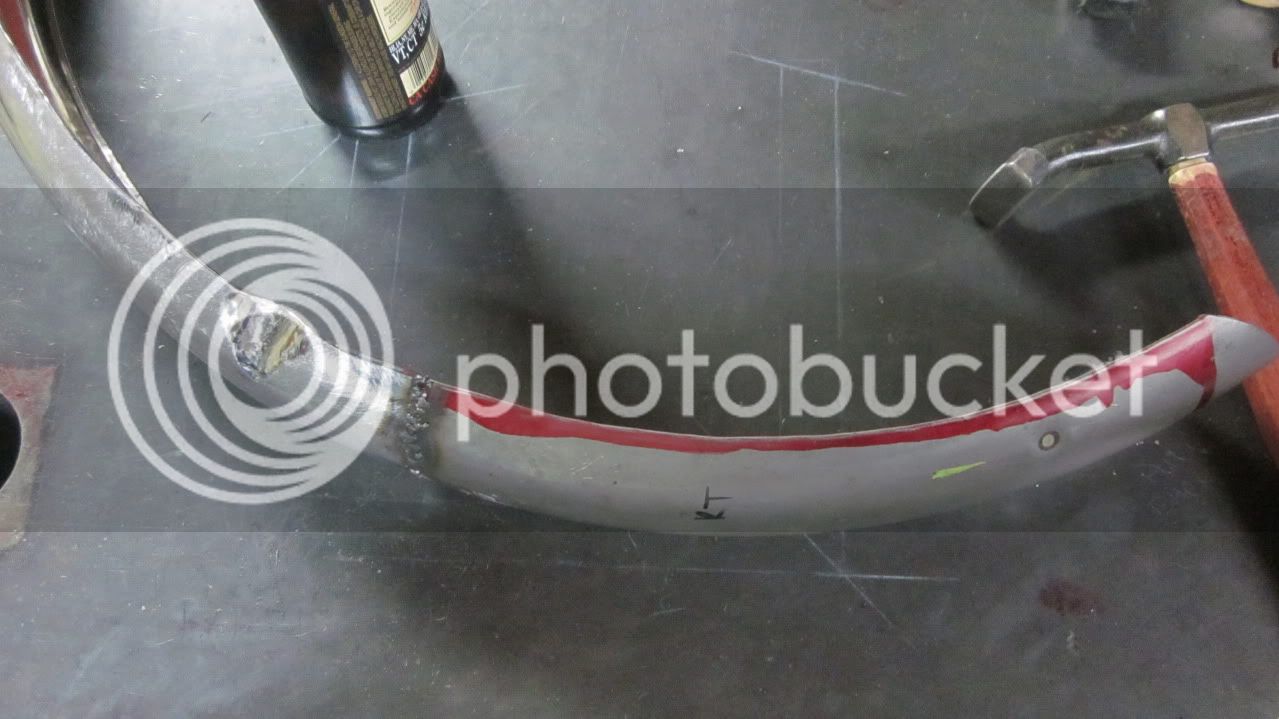
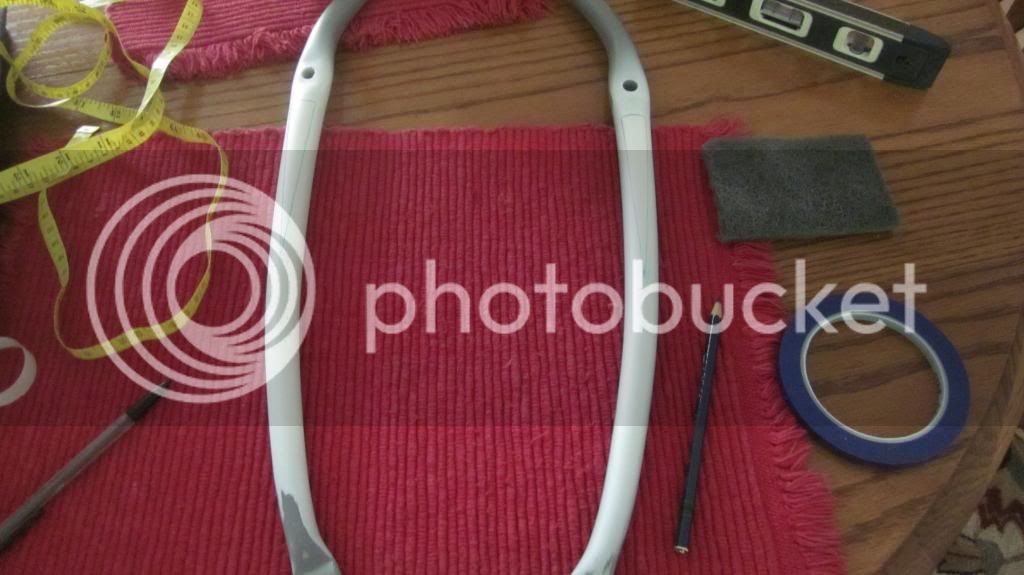
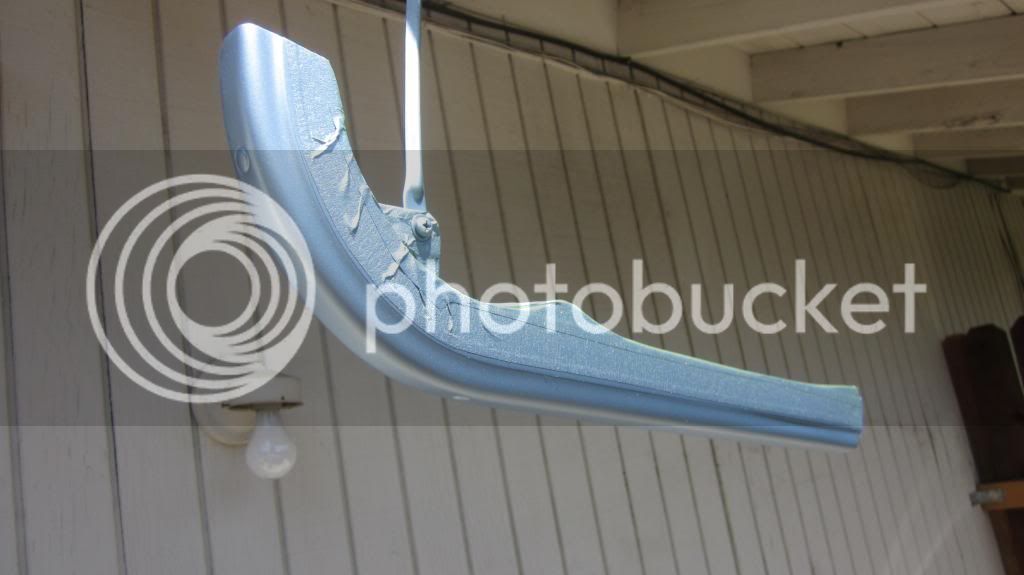
Got some parts coming in from Chimichanga(THANKS AGAIN!) and I'll have some updates as soon as I get something done. Just stripping paint and getting ready to mold all the welds. Well, I'm cheating. They'll be done with glaze since this is a budget build.
 
Re: "The Wonderful What Ev" SHOCKING NUDE PHOTOS!

Shes naked now. High spots on the welds have been knocked down and she's ready for primer so next time you see her she'll be green or gray. Can't say which just yet. Nope. That's not what she'll be wearing when she's painted. :wink:
Oh, one more reason I HATE powder coating! The wheels I got from Electras great clearance sale were powder coated and one came clean easy. The other had OVER a 1/16" (actually almost 1/8"!!)of the freaking plastic junk on it! :x :x
Wire wheel wouldn't even take it off! 40 grit by hand, then 80, and then 180. Yeah, I know I could've not taken them down to raw but I don't want that junk wrinkling and causing a repaint(been there, done that!).
Sorry for the rant(not bagging on the company! No problem with them. Just the powder coater!), and yeah.... Picture:
IMG_0045-2.jpg

Some cushion for the pushing:
IMG_0047-1.jpg

More soon-ish.
 
Prime spy pics:
IMG_0065-1.jpg

IMG_0051-2.jpg

She should be coming down to get fit for this next week, so after that I can start molding the frame(unless a 26" is too big then I have to section it to fit) and hopefully get some color on the frame and wheels.
 
She finally came down and got fit. I may have to go with a wedge style seat post since she's so short!
Anyhow, paint is picked out and mixed(it'll be a 3 stage. White pearl over white base up front and blue on the rear):
IMG_0094-1.jpg

Started fitting the fenders and well, they're aftermarket so I figured I'd have some work to do. Good thing she wants them painted or I'd be ______!
IMG_0090-1.jpg

Need to drop the rear 3" to get it to sit right.Then take out the factory indents for the stay, move them 3" lower, and redo the indent for the chain/chainguard(tape line on the tire is where it will sit when finished).
IMG_0091-1.jpg

Front fender isn't bad, just need to make some indents for the fork legs and truss rods.
Waiting on bars to get here still but you get the picture.
IMG_0093.jpg

Yeah, she's ugly now, but this is the first of the next 100 mock ups before I can paint since fit and finish are everything.*


*Written but not proof read!
 
Got a few minutes to do some metal work tonight.
Sharpie is where the old indents were, tape is where the new ones go:
IMG_0099-1.jpg

IMG_0100.jpg


Everything moved down 3":
IMG_0101-1.jpg

Time to see if it fits and if I'll be happy with how it looks mounted.
Metal work needed is minimal. Nothing another 5 minutes wont take care of. No need for glaze when its done.
Mounted on the bike:
IMG_0102-1.jpg

I came to the conclusion I wasted 10 minutes. I need to drop the rear of the fender another 1 1/2" so its in line with the axle. :roll:
Looks okay, but since this is a paying customers build I need to be 100% with how it is finished. Oh well, 20 minutes of work isn't to bad.
Now I just need to make another bottom piece where it mounts to the kickstand bracket since this will be about 2-3" to short. I also Still needed to do the indent for the chain guard anyhow, so good thing I thought ahead and didn't smooth that out and reshape it before I fit it. :lol:
Maybe I should fit the rear cog and chain before I do those. :lol:
 
Some nice work going on there. I needed some dents for a springer once. I opened my vise about an inch
set the fender over the gap and tapped it with the round end of a ball peen hammer. Worked perfect, and
didn't hurt the chrome. I imagine you got that, but figured I would throw that in. :D :D
 
Never thought of that. I just clamped a toe dolly in the vise and started taping at it until it was the size/shape I wanted. Your way would've probably been easier though.
More work. I think this rear fender is going to take more time than the rest of the bike. :roll: Oh well. It's on the easy side now.
Got the duck tail to sit where it looks good finally:
IMG_0113-1.jpg

Just had a bit of a gap in the front after that though....
Slice and dice time:
IMG_0118.jpg

Just need to fold the front edge,move the center brace forward a bit,fold & trim for the chaingaurd. But, it sits right and will ride the tire just fine after the little tweaks are done.
 
Fenders that don't quite make it to the axle have always bugged me for some reason, colors with that pink rear kind of reminds me of cotton candy too, sounds awesome for a girls bike 8) looking good sensor, you deserve a new castle !!!
 
Cotton candy....
images

I guess I'd better get back on this since she wants it by the end of April.
Since I didn't have spare materials to just make the section I needed to lengthen the fender, I cheated and used an old fender I had lying around. That worked okay but created a problem.
IMG_0153-2.jpg

As the guy I apprenticed under years ago would say "You need to be 5% smarted than what your working on"(although I think he just wanted me to stop asking stupid questions, now that I look back on it! :lol: ).
So I had to break out my favorite tool....
images

and figure it out.
IMG_0163.jpg

IMG_0160-2.jpg

IMG_0159-1.jpg

IMG_0165.jpg

I know the bead is a different size(I don't care for it, but she was okay with that, since it wont be seen.), but she didn't want to pay for steel/labor, and I couldn't just cut it down and not hem it since it wouldn't have any support at all. rough out stages are pretty much done now and its on to the finish work for the rear fender(cant you tell from the pics! It still needs some fine tuning! :lol: ) Then I get to do the front(Thank God that one fits and only needs indents!)fender. Then onto the gravy work. Making everything straight and paint! Pearly goodness coming soon!
homer-woo-hoo.jpg
 
Thanks for the kind words. (sorry about making more work for you Luke! But at least you'll get to build another bike for her so she'll be riding with you. Can't complain about that. :mrgreen: ) Yeah, I can't wait to see it in color also. Finally got around to getting the front hub and some spokes, so fairly soon I'll have the wheels painted and laced.
 
WHY DO YOU BUILD ME UP? BUTTERCUP? BABY, just to tear me down?
Sorry, I couldn't resist! I like cheese!


Got around to finishing the metal work and shot some primer finally! I'm going to try and get the wheels prepped and shot within the next 2 days(fingers crossed. The boys little league has me running him around almost every day.). Fenders ride great(they even both sit at 10 1/2" from ground-ducktail, front and rear) but I still need to work the bead width on the rear a hair more then its off to the block party! Aka, blowing it all apart and blocking everything down(the welds on the frame have been molded since that picture for those who actually read what I write :wink: ) to get ready for paint. I pulled a bonehead move and didn't think I was going to be doing scallops on the fenders so I need to mix some more white base and pearl mid coat but I should be able to get that done at lunch tomorrow. :oops:

Oh yeah....obligatory picture:
IMG_0064_zpsf5774bab.jpg
 
I don't know if these will show up, but, lets see if flickr will actually have decnt picture quality since photobucket messed everything up with the "updating"(I guess when you look at stuff on a phone and take pictures with a phone quality isn't important! :x ).

IMG_0083 by Plan9Customs, on Flickr

IMG_0082 by Plan9Customs, on Flickr

IMG_0088 by Plan9Customs, on Flickr

IMG_0085 by Plan9Customs, on Flickr
Success! See ya later photobucket!
Well, wheels as you can see, have been painted. I'd better get the rest ready soon!
 
Everything's tight and right.

IMG_0090 by Plan9Customs, on Flickr

IMG_0089 by Plan9Customs, on Flickr
Running out of excuses now. I guess it's time to get the rest prepped and painted. :lol:
I'm hoping she doesnt want the wheels striped since I did a practice run on one of mine and IT'S A HUGE PAIN!!! So, I'm guessing she will want them striped. :roll:
 
Thanks. She's still undecided on stripes so who knows. :roll:
I had THE BEST April fools joke played on me!

IMG_0110 by Plan9Customs, on Flickr

I ran out of surfacer, so I picked some up Sat. and spotted in all the glaze that I molded the tubing joints with, so I could do my final sanding, and get on with painting. Ha! it get's funny now! Primer was a bad batch!
So you may have noticed the painted and laced wheels in the background and the frame is raw. I had to strip the whole thing since when I sanded and spotted everything in for final sanding I did 1 coat over the whole thing to make sure it was perfect. The paint shop got an ear full about that yesterday! They know it wasn't user error(I've been dealing with them for 15+ years and almost all the shops I've worked at use the same surfacer),I got my $ back and labor costs but now I'm 3 days behind. :x All this after I promised she would get a finished bike by mid April. Best April fools I've had played on me yet! :roll:
Oh well. Come H**l or high water it'll be finished when I told her.
 
Almost.

IMG_0120 by Plan9Customs, on Flickr

IMG_0121 by Plan9Customs, on Flickr

IMG_0119 by Plan9Customs, on Flickr

IMG_0118 by Plan9Customs, on Flickr

IMG_0141 by Plan9Customs, on Flickr

IMG_0142 by Plan9Customs, on Flickr

IMG_0143 by Plan9Customs, on Flickr

IMG_0145 by Plan9Customs, on Flickr
Since you guys like pictures.


Got everything that is a 3 stage done and cleared(Sorry. Didn't take any pics of the frame, since those were on my lunch, and I had to do the frame after I got home that night). Now I get to let it sit a day more, so I can color sand and mask for the blue. Then onto pinstriping, assembly, and delivery.
 
It's gone but I'll drag this out for a little while longer. :p
Time for the blue flake. Just need to make sure everything is positioned correctly and centered:
IMG_0173.jpg

Well, that was easy(AND I didn't have to spend $40 + for pre-made ones!). Guess I better post some with color.
IMG_0175.jpg

IMG_0180-1.jpg

IMG_0178-1.jpg

Watching paint dry sure is boring! Oh well, if was at least faster than when I did the 3 stage white pearl.
Well, flash time is over. Time for clear!
IMG_0185.jpg

Looks decent enough....Hows the D.O.I.?
IMG_0183-1.jpg

:mrgreen:
 

Latest posts

Back
Top