1946 Hawthorne Preservation Project FINISHED

Rat Rod Bikes Bicycle Forum

Help Support Rat Rod Bikes Bicycle Forum:

This site may earn a commission from merchant affiliate links, including eBay, Amazon, and others.
Joined
May 11, 2012
Messages
414
Reaction score
59
Location
Bristol, Pennsylvania
Rating - 100%
15   0   0
Bought this one off of Craigslist for $35! They guy was awesome, we talked for at least 30 minutes. So on and so forth, with a lot of leverage and PB Blaster, I tore down the bike. The bike has a nice rattiness to it, but still has most of the original paint! I plan on using a fine steel wool pad and getting some of the loose rust and paint off, then painting everything with a nice gloss clear. The original paint will really pop with the clear too! It showed real nicely with the excess PB spray dripping on it. Anyways let me get to the pictures.
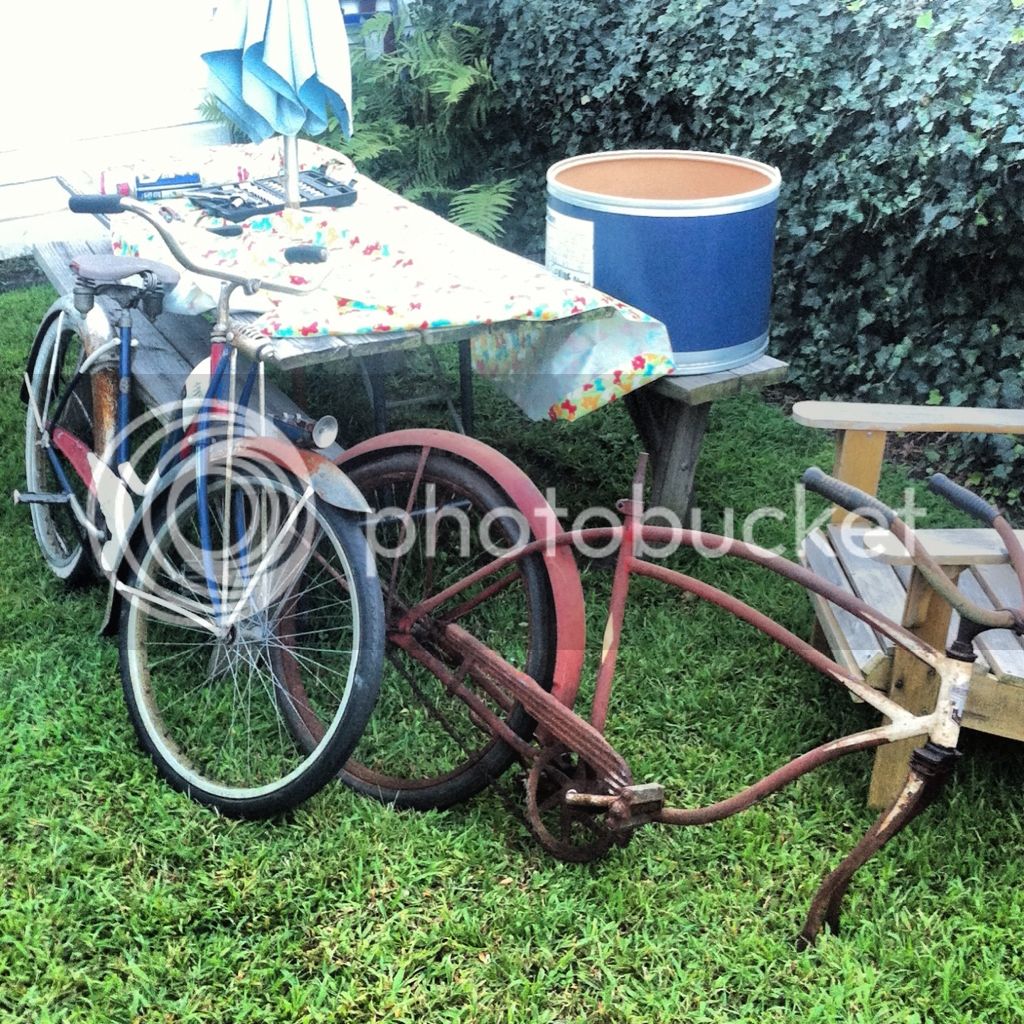
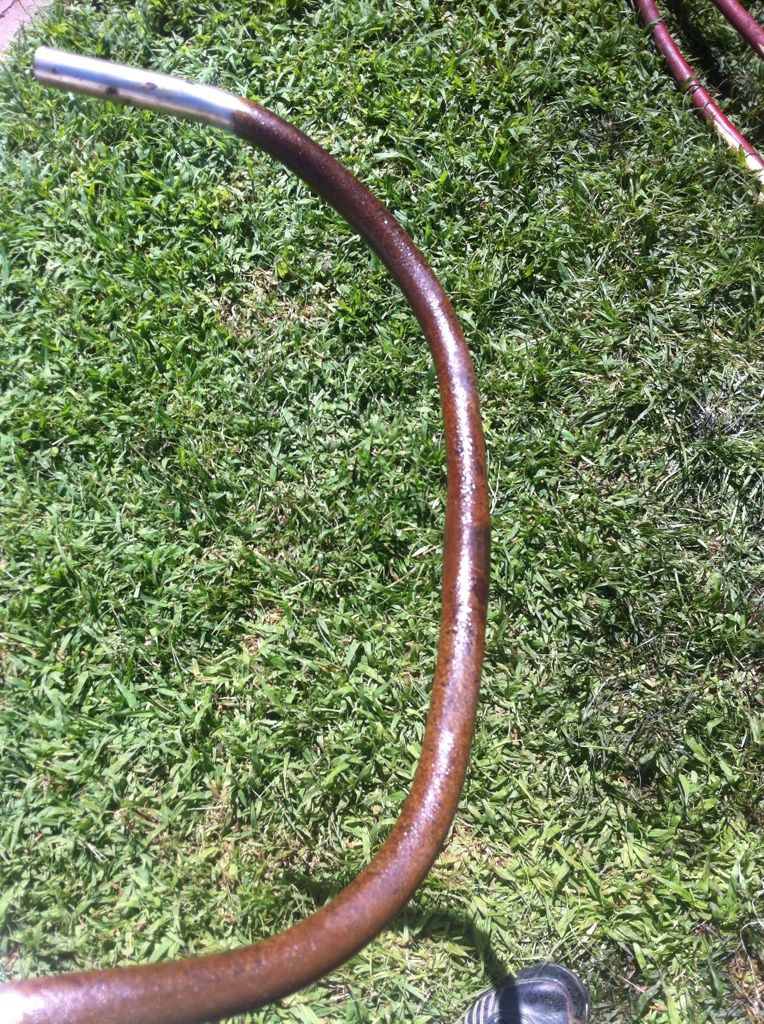
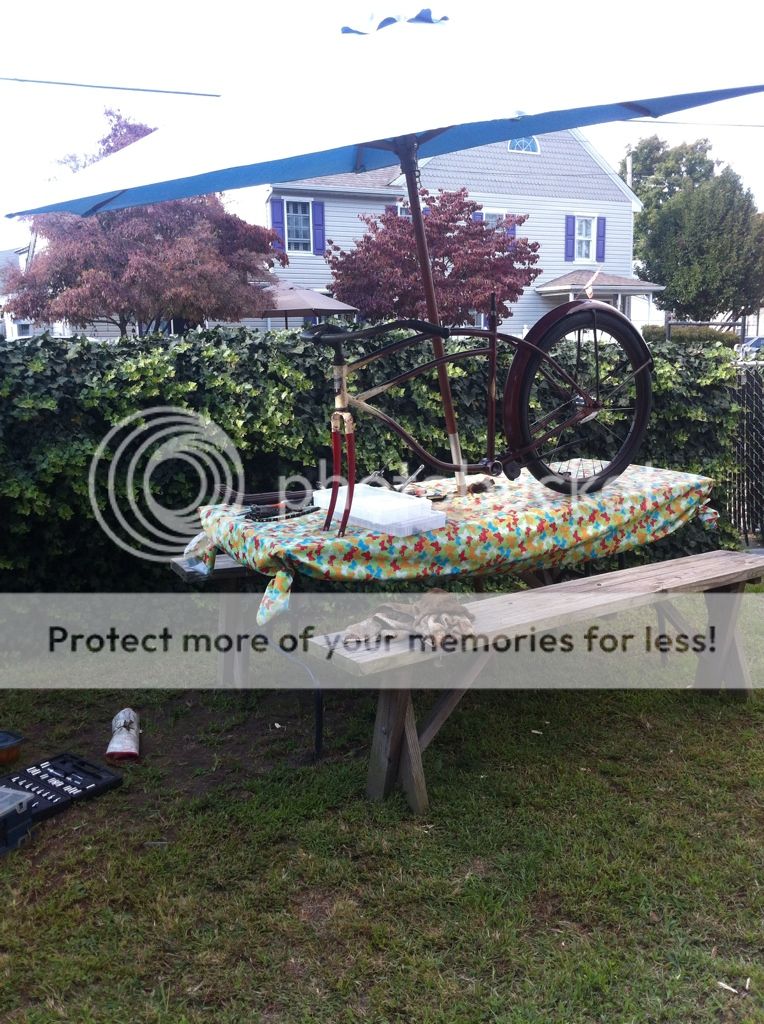
This is what I picked up Saturday
5D71431F-5F4D-4C5A-8BB3-A8EE0270C817-6426-0000031DE88865F1_zpsefcb10b9.jpg

E1185B7E-F932-4977-9D21-C3F551C5EA01-6426-0000031DEF2EE586_zpsa26ea8c9.jpg


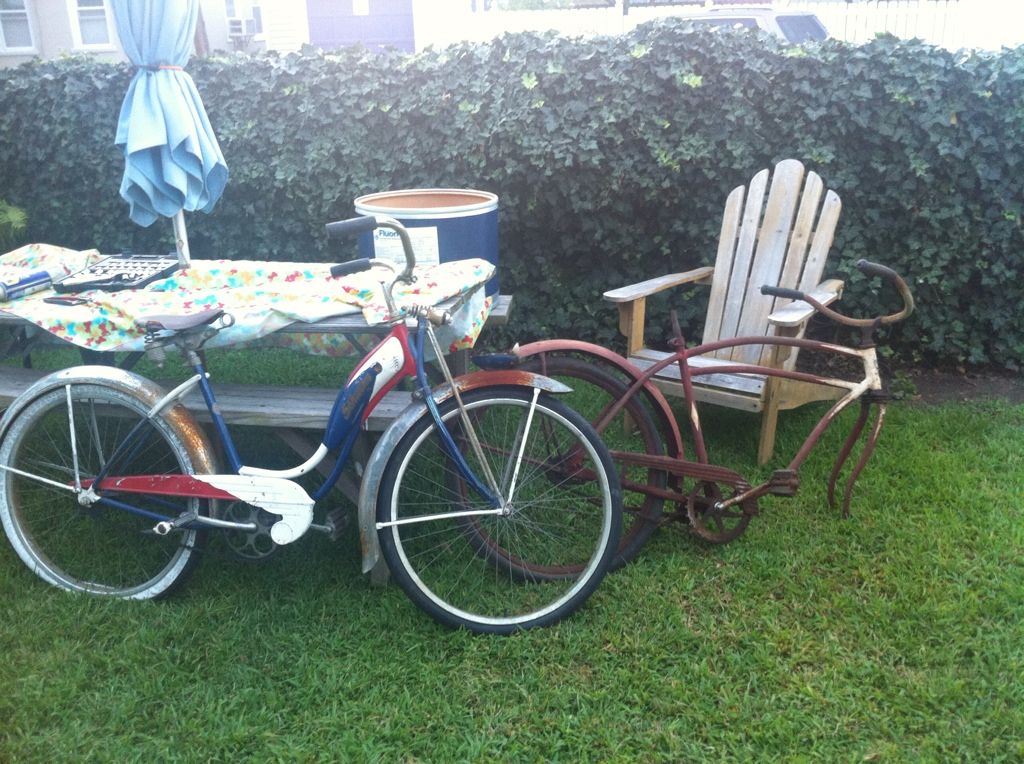
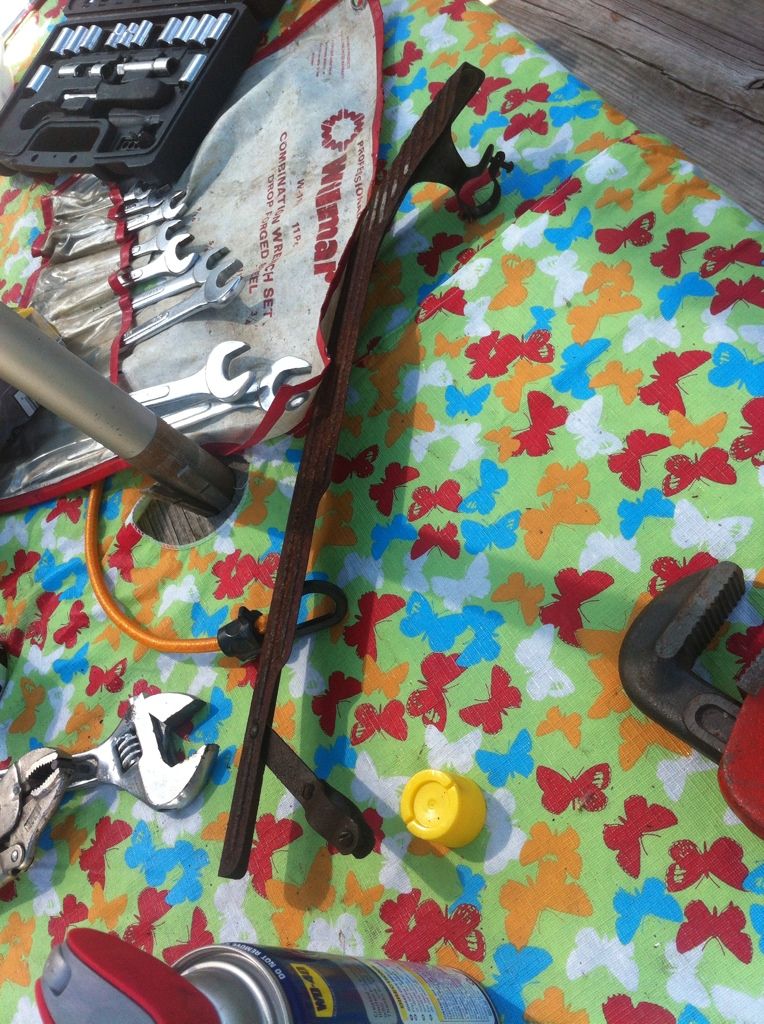
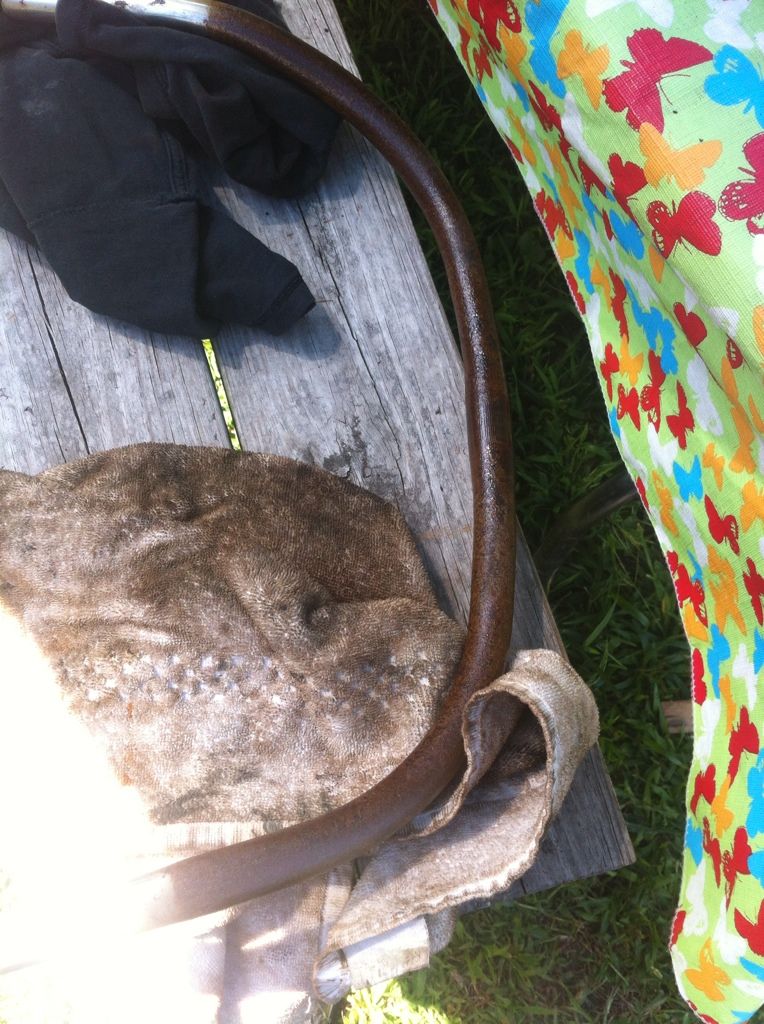
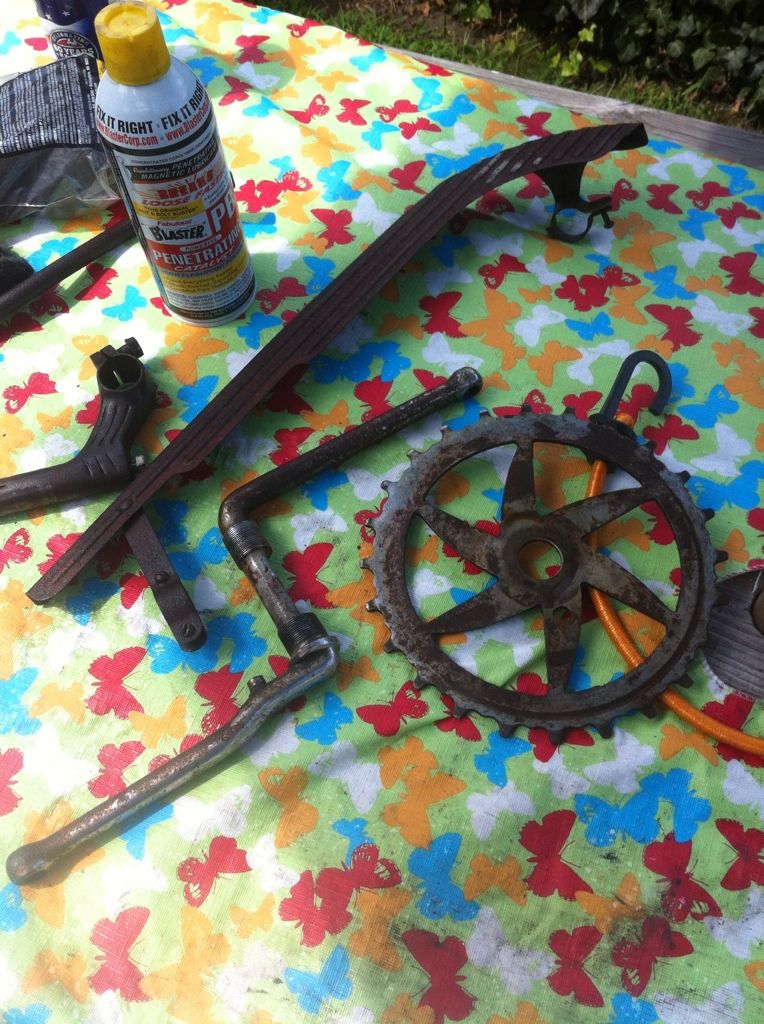
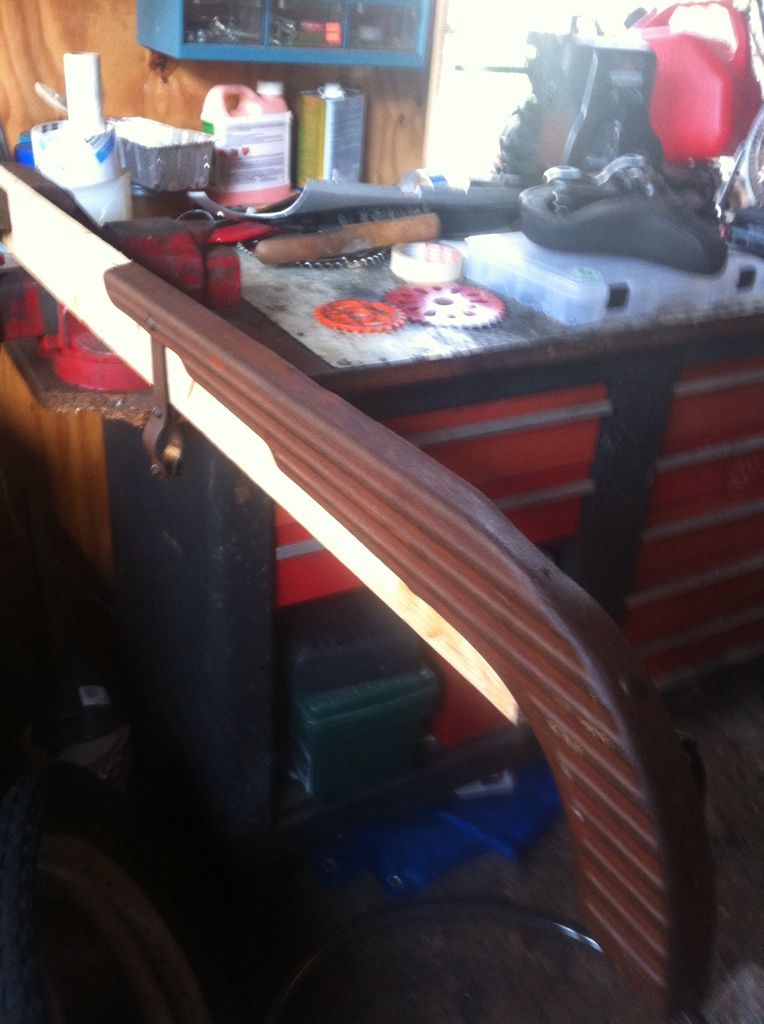
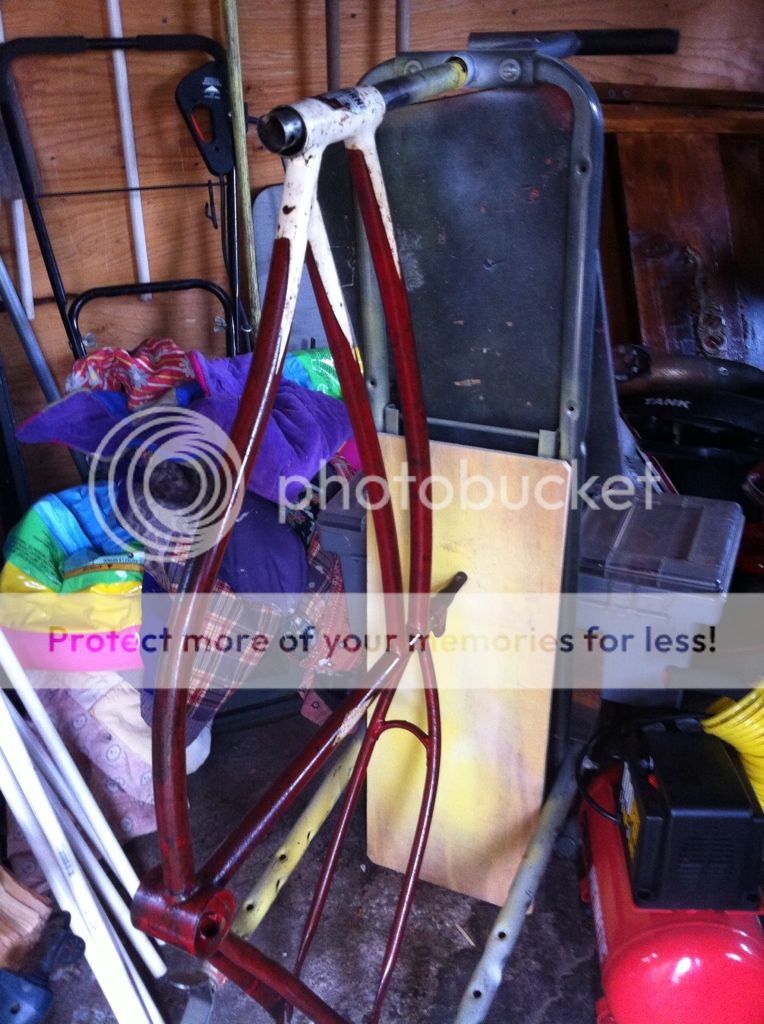
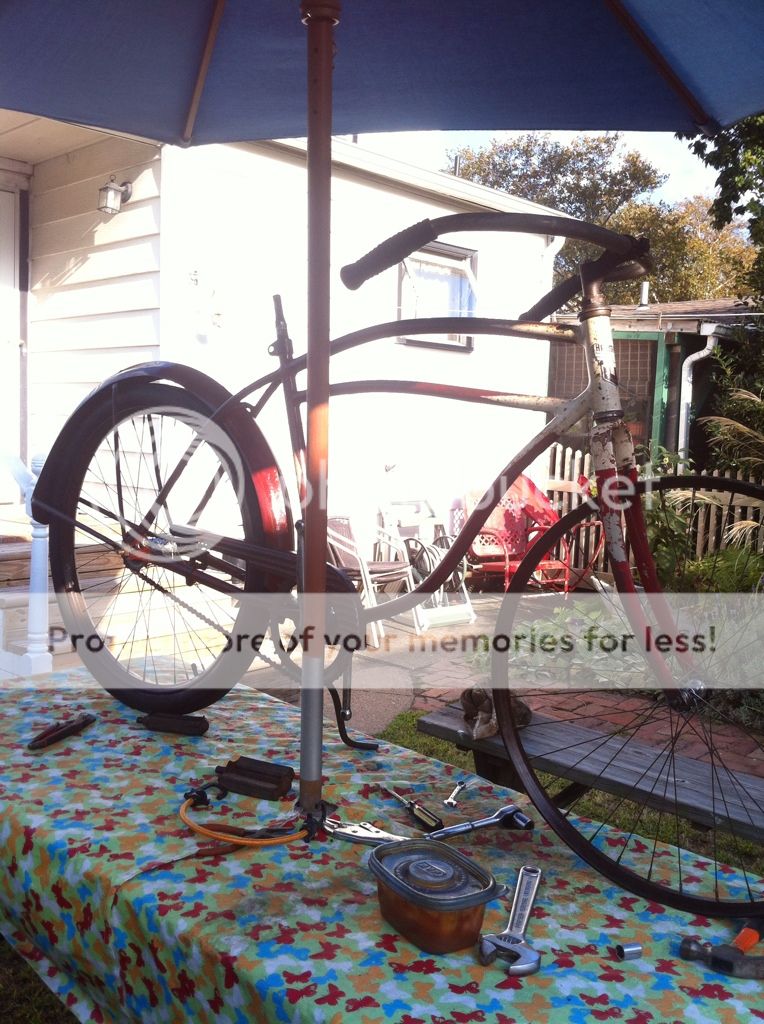
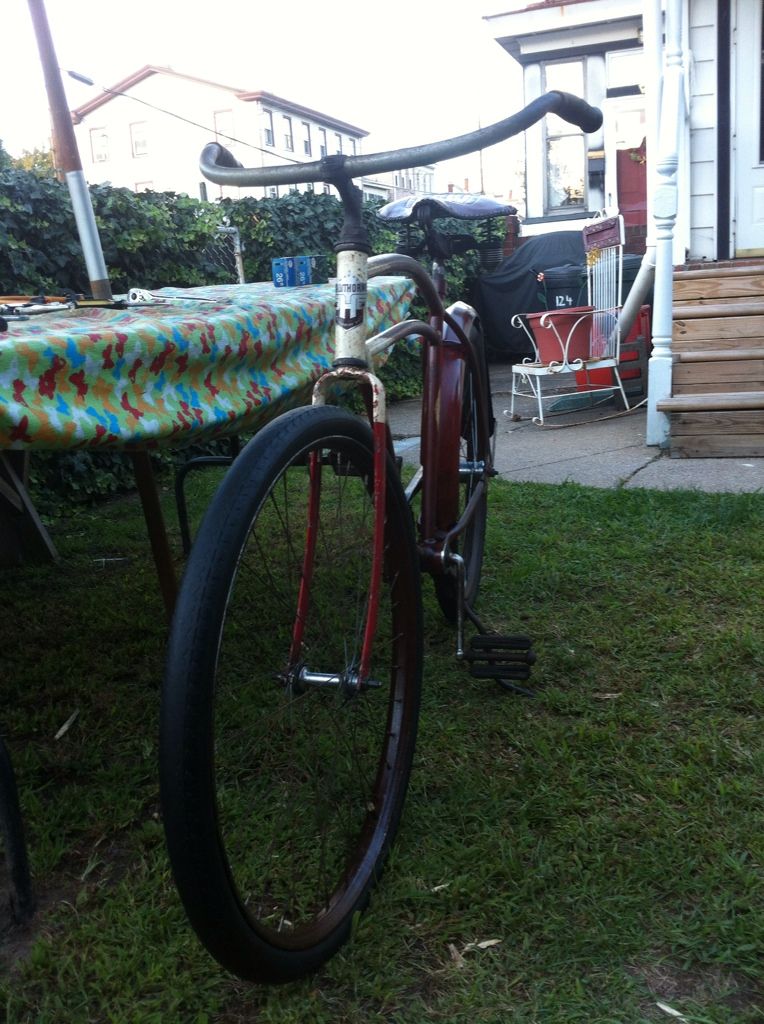
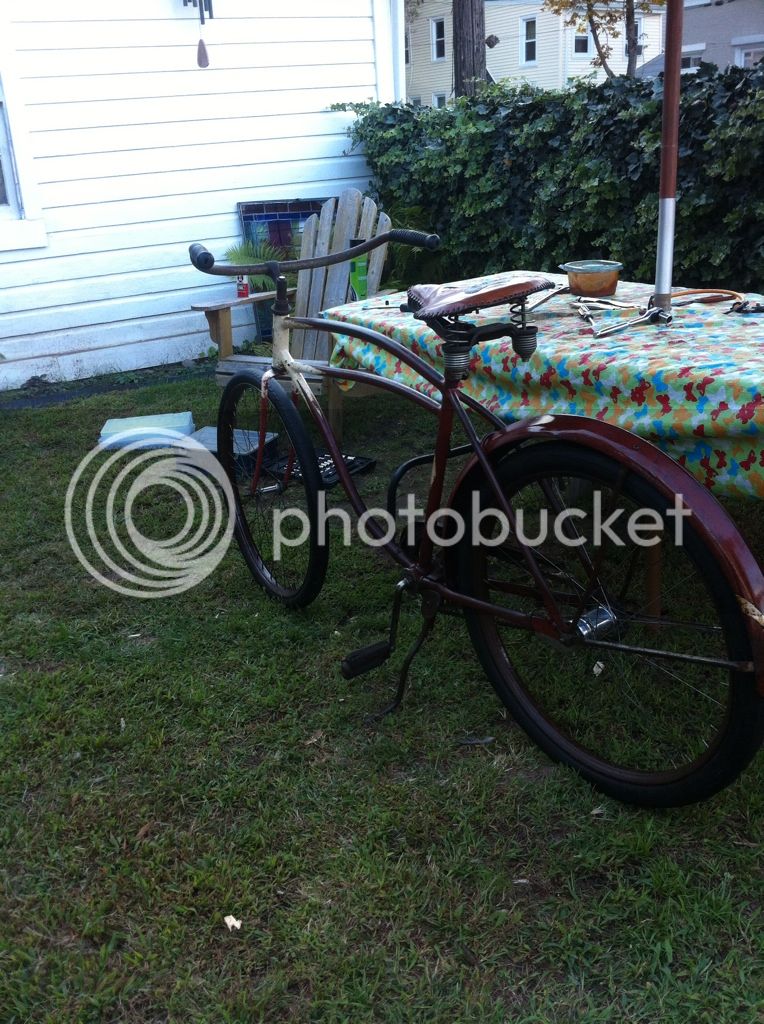
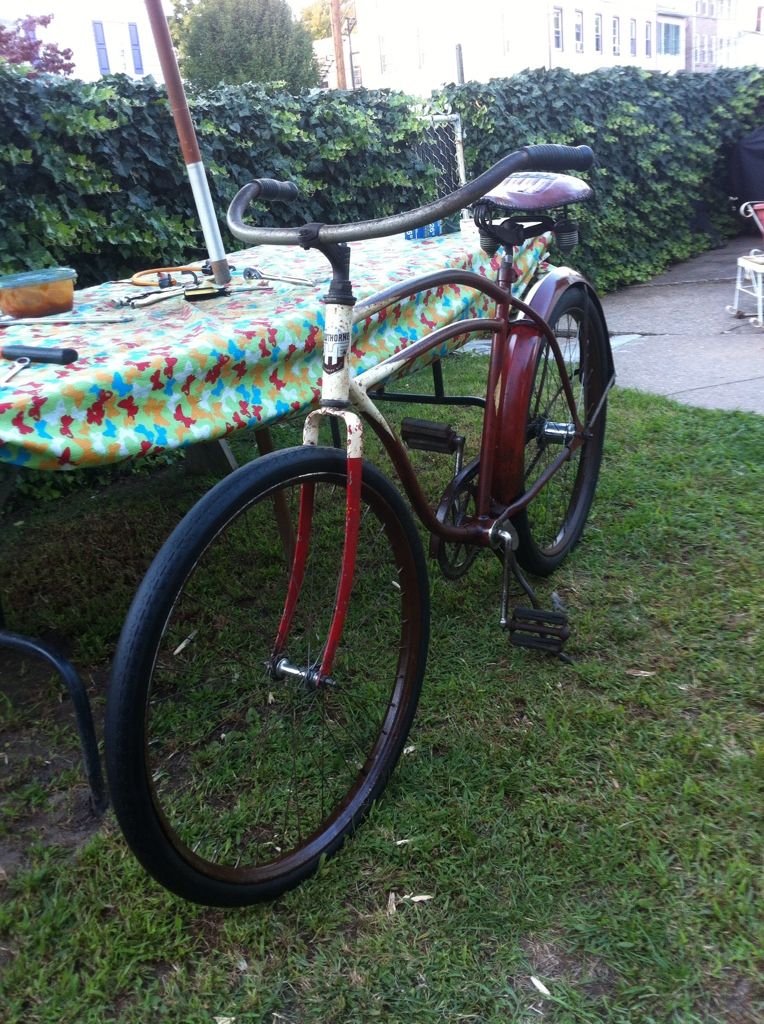
Tore it down a little
4B59BA4A-6983-4635-AD8B-4813F0F638F2-6426-0000031E11F1CB4A_zps1920b252.jpg

ABACBADF-BF1B-4137-9126-ACC5F6B5E7CE-6426-0000031E16662B40_zpsca523c06.jpg

Sorry for the lack of tear down pics I really got into it.
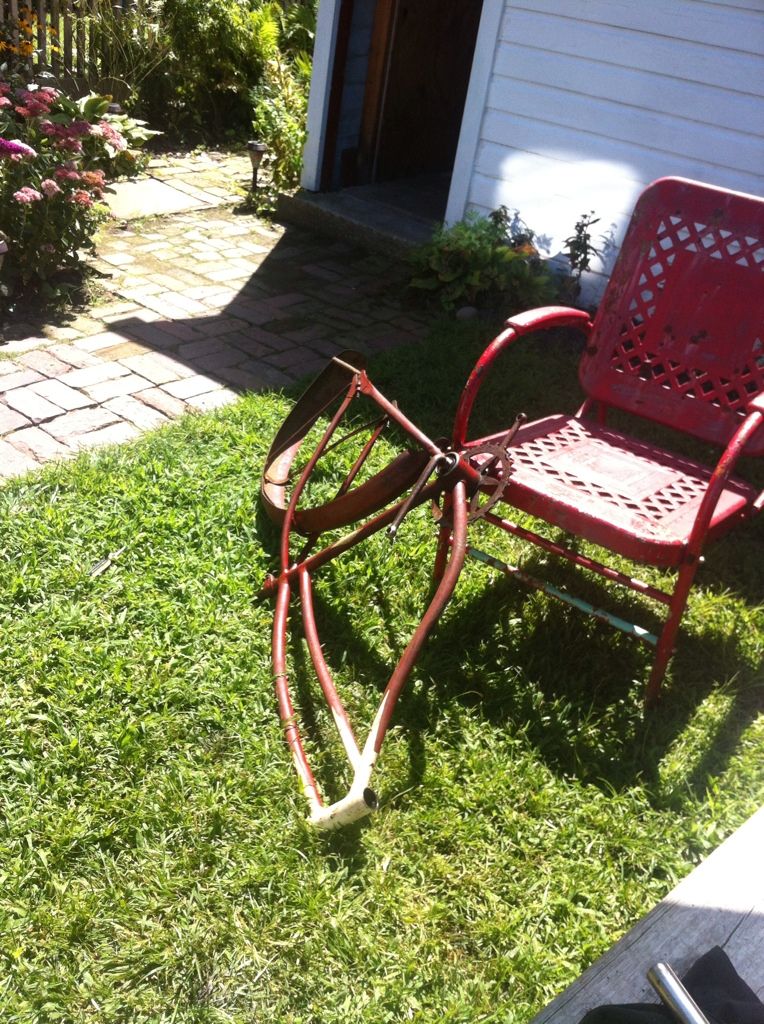
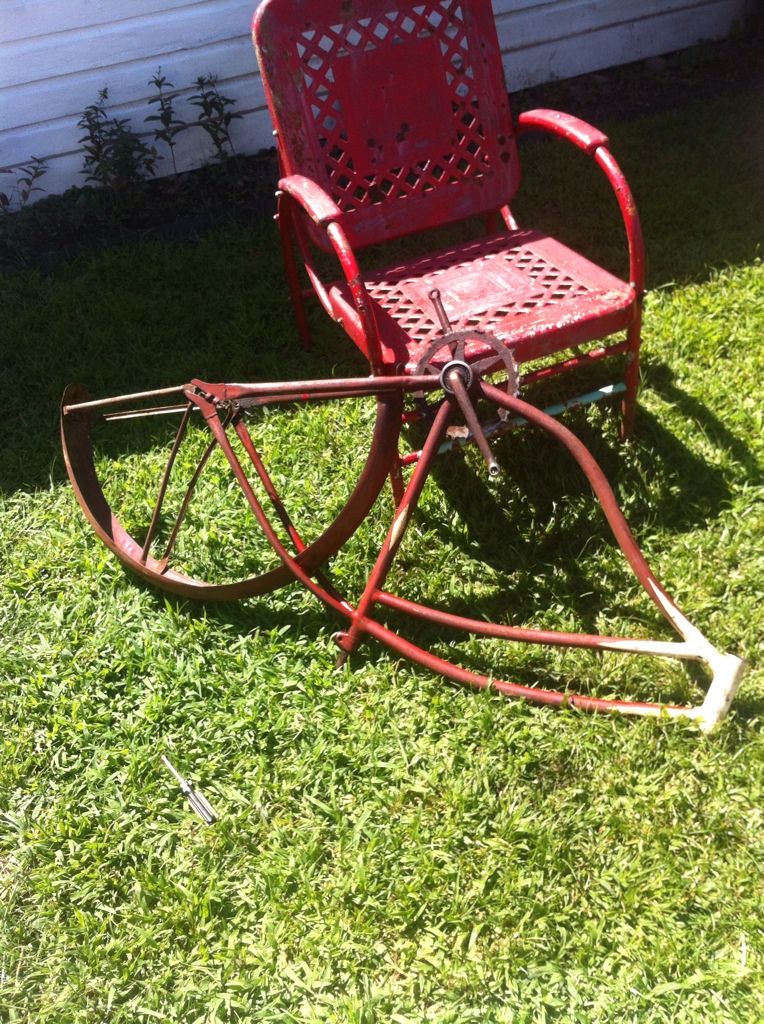
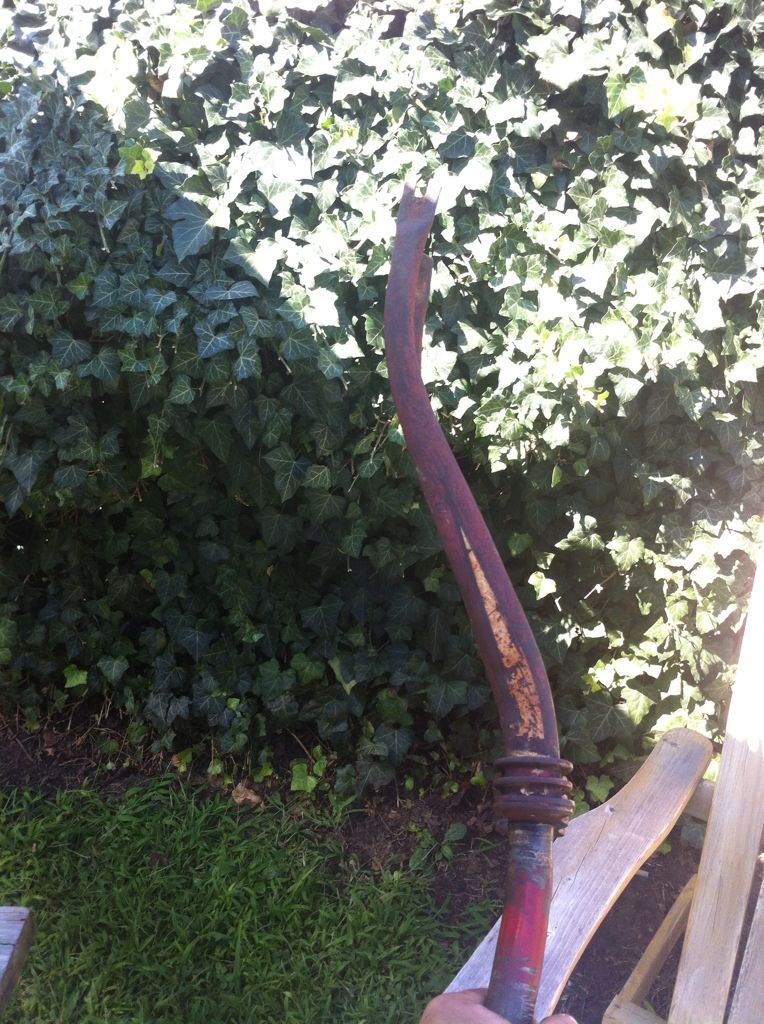
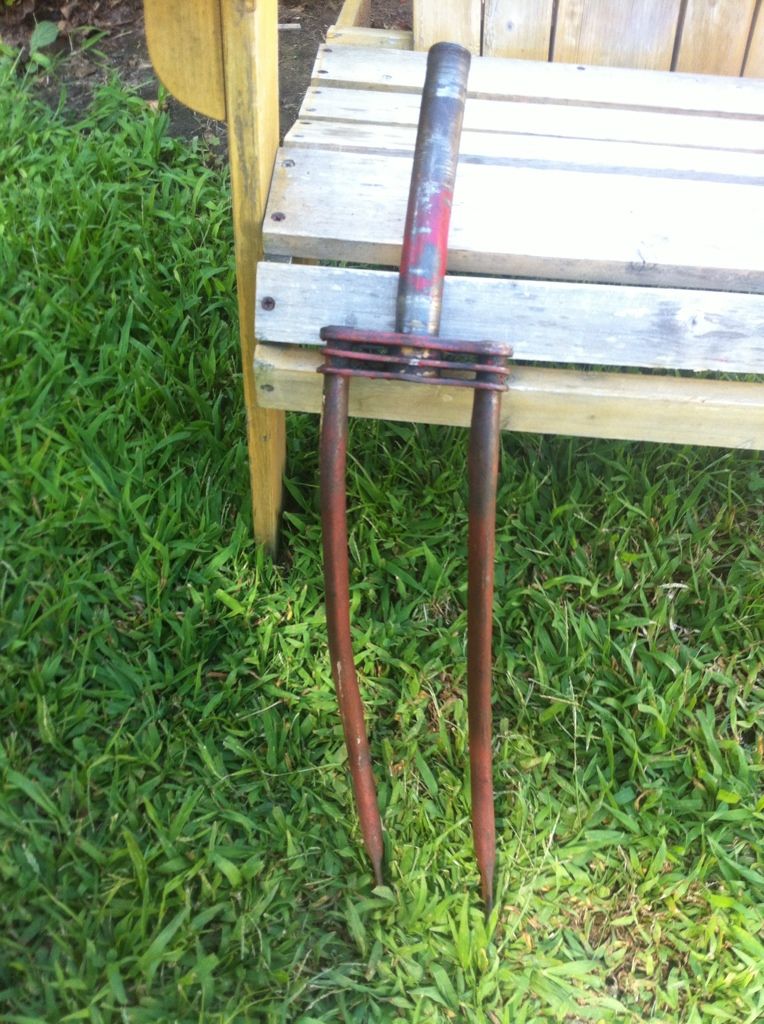
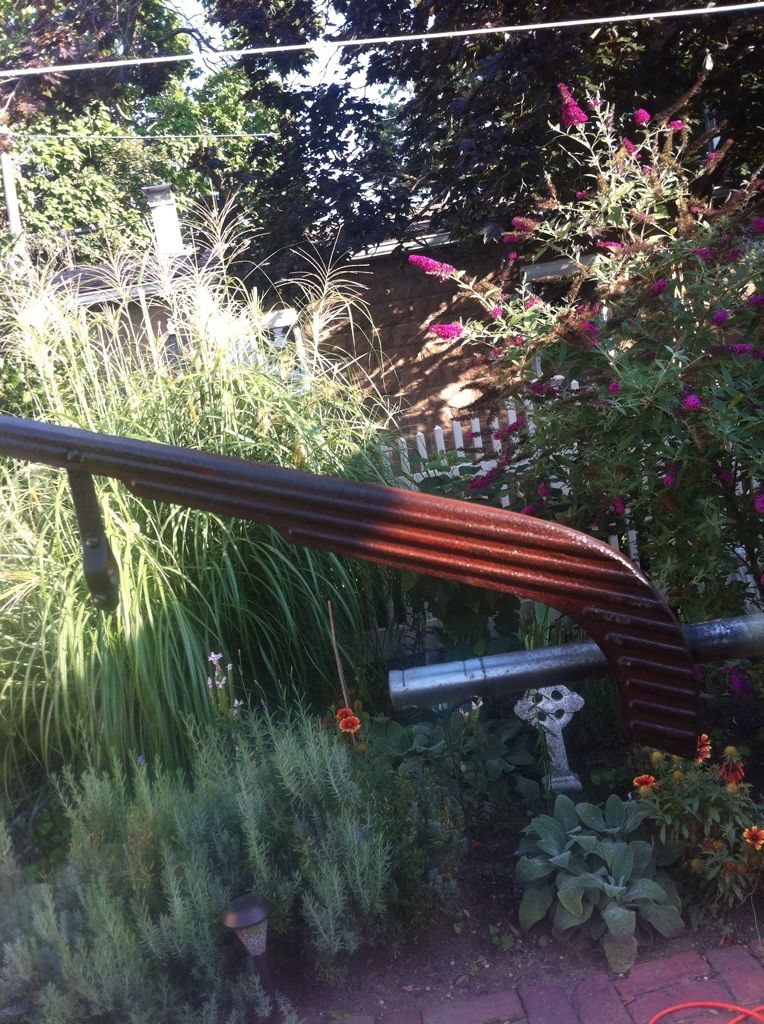
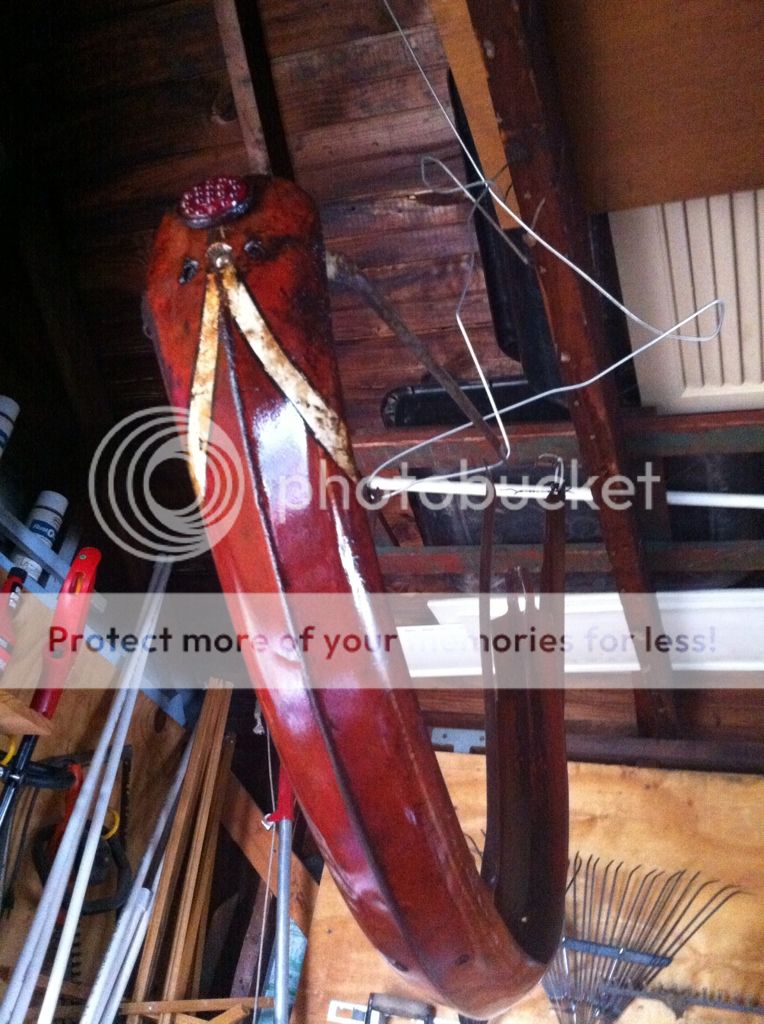
48C561EB-DD6A-4B11-A15C-137A8354EFD6-6426-0000031E0D3CF329_zps4aabc0a9.jpg

0432406D-514E-4655-BBBD-C96D5BC4688D-6426-0000031E09466726_zps10d70437.jpg

BENT FORK
B39CB01C-8ABD-4CE3-A0EA-9D858376310B-6426-0000031E00DAD6B7_zpscc522779.jpg

4BBA994B-CC42-4A31-932C-DE1618327C5F-6426-0000031DFC89E875_zps34843160.jpg

F7257BBD-5E63-4404-AD8E-8219D5FEB151-6426-0000031DF6E557F7_zps22ebaed9.jpg

01D24FA9-A11C-4A08-A6E4-629ADC1CC82A-6426-0000031DF32D155D_zps45d69bf1.jpg

I got down to just a frame but I ran out of time to take pictures because I had a prior engagement....Trenton Thunder baseball game! Won on a walk-off single, 3-2! Great game

More pics to come tomorrow
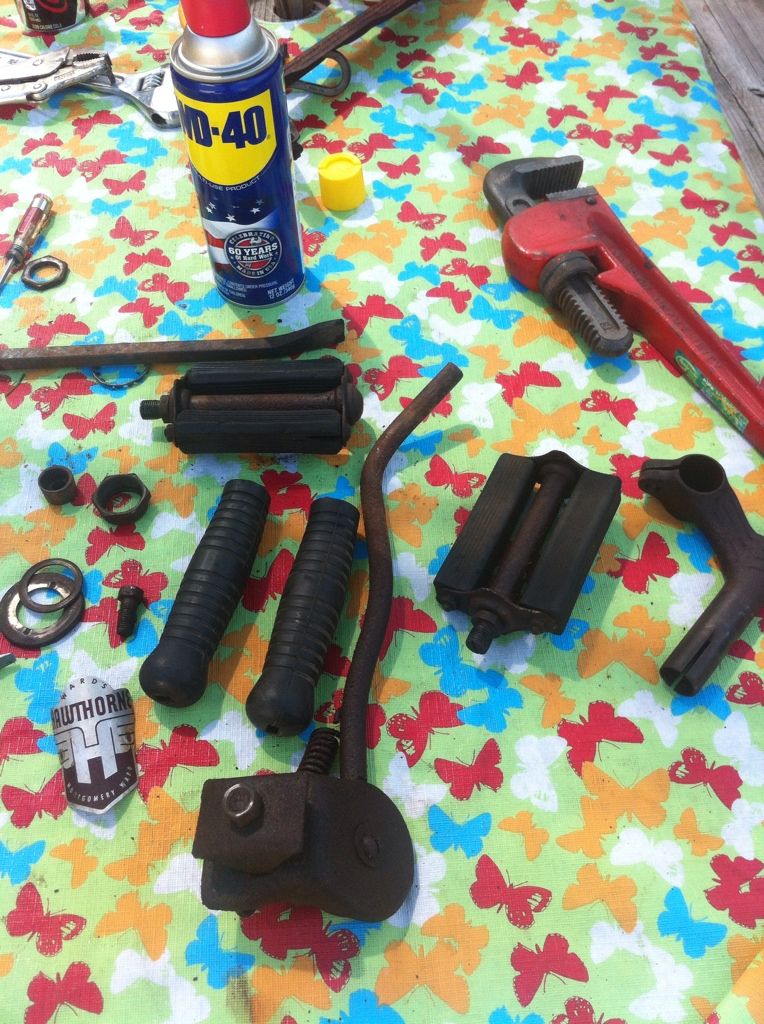
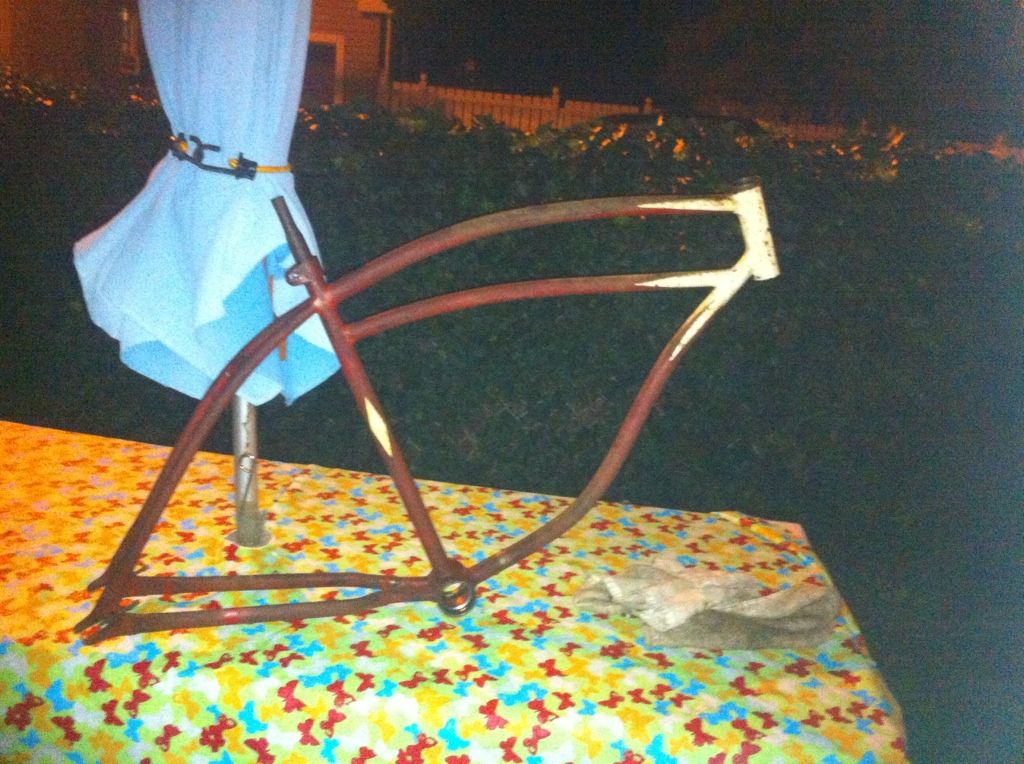
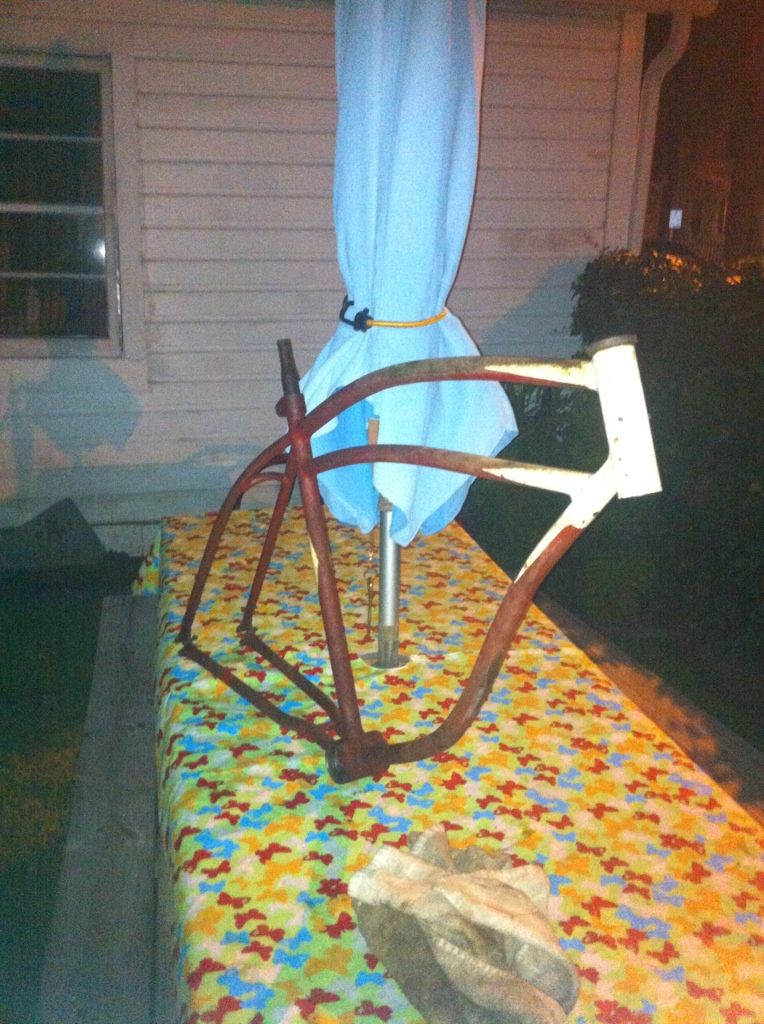
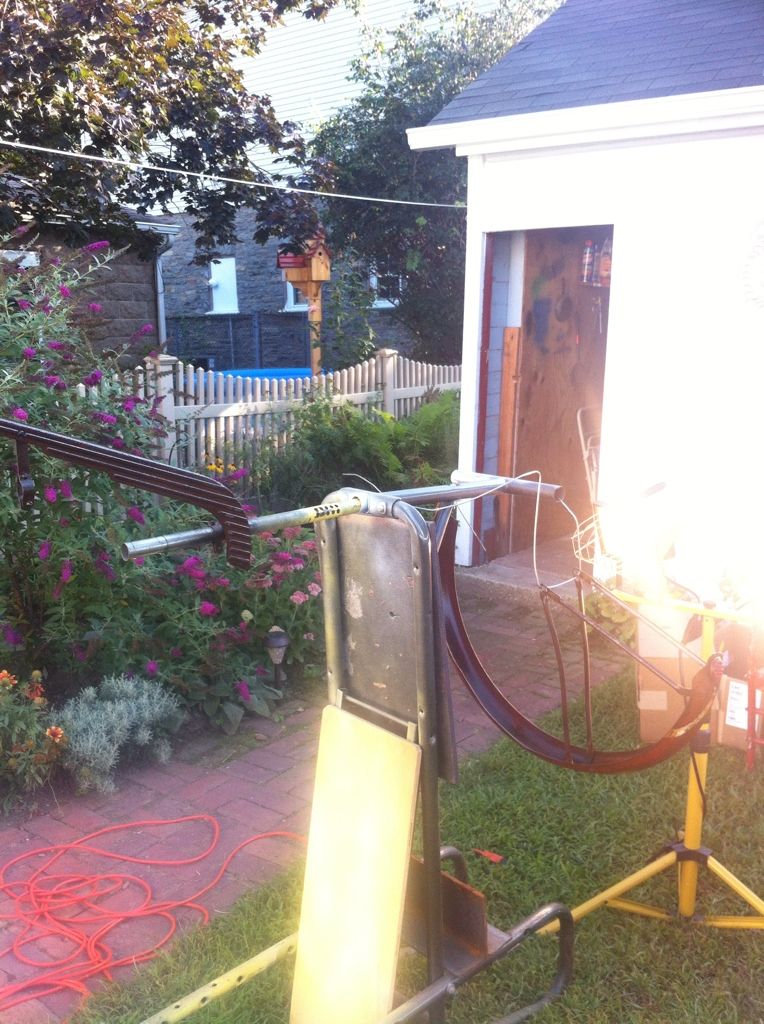
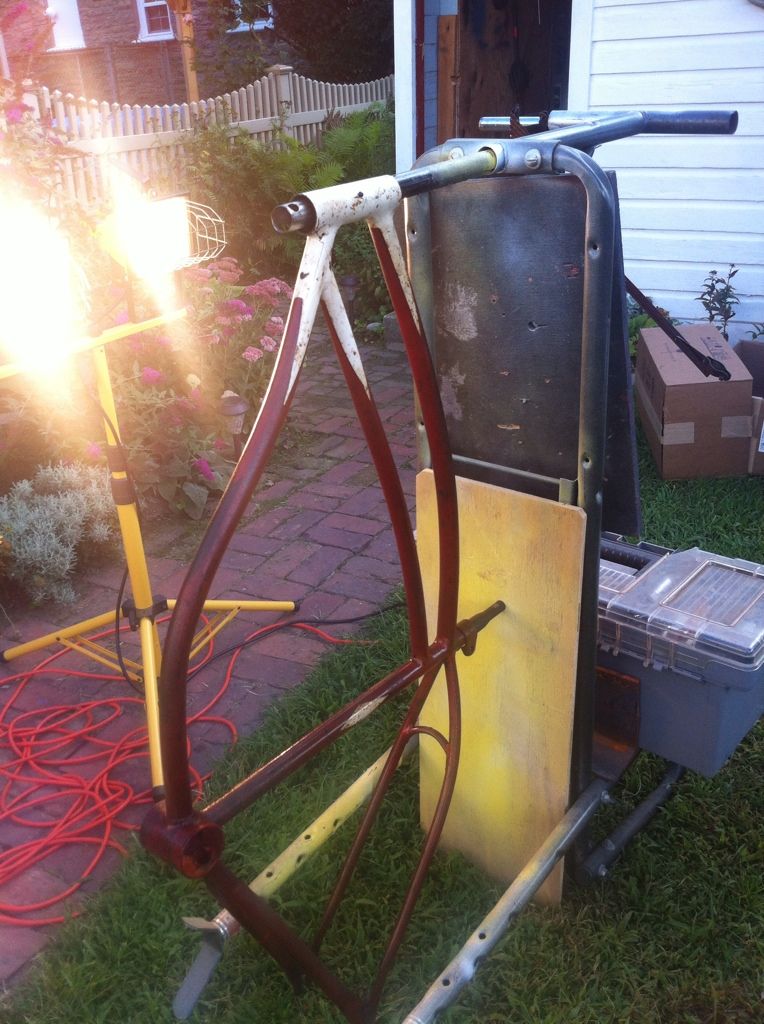
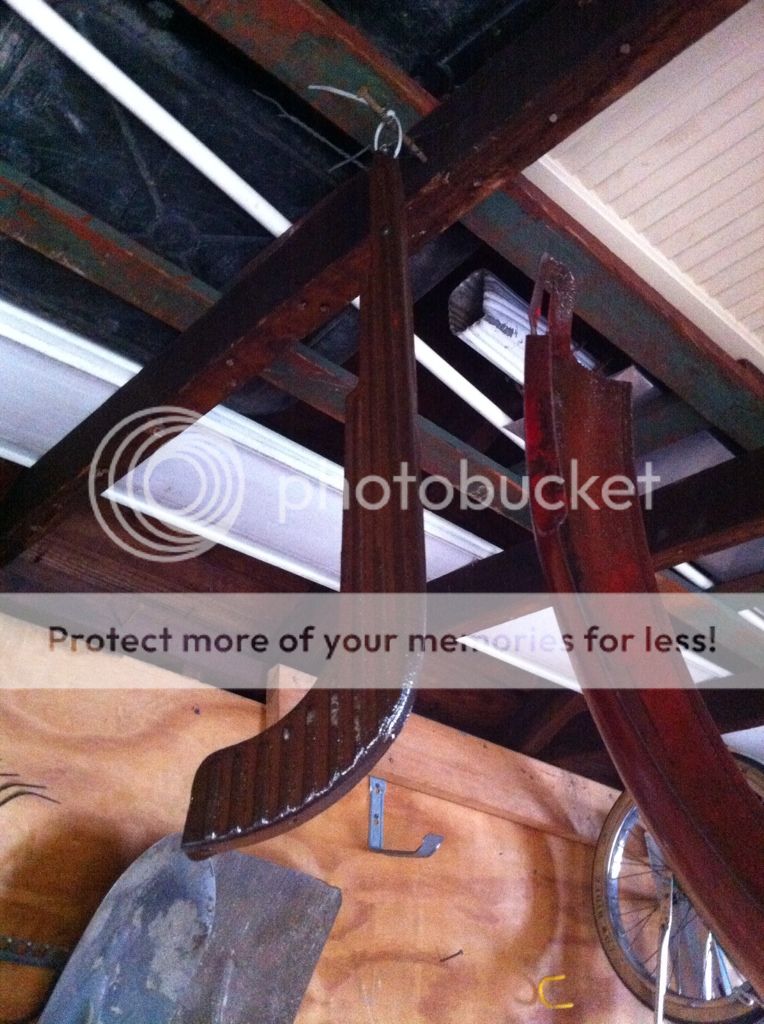
Alright I couldn't resist, had to take some more pics, here's the frame all torn down
8CBF0F7C-CC89-4054-A3E2-F44777CE6291-6426-00000328EE807884_zps996f1822.jpg

EB2A1330-64B8-48D2-B201-457929DFC925-6426-00000328F53BE7AB_zpsdd36ebf6.jpg

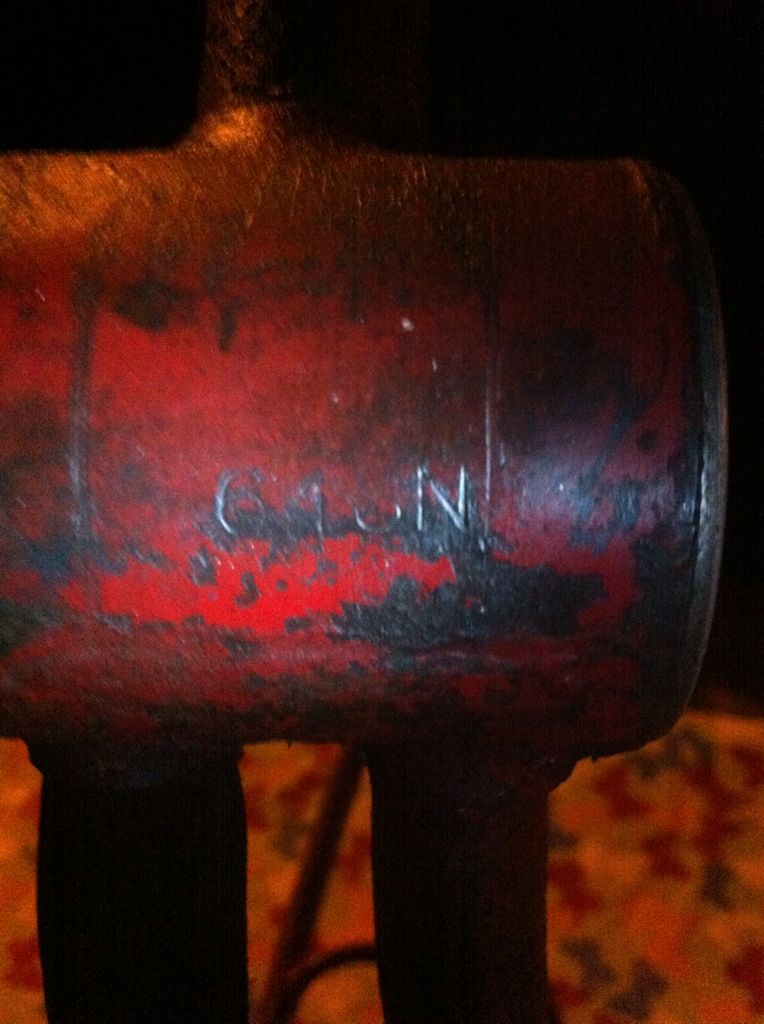
Serial number is 64SN I believe
46B741AA-3A5C-40C8-BC3A-49753B019823-6426-00000328F9C786C3_zpsb3c467bd.jpg

AEF8A125-79FC-4E75-8D16-173DE22B4505-6426-00000328FCAE70AD_zps5979e52e.jpg


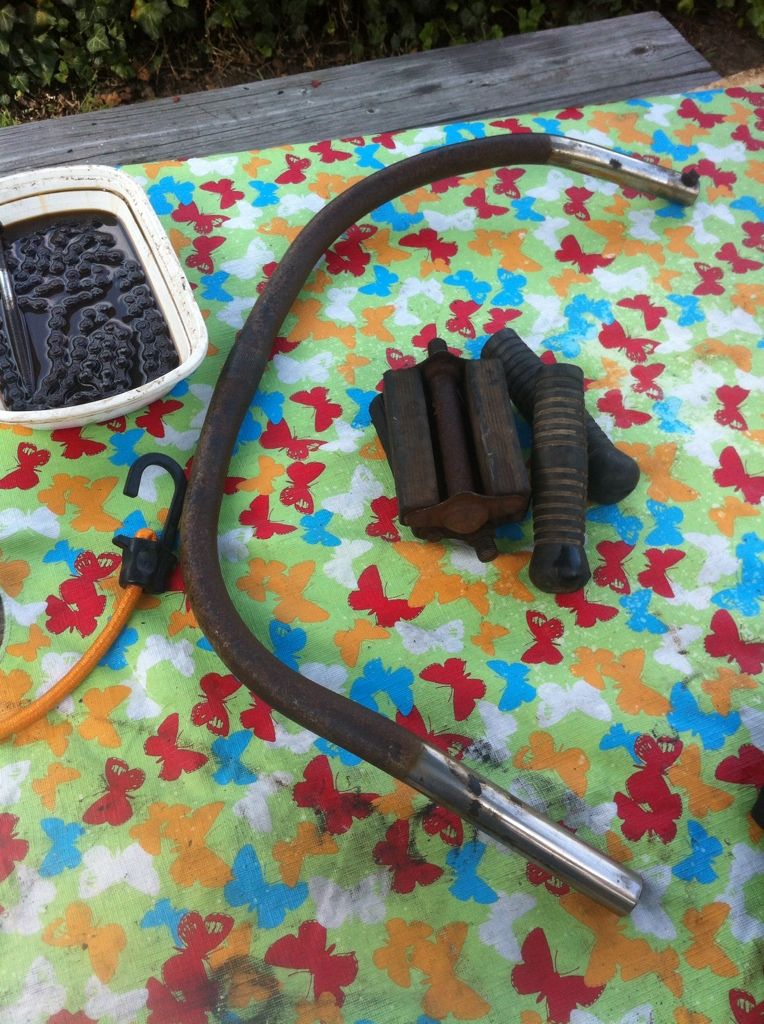
well here's today's progress:
greased up all the rusted parts with PB and WD-40 then wire brushed, sanded, and steel wooled them.


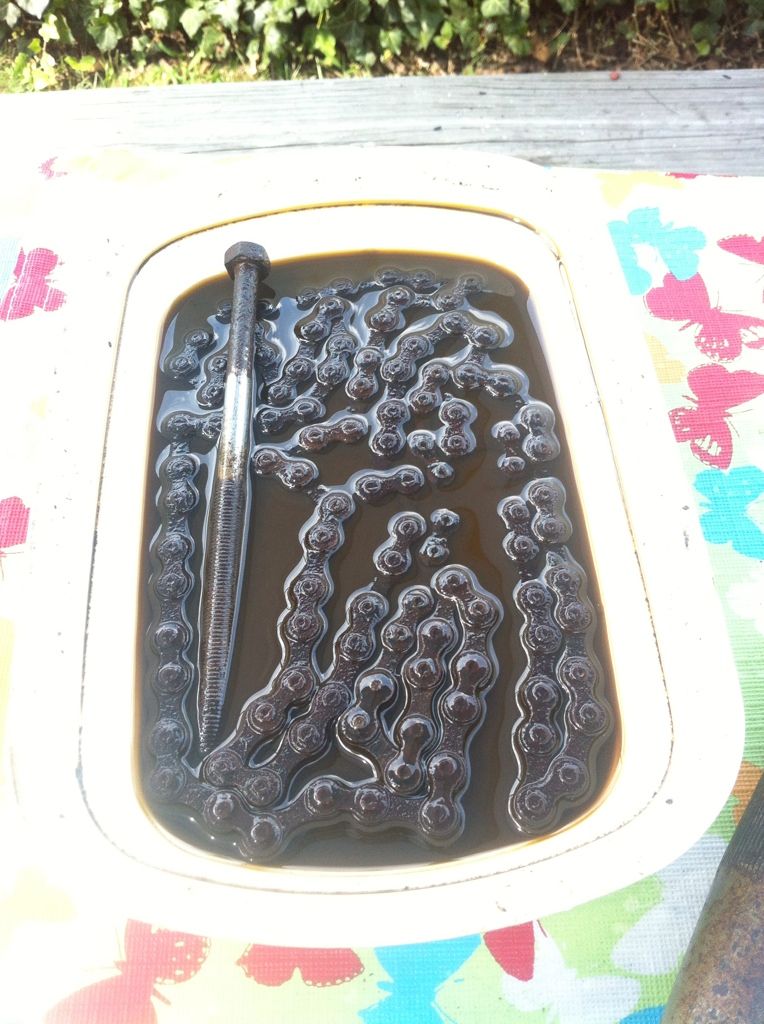
Have the chain soaking in something special :lol:


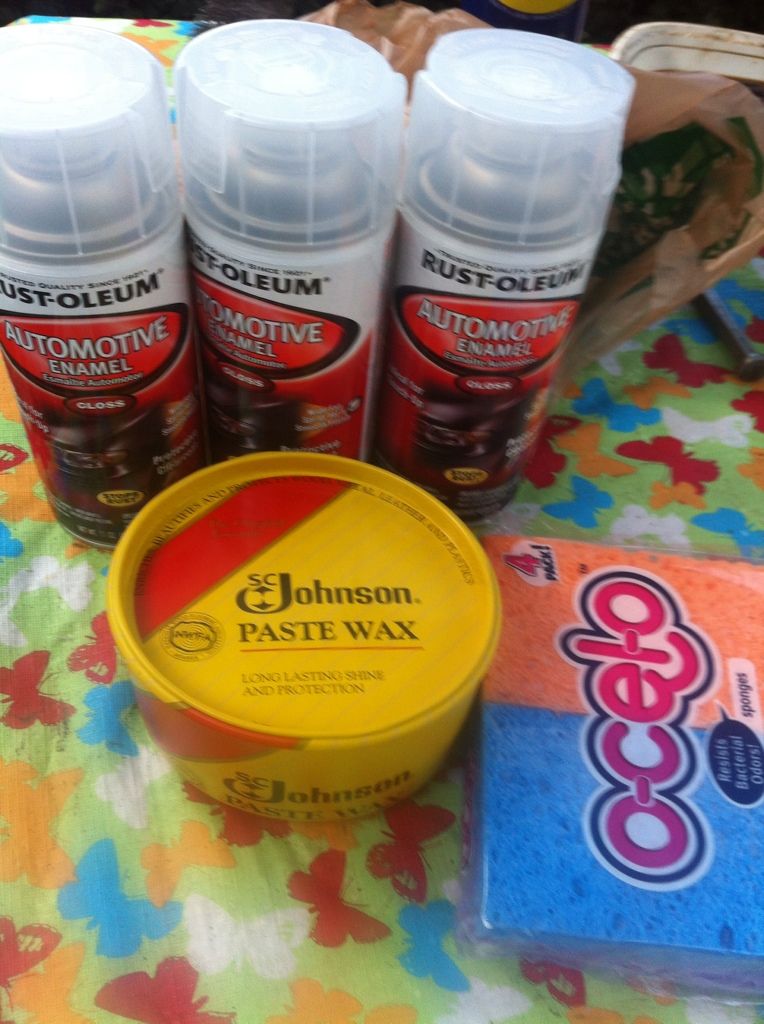
I'M READY TO PAINT AND WAX UP THIS BAD BOY!

cleaned everything up and started with the fender...wanted to see how the paint would go on and look before I commited to the frame...
after 1 coat


after about 6


Time to hammer the chainguard straight (piece of wood in a vise really works well!)


Figured I'd clear it too since it's badly pitted. upon wire brushing off rust, it looks as if it was painted red? I don't know

Like my home made paint rack? it's an old weight bench I outgrew


Time to prep and clean the frame: I stumbled across more serial numbers? they're on the seat tube. 2254 I have no clue what they mean


One coat done!


I did about 4 more good coats and hung it up to dry for the night.


MORE PICS OF PAINT TOMORROW! Just need a few parts and I'll be ready to put together!
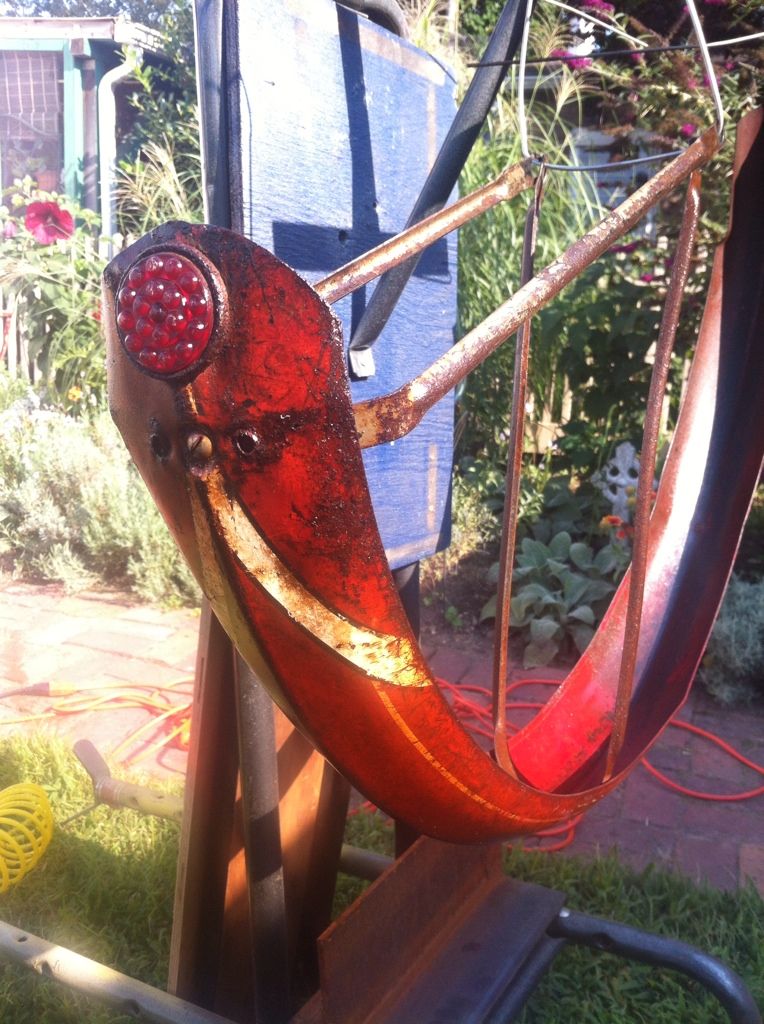
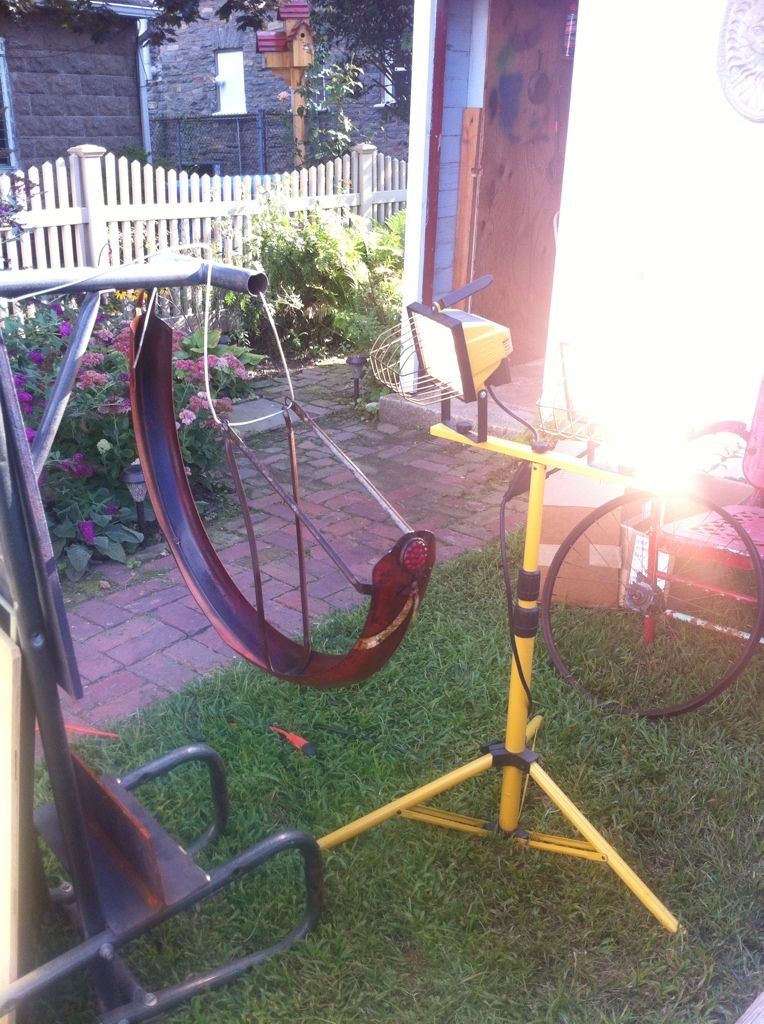
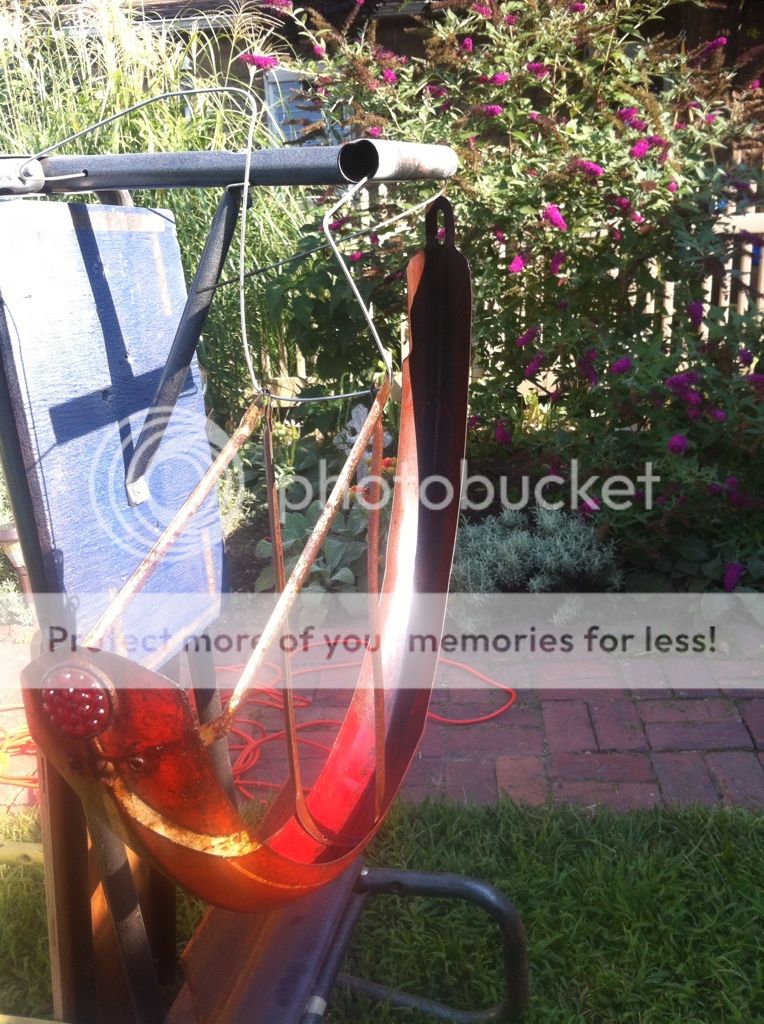
Paint dried nicely
9803B948-09A9-4039-A7F6-EA7EF59E66AE-12370-000007B12F3331E1_zpsea69a5af.jpg

489BE3F4-CF9C-4D5D-B1DB-33F73417A7FF-12370-000007B12980B7D9_zpsb9fd2752.jpg

CC9BD94E-0810-4D61-8325-C5A90696A223-12370-000007B1351DA060_zps0ad1c69a.jpg


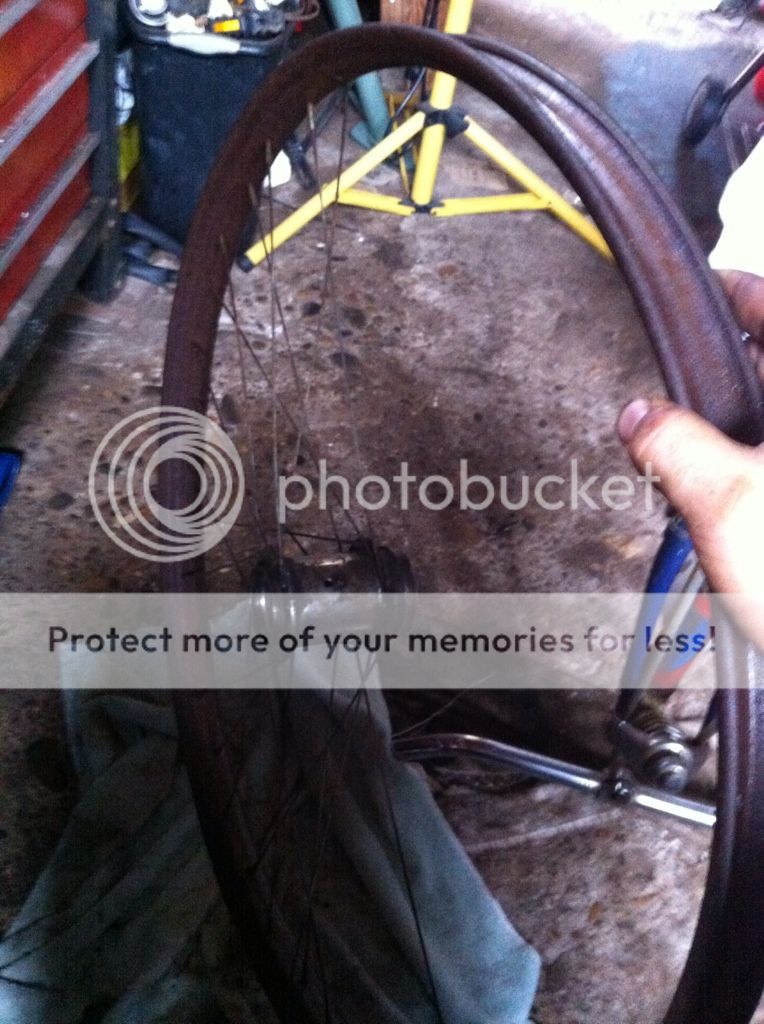
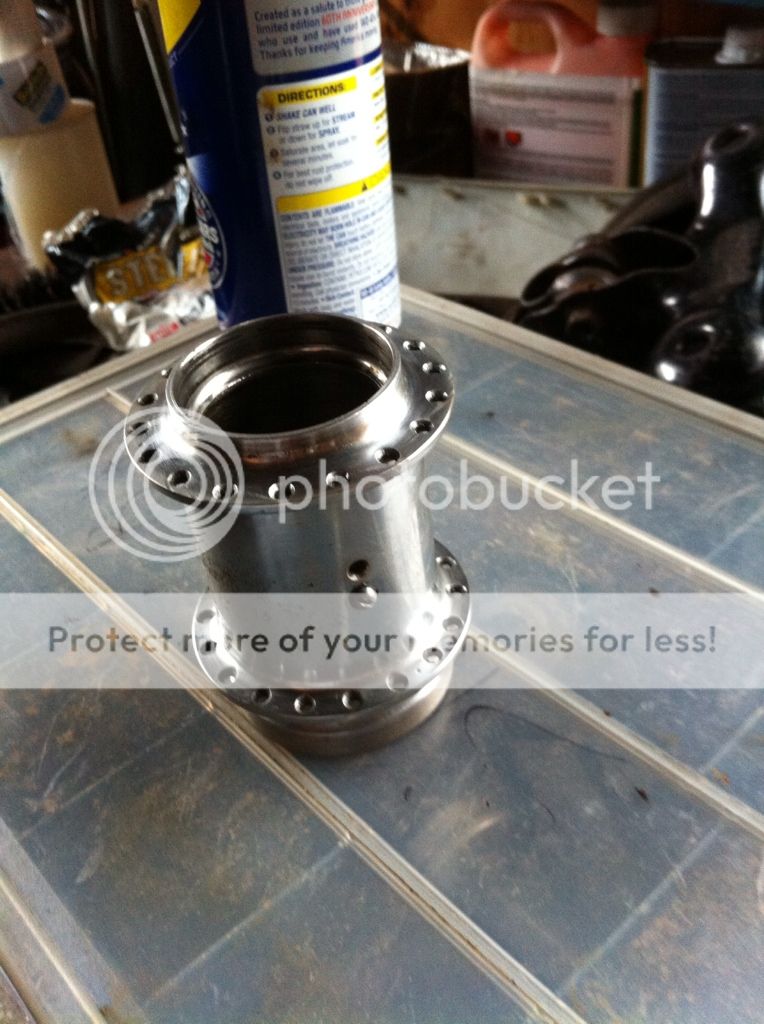
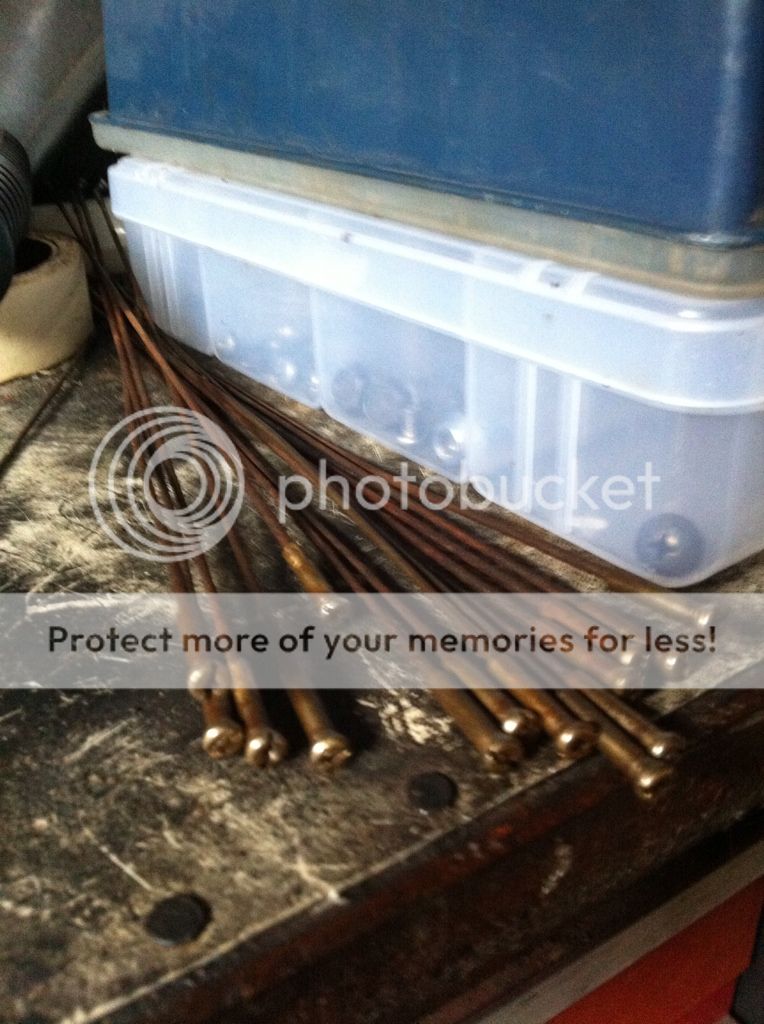
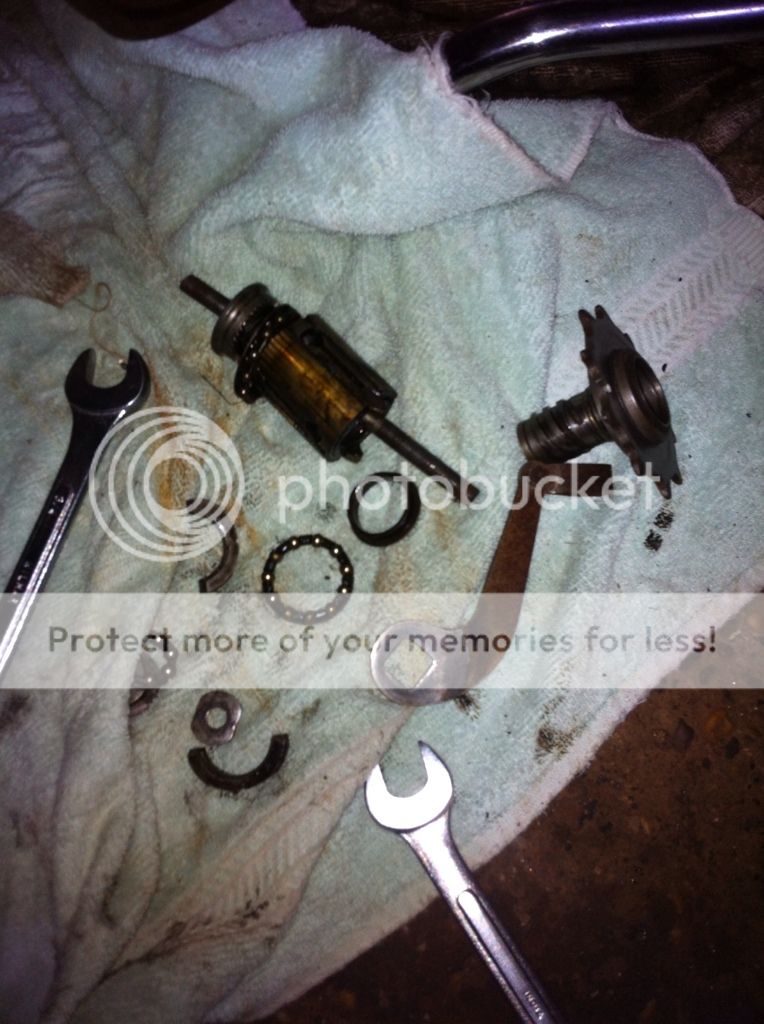
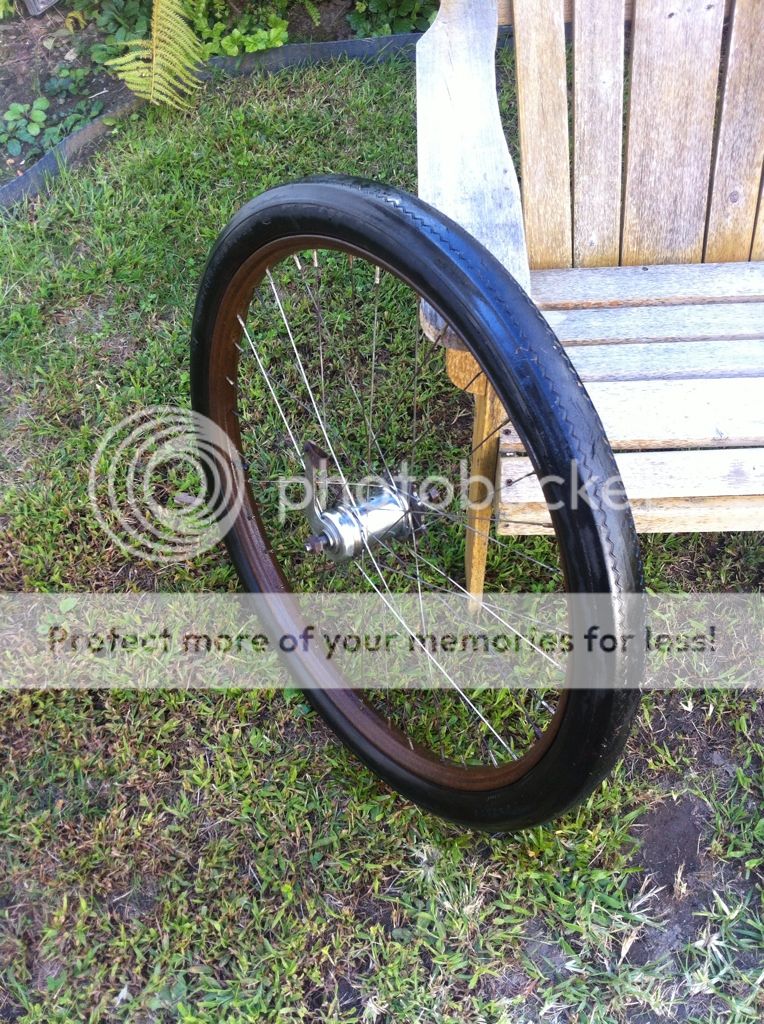
Tore down the wheels and started the hub overhaul
8D2DA941-4FC2-4BFB-8BE4-04950CDE0495-12370-000007B189C72101_zps66ddb442.jpg

Cleaned up nicely
1B6751F5-97D8-4AF0-82D6-C46BC86F843A-12401-000007B20244D2A9_zps3e74771e.jpg

EDB0D66C-81EC-4A80-A534-26B6269B2BCE-12370-000007B19FC6C341_zps457cd9f2.jpg


My first Morrow hub so it's a learning process
FAE2A7EB-FA1D-48FA-AA59-0F027DE7B17E-12370-000007B172B60D81_zps3d9b0540.jpg
 
Re: 1946 Hawthorne Hub overhaul

Updated pics.

Also here's the thread to the parts I need to complete this build
viewtopic.php?f=34&t=76402
 
Re: 1946 Hawthorne Preservation Project 1 DAY LEFT

I will have this bike completed tomorrow! I'm going out to buy the last of what i need, tires/tubes! I rebuilt the rear wheel, it's better than ever. I cleared all of the parts i wanted to clear. Tomorrow is assembly day, rain or shine.
 
Re: 1946 Hawthorne Preservation Project 1 DAY LEFT

http://i1254.photobucket.com/albums/hh616/dapperdanman124/prewar%20Hawthorne/79BBBBB2-EB04-45FE-95F3-9C45E7DBBA43-5548-000007BC51F92FD7_zpsac5b72c0.jpg[/img]


wheel is all trued and ready to roll
 
Re: 1946 Hawthorne Preservation Project 1 DAY LEFT

I'm liking your preservation and the clear coat approach as well. Will continue to watch your progress.
 
Re: 1946 Hawthorne Preservation Project 1 DAY LEFT

Nagant said:
I'm liking your preservation and the clear coat approach as well. Will continue to watch your progress.
agreed.
 
Re: 1946 Hawthorne Preservation Project 1 DAY LEFT

Thanks guys!

Well there's been a little hitch in the road. I went to the local shop to pick up some tires and they were out. They should have new ones in Tuesday. So progress has been delayed lol
 
Re: 1946 Hawthorne Preservation Project 1 DAY LEFT

Finished!!!!
Here's what I did today:
That rear tire is the original tire that came on the bike!
6192E337-E5CE-4529-8122-CCE1DD51DC55-3454-0000044722DEF768_zps769617f3.jpg

80B6B2E1-A4F1-42B2-94AB-8EE70B603064-3454-00000447097FFD10_zpsacfc128e.jpg

2DCE52E4-5C33-4DFC-A9EA-39E01FAA8045-3454-0000044738D441BD_zpsffe7fa95.jpg

9AEA9D9D-6293-44AC-B29D-38DAD75546F9-3454-000004474525F38A_zpsad9459a9.jpg

E731F927-1AA6-4114-B8F2-E42A384299EB-3454-000004474B105E92_zpsd84f10b8.jpg

4A2015DB-8188-4879-A361-65D154FE2167-3454-0000044731598D44_zpsa3224aab.jpg


I'm waiting on the arrival of a fender that will match up perfectly, other than that I'm finished.
 
I like the way the old Hawthorne turned out. Looks great.
Kenny
 
Thanks! I think it turned out well. I haven't riden it for a long time yet but it felt fine around the block
 
Thank you everyone for the kind words. Now the next step with this. I can't get the seat post out for the life of me! I got it to spin, with some force and leverage, but it won't pull out. What can I do to get it out? I've used Wd-40, Pb blaster, brute force, and all three! I'm stuck
 
Do you have any of those rubber strap wrenches? Using a very large strap wrench to turn it and try coaxing it upward as you turn. Stop at times to use more PB Blaster or similar. Pipe wrenches and chain wrenches would likely mar and bend the post.

Another idea that is very unconventional is to use a ratchet strap to secure your frame to something solid. Take the end of a large heavy duty ratchet strap (flat bed truck variety) and secure it to the seat post via hose clamps or something similar. The more clamps used the better. Secure the other end of the ratchet strap to something solid. Crank the strap slowly, take breaks to try and get more lubricant worked in around the seat post. If you have a strap wrench you can alternate to using it to work the post back and forth in between cranks on the strap. It's a method with risk. You have to be careful how you secure the frame and careful not to crank to much force on it. There are my two not so great ideas. :oops: :roll:

Hopefully some other members will chime in with some better ideas.
 
Find a junk seat and put it on the post as tight as you can get it. Then you have something to pull up on or even hammer on to get the post out. If it will twist it will come out eventually. If you are able to turn it fully then there is no rust holding it in. Flip the bike and stand on the seat while twisting and pulling the frame up if possible. This may require taking parts off so they aren't flailing around but it changes the leverage a bit. I have had some seriously rusted bikes but have never had a post that COULD NOT be removed. Stems maybe, but never posts. I have almost destroyed posts getting them out but they always come out.
 
If the back of the seatpost has a notch, use a wedge shaped chisel to ever so slightly spread the tube out ( very slightly). Use a high quality oil (very fine and permeably, is that a word?) like Tri Flow. Let it work its way in, then use what ever method to turn and pull on the post.
I have free the nastiest of all seatposts this way. Good luck,
Johnny
 

Latest posts

Back
Top