Hi guys,
In between the busy / racket life right now, I still need my relaxation in building things.
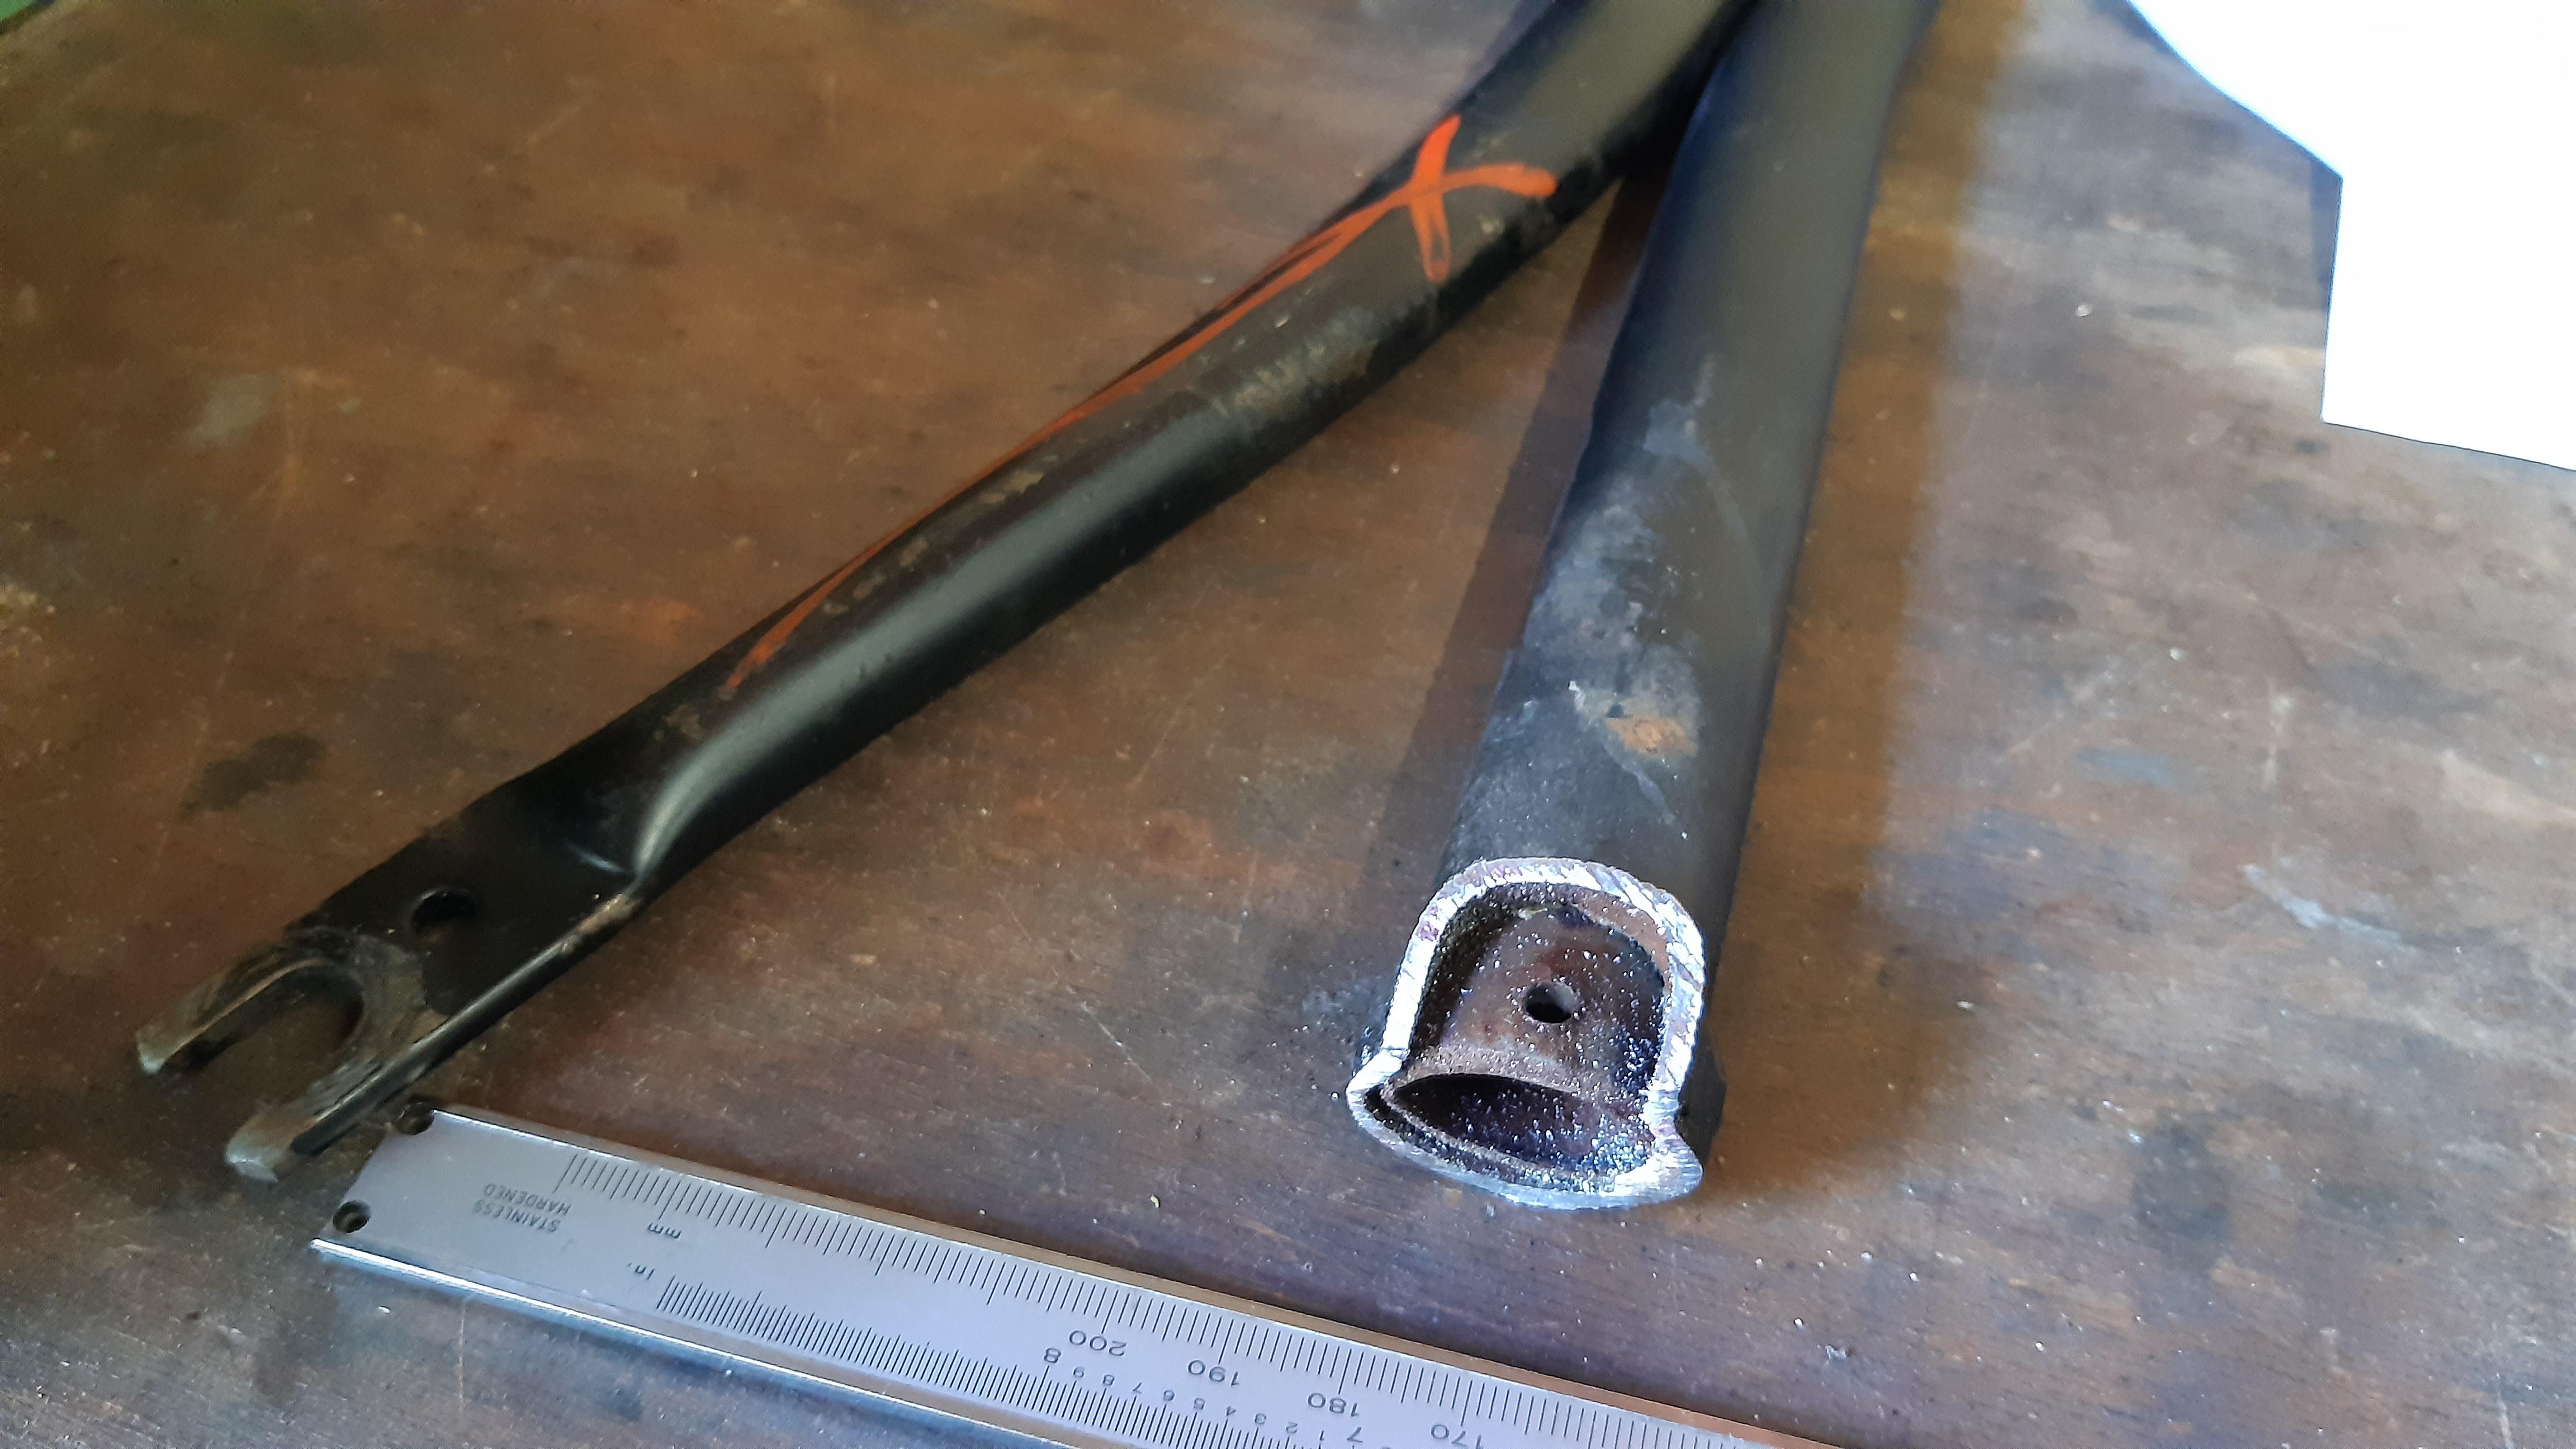
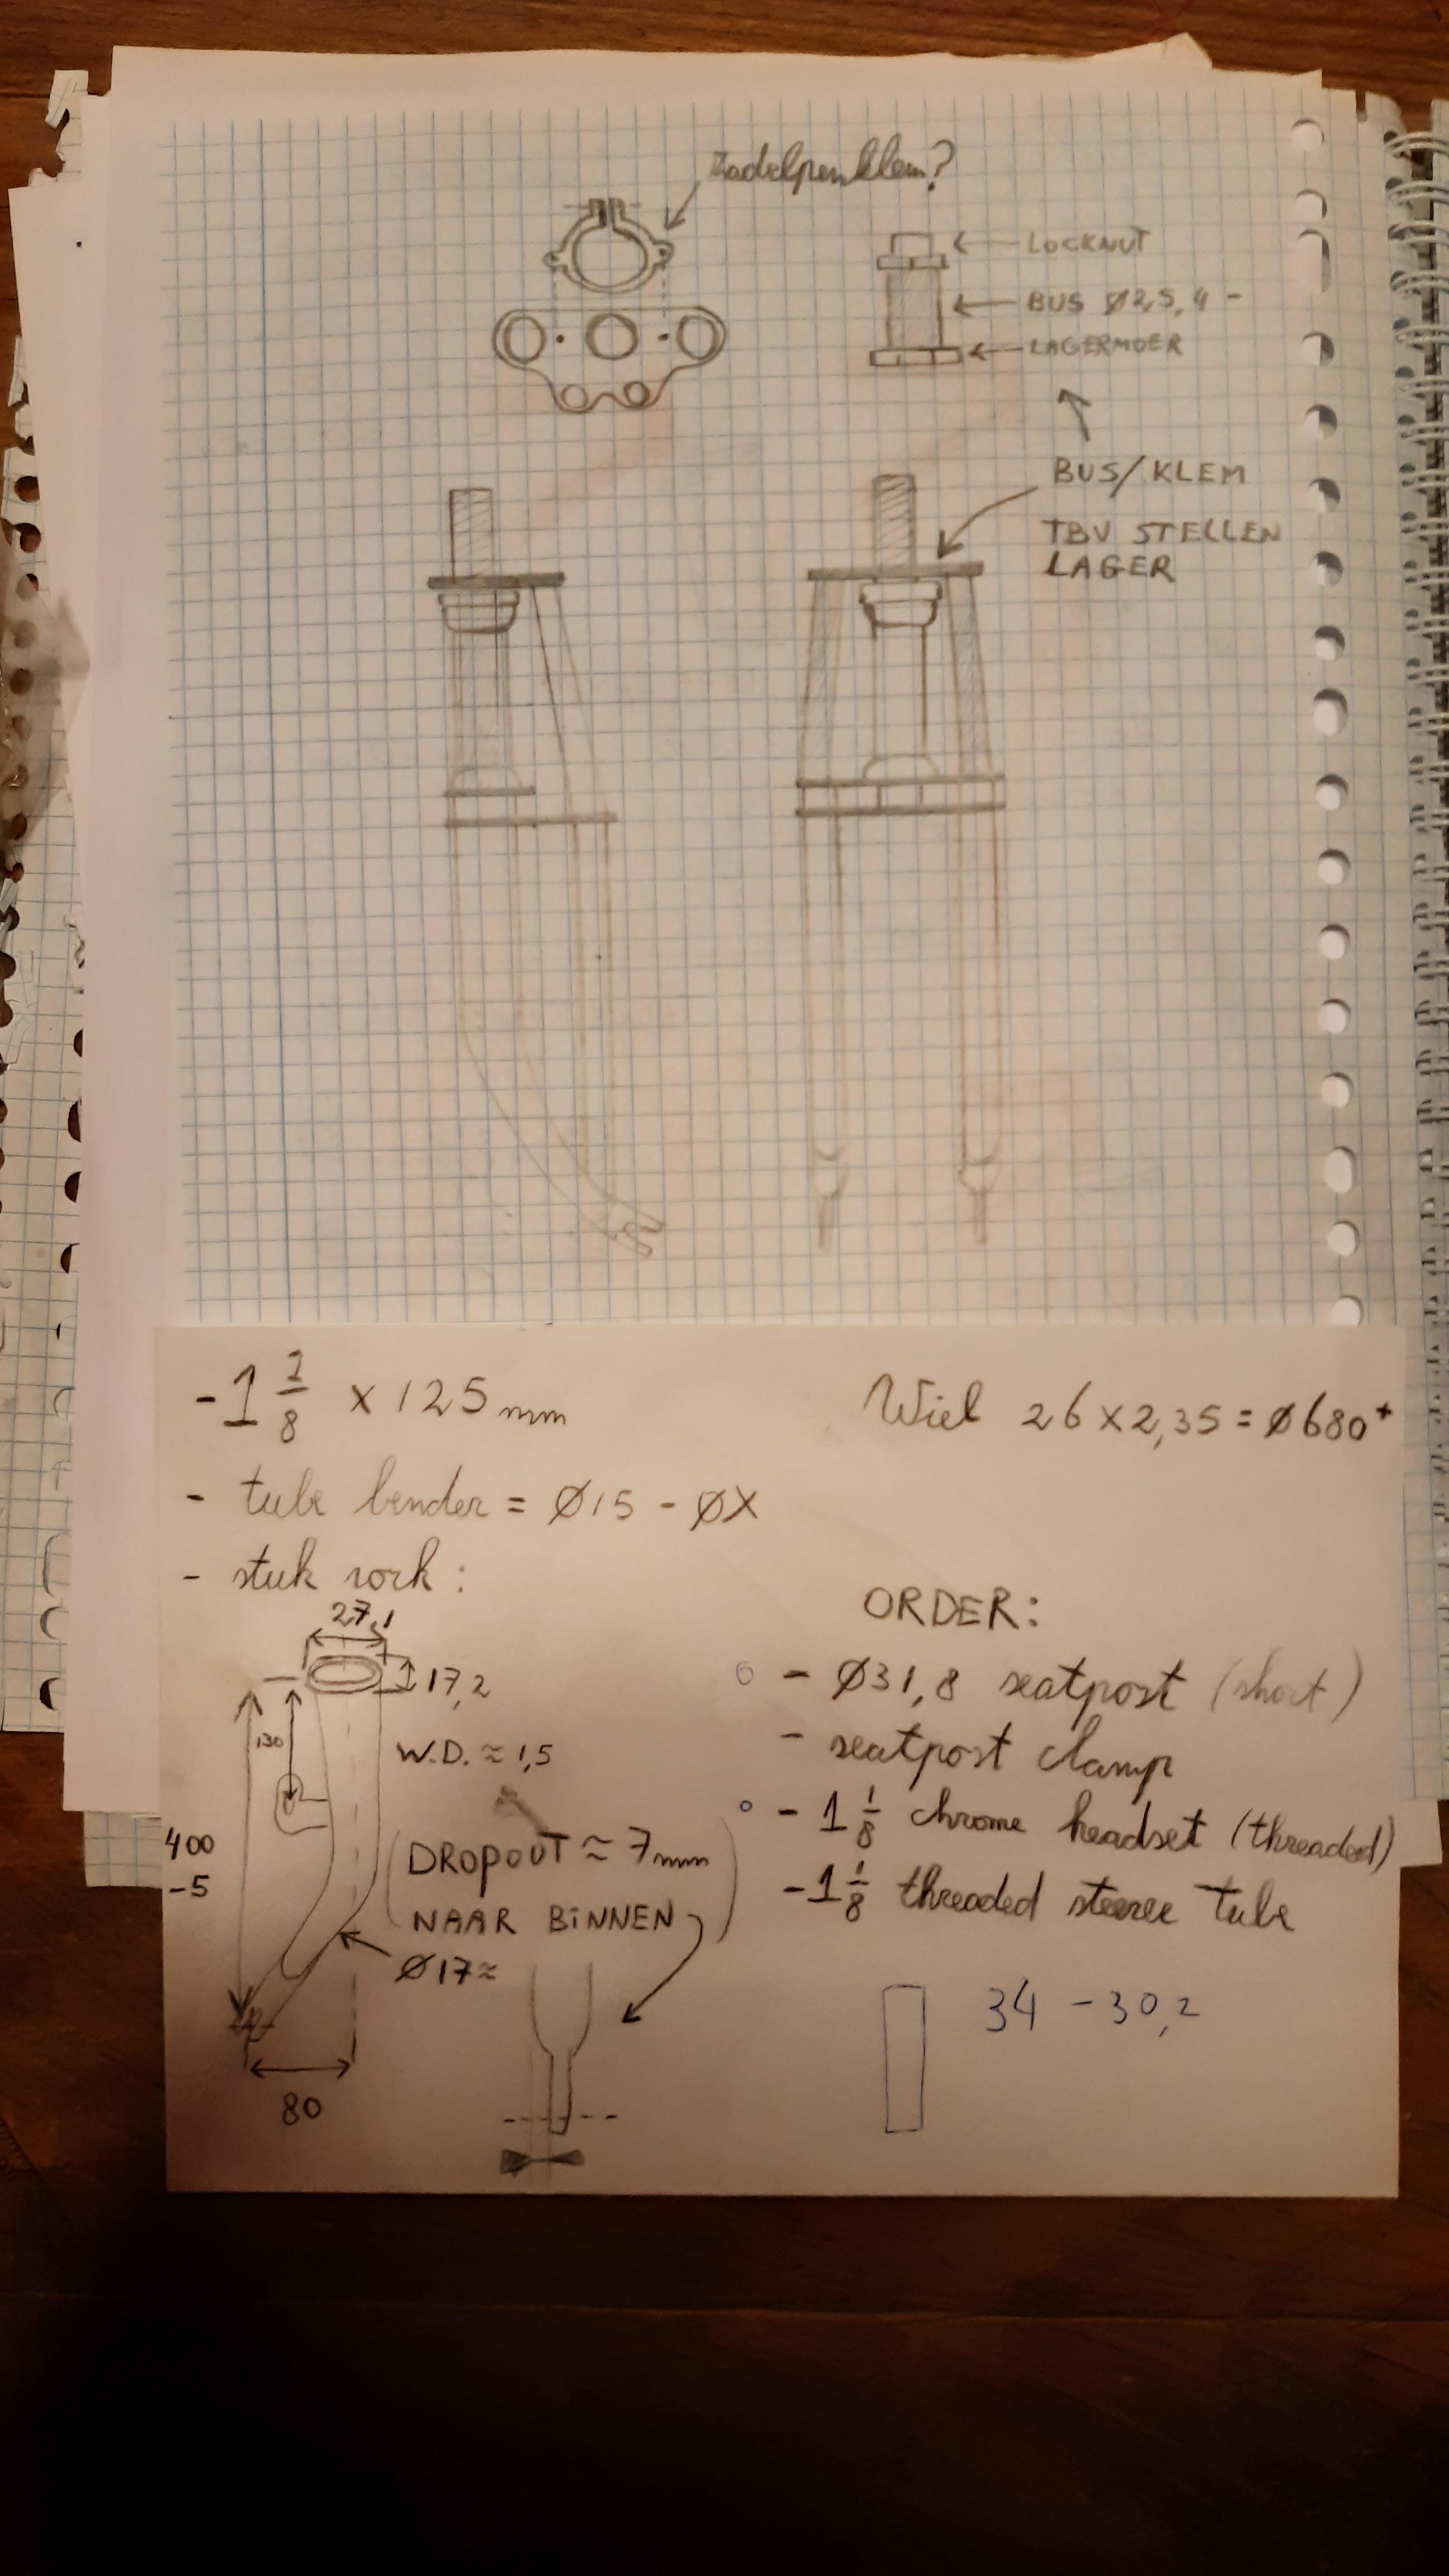
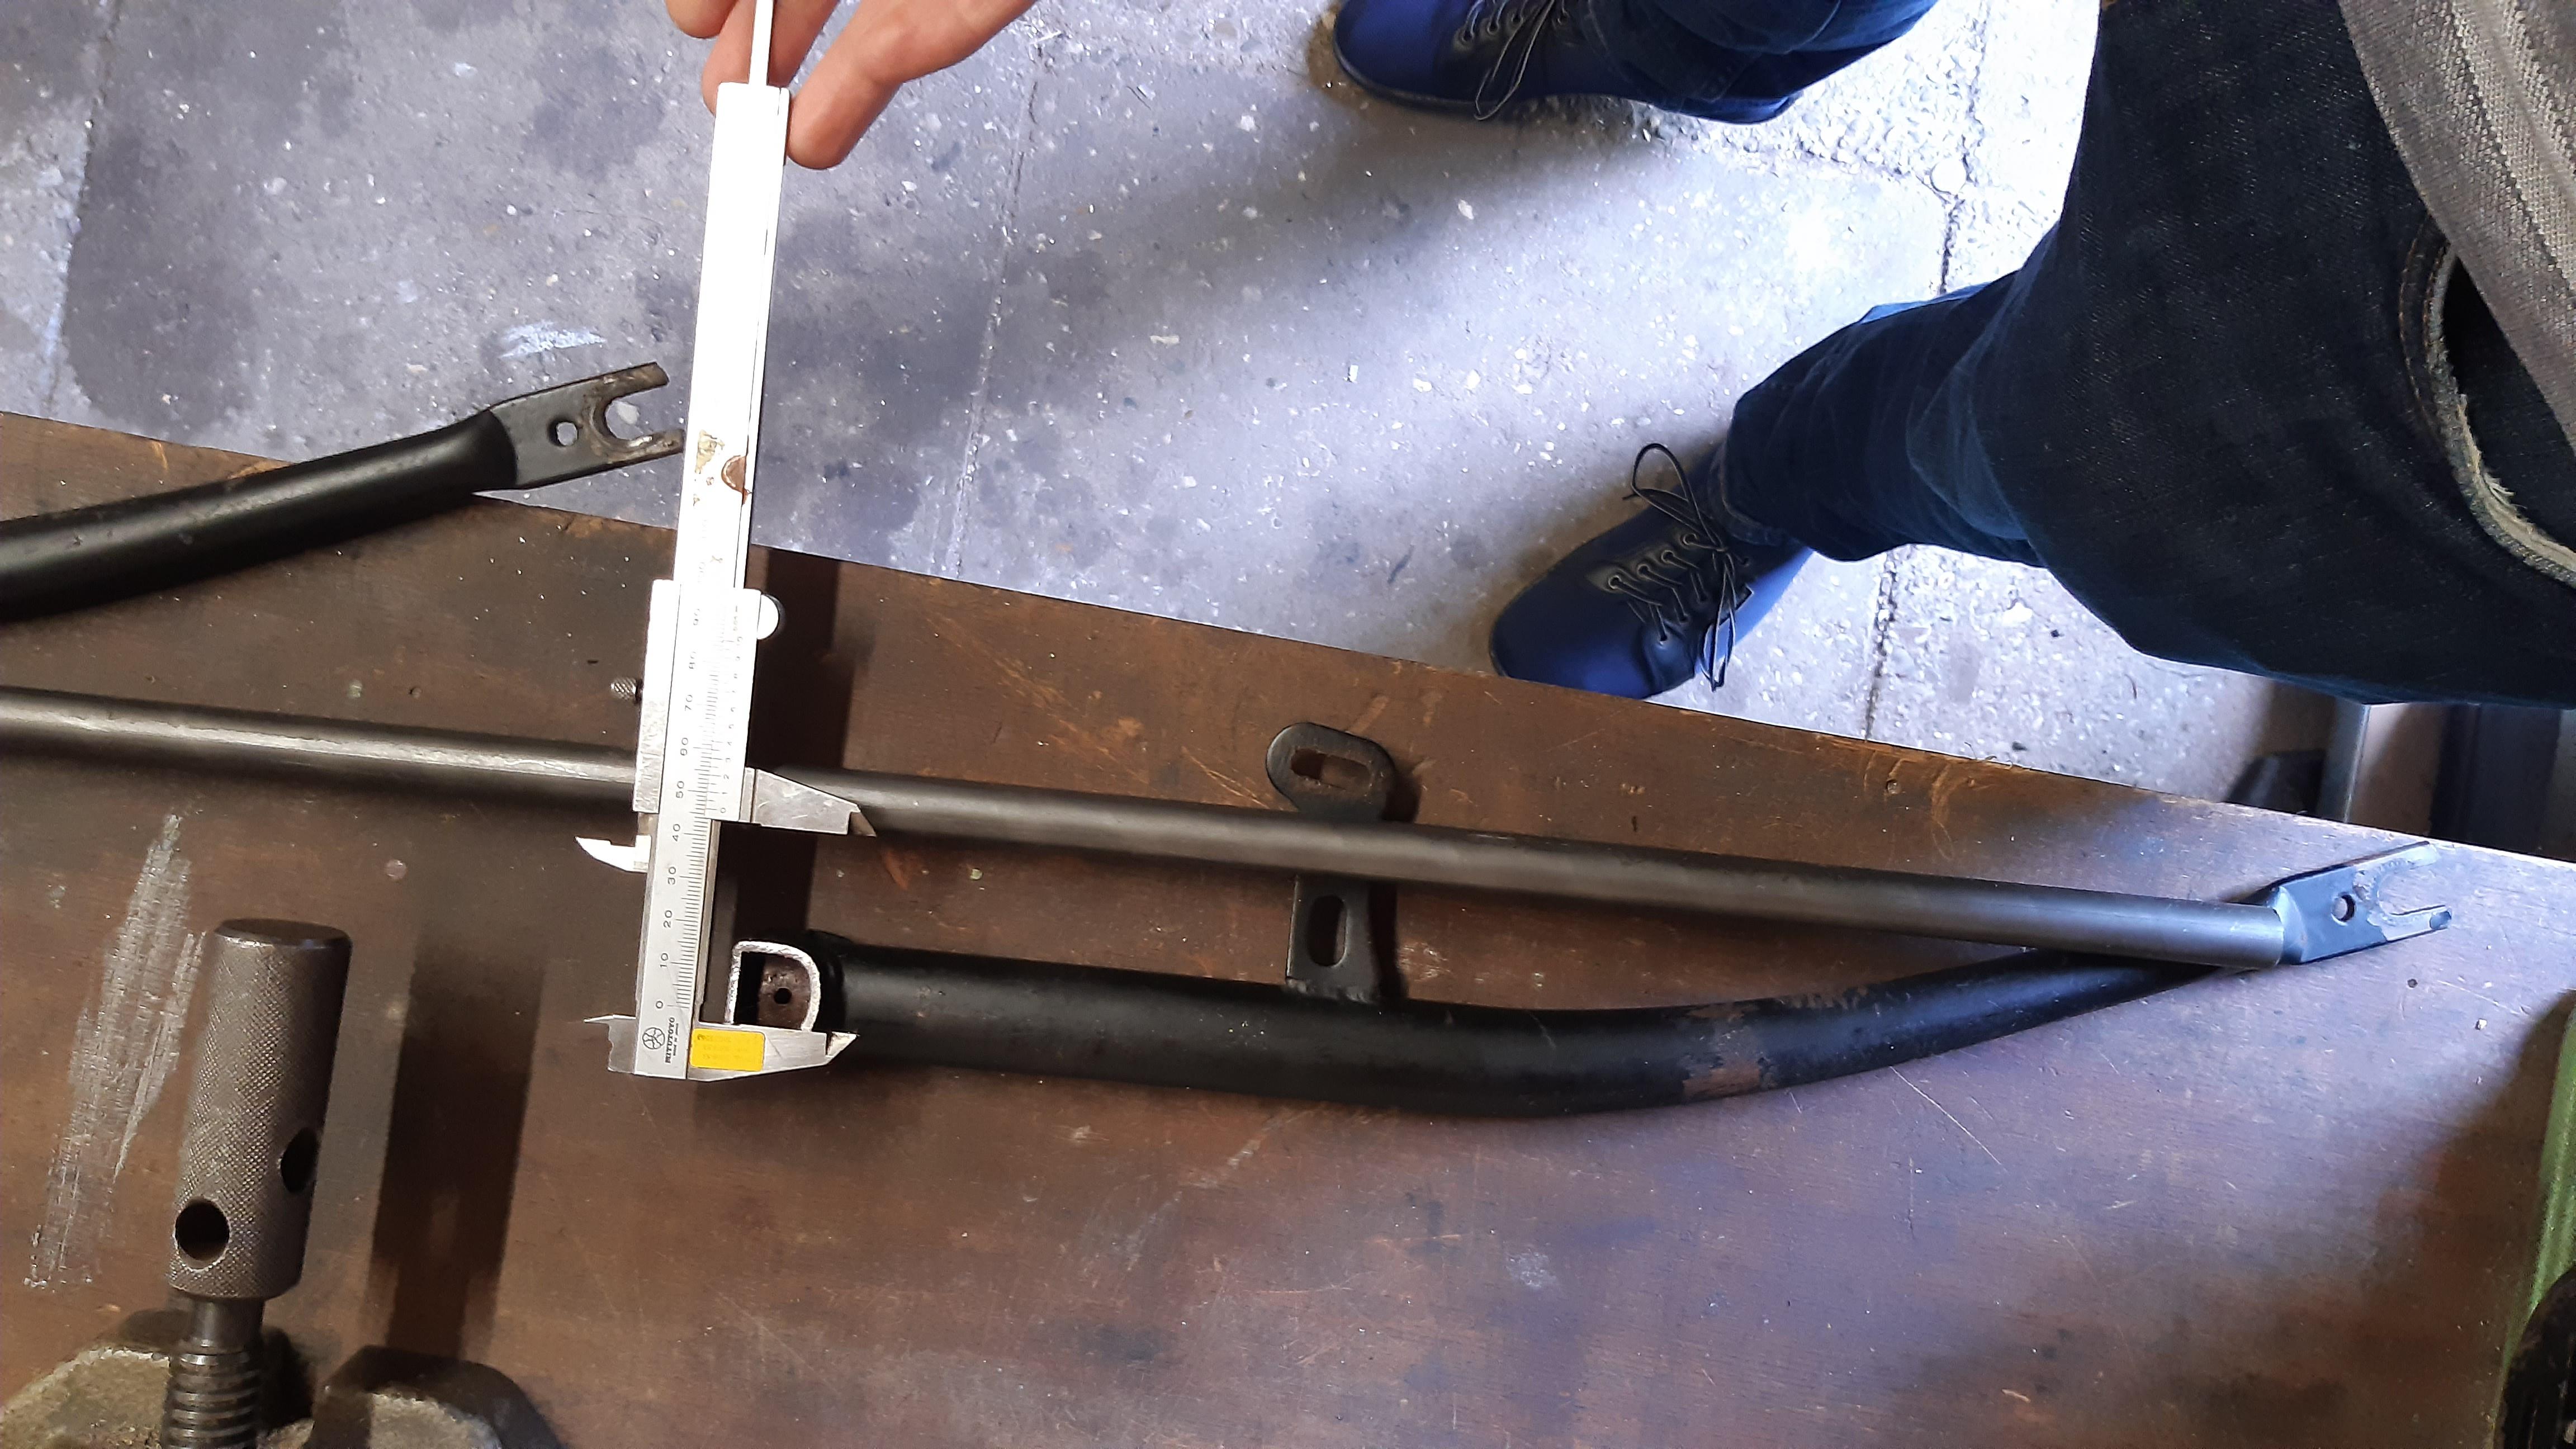
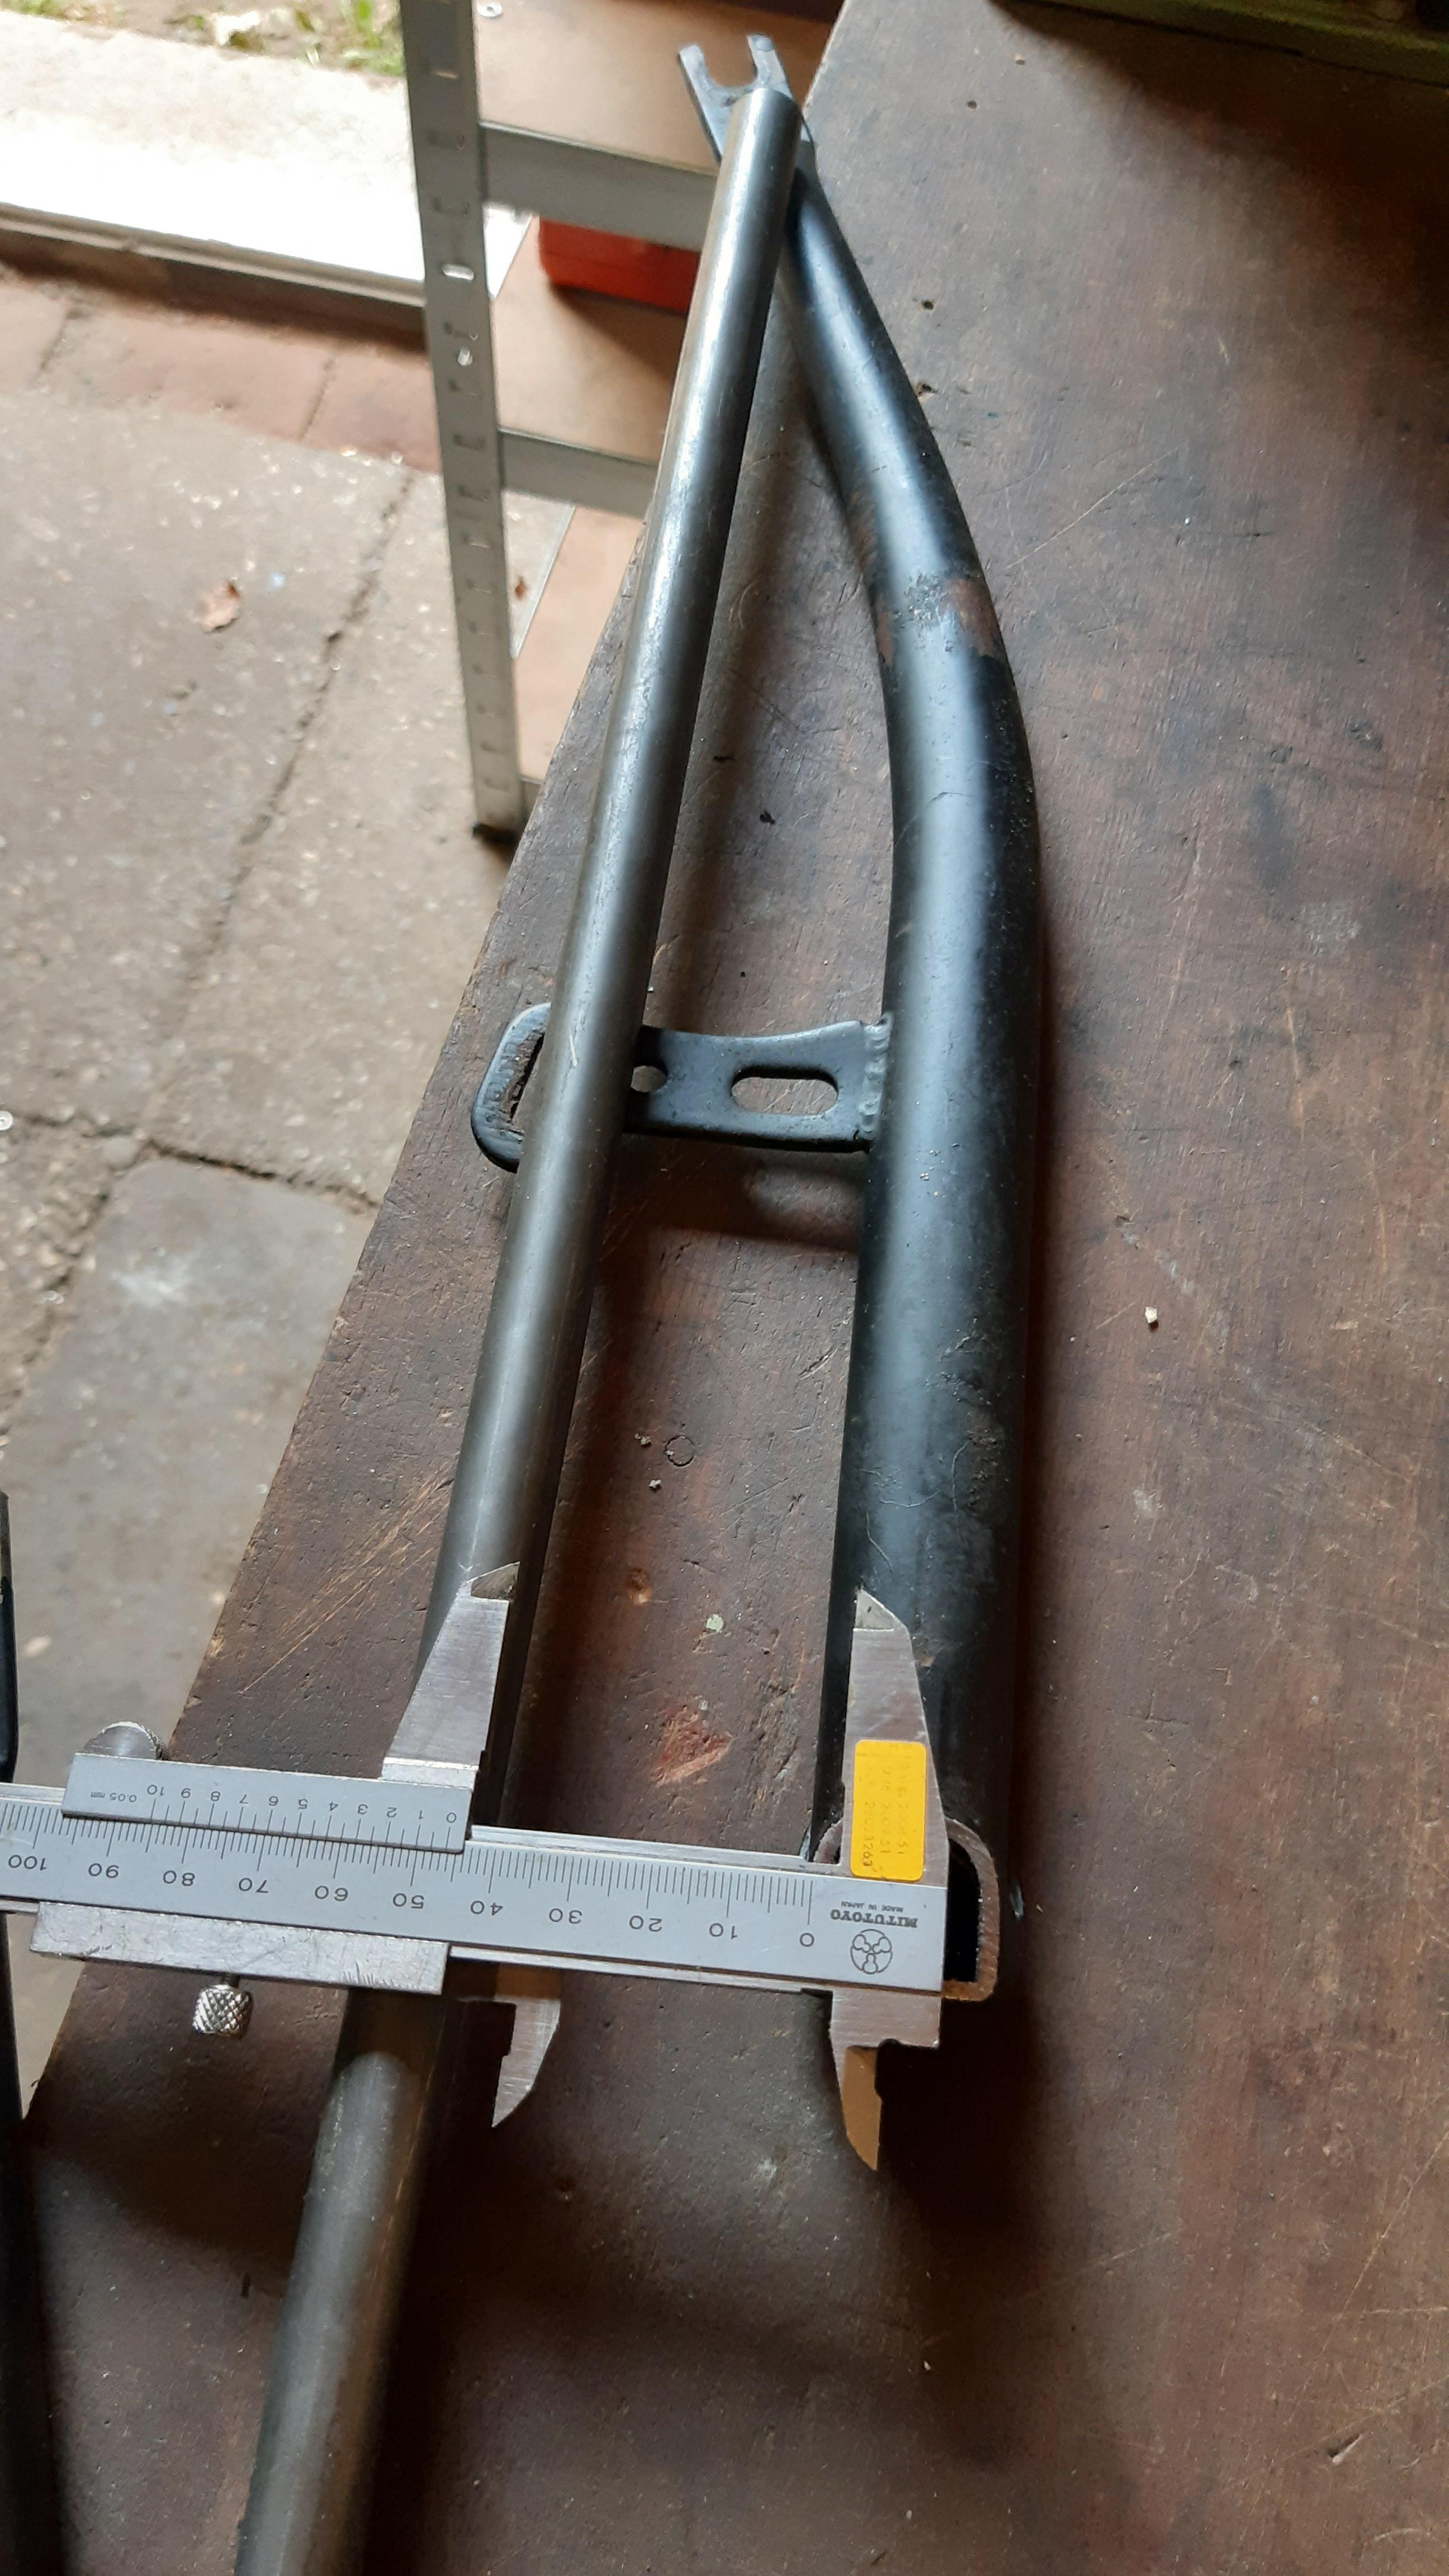
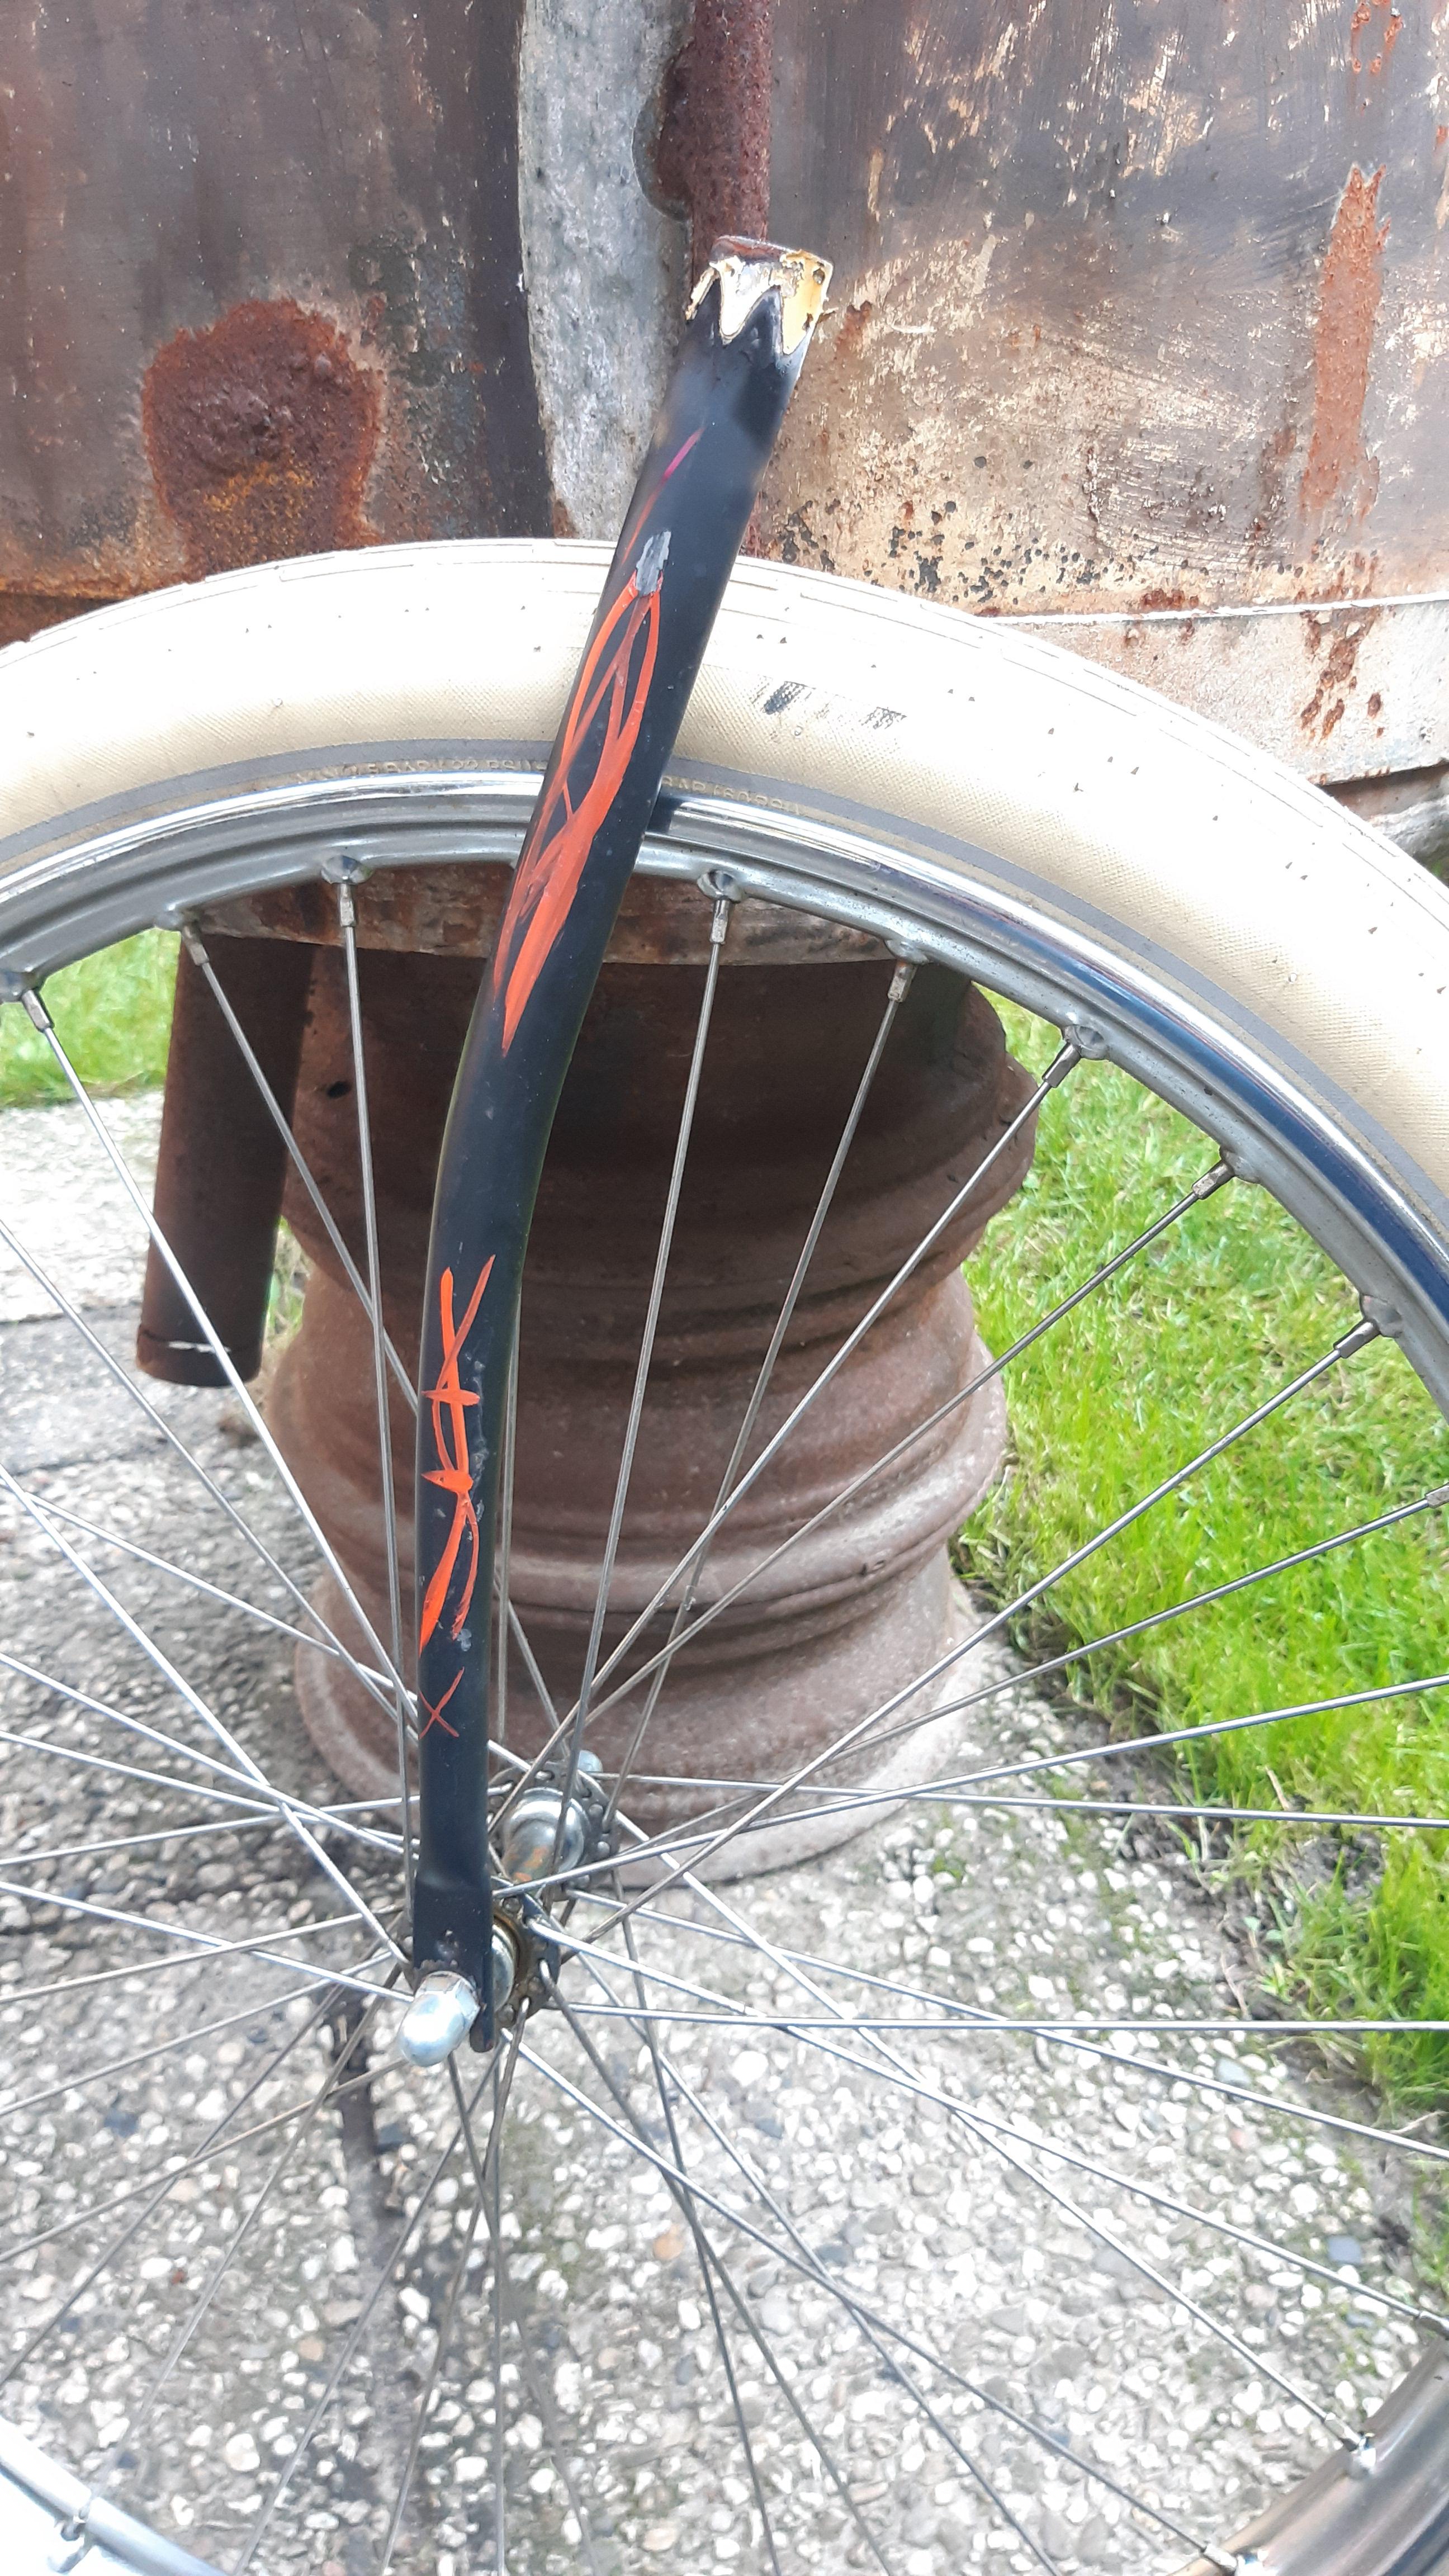
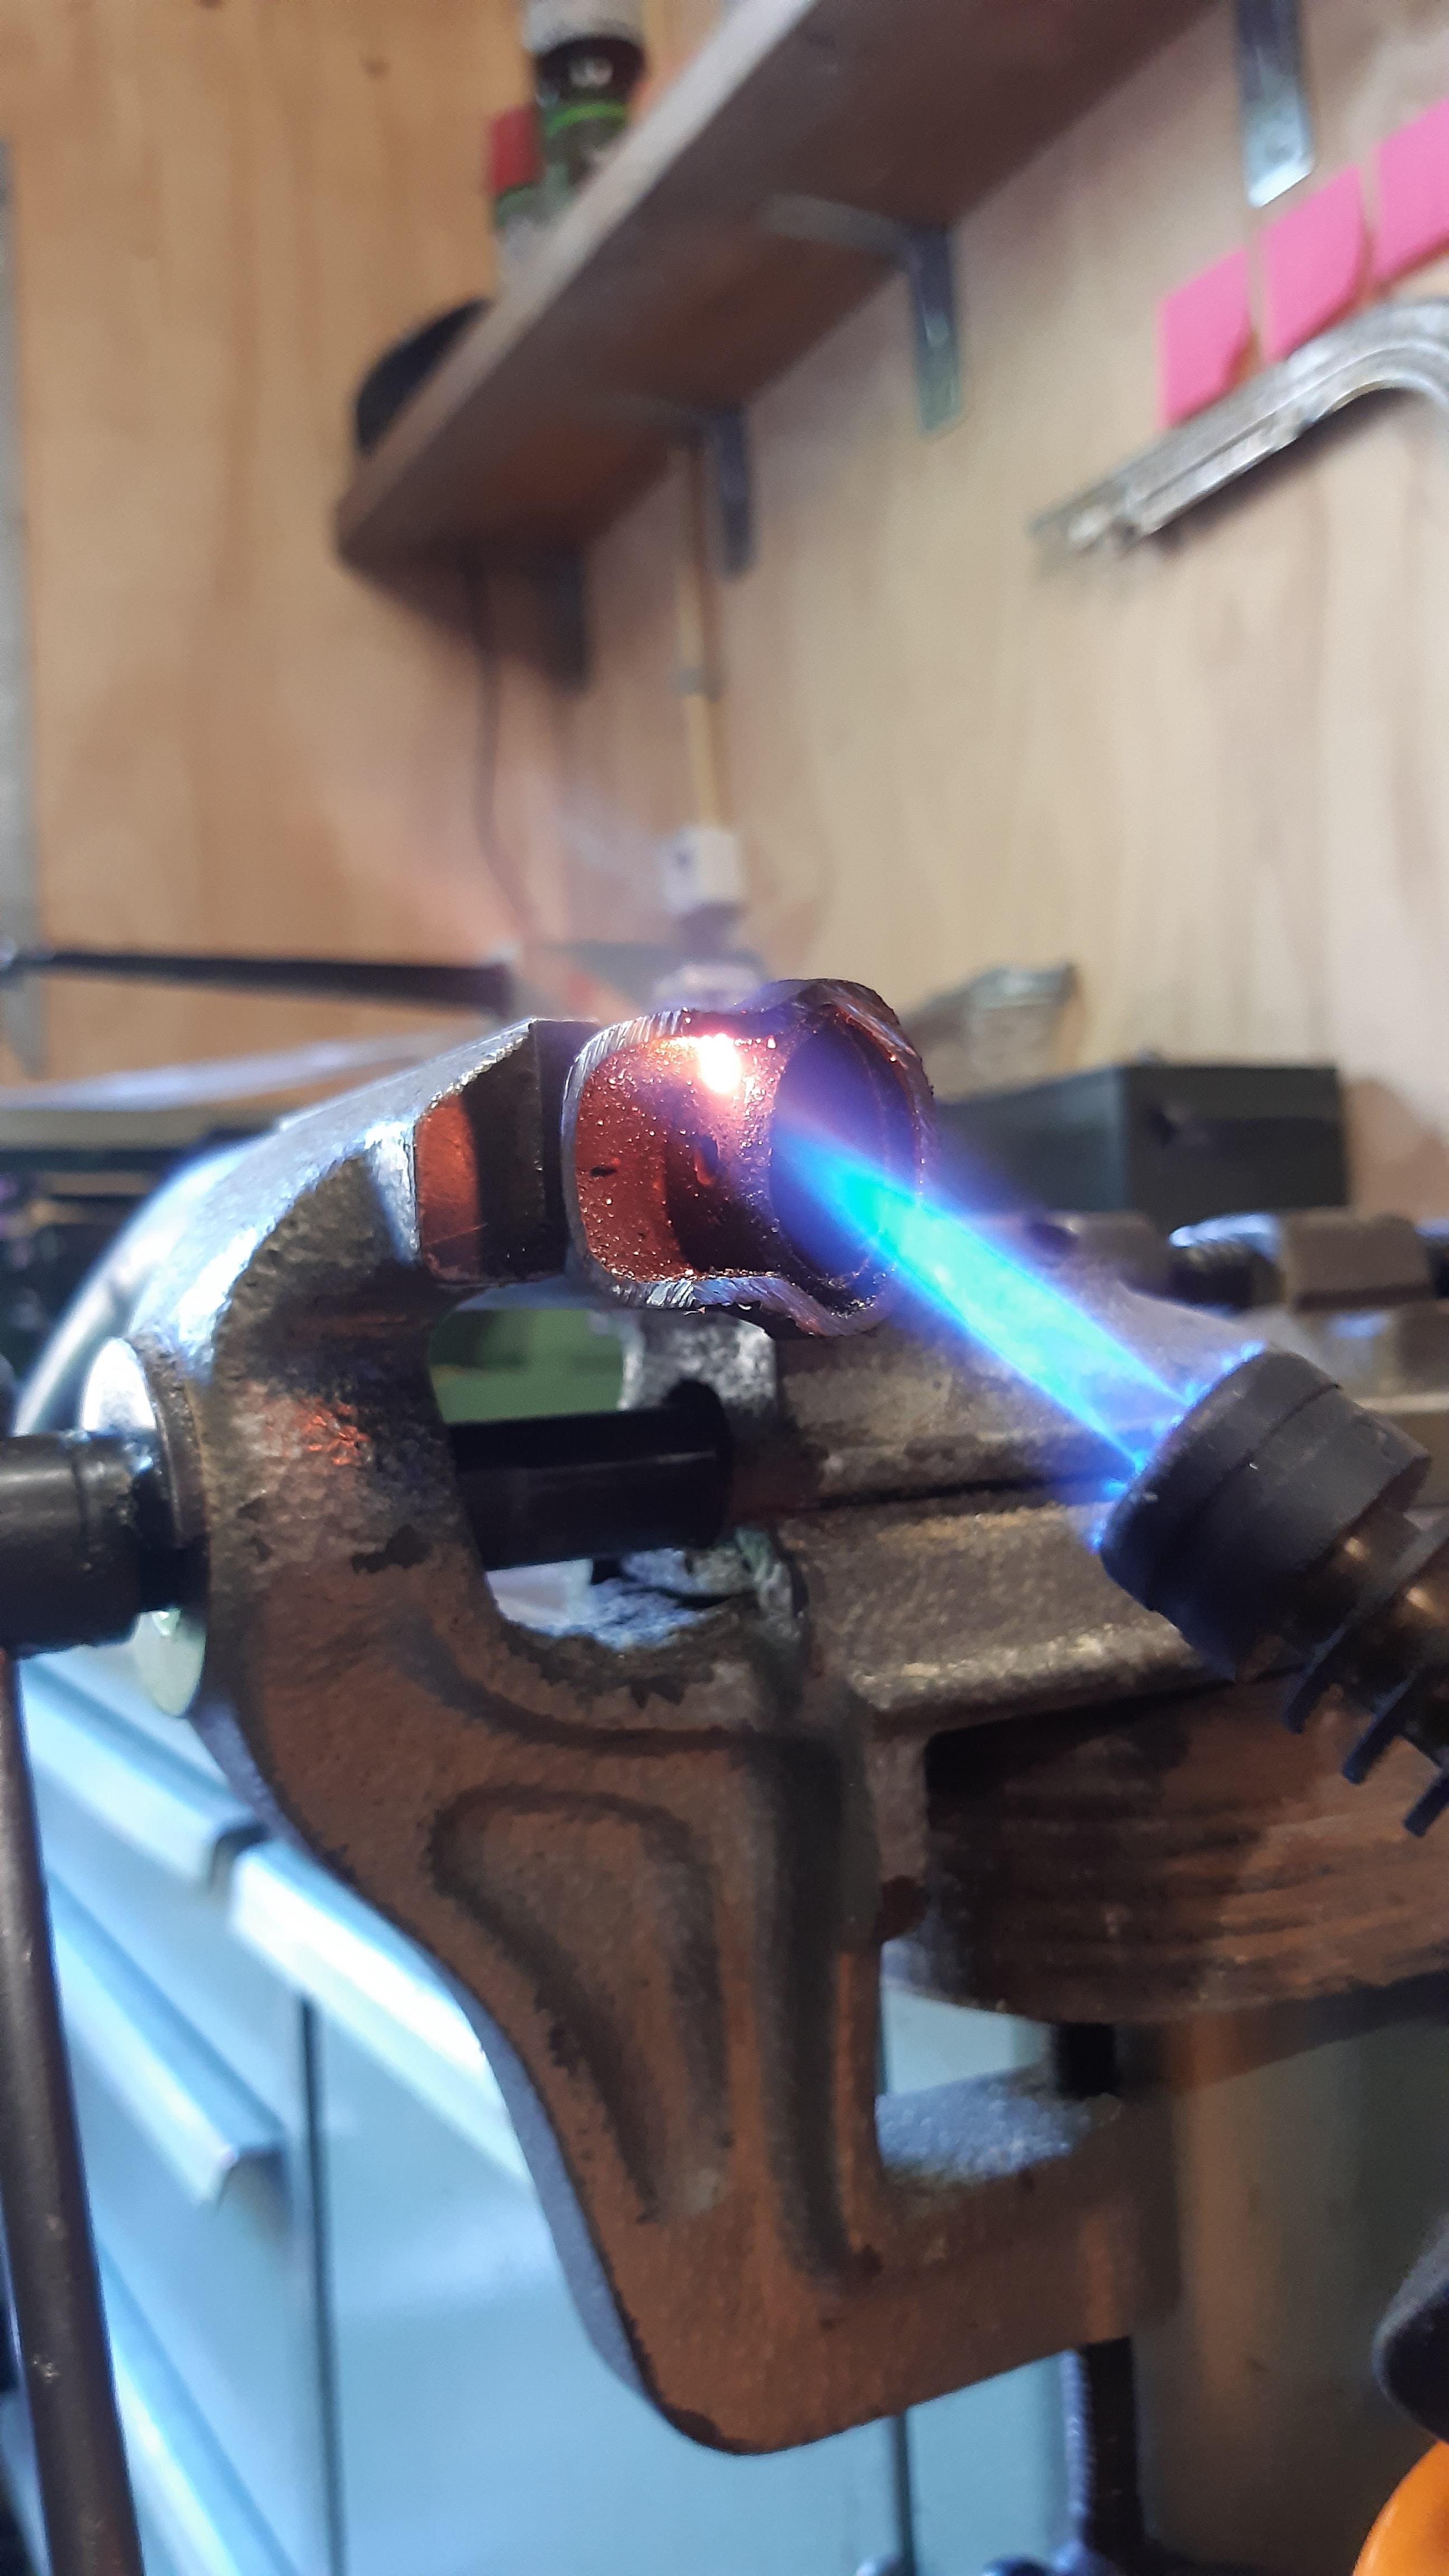
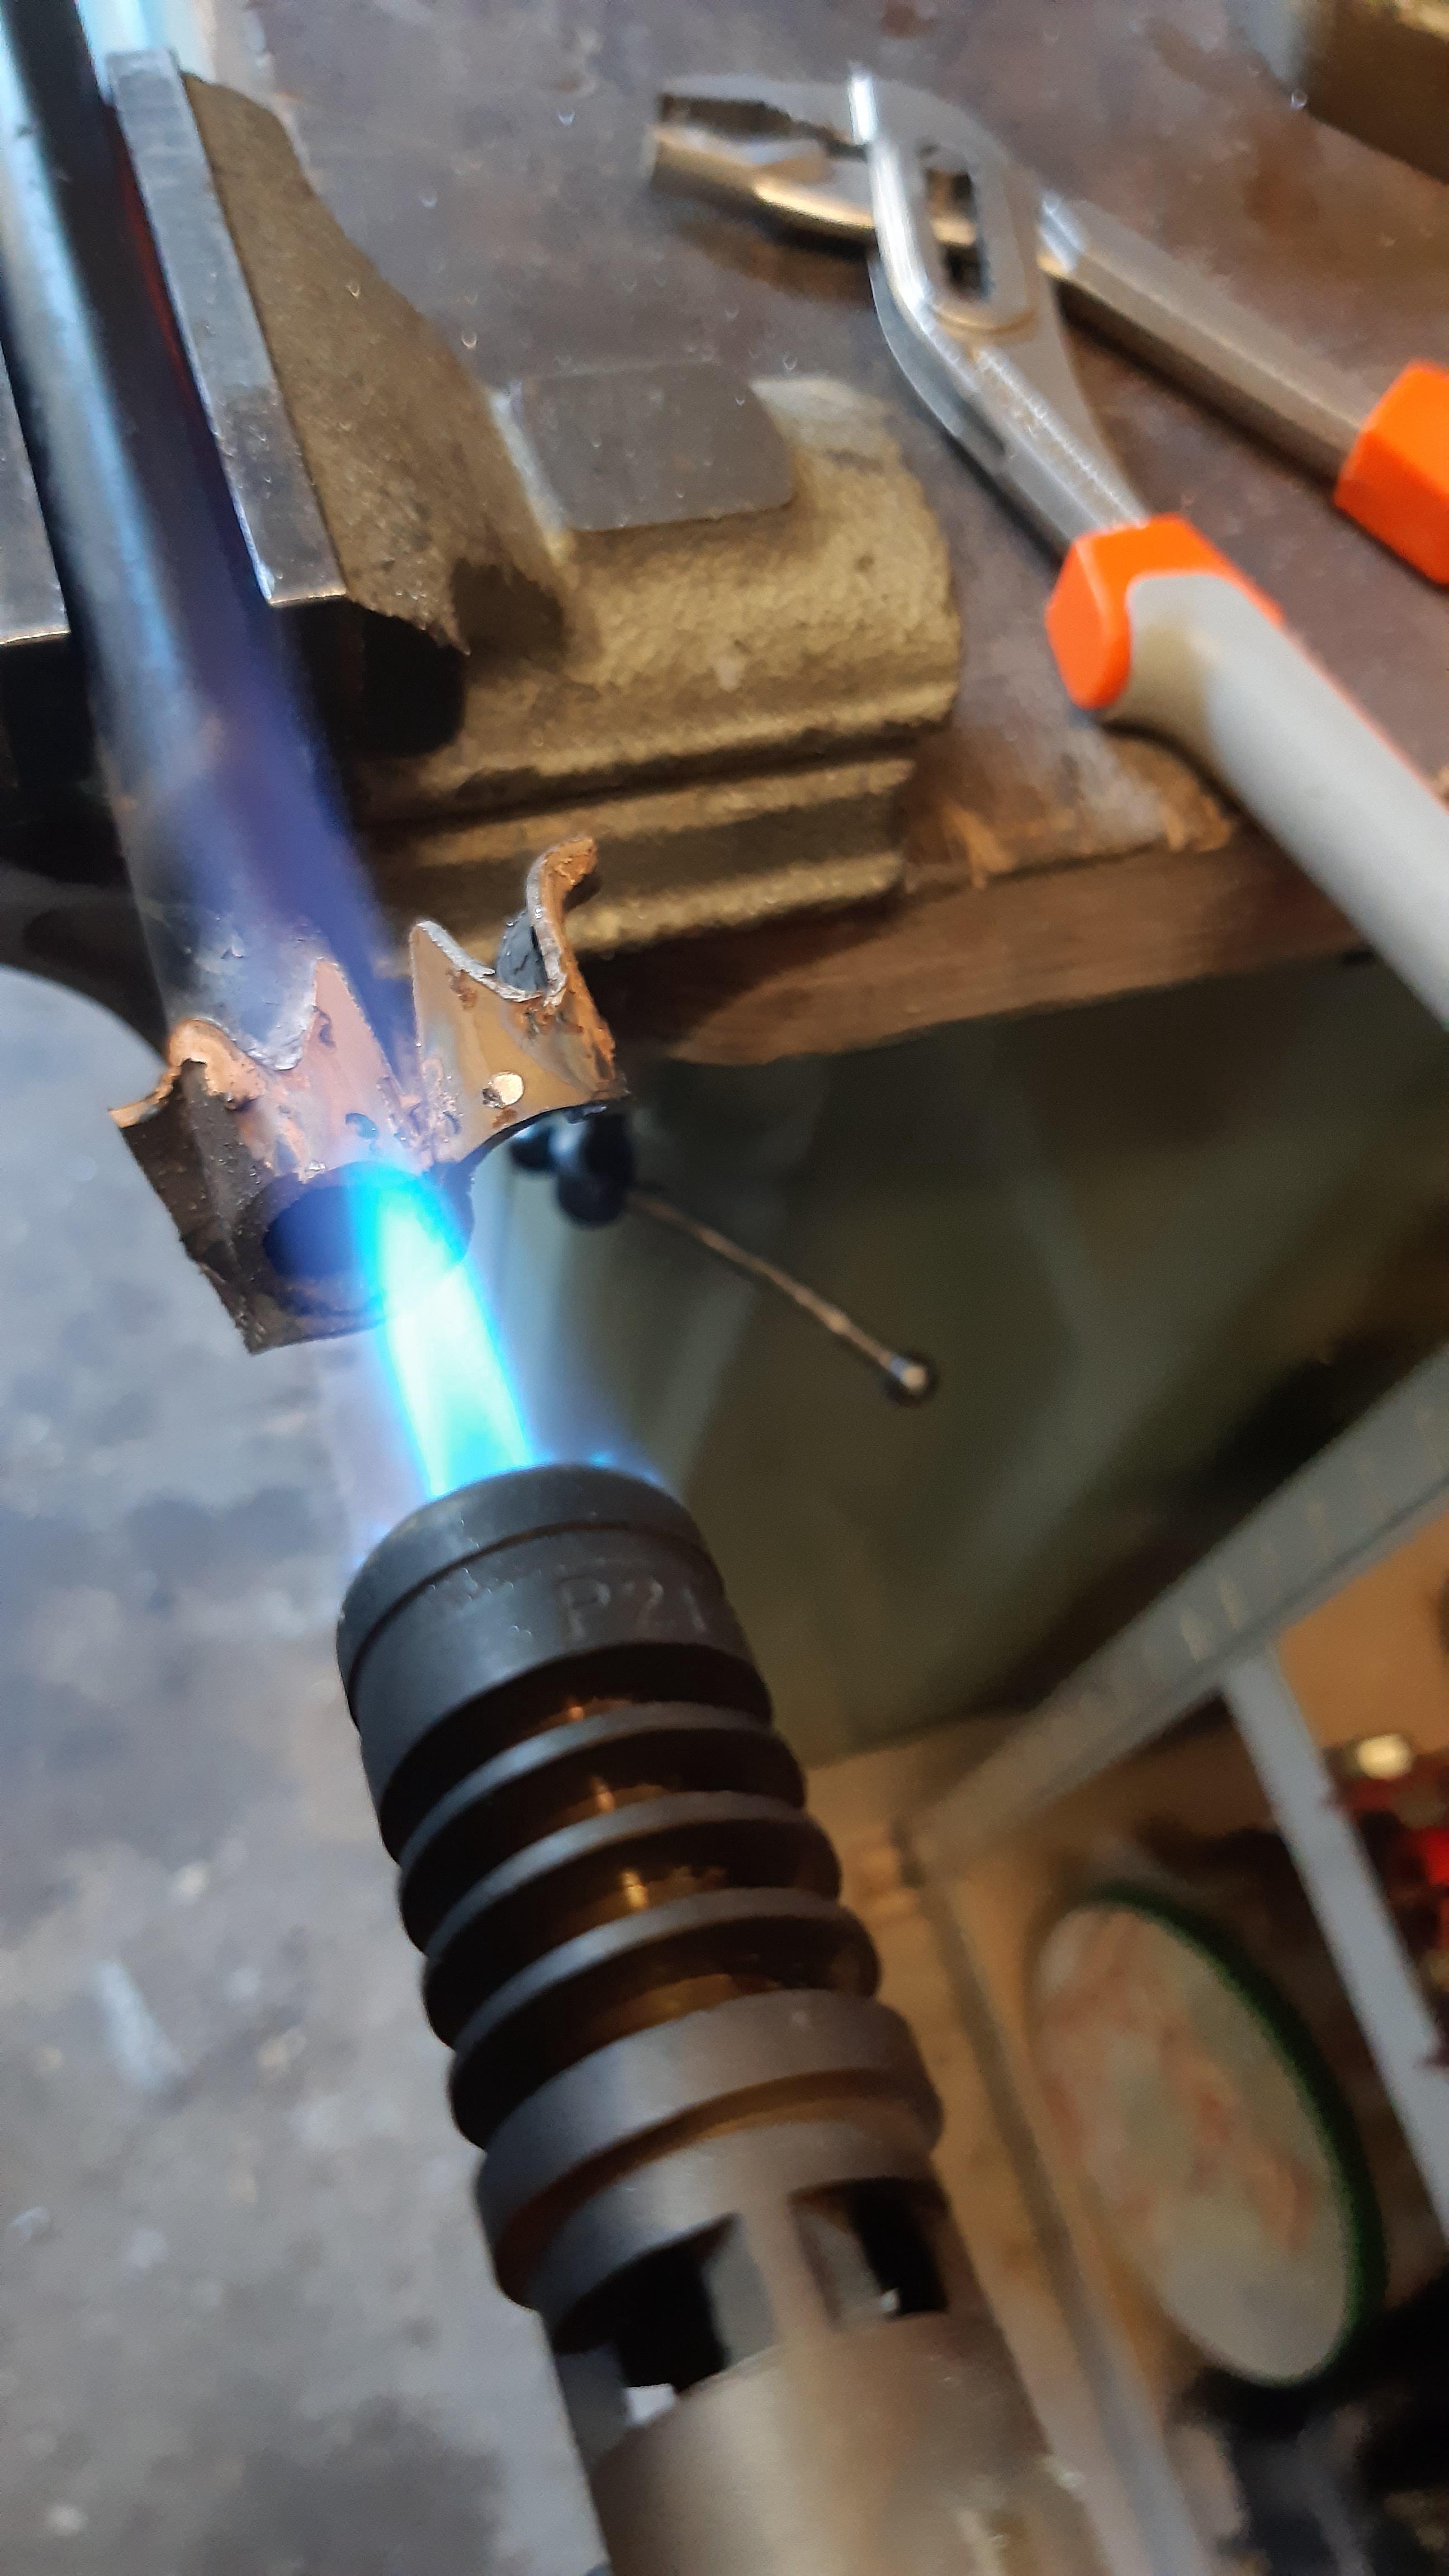
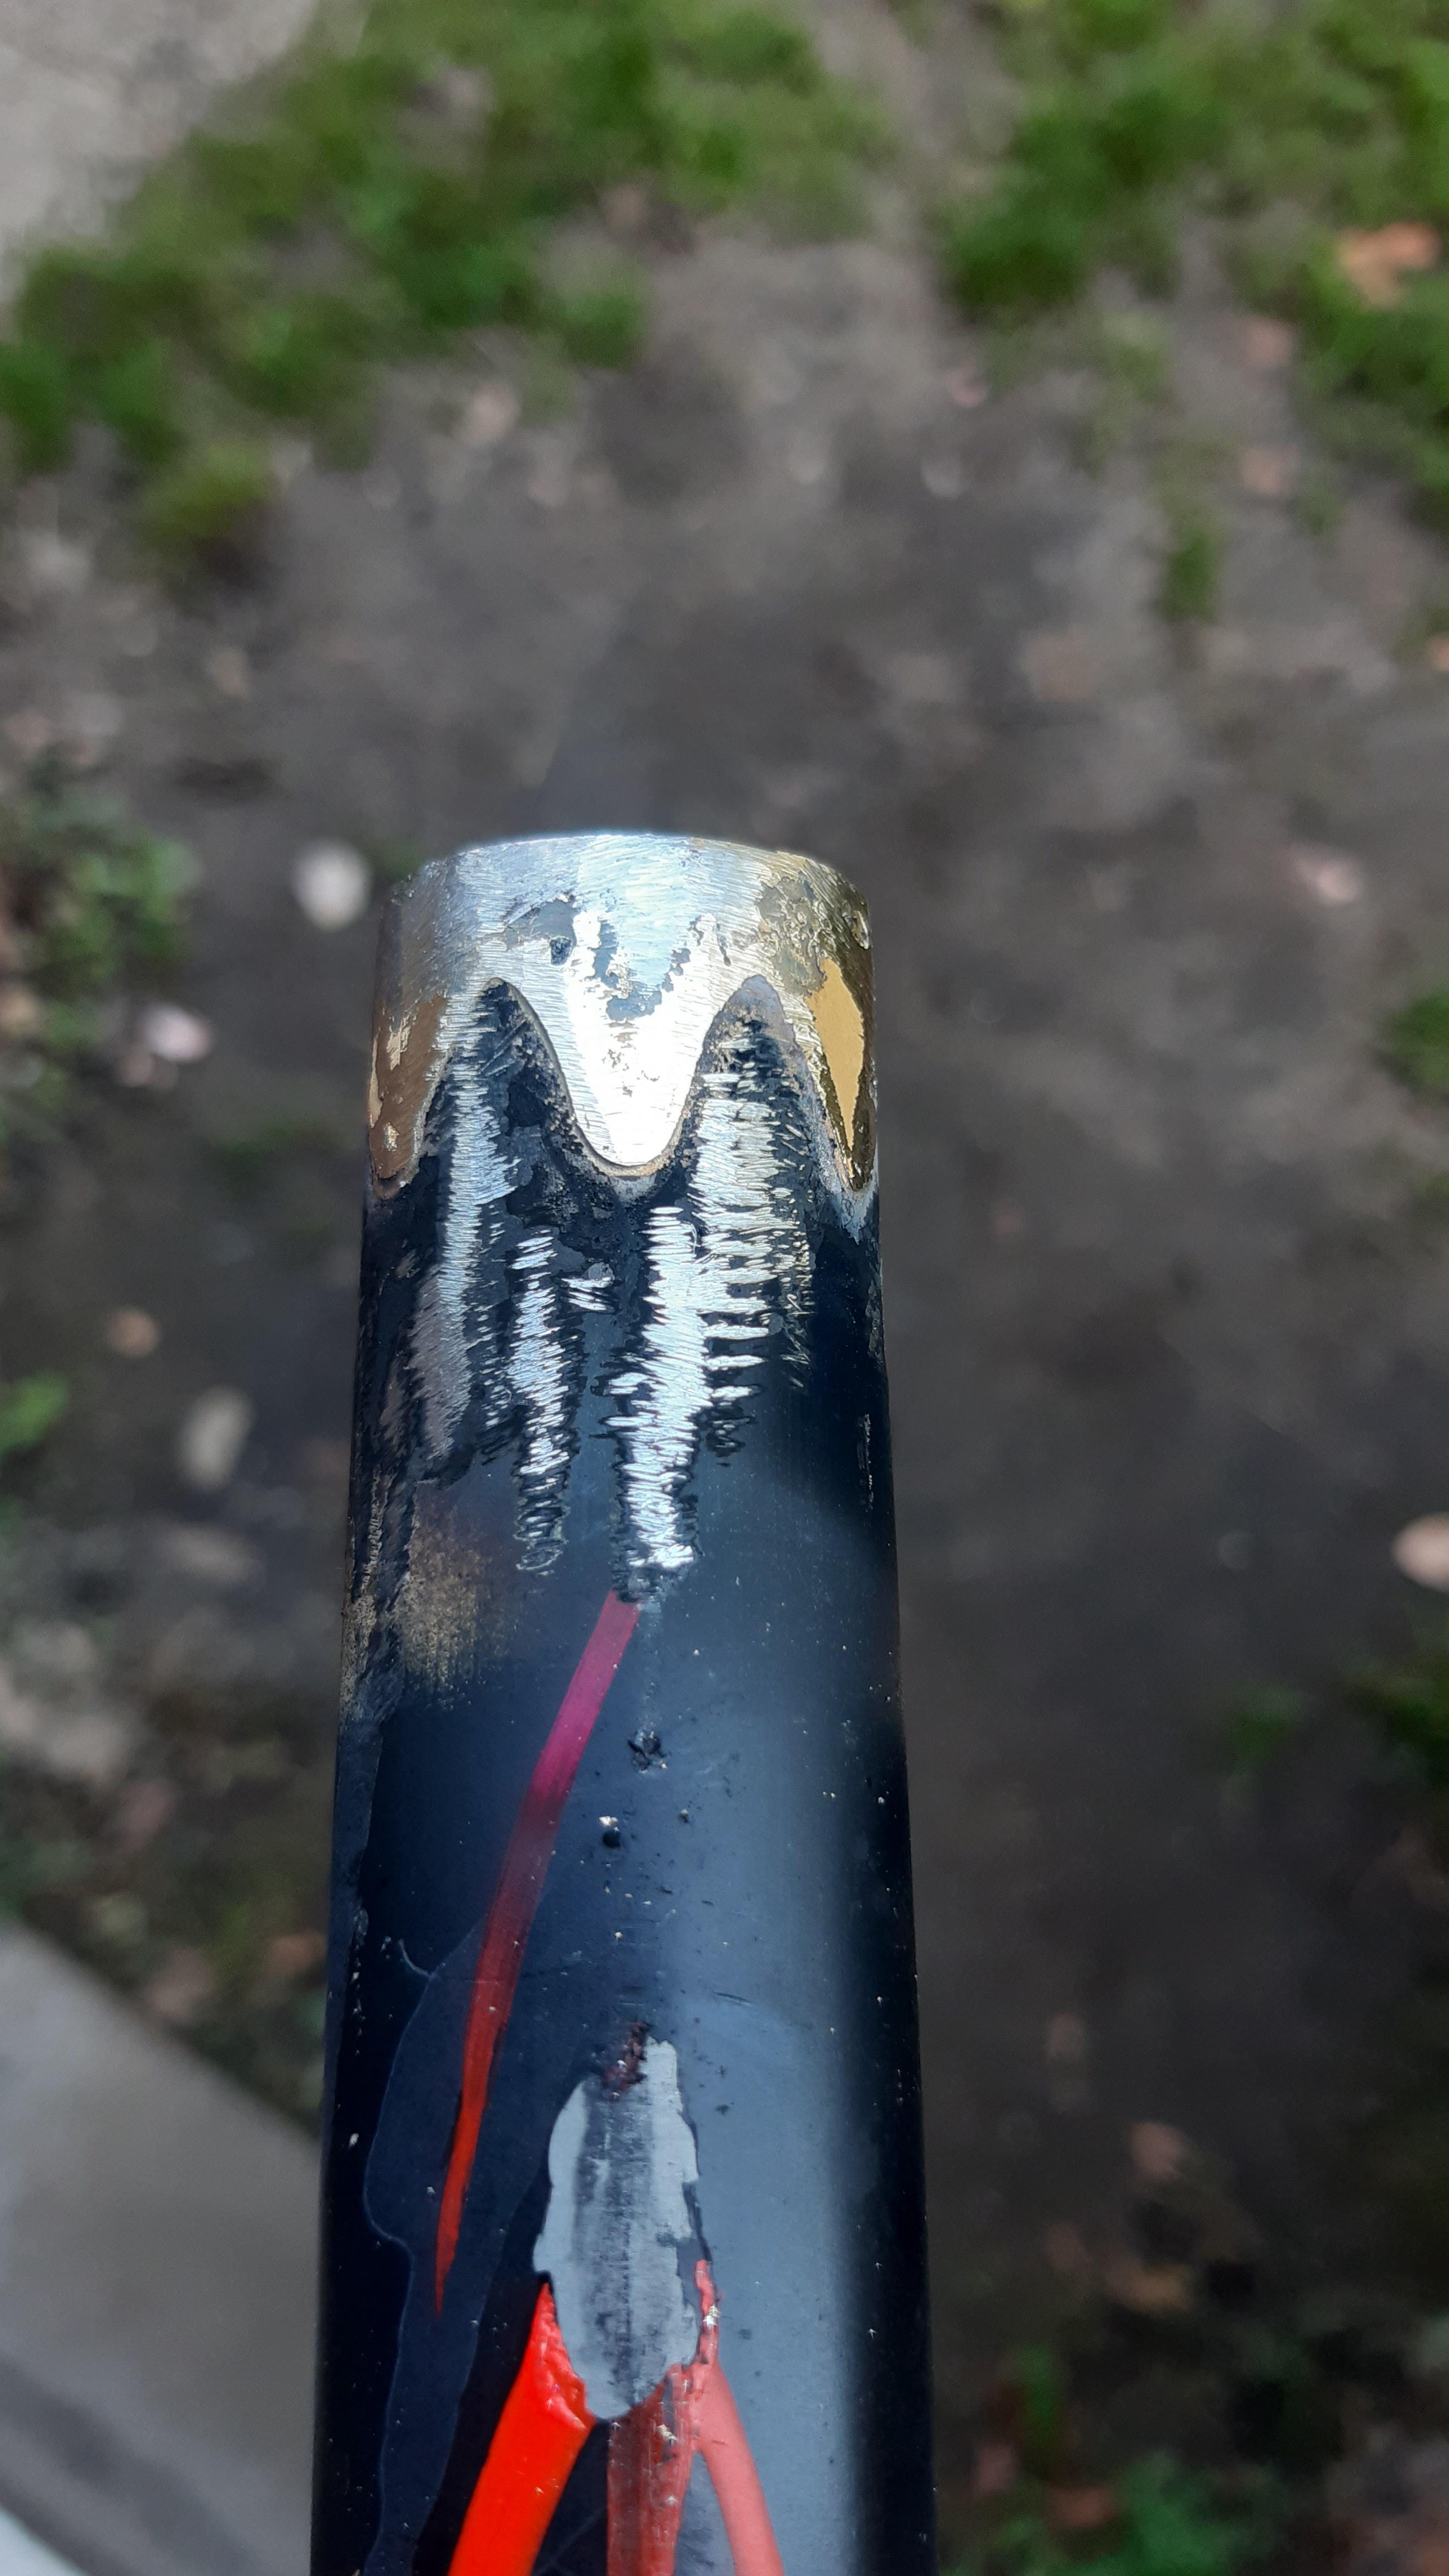
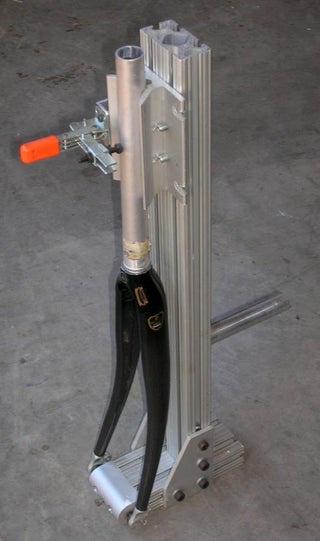
A while ago I cut a 1" city bicycle fork in pieces. I used the headtube shaft for another build. Them beautiful legs tough...
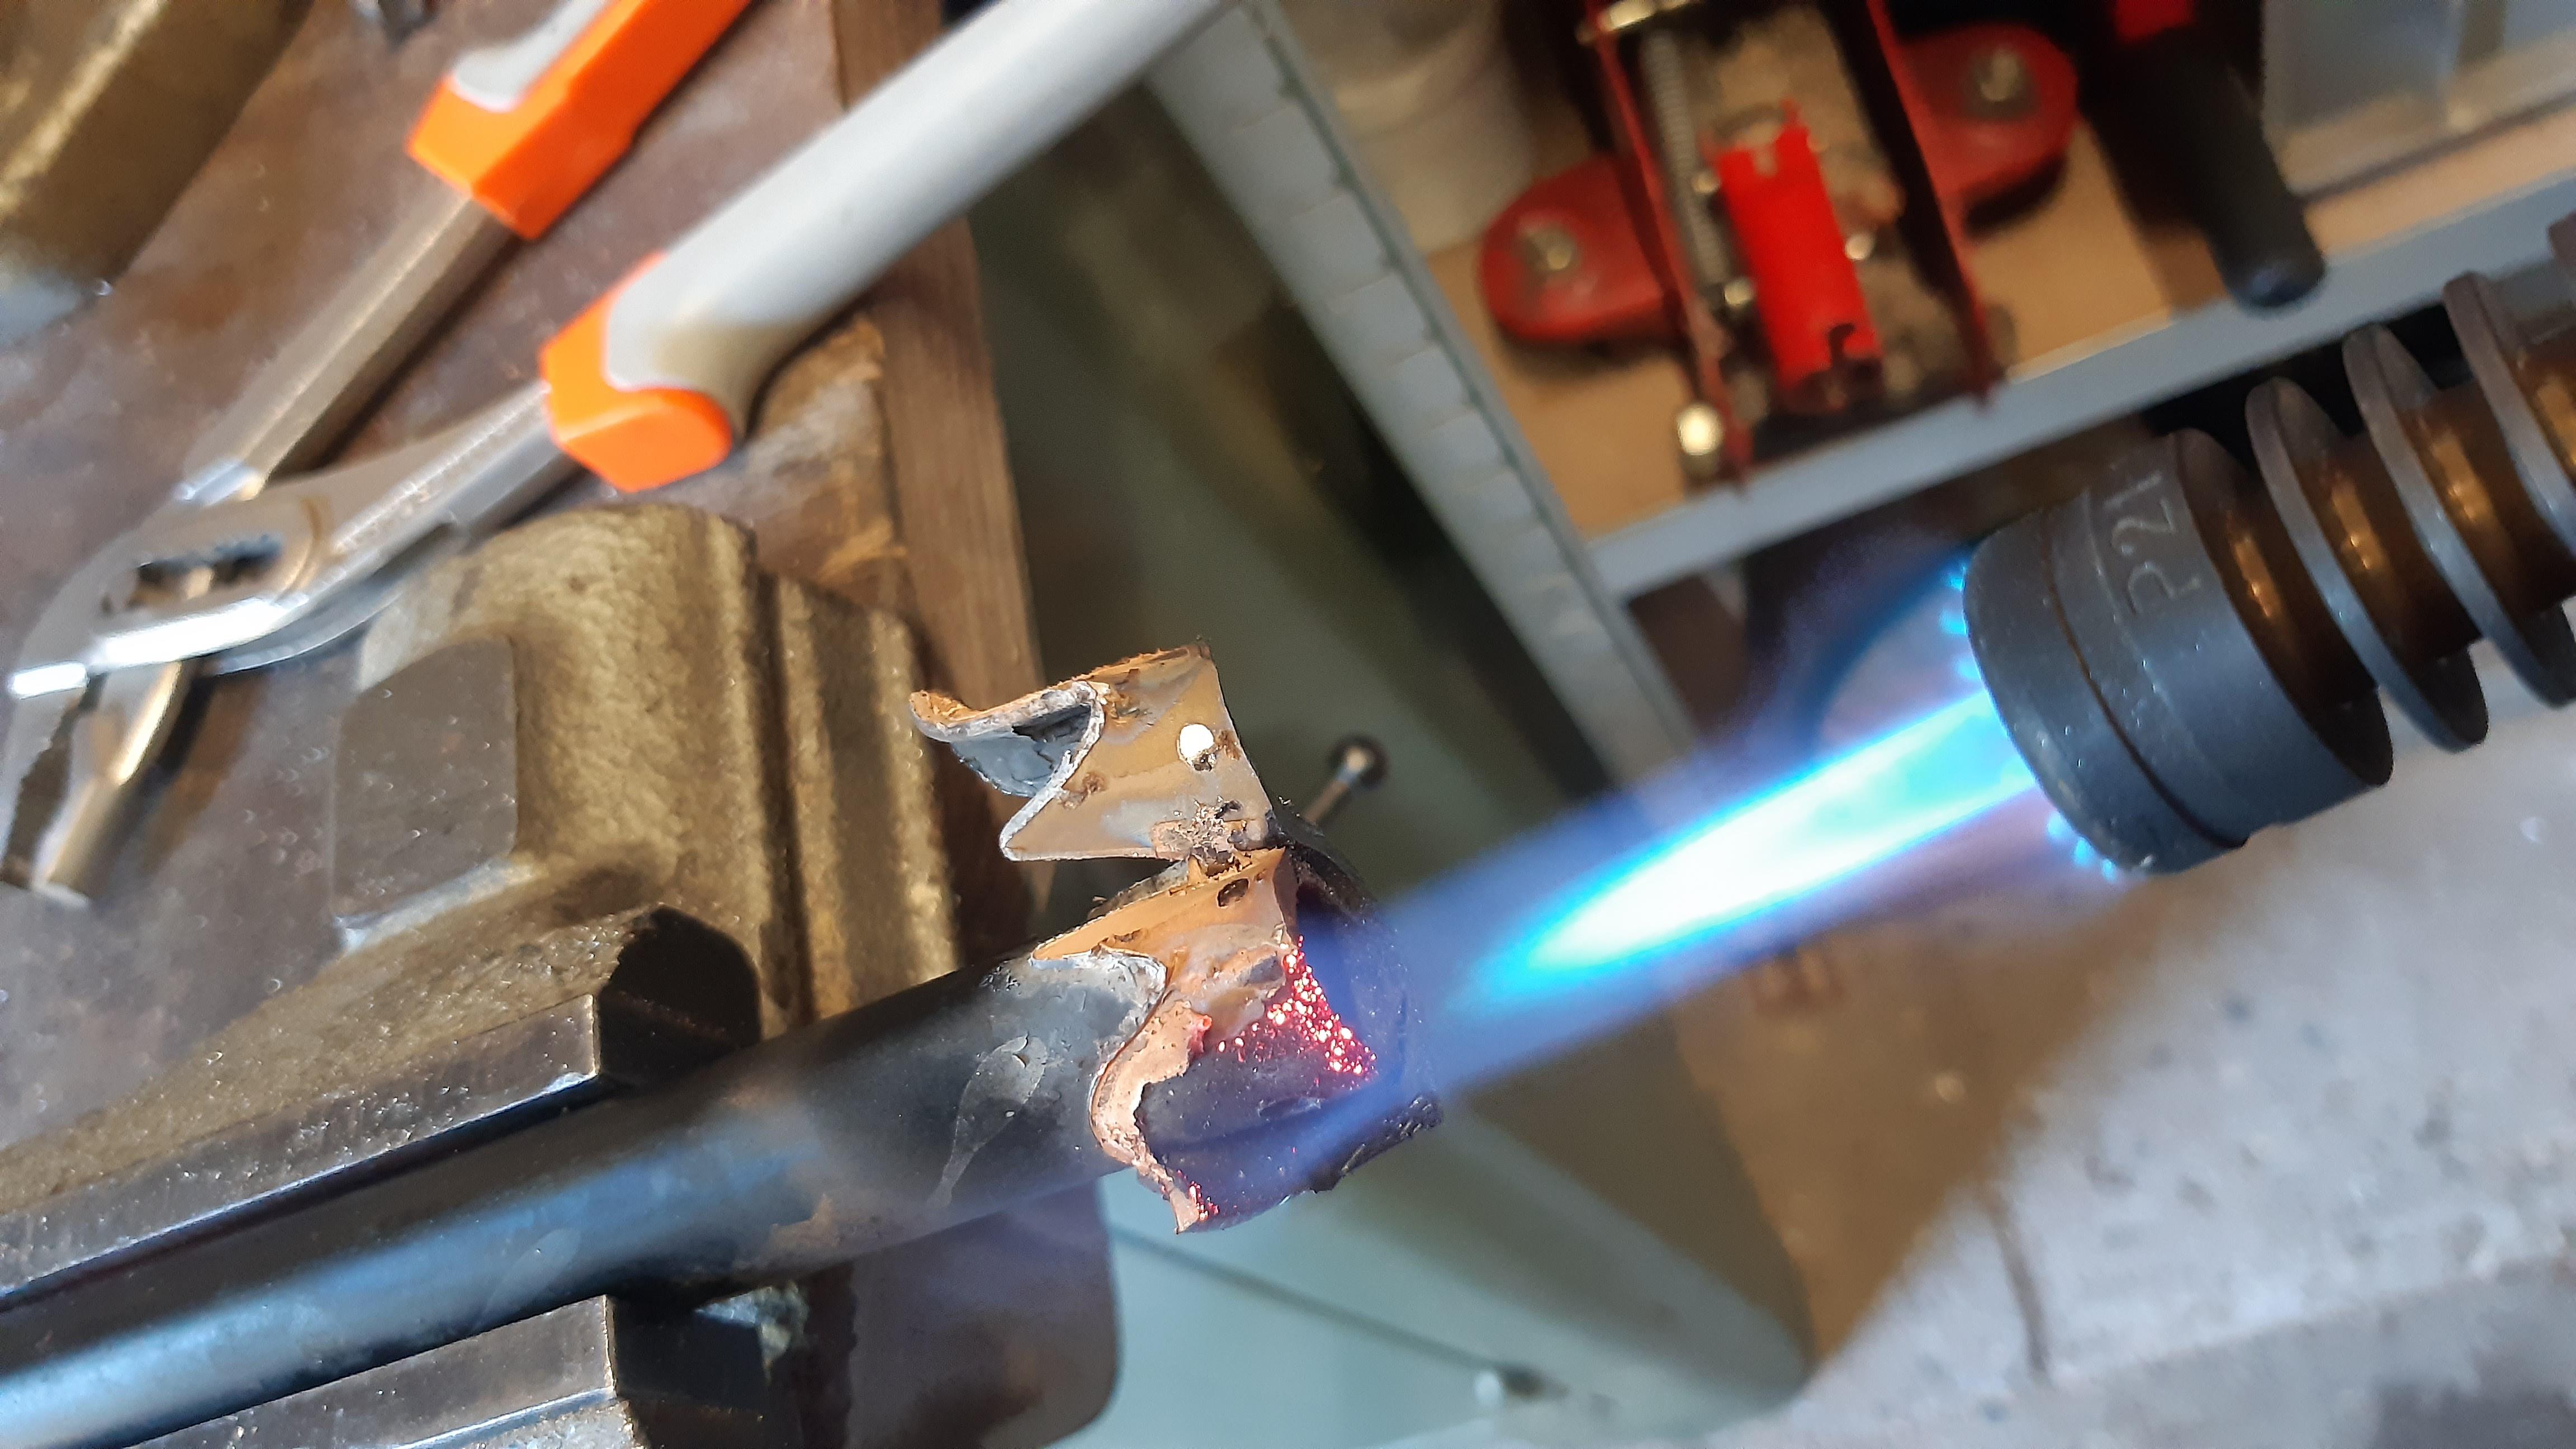
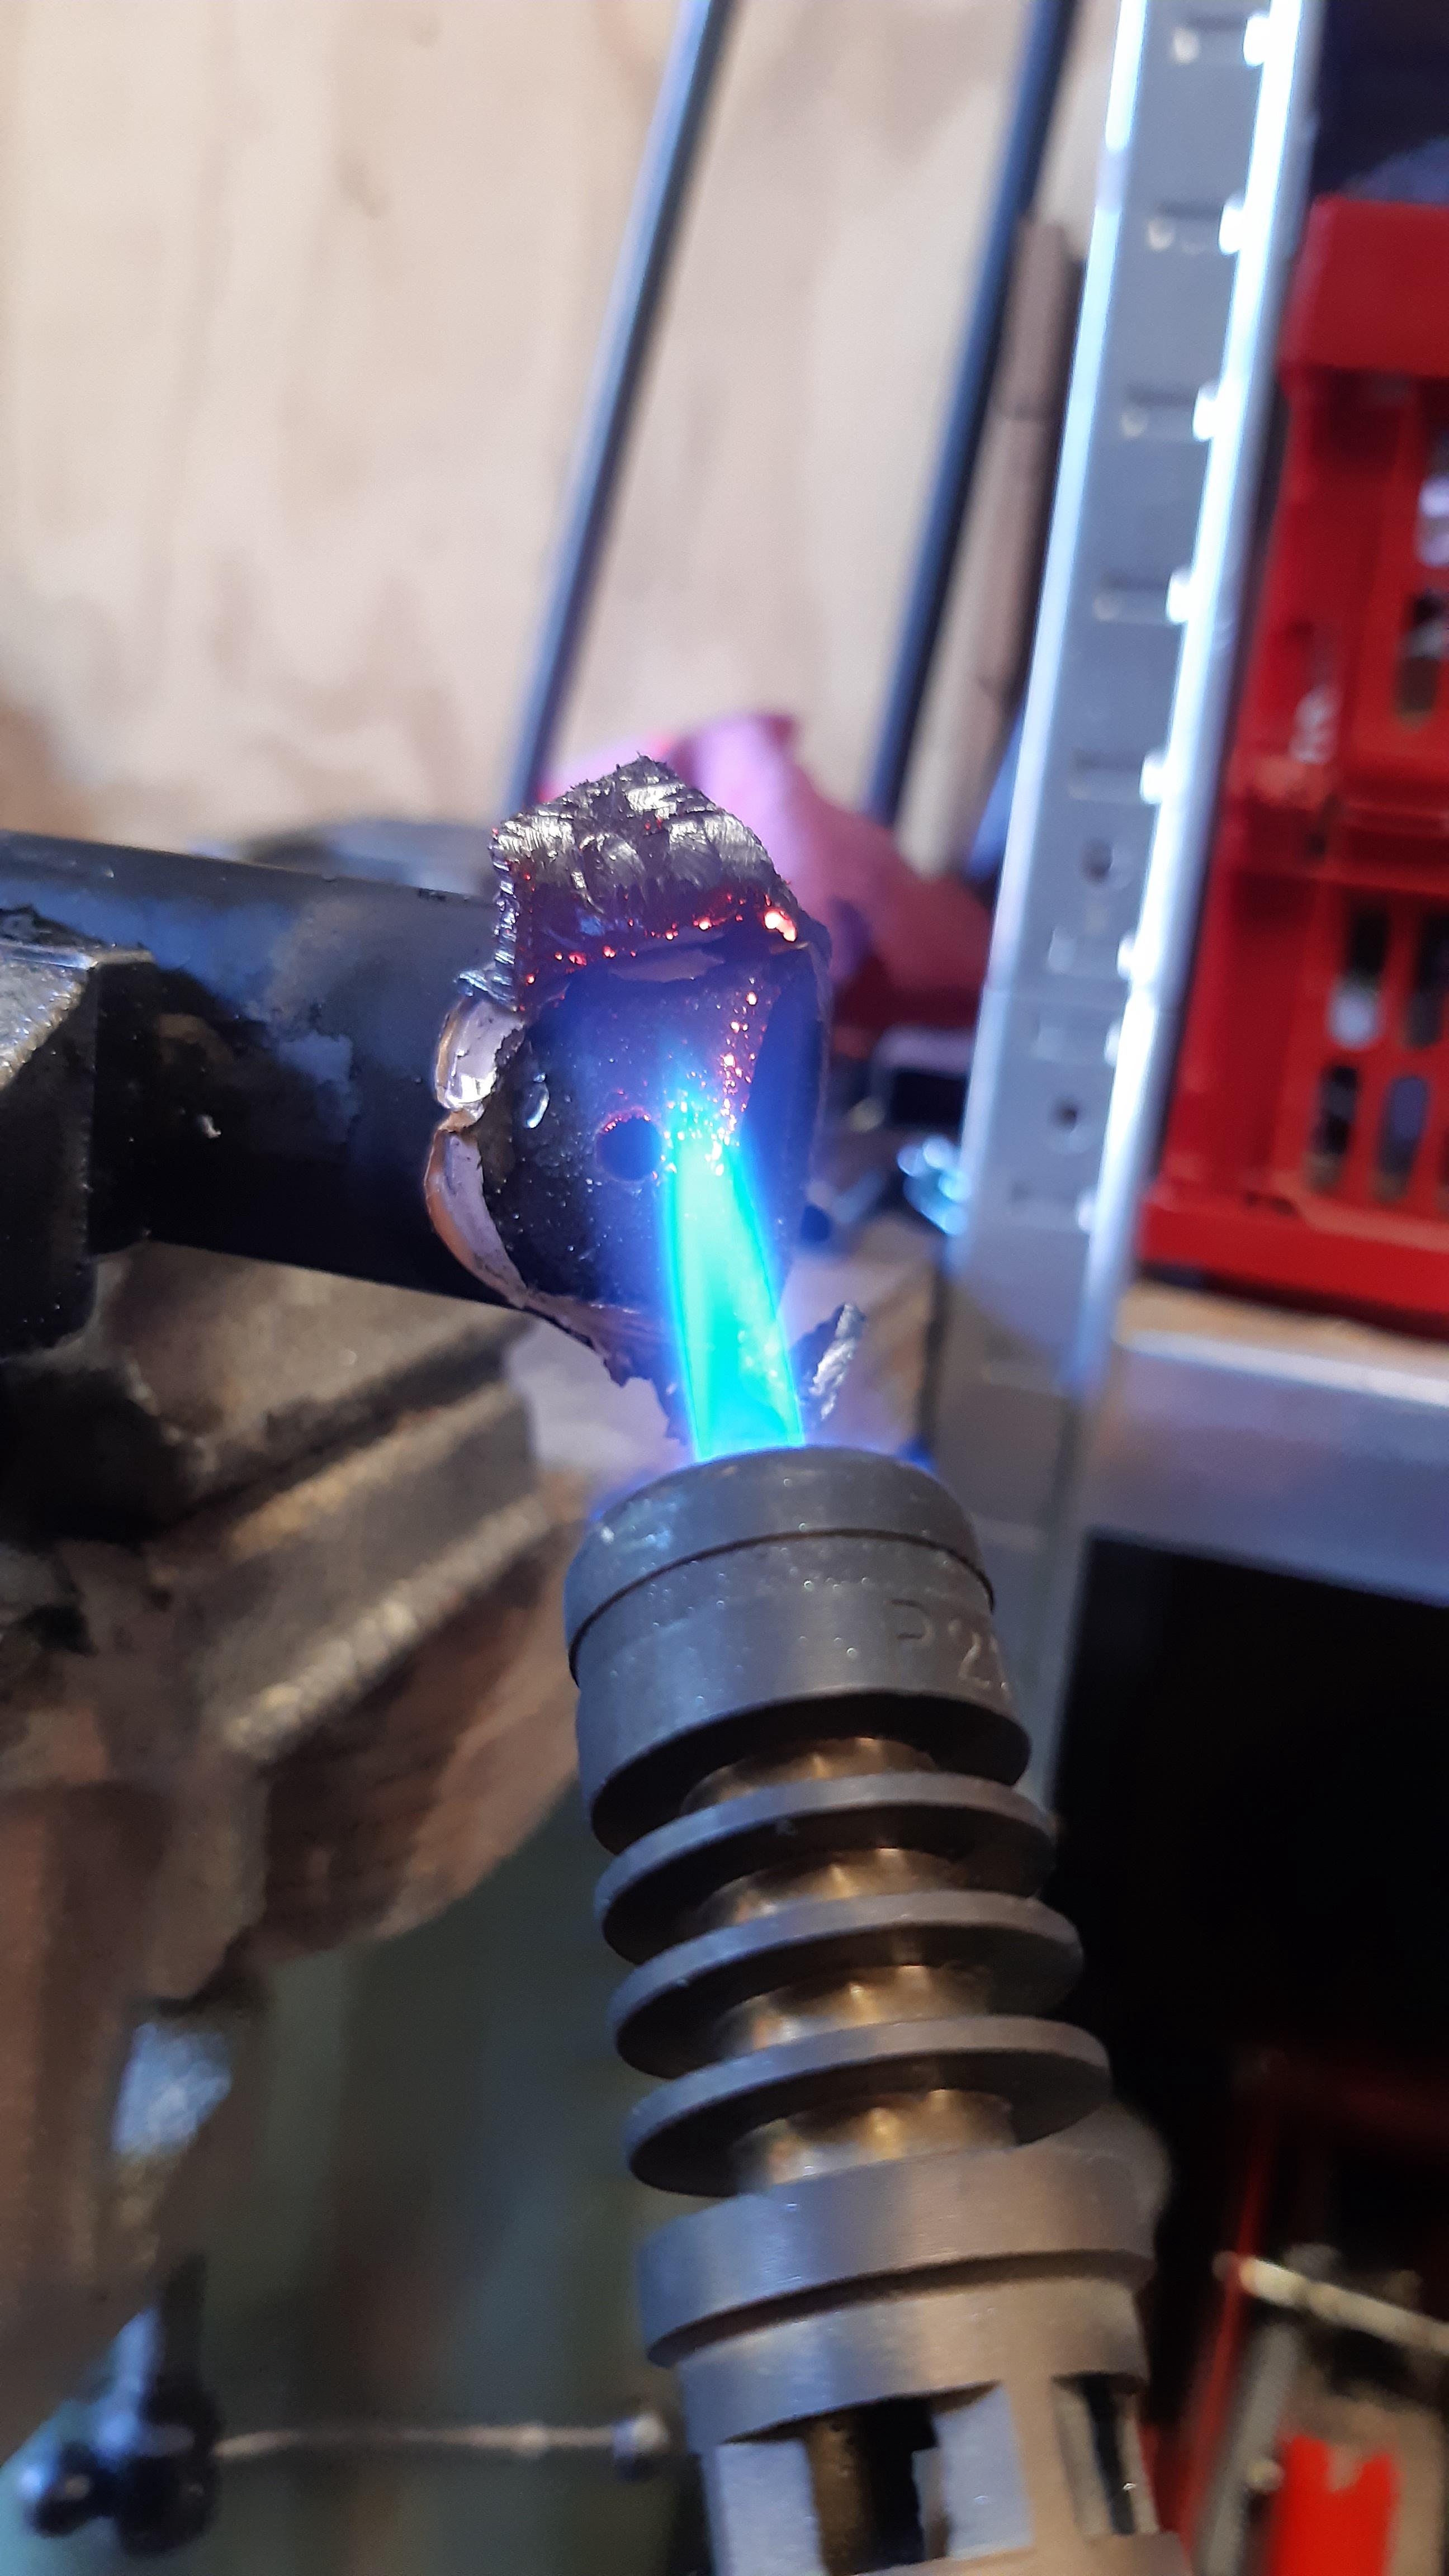
I stored the fork legs in my shed, still with a part of the crown attached. It is nice to see that these mass produced forks are brazed.
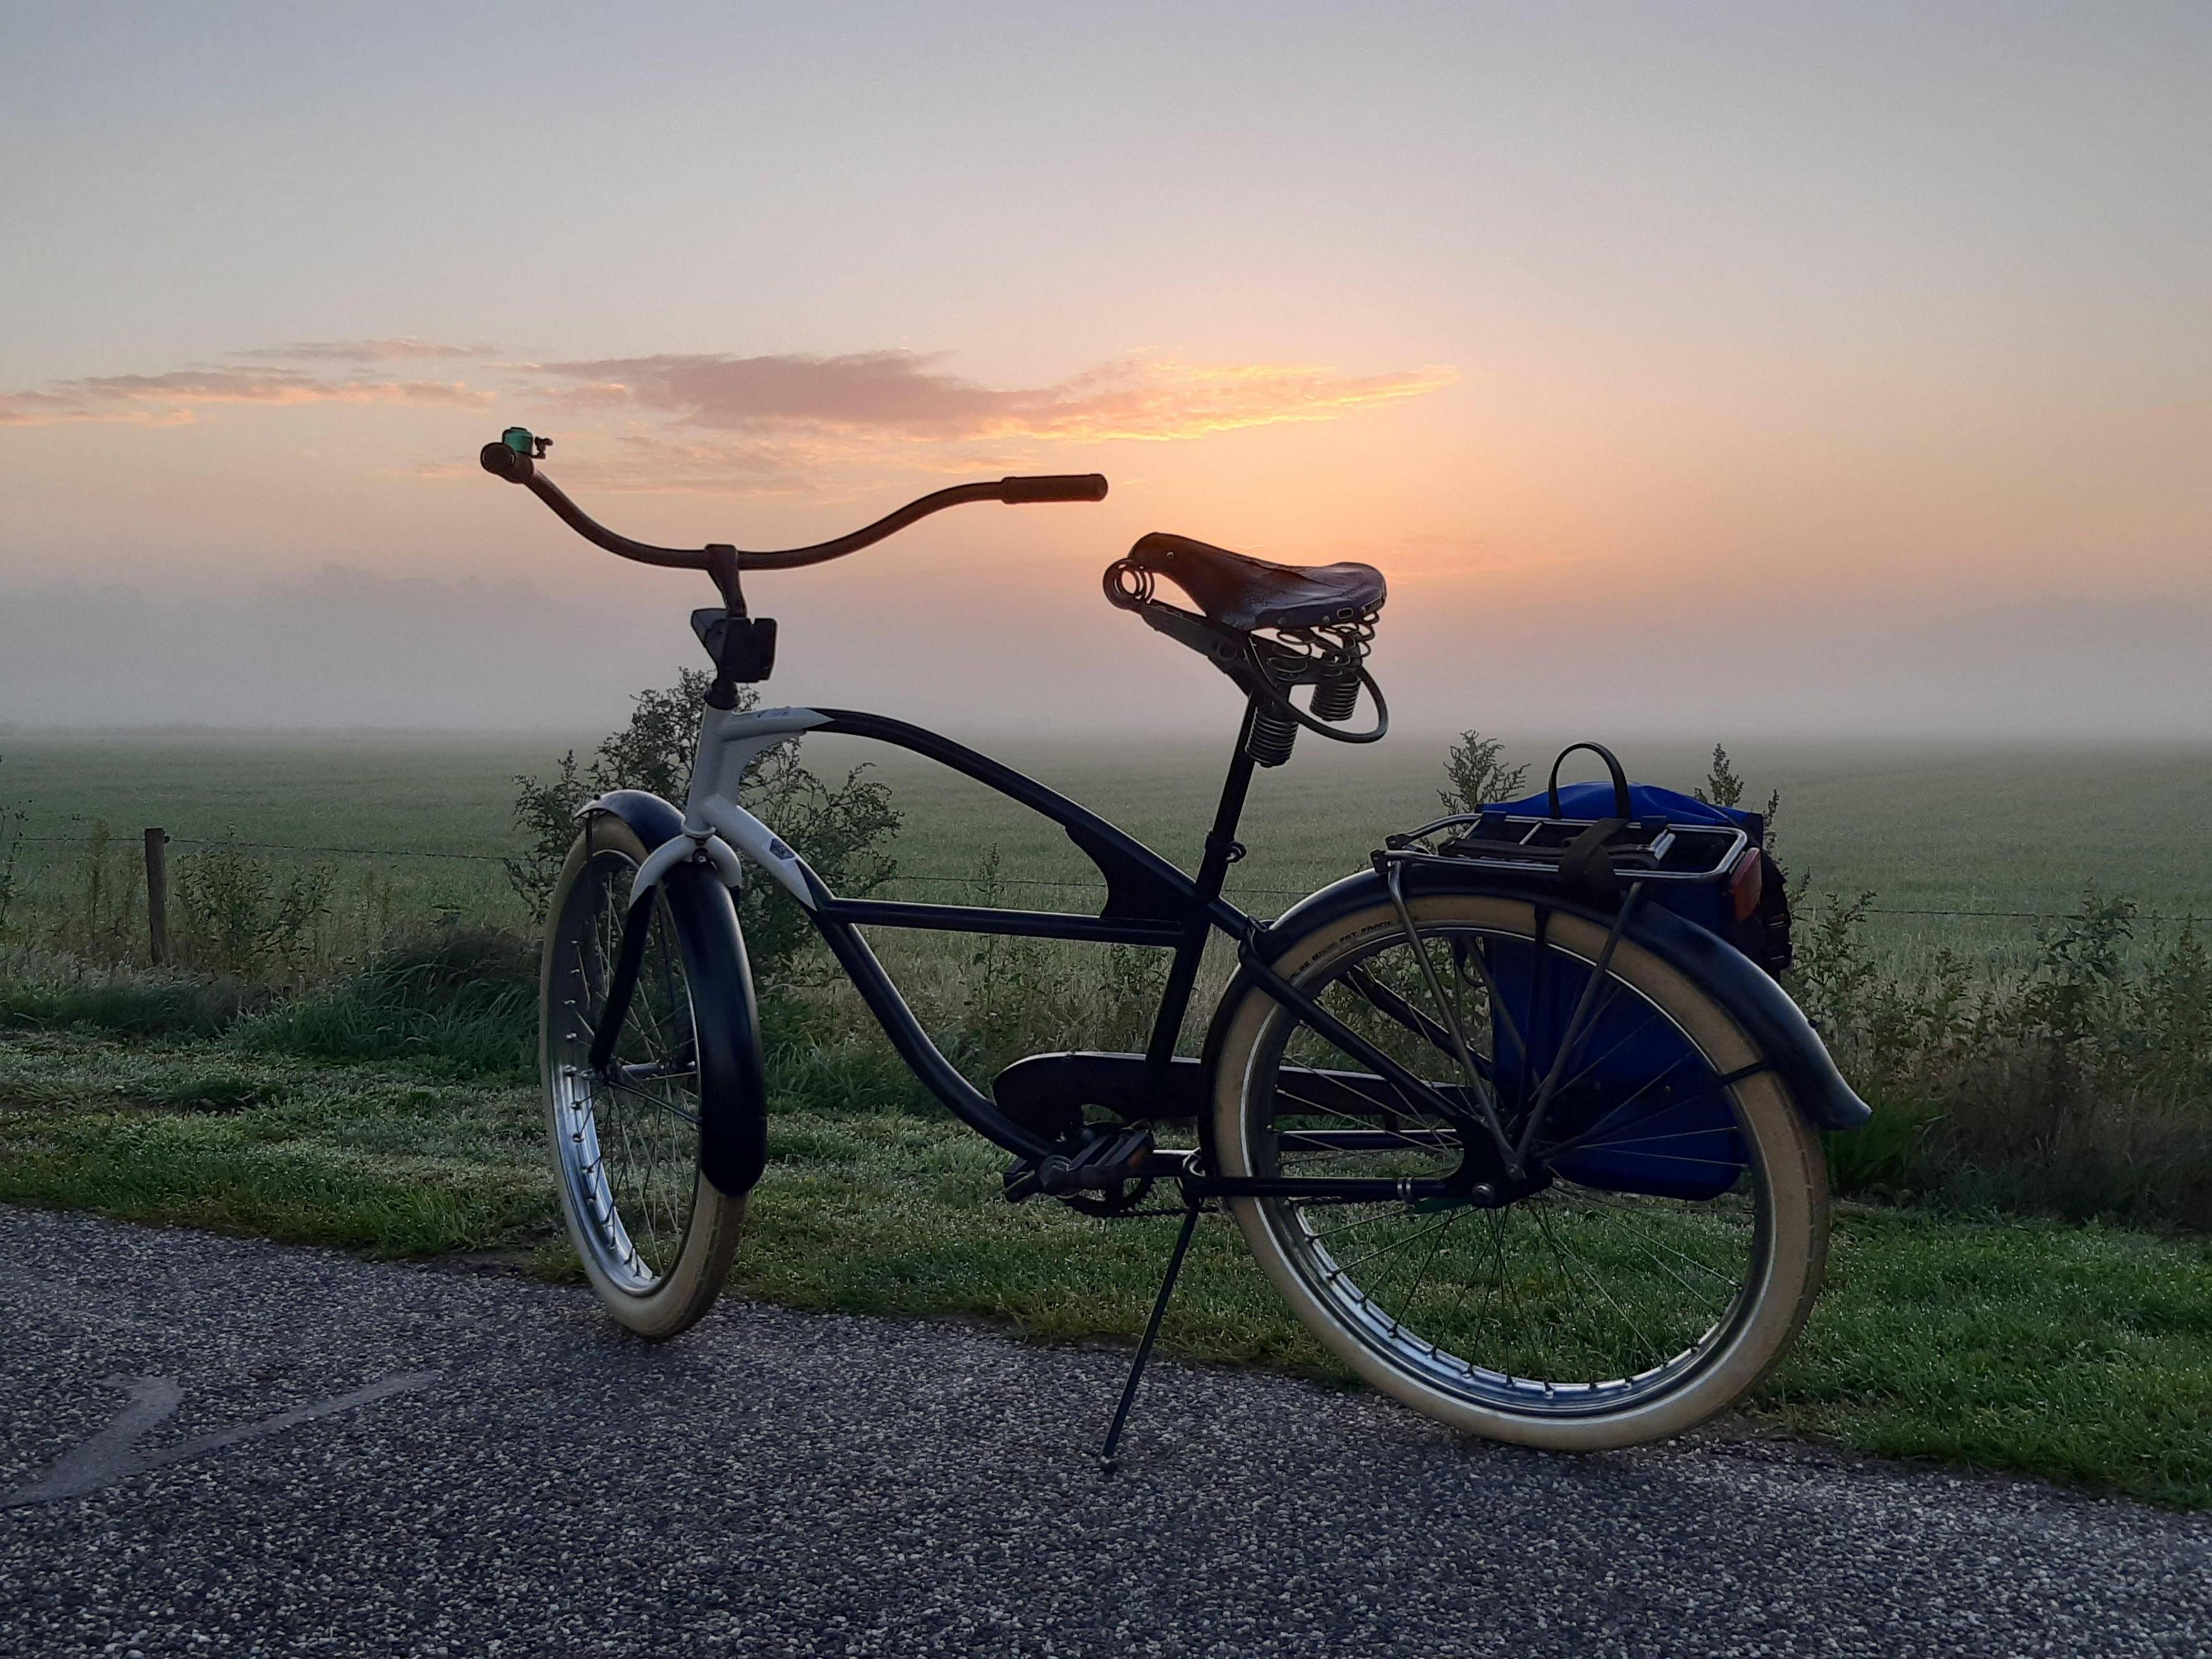
Now I have some ideas for my Electra Ratrod bike (stay with me here):
(pictures below)
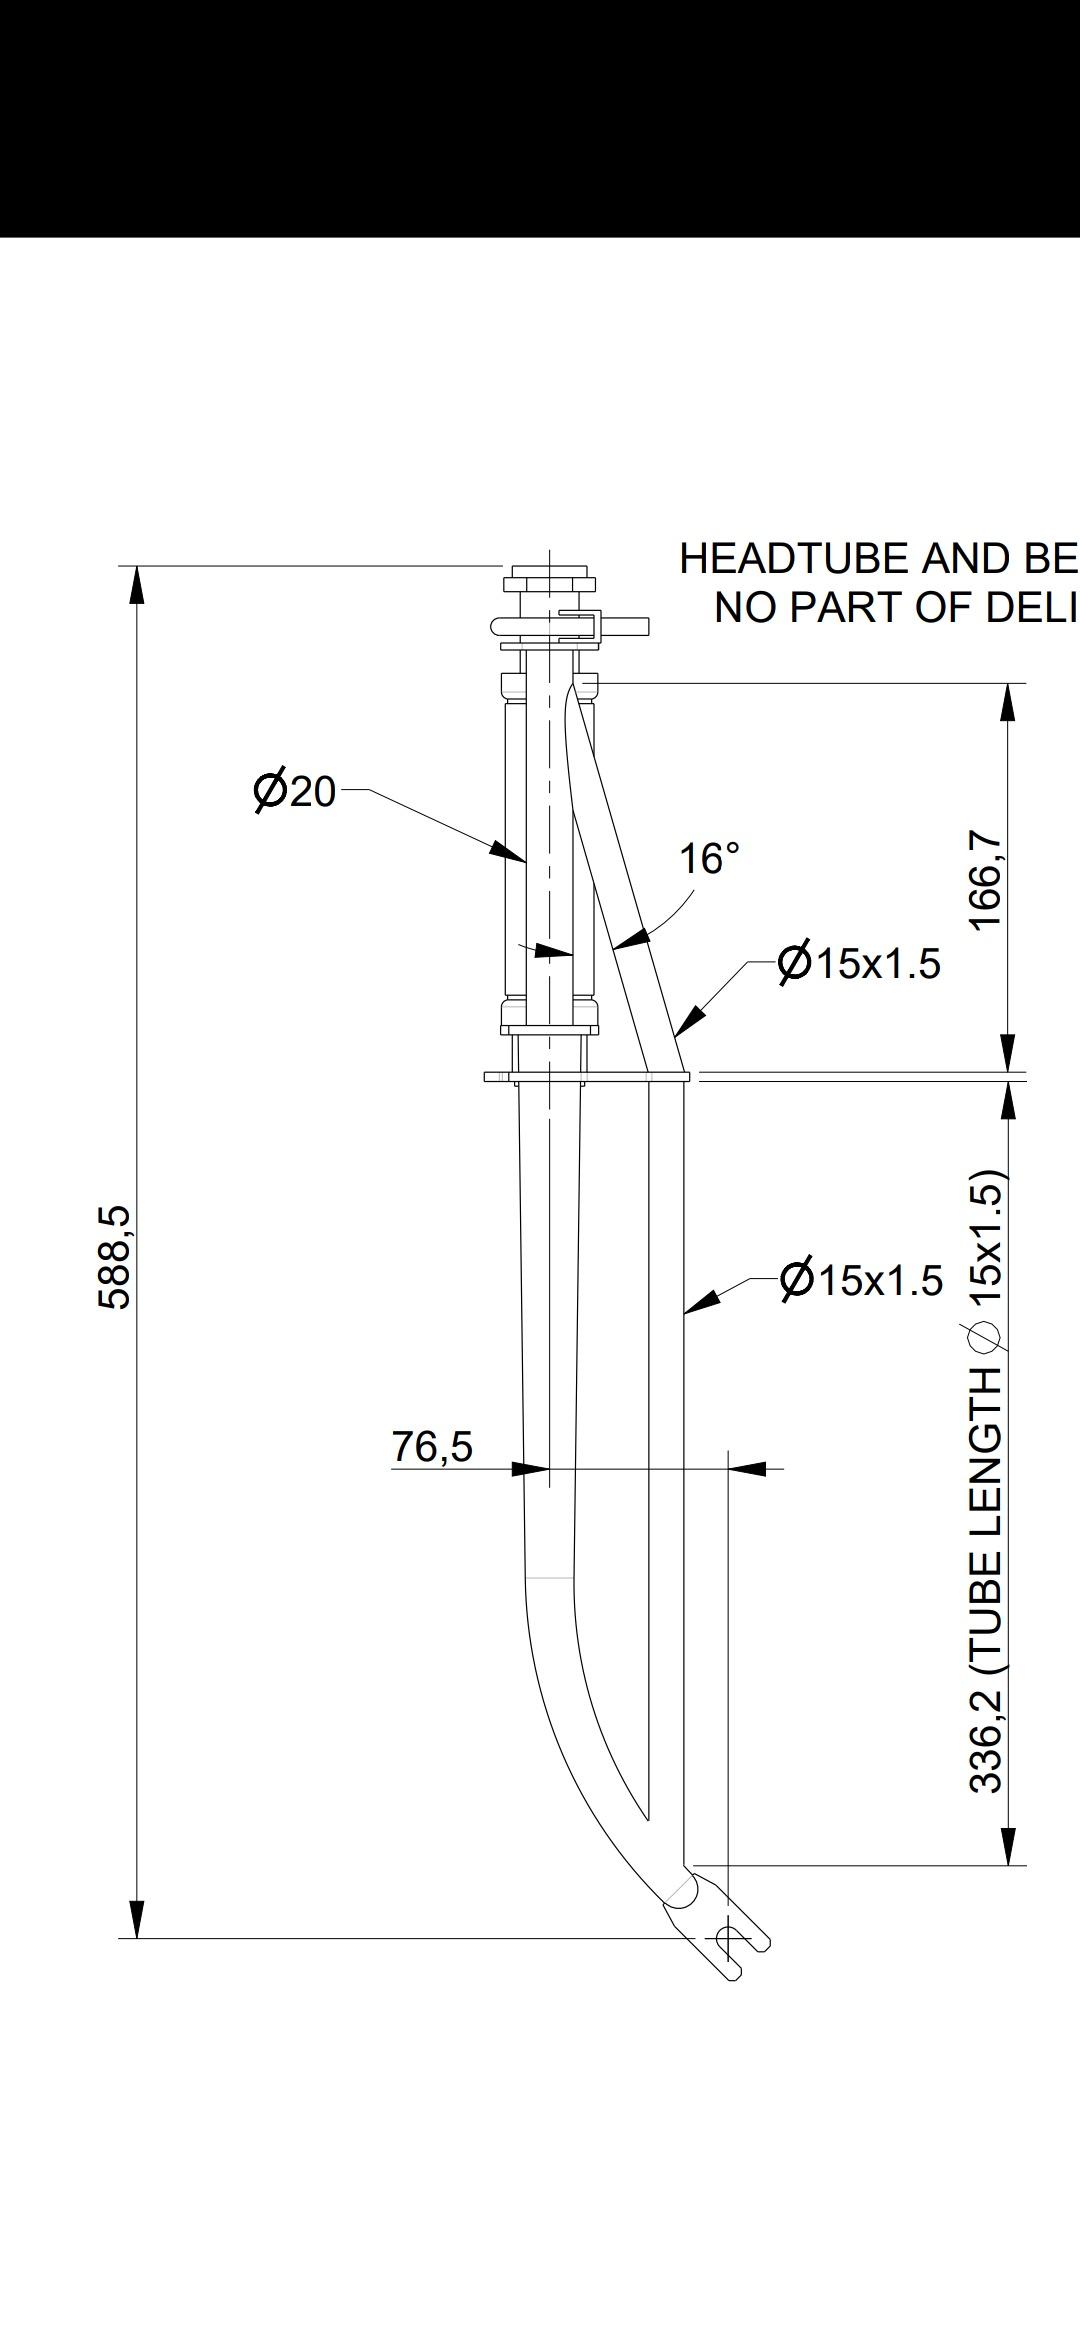
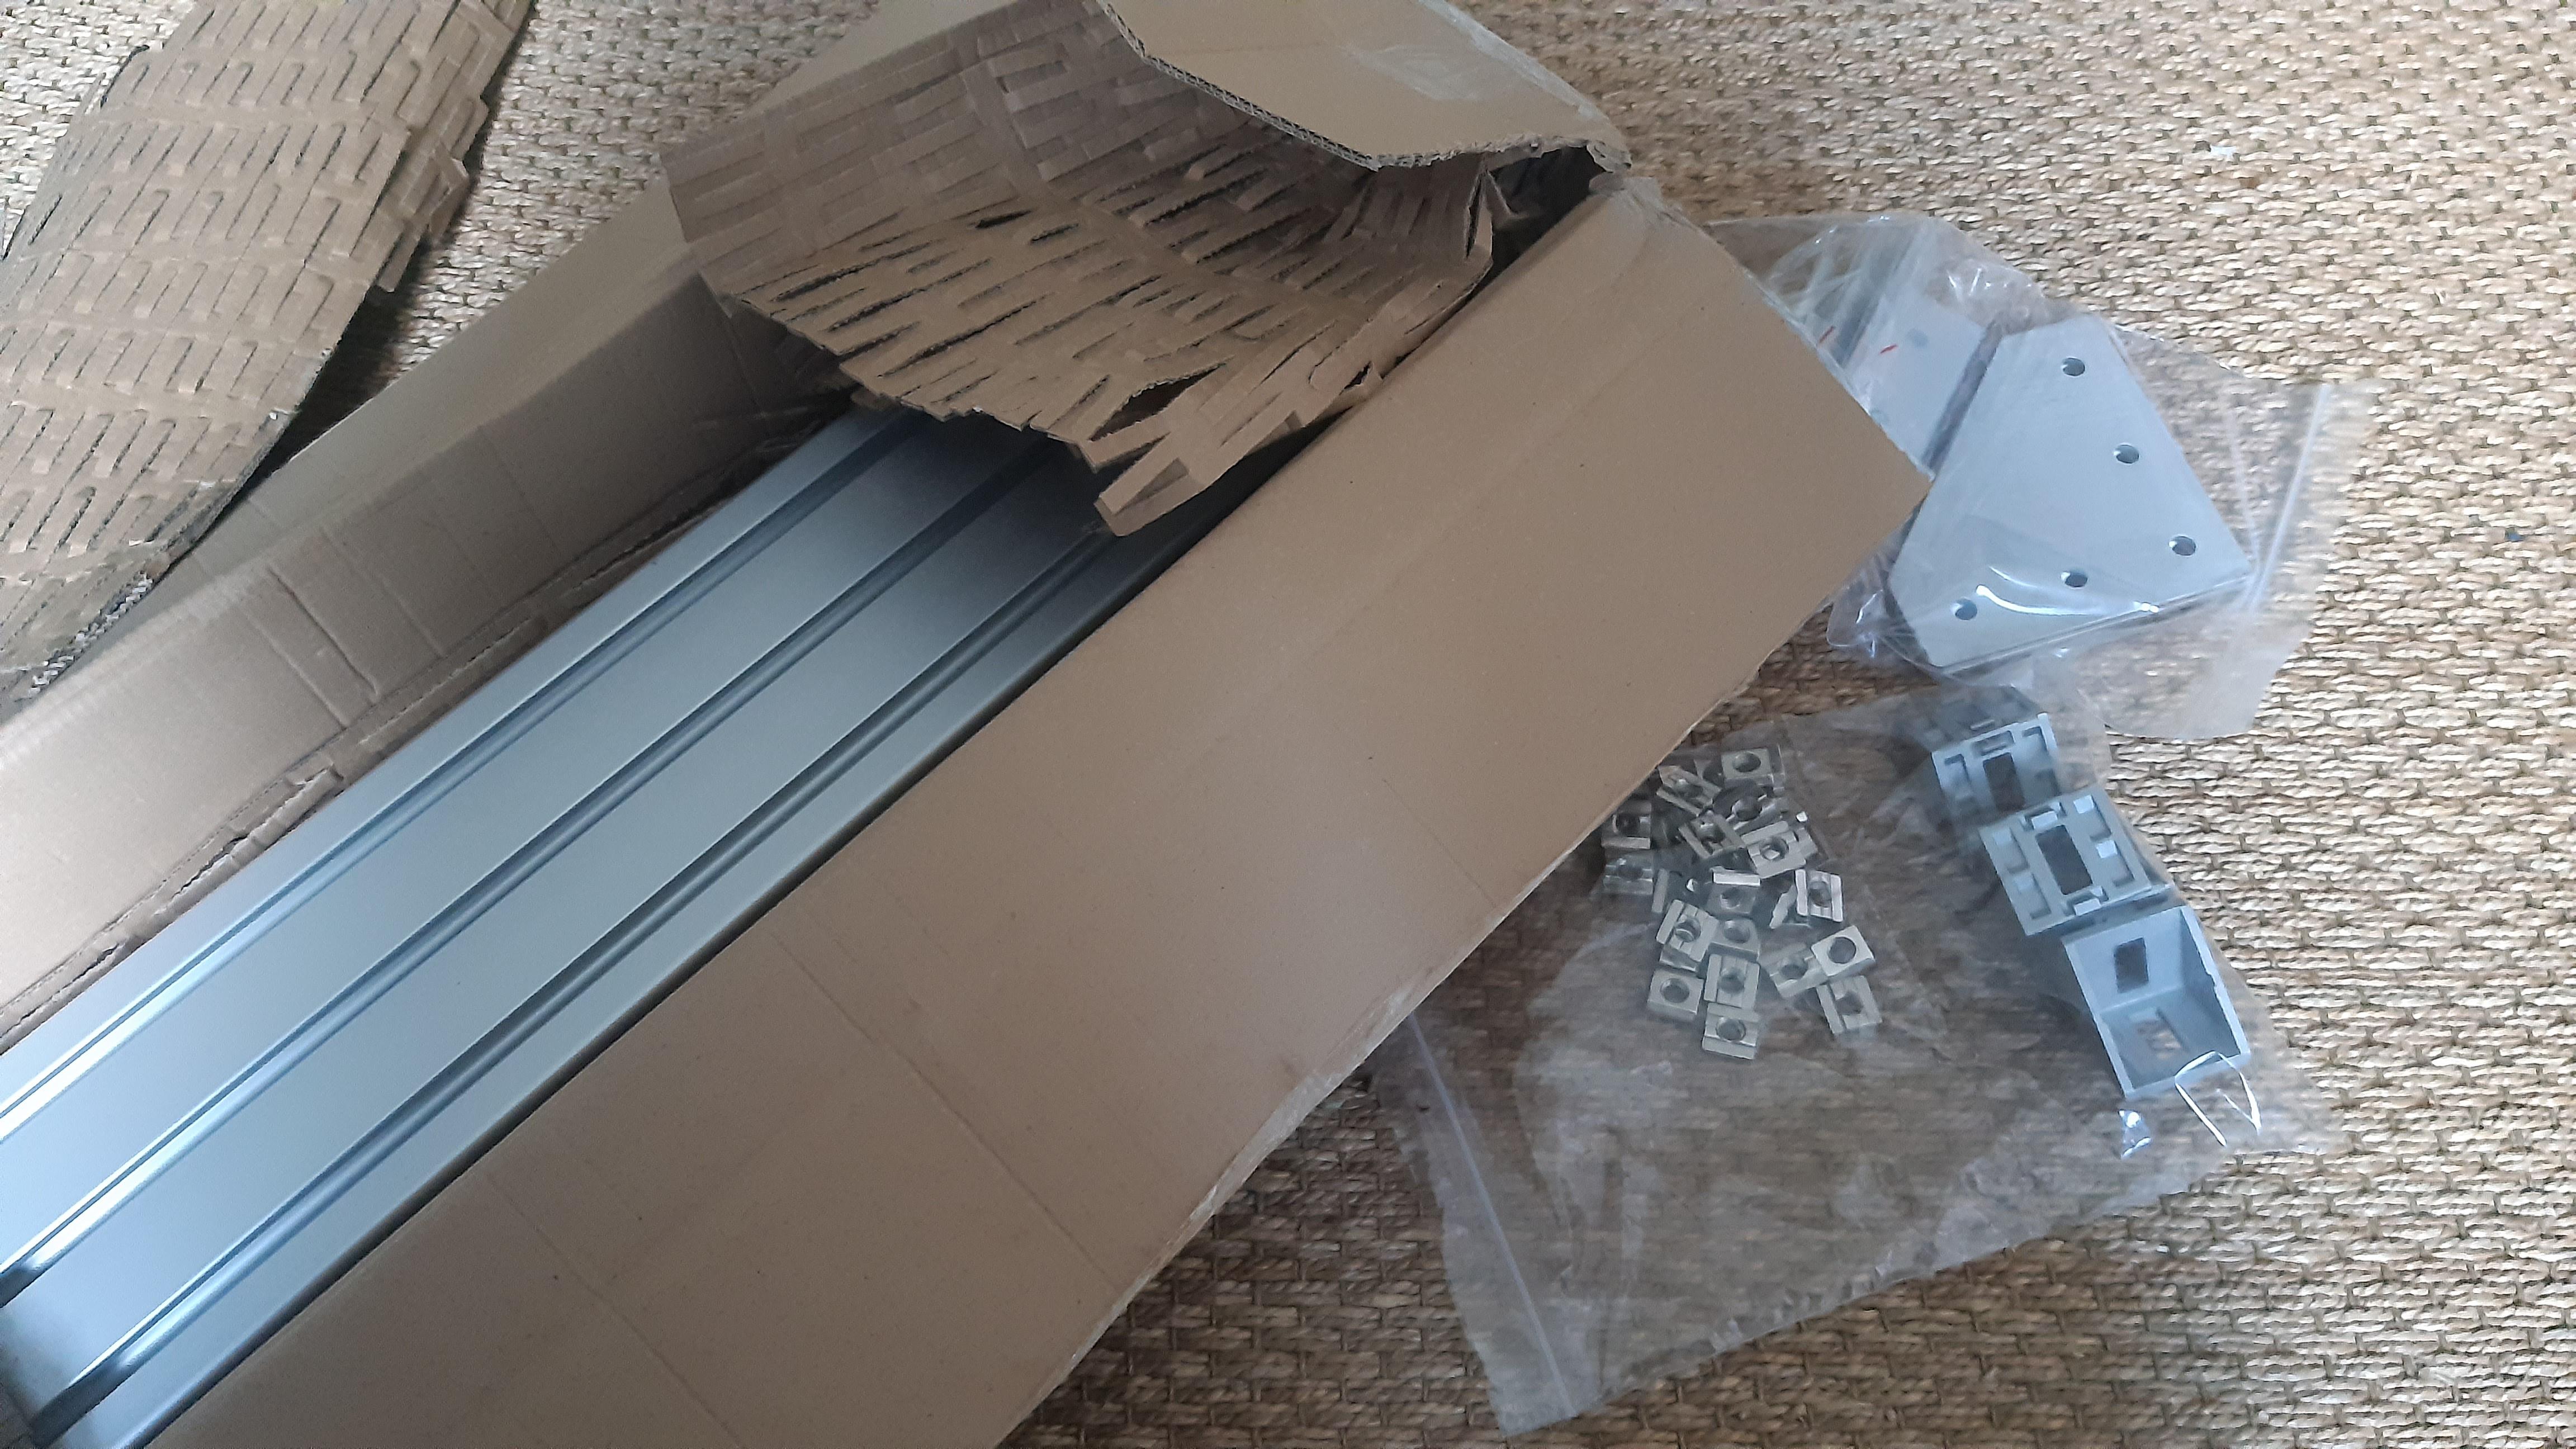
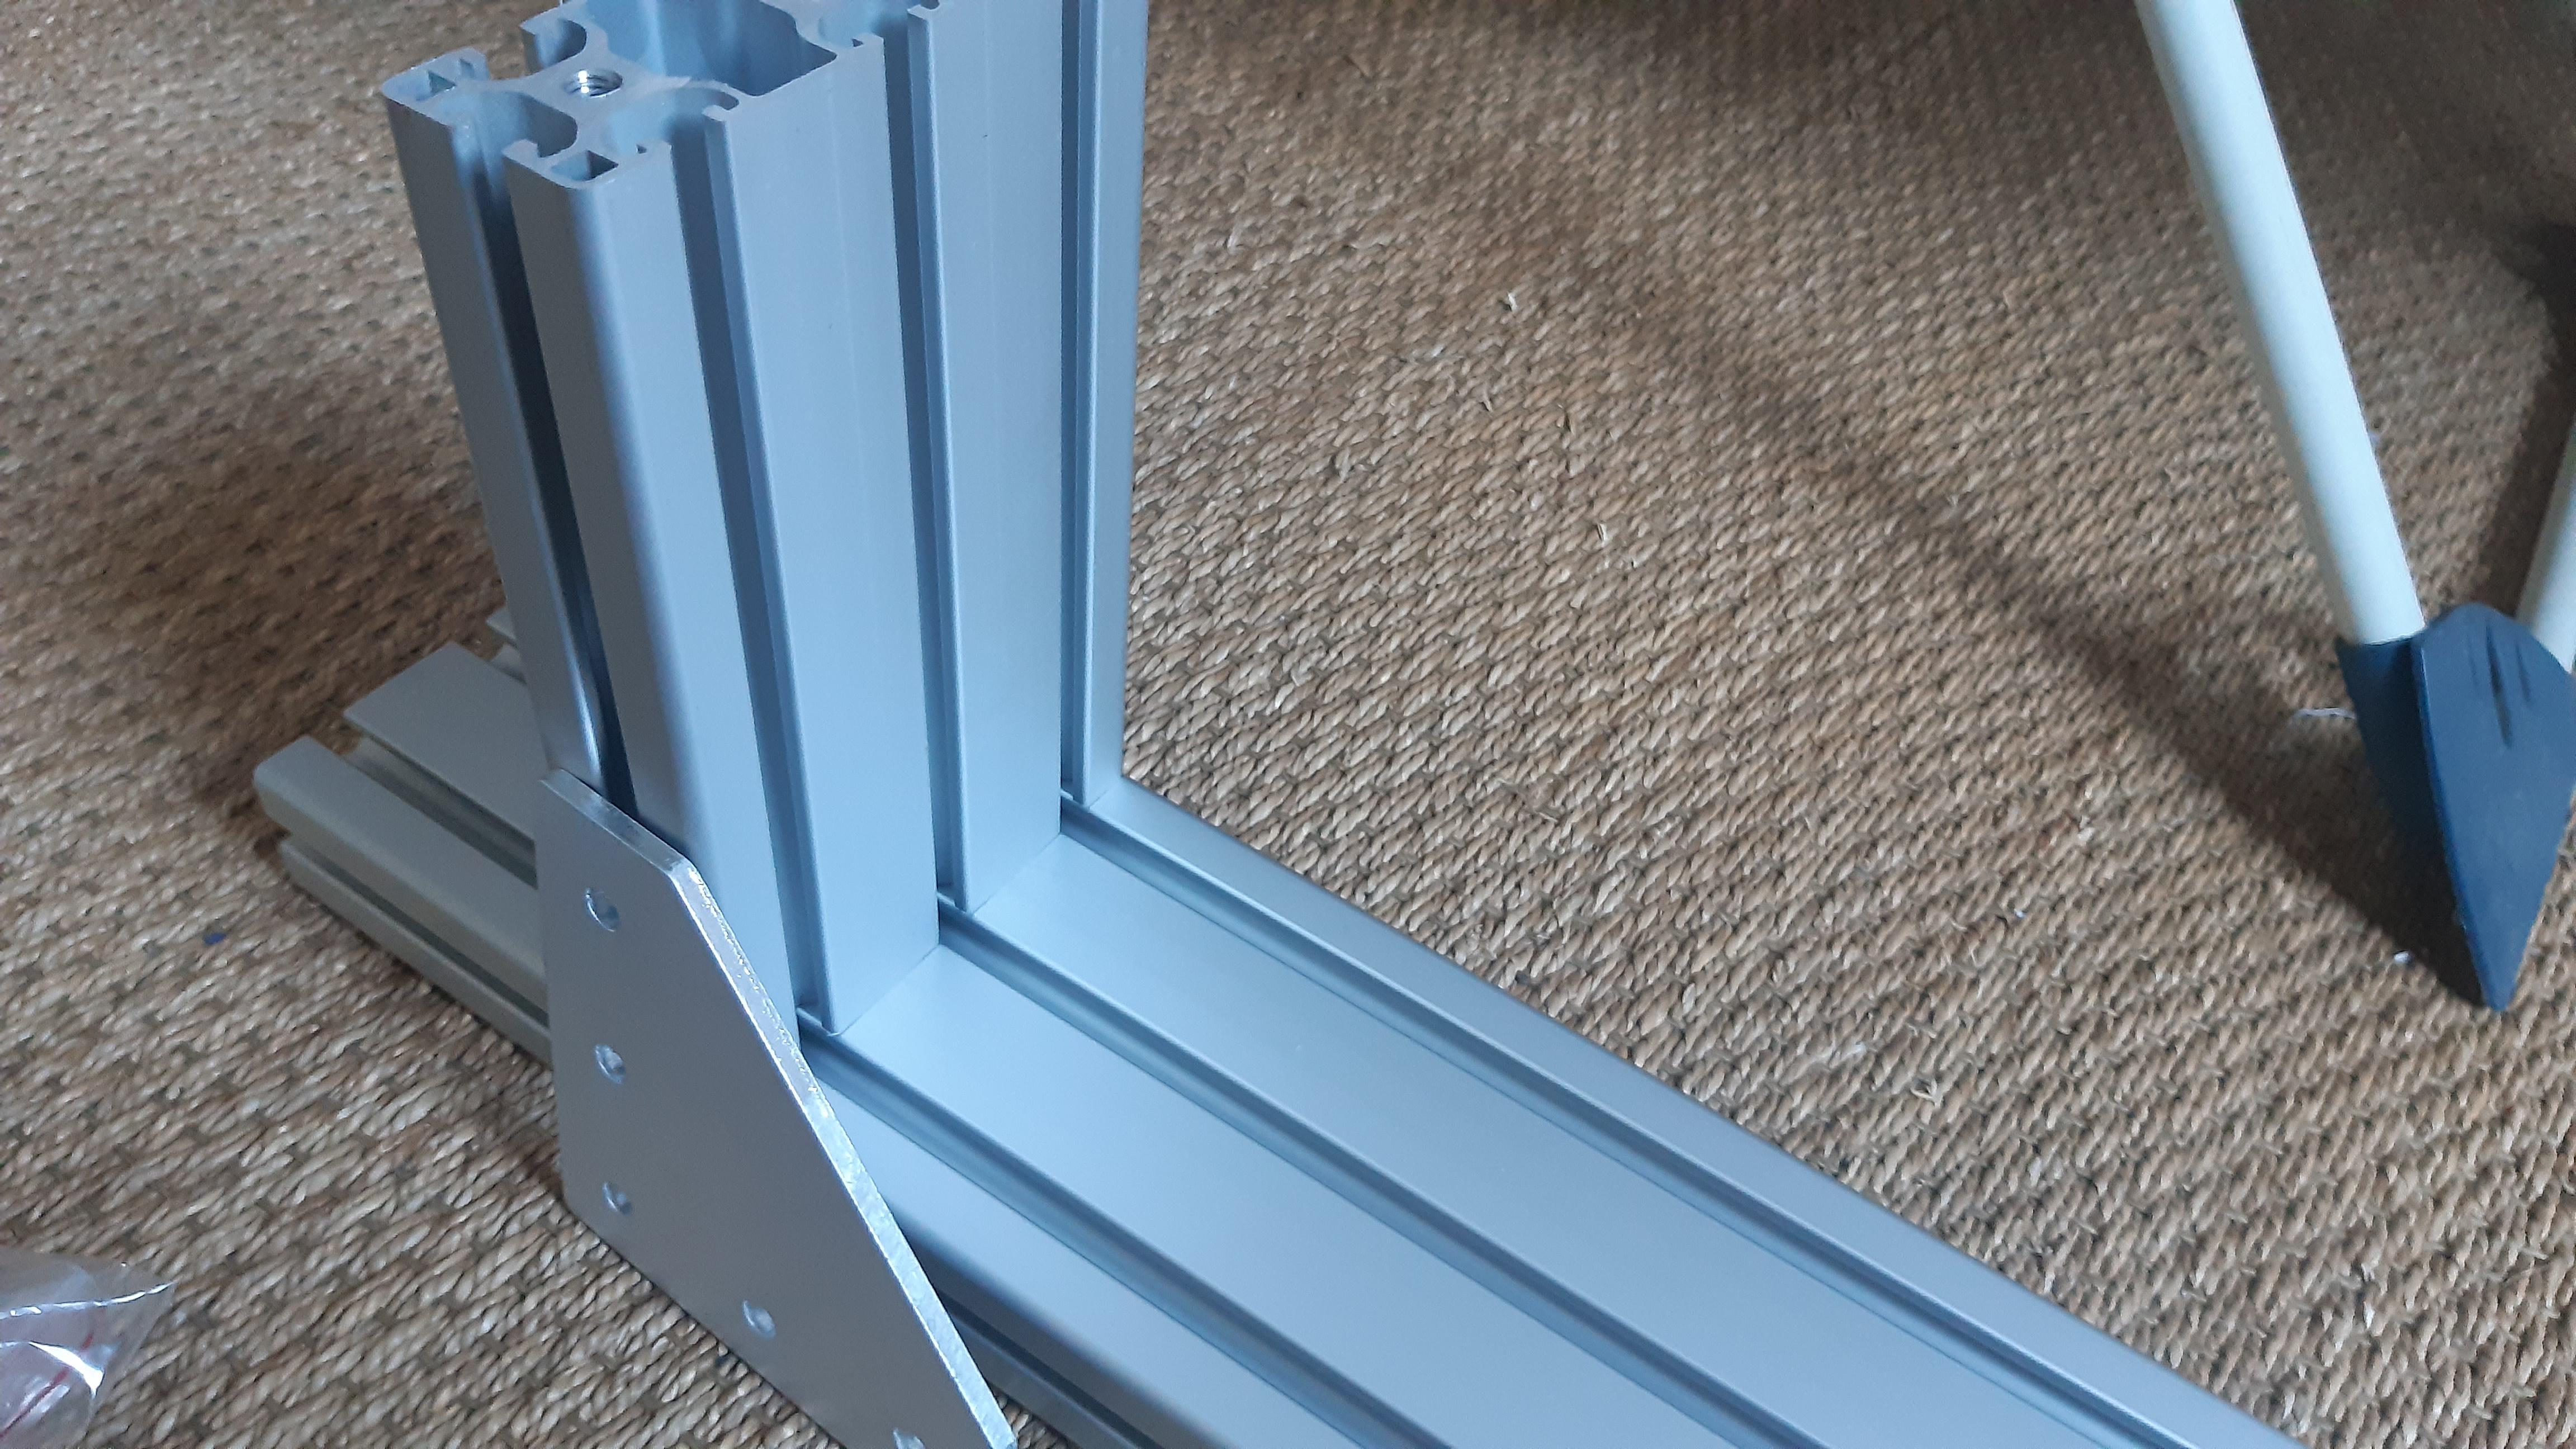
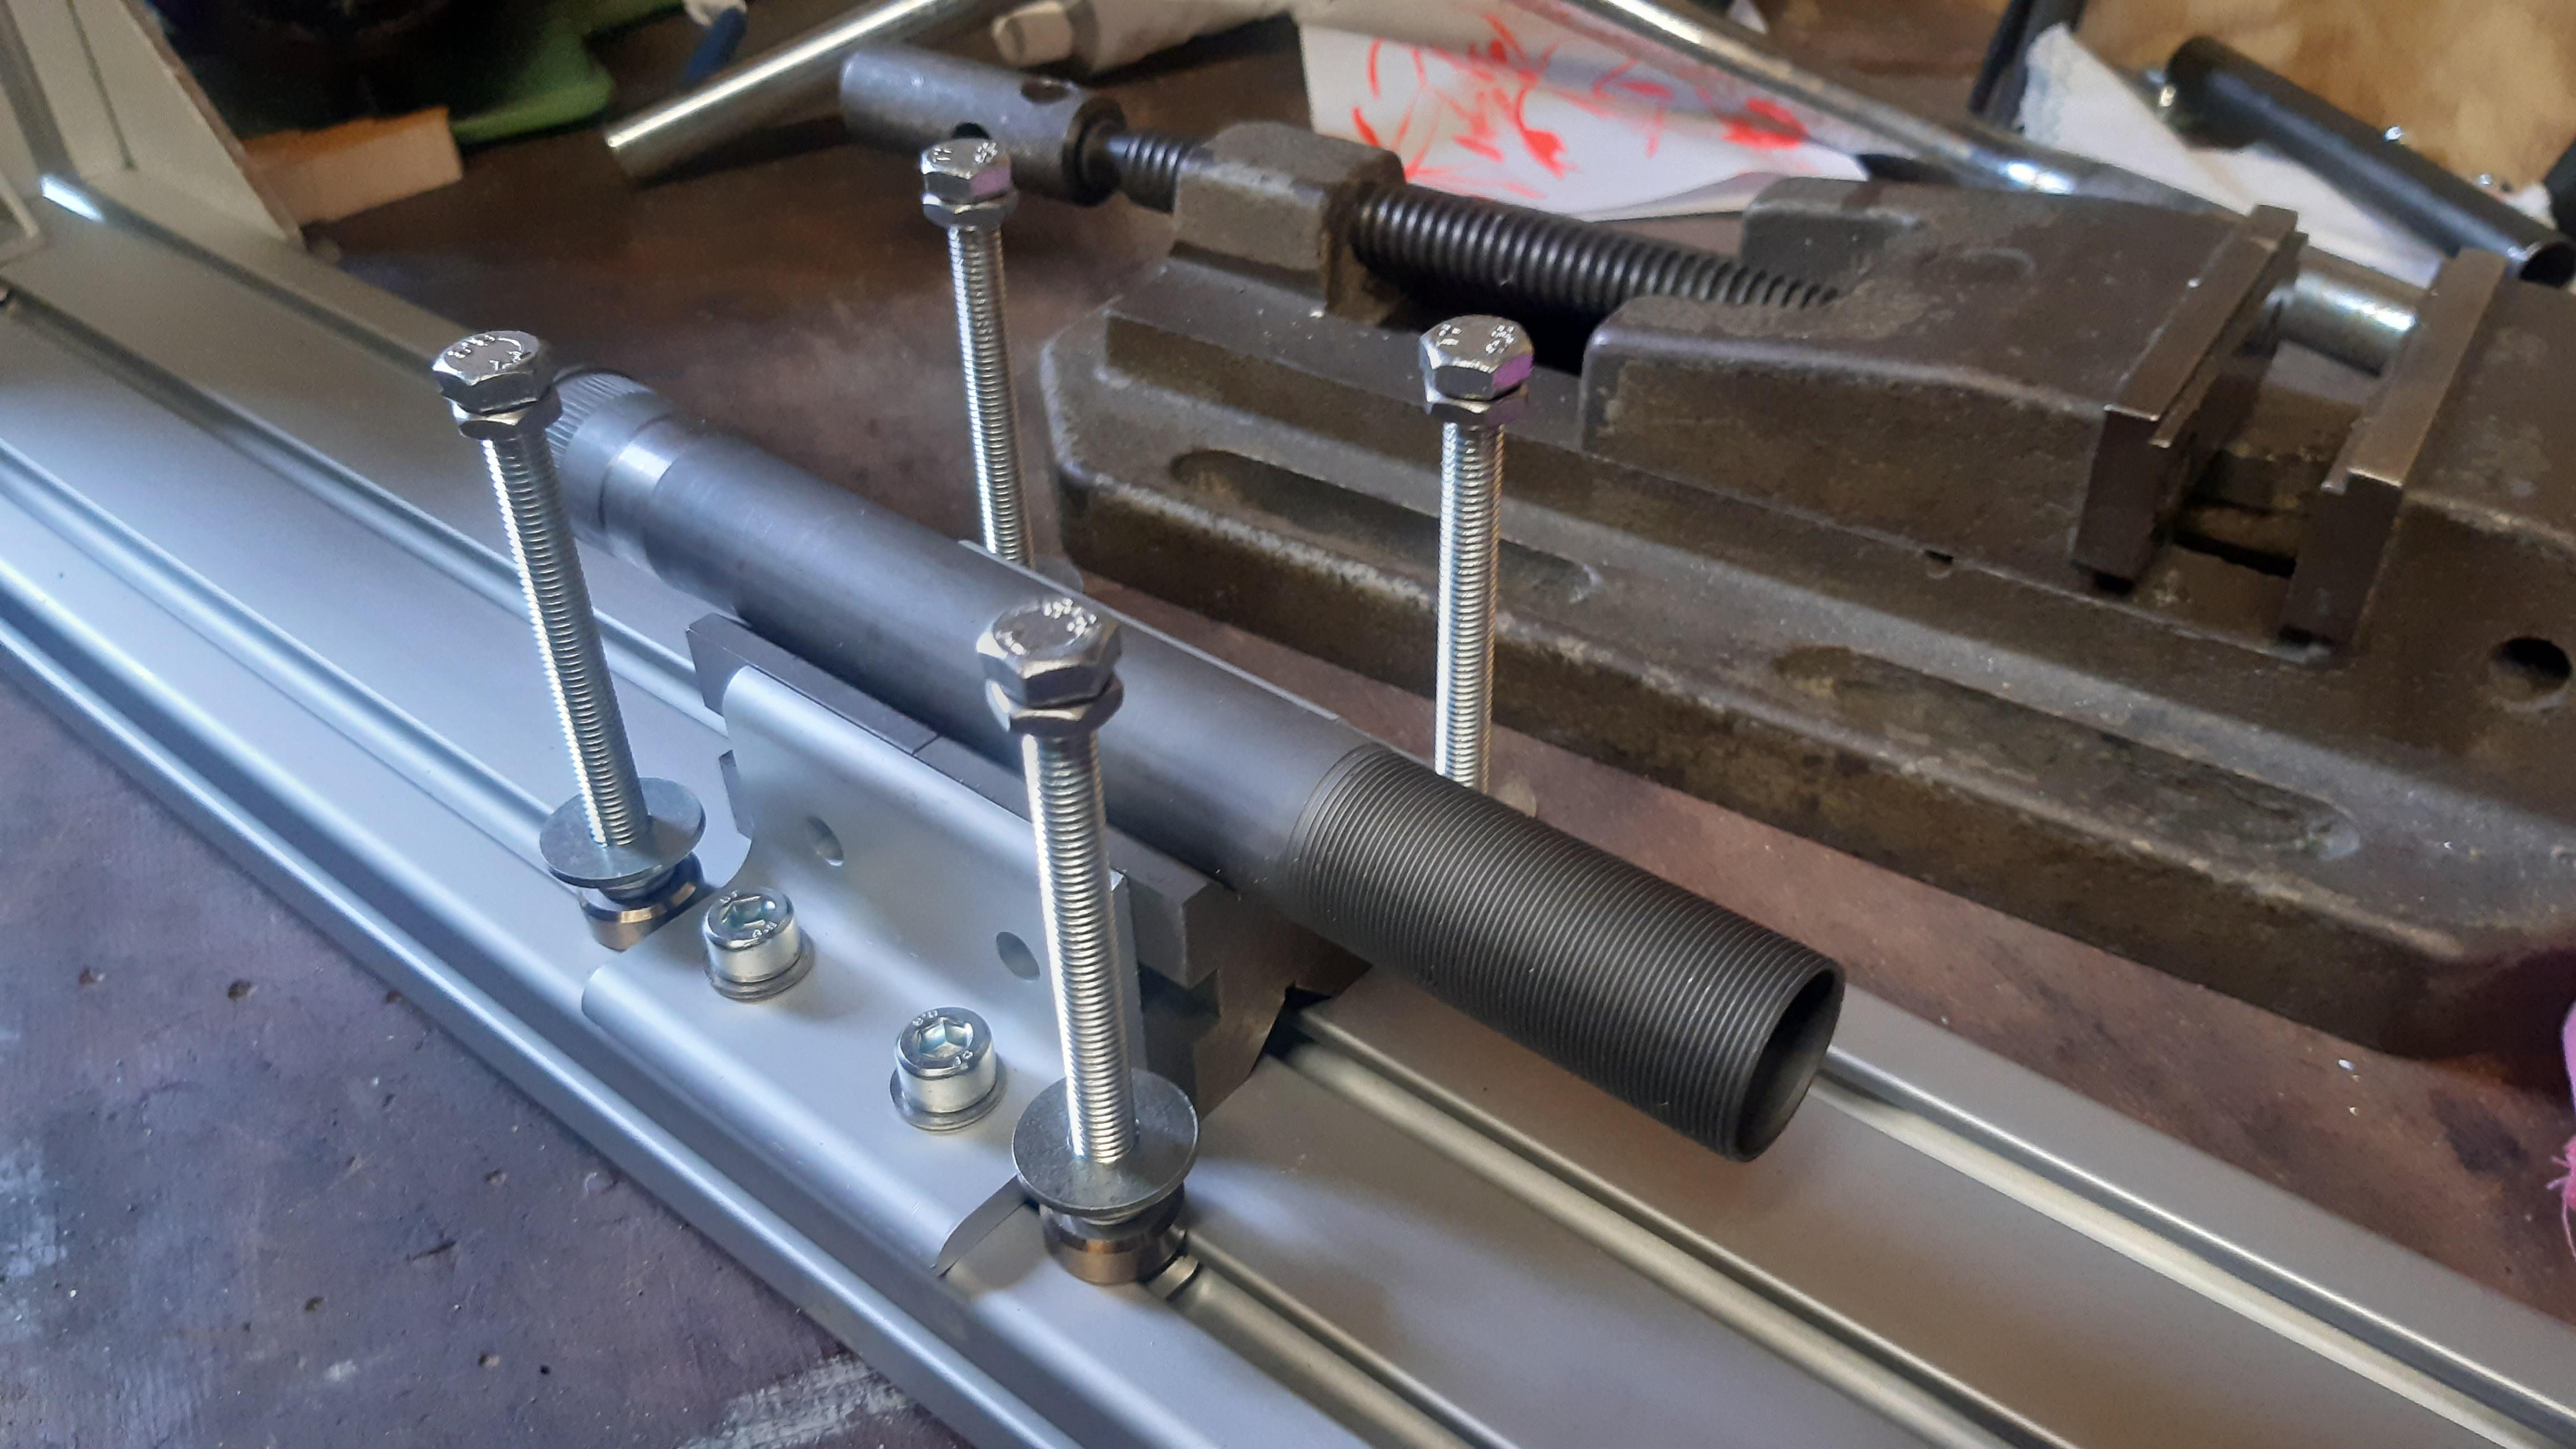
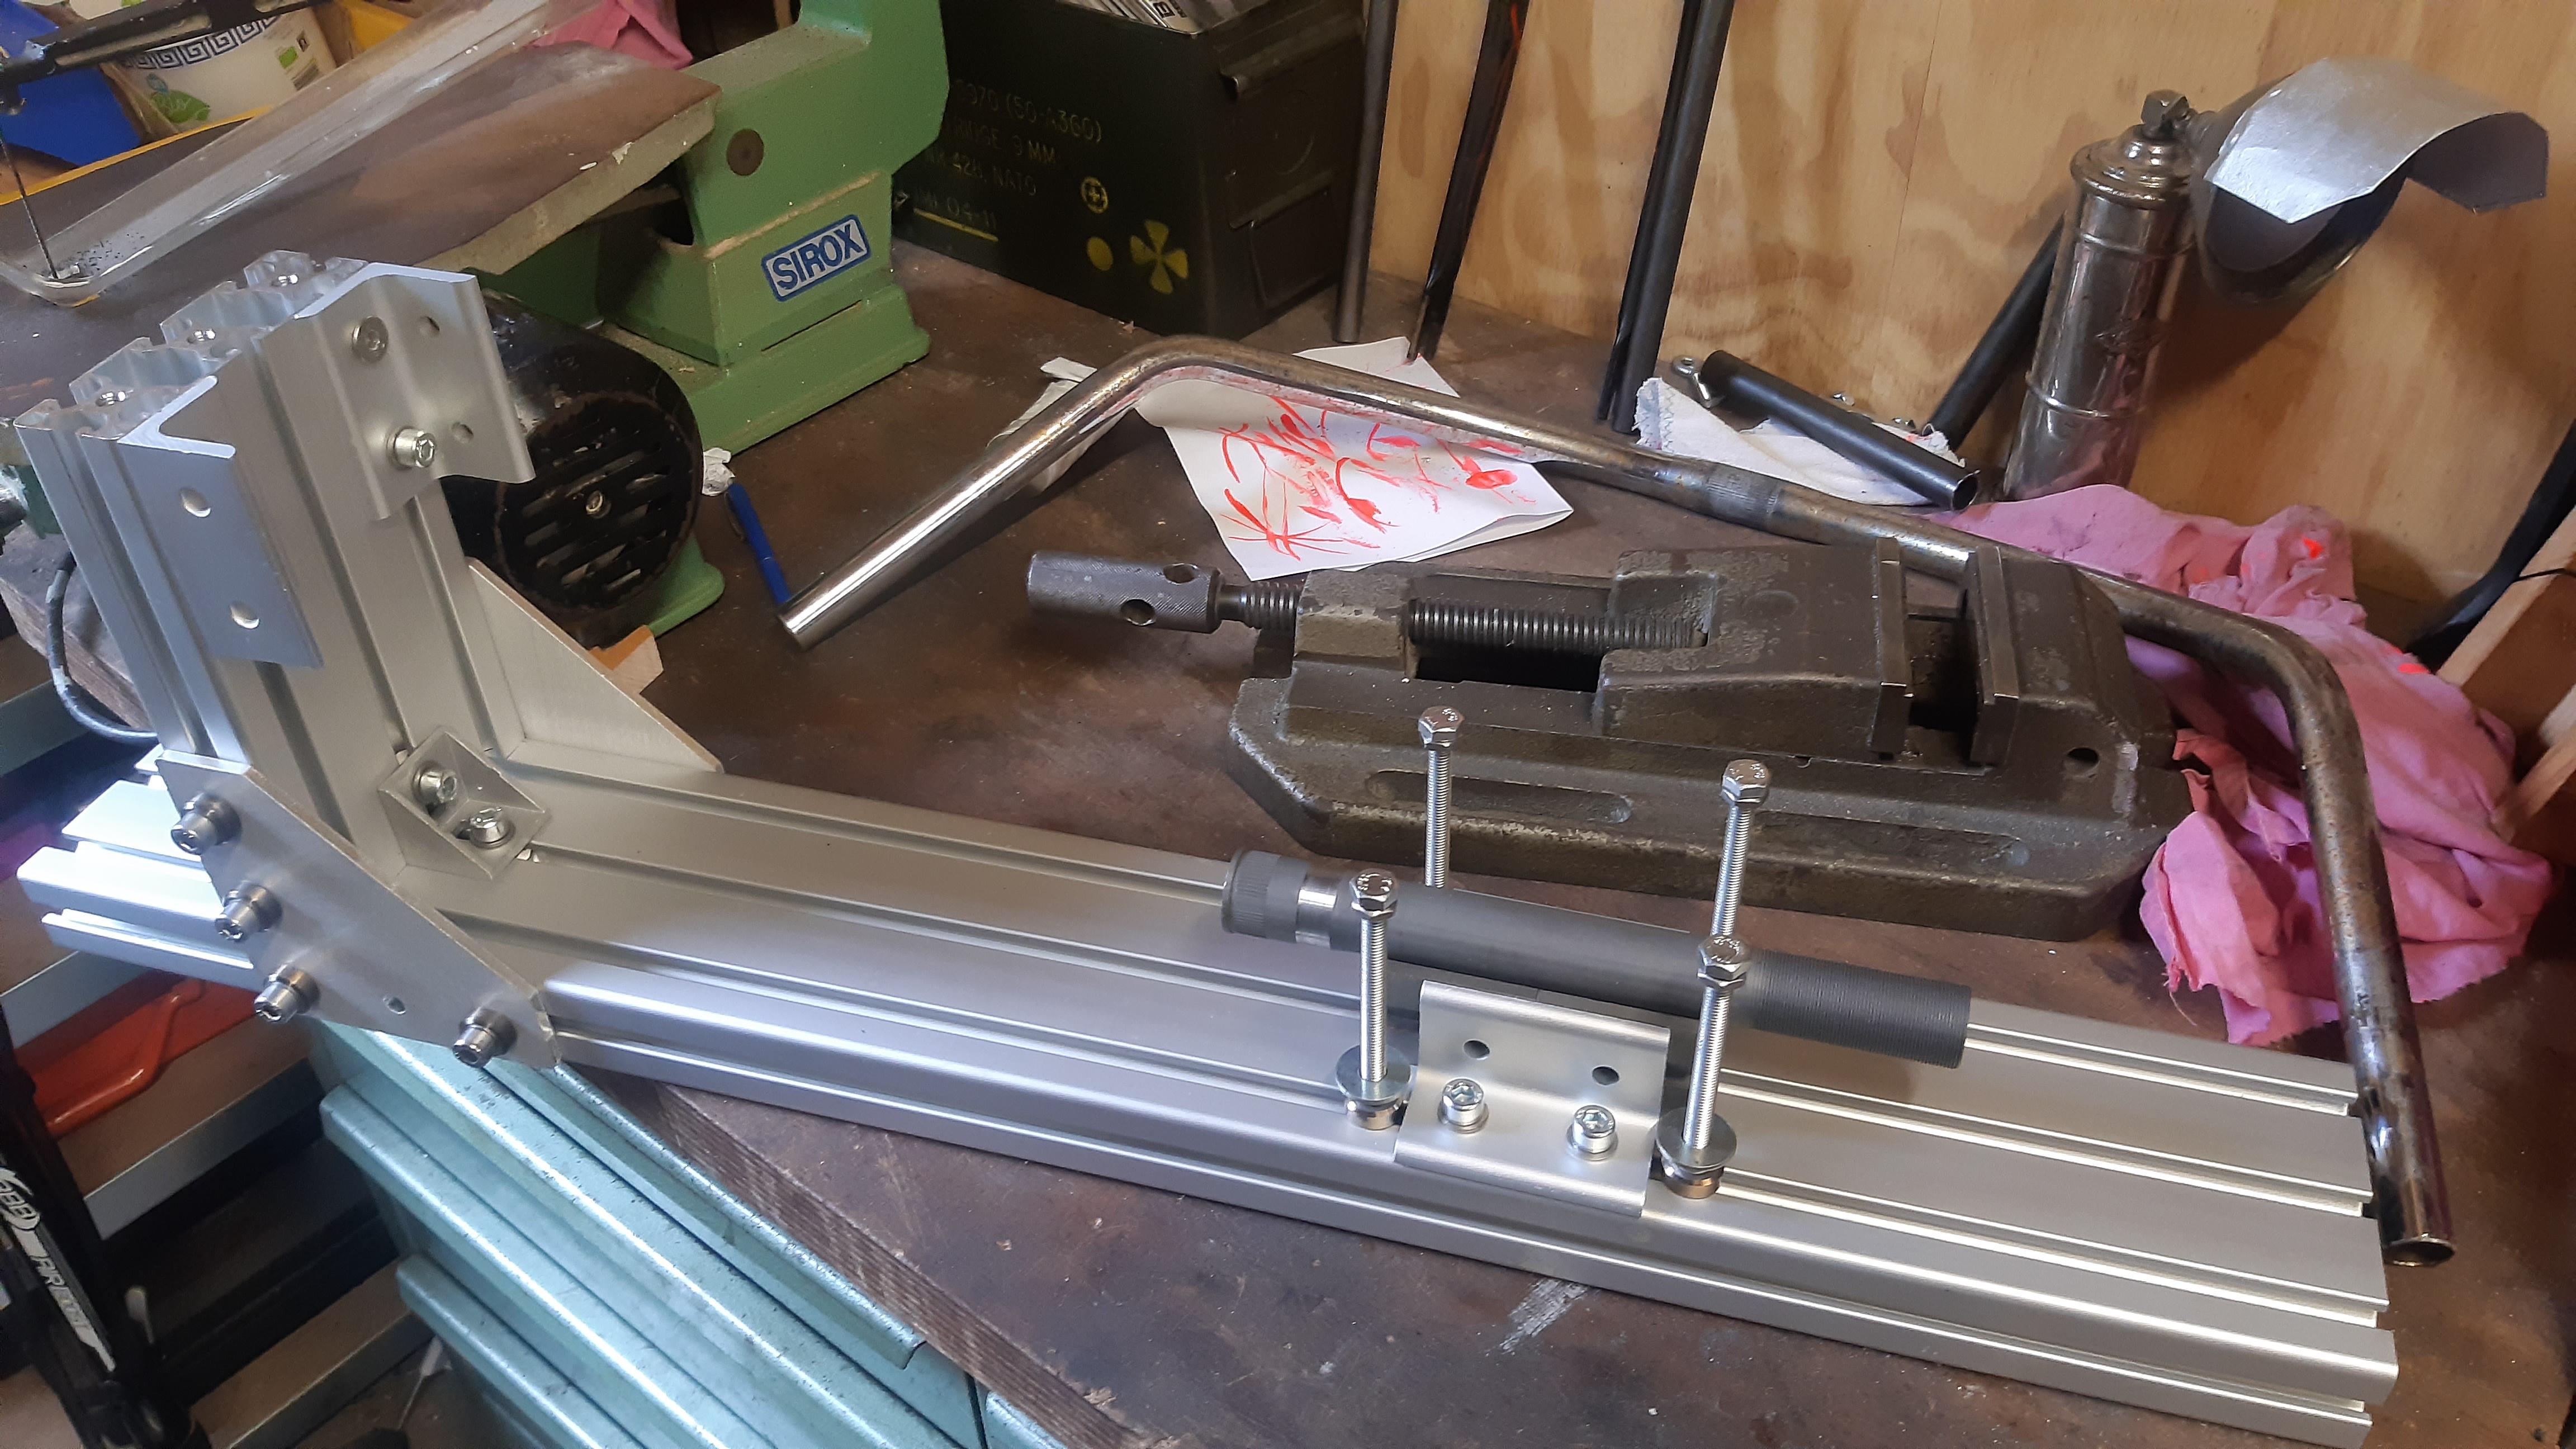
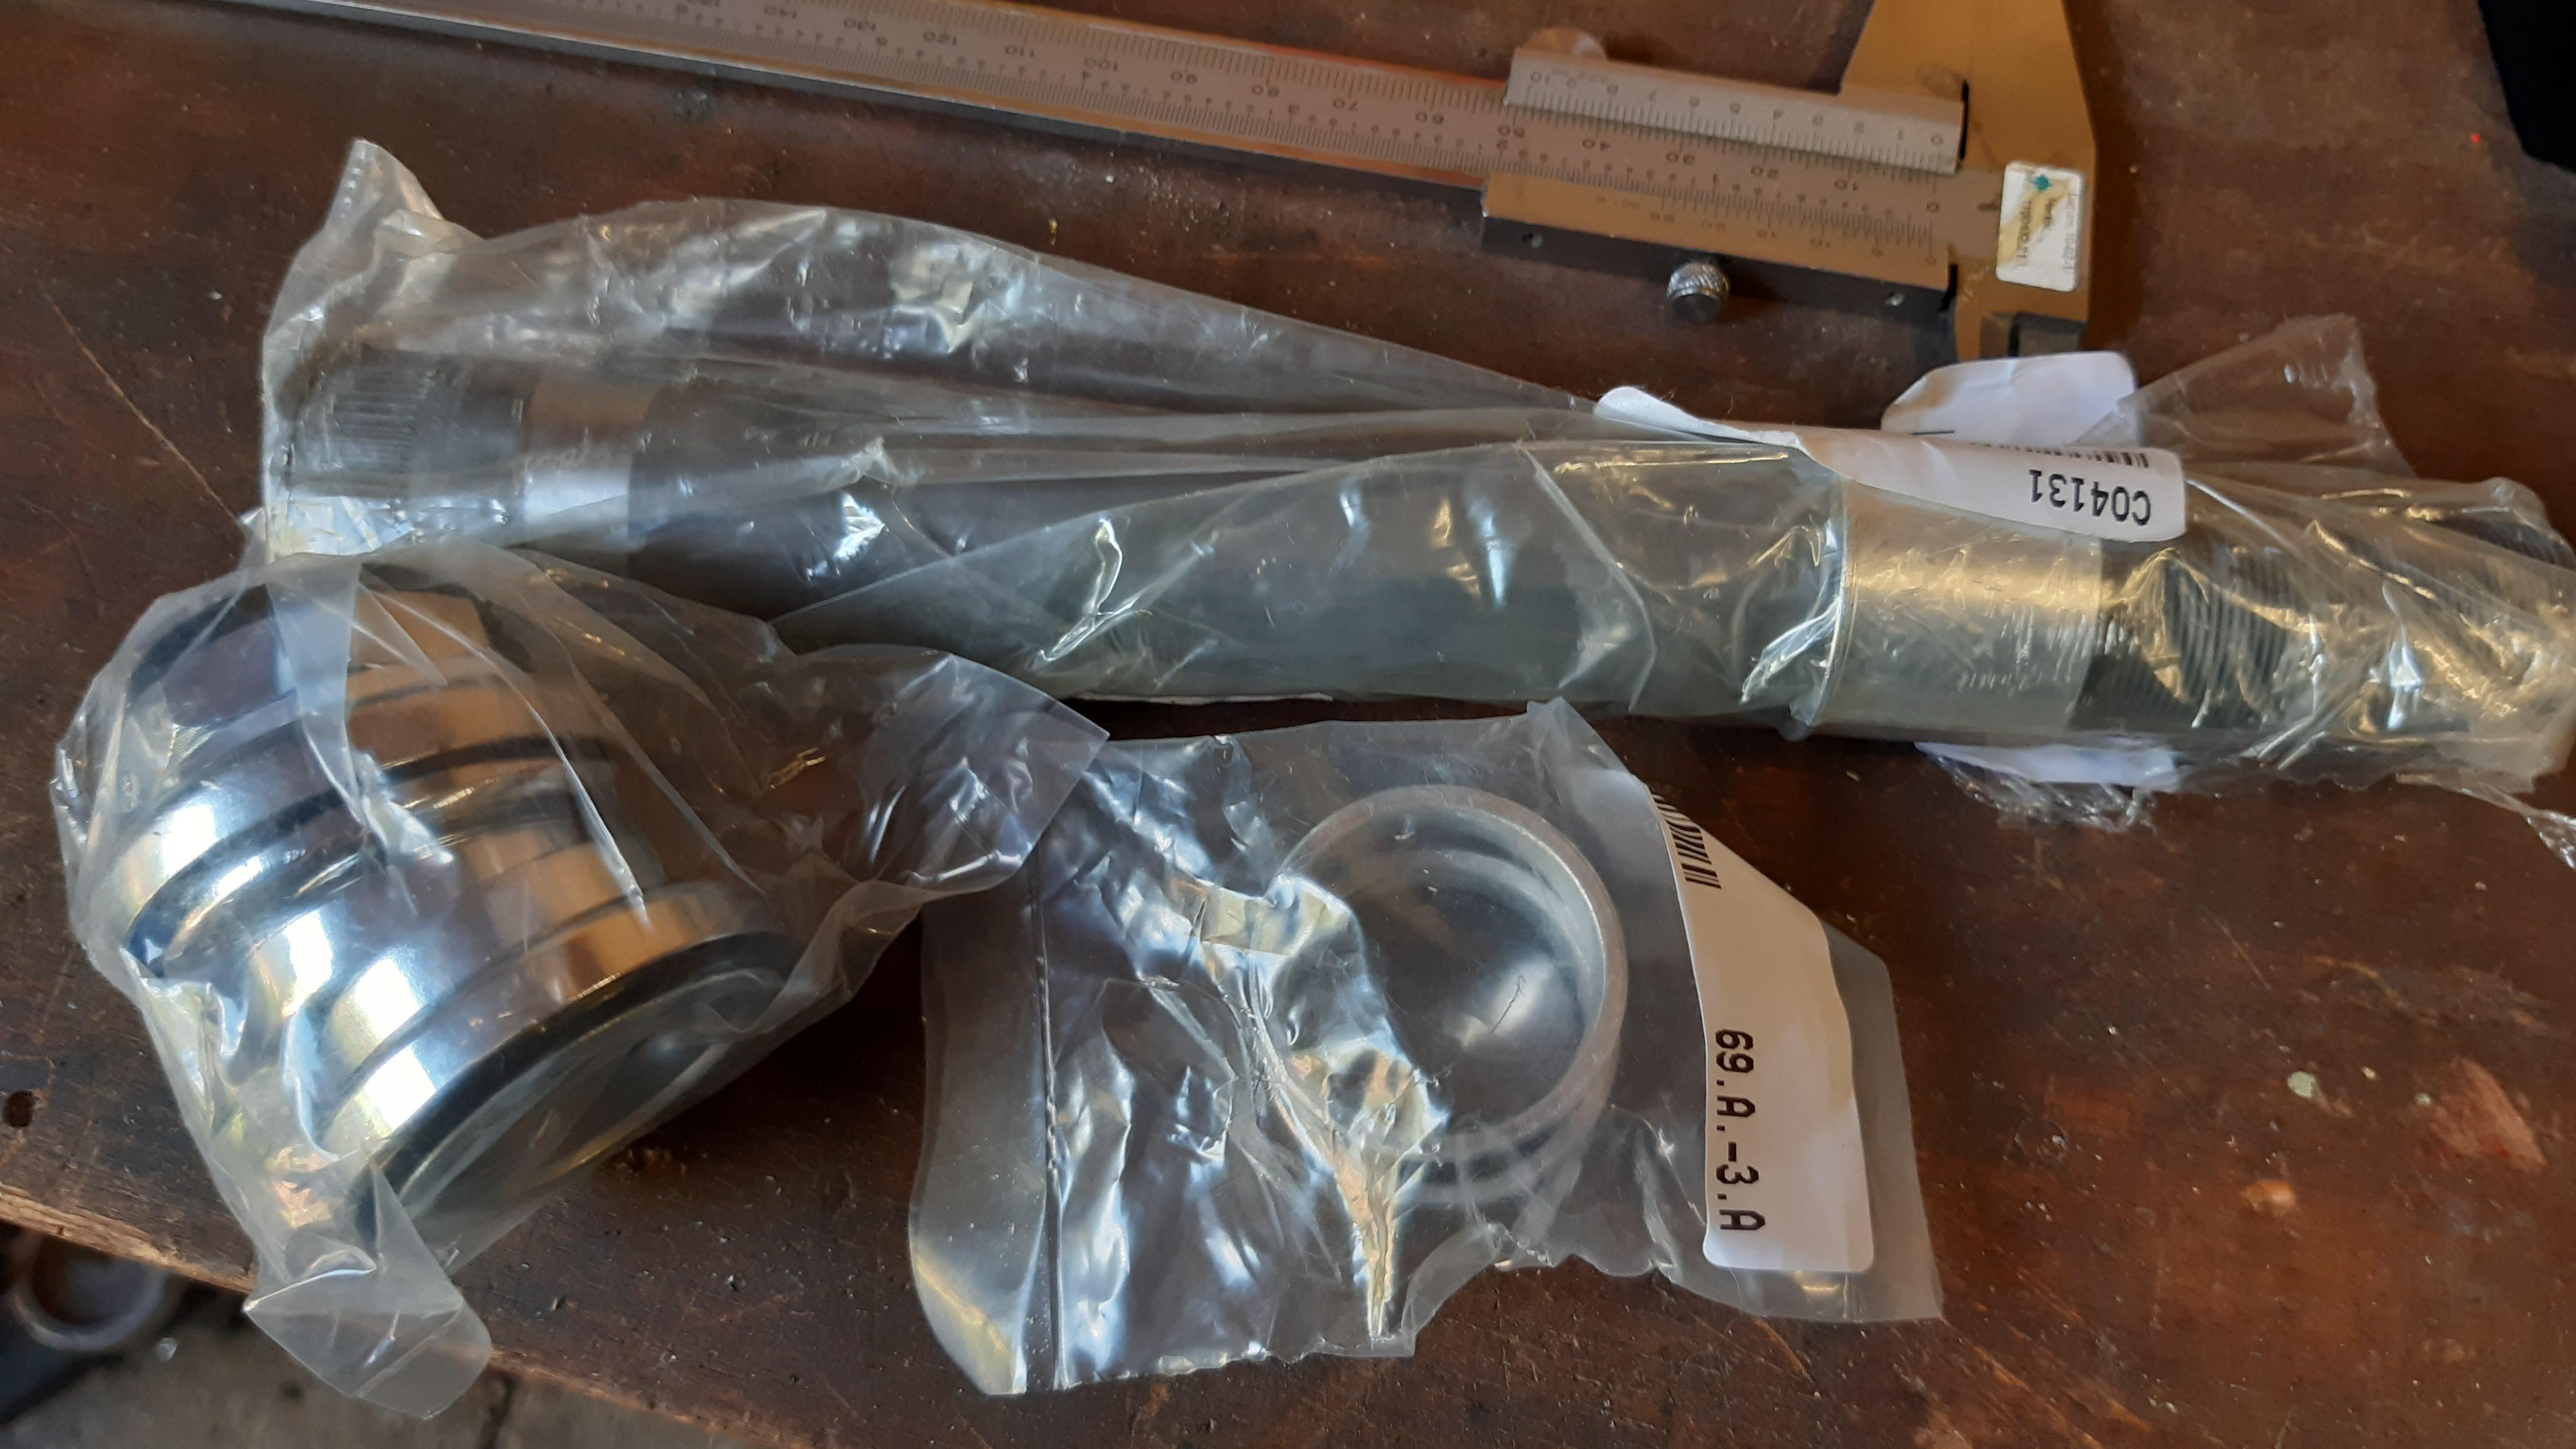
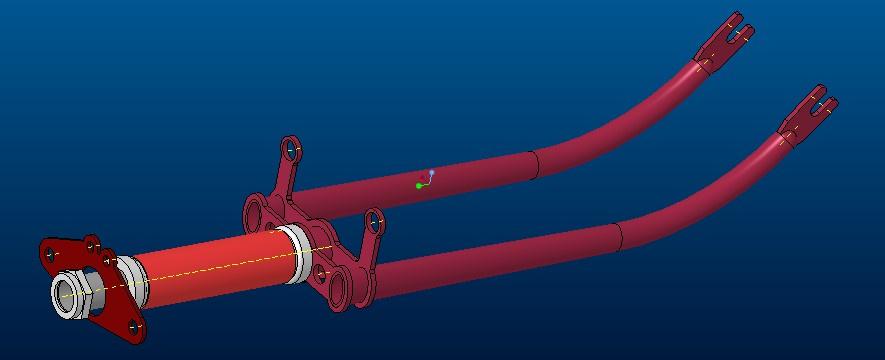
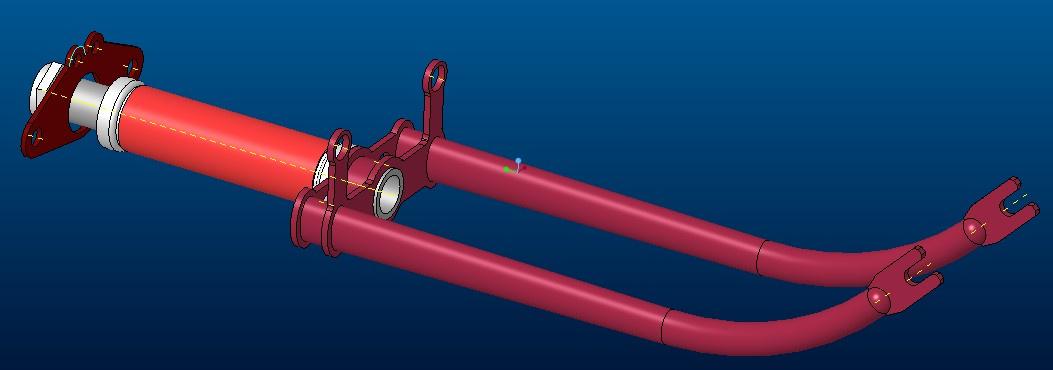
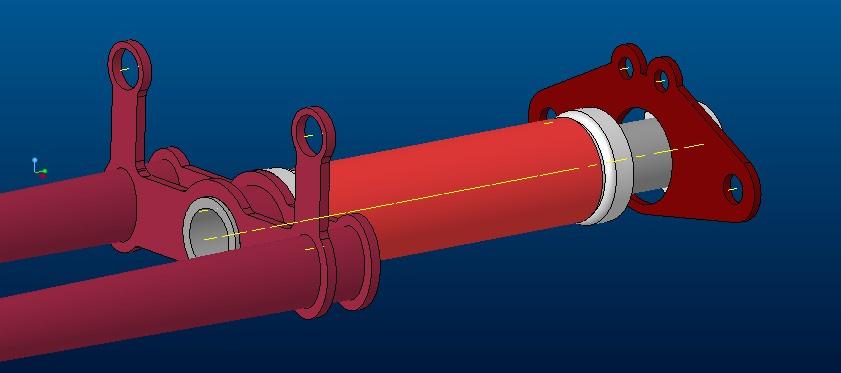
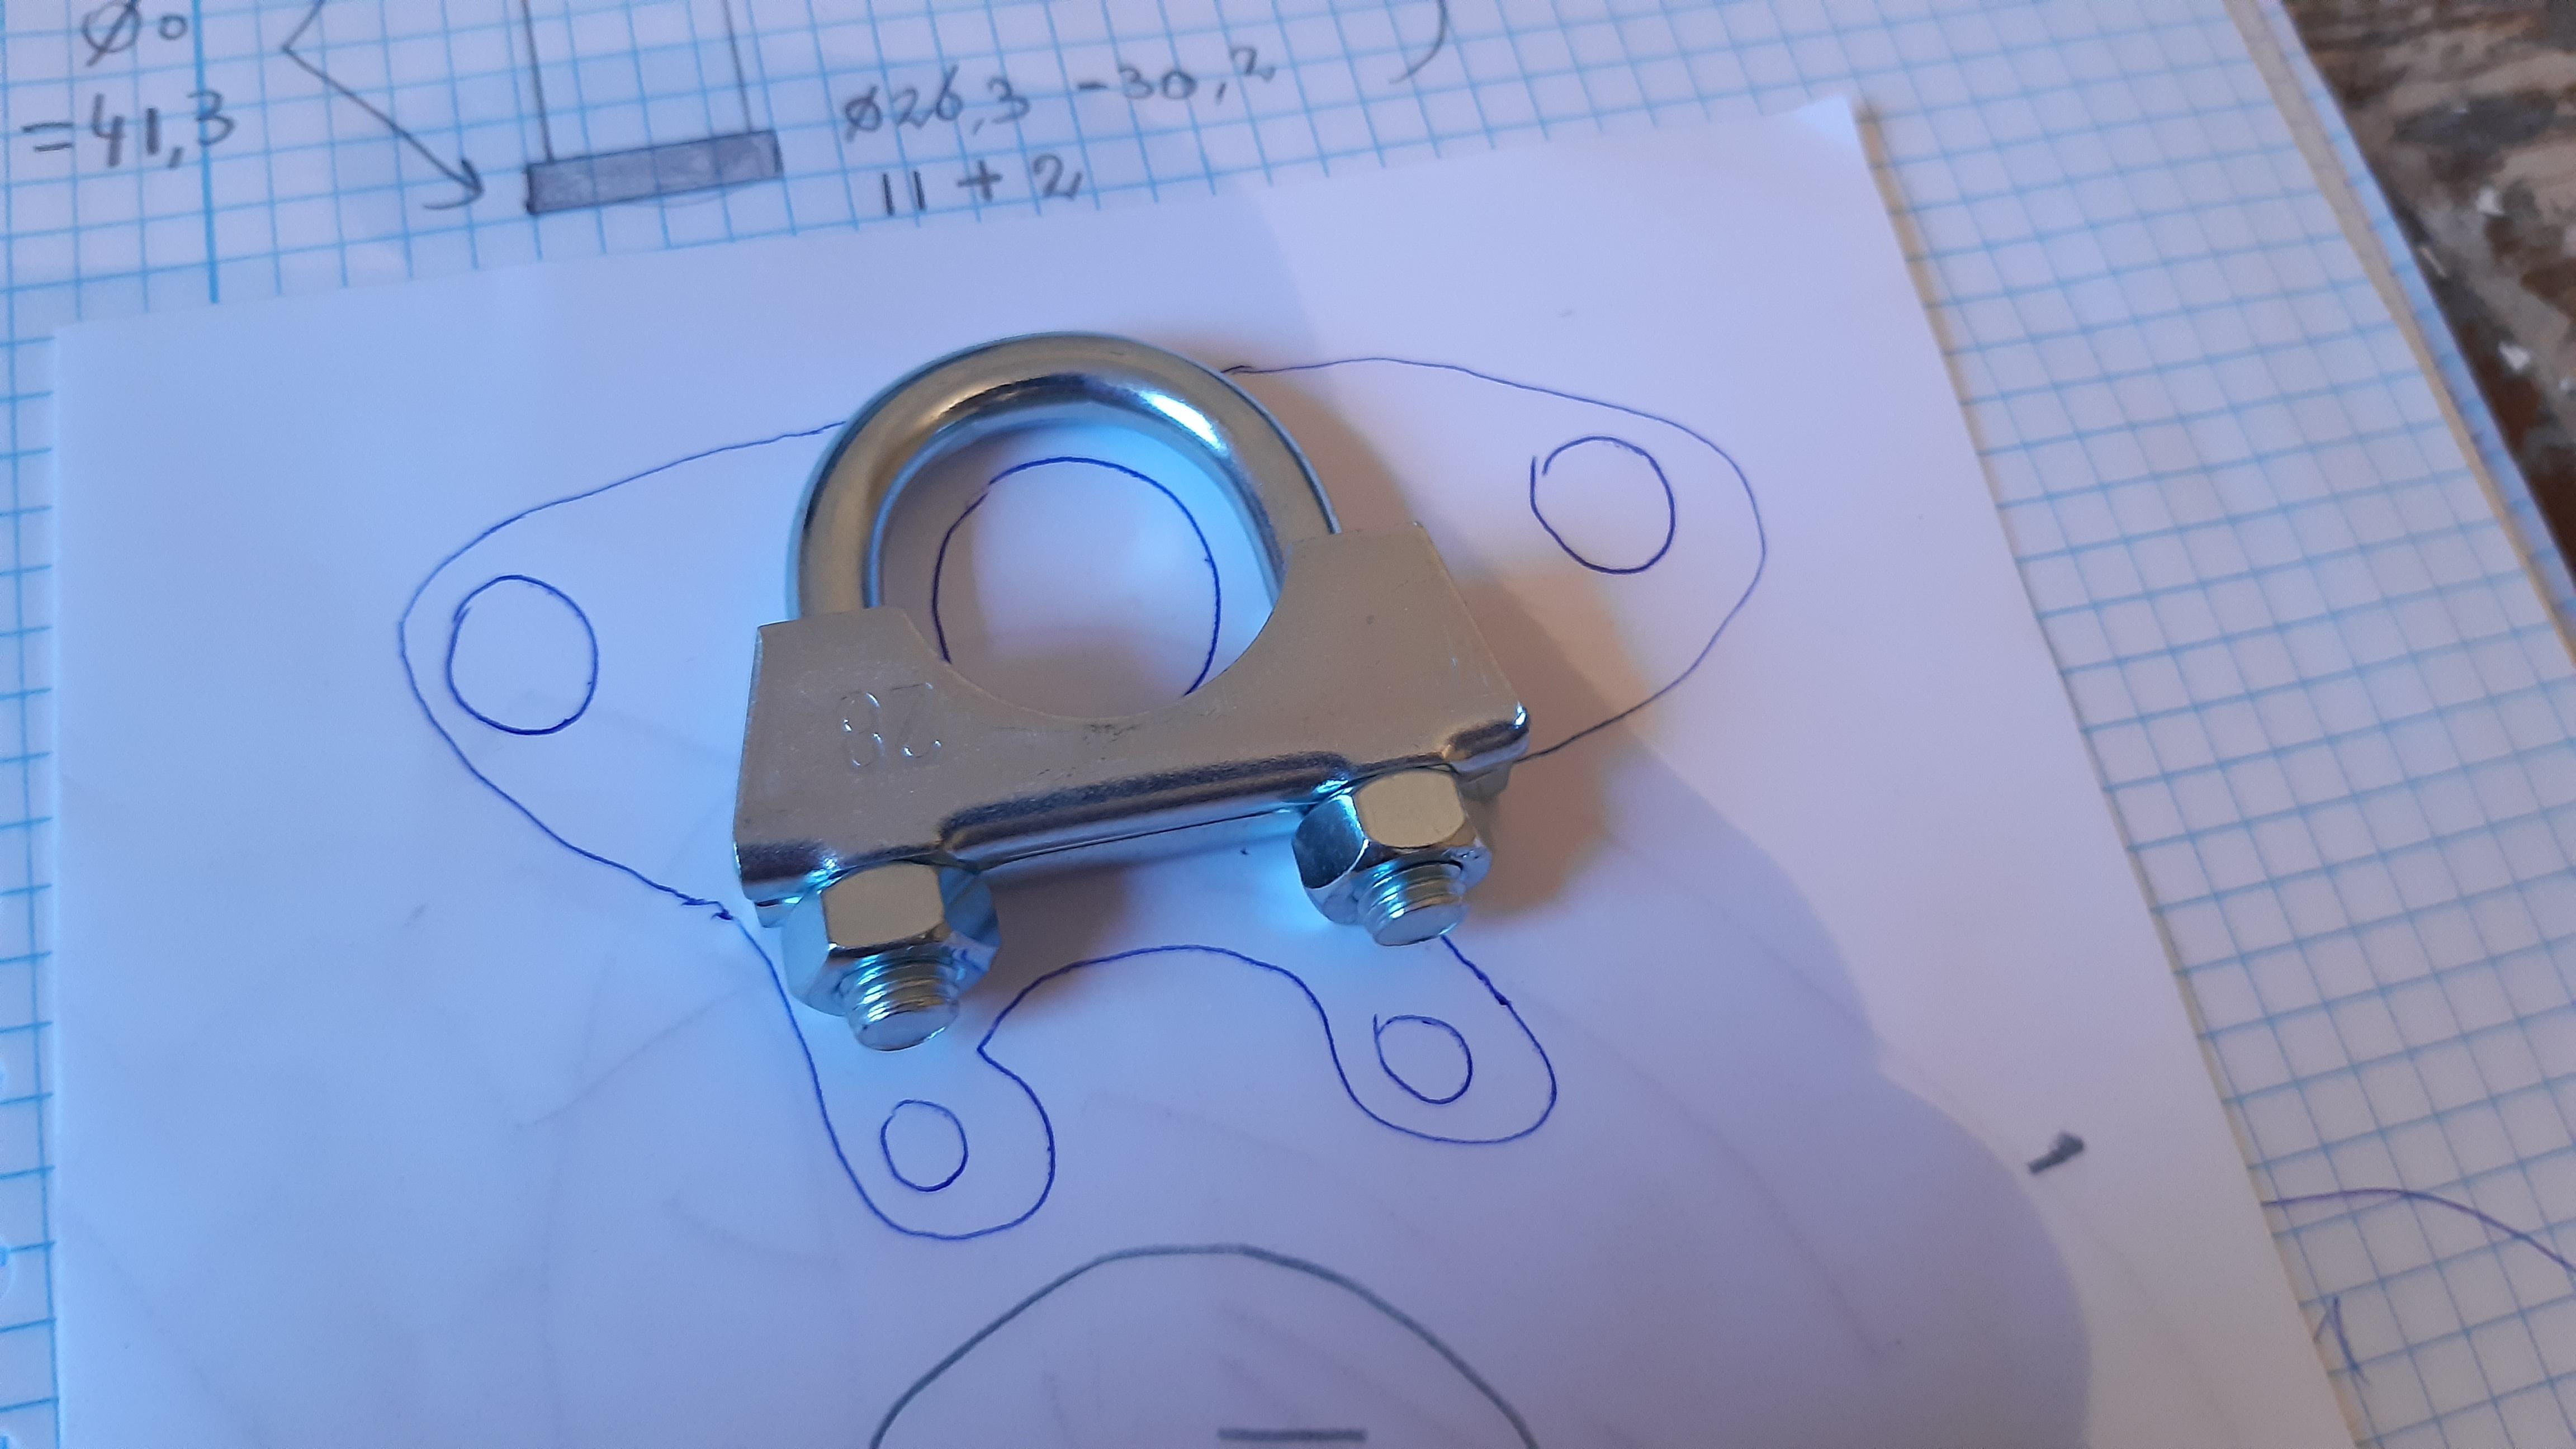
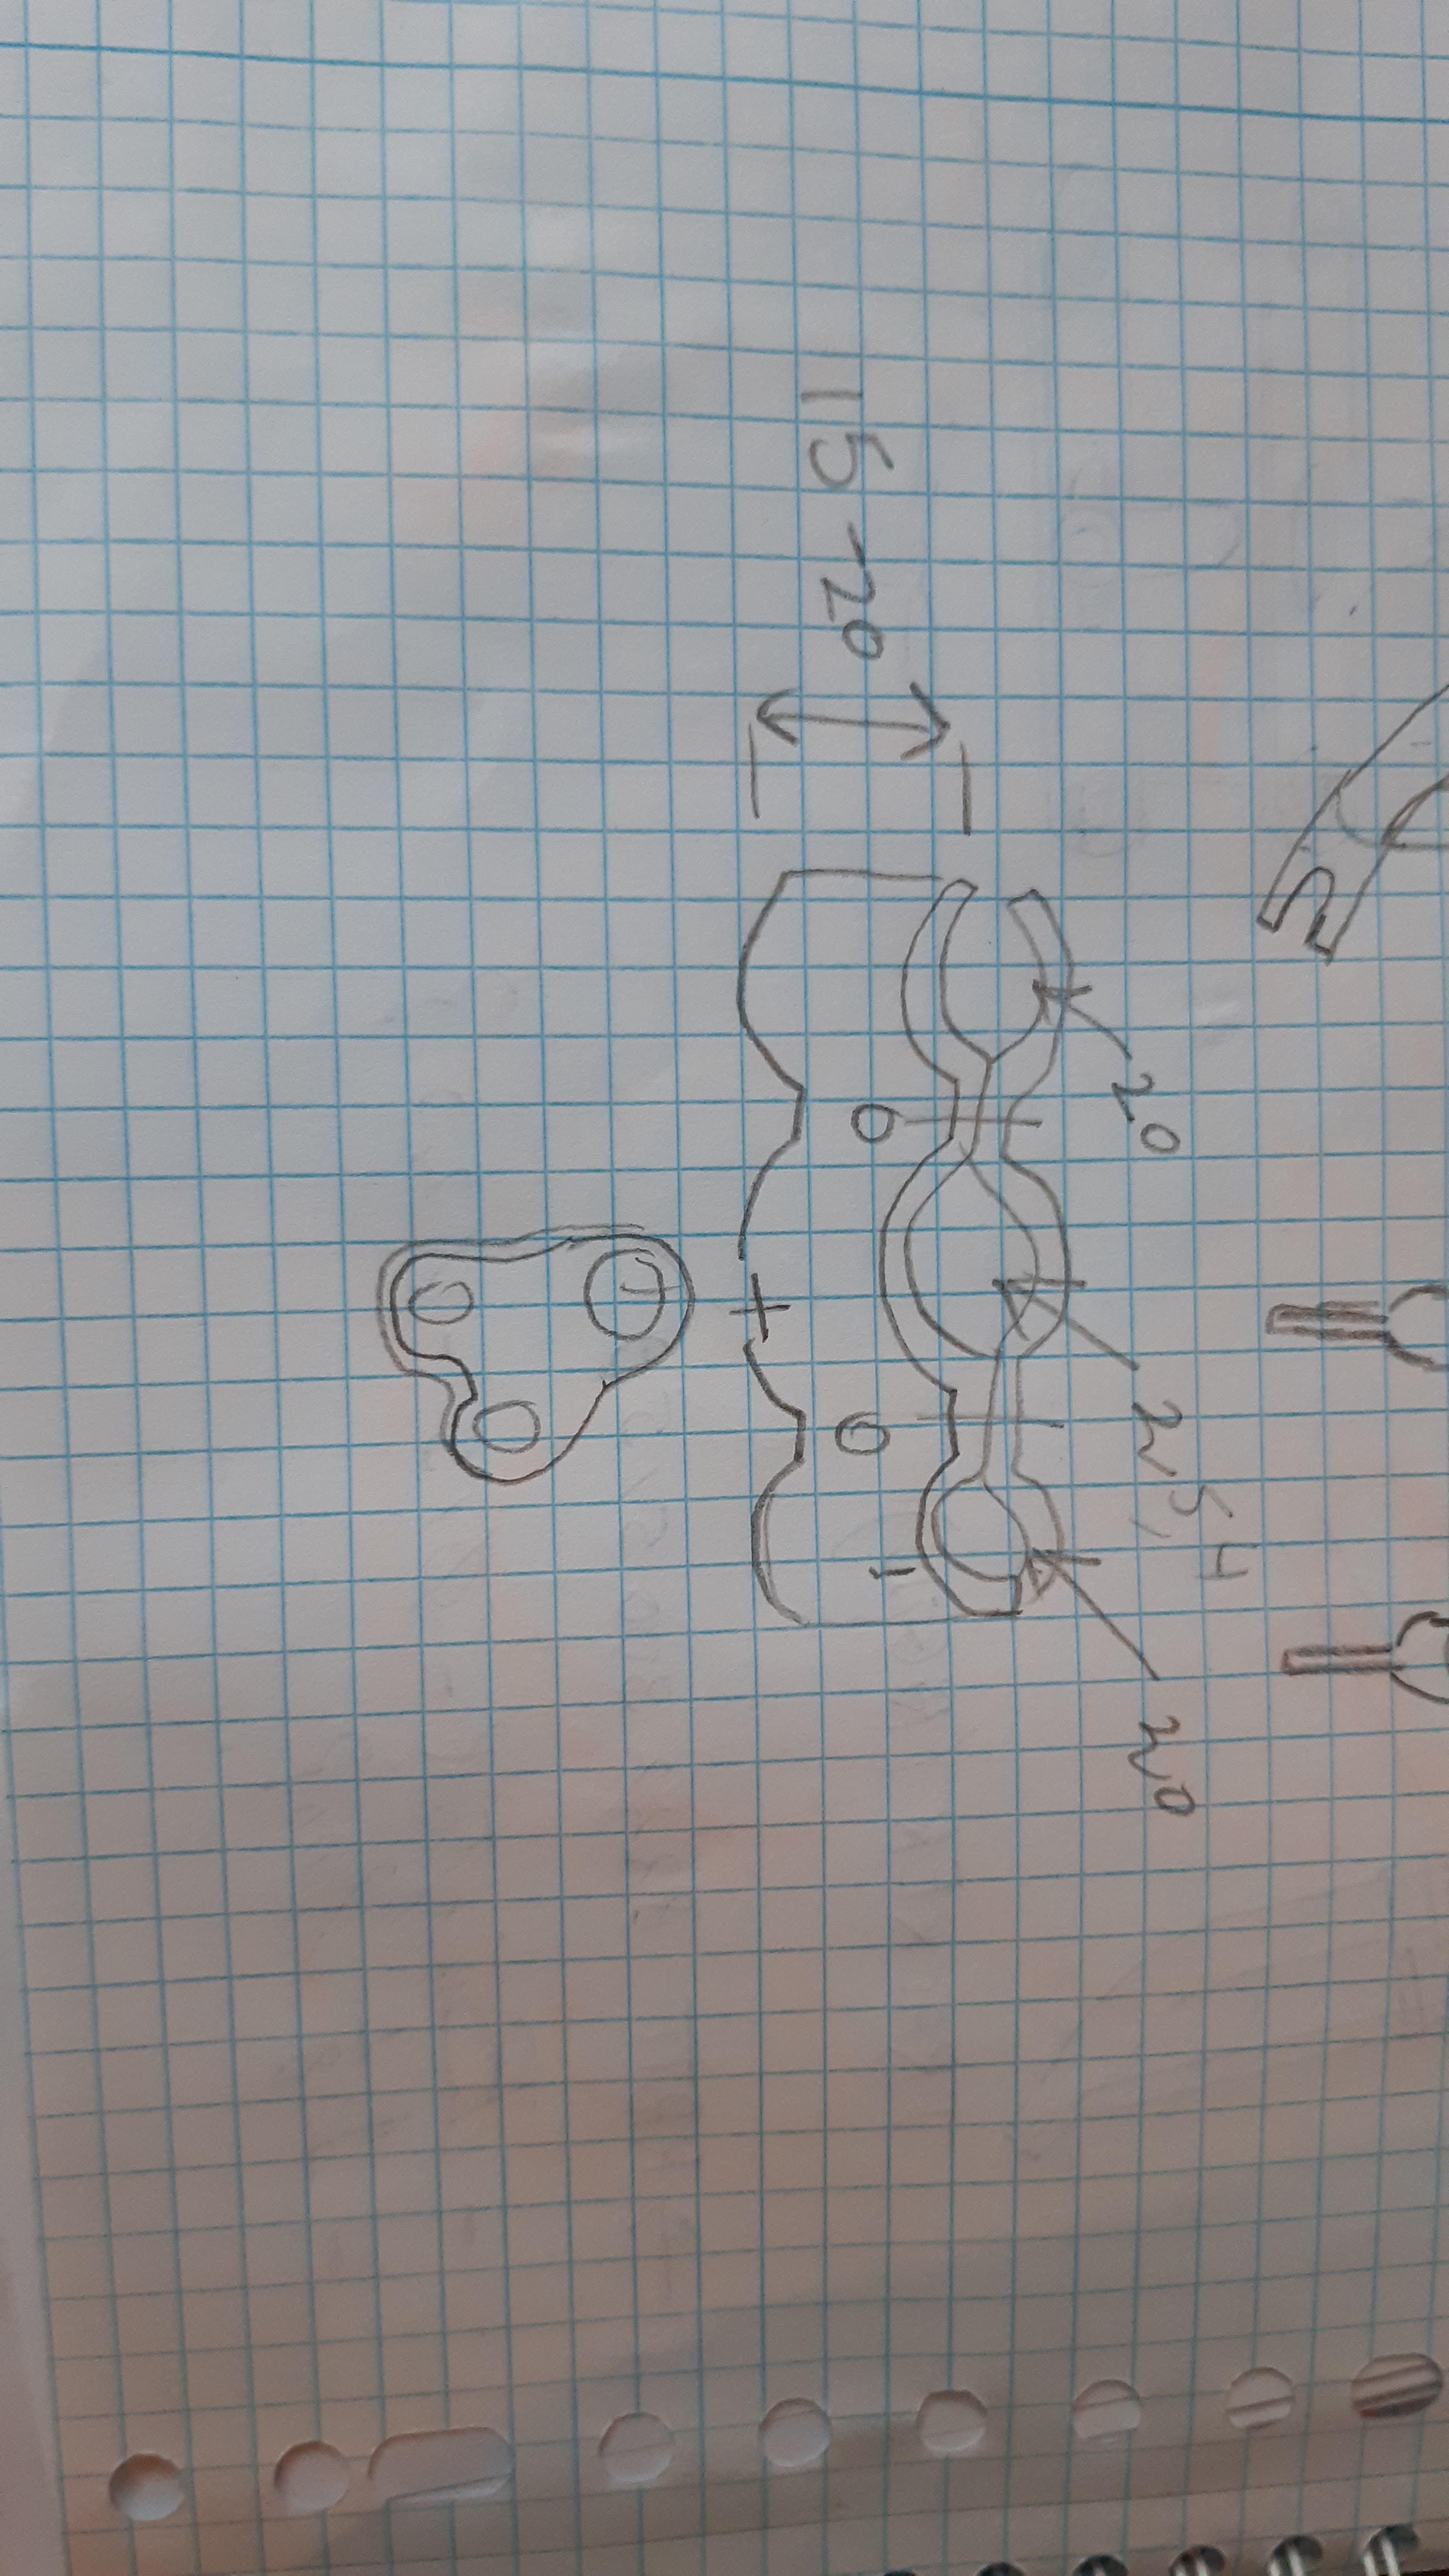
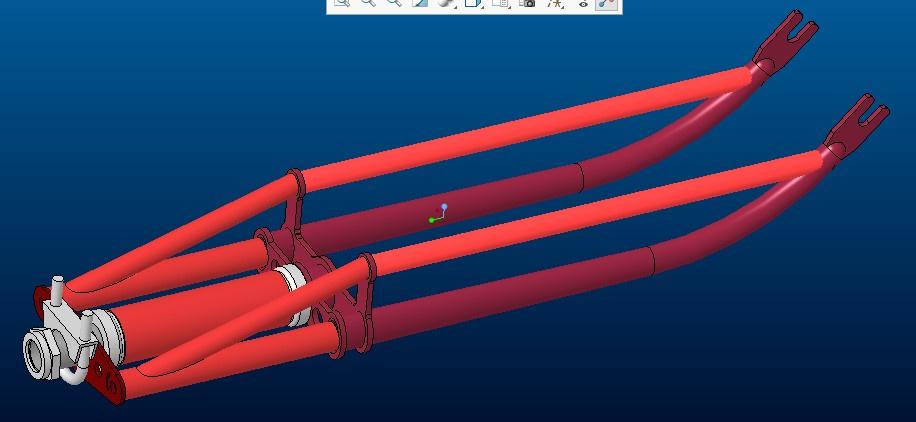
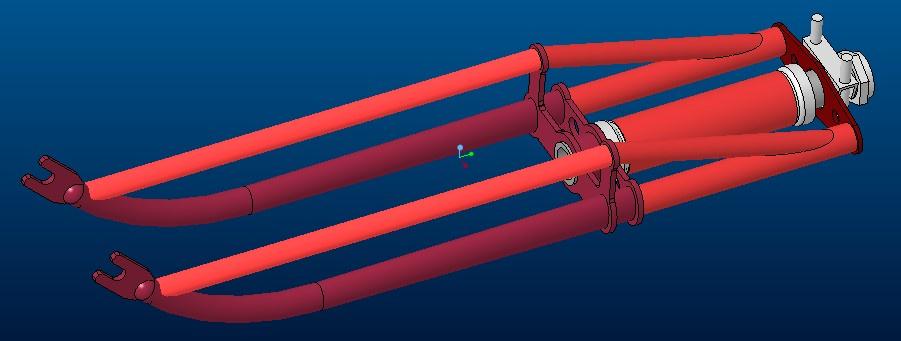
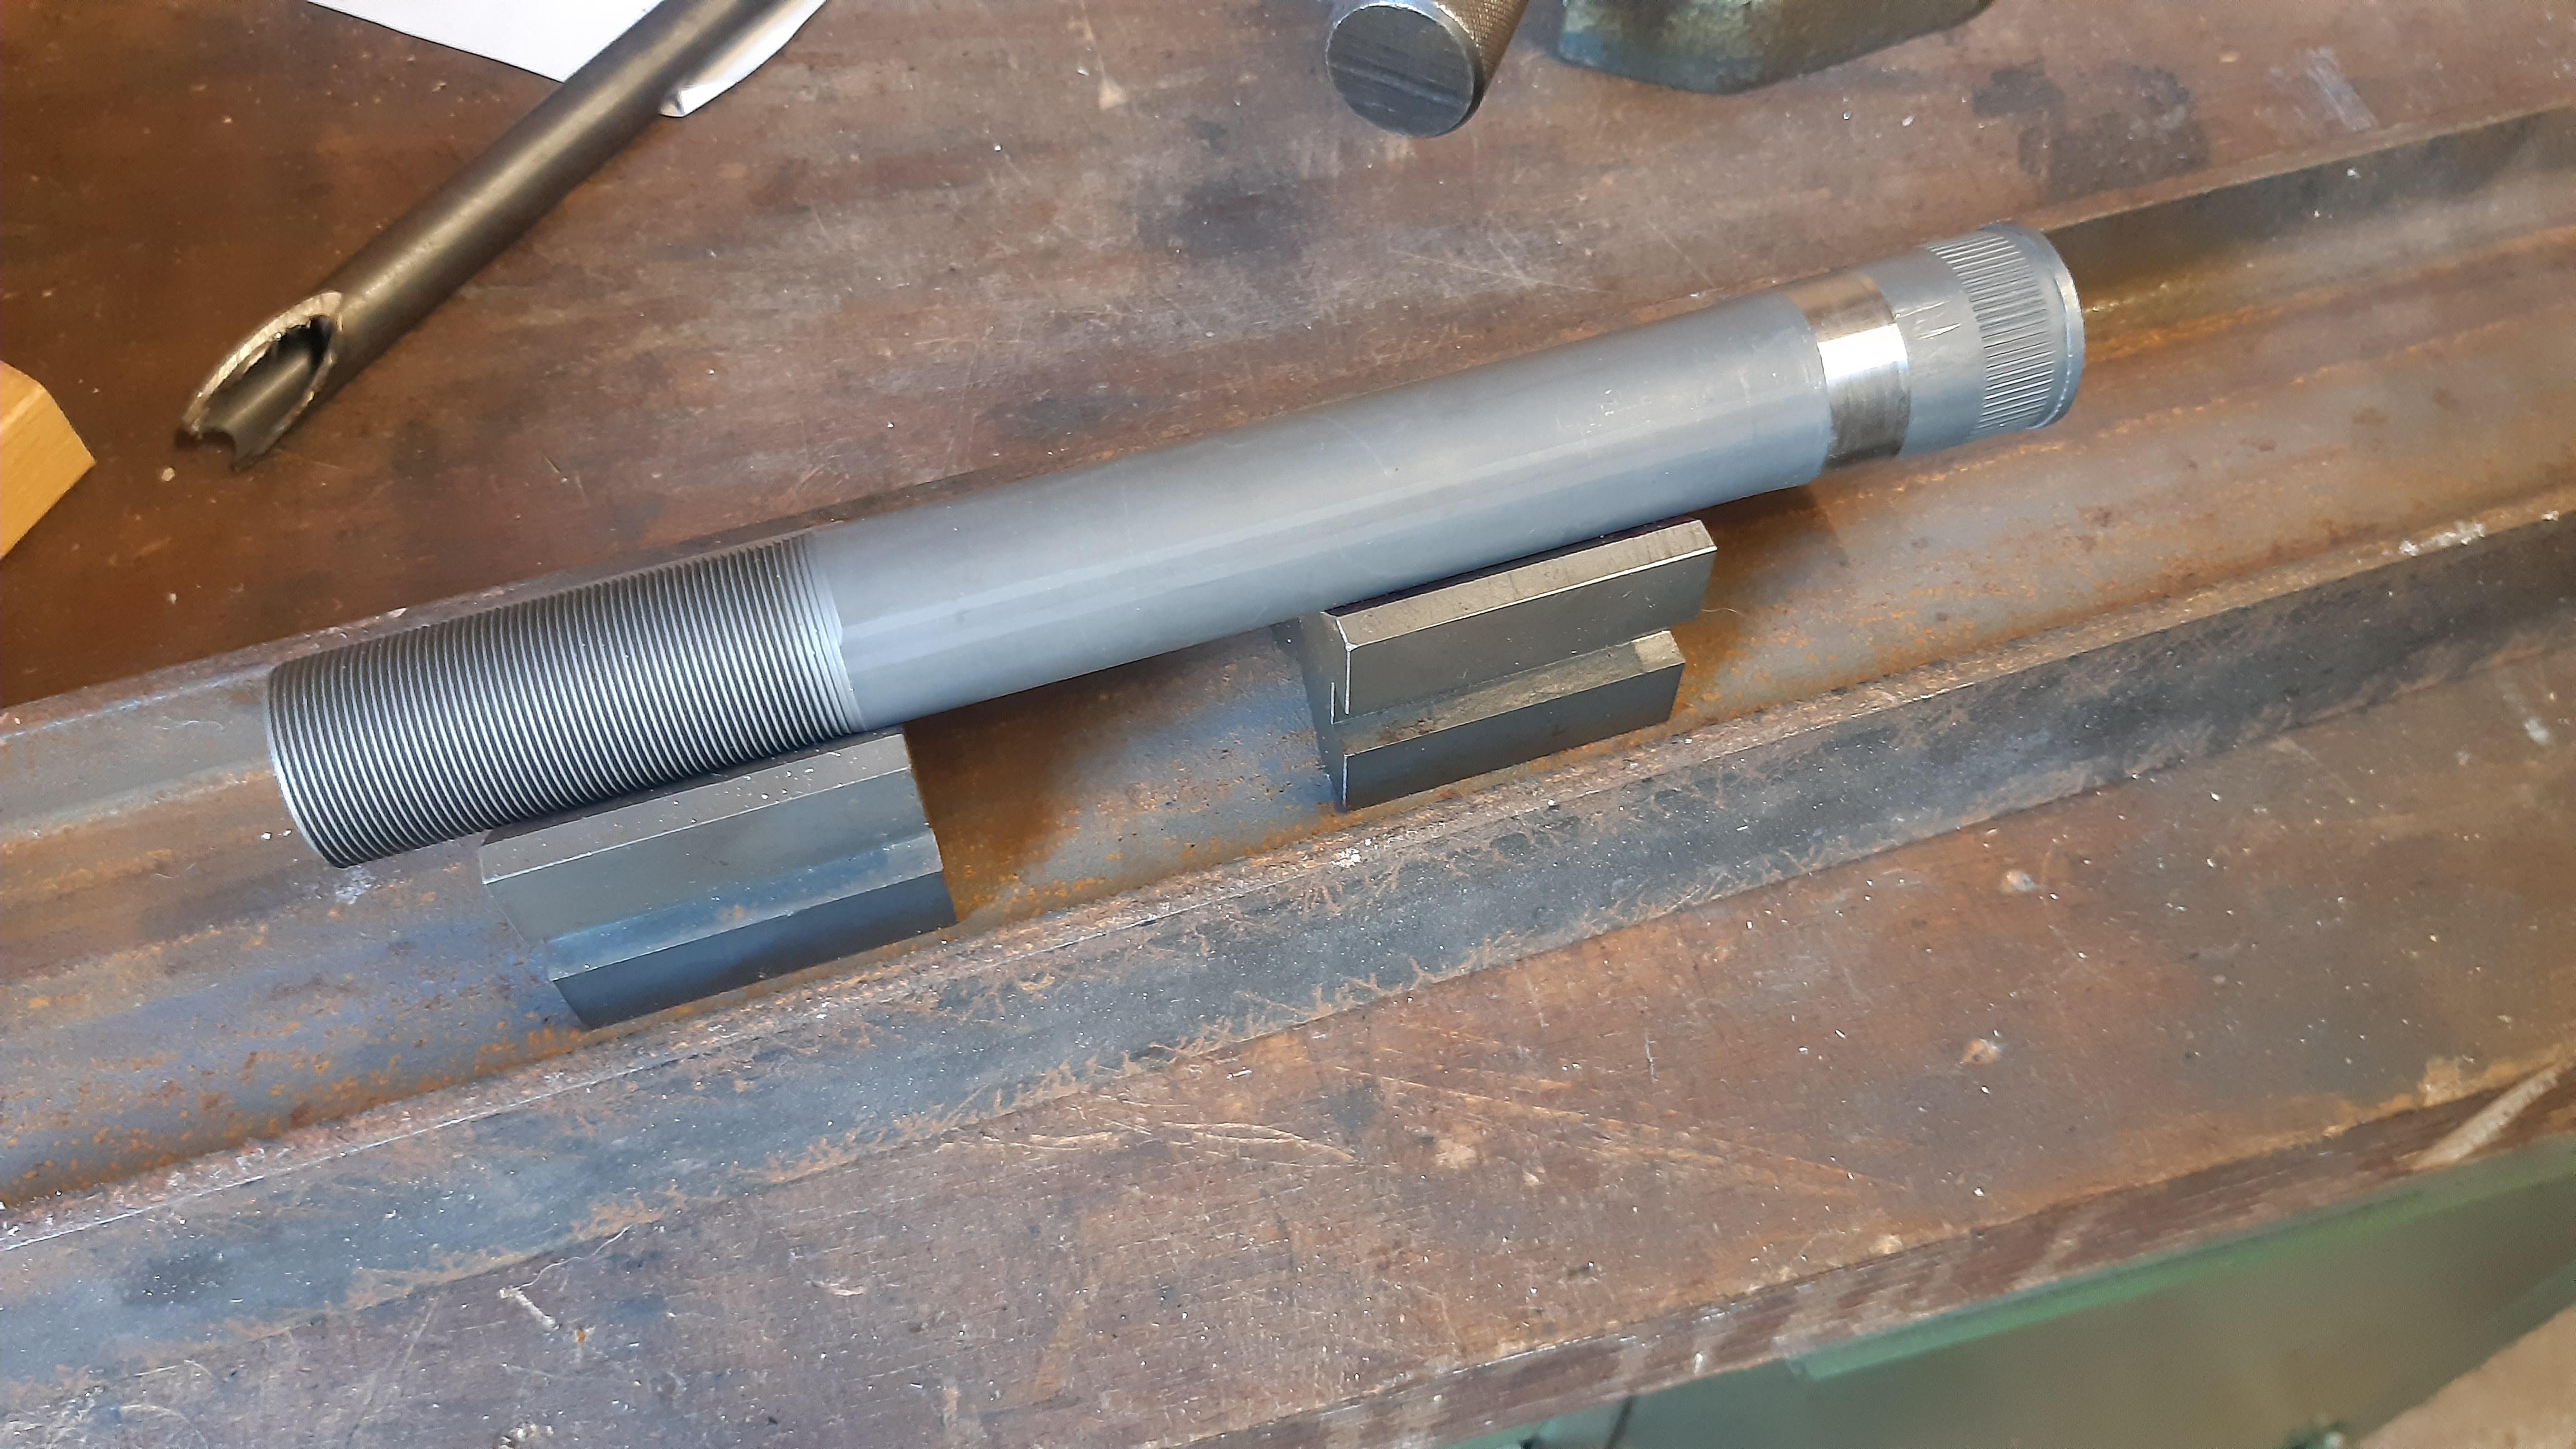
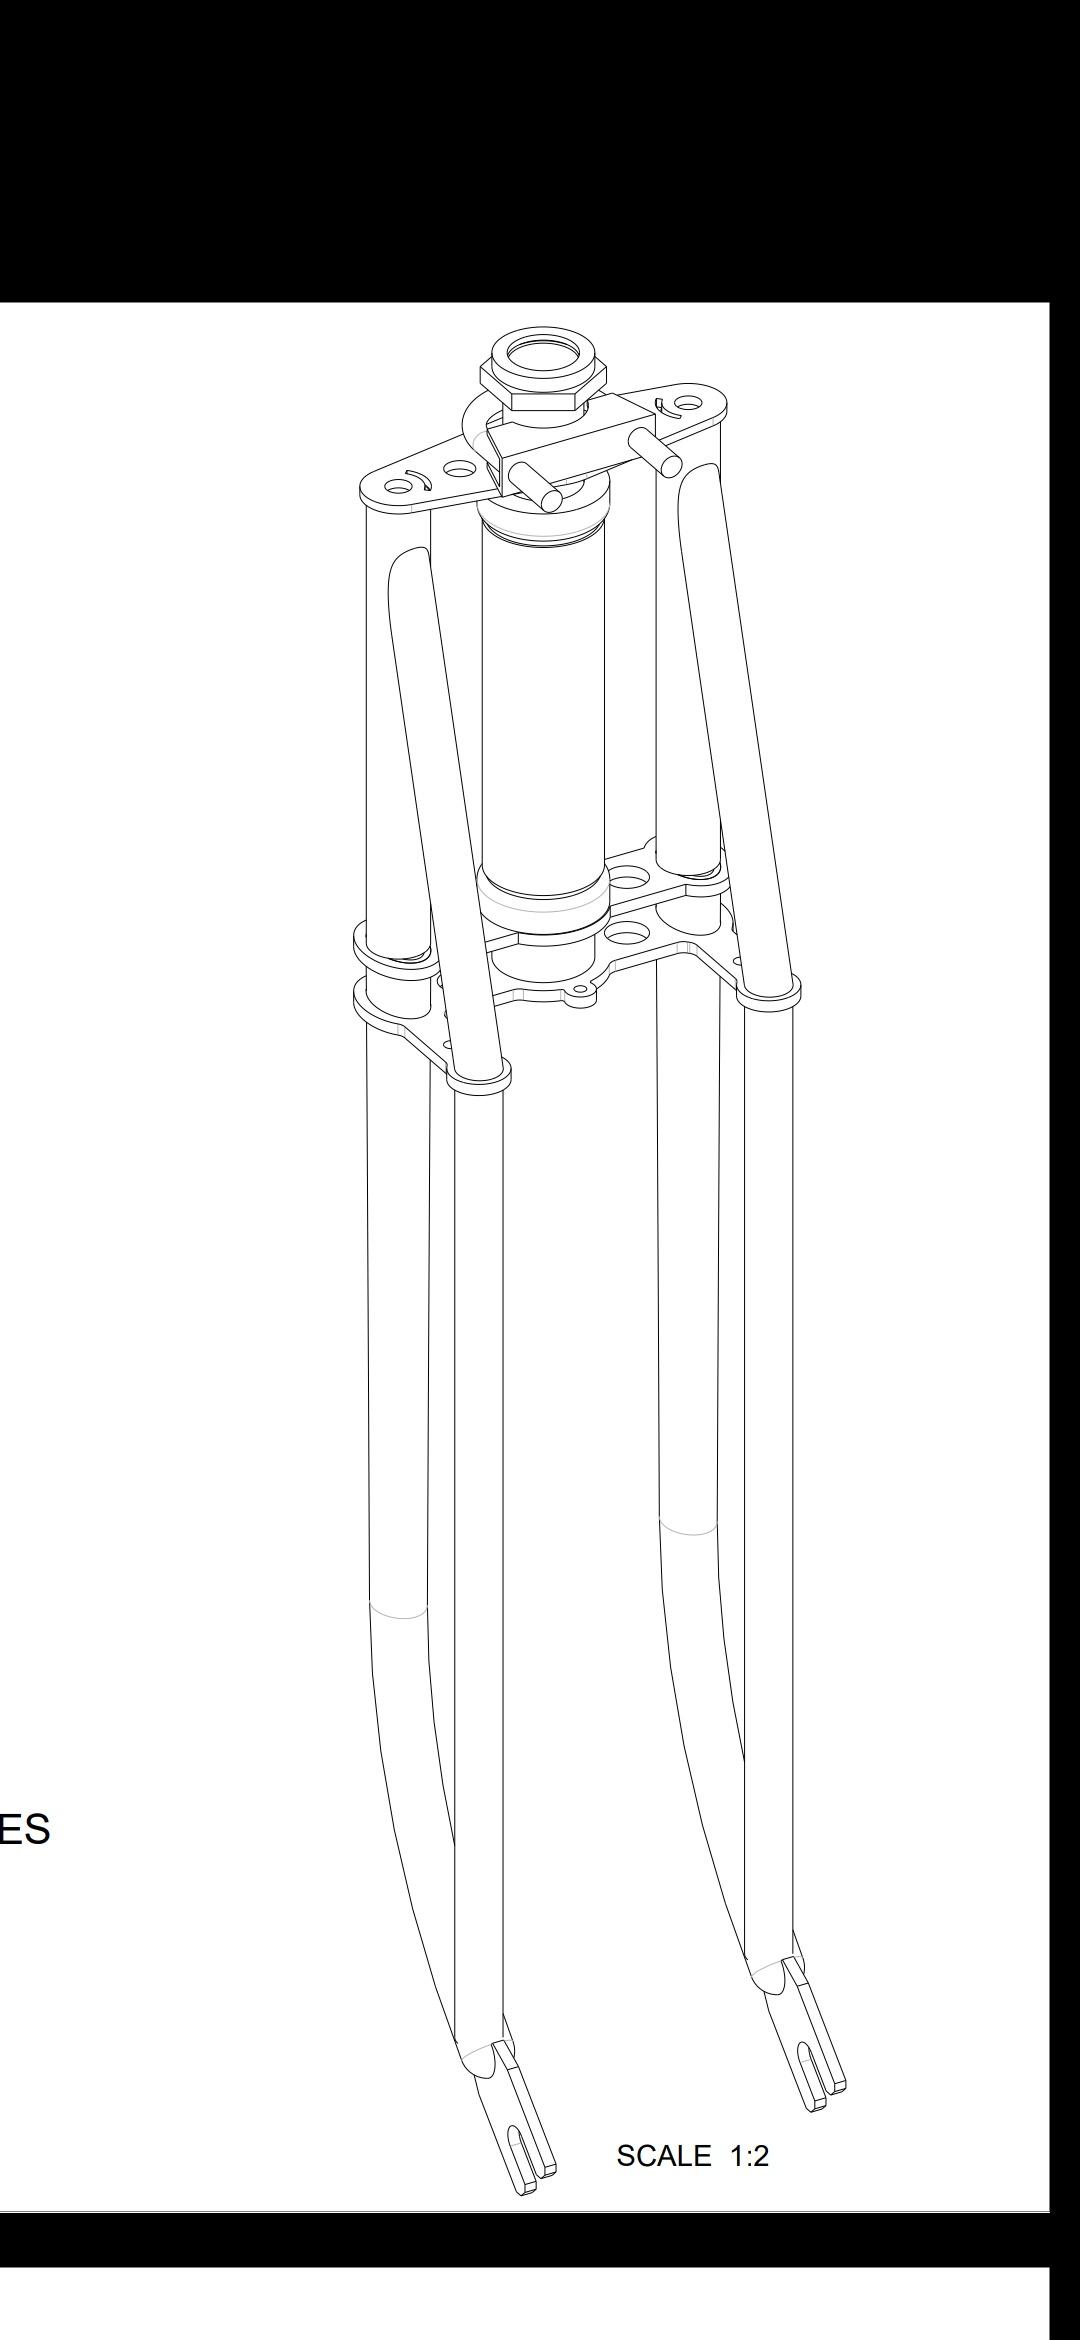
Already measured a heck of a lot of stuff and made some 3D models. Now working on the assembly so that I can lasercut the plating.
Tubing will be CroMo tubing.
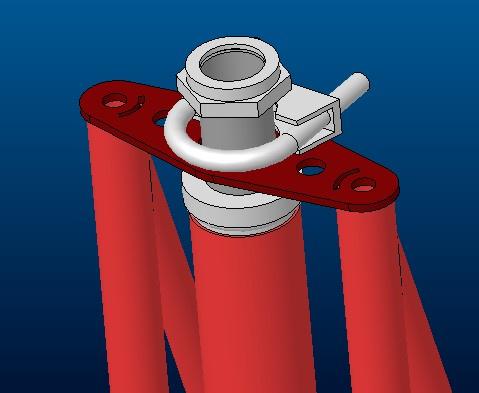
Explanation on the top plate fork gap: The hole is bigger than the fork shaft, because there will be a solution designed there: I need to 'tighten and adjust' the headtube bearing without putting tension on the plate. So the plate gets a clamping bracket and there will be a bush between the top bearing cover and the locknut.
So when there is a little play in the headtube bearing: Loosen the top clamp a bit, loosen the top nut, tighten the bearing cup and re-tighten previous parts. If there is more explanation or a drawing needed, let me know!
Pictures: (first the Electra bike, then parts and models and inspiration final).
Enjoy and let me know what you think!
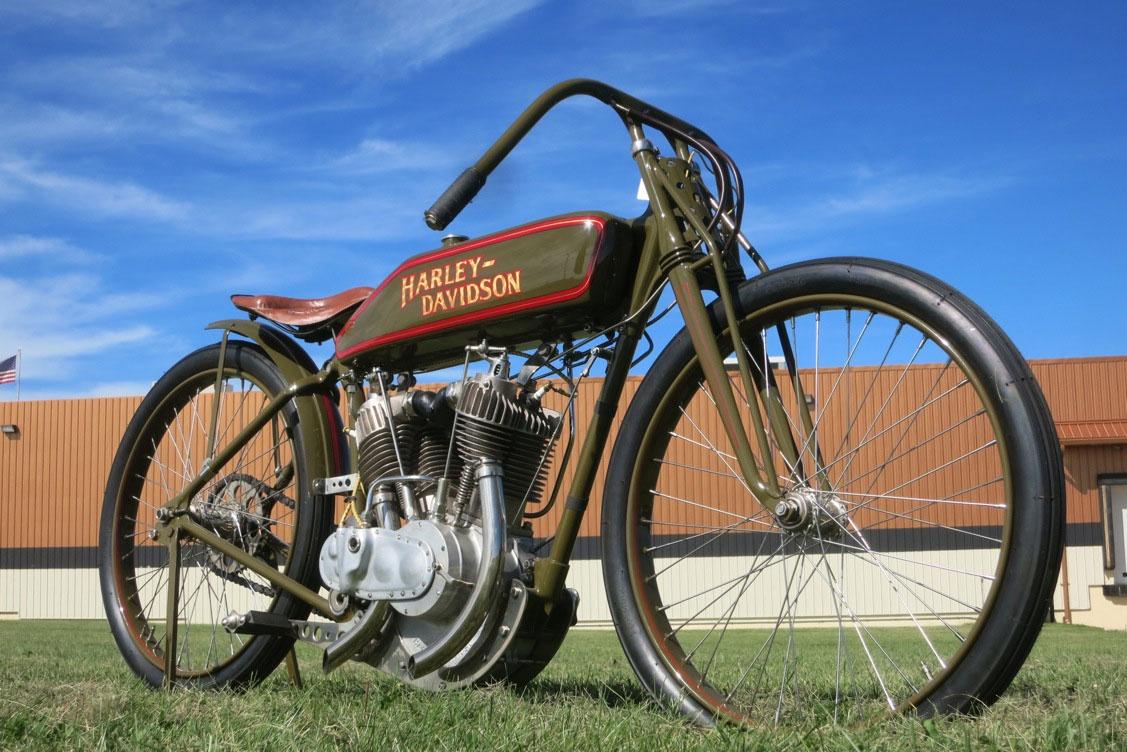
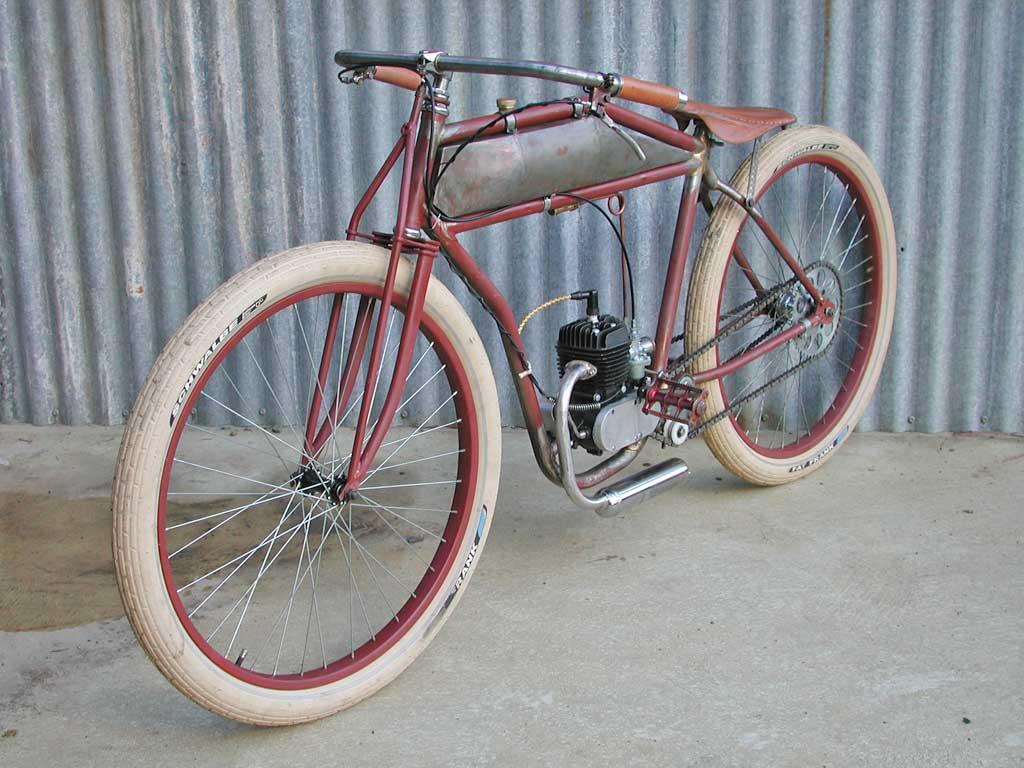
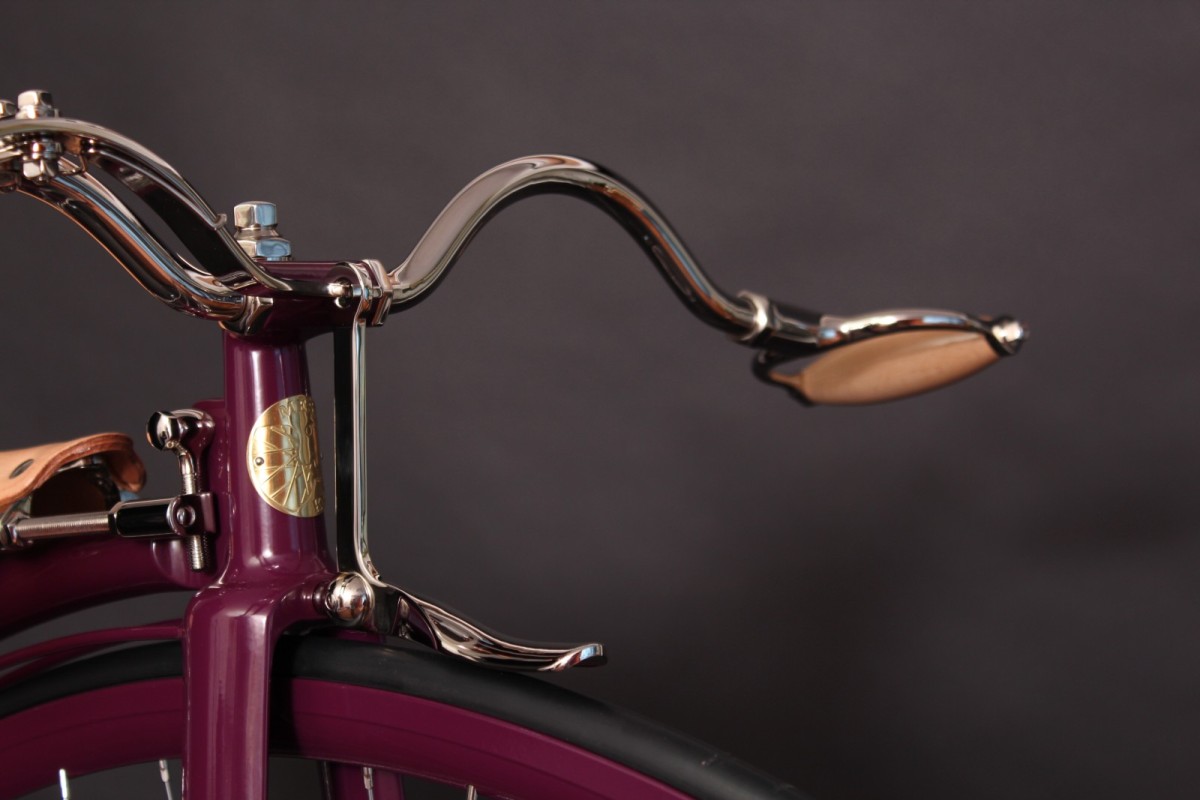
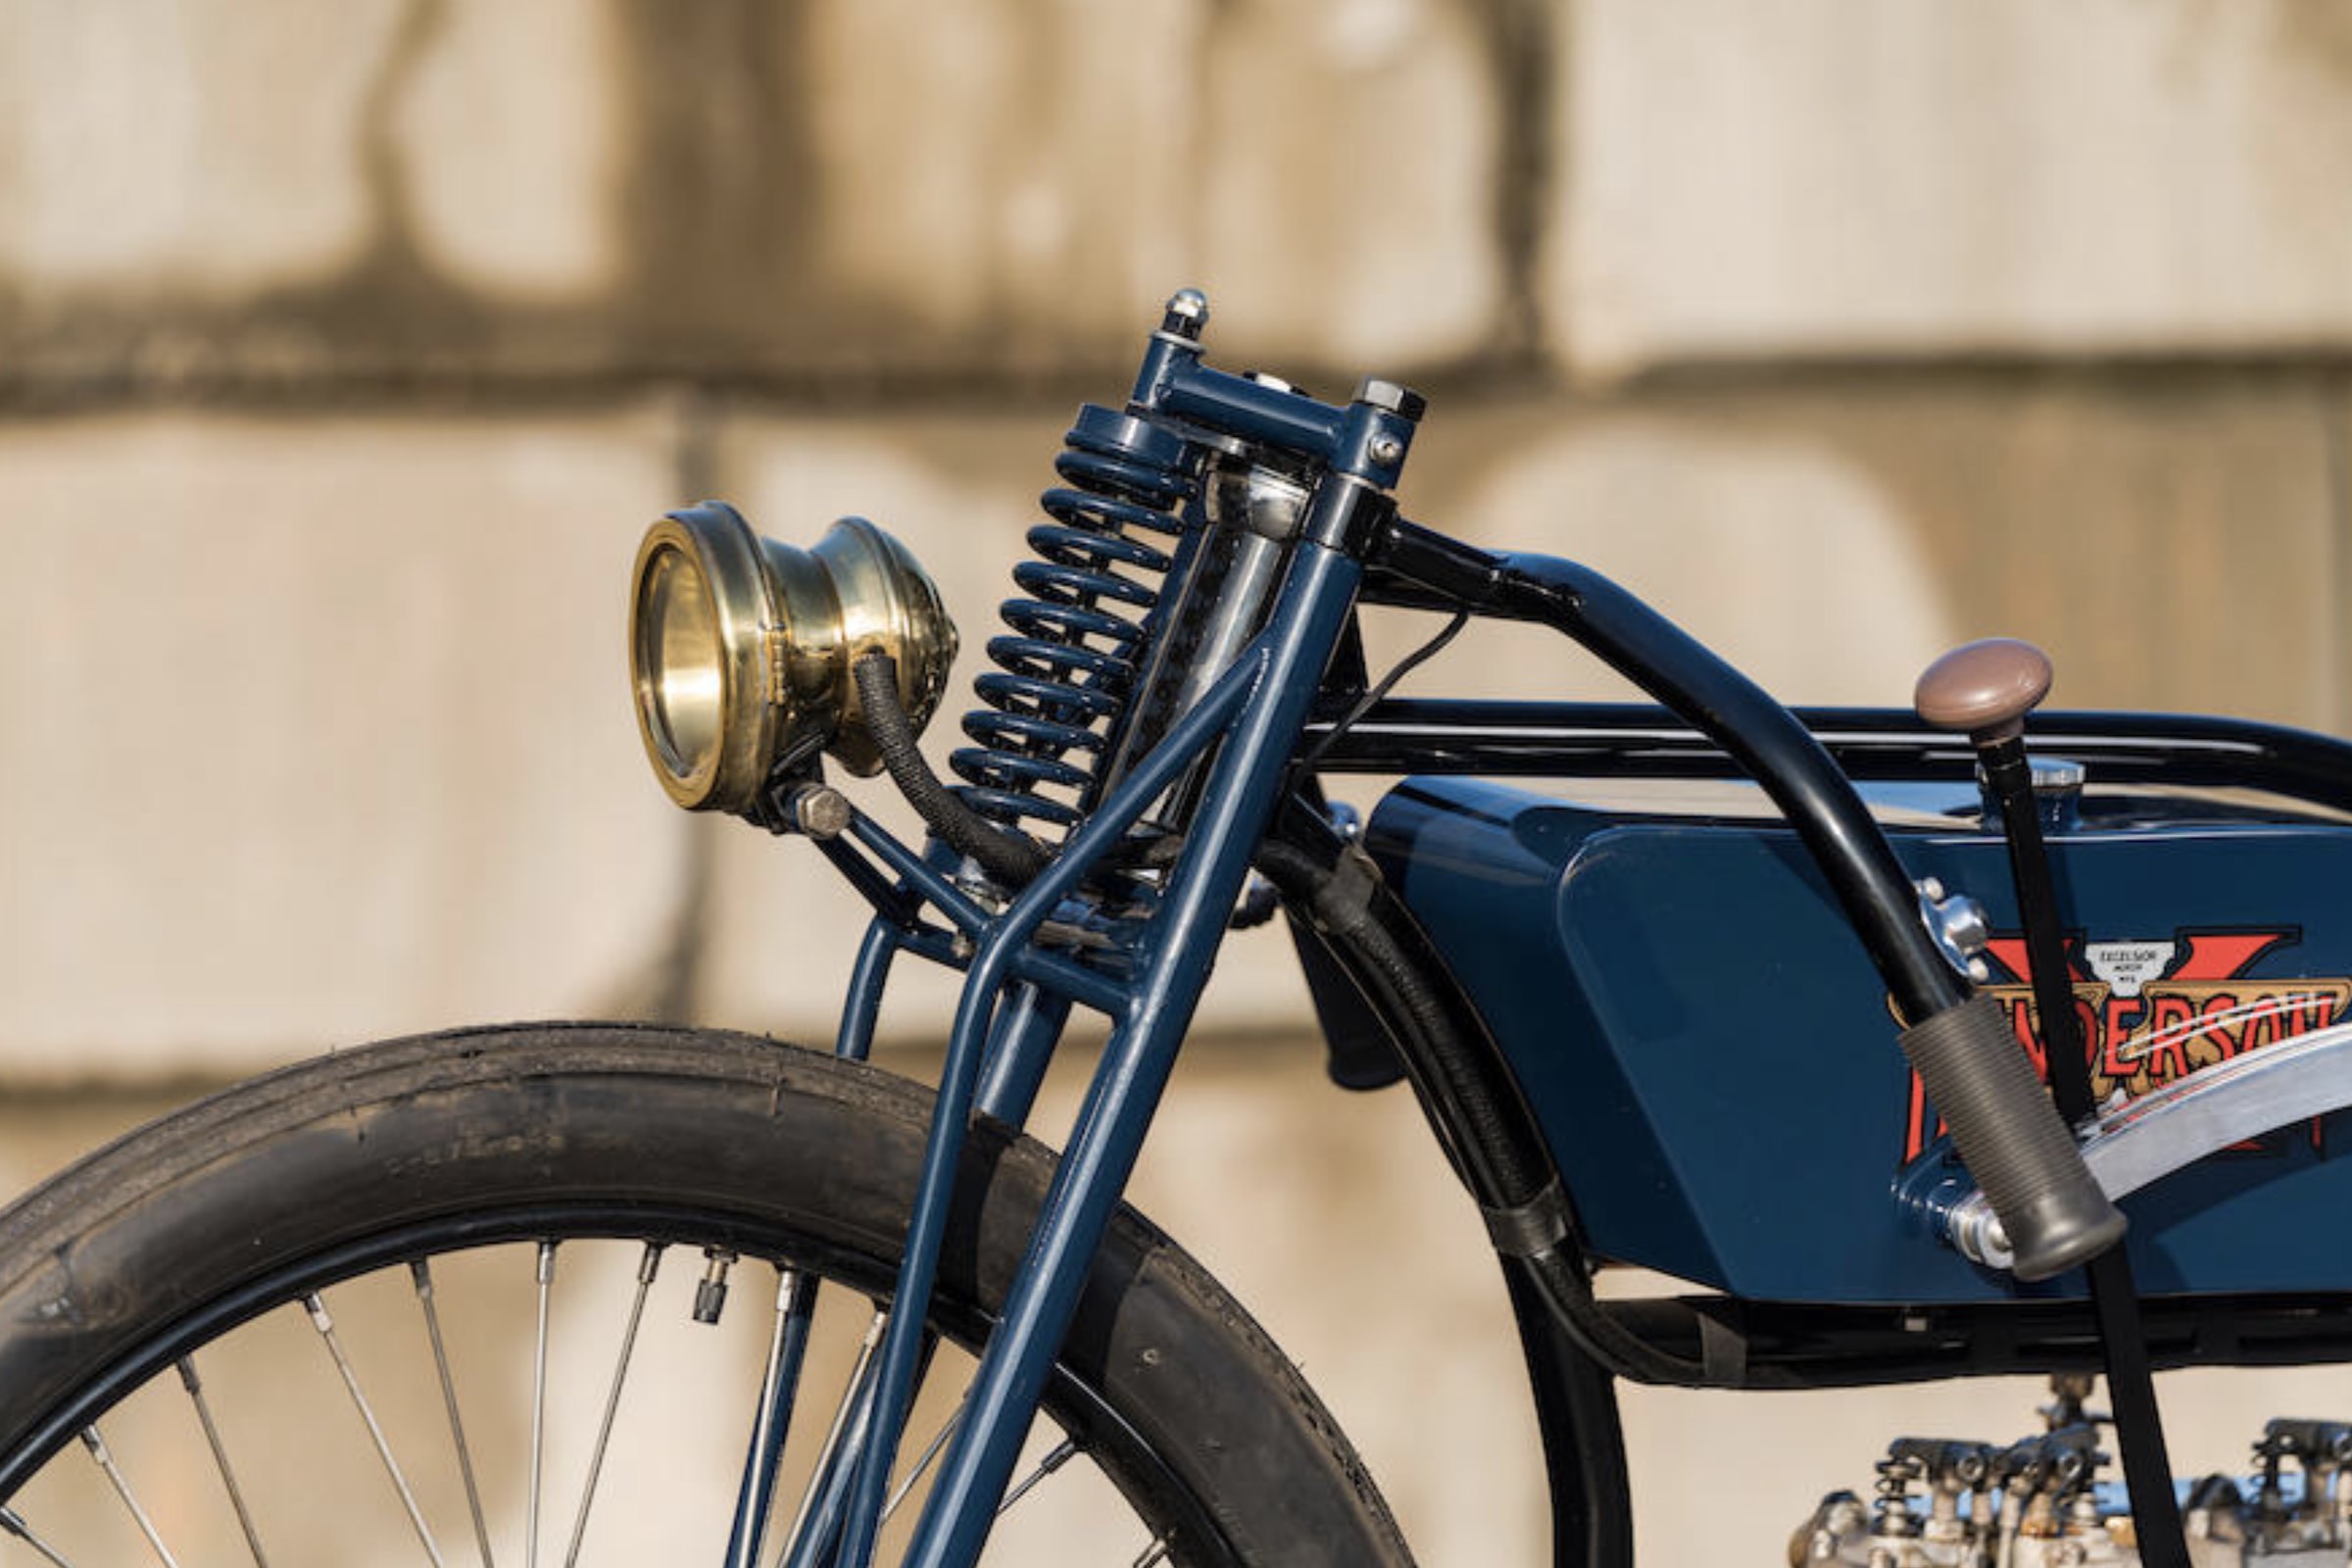
Final pictures: inspiration!
In between the busy / racket life right now, I still need my relaxation in building things.
A while ago I cut a 1" city bicycle fork in pieces. I used the headtube shaft for another build. Them beautiful legs tough...
I stored the fork legs in my shed, still with a part of the crown attached. It is nice to see that these mass produced forks are brazed.
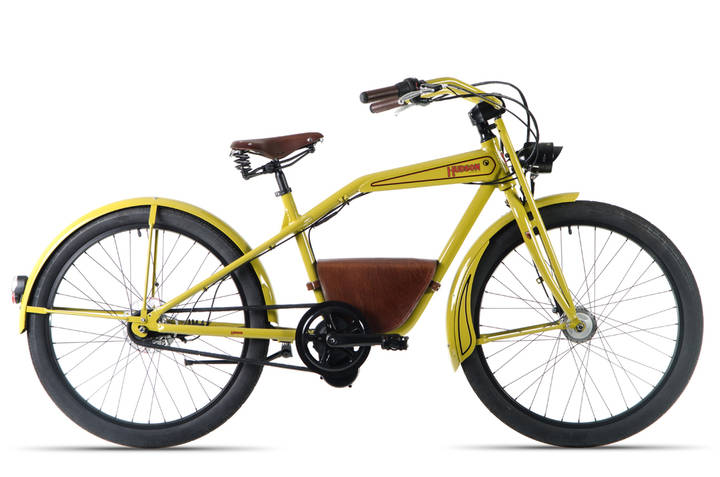
Now I have some ideas for my Electra Ratrod bike (stay with me here):
(pictures below)
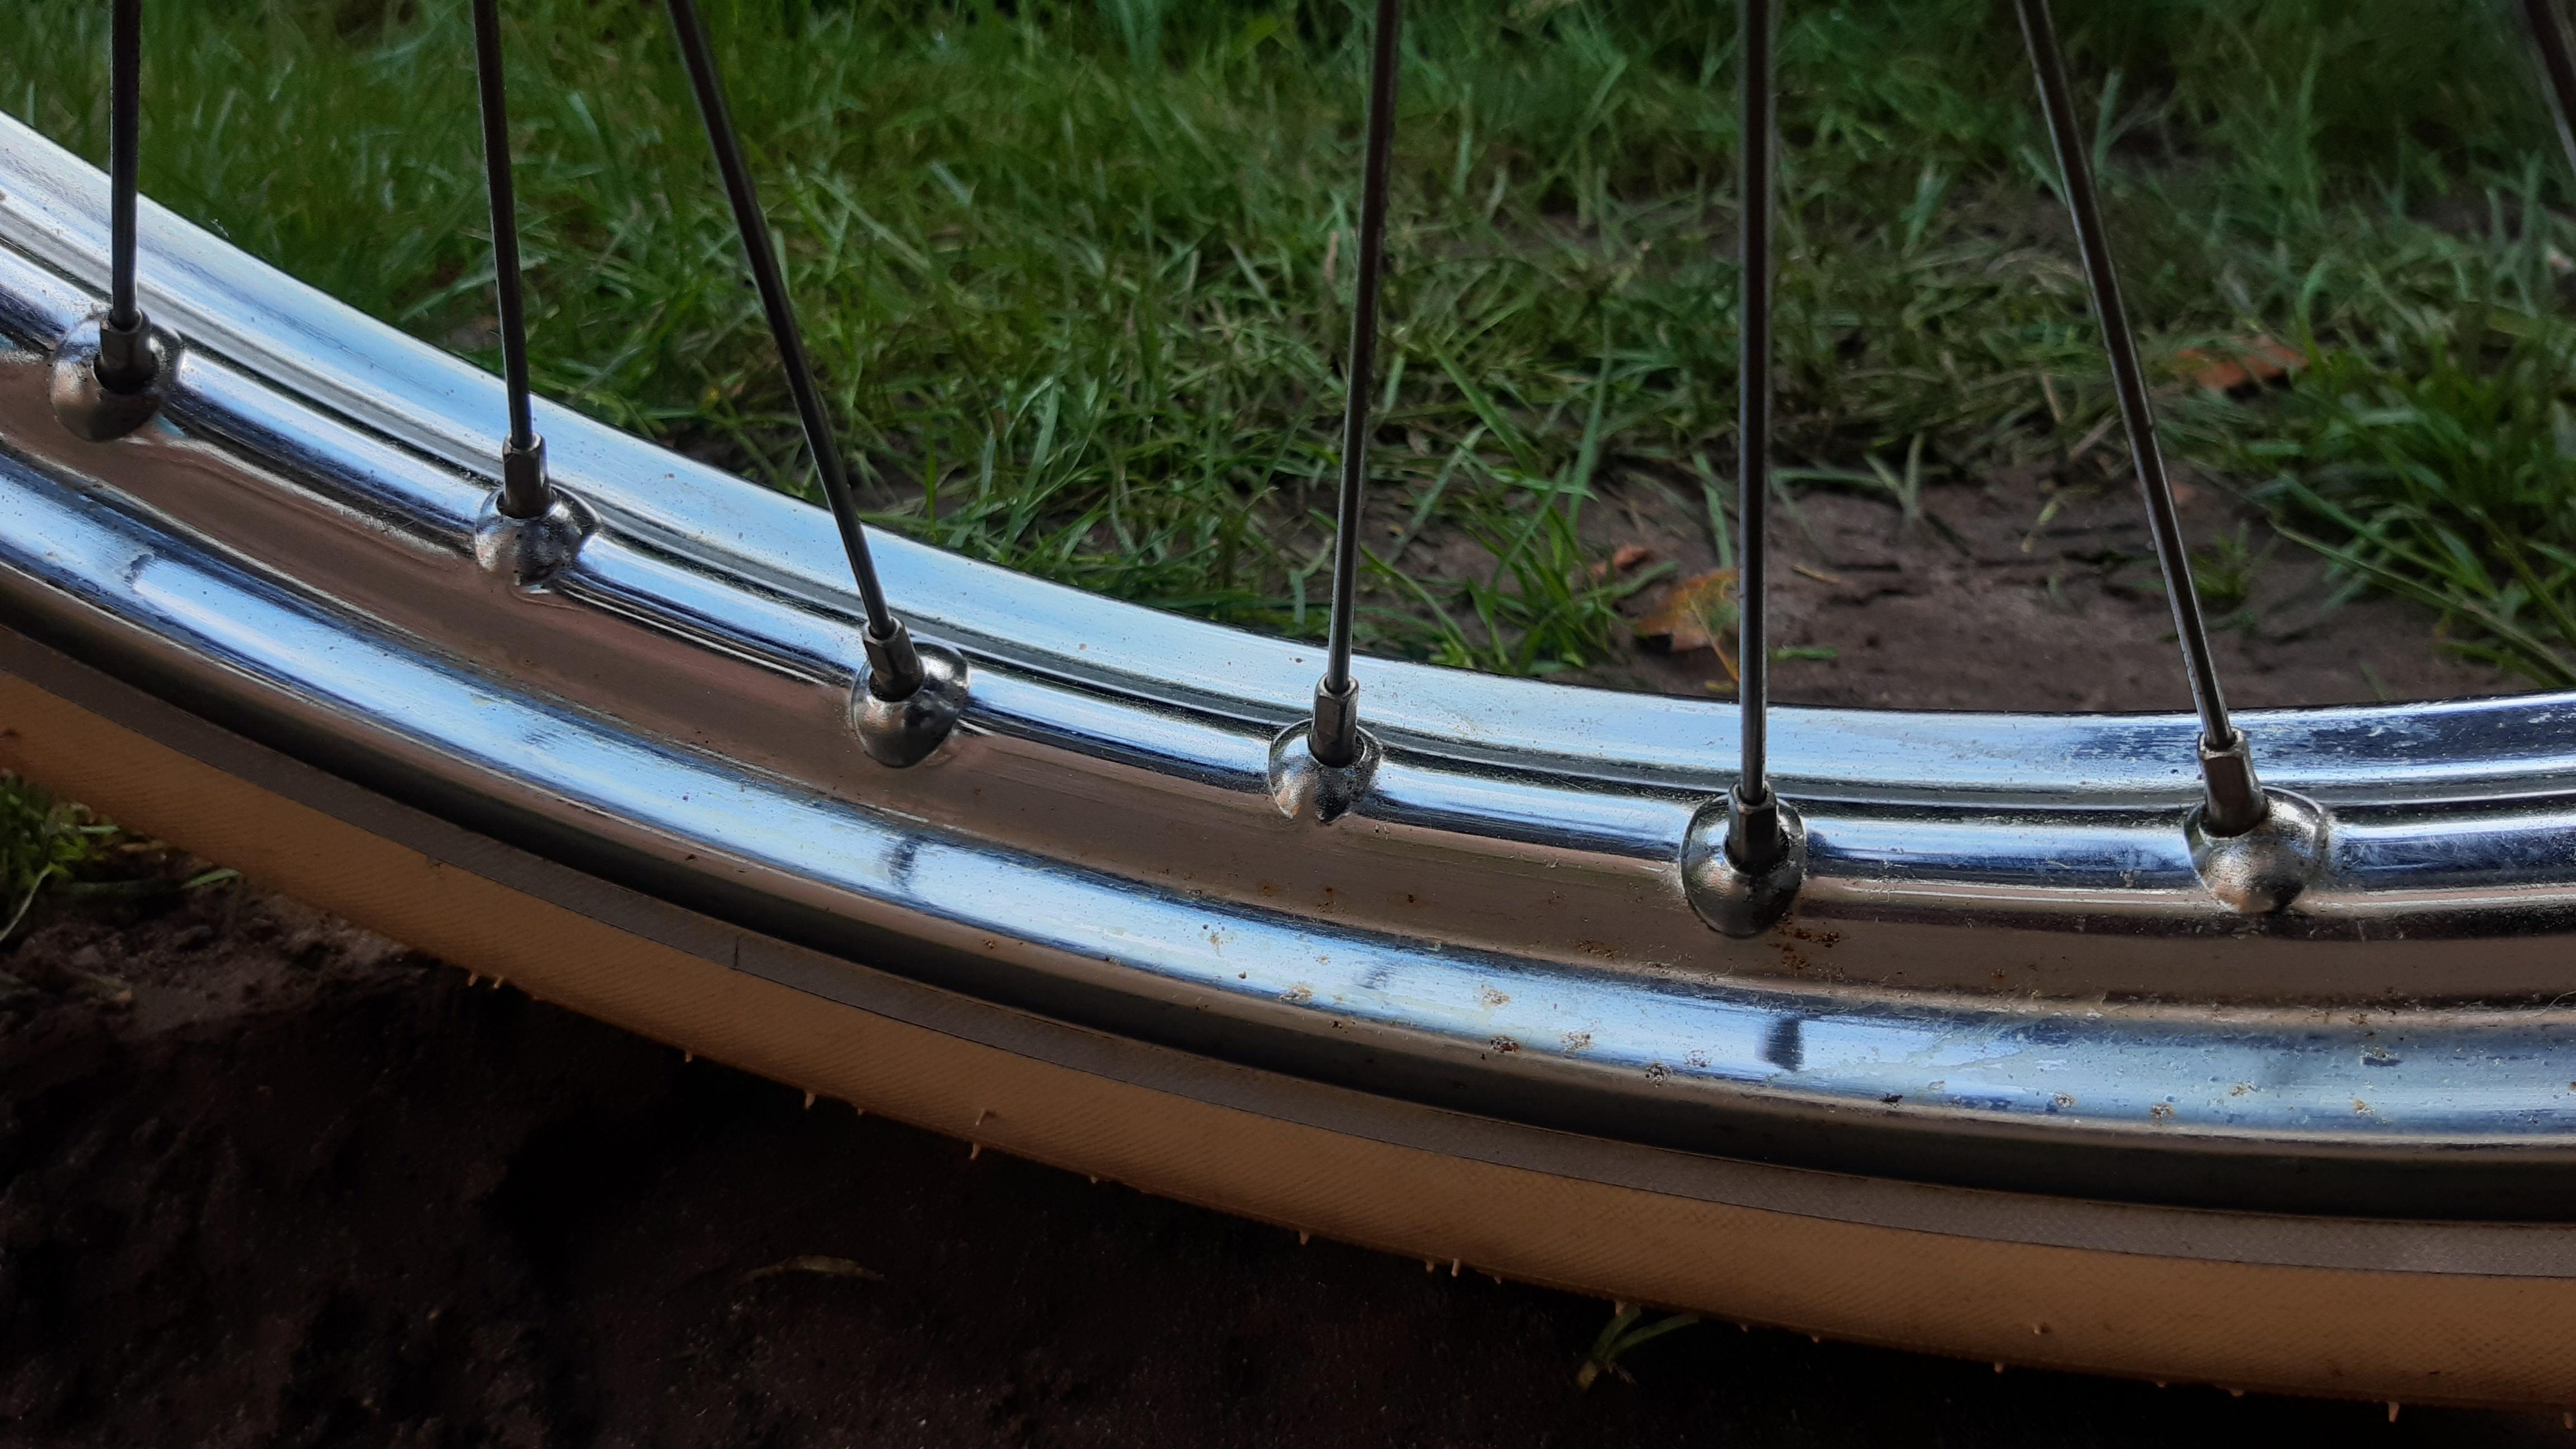
- Use the steel oldschool rims and powdercoat or paint them. I love these rims, they have this rugged look!
- Swap the frame for a Ruff Porucho boardtracker frame.
- 3.0" tires with early 1900's looks.
- Build a 1" threaded fork with the rigid boardtracker bike fork looks. I am aware that the Ruff Porucho frame is 1 1/8".
- Goal is to build a nice sturdy fork that is not too heavy and still fits the frame tubing sizes.
- No engine!
- Powdercoat: (clean old look) or paintbrush (rough oily old look)?
- Colour: Dark red (Indian like), or Dark Olive (Harley Davidson)?
- Tires (links): Cream zigzag profile 26x3 or Black straight lines 26x3
- Rear carrier for practical purposes?
- Lighting?
Already measured a heck of a lot of stuff and made some 3D models. Now working on the assembly so that I can lasercut the plating.
Tubing will be CroMo tubing.
Explanation on the top plate fork gap: The hole is bigger than the fork shaft, because there will be a solution designed there: I need to 'tighten and adjust' the headtube bearing without putting tension on the plate. So the plate gets a clamping bracket and there will be a bush between the top bearing cover and the locknut.
So when there is a little play in the headtube bearing: Loosen the top clamp a bit, loosen the top nut, tighten the bearing cup and re-tighten previous parts. If there is more explanation or a drawing needed, let me know!
Pictures: (first the Electra bike, then parts and models and inspiration final).
Enjoy and let me know what you think!
Final pictures: inspiration!
Last edited:

 I love your thoughts
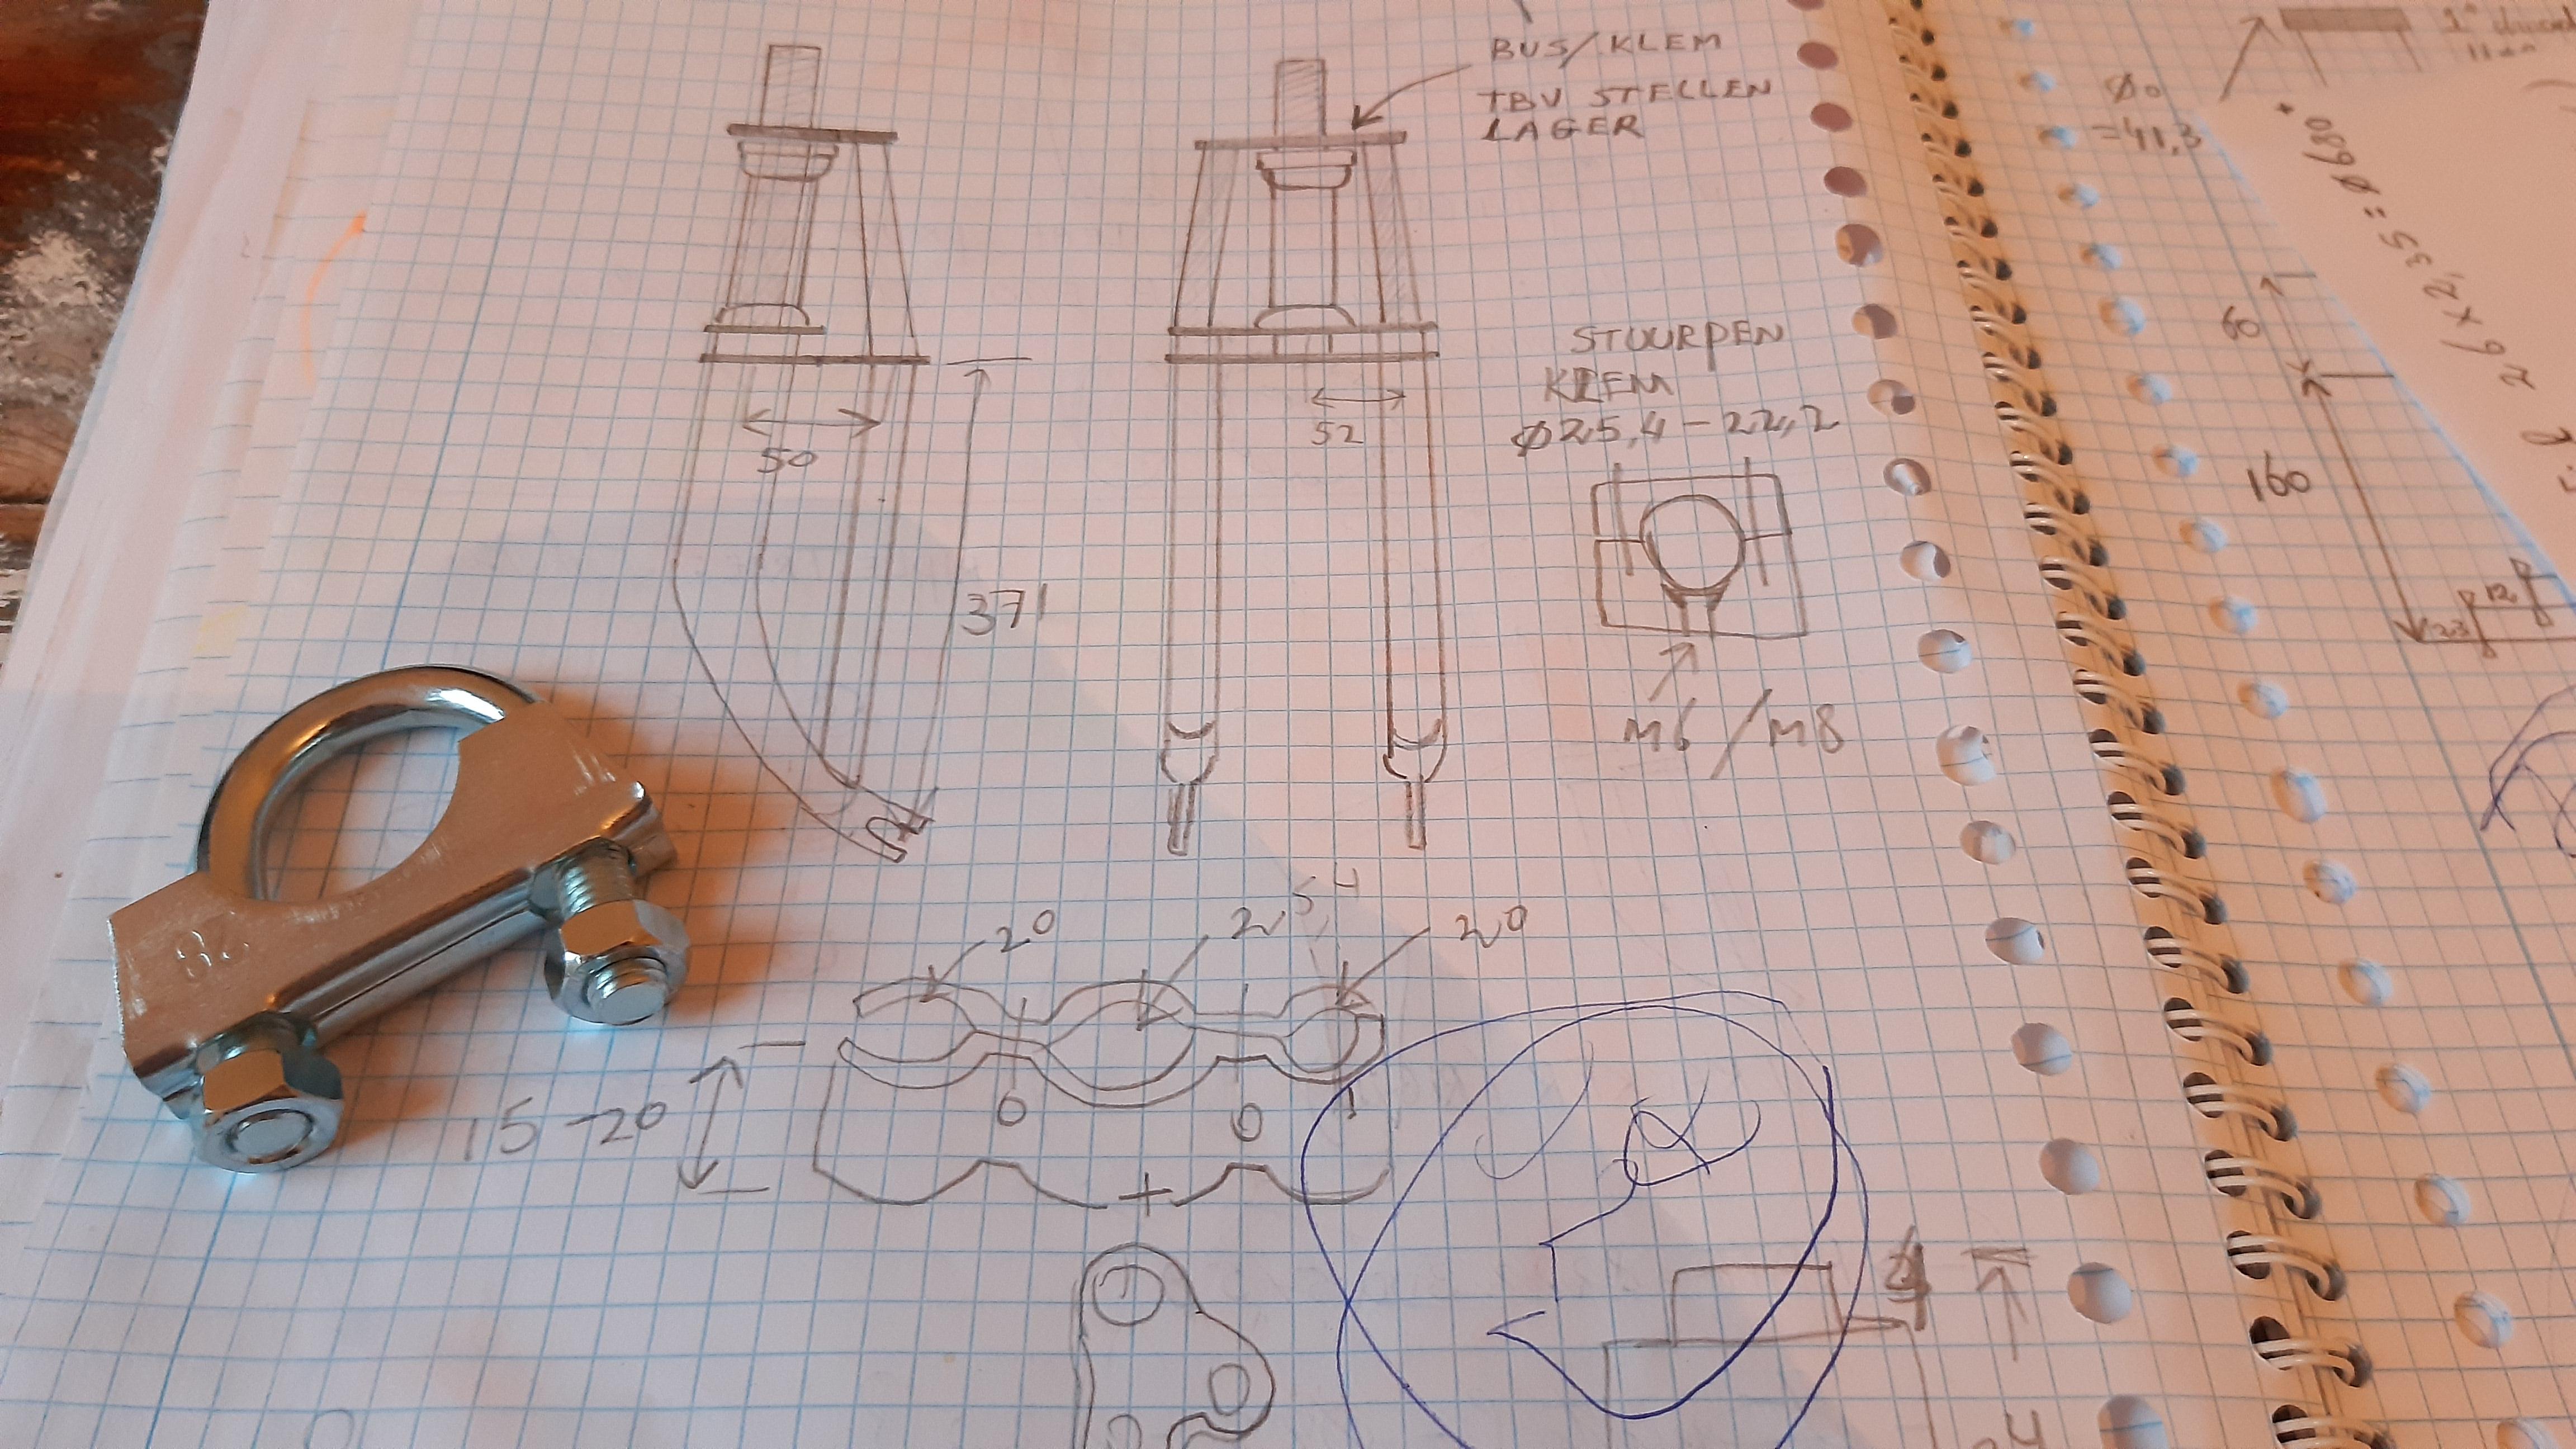


 )
)