"Orange County Rat Chop-Suey" Update 9-12

Rat Rod Bikes Bicycle Forum

Help Support Rat Rod Bikes Bicycle Forum:

This site may earn a commission from merchant affiliate links, including eBay, Amazon, and others.
Re: OCC Stingray gets a second lease on life

i just made a couple seats similar to that last week, from exercise bike seats. i still have to figure out how to upholster them, but i rode about 5mls on one and it was pretty good even without padding. the transition from comfort to discomfort was pretty quick though.

viewtopic.php?f=3&t=16662

it really helps make the bike though. those old exercise seats are now on my constant watch list so i can experiment with it more. like the back height and angle and such.
 
Re: OCC Stingray gets a second lease on life

Definitely want a comfy seat on this, and I'll explain why... basically, I've got a great friend who's wife possibly may have been diagnosed with MS. She's in her late 30's, two kids, love their whole family to pieces... they're great folks. So I'm preparing myself for riding in the local MS Tour in the beginning of October. I'd like to have the chopper done by then, but if not, I can always ride my trusty hardtail.

Anyway, on to the build pics. I stripped the frame Thursday, and Friday started attacking the frame with a wire wheel to get the pounds of rust off it. I thought I might be able to save some of the chrome, but it's actually pitted the steel in places, chrome is not salvagable. I was planning on painting it black, anyway. :mrgreen:
stingray-005.jpg


Pile of parts on the floor of my shop. Some of this stuff weighs a ton... I've got some tricks up my sleeve for getting the bike's weight down without ruining the "rattiness" of it.
stingray-006.jpg


And more inspiration:
stingray-007.jpg


I've borrowed a sandblasting gun from my dad, I'm thinking about hitting the frame with fine sand or baking soda to make the job go quicker. We'll see.
 
Re: OCC Stingray gets a second lease on life

FunkyStickman said:
. . . I'd love to see what you've done with it to move it back. Since I haven't been able to drop the seat on mine yet, I haven't been able to see how it fits. But I'll definitely check out any ideas you have.

Hey Stickman, I haven't forgot about you. I put the pics into Photobucket last night but my son dragged me away from the computer before I could get them posted. I'm off to visit my Mamma in the hospital now, so i'll try to get them posted tonight.
 
Re: OCC Stingray gets a second lease on life

Hey Stickman, here's what I did to my seat . . .


First, unbolt the seat from the post/base and remove the four small screws from the back trim panel. Set the seat back on the seat post and measure from the top of the "sissy bar" to just under the top edge of the seat. Add about another quarter inch to your measurement. Remove the seat and mark the amount to be removed on the straight section of the "sissy bar". I used a cut-off wheel and then dressed the ends of the tube on a belt sander. Now place the seat back on to get an idea of how far back to drill the new seat-mounting holes . . . it's about an inch and a half.
01569fc6.jpg


I welded the tube with flux-core wire in my mig and then ground down the welds with an angle grinder.
c1f93b29.jpg


A little sanding and a squrt fron the rattle-can to get here.
f486d14d.jpg


Those four, raised screw posts on the back of the seat will need to be cut down. they were no match for my wire cutters! This is what it looks like from the back . . .
5ebc1be6.jpg


A viewfrom the bottom . . .
5fc39e26.jpg


On the bike . . . BEFORE. :roll:
fb9a9c52.jpg


And AFTER! 8)
2c5355c1.jpg


The "sissy bar" now provides support to the top of the seat, and I use it as a handle when moving my bike. I also found that a carded, Schwinn tire patching kit will tuck in between the seat and the bar . . . very handy! This seat is not super comfy, but I have ridden over 15 miles at a time on it. :wink:
Let me know what you think and please keep us posted on your progress.
 
Re: OCC Stingray gets a second lease on life

Ran across something cool... I was window-shopping at http://www.mooneyesusa.com for ideas (don't lie, you know you've done it too) and I found "fake" whitewalls for motorcycles... I thought "Man, they don't have a 20 inch whitewall" and then it hit me, it's a 16" motorcycle rim!!! Dudes, listen up! This looks like it would work with a 20x4" bike tire! They're $14 each, though.

http://www.mooneyesusa.com/Store/produc ... ts_id=1872

I may have to buy a set just to try it out... you know, take one for the team! What a cool discovery!
 
Re: OCC Stingray gets a second lease on life

Thanks for the tip, Fireproof. I don't have a welder handy, but we're working on that! :) Also, I found a cheap Bell comfort saddle in the trash down my street yesterday, and the covering was worn out... I pulled the skin off and now I'm thinking about recovering it with snakeskin Tolex, costs about $17 a yard.

Anybody have experience with using Tolex to recover seats? I'm thinking you could heat it a little and get it to form to a saddle pretty easily.
 
Re: OCC Stingray gets a second lease on life

Go to your local Harley shop, and ask them if you can have two takeoffs. They have to pay to get rid of them. Tell them what you want to do with them, so they don't think they will get sued. I have about 10 of them in the barn, I'm going to do the 16" tire on the OCC wheel too.
 
Re: OCC Stingray gets a second lease on life

will it still fit on an occ frame? the only one i remember was a guy who put one on a spoiler.
 
Re: OCC Stingray gets a second lease on life

Can't wait to see the tire, should be pretty large.

Also, I tried out my sandblasting setup during lunch today, it's been 2 hours and I'm still finding grains of sand on my person! However, it cleaned up the rusty OCC handlebar (which I probably won't use) fairly quickly. I need to play with it some more, but it takes the rust off quickly, takes a bit longer to peel the chrome off. Once I've go the technique down, I'll hit the frame and start painting it. Pics will come as well.

I caught myself eyeing a Brooks 109 saddle today.... man, those things are sexy! I'll have to settle for a cheap recover, but maybe I can make some "hairpin" springs for looks to put underneath? Hmmm...
 
Re: OCC Stingray gets a second lease on life

Thanks, it was mostly in my hair and all over my clothes... I've never used a sandblaster before, and it took about 5 seconds to realize I needed full-face goggles and something over my mouth and nose. But for $3 I got a 50# bag of washed, dried, and filtered play sand to use. Works like a charm so far!

I officially have the sickness now, I was looking at Hozan spoke threaders, thinking "Yeah, sure, I could justify buying one of those..." :roll:

Sheesh.
 
Re: OCC Stingray gets a second lease on life

Here's the beginnings of sandblasting the frame. It's not as fast as I'd hoped, mainly because my compressor can't keep up. I have huge industrial stuff at work I could use... hmmm....
stingray-008.jpg


Here's a before and after of the fork legs:
stingray-009.jpg


I'm tossing around ideas for replacing the fork legs. I can get 8 feet of 1.25" aluminum 6106 tubing for about $20, it would be about as strong but weigh half as much. Anybody tried that before?
 
Re: OCC Stingray gets a second lease on life

fireproofs not joking when he says wear a respirator........sand has silica which is basically glass and will cut the heck out of your lungs
 
Re: OCC Stingray gets a second lease on life

Okay, this next part is not really talking to anyone... I'm just laying out my thought process for building this.

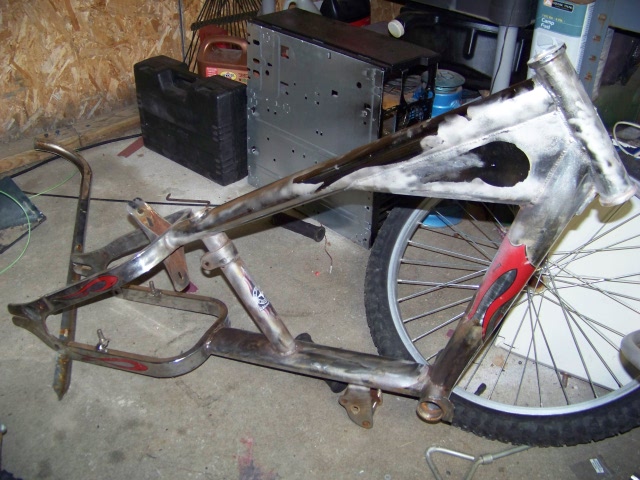
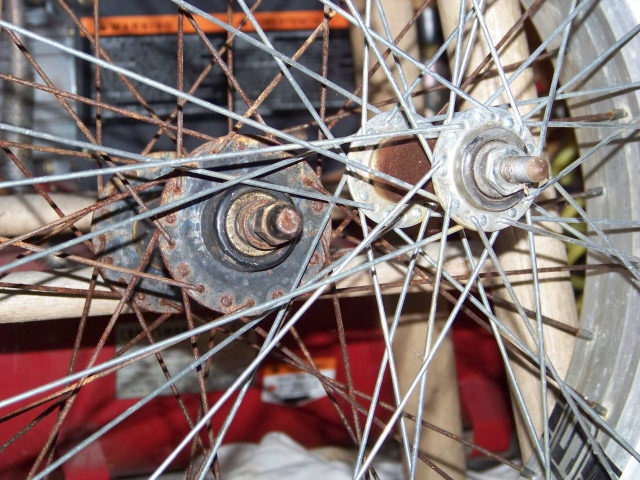
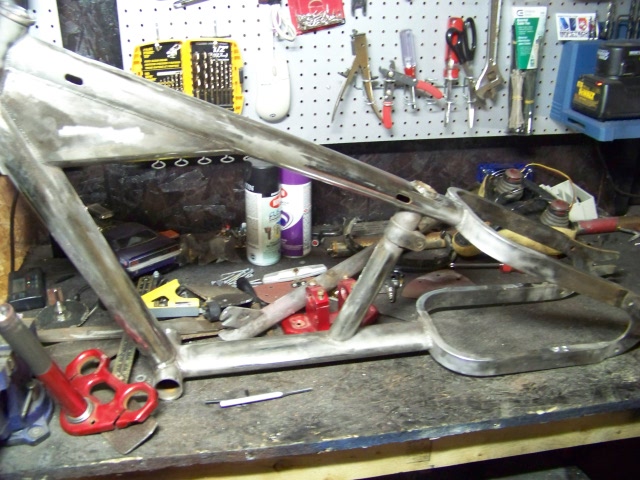
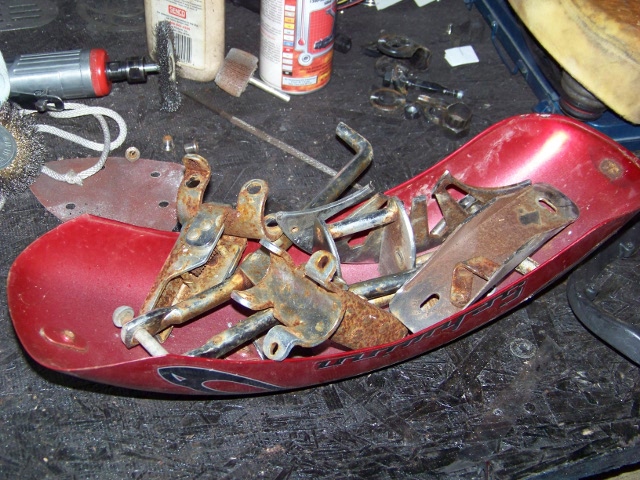
Basically, I want to make this bike ridable for long distances. I've removed the chainguard and rear fender mounts, and will remove the welded kickstand. The rear wheel is a 20x4" wheel, and the rear hub is extremely wide so the chain will clear the 4" wide rim. The rear dropouts are 170mm apart, and normal bicycles are 135mm. Big problem! No aftermarket hubs will fit without narrowing the rear end except the Sturmey SX-RK3, SX-RB3, or a Chris King tandem hub. If I had the choice between a $150 3-speed, or a $150 8-speed, I'll take the 8-speed.

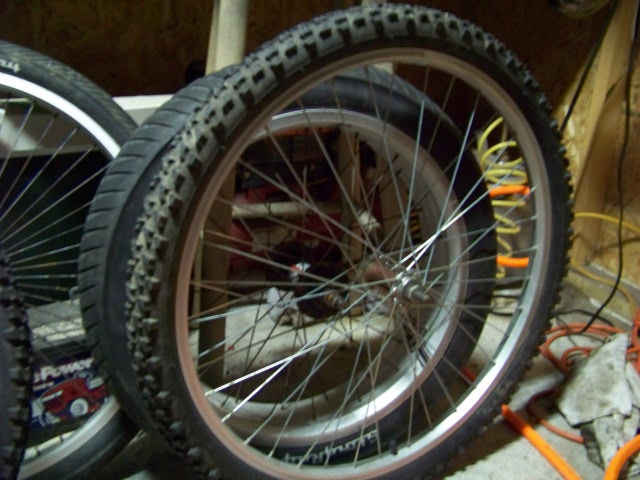
I'm also wanting to convert the rear wheel to a 24" (like the WCC bikes) for better gearing and smoother rolling. But if I put a taller tire in the back, it will jack up the rear of the bike, and I don't want that.

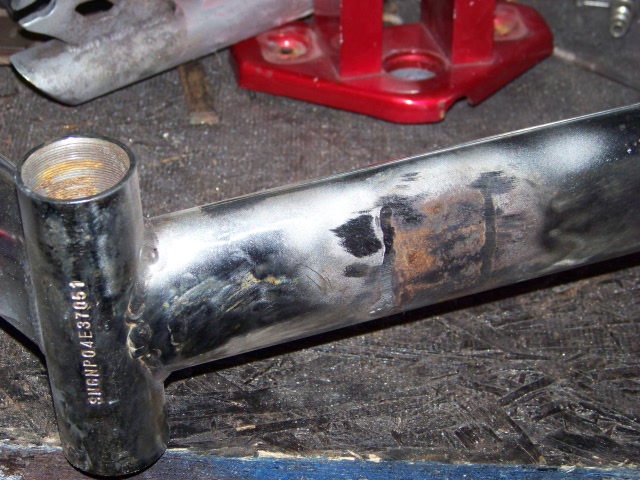
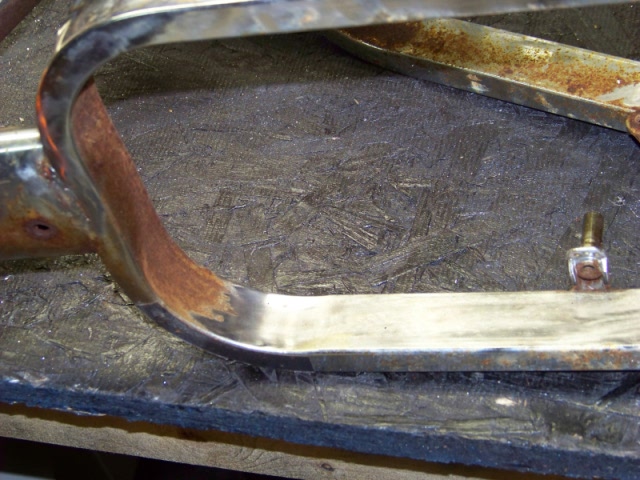
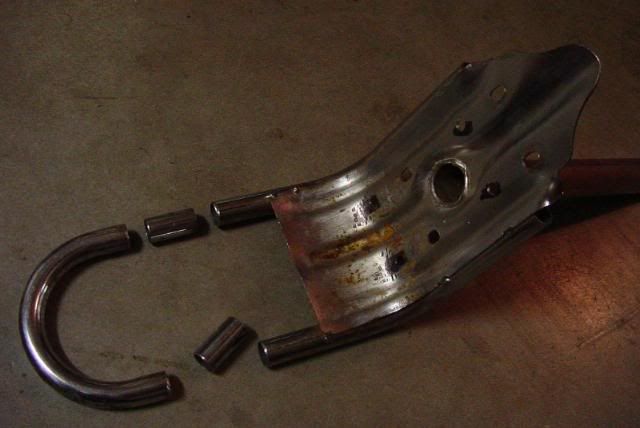
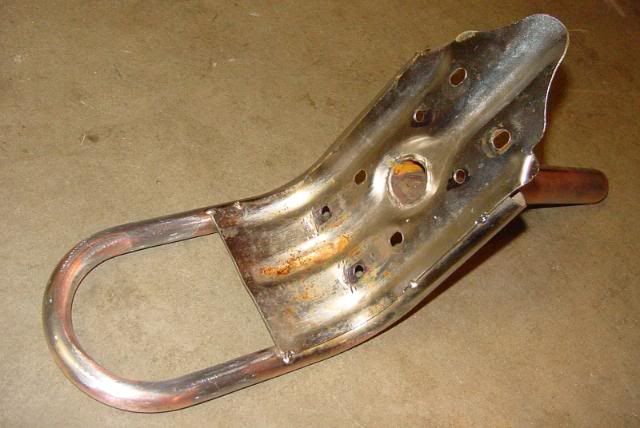
So I will solve this with a single solution: 1/4" aluminum plates to raise the rear axle. I can get a foot of 4" wide 1/4" thick 6160 bar stock for about $8. I'll bolt a 4x6" plate into each dropout, sticking straight up, and cut new dropout slots about 4" higher than the original dropout slots. This also narrows the rear of the bike from 170mm to about 155mm, which is close enough to use standard 135mm hubs. I could even s-bend them slightly to narrow it further. This will let me use hubs like the Sturmey-Archer 8-speed rear hub, or any cheap 3-speed. Lace this to a 24" rim and a 24x3" whitewall, and bam! We're in business. The resulting rear end would actually sit about a half inch lower than the original 20" wheel. I could even cut the dropout extensions with decorative stuff. For strength, I'd probably make the new dropout slots ovals (not opening to the outside) for strength.

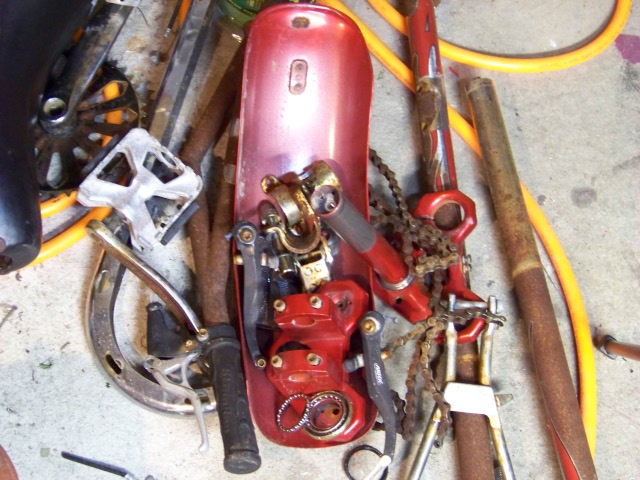
The only problem with this setup is the lower chain would rub on the frame. Thankfully, someone on RatRodBikes figured this out! I can put a cheap chain tensioner over the chainstay.

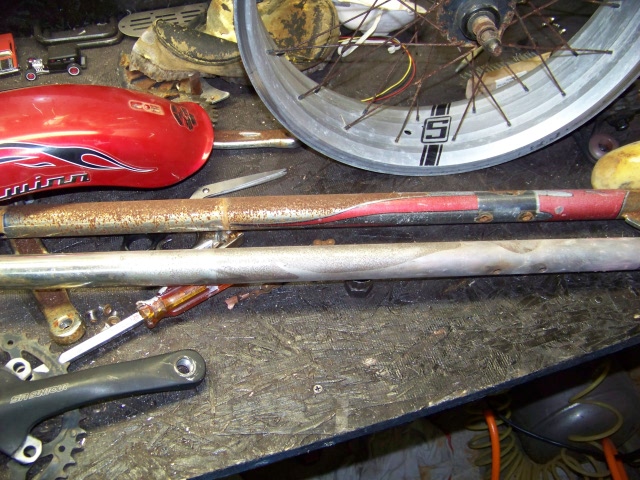
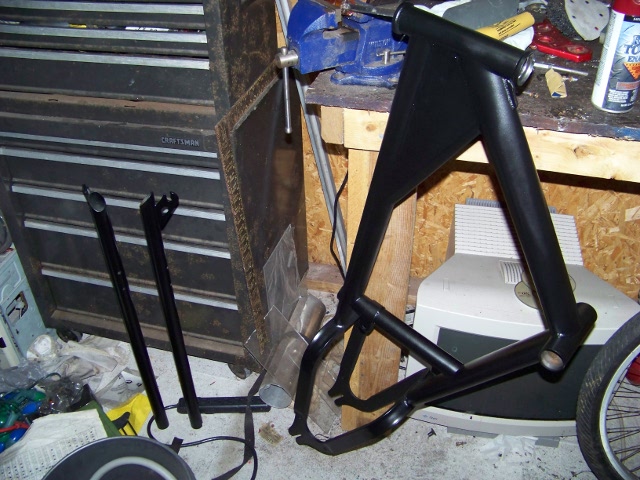
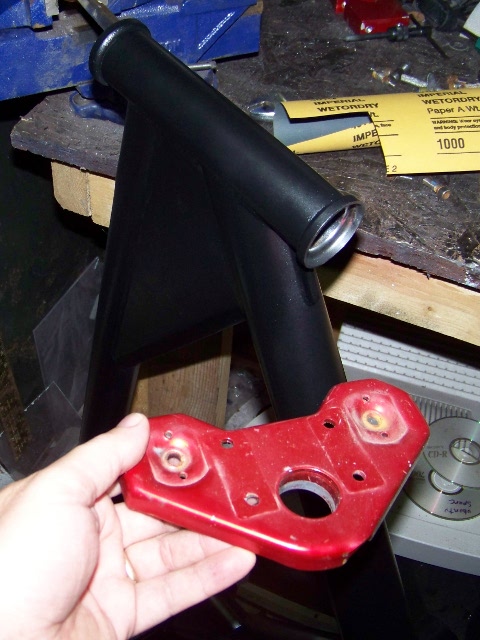
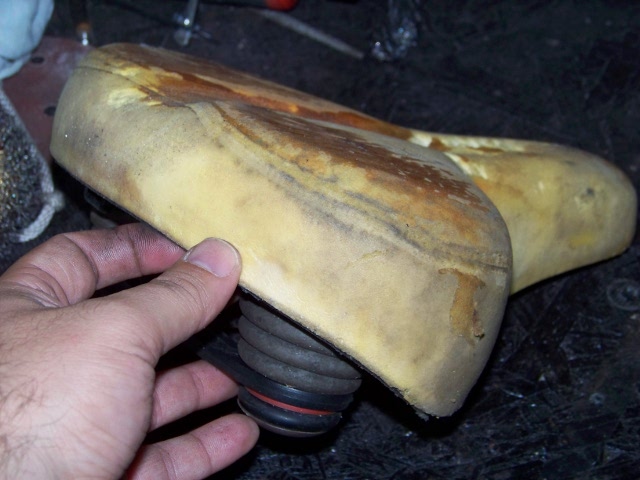
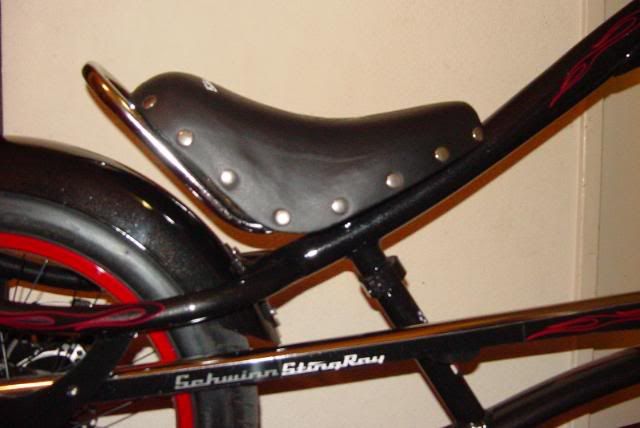
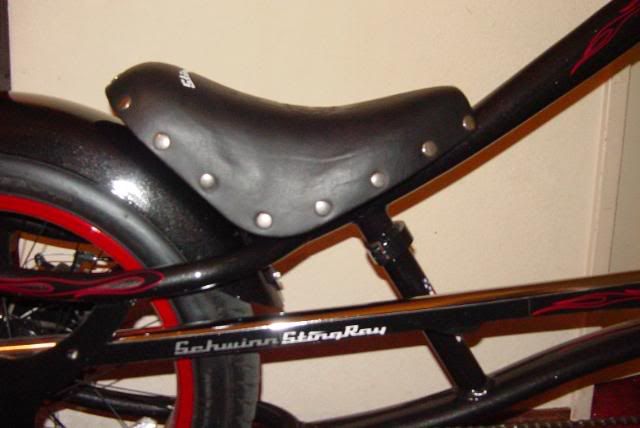
So now that I've got most of the back end figured out, I need to turn my attention to the middle and front. I'll probably just use the comfort saddle I found (recovered) and a layback seatpost to get it where I want it. And for the front, well, I'd like to extend the forks and make them lighter... but I will probably re-use the stock fork and lace up a 27" front wheel to keep the bike proportioned correctly. If I have the money, I might replace the fork legs with aluminum. I wonder how many choppers have been done with a 27" front wheel? I might have to extend the forks anyway.

I've found aluminum handlebars that I like too, so once I've got everything assembled, I'm expecting the bike to look like a chopper, but ride like a road machine. More pics to come!
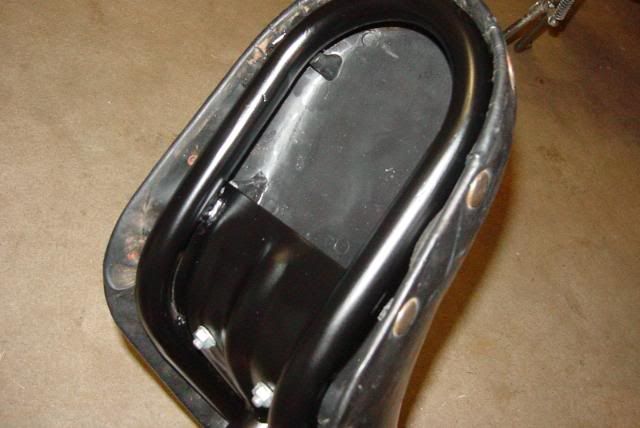
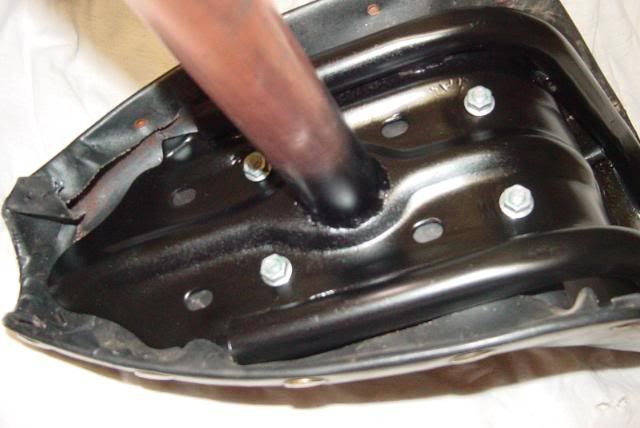
 
Re: OCC Stingray gets a second lease on life

Okay, quick update. While I was removing the V-brake bosses and the welded-on kickstand, I decided to measure what the bike would sit like with a 24" in the back, instead of the stock 20x4. Lo and behold, it puts the axle only 1" higher than the 20"! Mostly because the rear tire is soooo huge. I honestly thought it would be higher than that. That's what I get for not actually measuring it! "Well," I figured, "I can deal with one inch higher in the back, and if I put a MTB rim in front, that puts the front one inch higher as well!" So you can imagine what I'm thinking! I have a set of spare 24" and 26" aluminum rims with junk hubs, so this is totally doable. I just need to re-space the rear dropouts.

Here's some shots of my (slow) progress.

Cut off the kickstand, look at the rust under there!
stingray-010.jpg


24" next to the Stingray 20x4".
stingray-011.jpg


Looks a lot bigger, but the axle's only an inch higher. Look how rough the Stingray spokes and hub are.
stingray-012.jpg


The frame, 90% stripped/sanded and almost ready to paint.
stingray-013.jpg


I'm still scrounging Ebay for a 7 or 8-speed Sturmey or Nexus hub. Hope to have more progress soon! :mrgreen:

For the record, I'm loving this! I haven't built a bike from the ground up in years!!
 
Re: OCC Stingray gets a second lease on life

I did a little more work on the bike tonight. I finished smoothing the parts I cut off, and narrowed the rear dropouts to 135(ish)mm. More importantly, they're evenly bent, and the bike should track straight. I may bend them a tad more and parallel the dropouts, which makes chain adjustments much easier. :D

I also disassembled the fork crown, and since one clamp bolt was missing, I cleaned and re-tapped the threads, and I will pick up a new pack of about ten M6x1 hex bolts for it. Every bolt on the fork is an M6, except for the two "stop" bolts, which I removed and will replace with proper fork tube bumpers.

I'm loading the frame into the car to bring to work... we have several sand blast cabinets I can use after hours, and the thought of finishing the frame and fork legs is outweighing my desire to do it all at home. I just want the thing painted, so I can start working on the wheels and drivetrain. I won't bore you with pics yet, there's not much to see except my messy workbench. :oops:

I'm still waiting on the sale of a few items before I can buy new tires, chain, hubs, spokes, seatpost, etc.
 
Re: OCC Stingray gets a second lease on life

Small update: I was getting along very slowly with sandblasting (though it's great for hard-to-reach spots) and wire wheels, so I bought a 3M Scotch-brite abrasive disk. Man! I was not expecting it to work that quickly, or that well. But work it did! I was able to completely strip the fork legs and frame in one night. The decals were particularly stubborn, but a combination of the disk and a sanding sponge managed to get them all off. The parts are primed with etching primer, and awaiting black paint and parts to become a bike again!

stingray-014.jpg
 
Re: OCC Stingray gets a second lease on life

Painted the frame and fork legs today!
stingray-016.jpg


Gonna look good with the clear red fork crowns! I might paint the rims clear red to match instead of bright red...
stingray-015.jpg


About 5 pounds (not exaggerating) of stuff I won't use off the bike, including the kickstand and fender mount.
stingray-017.jpg


And here's the seat I found in the trash. No, it's not a real springer, but for free, meh. It'll at least be comfy when I recover it.
stingray-018.jpg
 

Latest posts

Back
Top