


My nephew has commandeered our neighbor’s utility tricycle for the past couple of summers. Even though he was too small for it that didn’t stop him from riding it all over the neighborhood. Our neighbor’s mom wanted the trike back so it wasn’t going to be in the area anymore. The search was on for a ratrod replacement. This was going to be the biggest surprise bike yet! As long as the rest of the family could keep it a SECRET….
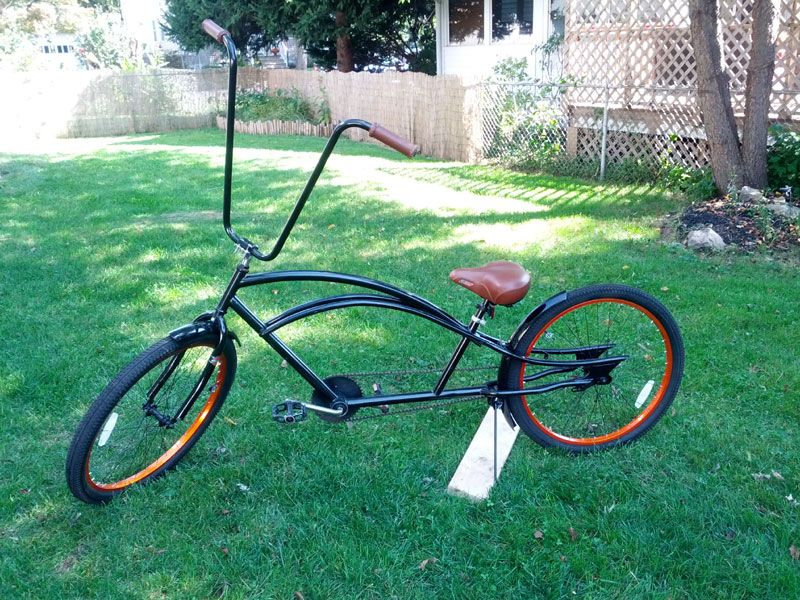
This is what I was using as inspiration.

A neighbor in NJ had an old Joannou trike for me. I wish I had a picture of it, but it looked just like the one in reanimator’s "Joannou Model De Luxe" thread. It was cool, but not as big as I was planning on. On the next trip to the swap meet I found this.
Now that’s what I was looking for! There aren’t any pictures of the original trike because I started tearing it down right away.
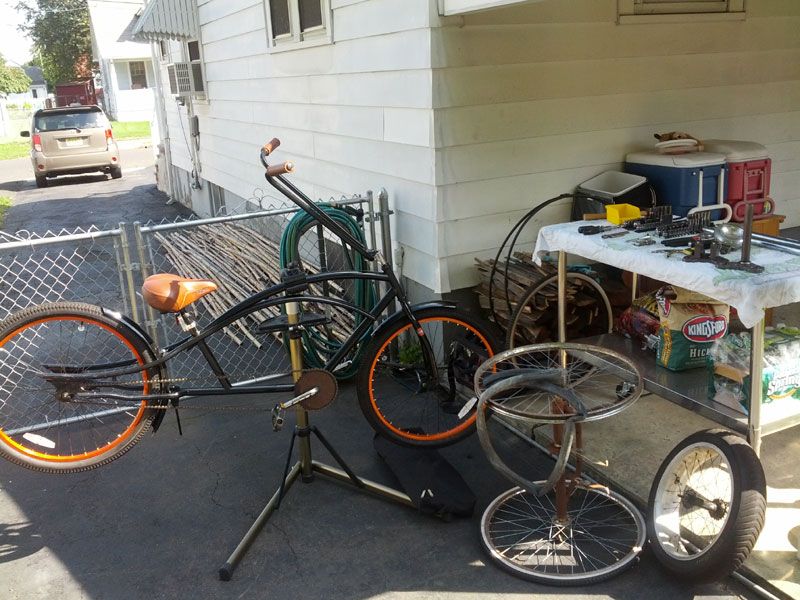
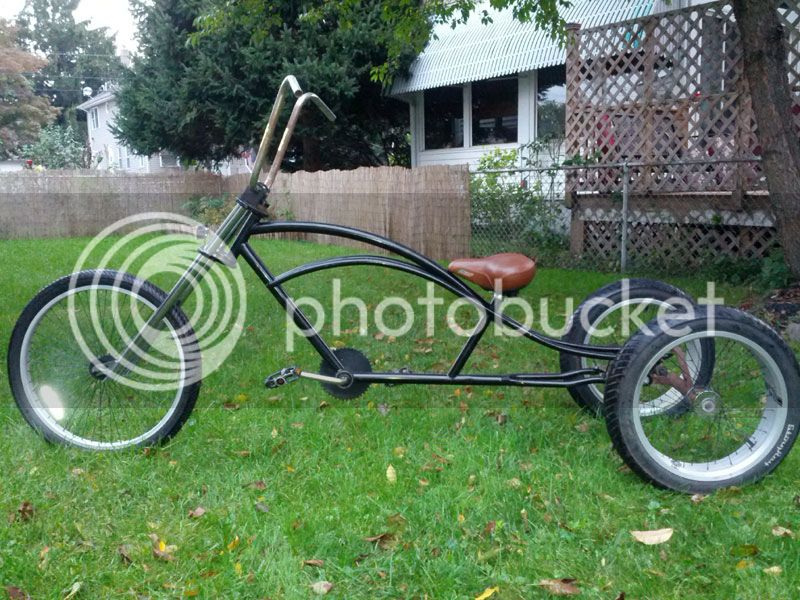
Okay, so those skinny tires weren’t going to cut it. What about matching all three?
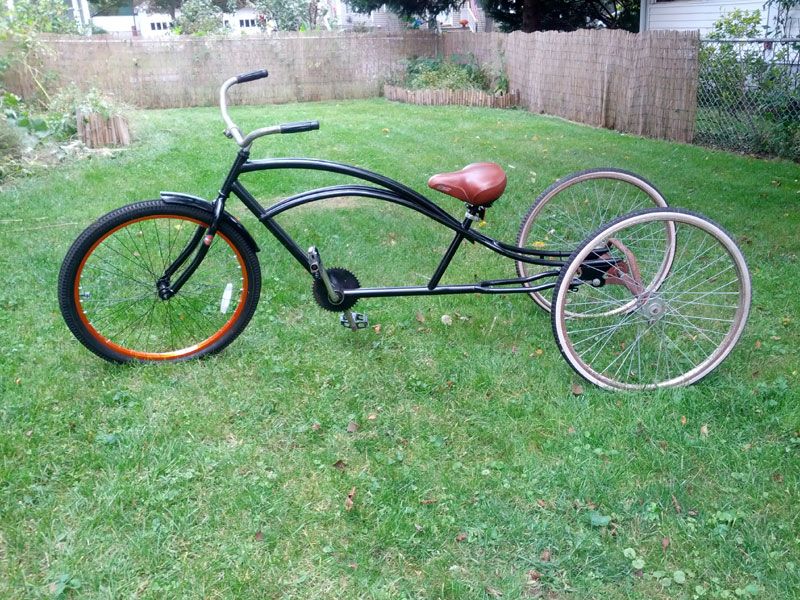
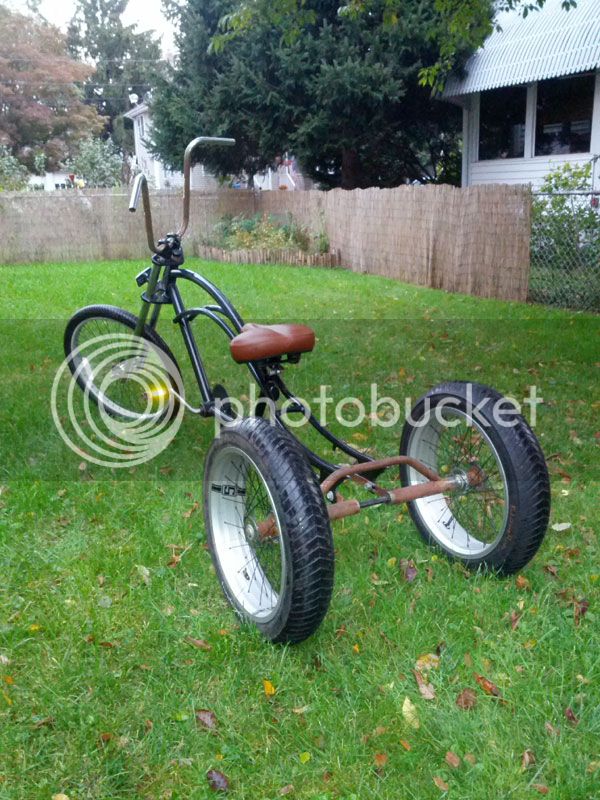
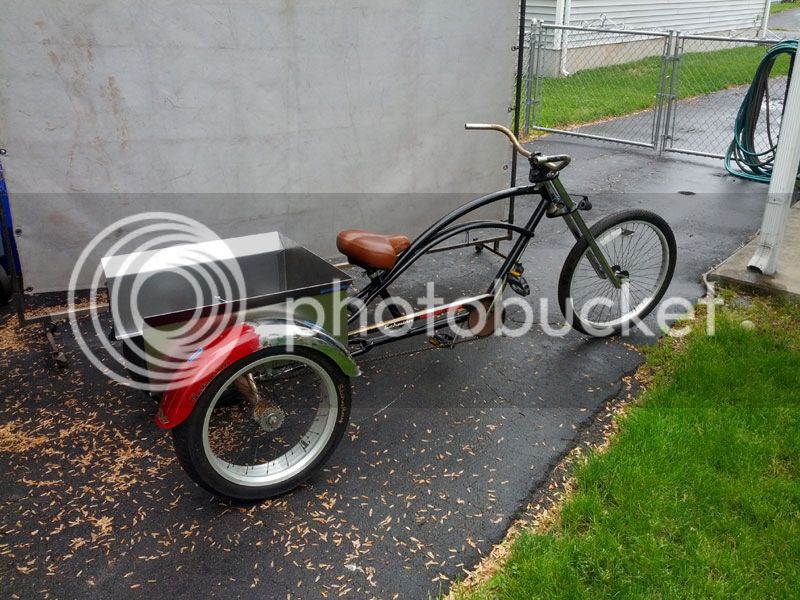
Not bad, but it wasn’t enough….. Time to cannibalize the plethora of OCC’s my friend and I had seem to have acquired. Forks, front wheel, and rear wheels laced to the original trike hubs. Oh and 4 rear fenders.

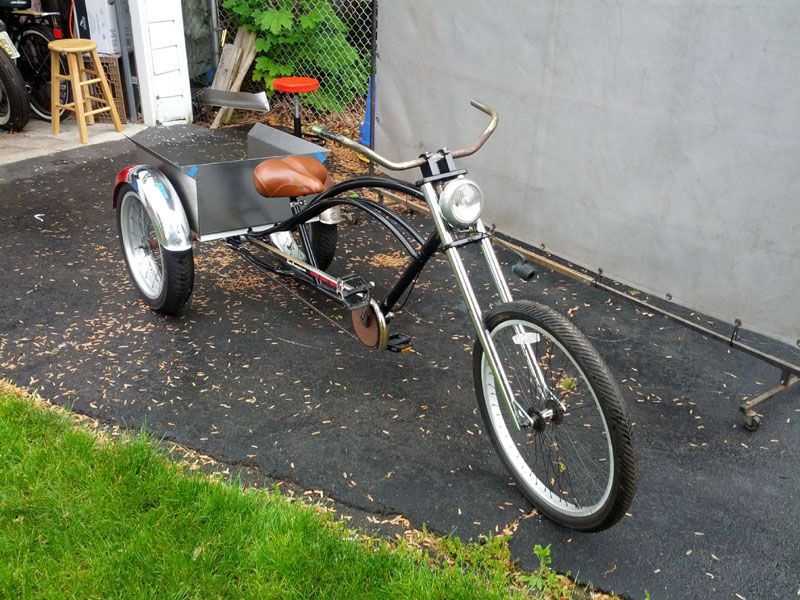
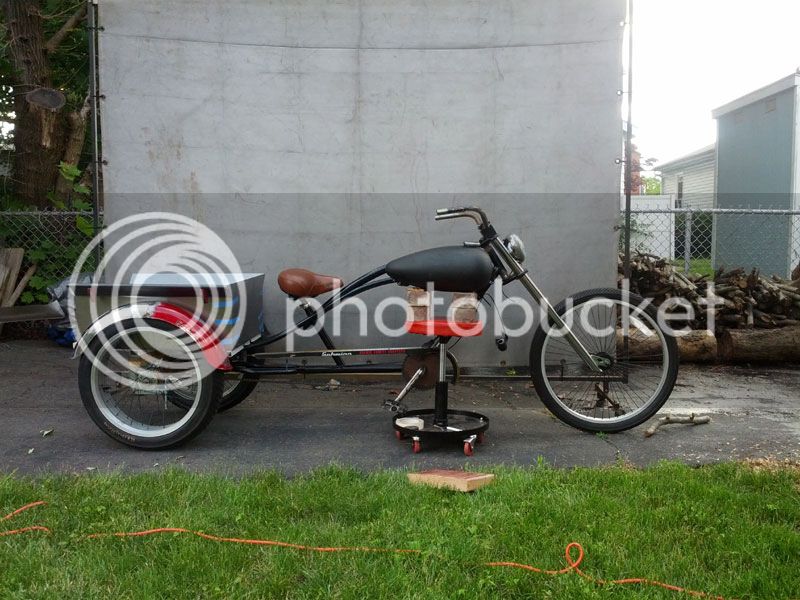
Looking good. It’s long. I like it! The headlight I picked up from the same swap meet fits right in.
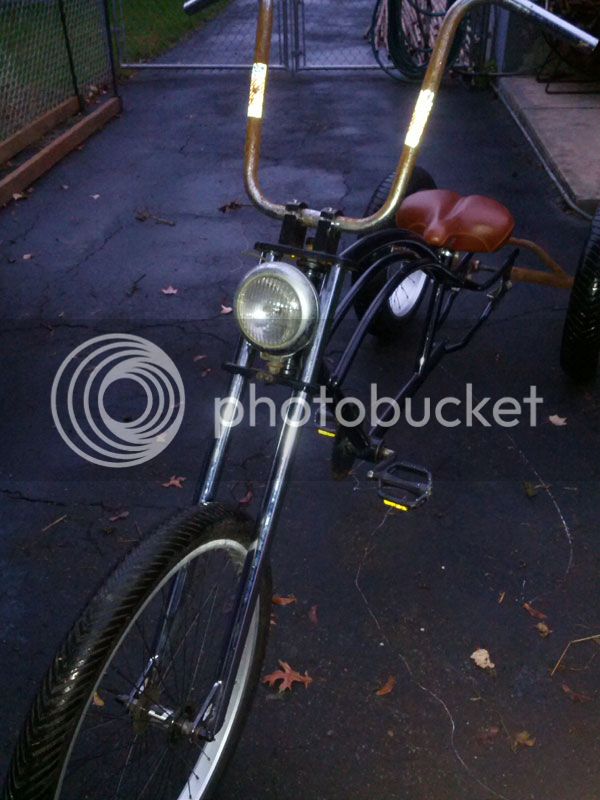
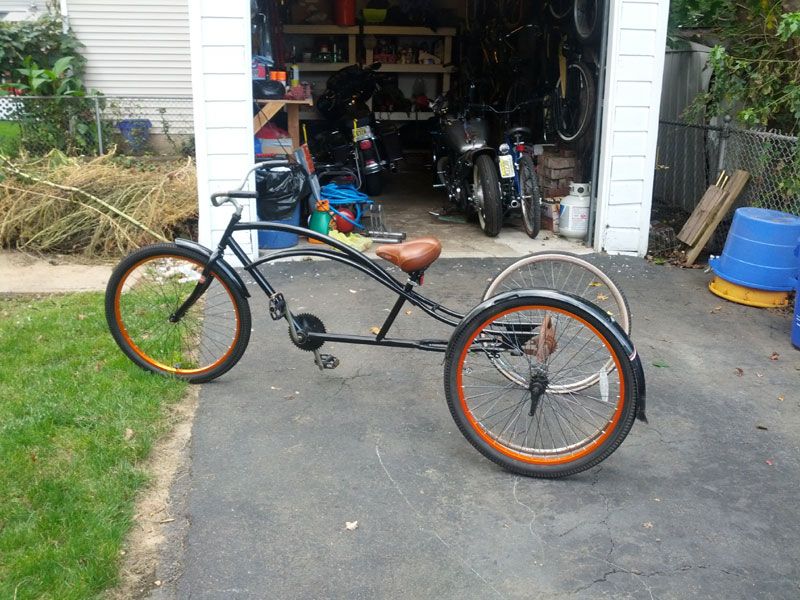
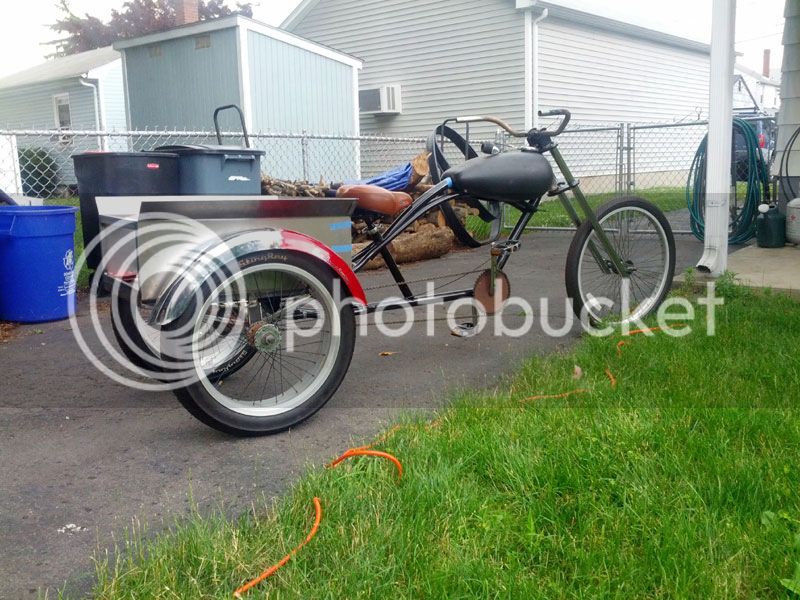
It was shaping up nicely, but I knew I could make it look longer. I swapped the apes out for a set of lower cruiser bars.

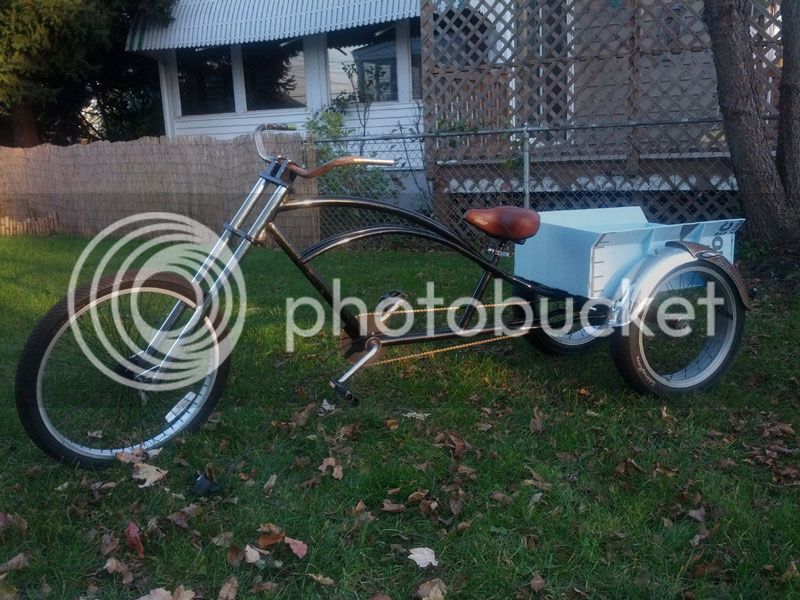
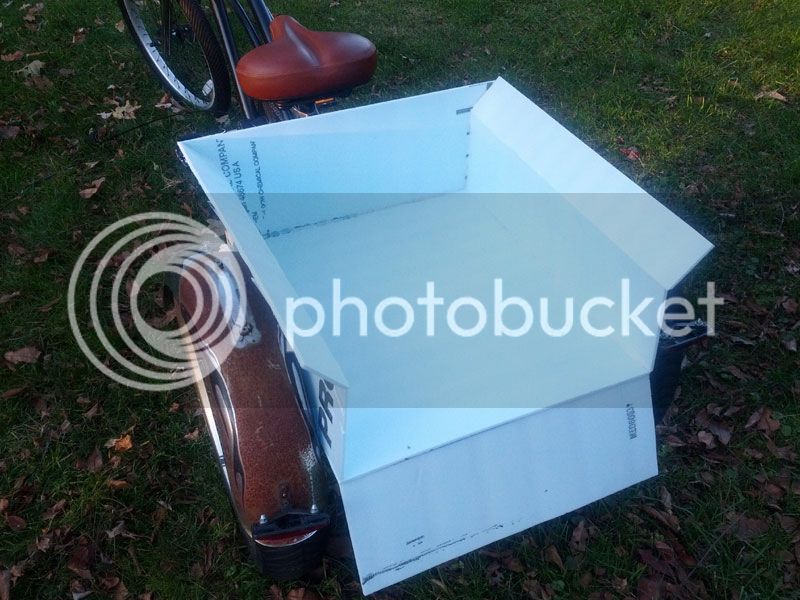
I didn’t have any wagons that were going to fit in the space so I had to come up with something. I decided I wanted to do a wood bed pickup bed. I had some foam insulation board kicking around from making RC airplanes. Using that to mockup the bed was easy.
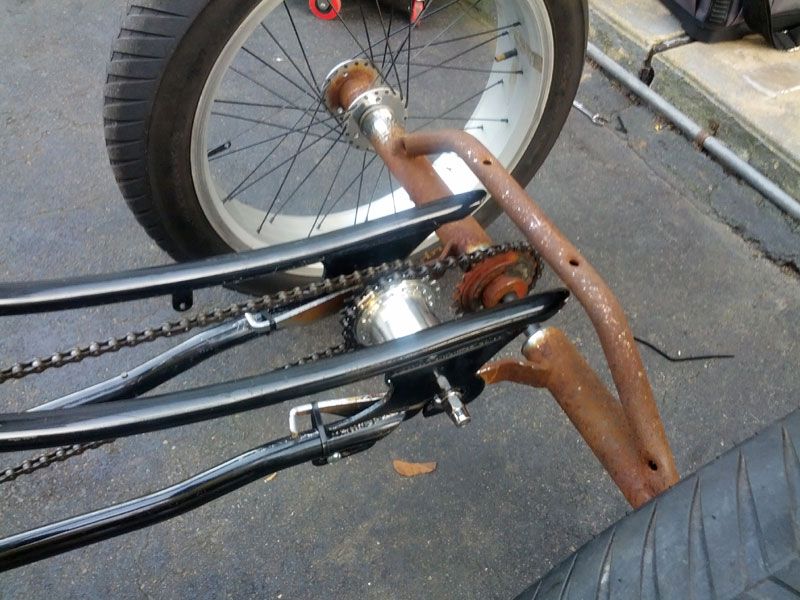
This thing was going to be heavy once I finished it so I added a three speed hub.
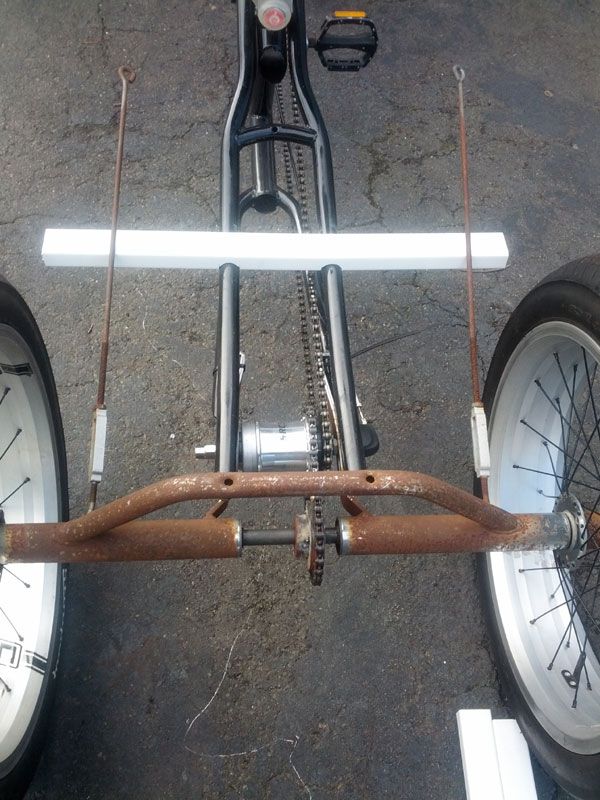
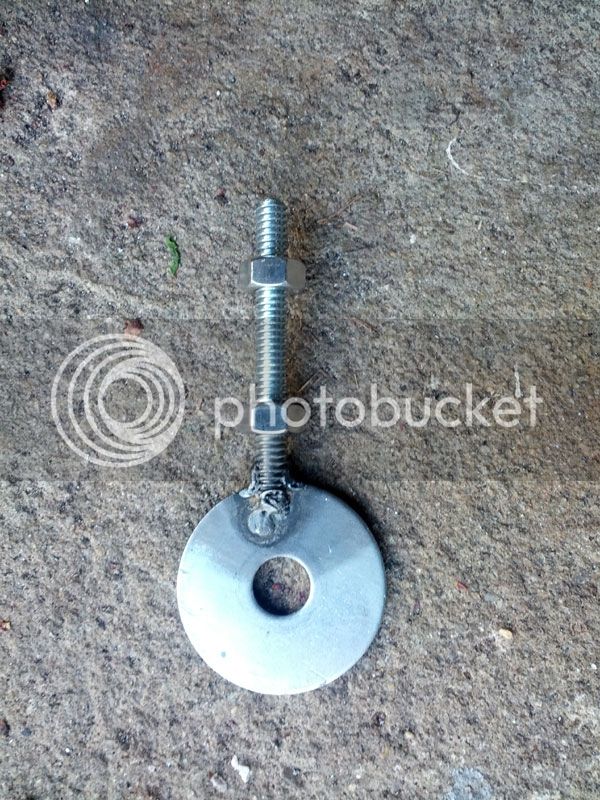
In order to tension and align both of the chains I made two “lollypops”. The washers go over the three speed axle and the all thread goes through tabs I welded to the frame. The nuts are then tightened/loosened to move the hub and tighten the long chain to the crank. I then move the rear axle to tighten the second chain.
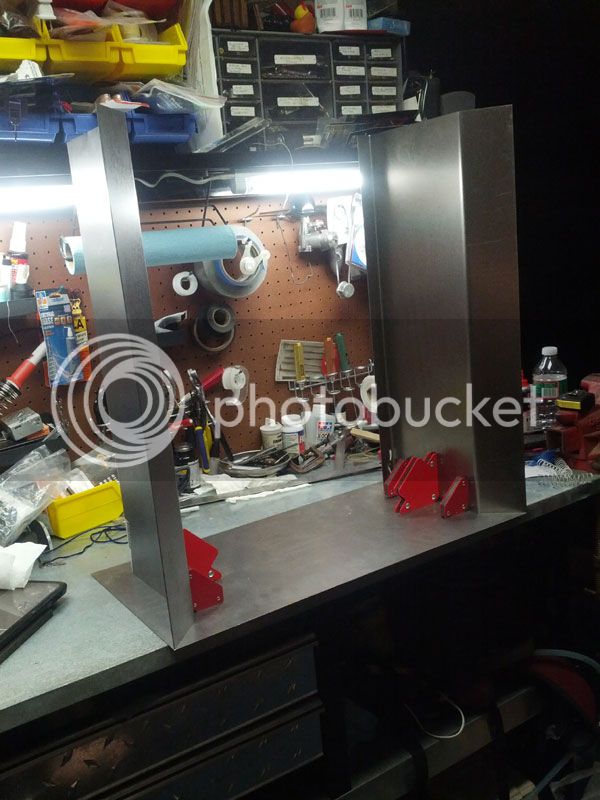
So now that the drivetrain was sorted out, I could get started on the bed. This was going to be my first TIG project. A couple of pieces of sheet steel and a benchtop metal brake and I was on my way.
I trimmed the non-flared ends of each of the four fenders and tacked them together. I also added an OCC chain guard.
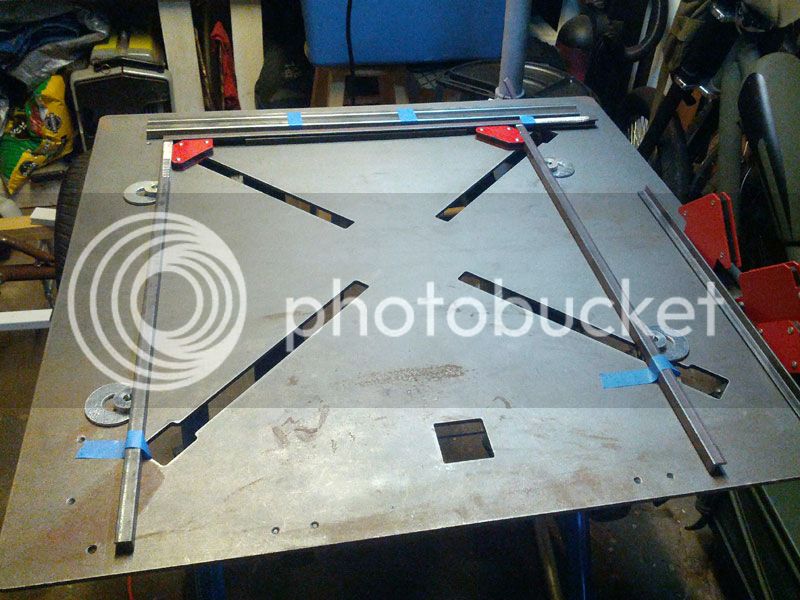
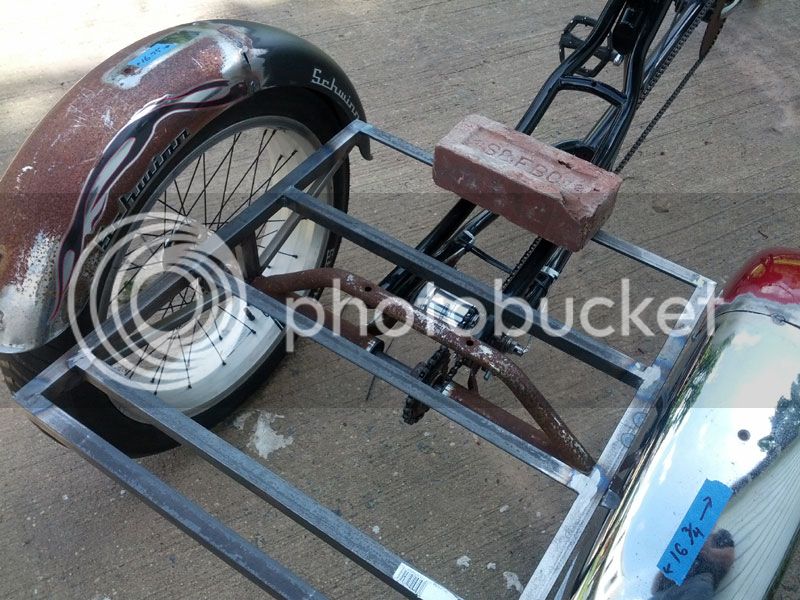
I had the sheet metal started but it needed a frame. I laid out couple pieces of angle stock to figure out how to set it up. I needed to keep in mind how I was going to mount the decking to the bottom of the bed.
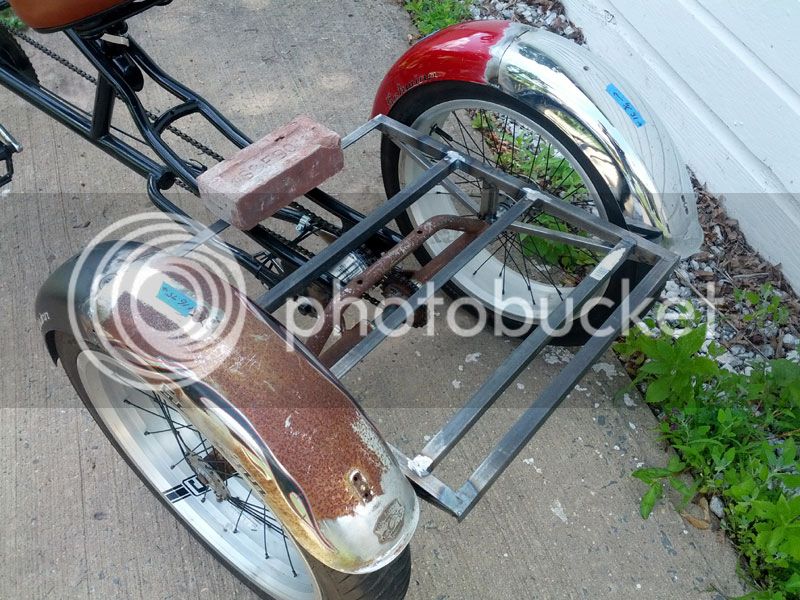
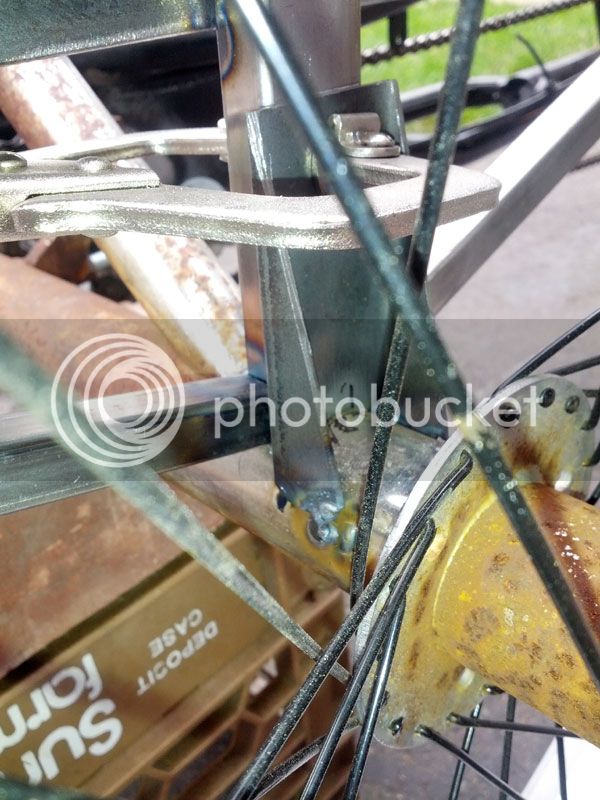
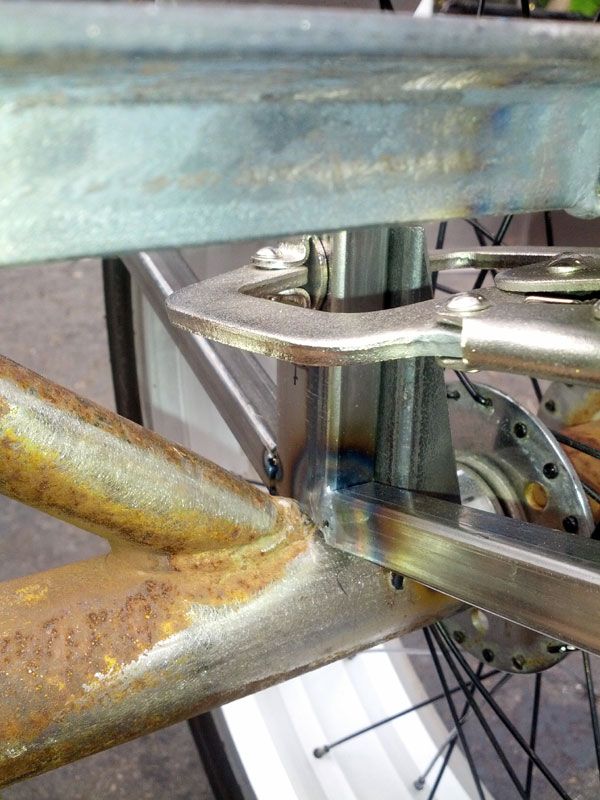
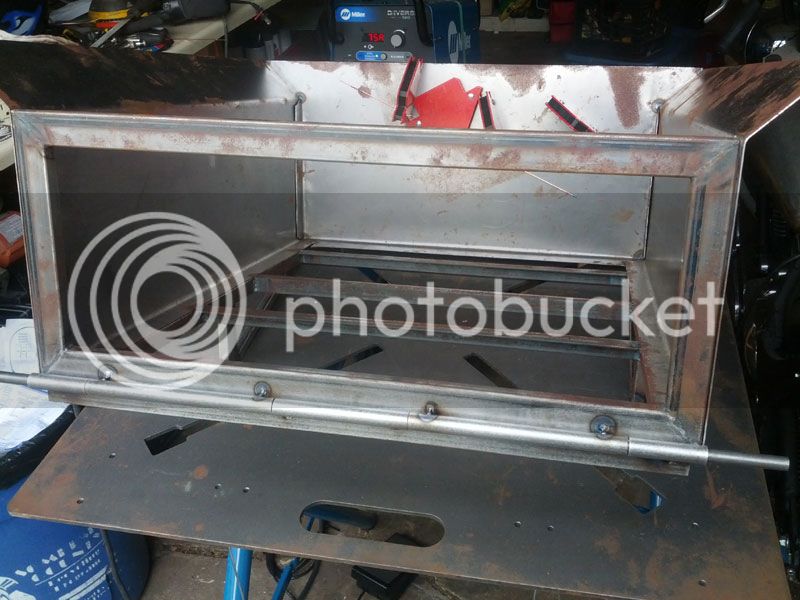
After I had the frame tacked up I needed to mount it to the trike axle. It needs to be mounted to the axle so that it would move with the rear tires when they are aligned and the chains are tightened.
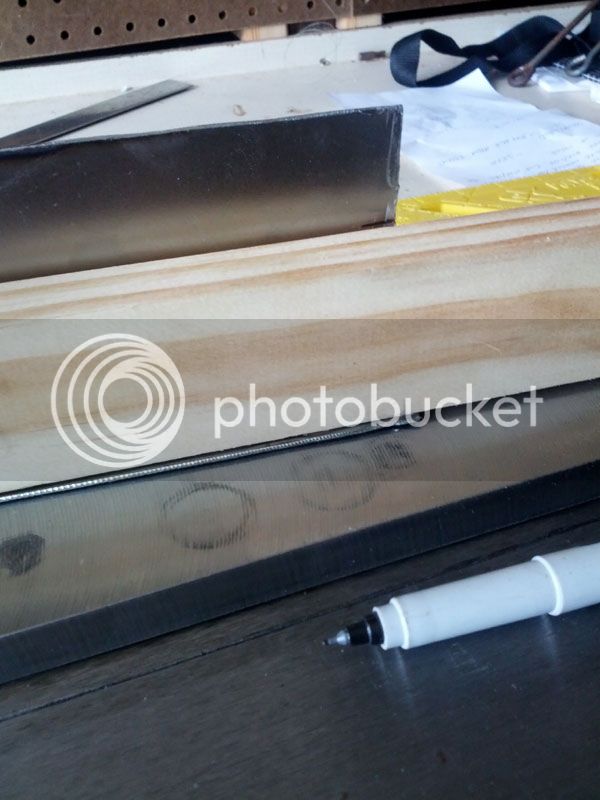
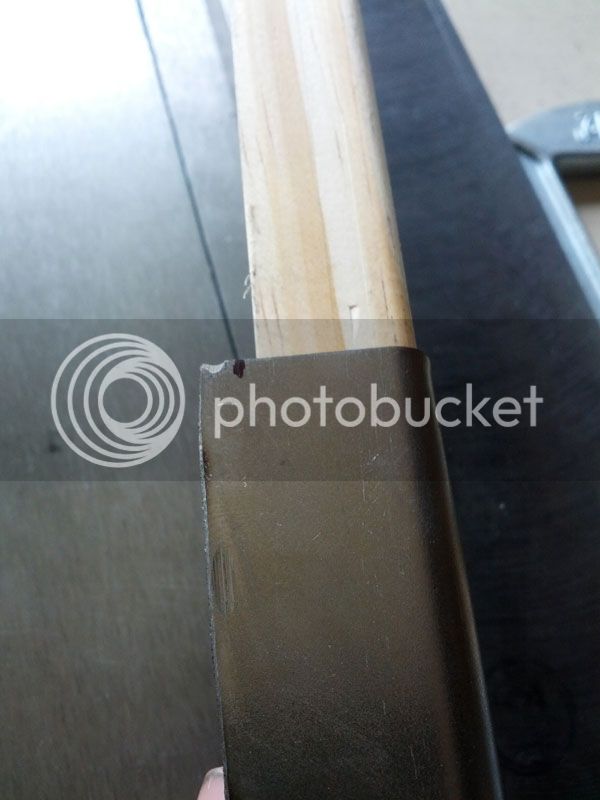
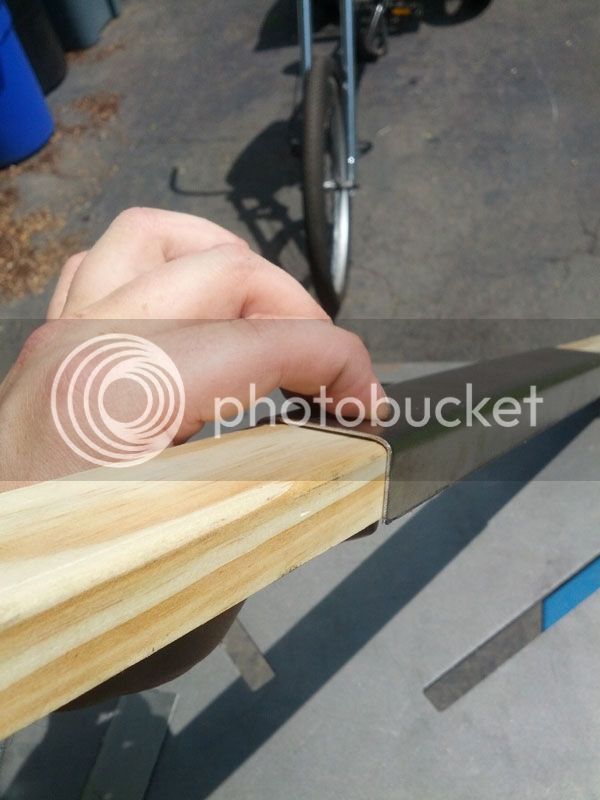
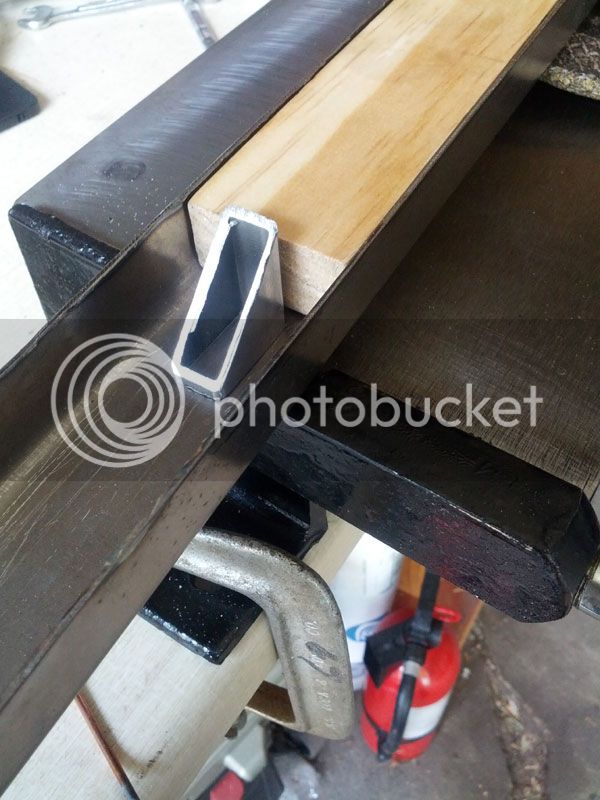
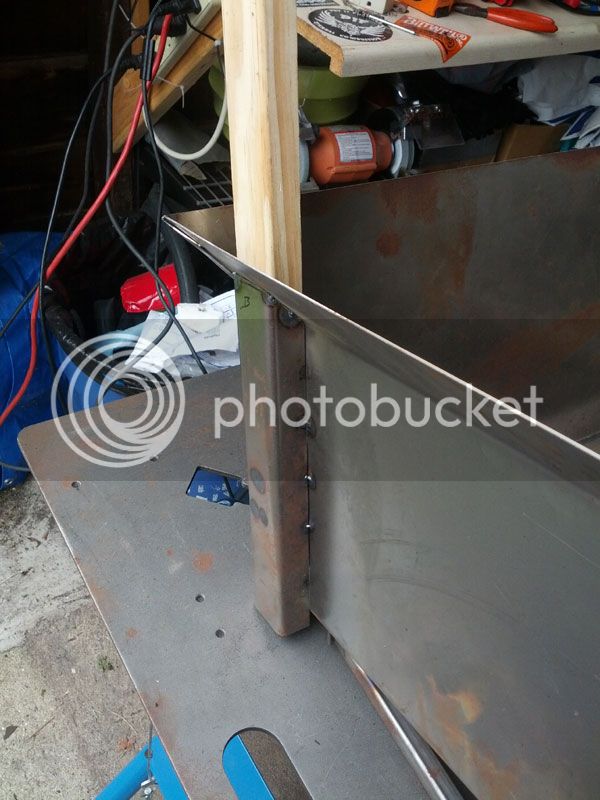
I wanted to make side fences, so that meant the bed needed stake pockets. I put some wood stock through the router so that it would fit in the bends when I made the pockets. I cut some more steel sheet a little oversized for what I was going to need.
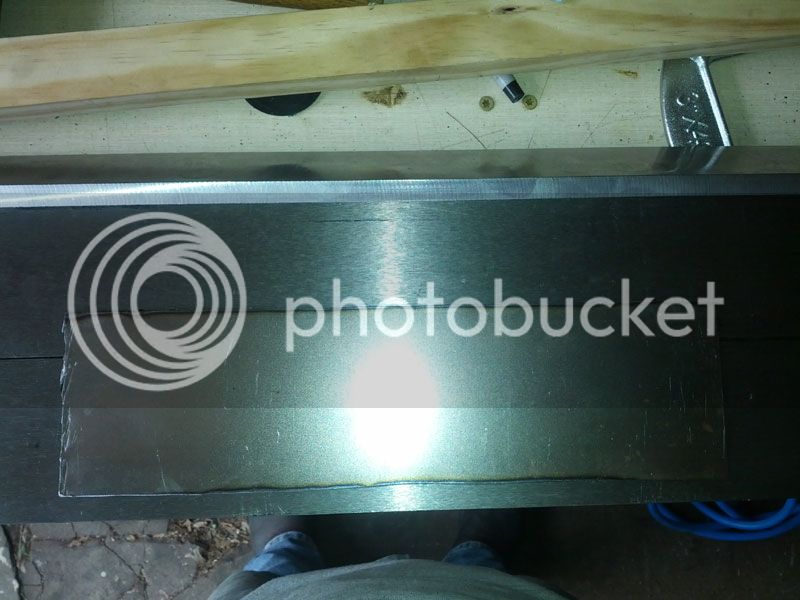
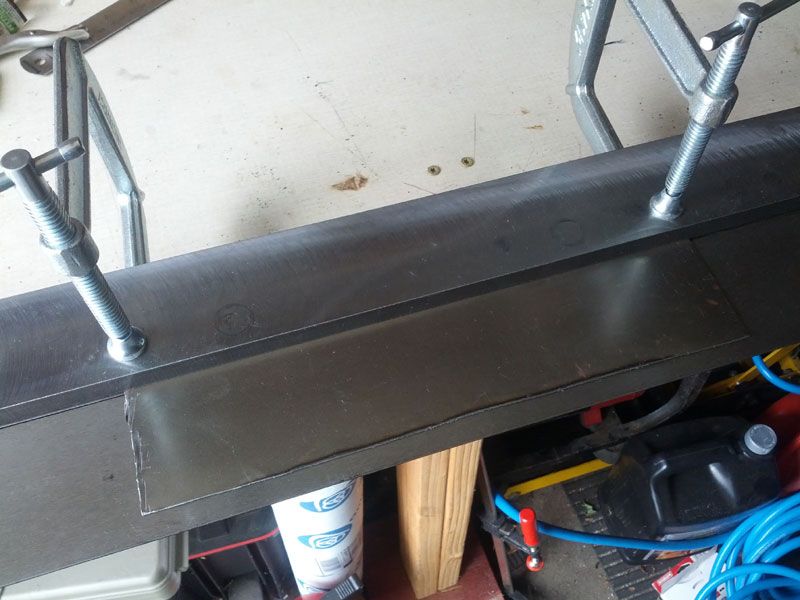
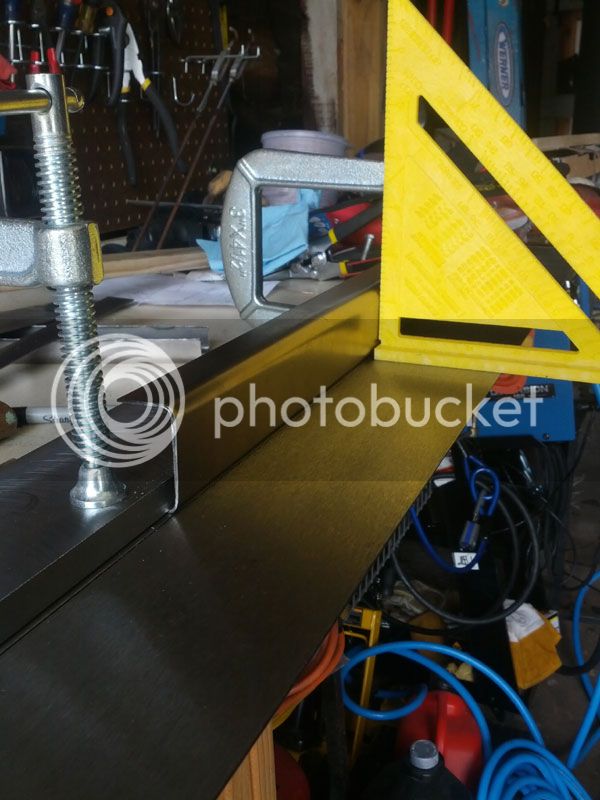
I clamped the sheet into the brake and bent to ninety degrees.
I marked the stake width.
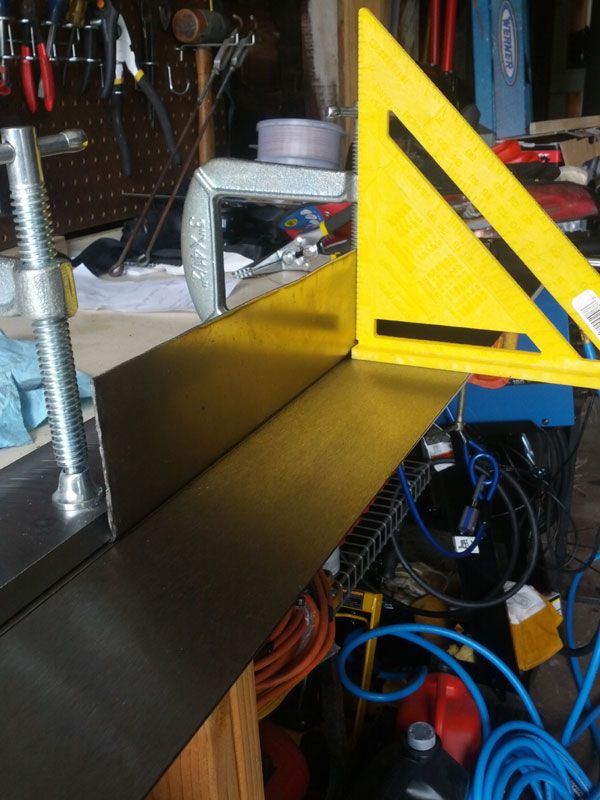
After marking, the piece was placed back in the brake and bent to ninety degrees again.
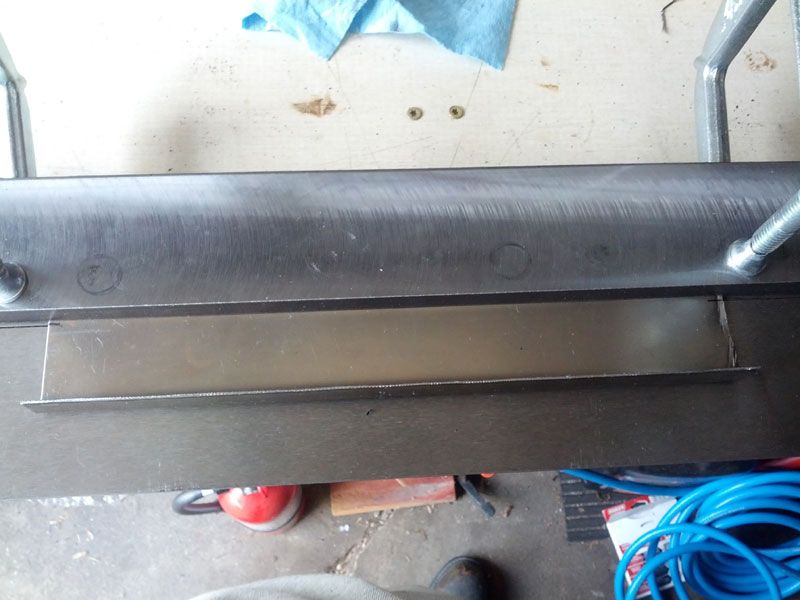
Oversized pieces were then marked and cut to fit.
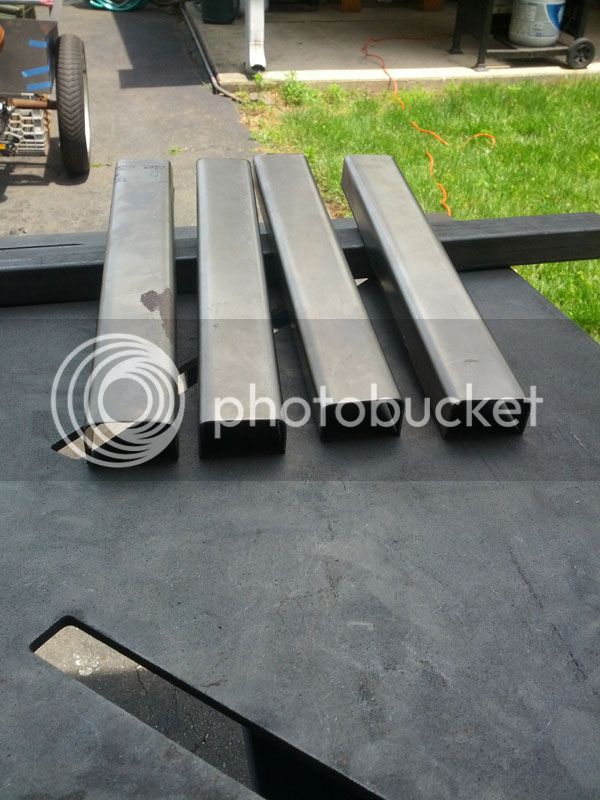
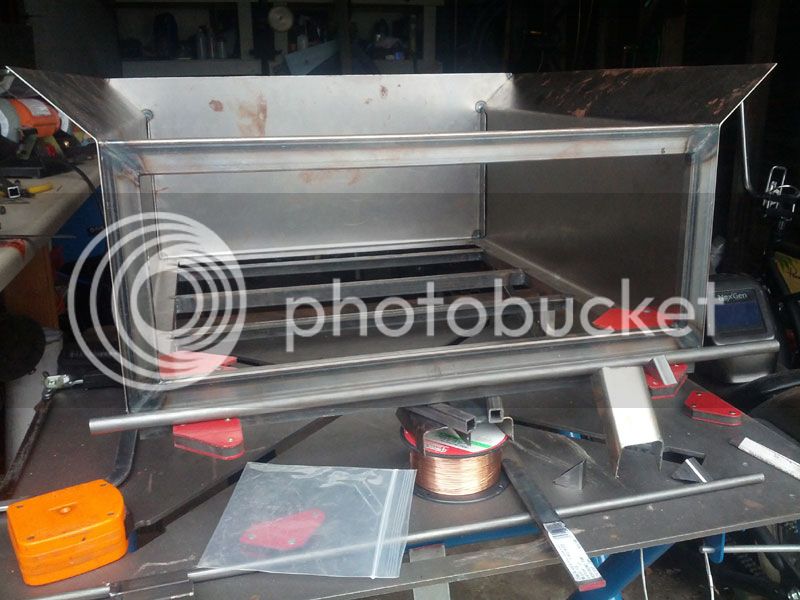
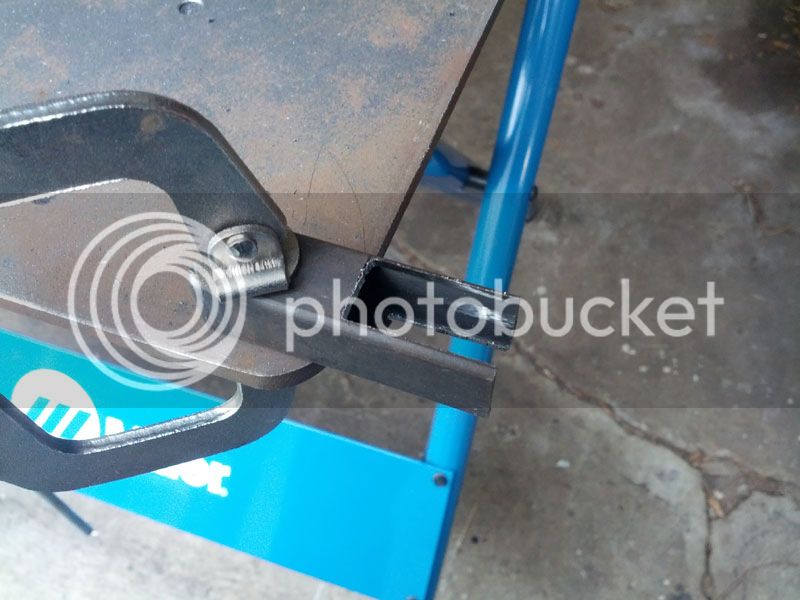
Pieces of rectangular tube stock were tacked in as a stop for the fences.
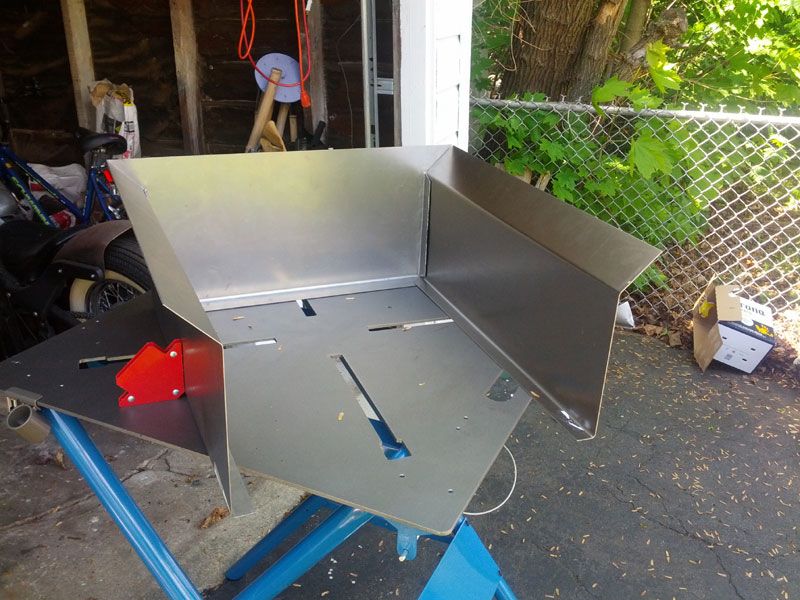
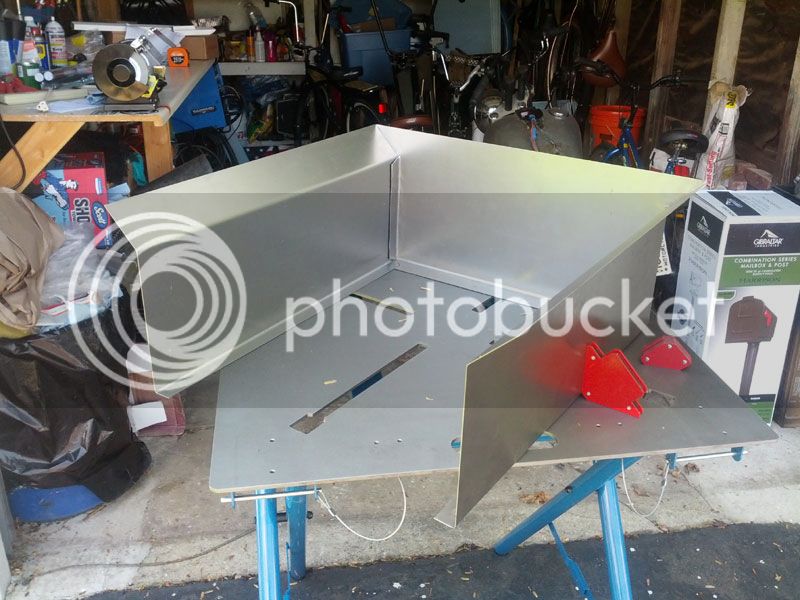
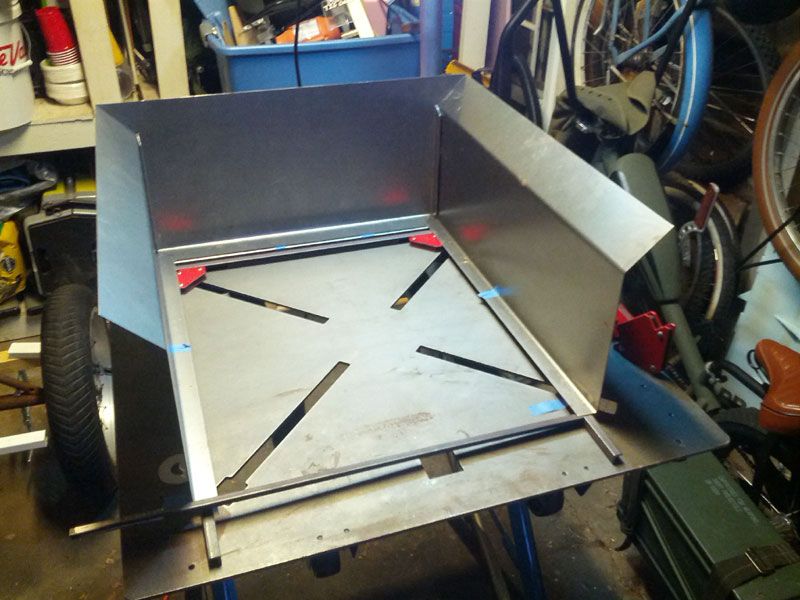
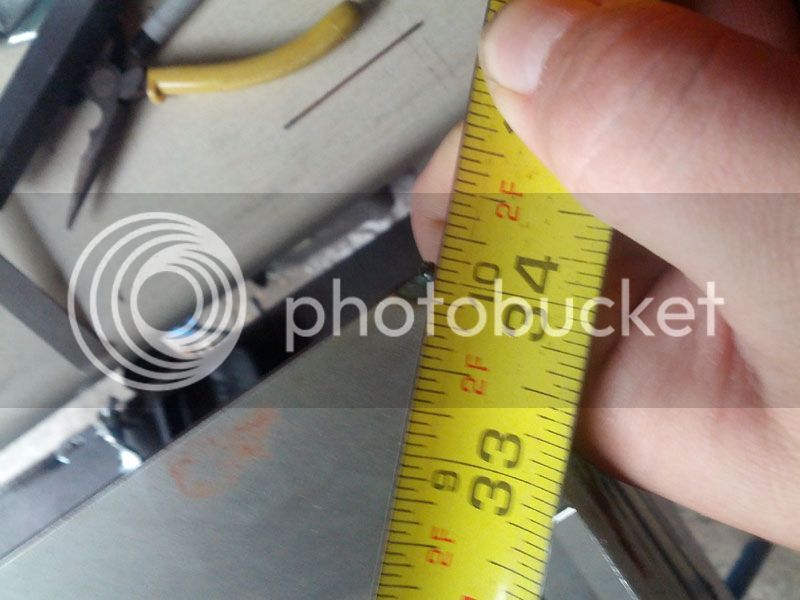
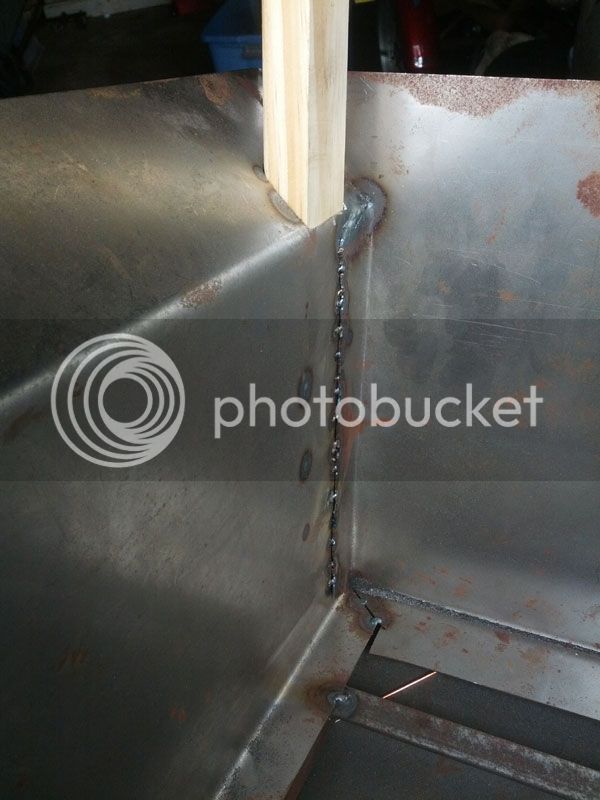
Now that I had the pockets done it was time to start assembling the bed. I tacked the bed panels together and then to the frame. I guess I did something right, the diagonal measurements showed that the bed ended up square.

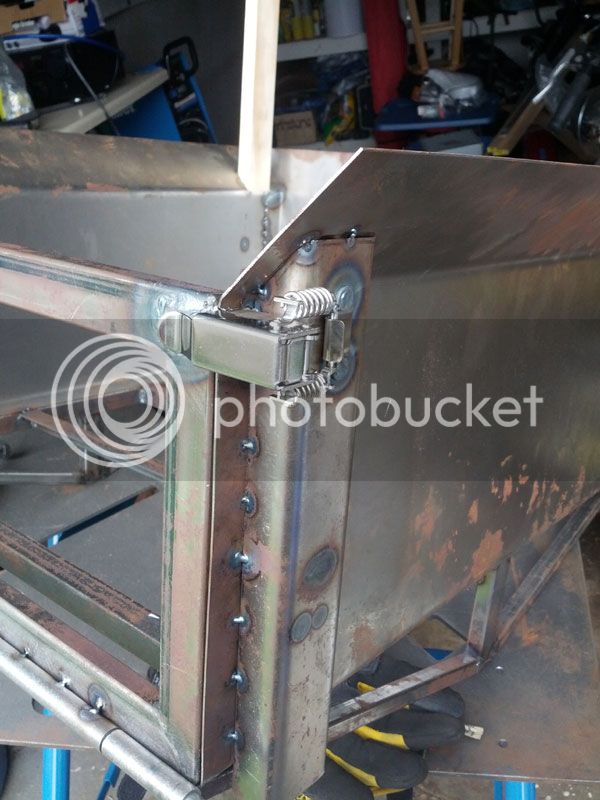
The tailgate needed some ears for the latches.
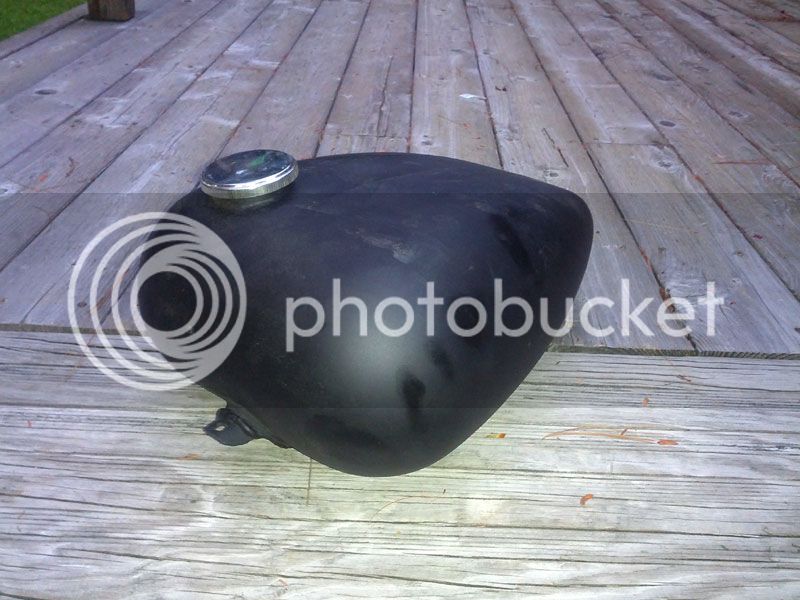
A friend had an old motorcycle tank kicking around his garage that he was willing to donate to the cause.
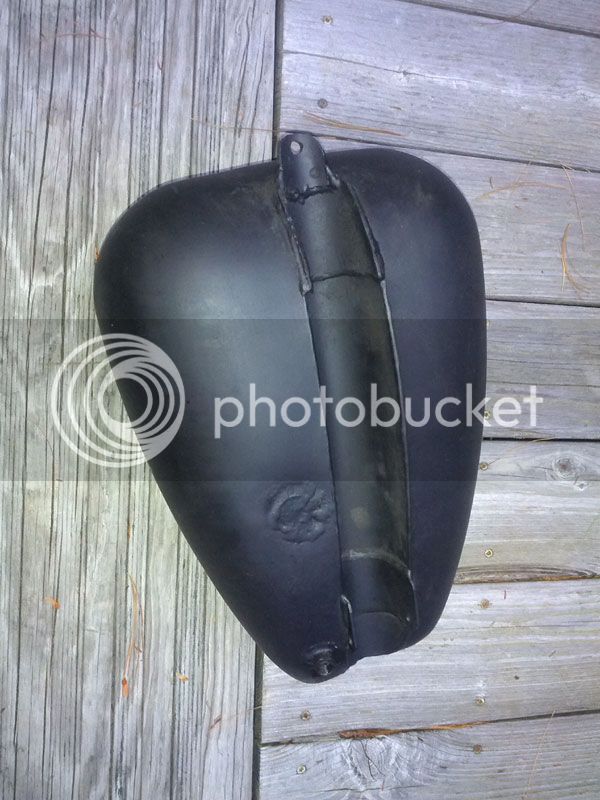
The tank came from a motorcycle with a straight top tube and was not going to sit as low as I wanted it. So it went under the “knife”.

This is what I was using as inspiration.

A neighbor in NJ had an old Joannou trike for me. I wish I had a picture of it, but it looked just like the one in reanimator’s "Joannou Model De Luxe" thread. It was cool, but not as big as I was planning on. On the next trip to the swap meet I found this.

Now that’s what I was looking for! There aren’t any pictures of the original trike because I started tearing it down right away.


Okay, so those skinny tires weren’t going to cut it. What about matching all three?

Not bad, but it wasn’t enough….. Time to cannibalize the plethora of OCC’s my friend and I had seem to have acquired. Forks, front wheel, and rear wheels laced to the original trike hubs. Oh and 4 rear fenders.


Looking good. It’s long. I like it! The headlight I picked up from the same swap meet fits right in.

It was shaping up nicely, but I knew I could make it look longer. I swapped the apes out for a set of lower cruiser bars.

I didn’t have any wagons that were going to fit in the space so I had to come up with something. I decided I wanted to do a wood bed pickup bed. I had some foam insulation board kicking around from making RC airplanes. Using that to mockup the bed was easy.


This thing was going to be heavy once I finished it so I added a three speed hub.


In order to tension and align both of the chains I made two “lollypops”. The washers go over the three speed axle and the all thread goes through tabs I welded to the frame. The nuts are then tightened/loosened to move the hub and tighten the long chain to the crank. I then move the rear axle to tighten the second chain.

So now that the drivetrain was sorted out, I could get started on the bed. This was going to be my first TIG project. A couple of pieces of sheet steel and a benchtop metal brake and I was on my way.


I trimmed the non-flared ends of each of the four fenders and tacked them together. I also added an OCC chain guard.


I had the sheet metal started but it needed a frame. I laid out couple pieces of angle stock to figure out how to set it up. I needed to keep in mind how I was going to mount the decking to the bottom of the bed.


After I had the frame tacked up I needed to mount it to the trike axle. It needs to be mounted to the axle so that it would move with the rear tires when they are aligned and the chains are tightened.


I wanted to make side fences, so that meant the bed needed stake pockets. I put some wood stock through the router so that it would fit in the bends when I made the pockets. I cut some more steel sheet a little oversized for what I was going to need.

I clamped the sheet into the brake and bent to ninety degrees.


I marked the stake width.

After marking, the piece was placed back in the brake and bent to ninety degrees again.


Oversized pieces were then marked and cut to fit.


Pieces of rectangular tube stock were tacked in as a stop for the fences.

Now that I had the pockets done it was time to start assembling the bed. I tacked the bed panels together and then to the frame. I guess I did something right, the diagonal measurements showed that the bed ended up square.


The tailgate needed some ears for the latches.


A friend had an old motorcycle tank kicking around his garage that he was willing to donate to the cause.


The tank came from a motorcycle with a straight top tube and was not going to sit as low as I wanted it. So it went under the “knife”.


