Re: ====~THE FAIRBANK FLYER~====
Thanks so much!")
kingfish254 said:Great update! Looking sweet my Faux weather friend.
Thanks so much!


kingfish254 said:Great update! Looking sweet my Faux weather friend.
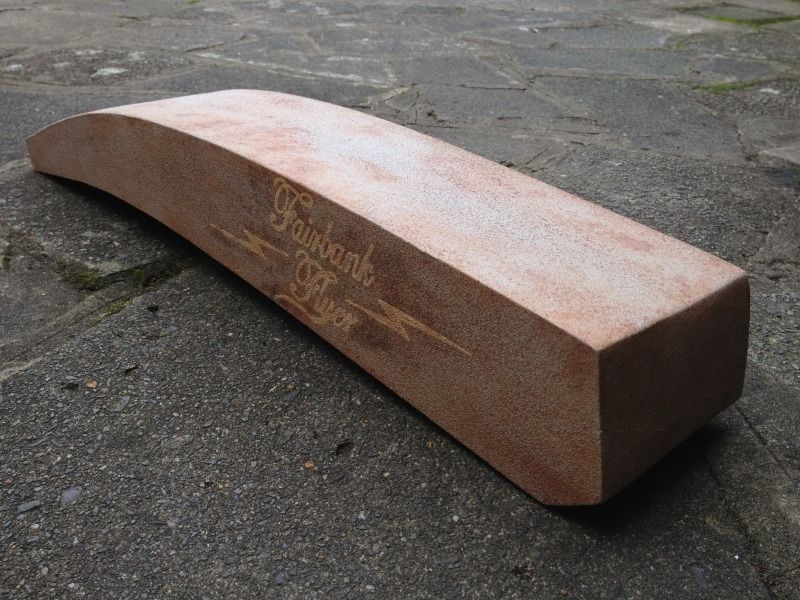
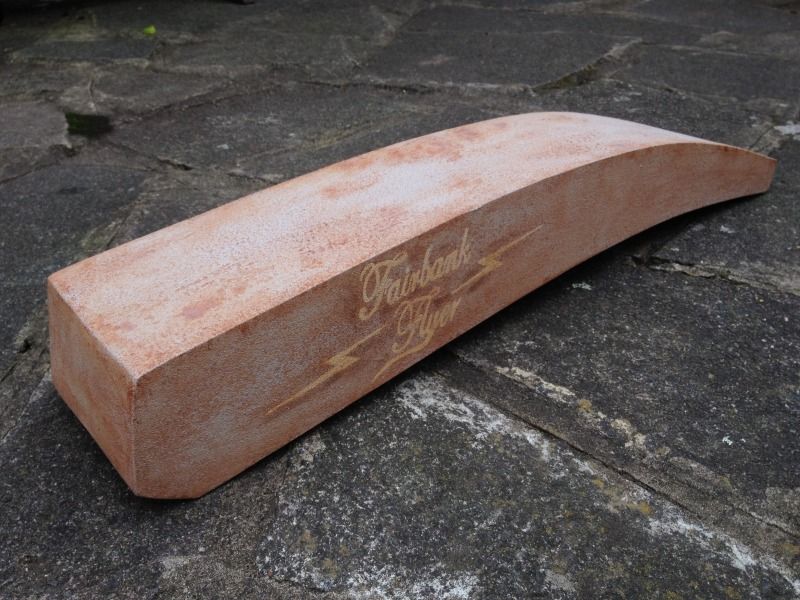
Peatbog said:What the...!? Now you got rusty wood? Holy smokes, you're killing me man.
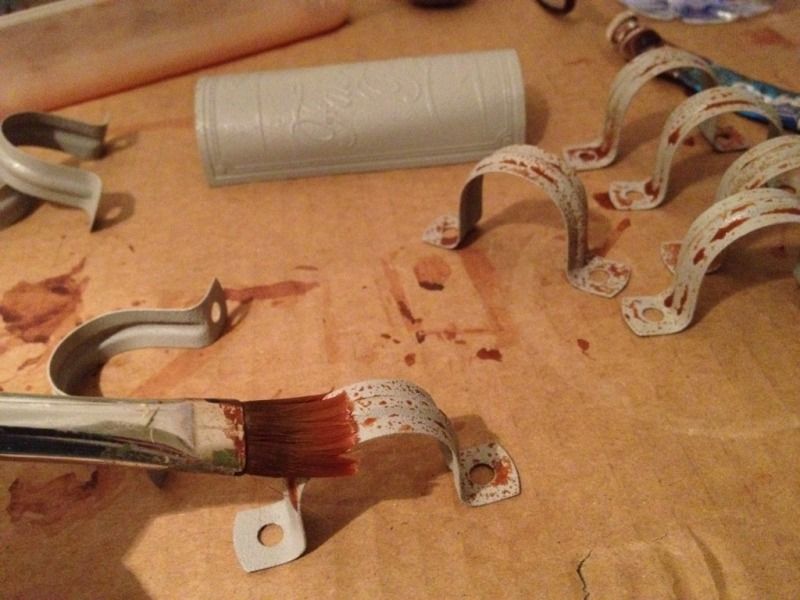
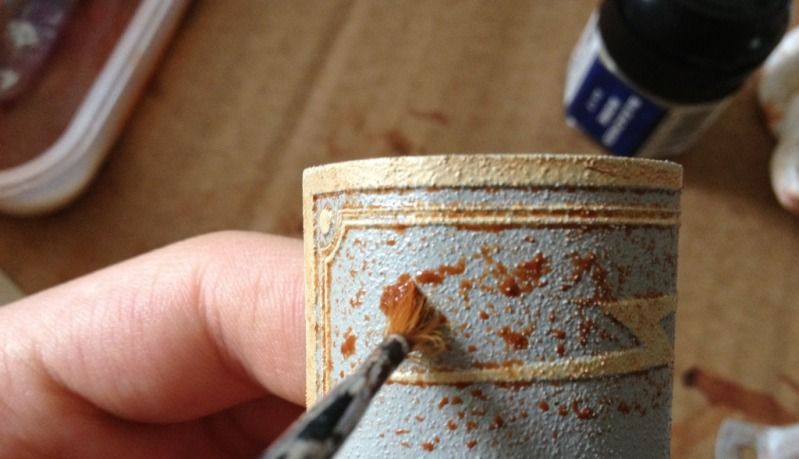
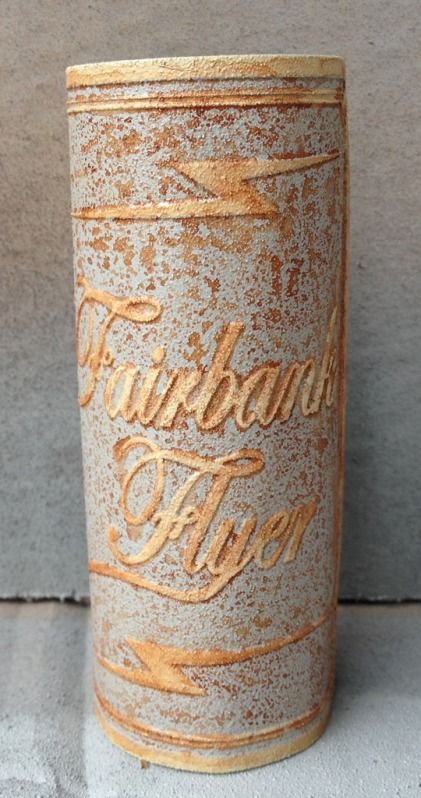
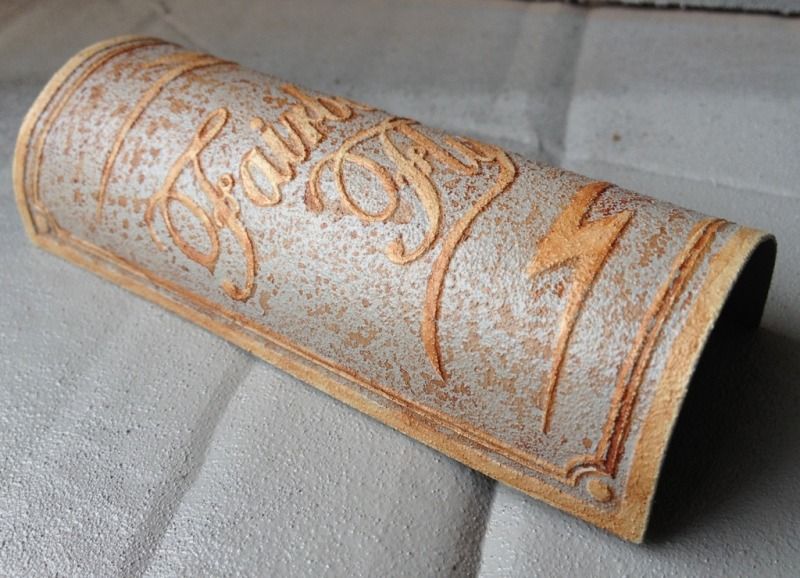
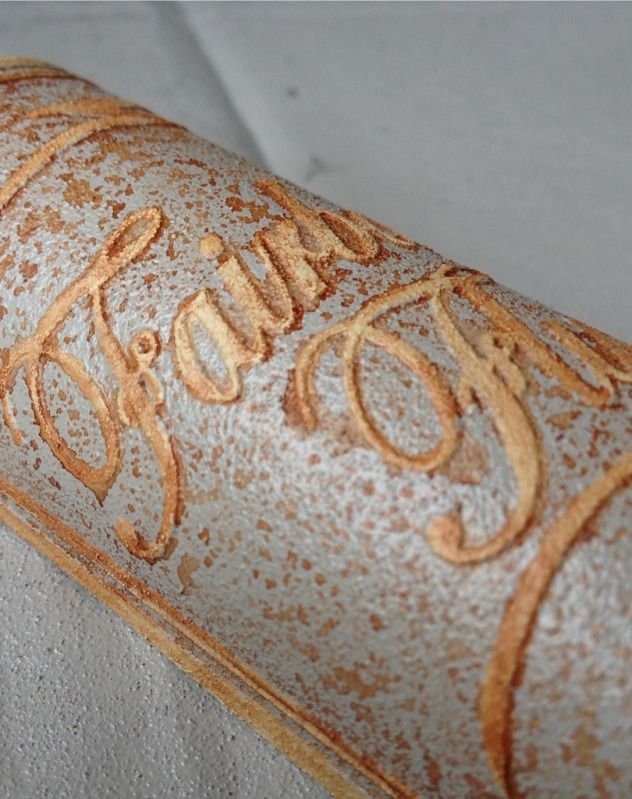
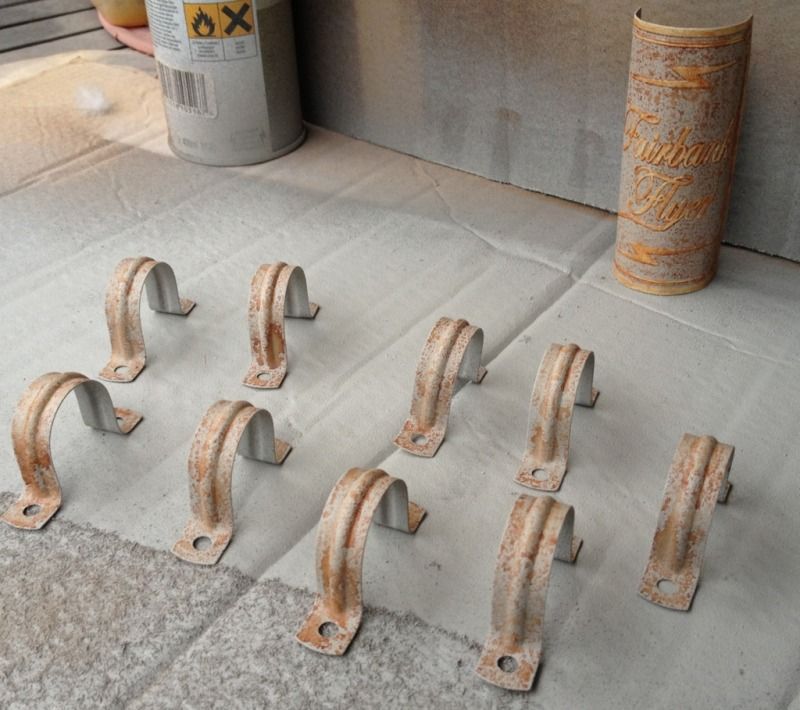
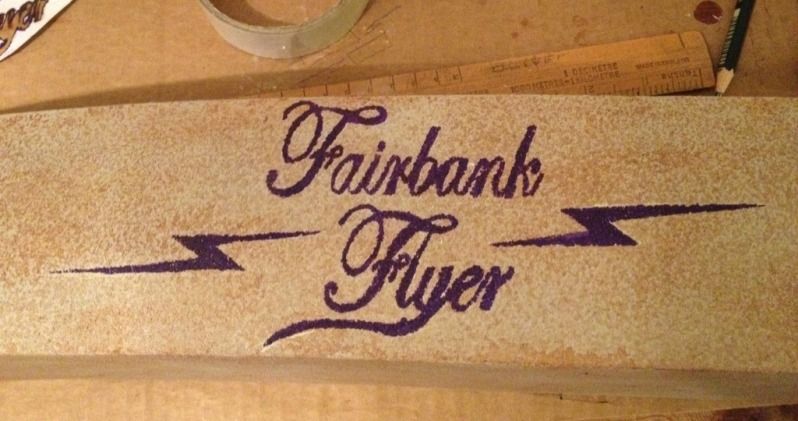
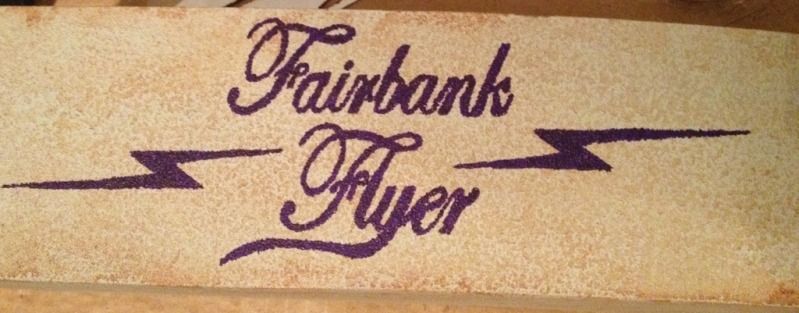
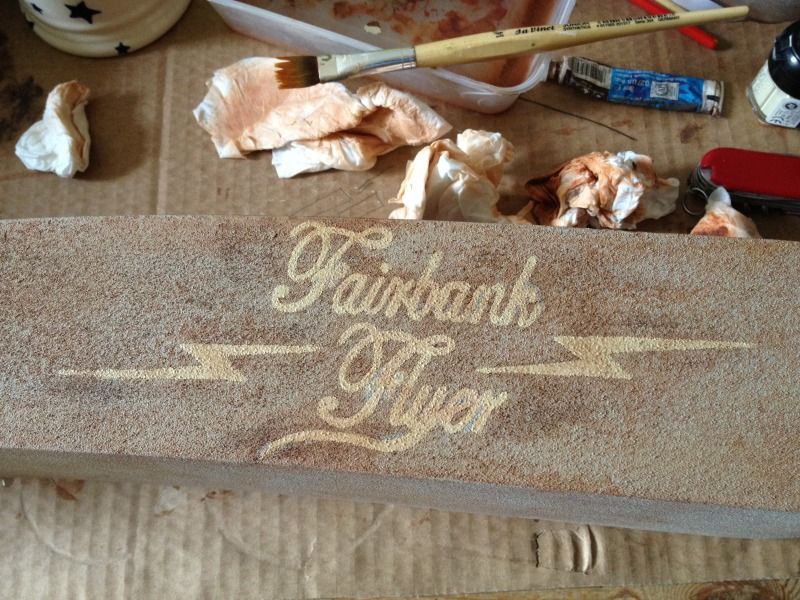
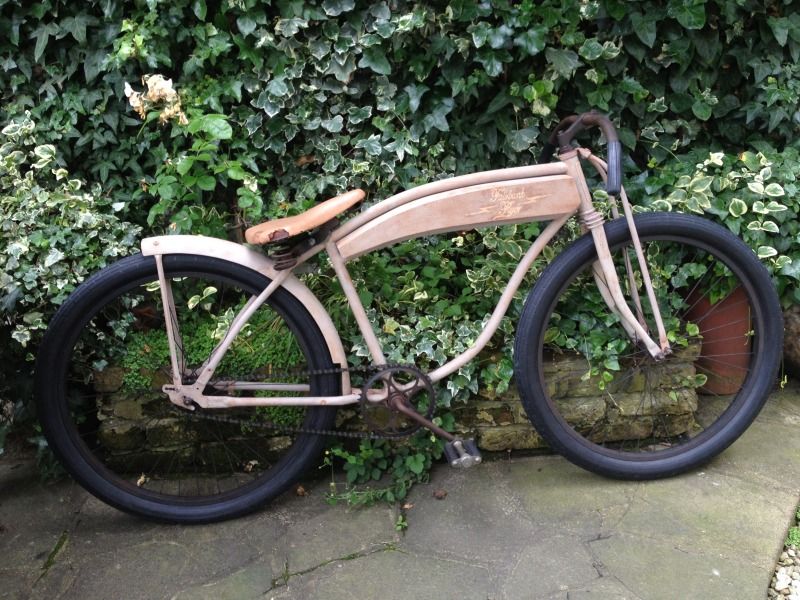
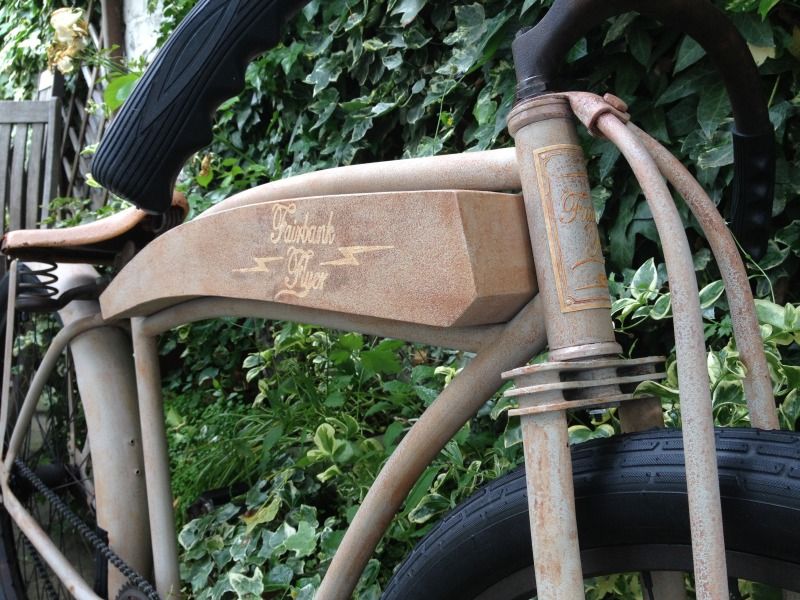
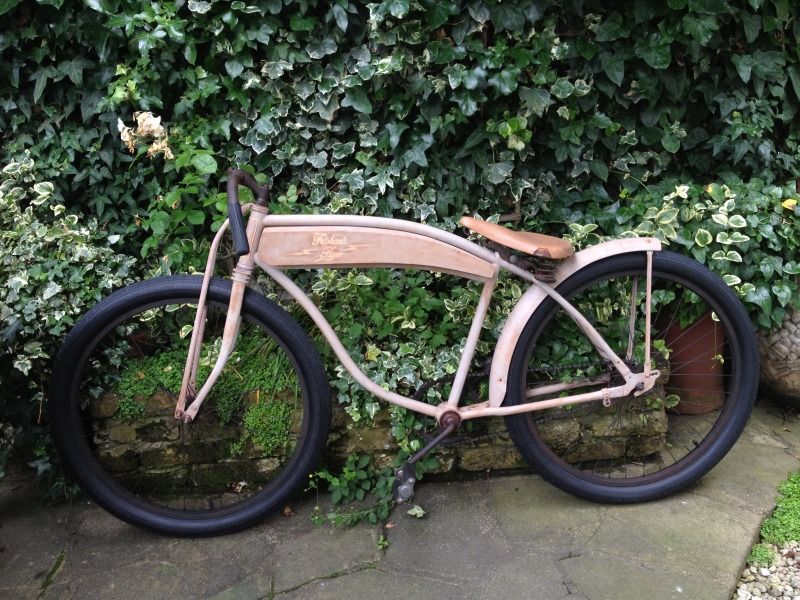
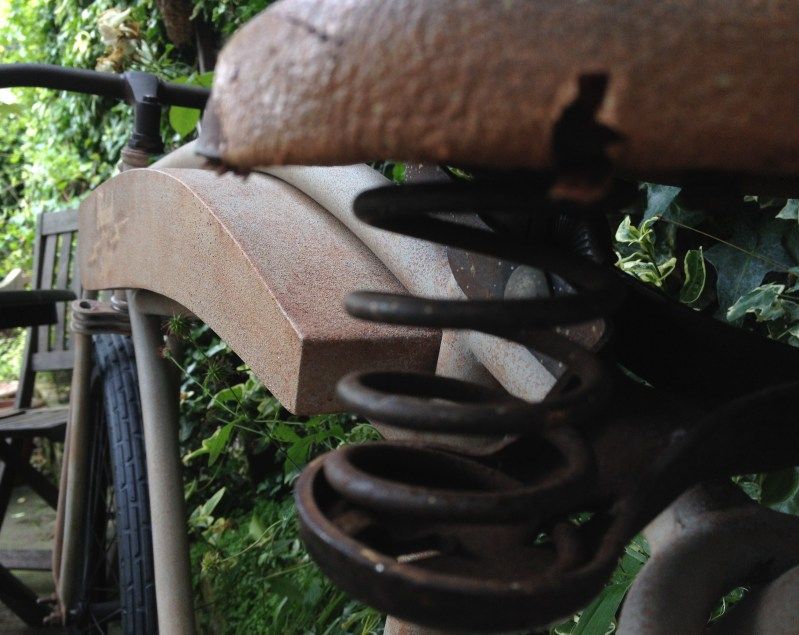
That last picture you posted of the bike is sweet. You can see the rust effects really well.
Great job on the patina :wink:Dingus Khan said:This bike is turning out AMAZING! Borrowing some of your techniques.
killingevilnine said:I like this bike. I caint wait for more!
tvc15 said:Wow! That bike is really coming together!
SCHWINNRAY69 said:Tank look awesome on the bike!

tin machine said:Awesome job very creative ' I'll like a builder with an artistic eye !!! Looks sharp 8)
bike2112 said:Dude, you are amazing!
bike2112 said:char said:
Can't ignore facts, your skills are awesome.
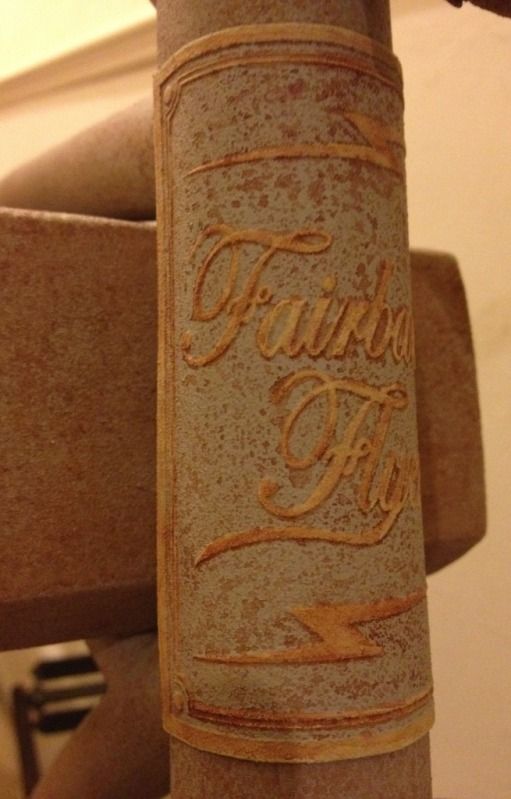
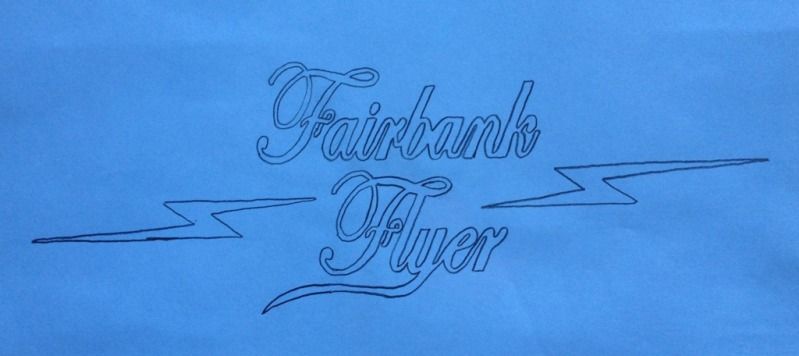
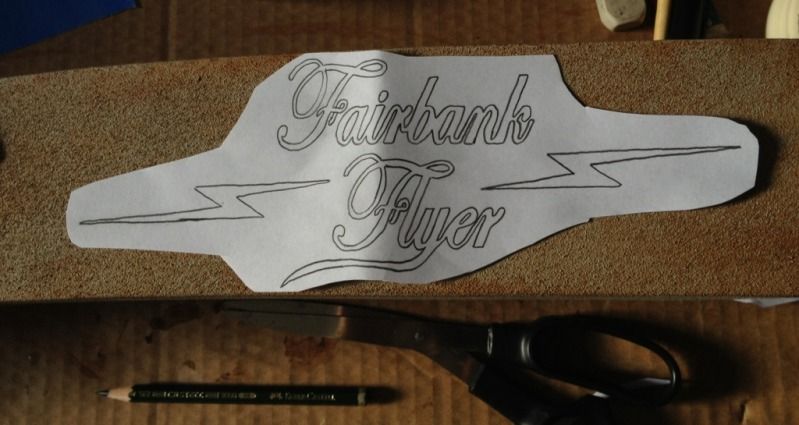
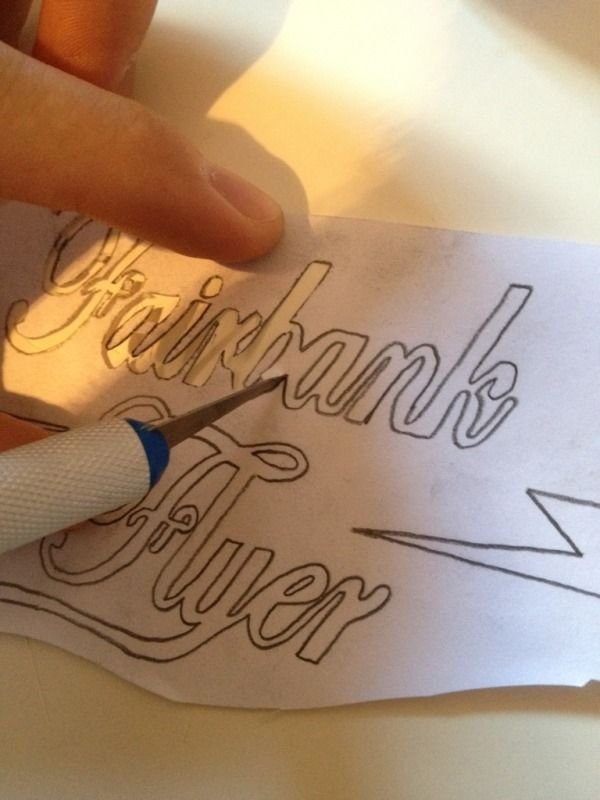
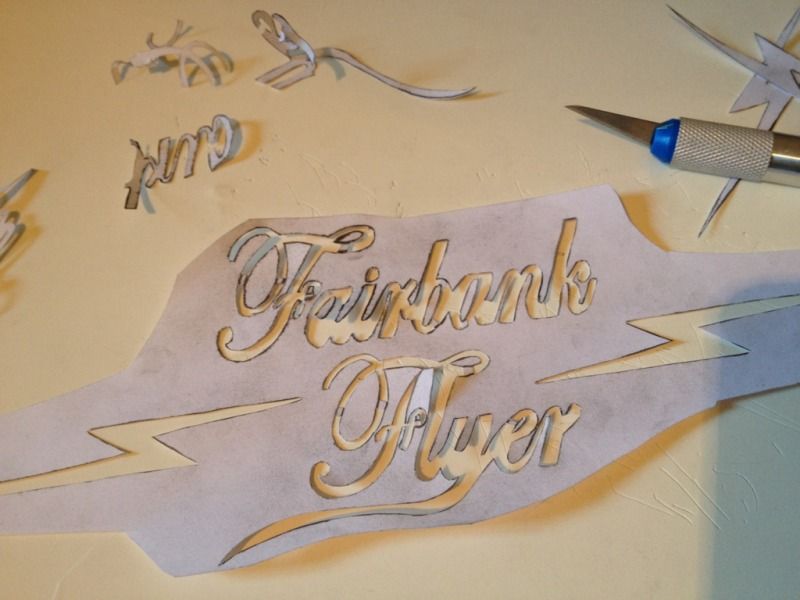
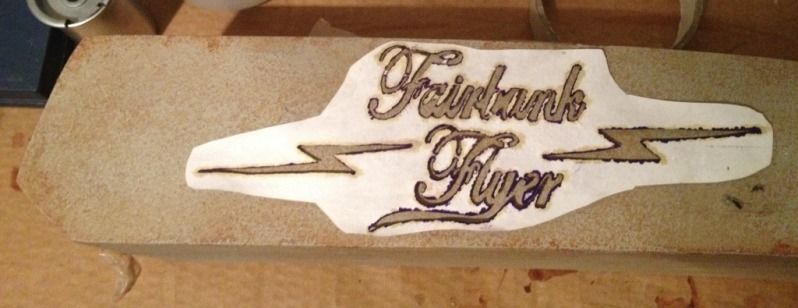

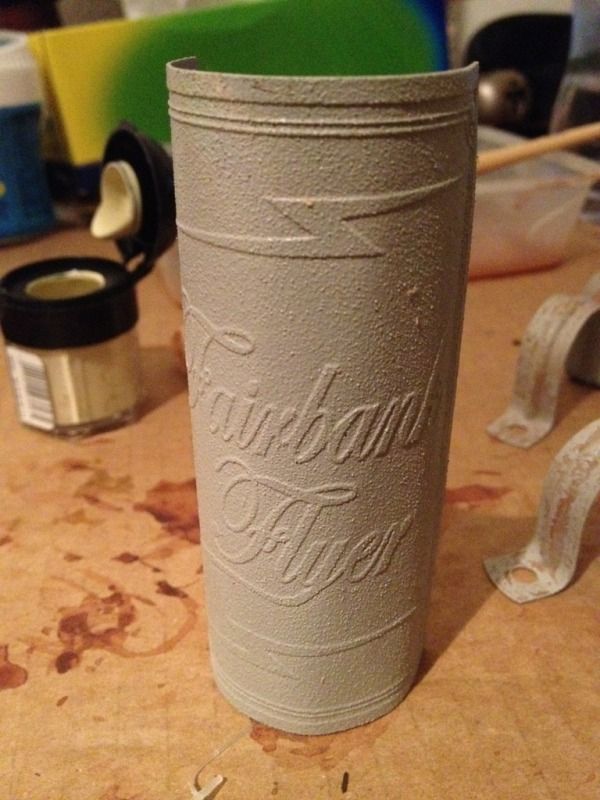
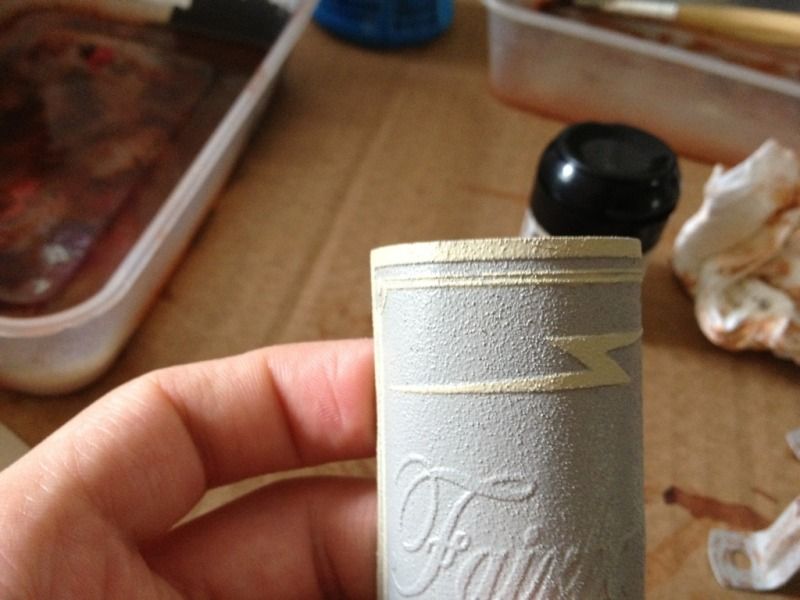
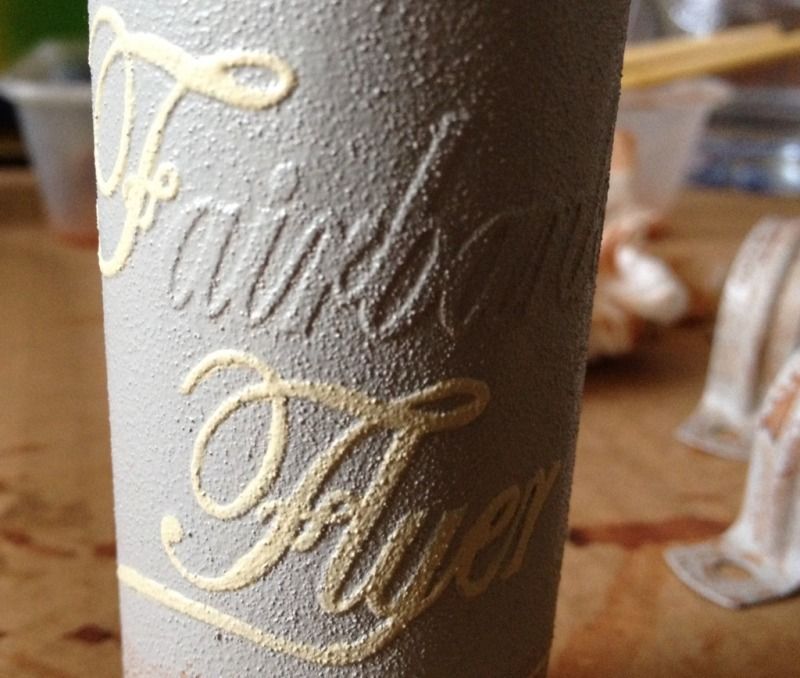
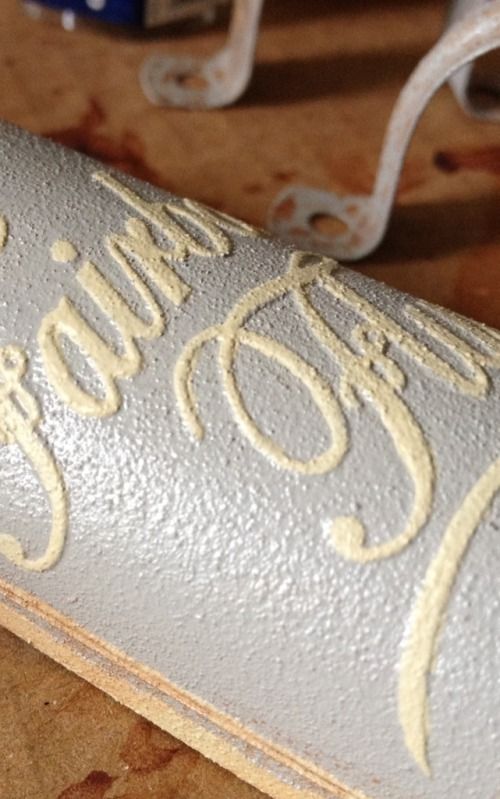
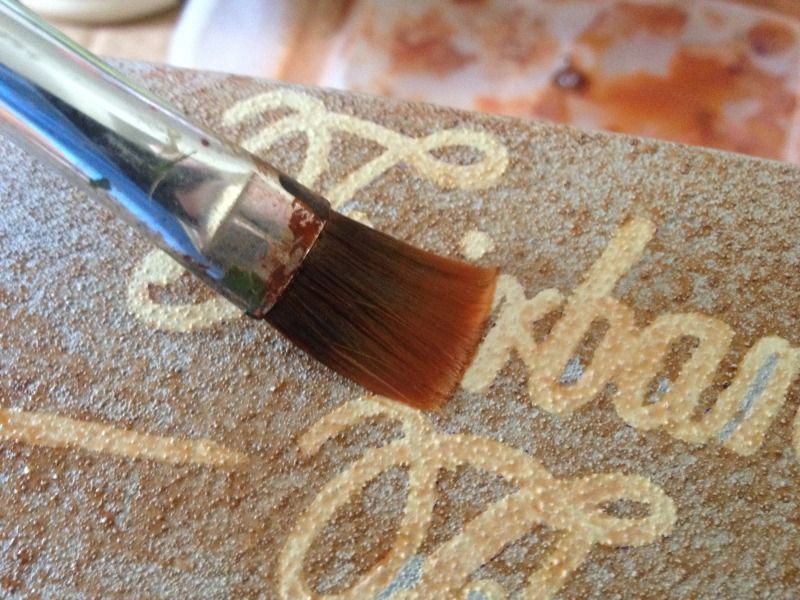
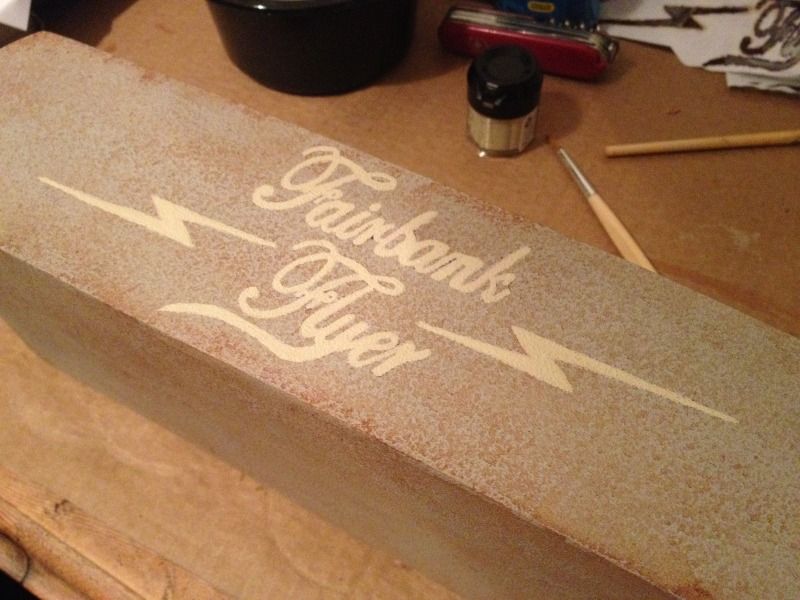
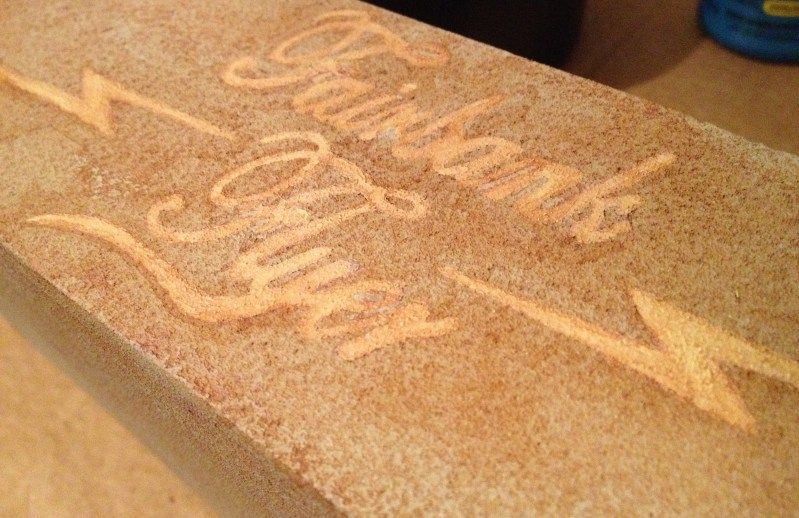
killingevilnine said:nice stencil work. My hand isn't steady enough for that intricate razor work.
kingfish254 said:Nice stencilling.
I hope to be at that stage soon.


bike2112 said:Oh WOW dude. Uuuuuh....Awesome!
Enter your email address to join: