Hi guys,
I know I have been rambling about a Recumbent bike on another topic, but I'm getting more and more interested in wood working.
Reading some books now how old WW1 planes were built. Wood type, grain and how it is sawn etcetera. Really interesting stuff!
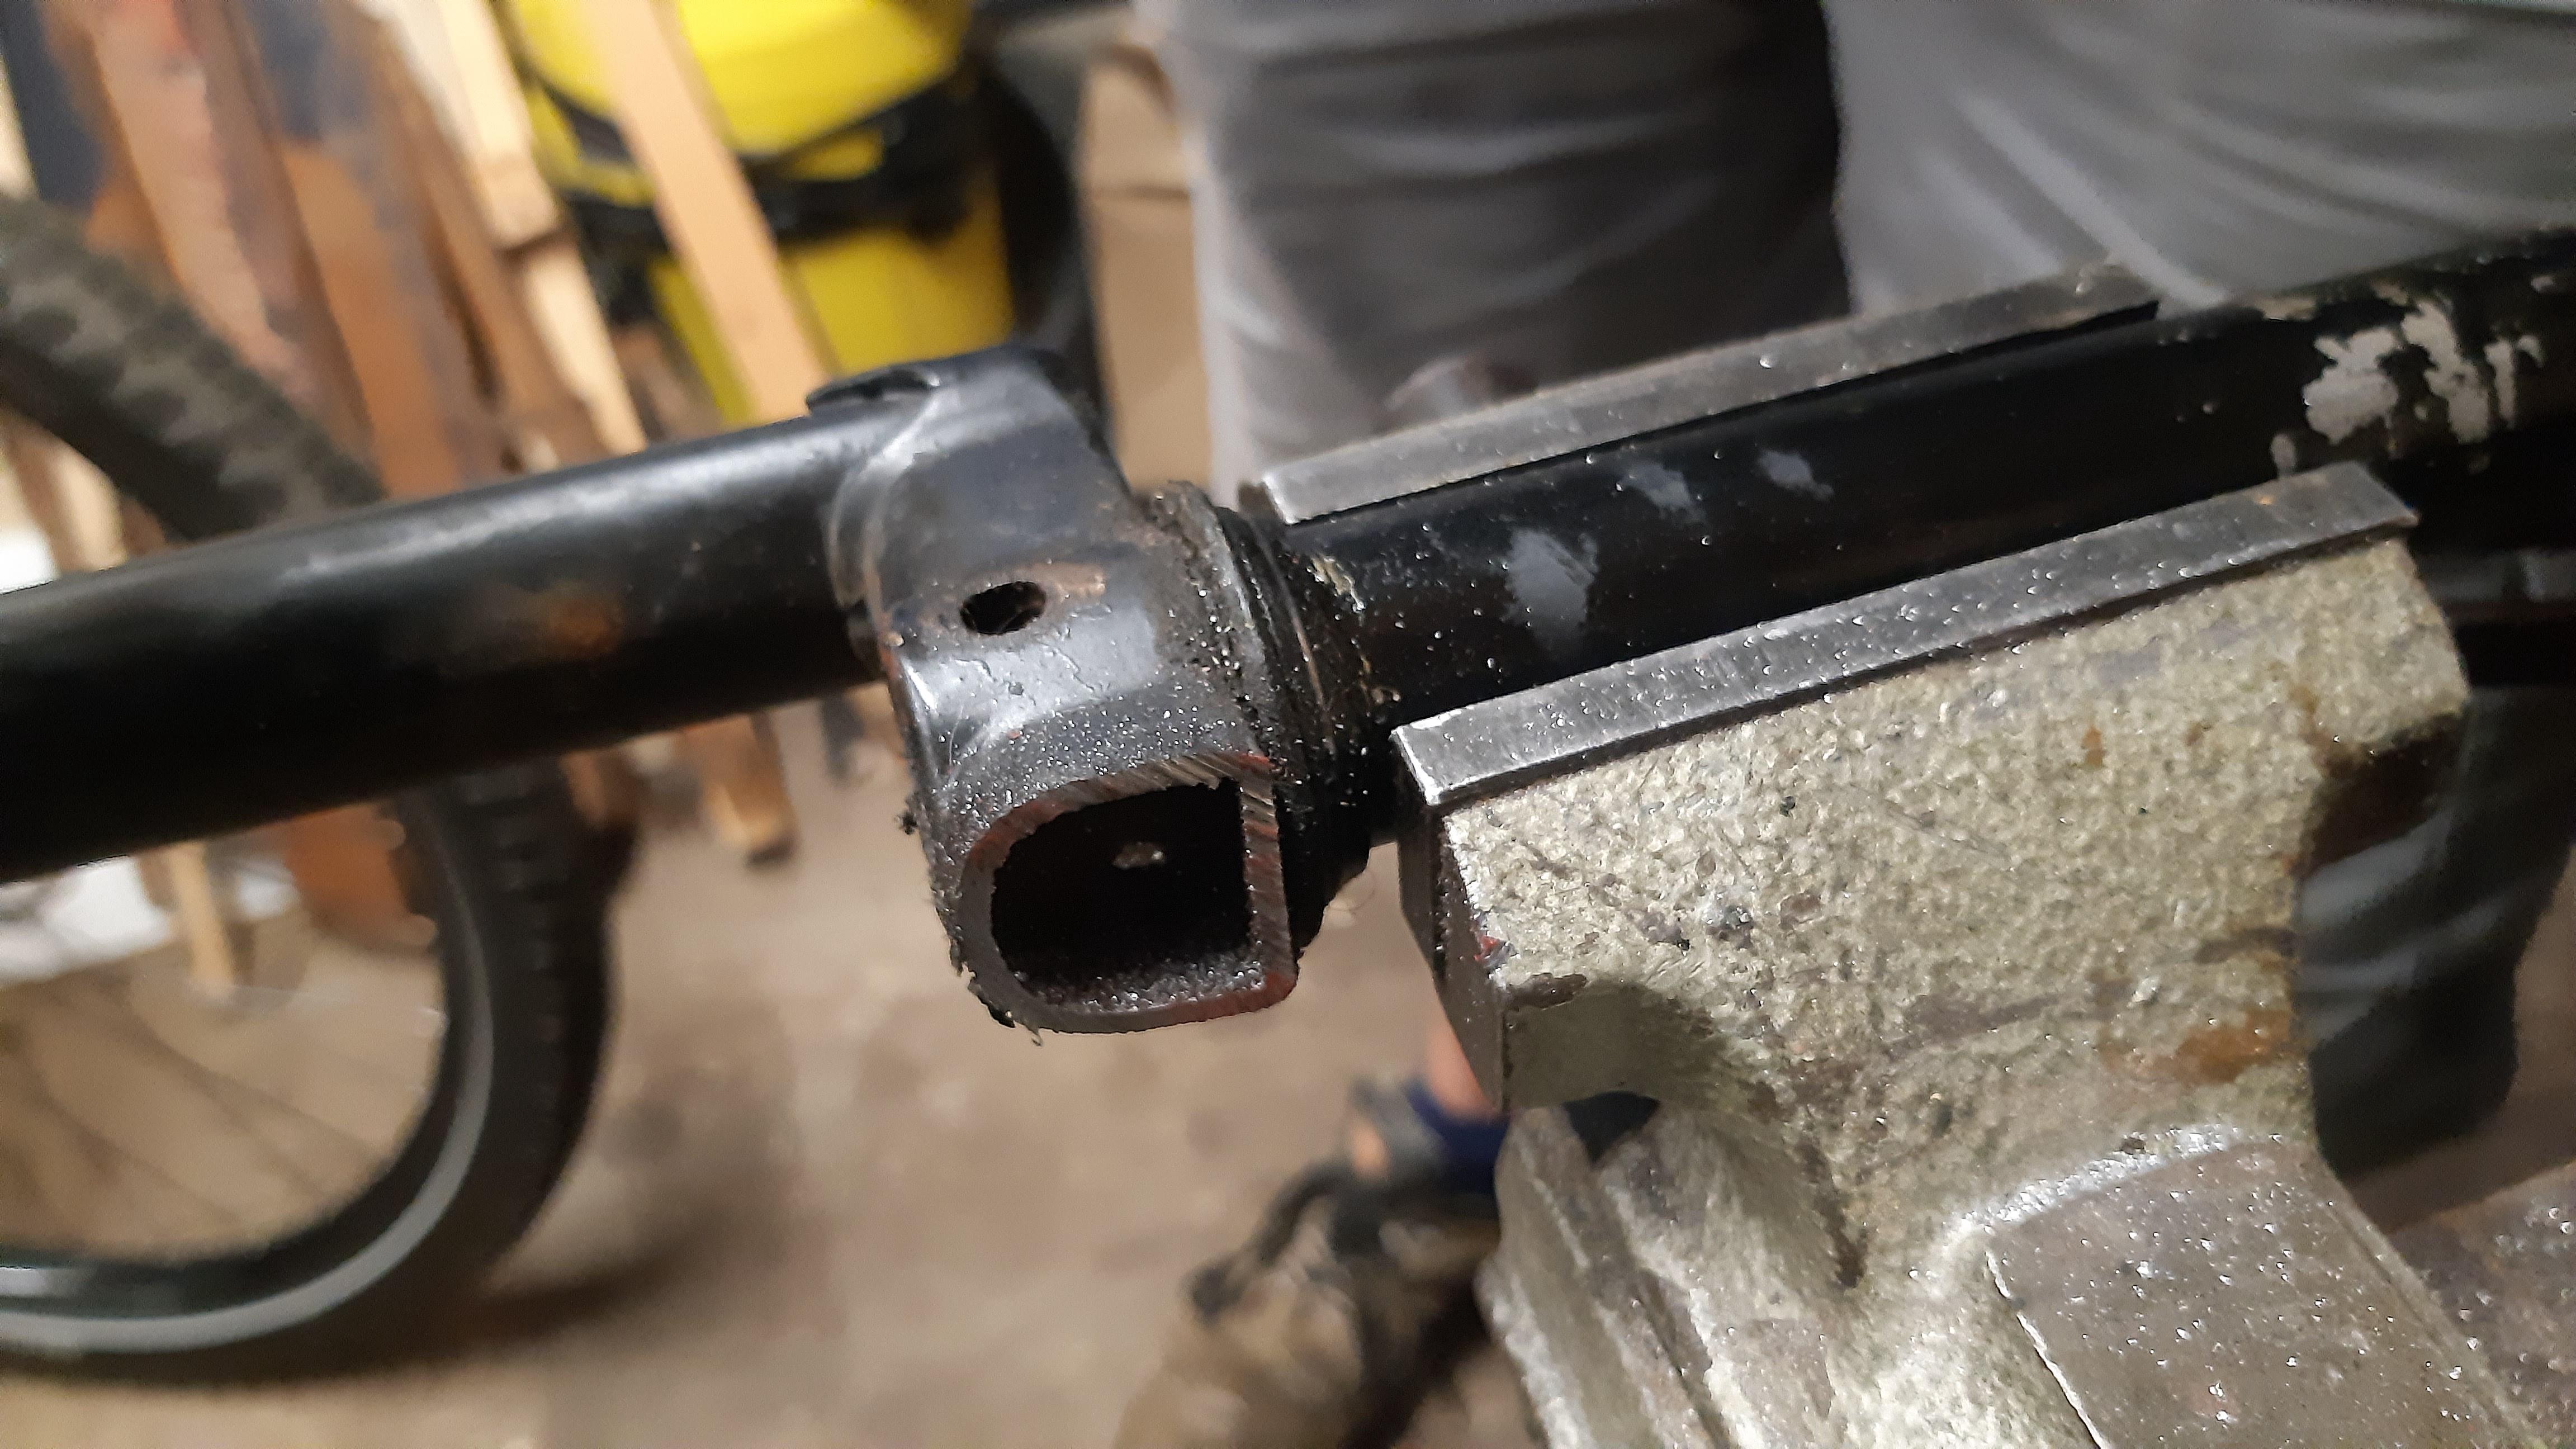
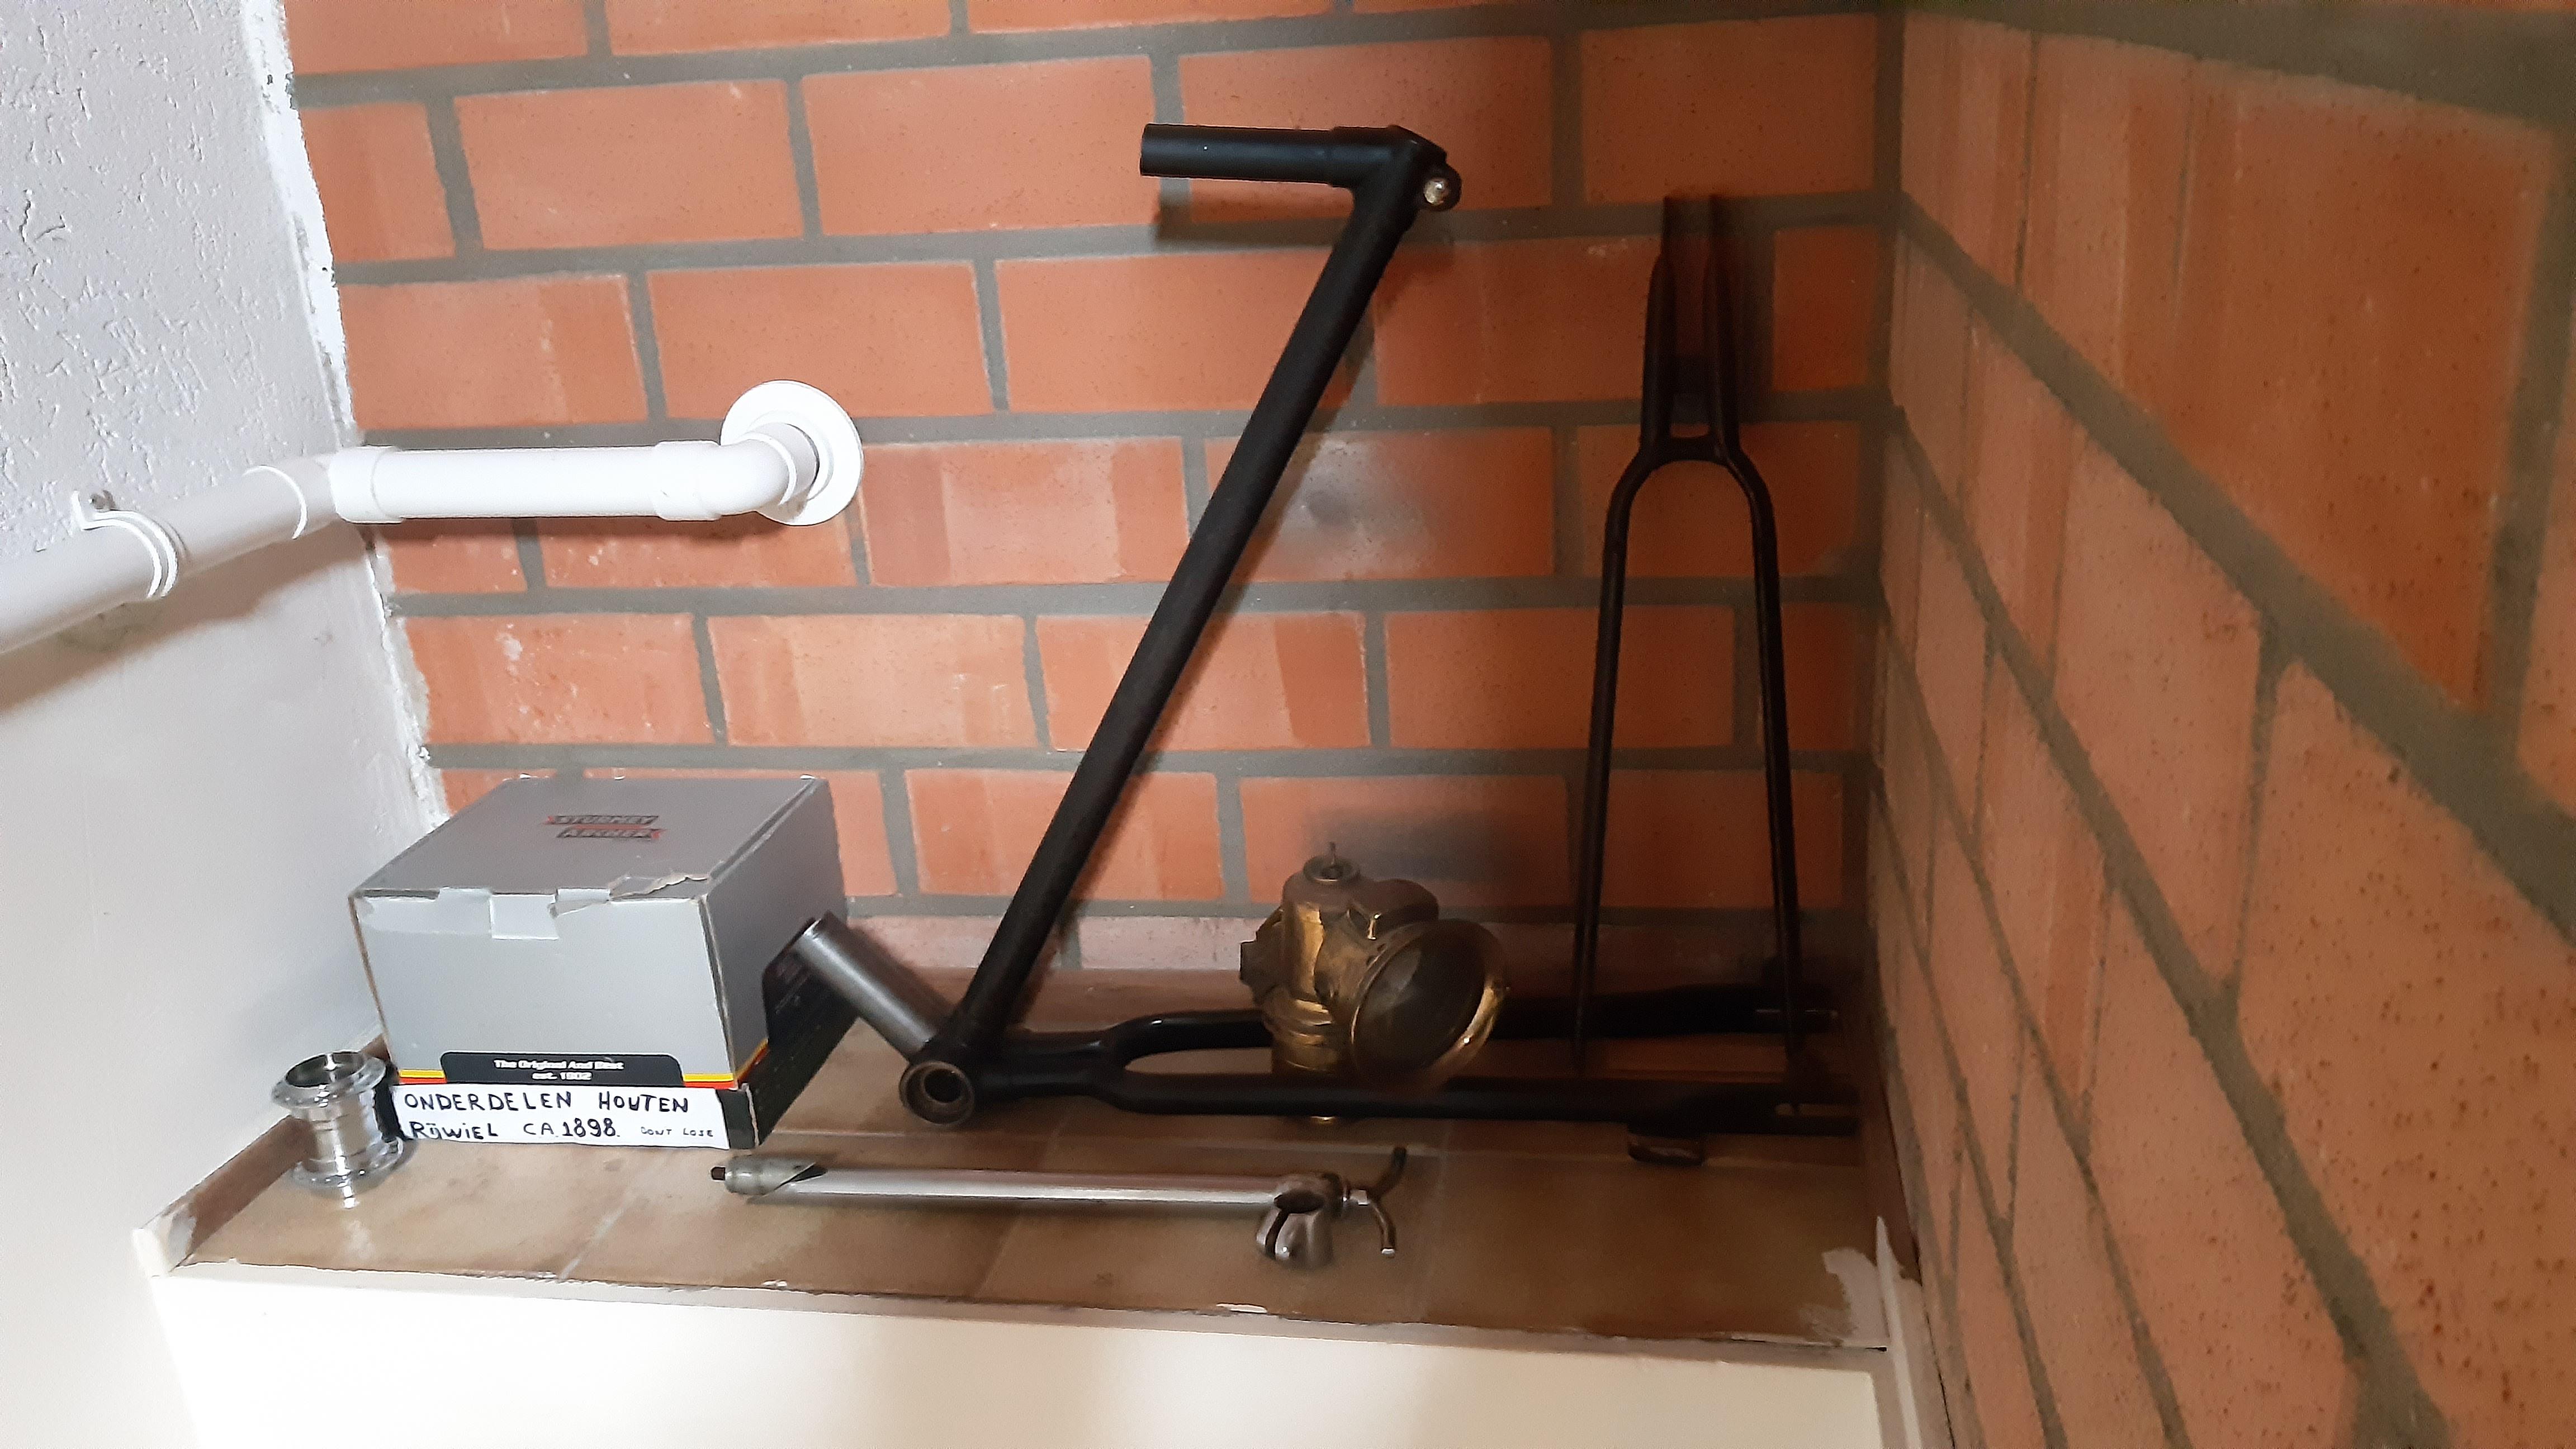
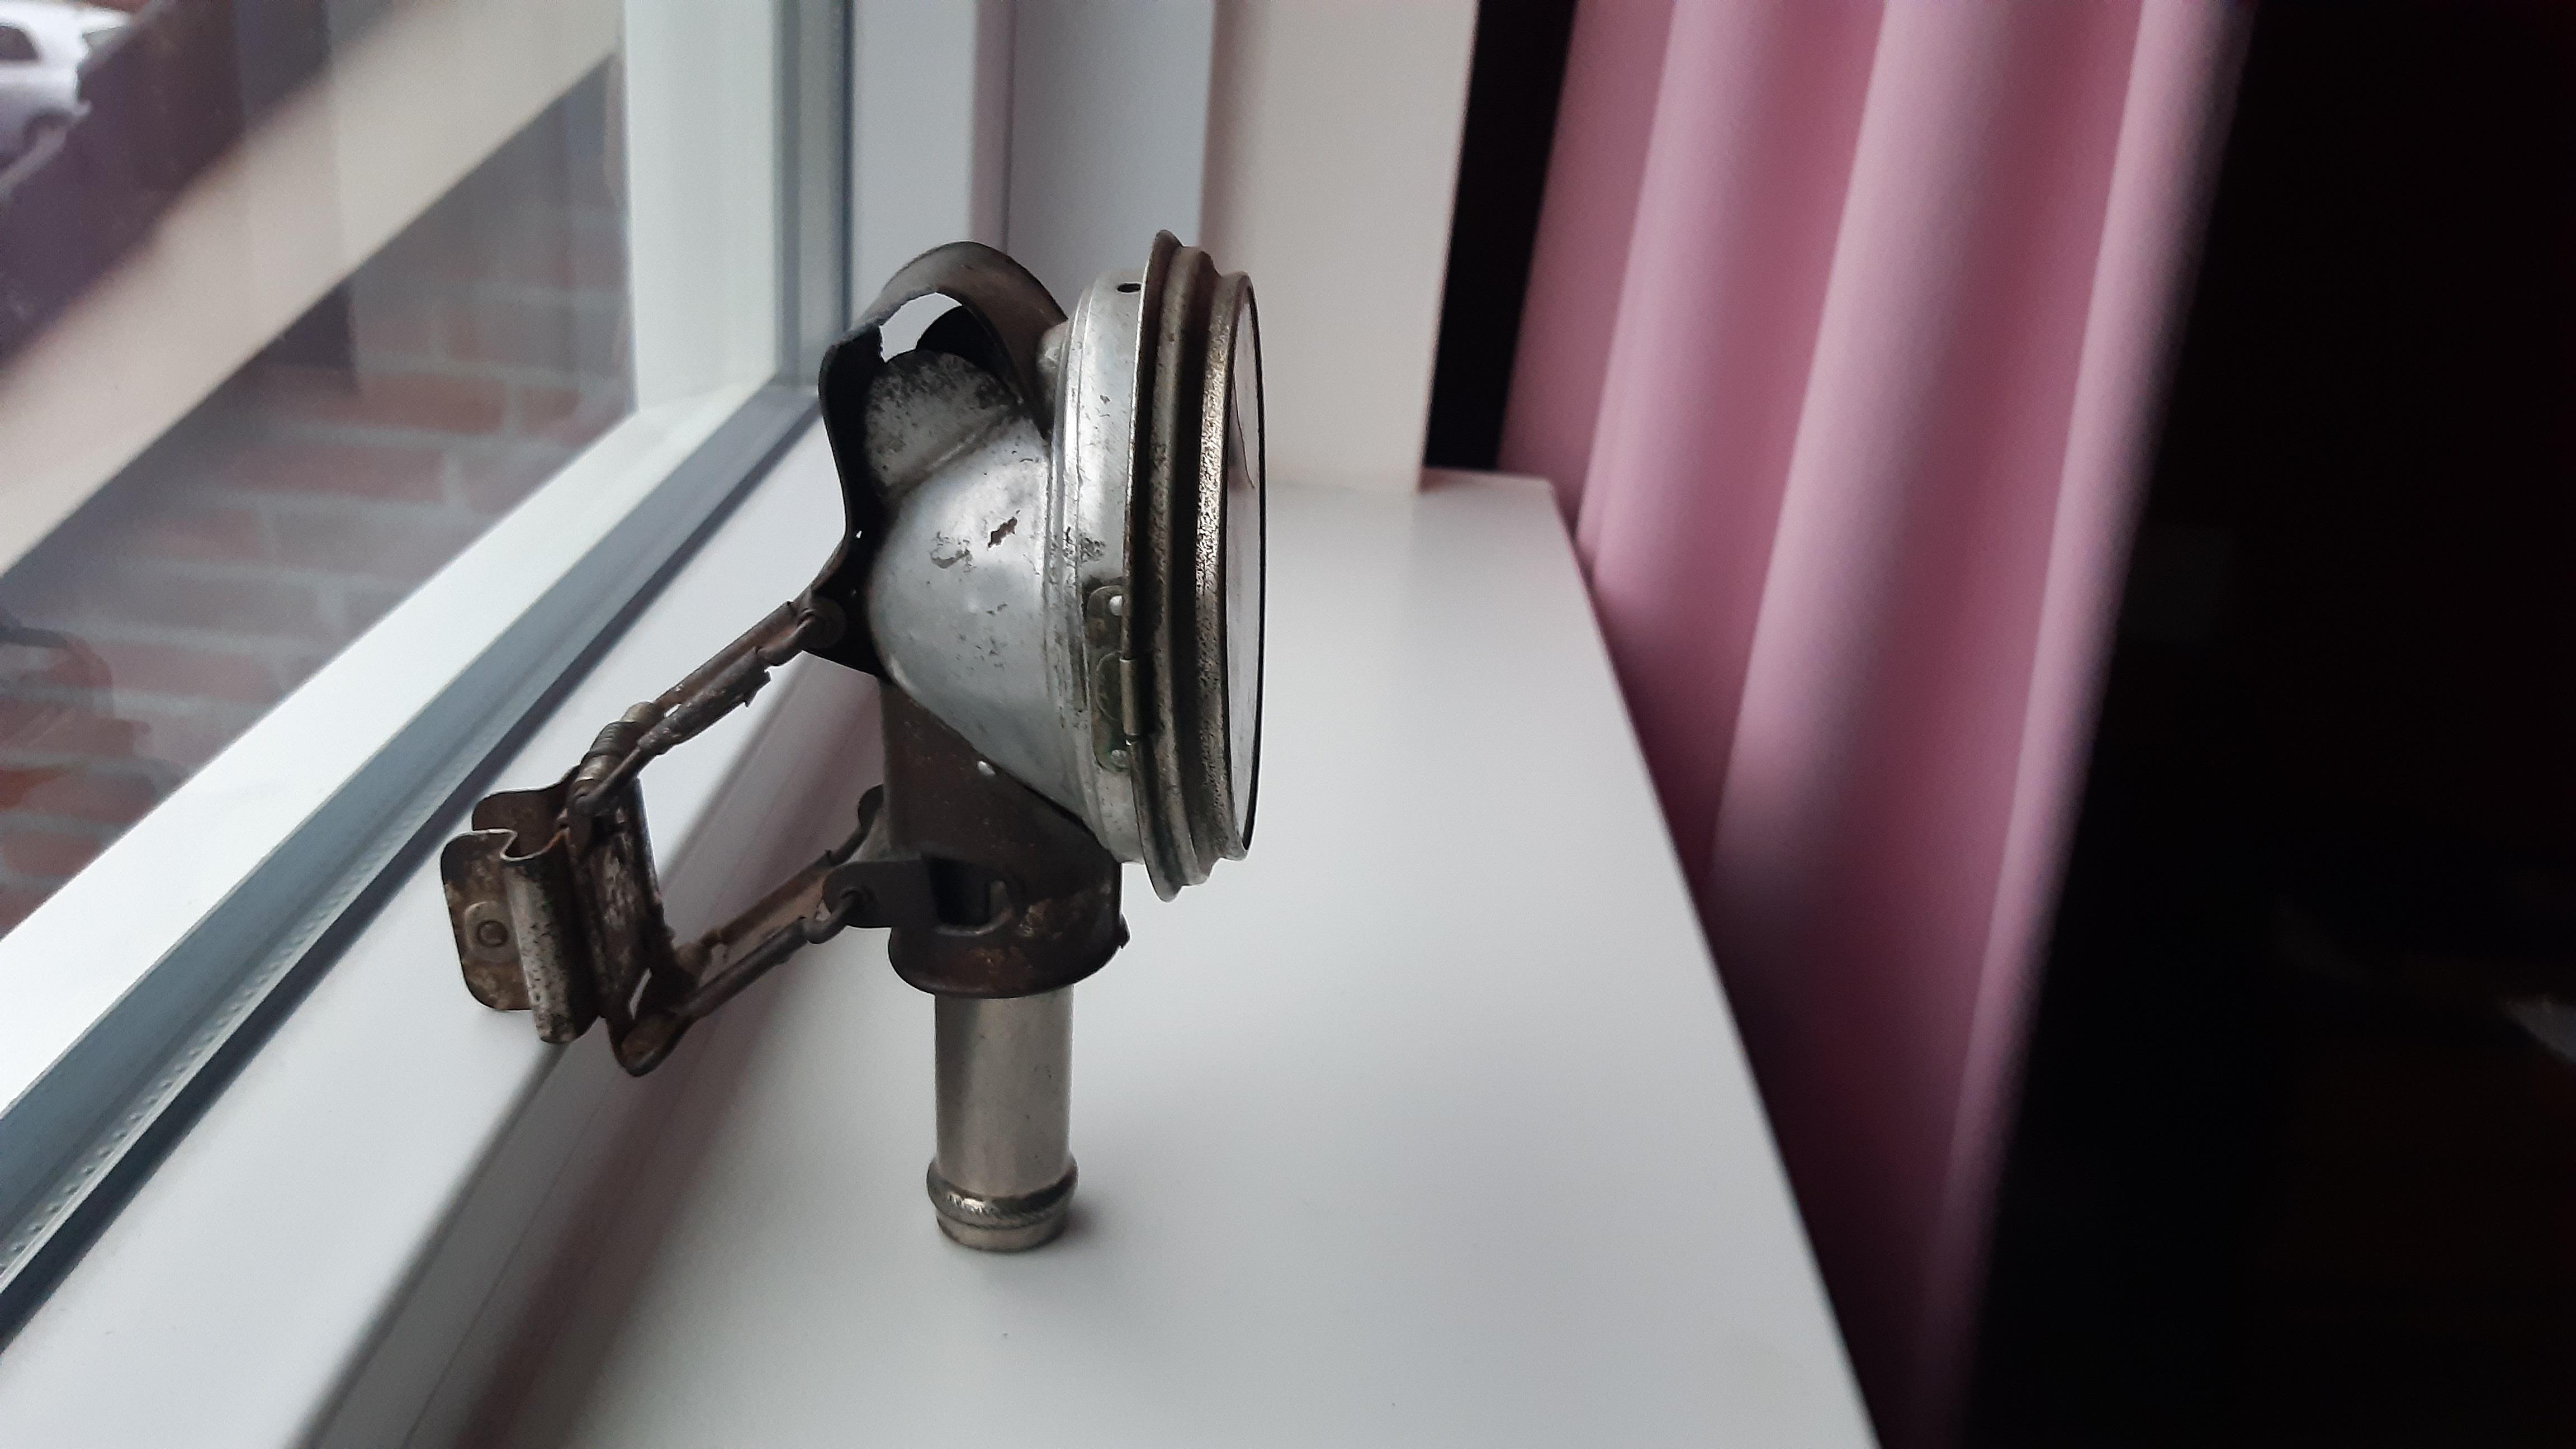
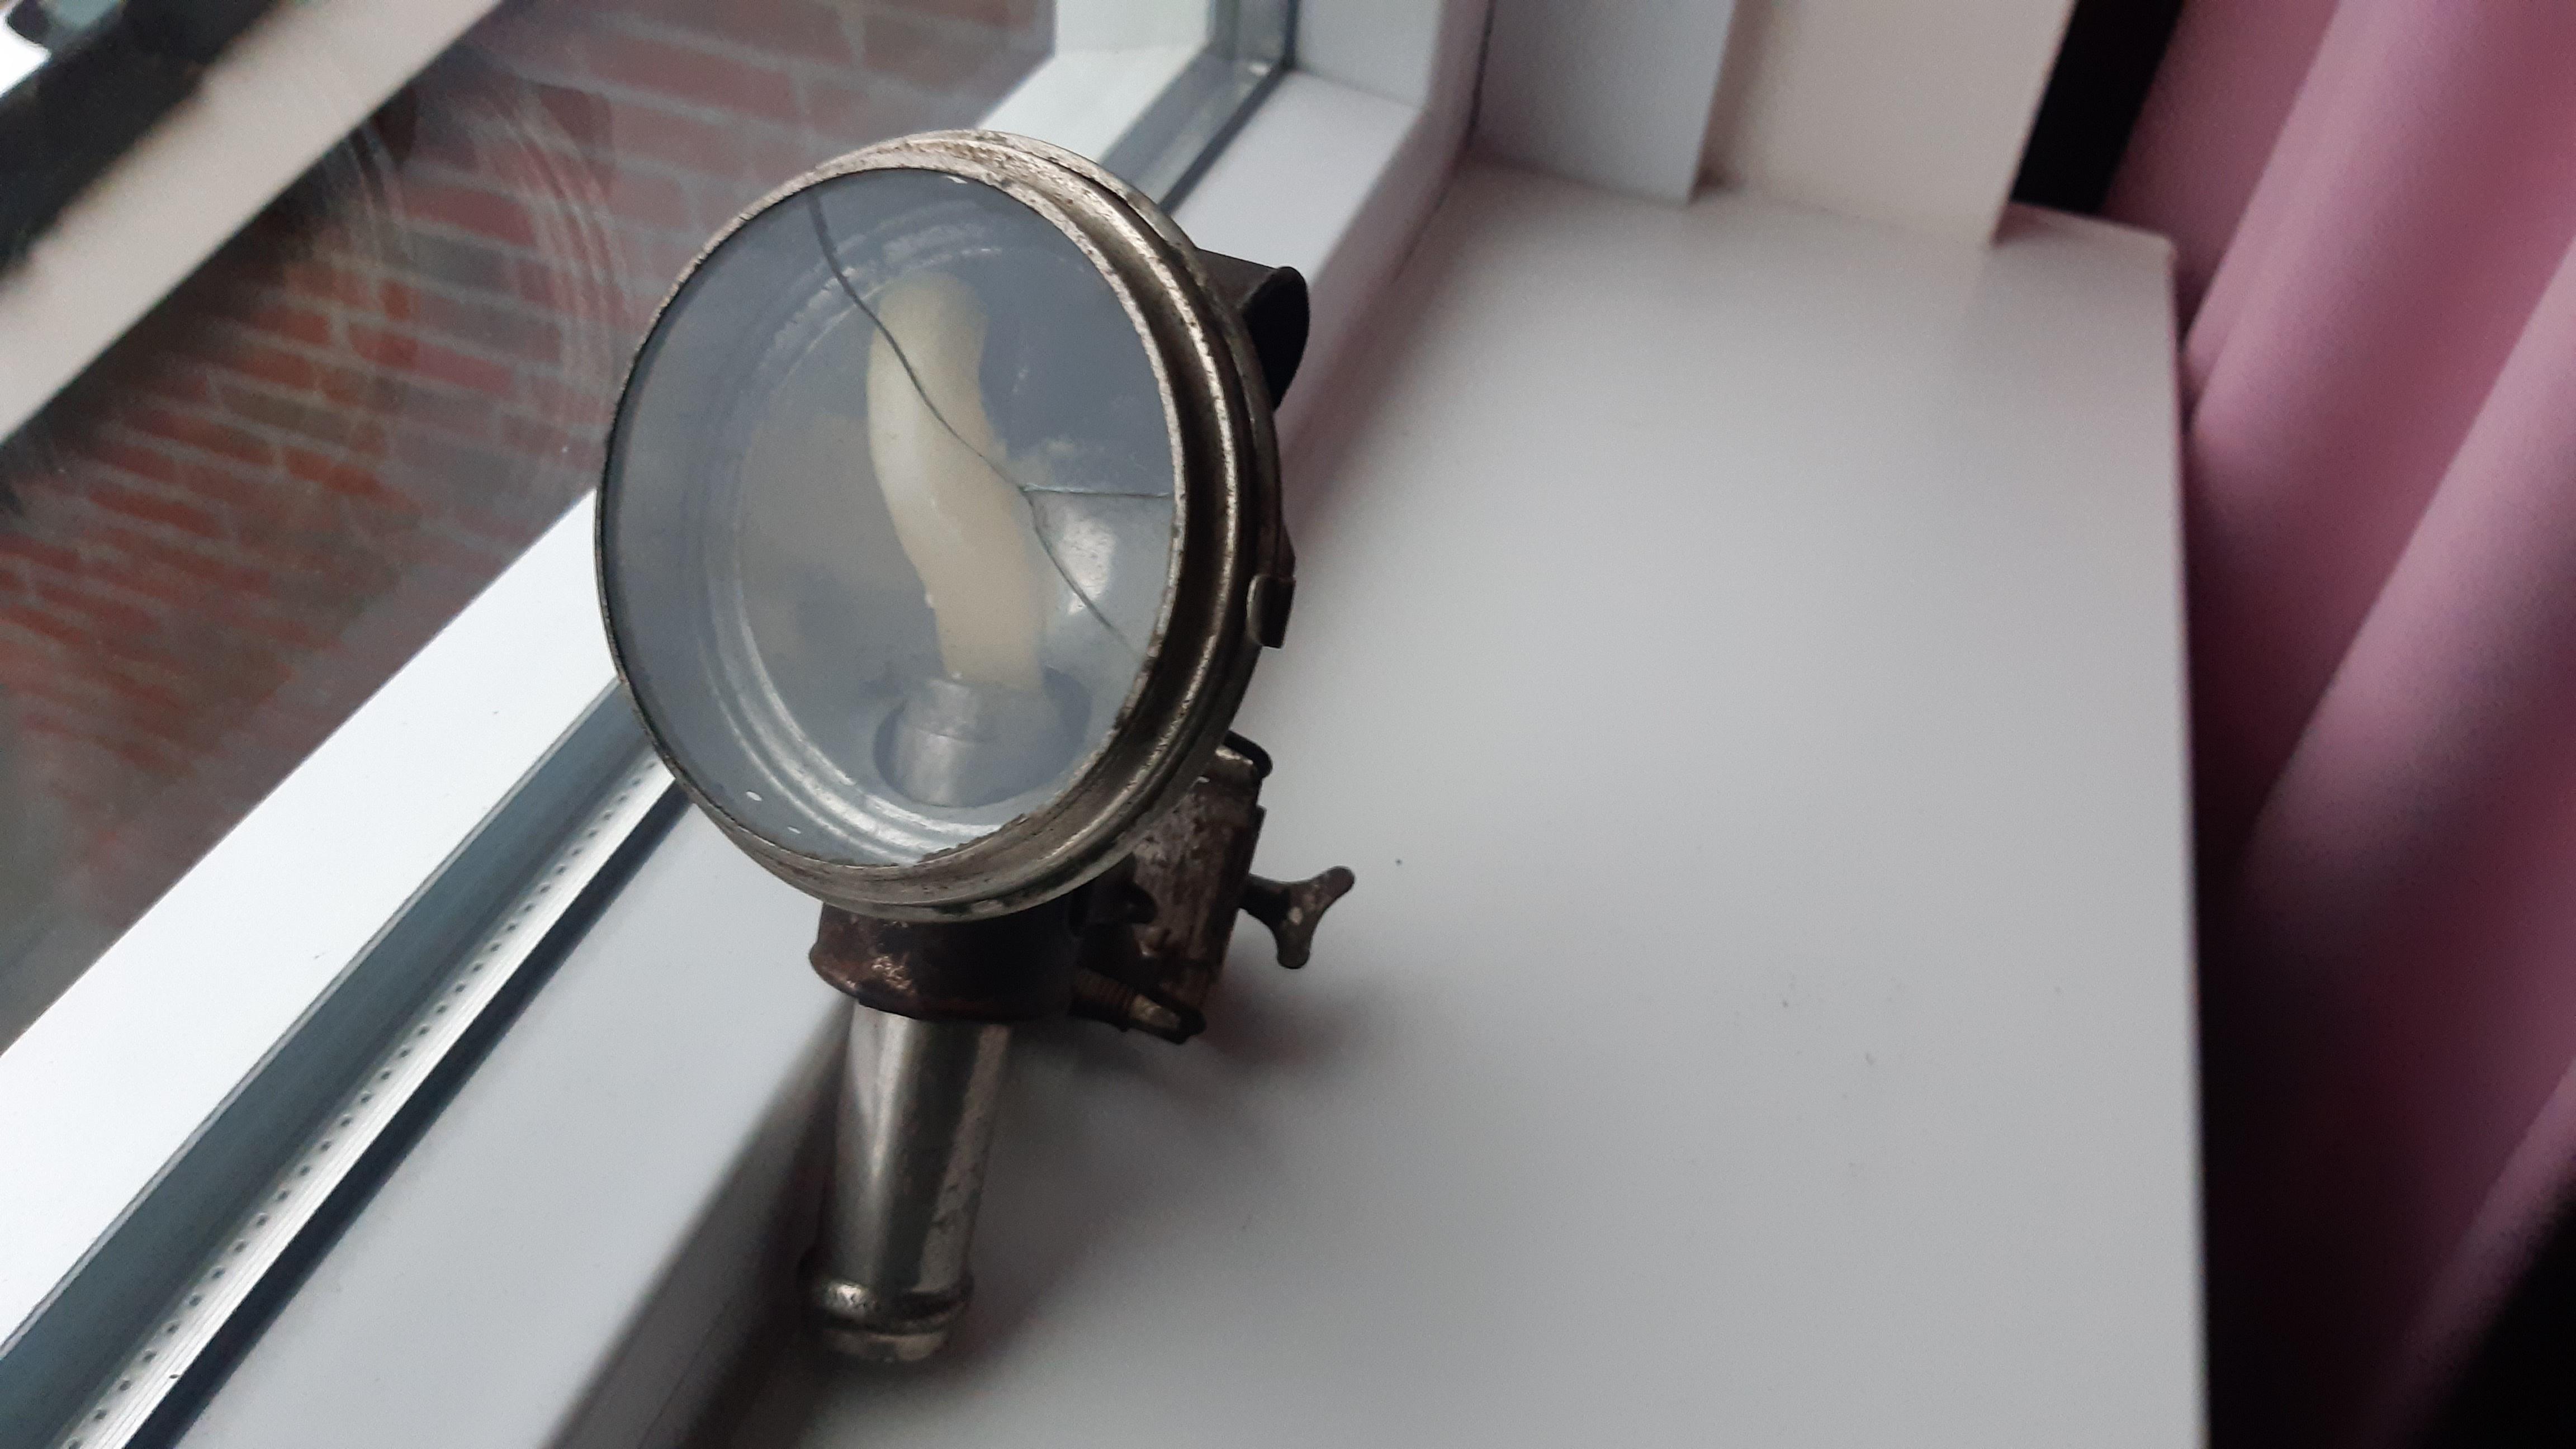
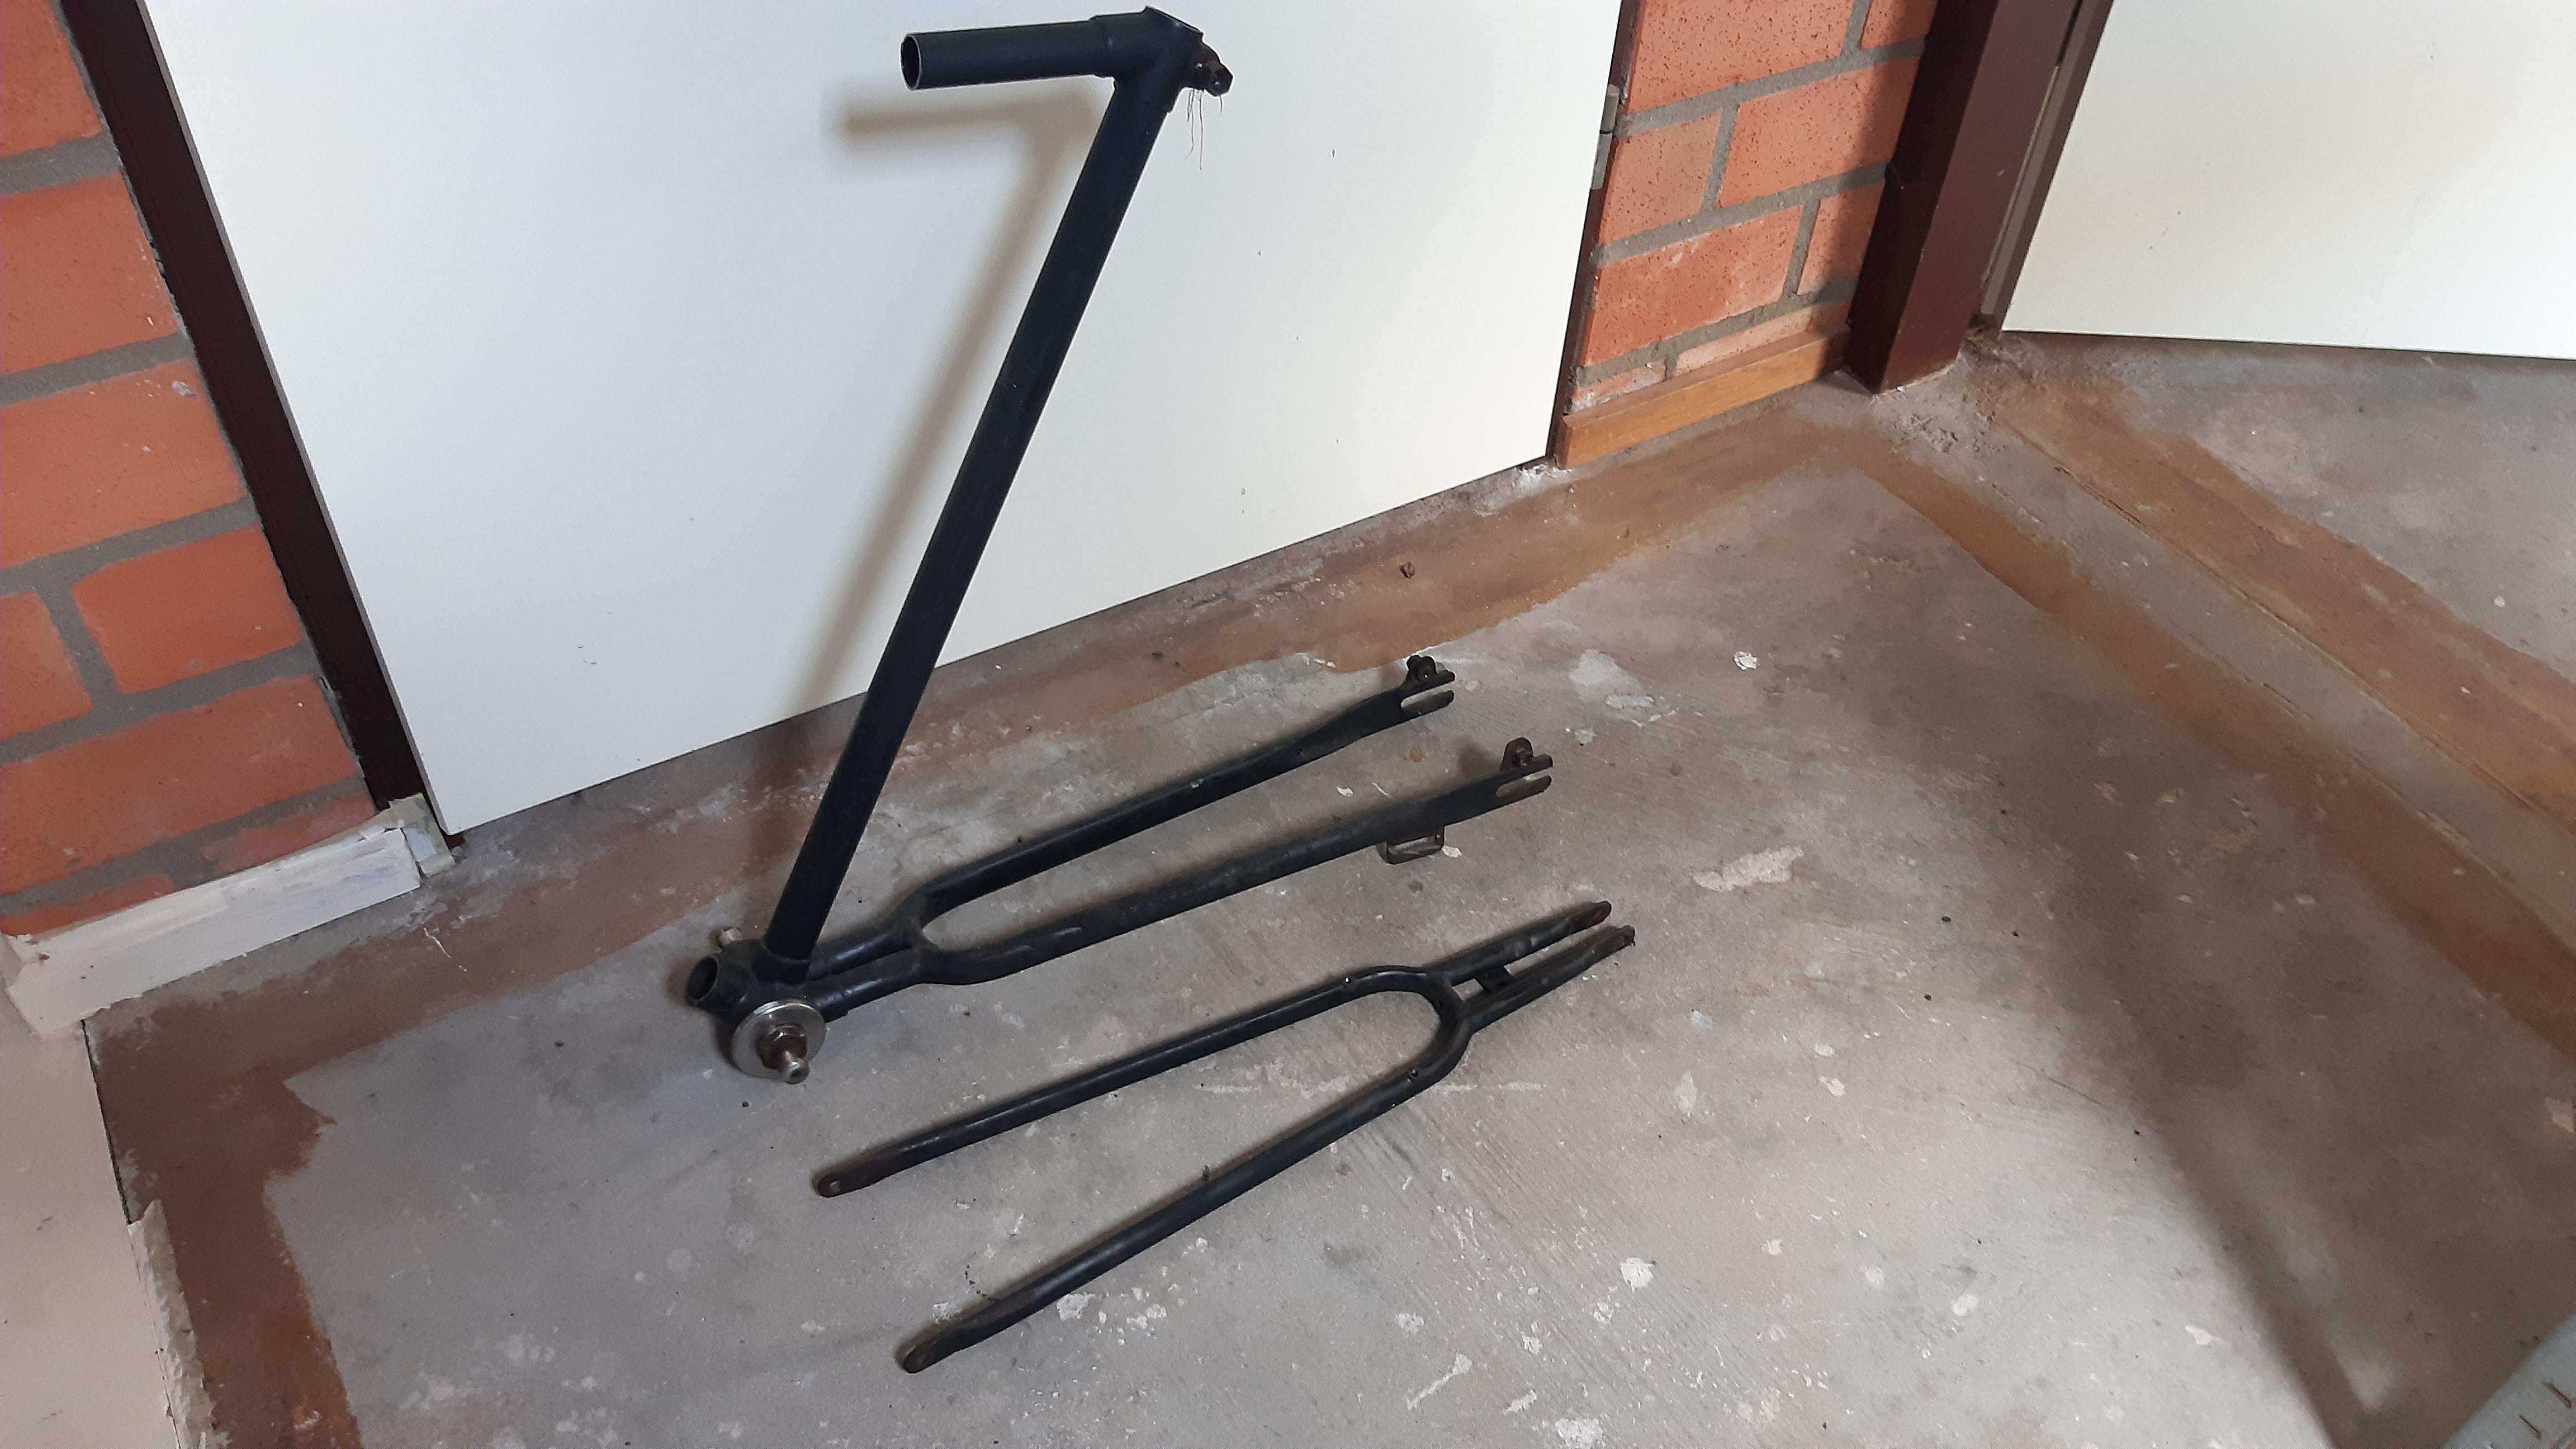
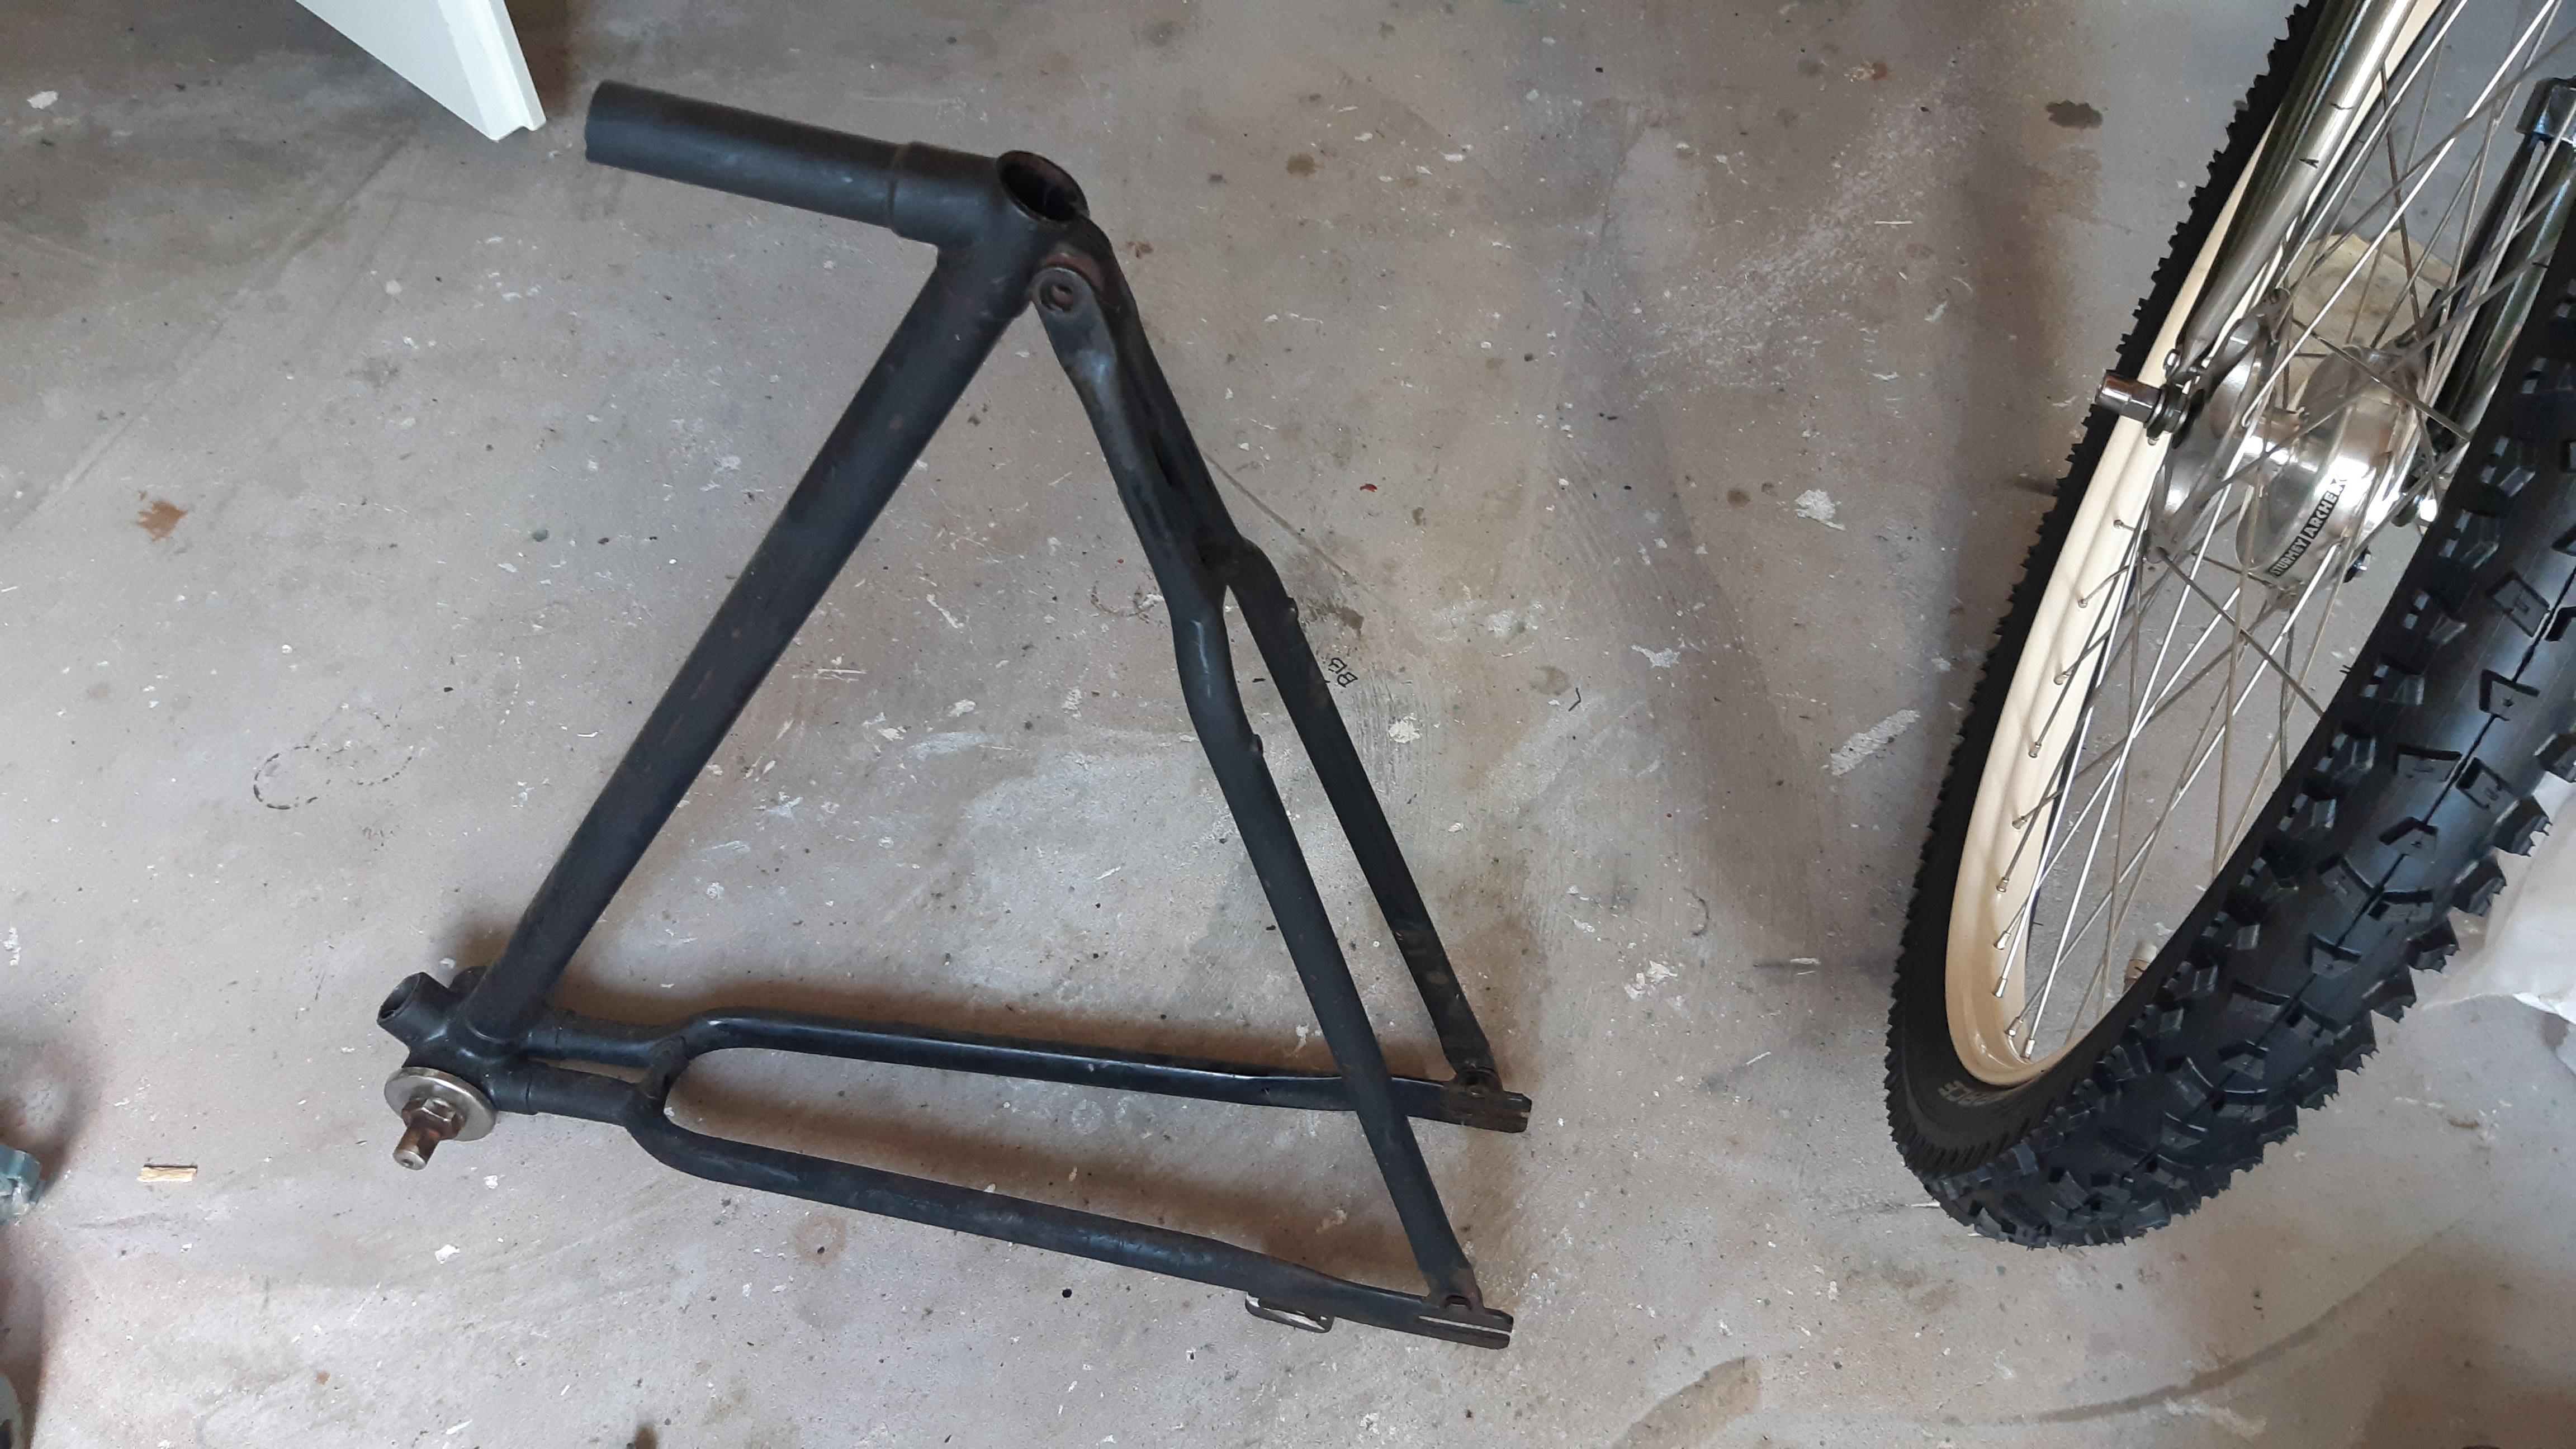
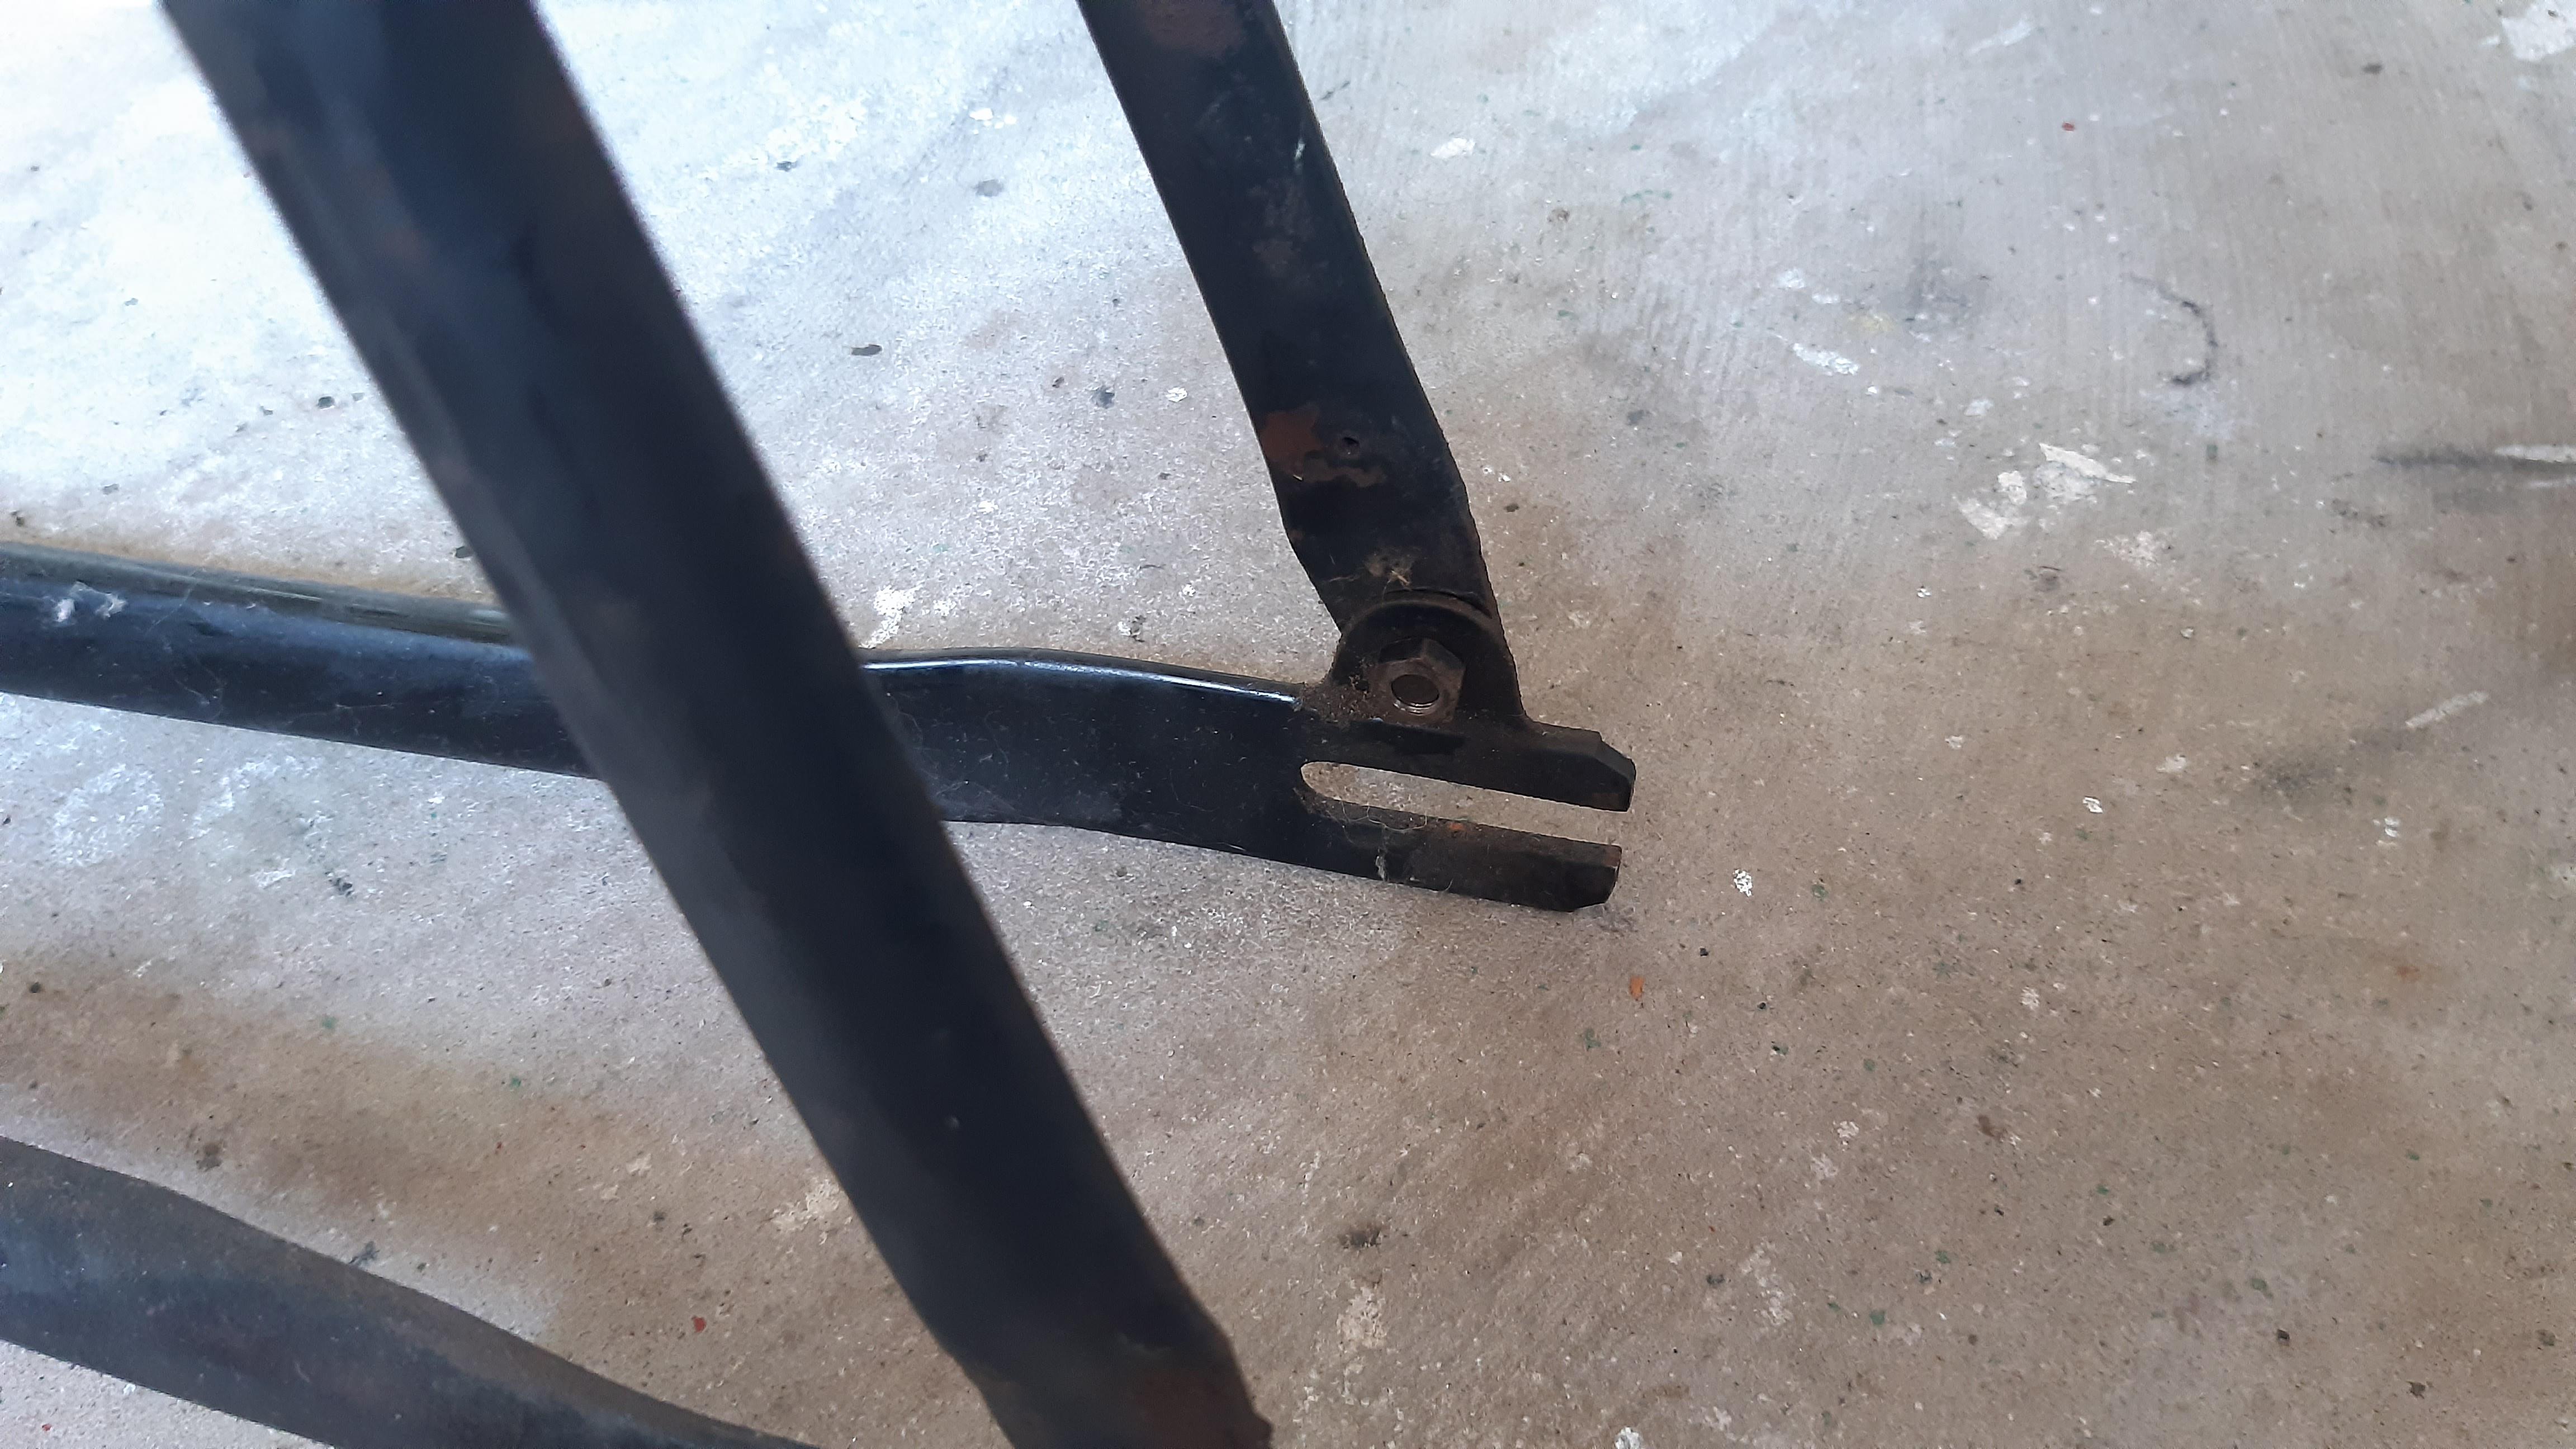
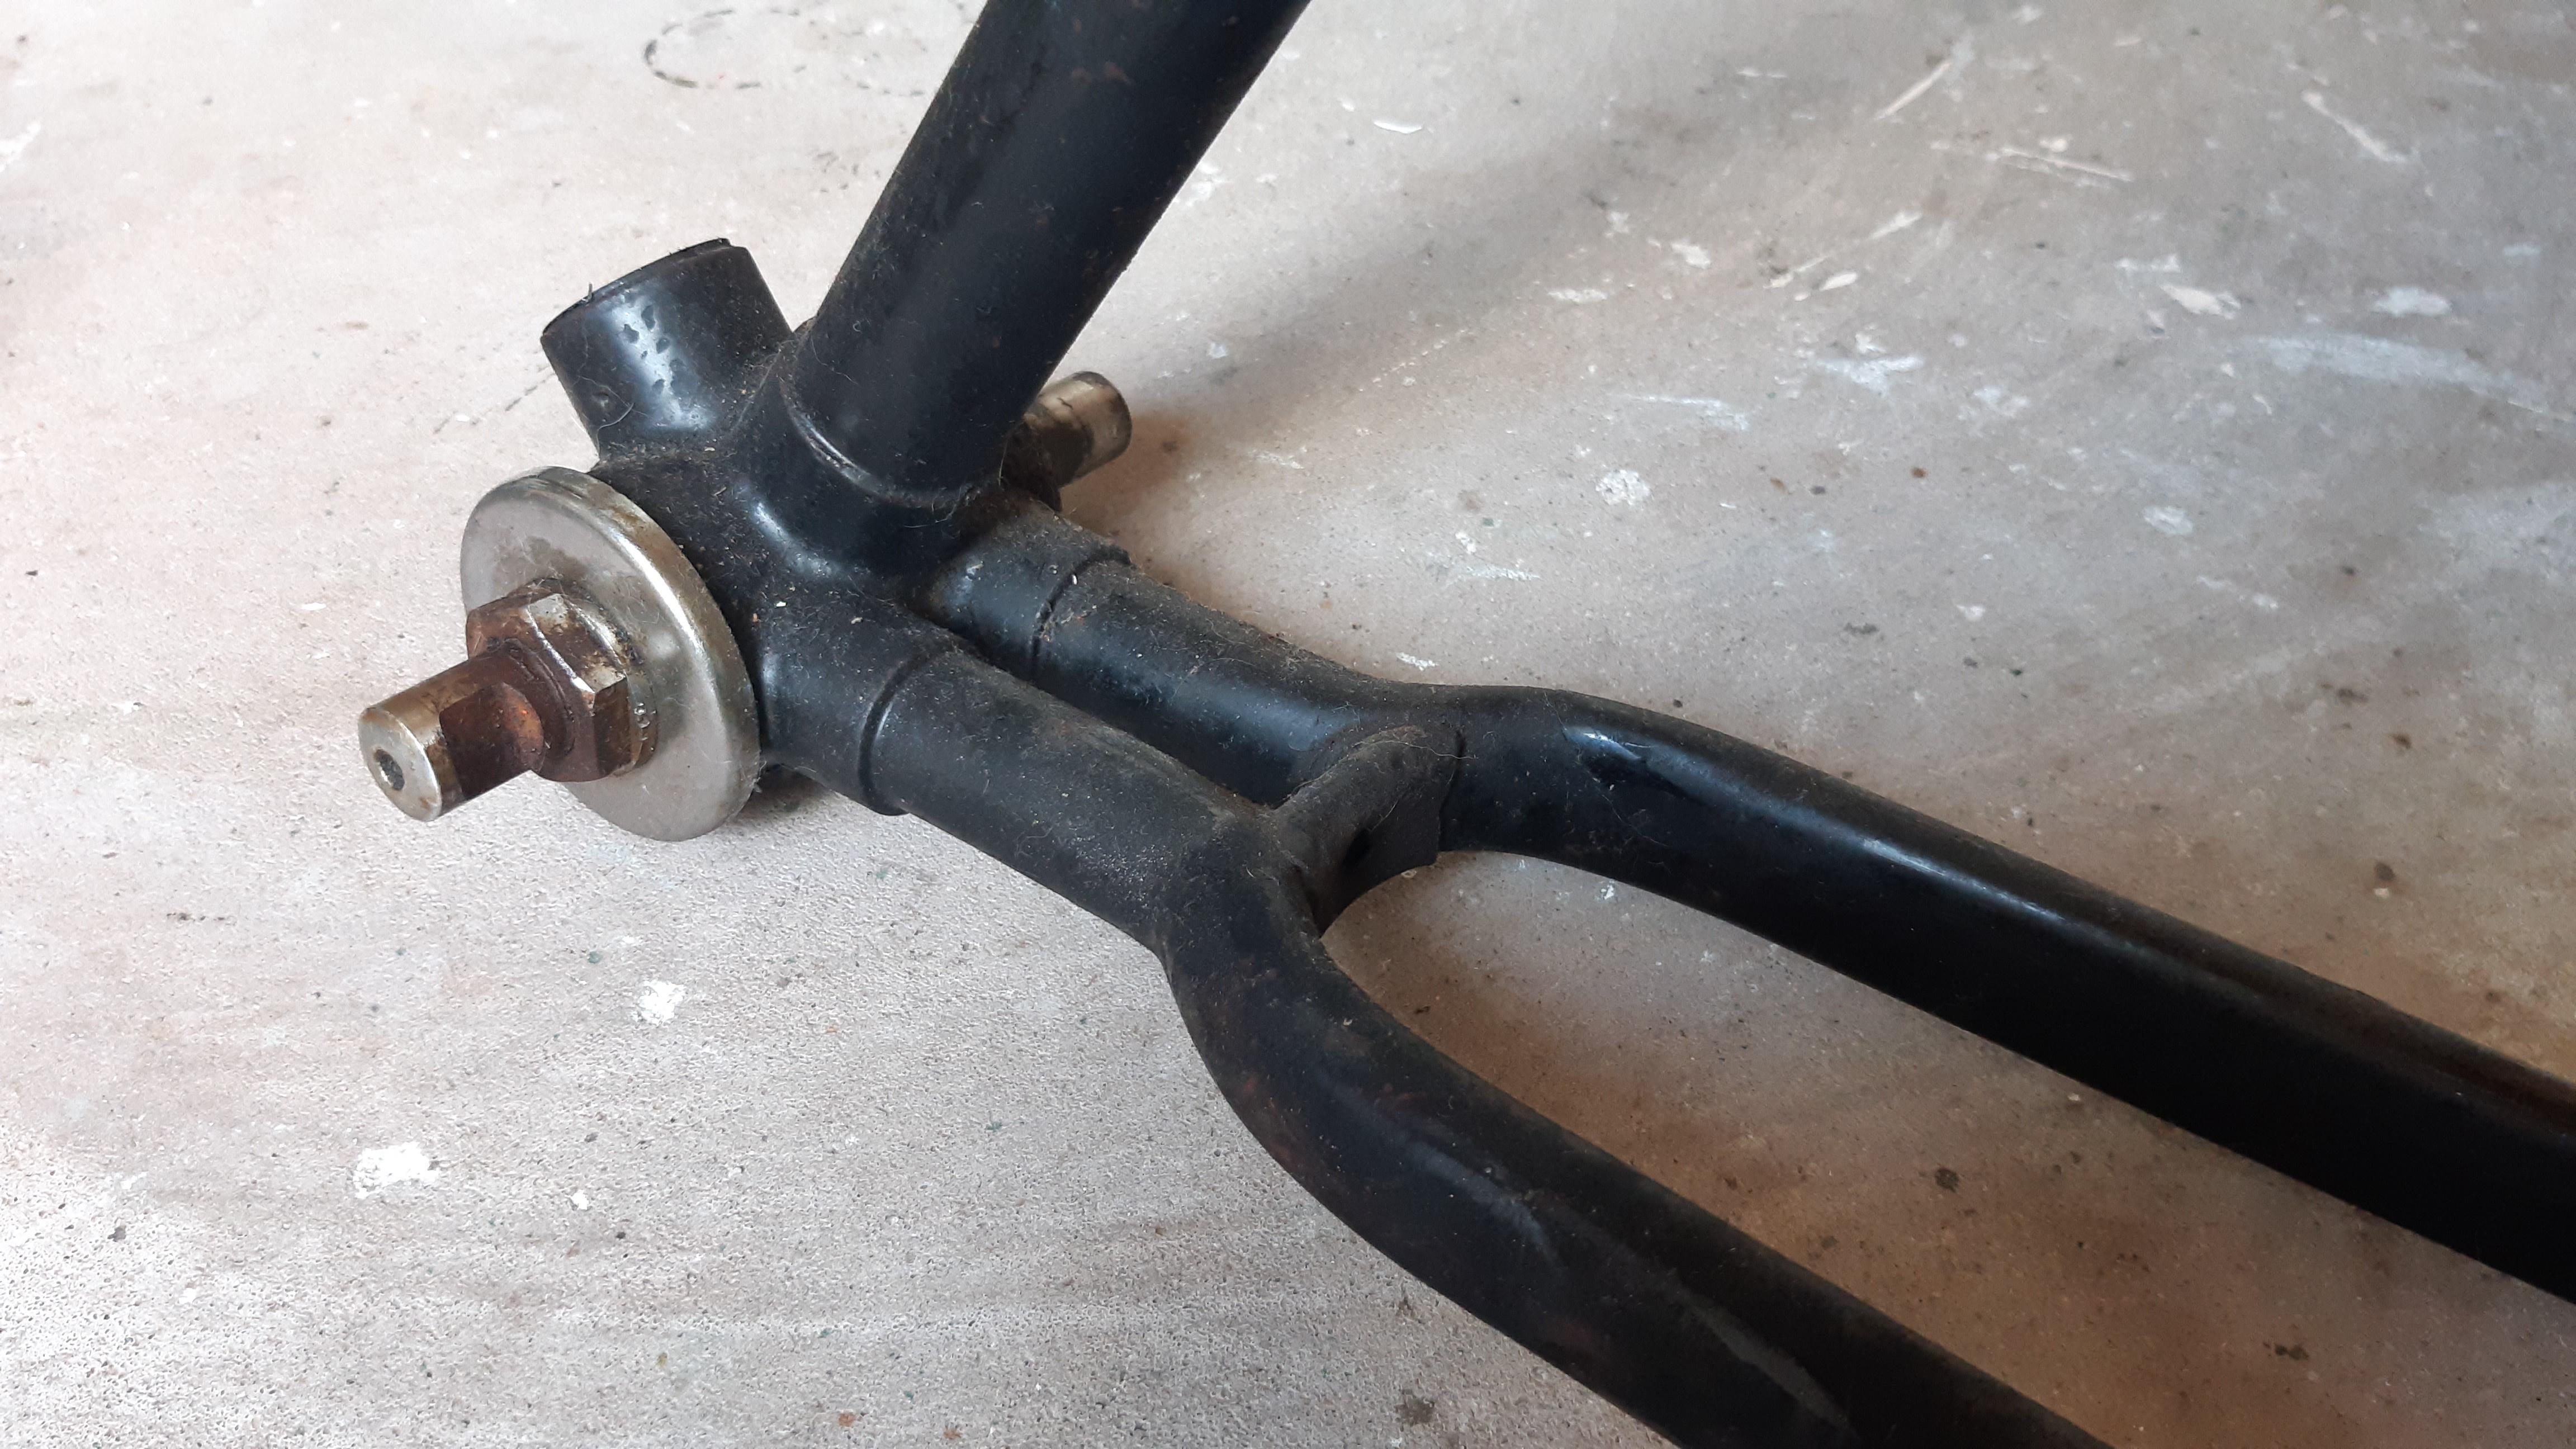
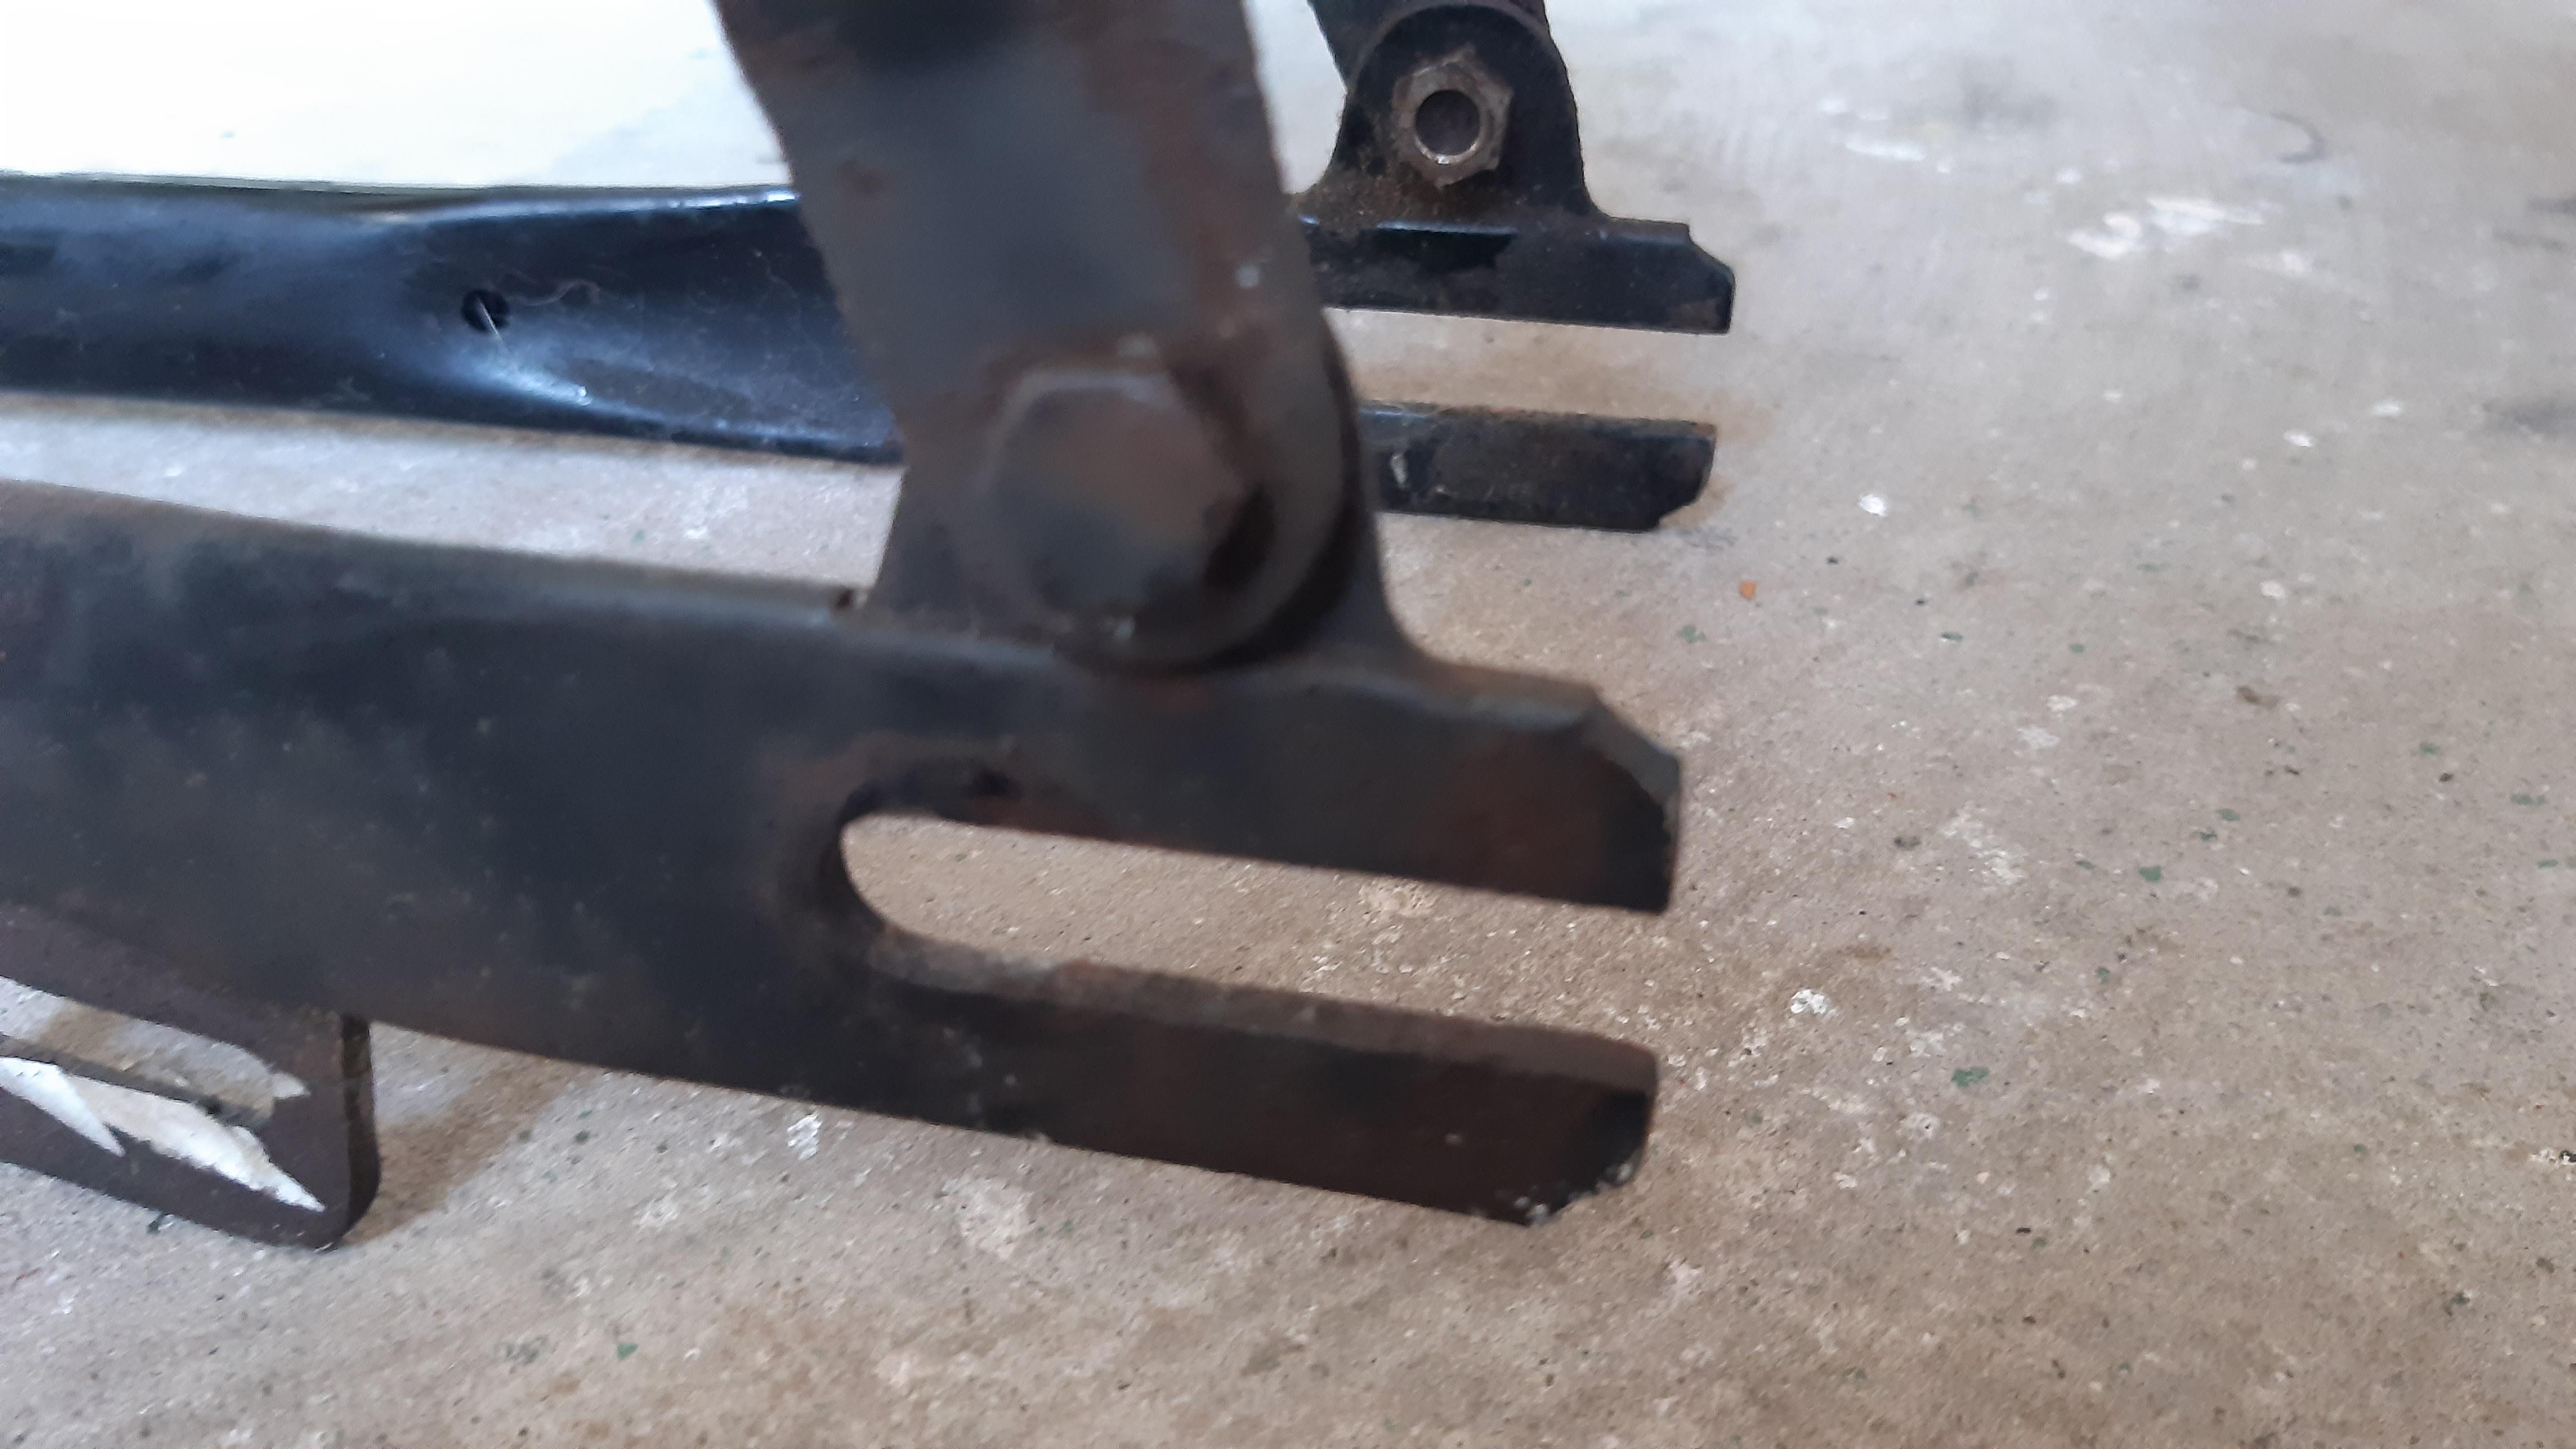
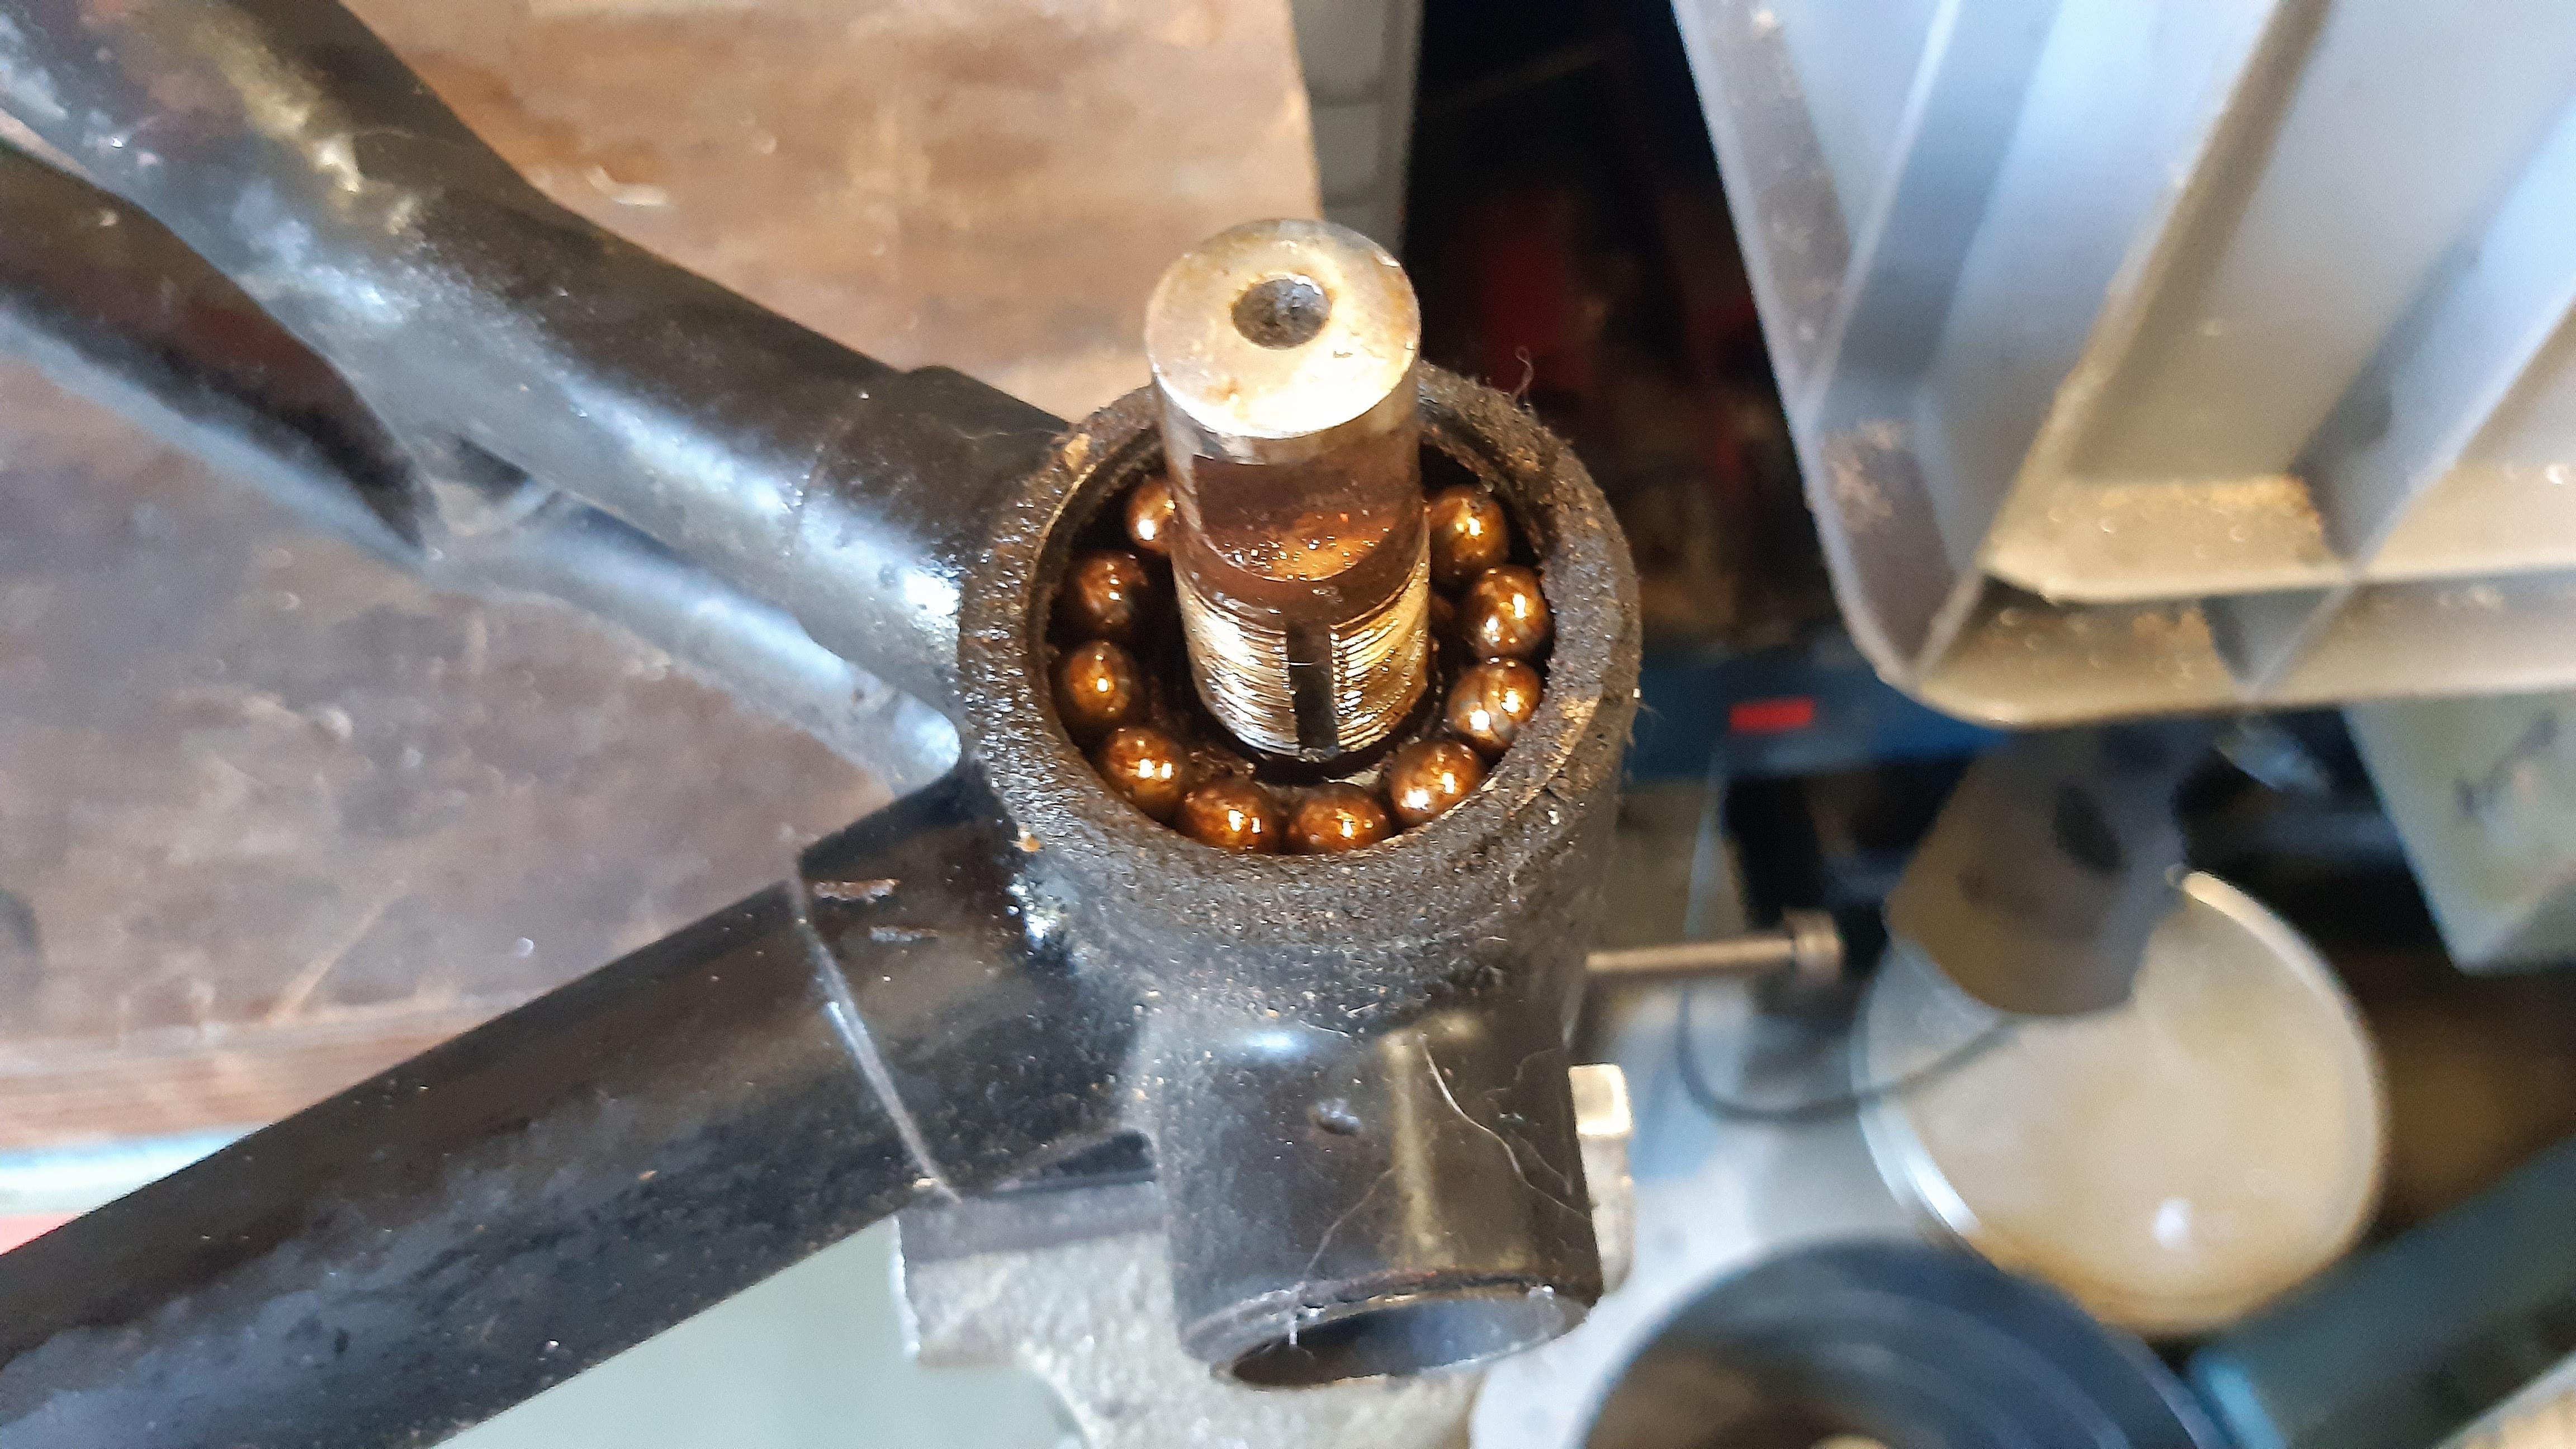
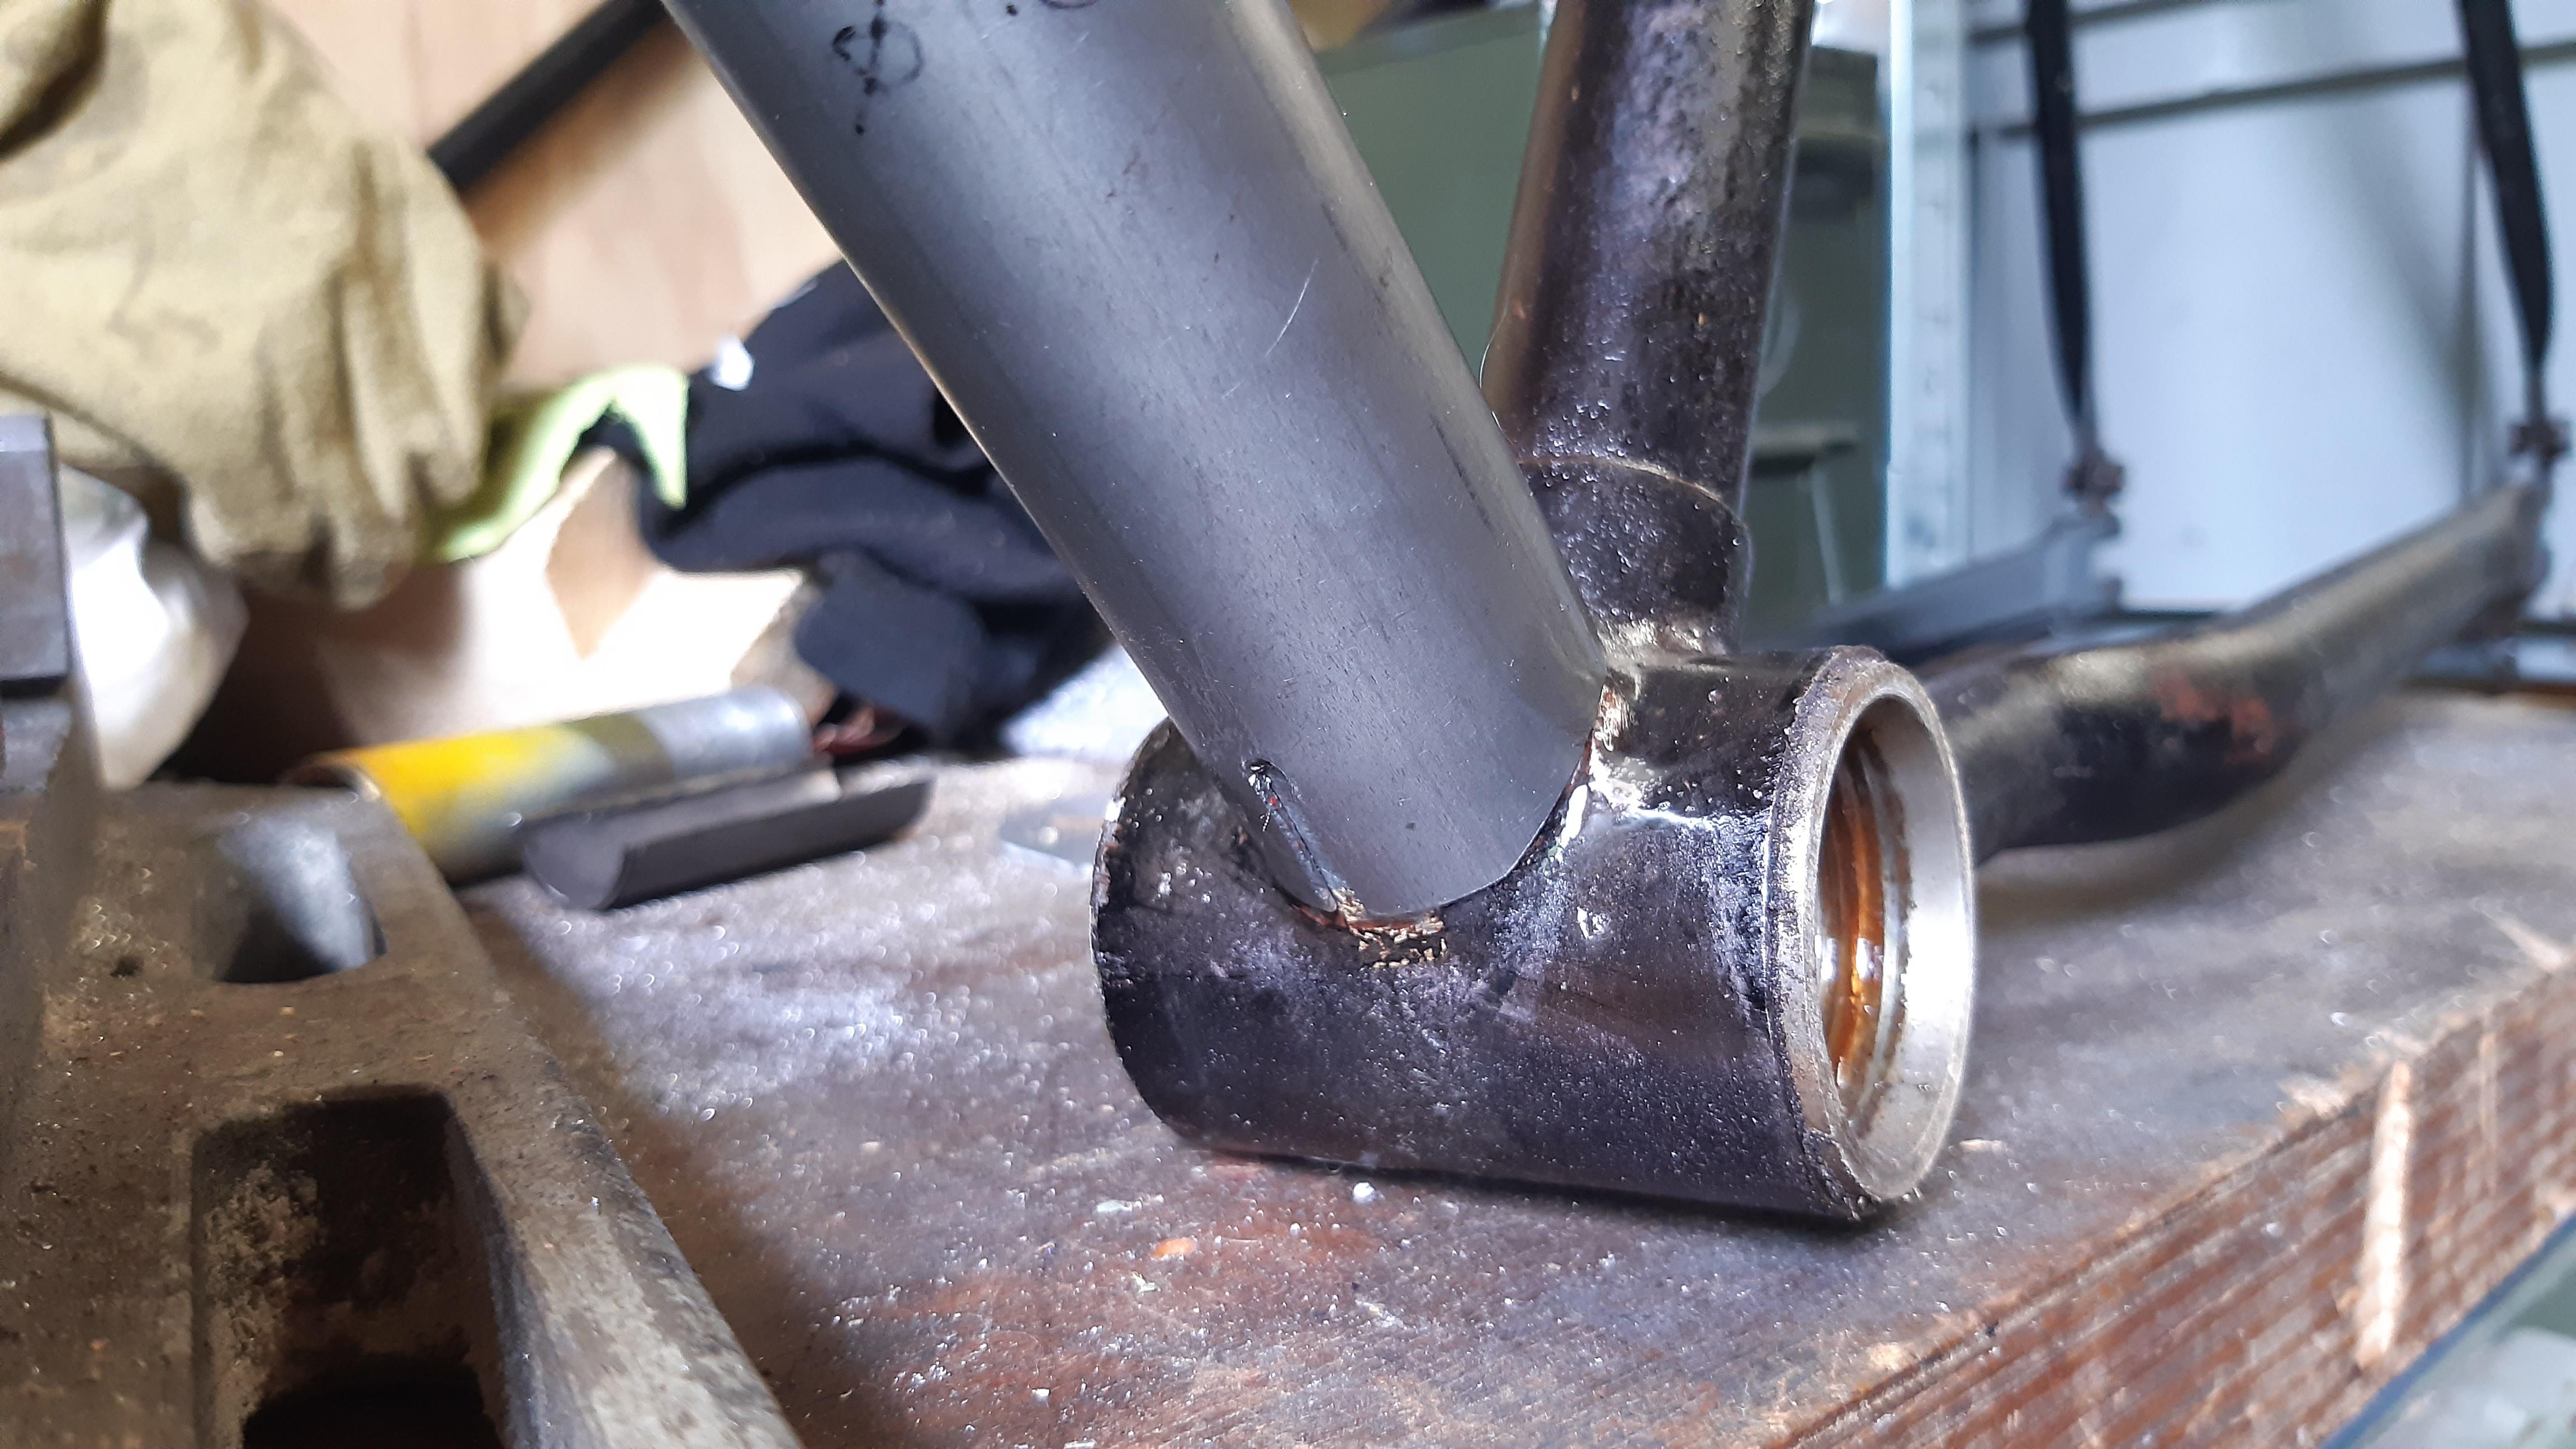
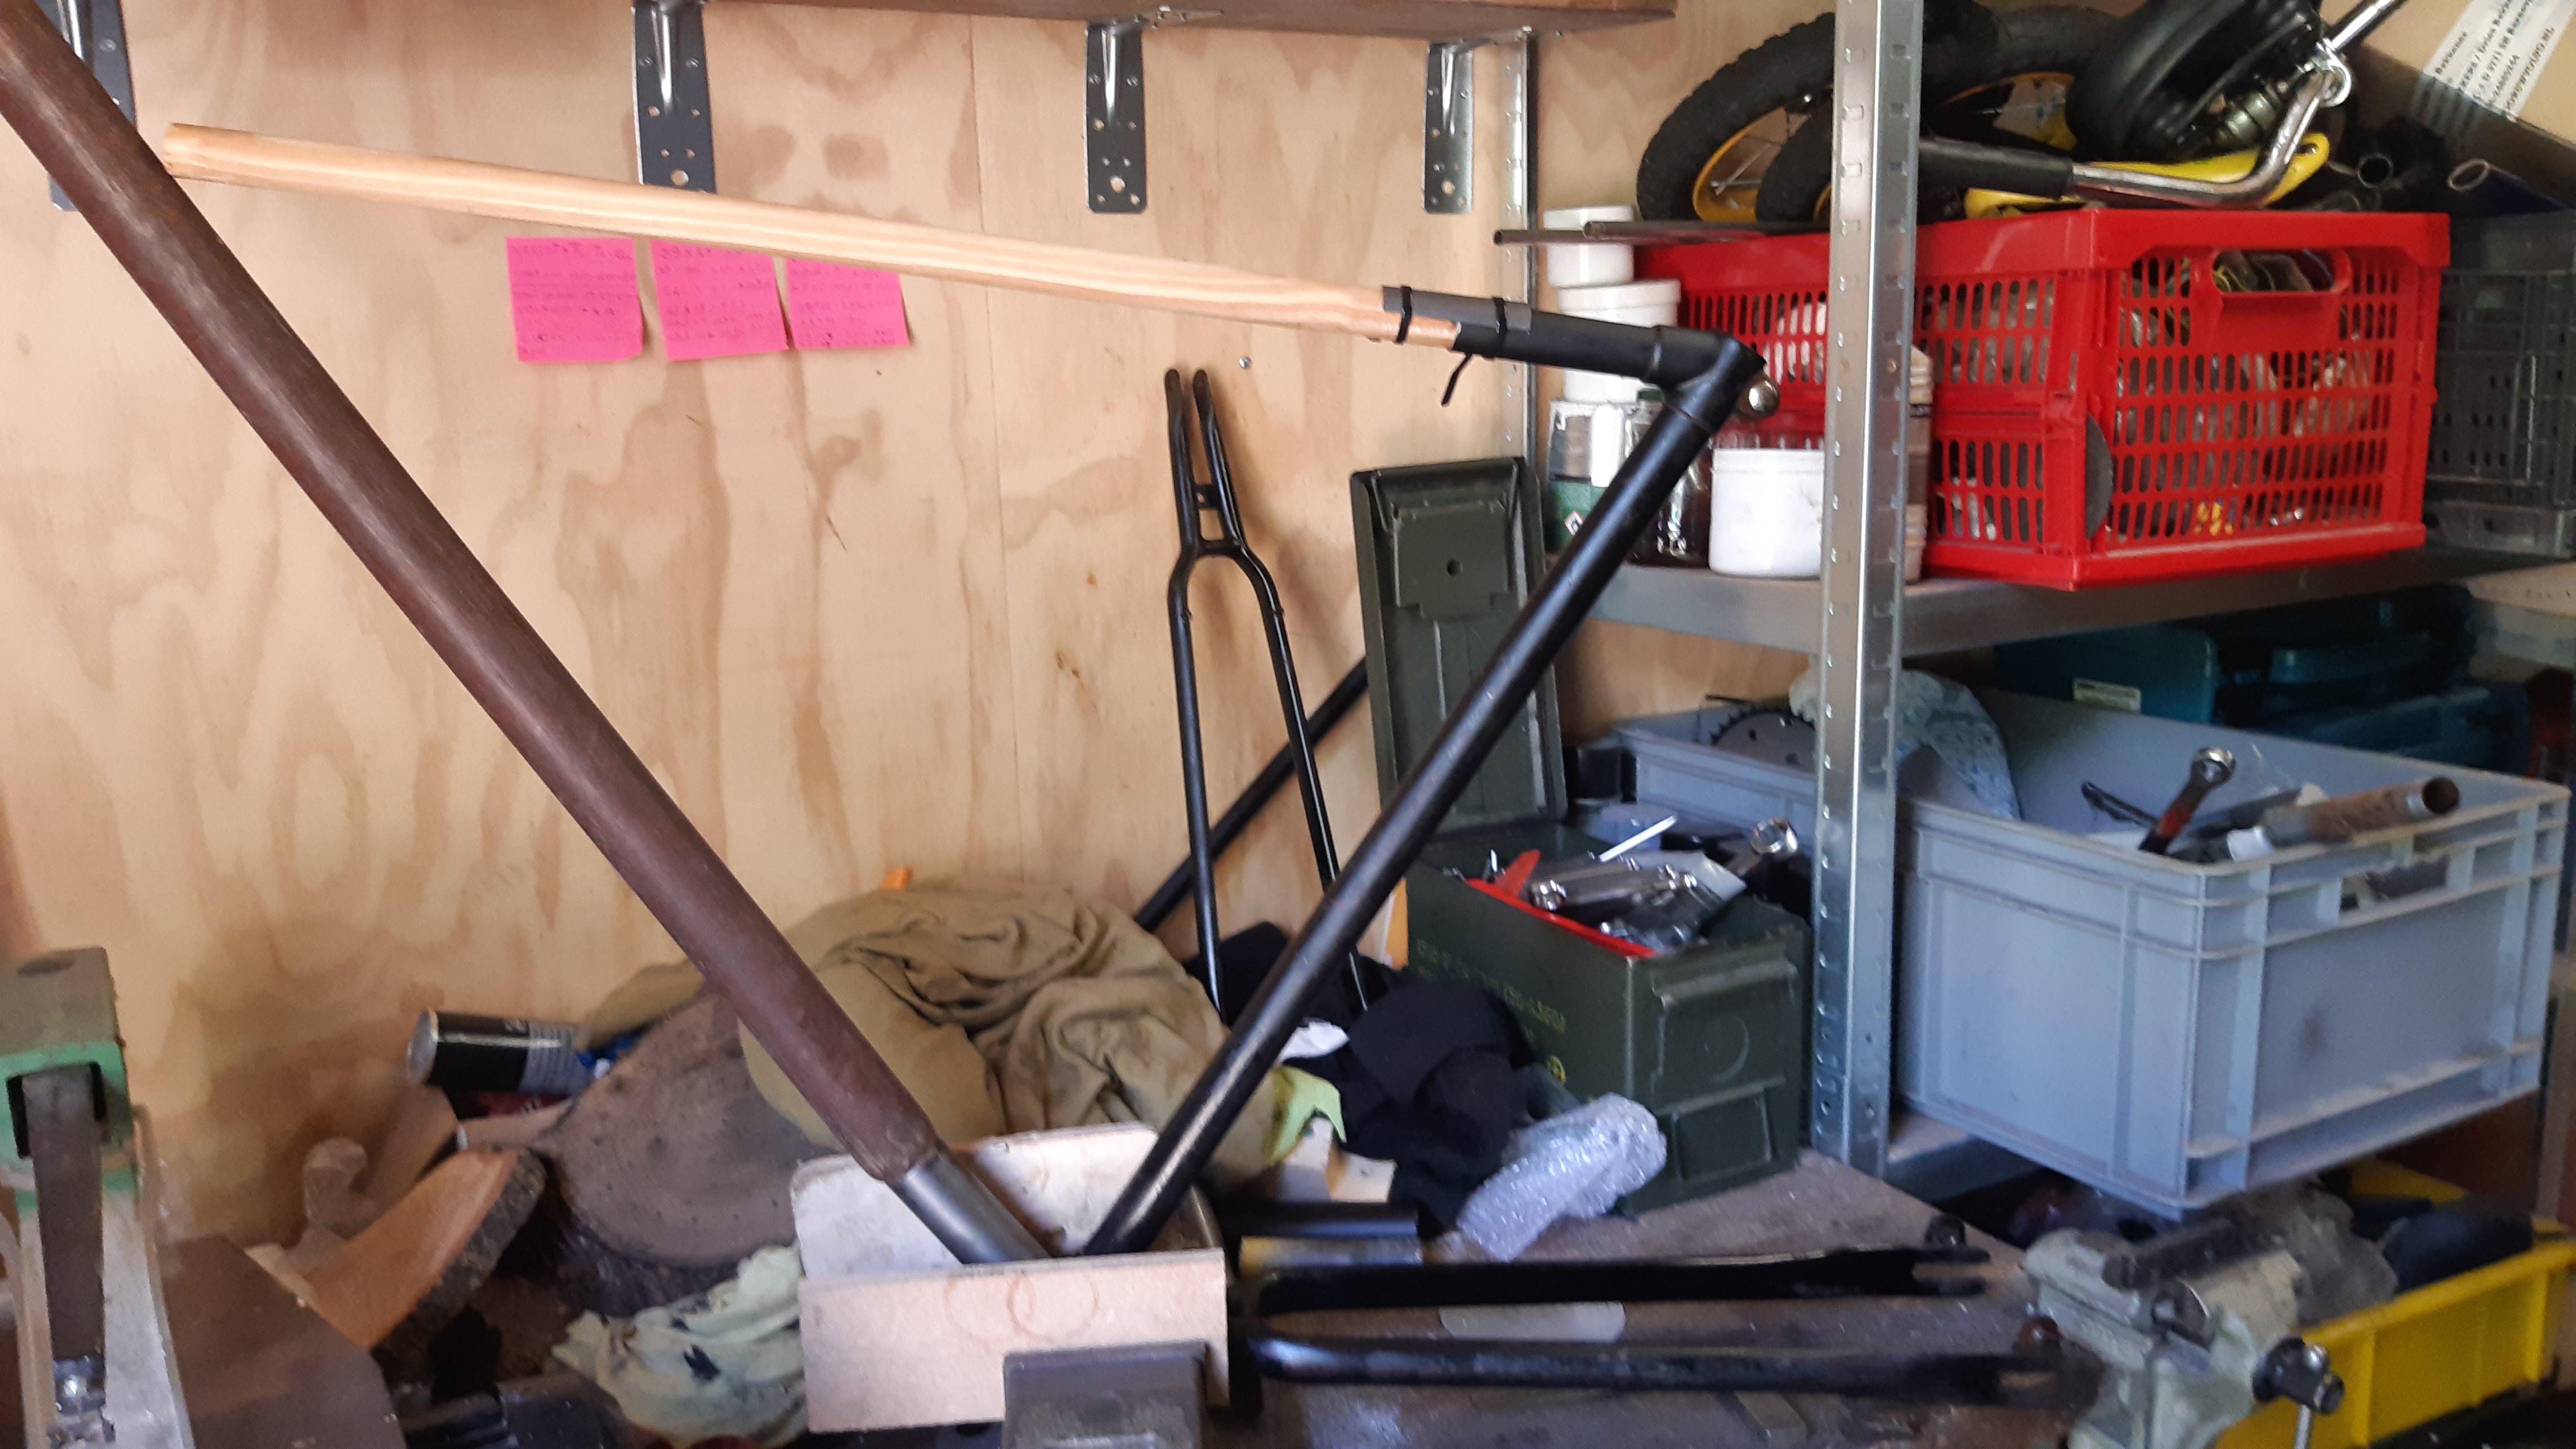
For quite some years there is a cut-in-half "Union" frame on my attic.
Some design features give away that is pretty old, but I don't know how old exactly.
There were a few times that I wanted to throw this frame with the garbage.
But my interest for wood work grows on me, and maybe on this bike aswell.
My ideas: (see inspiration pictures below)
No worries, I will not plant a tree in the bottom bracket hole, and fertilize by ........ in the seat tube... I do not have that patience
OK, sorry for that.
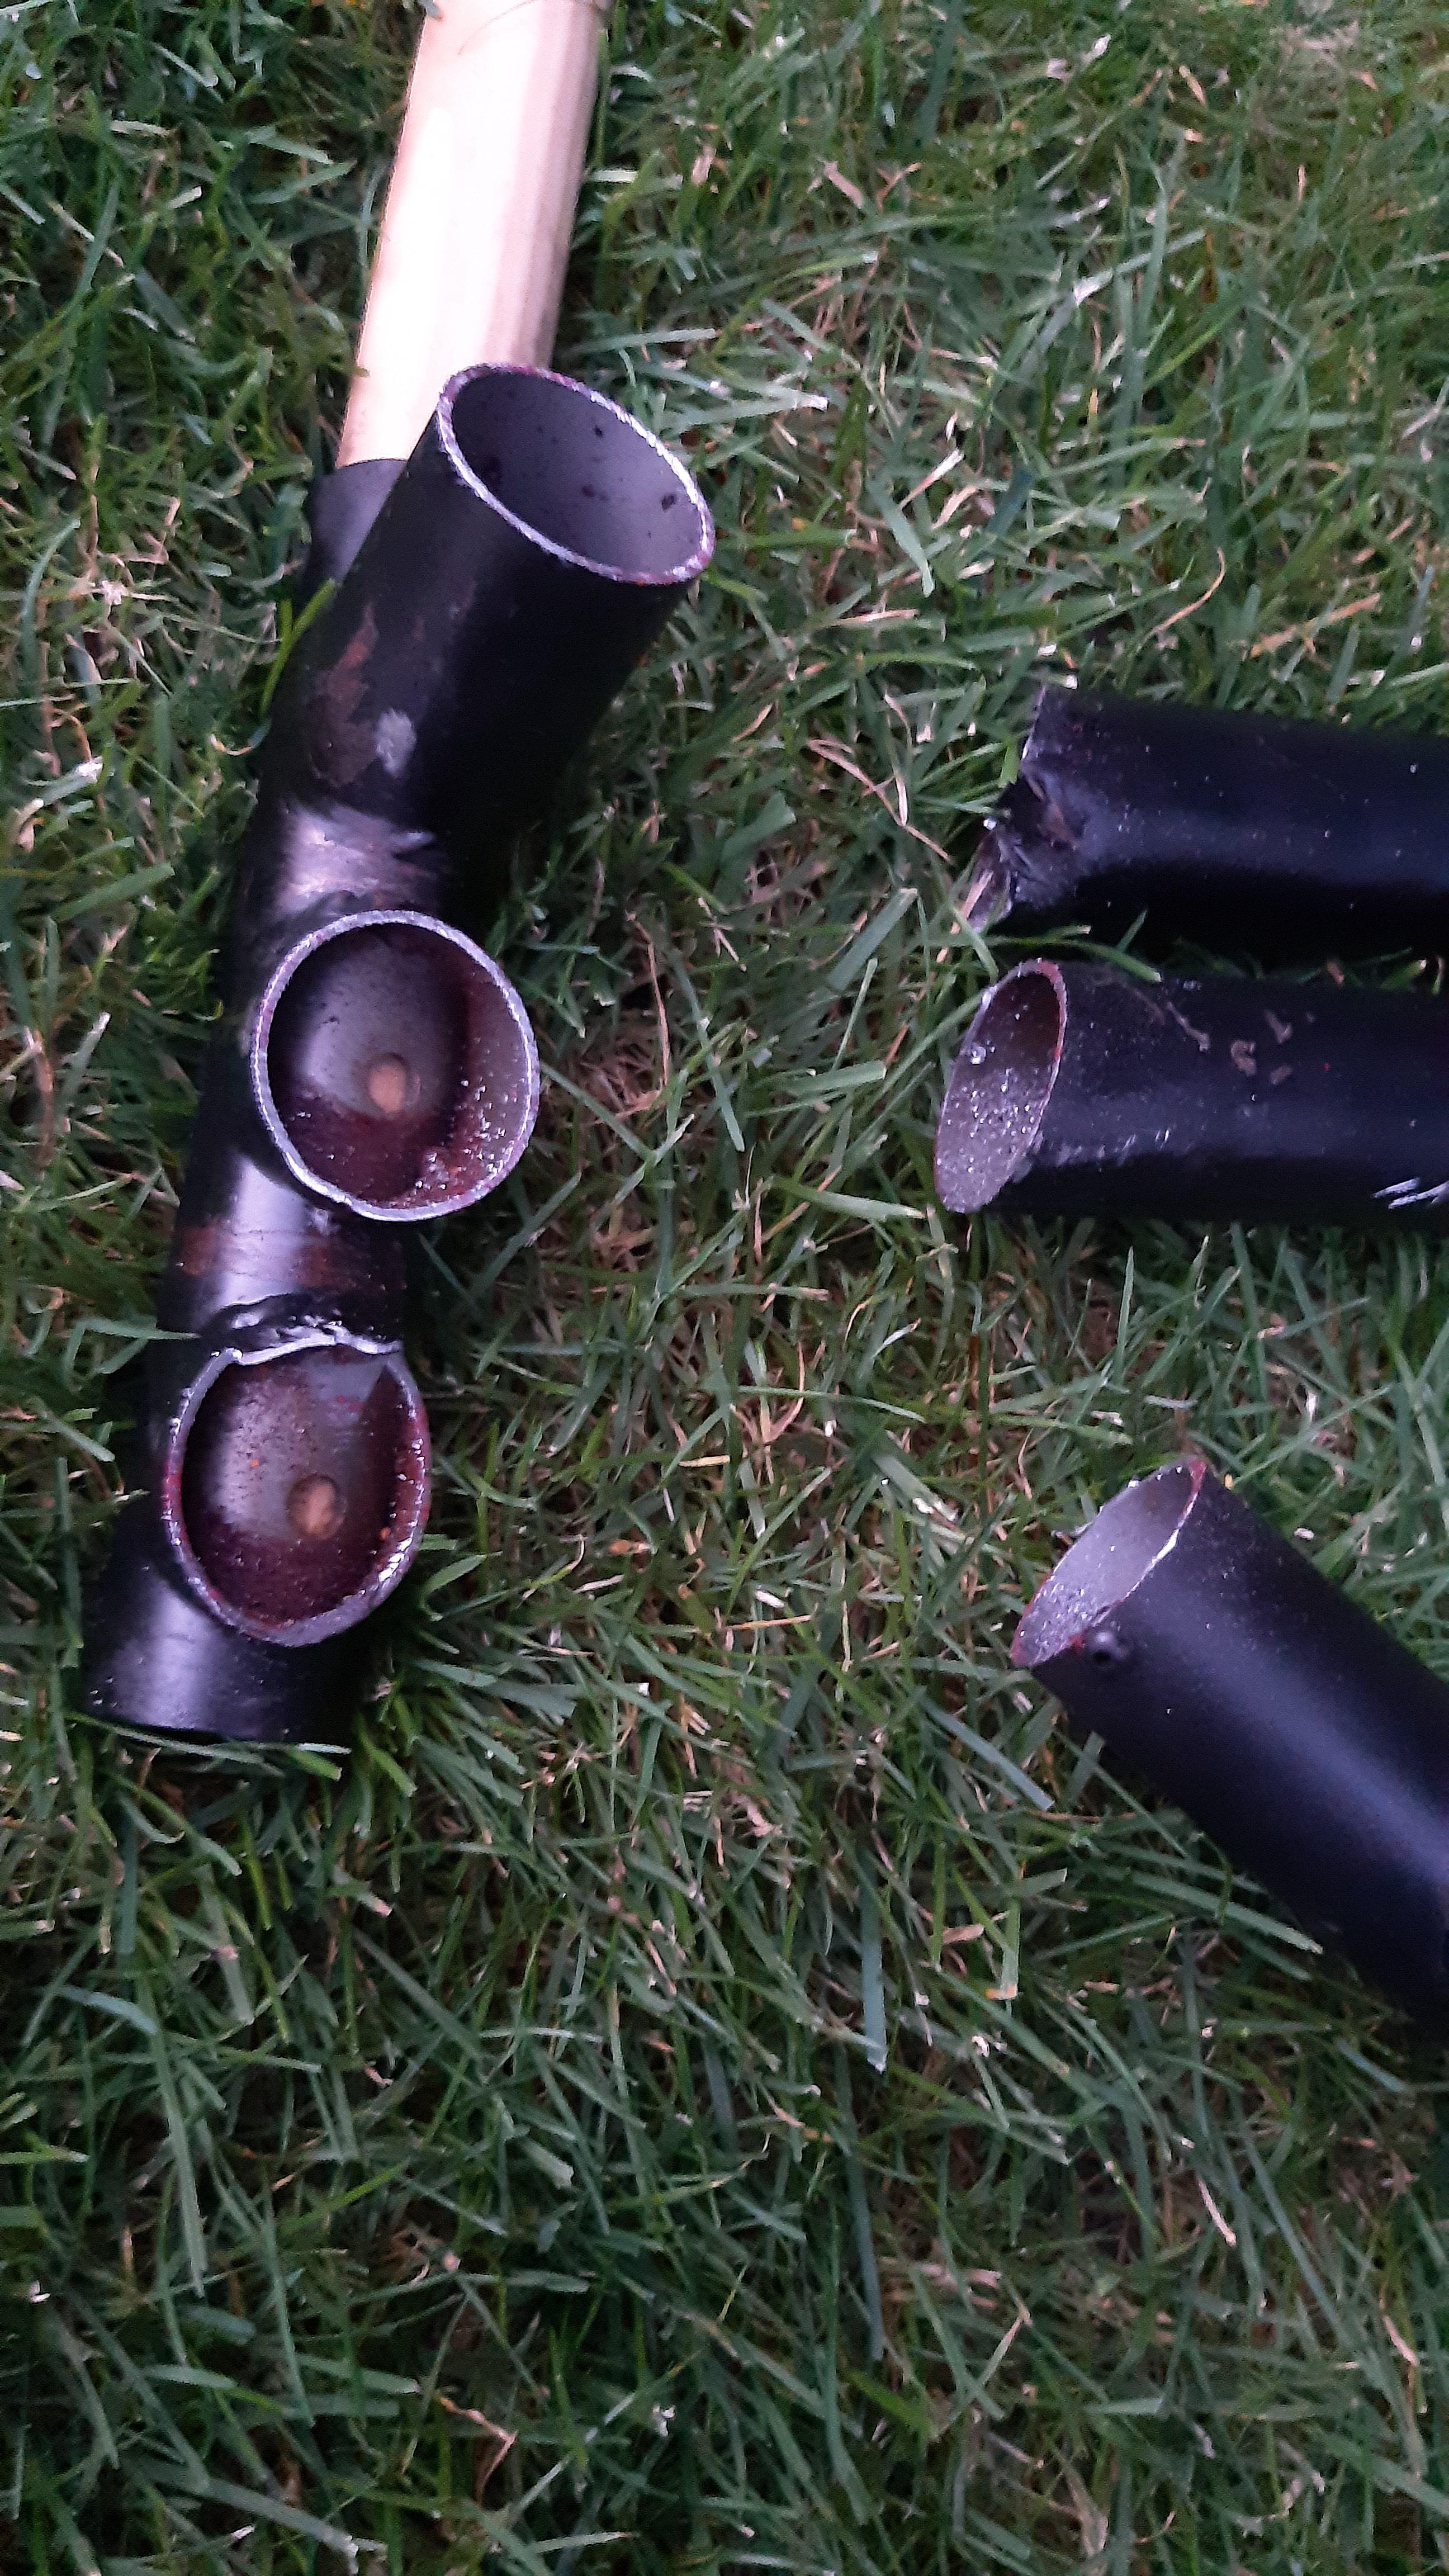
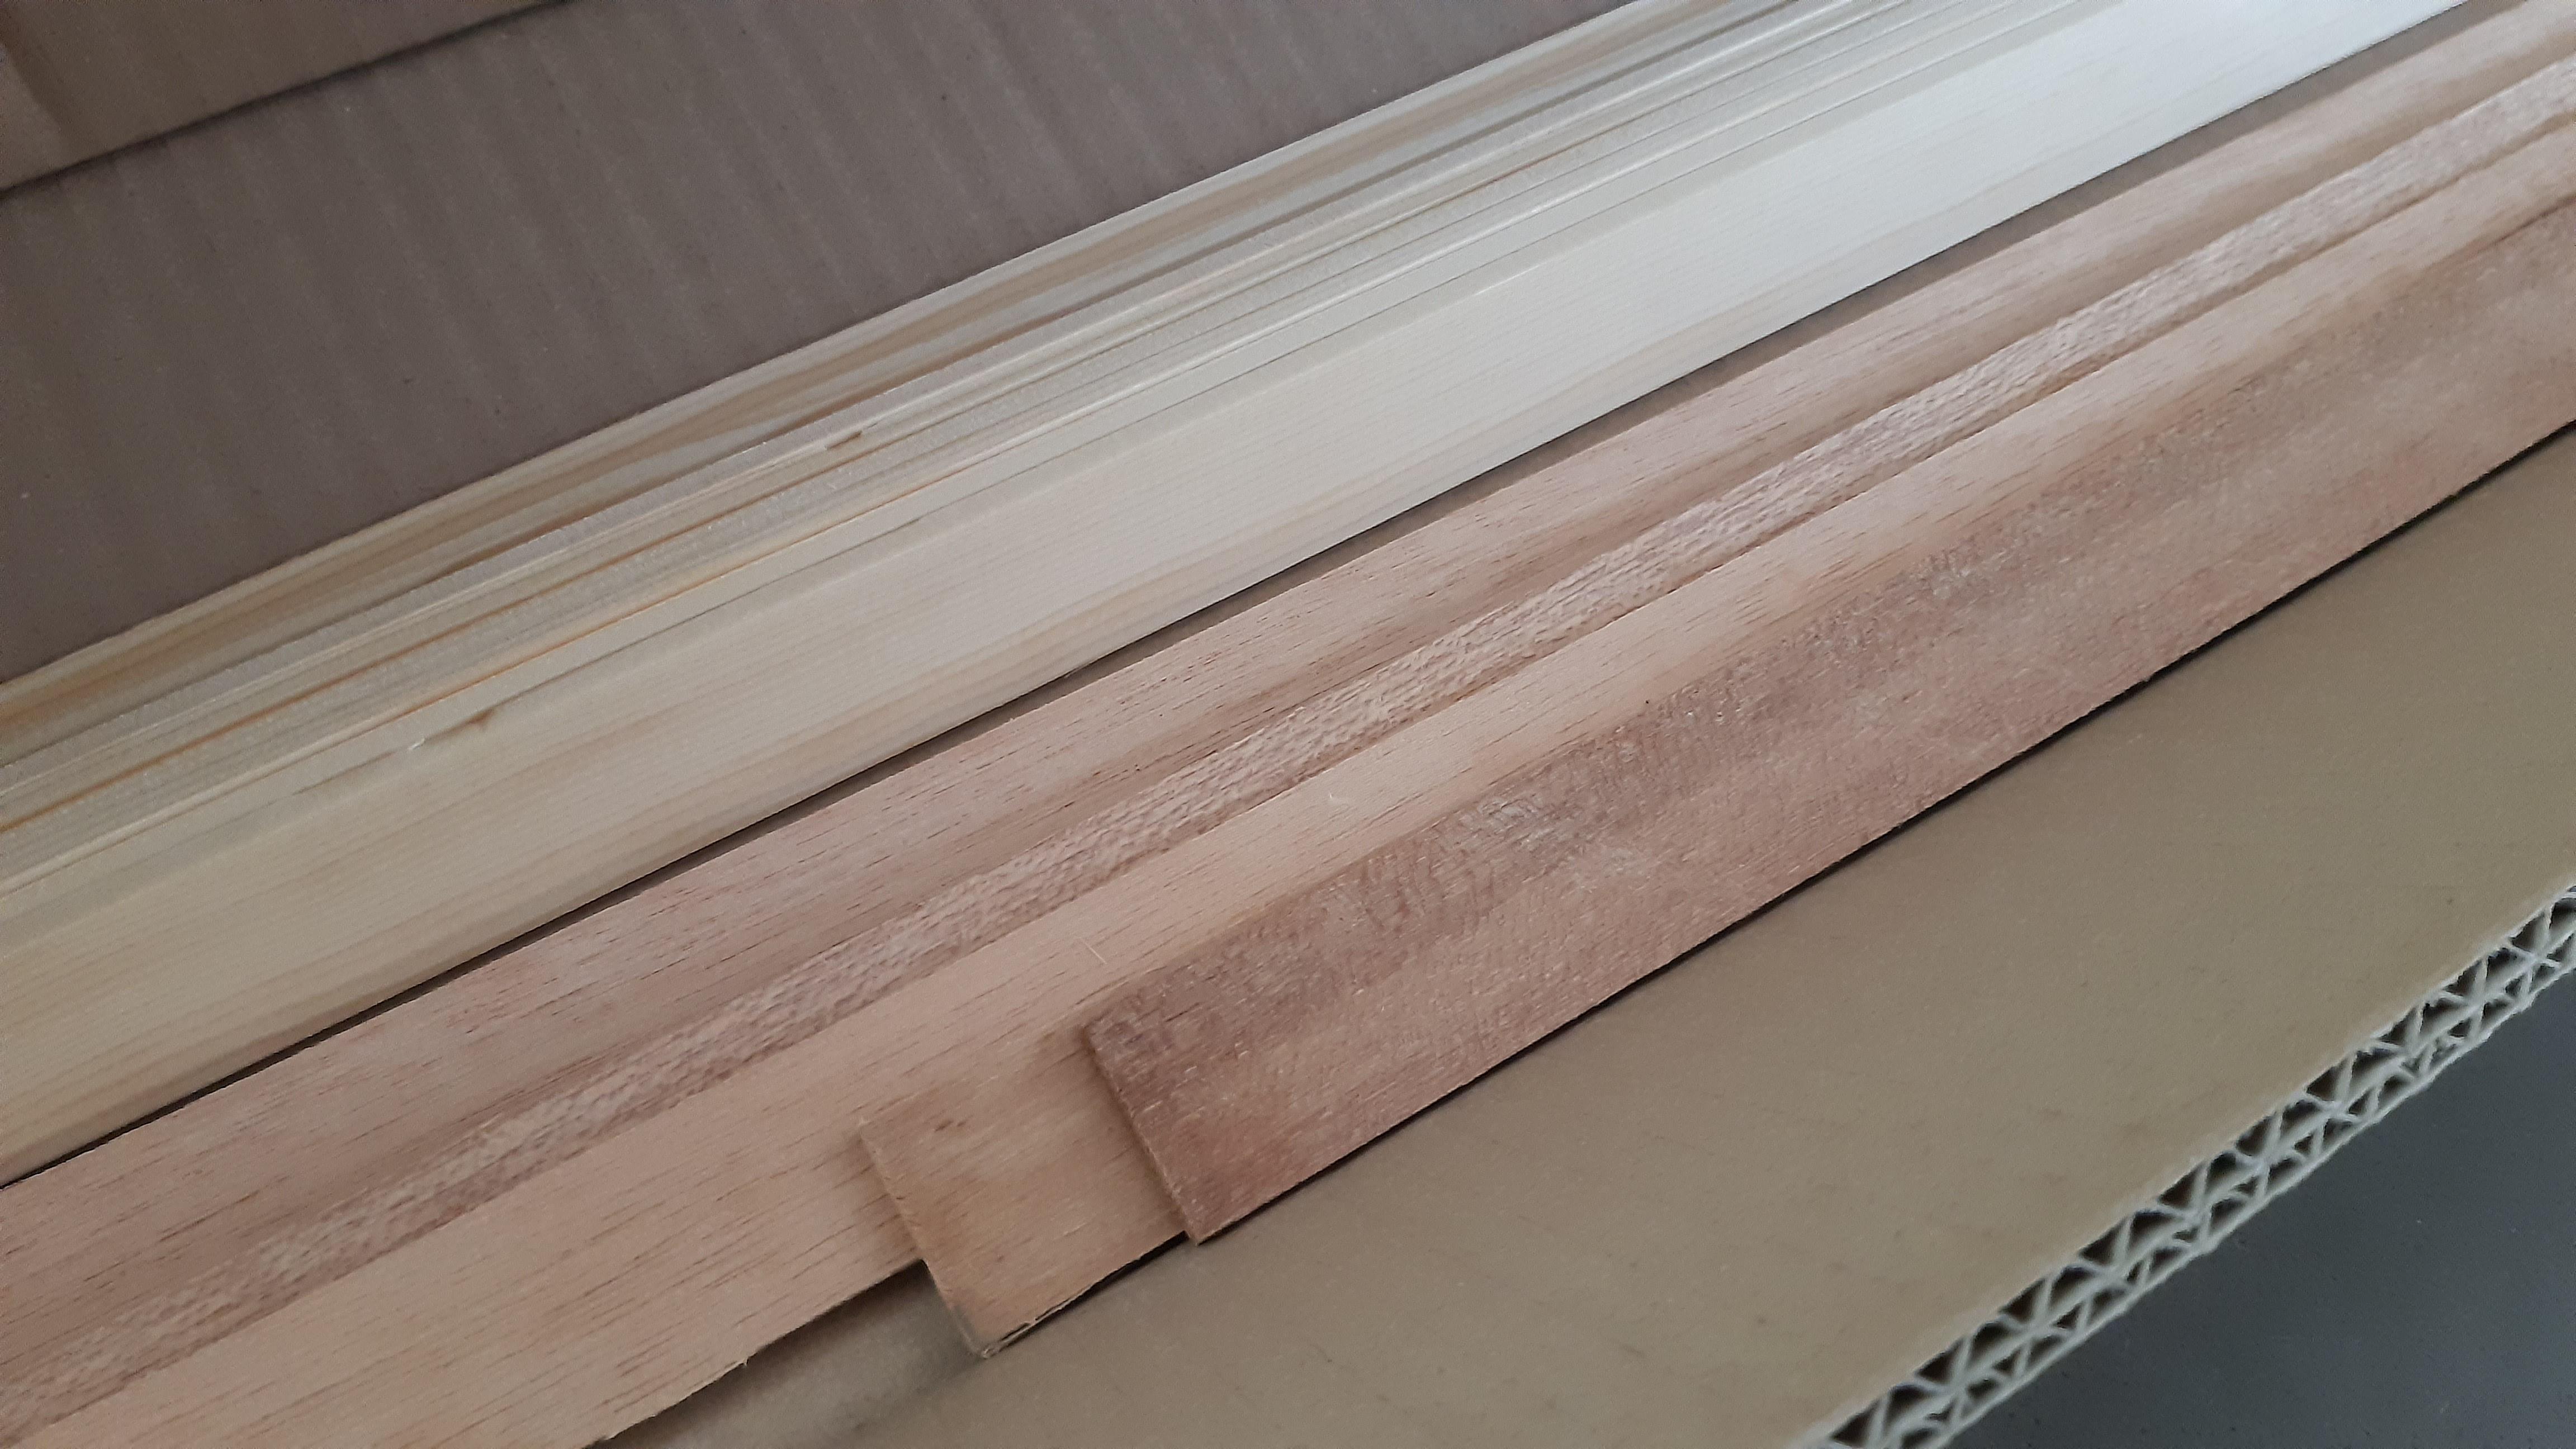
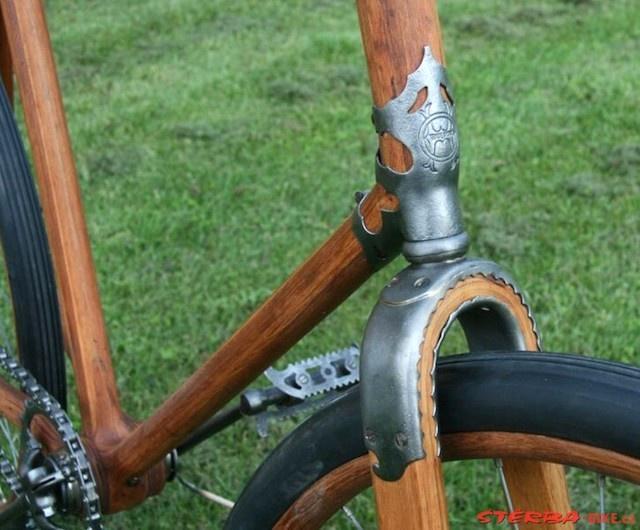
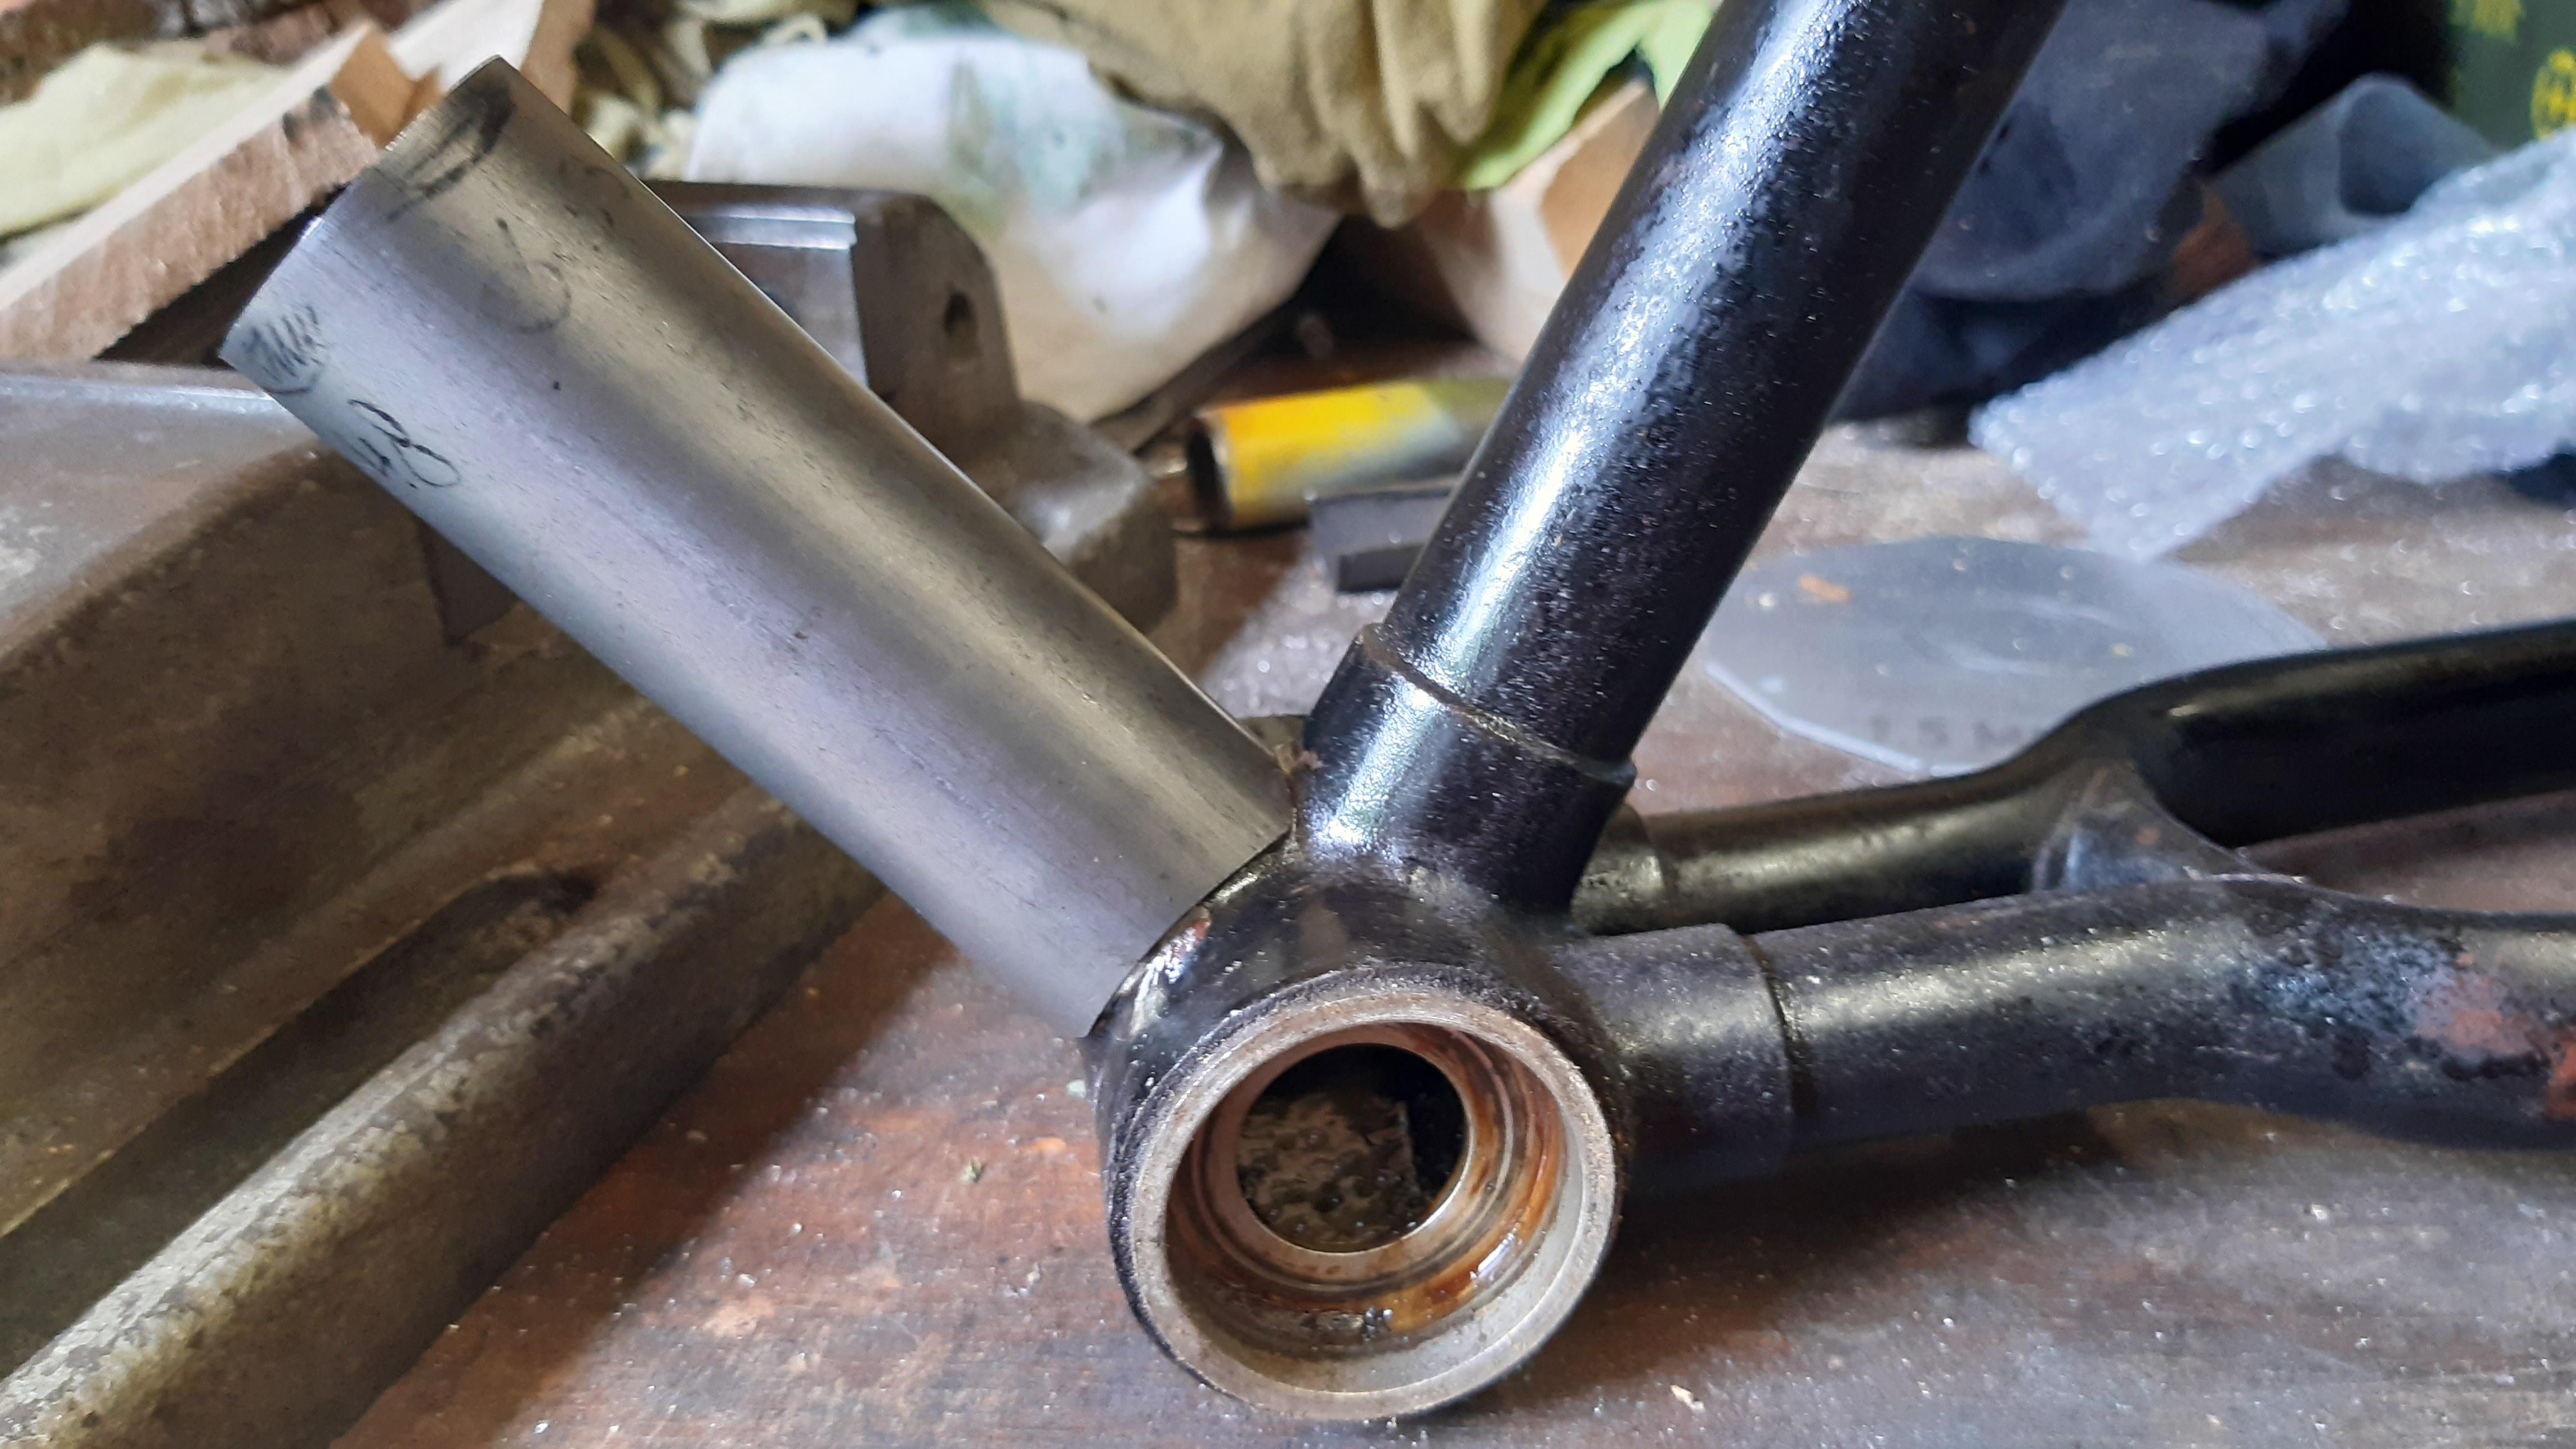
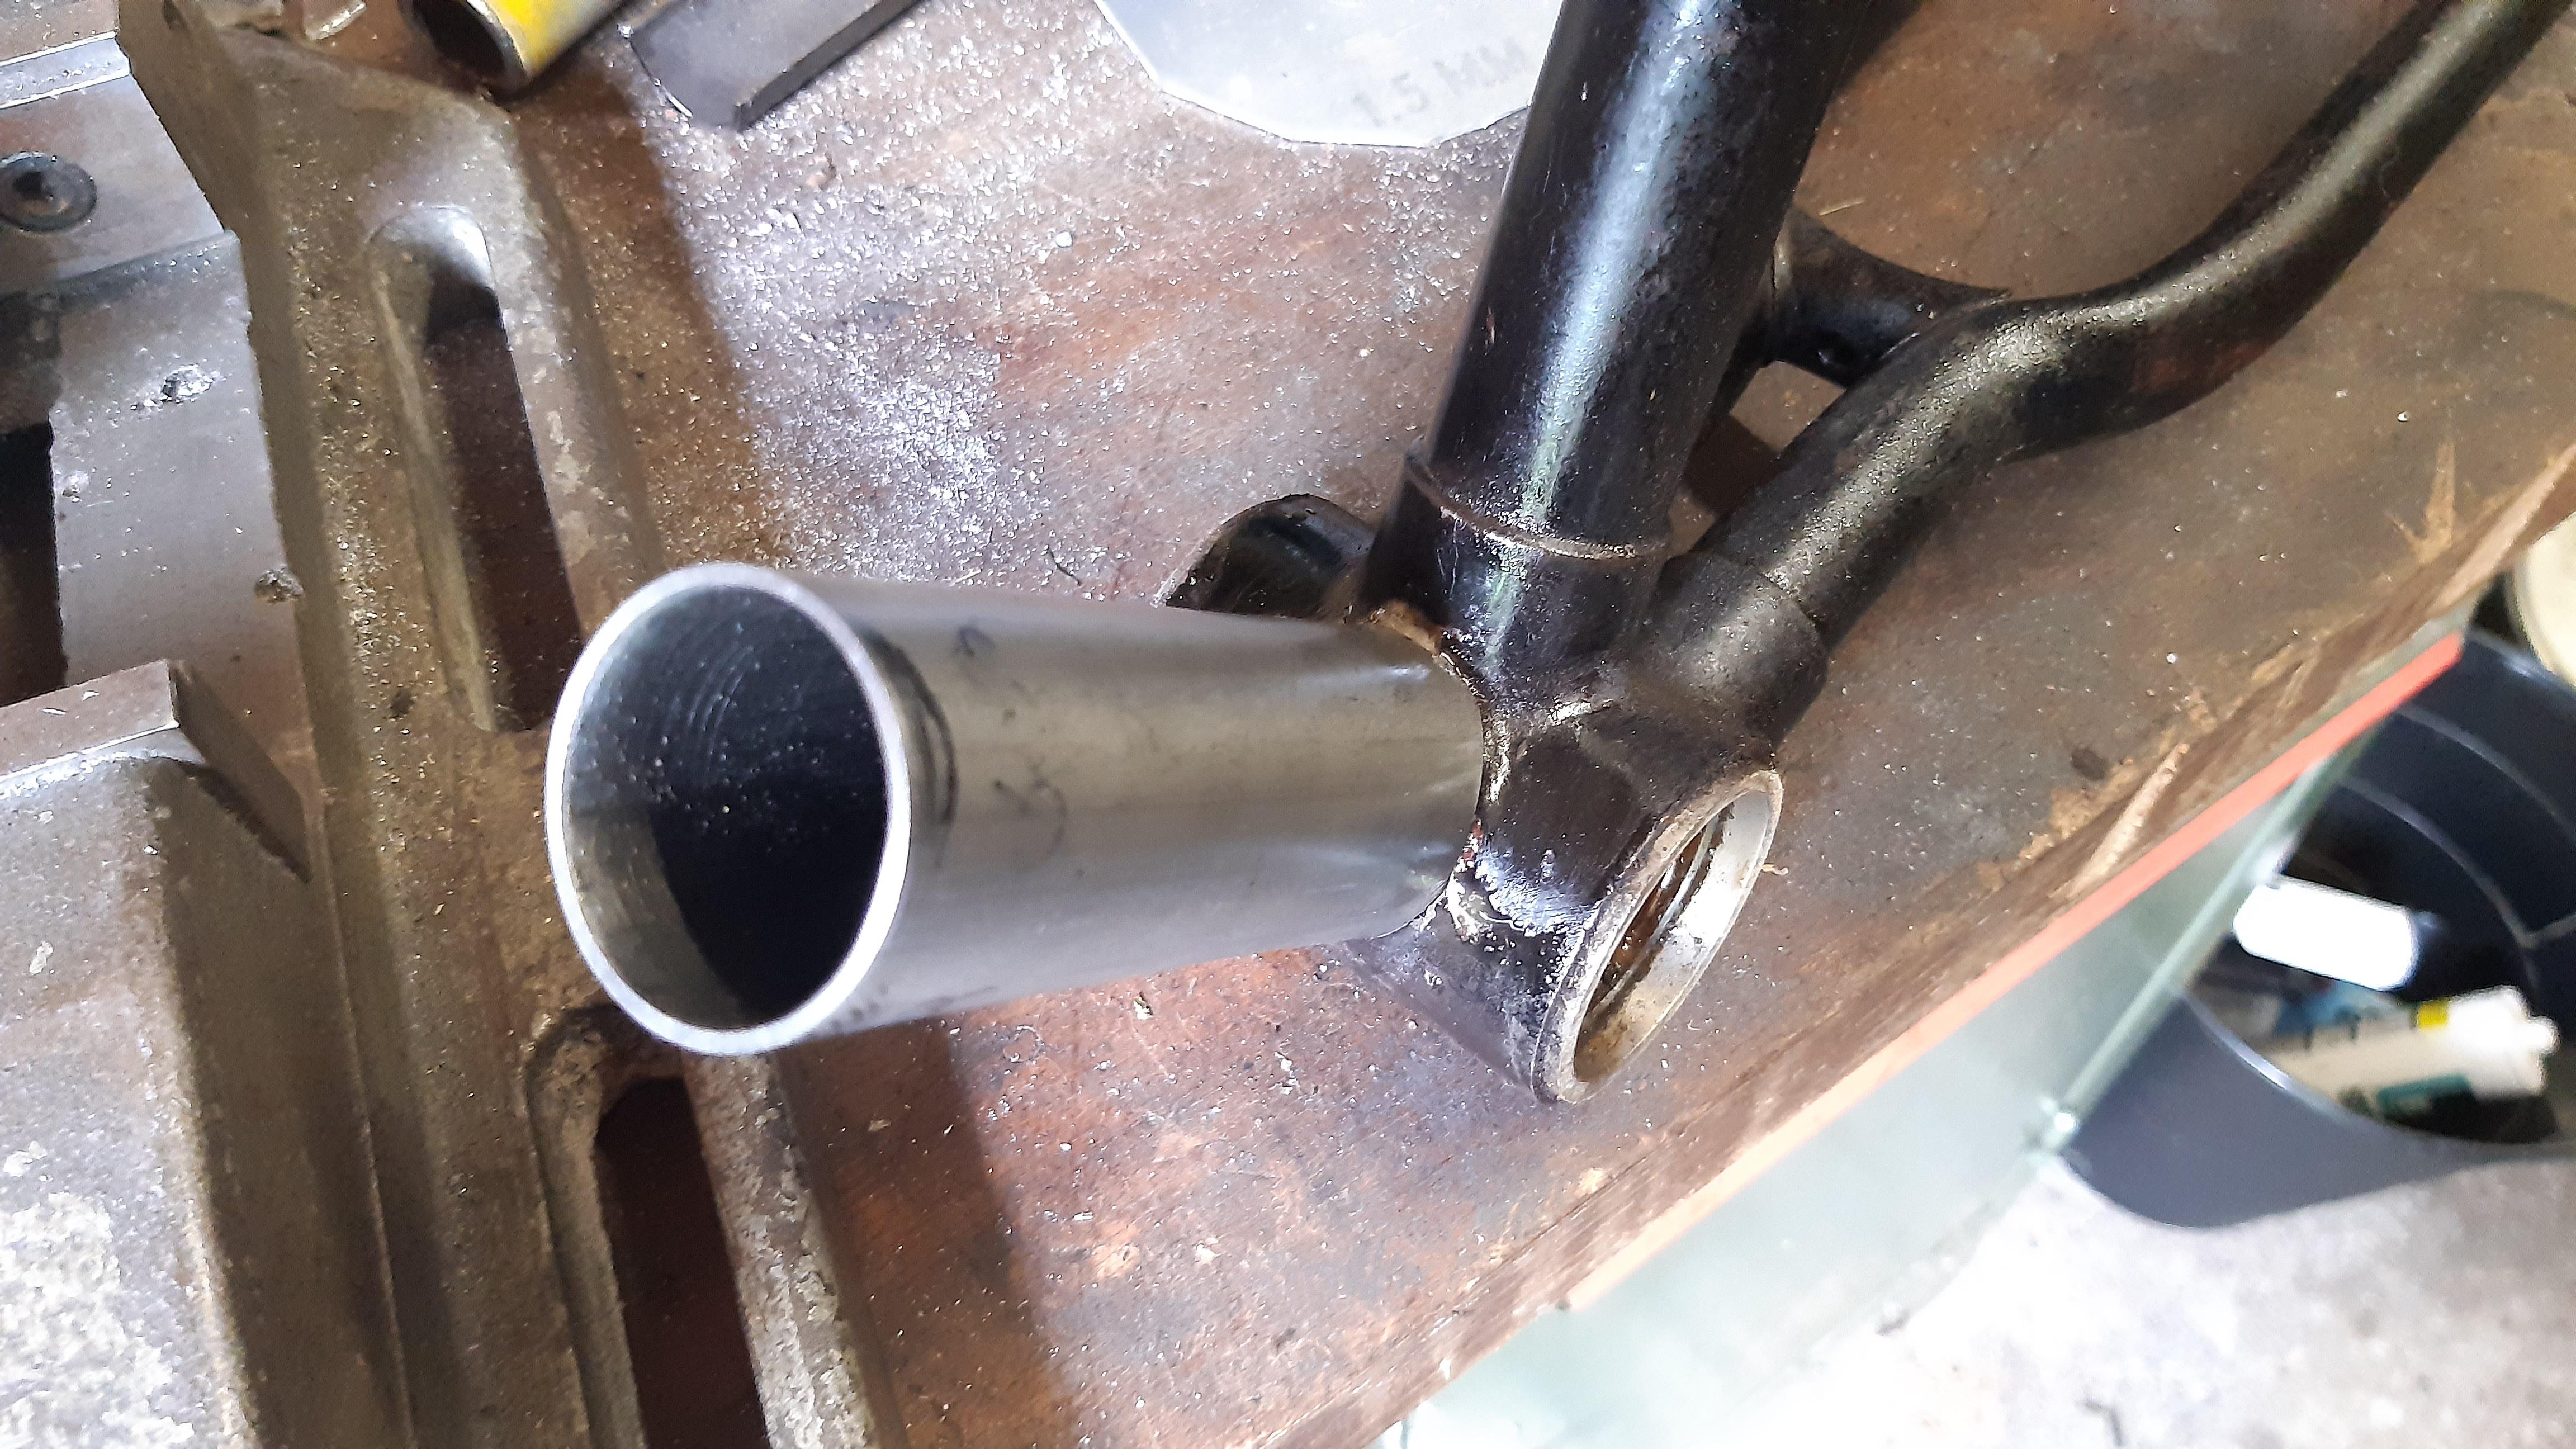
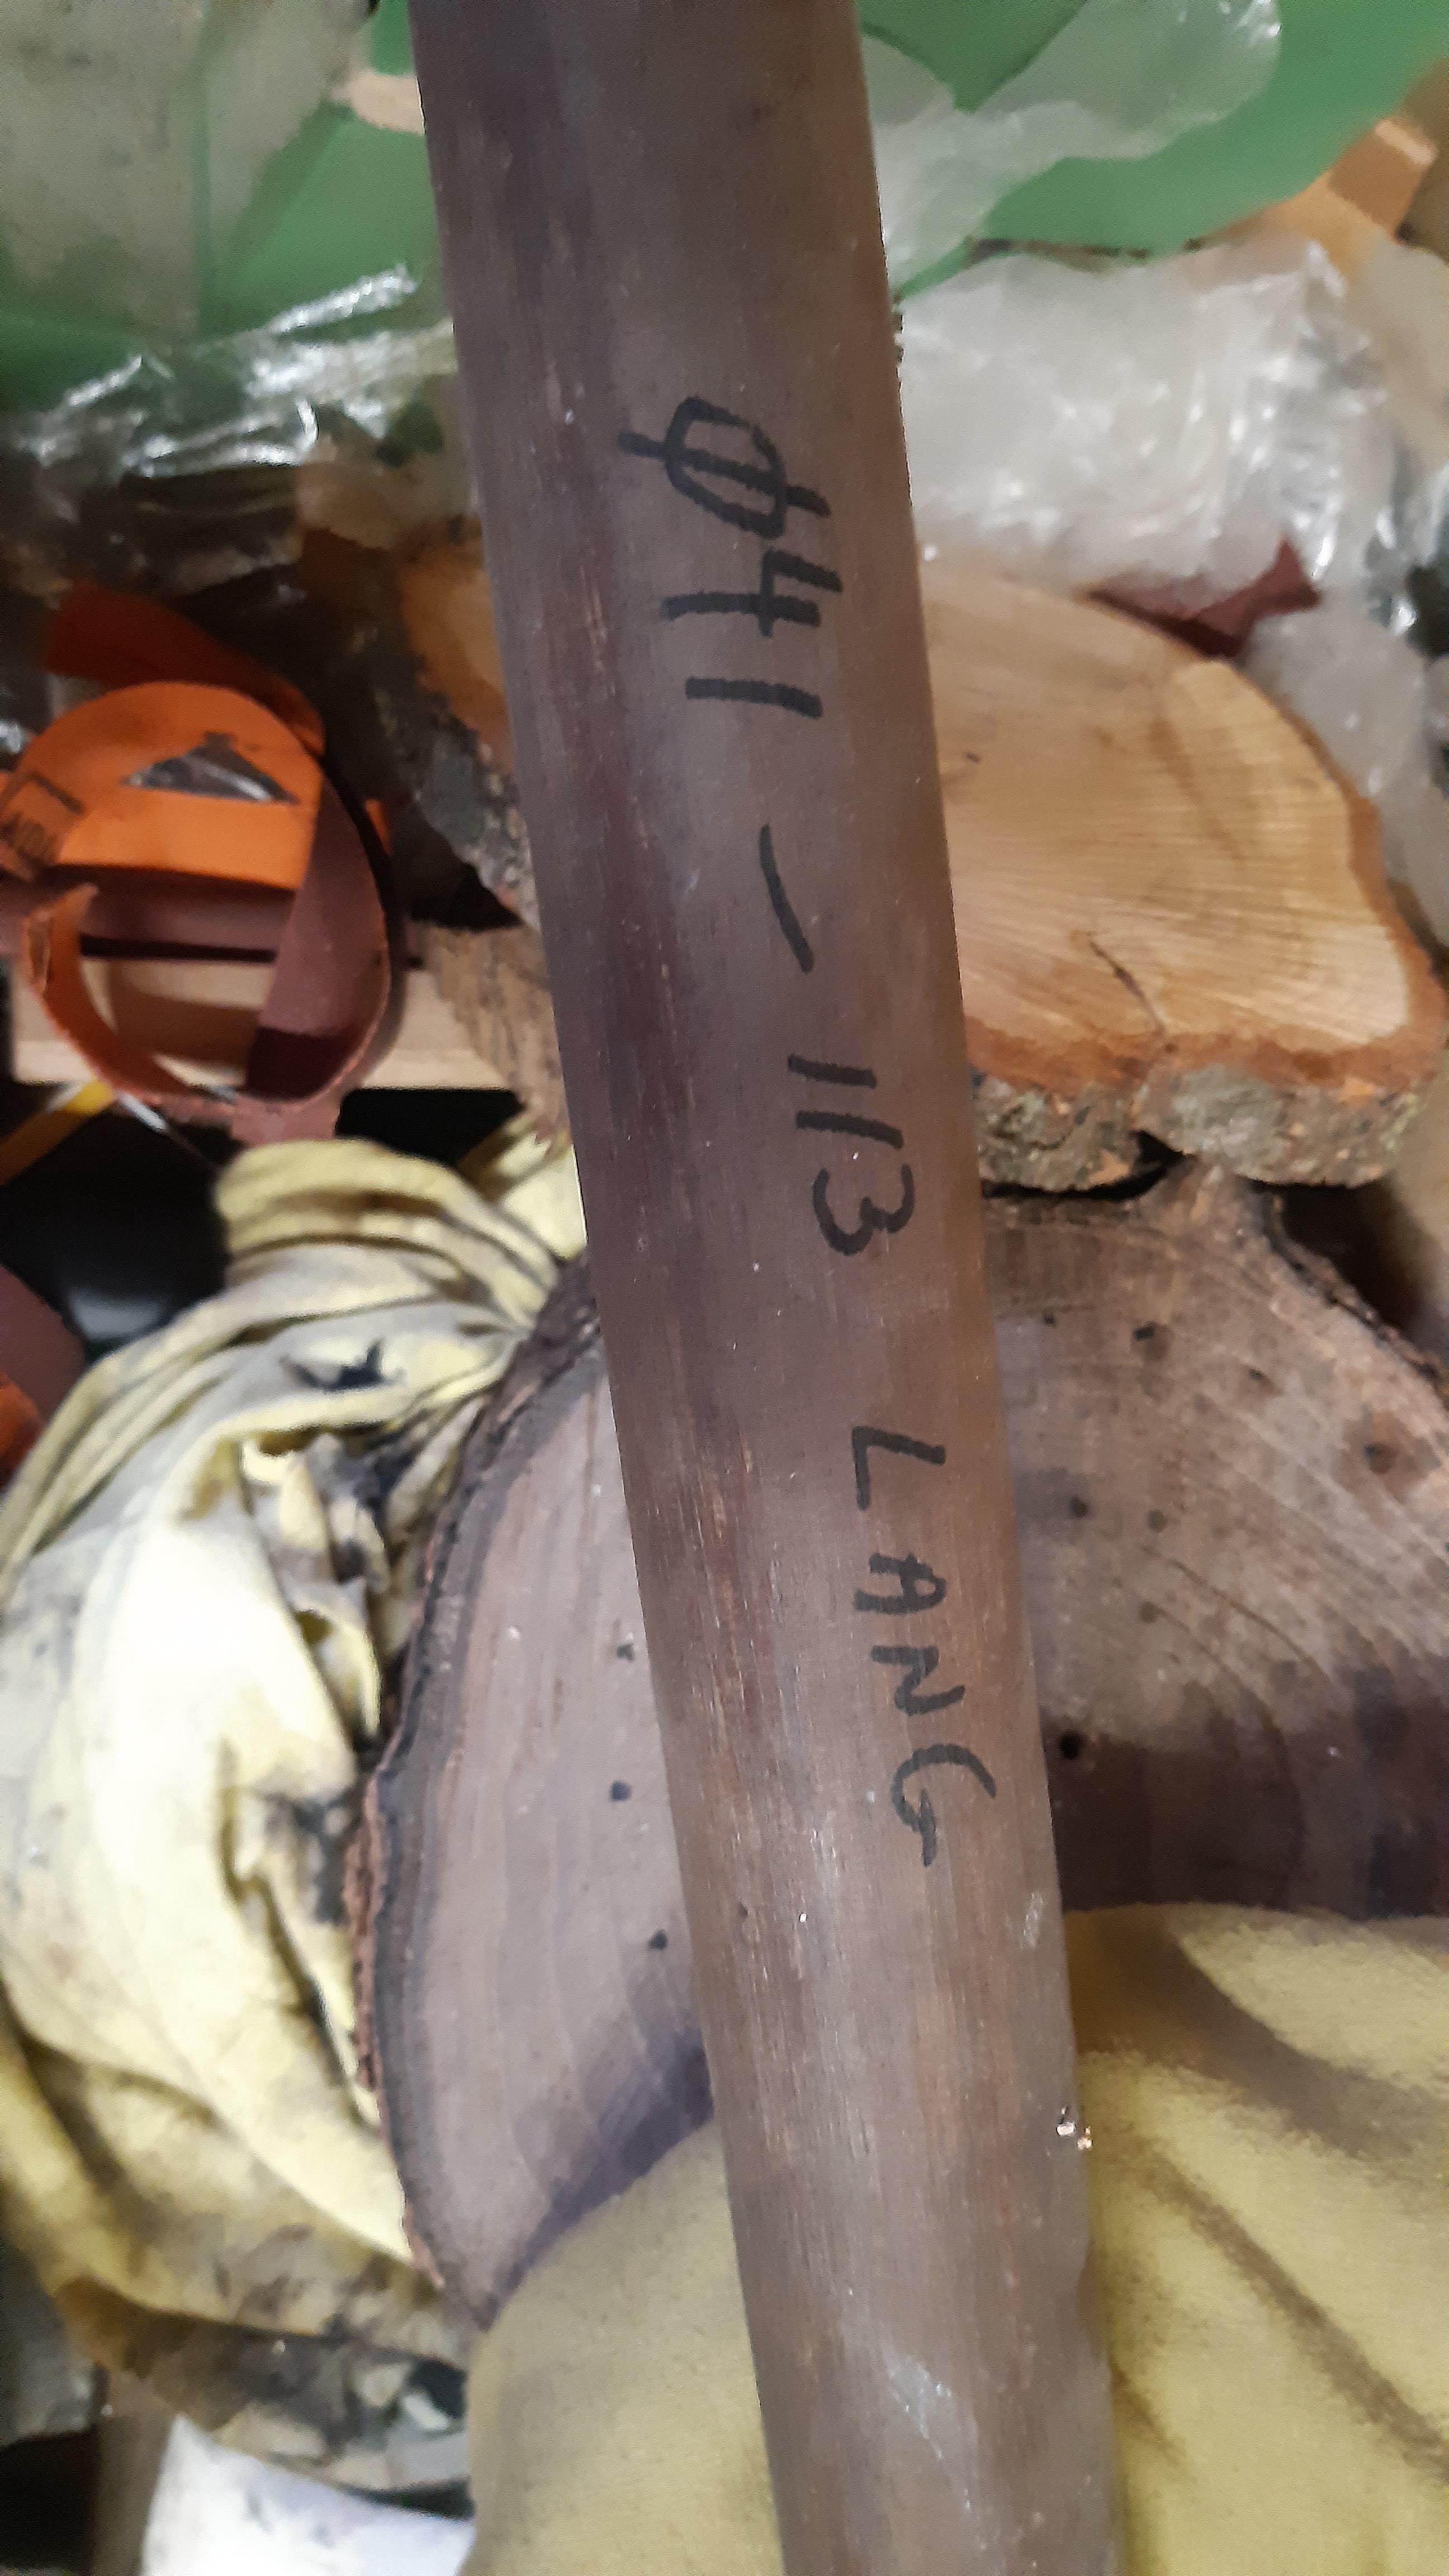
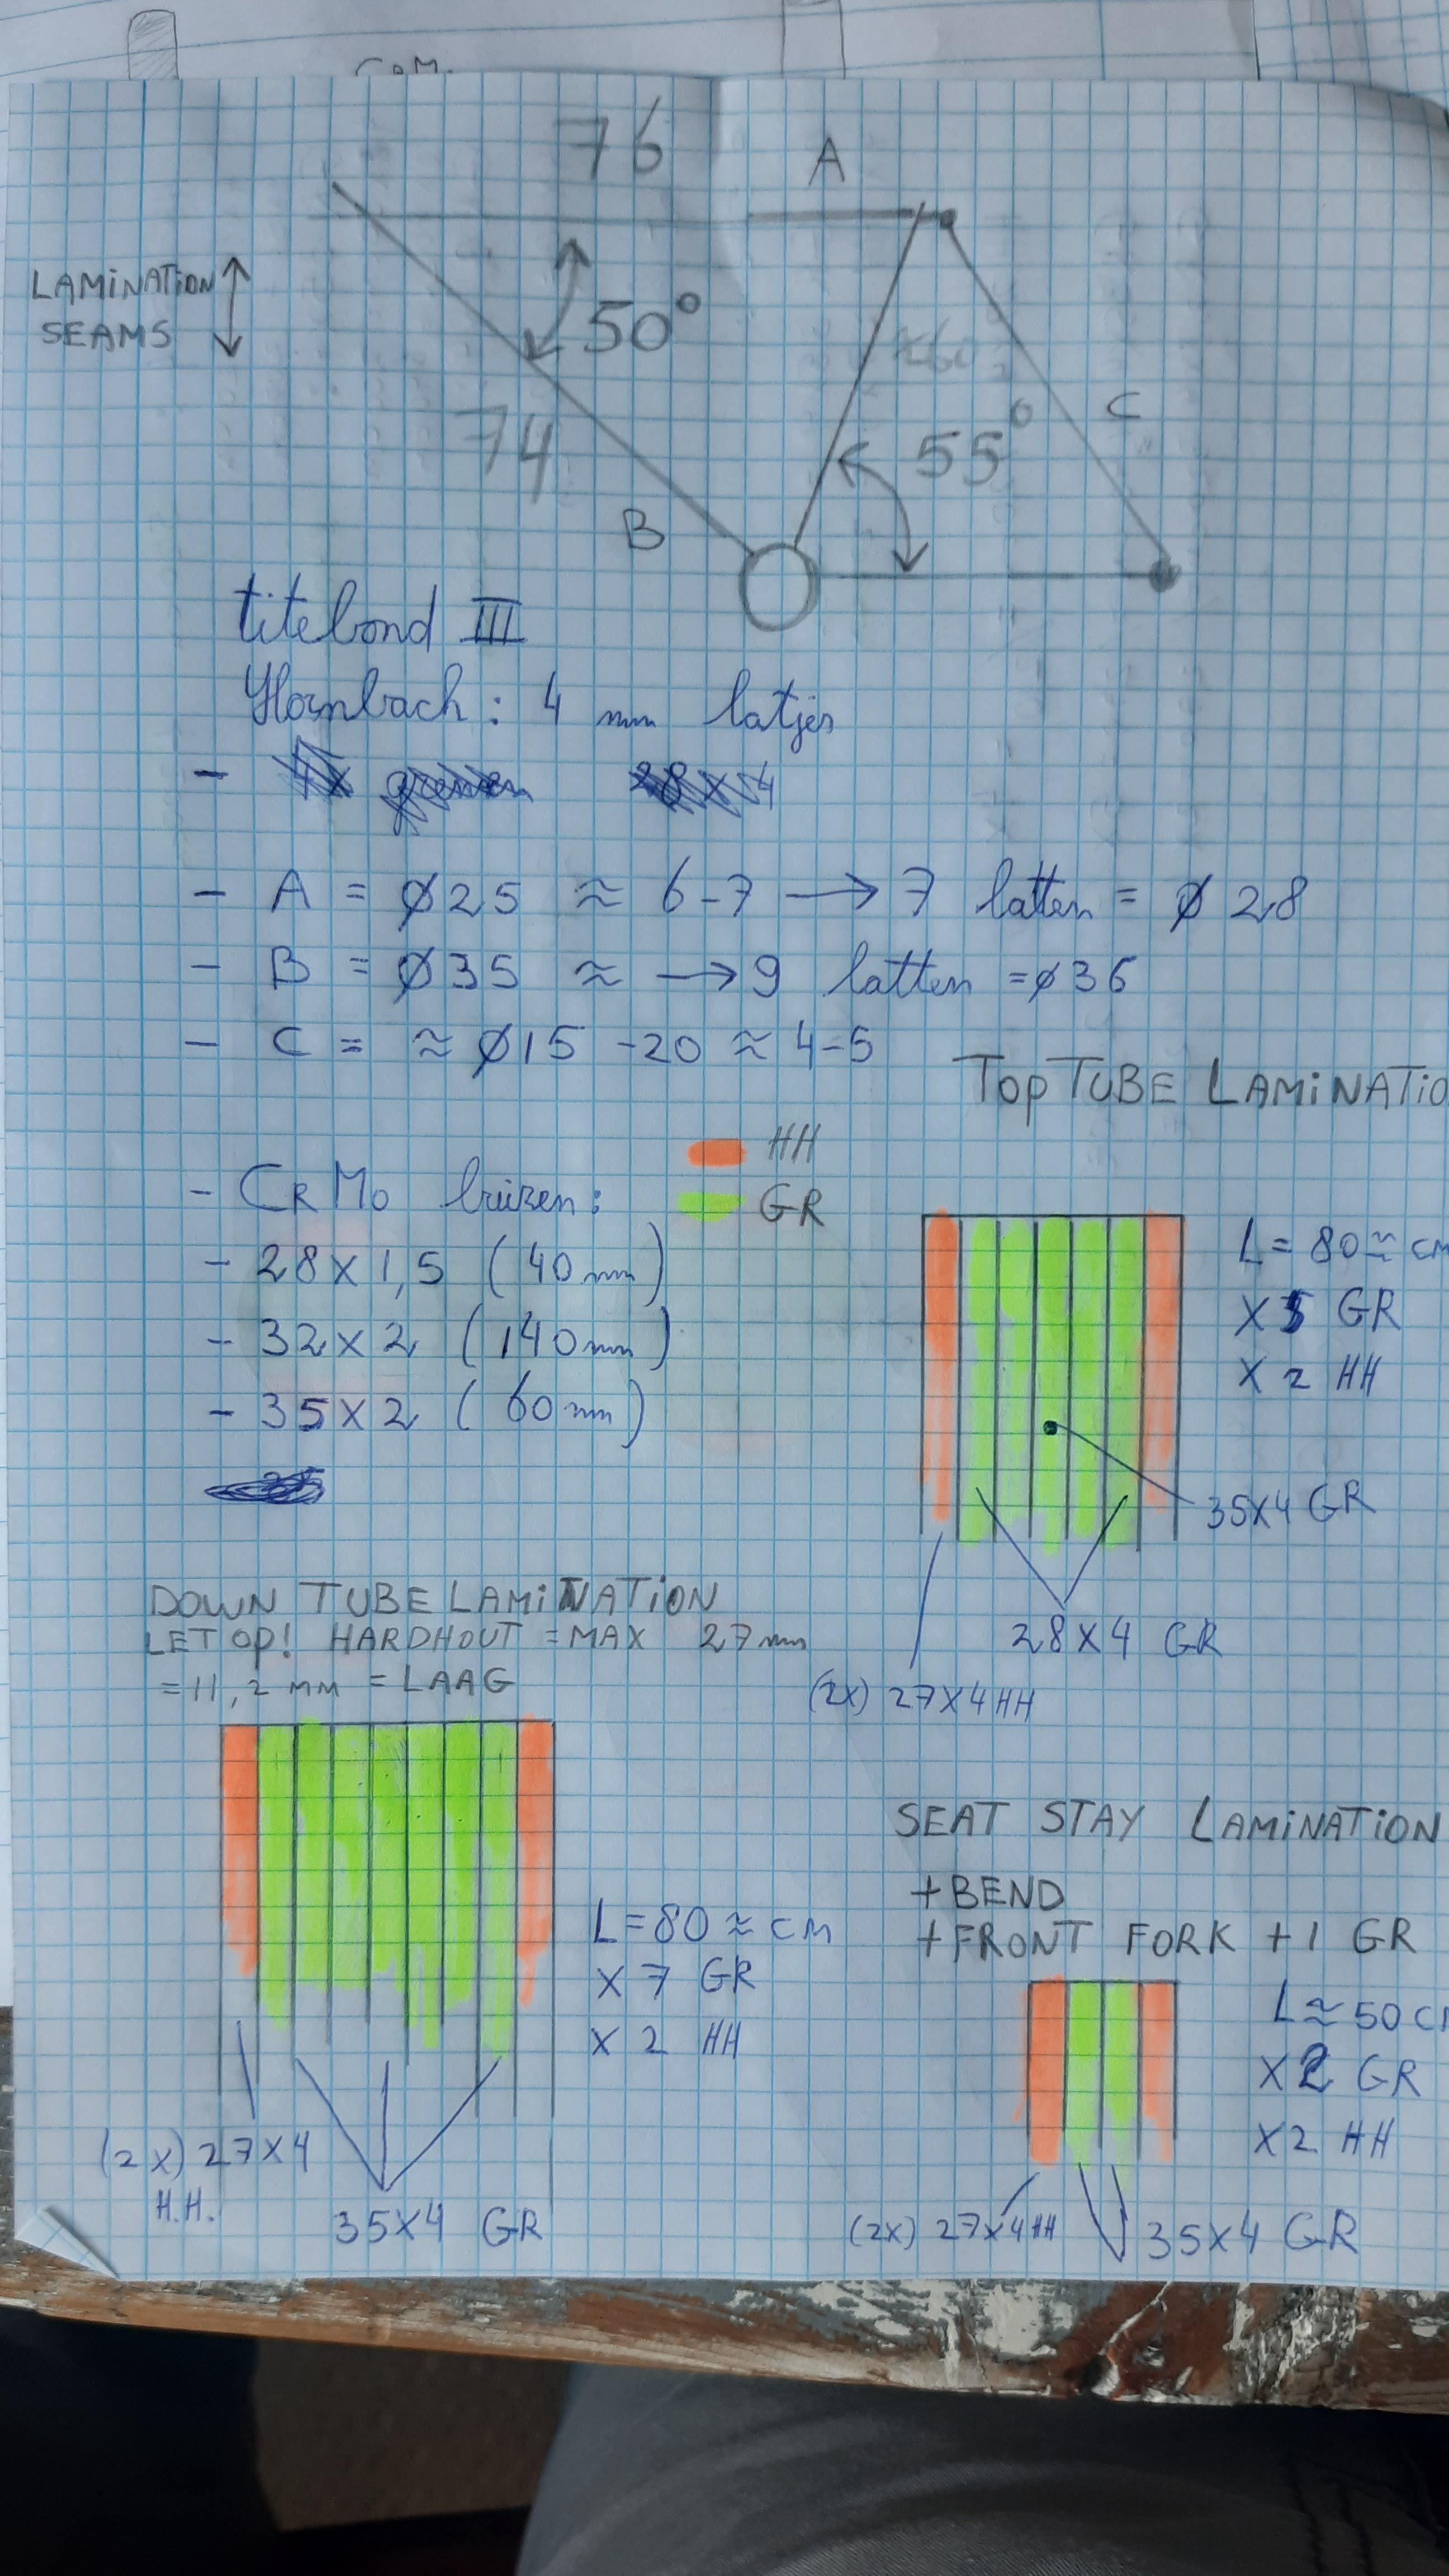
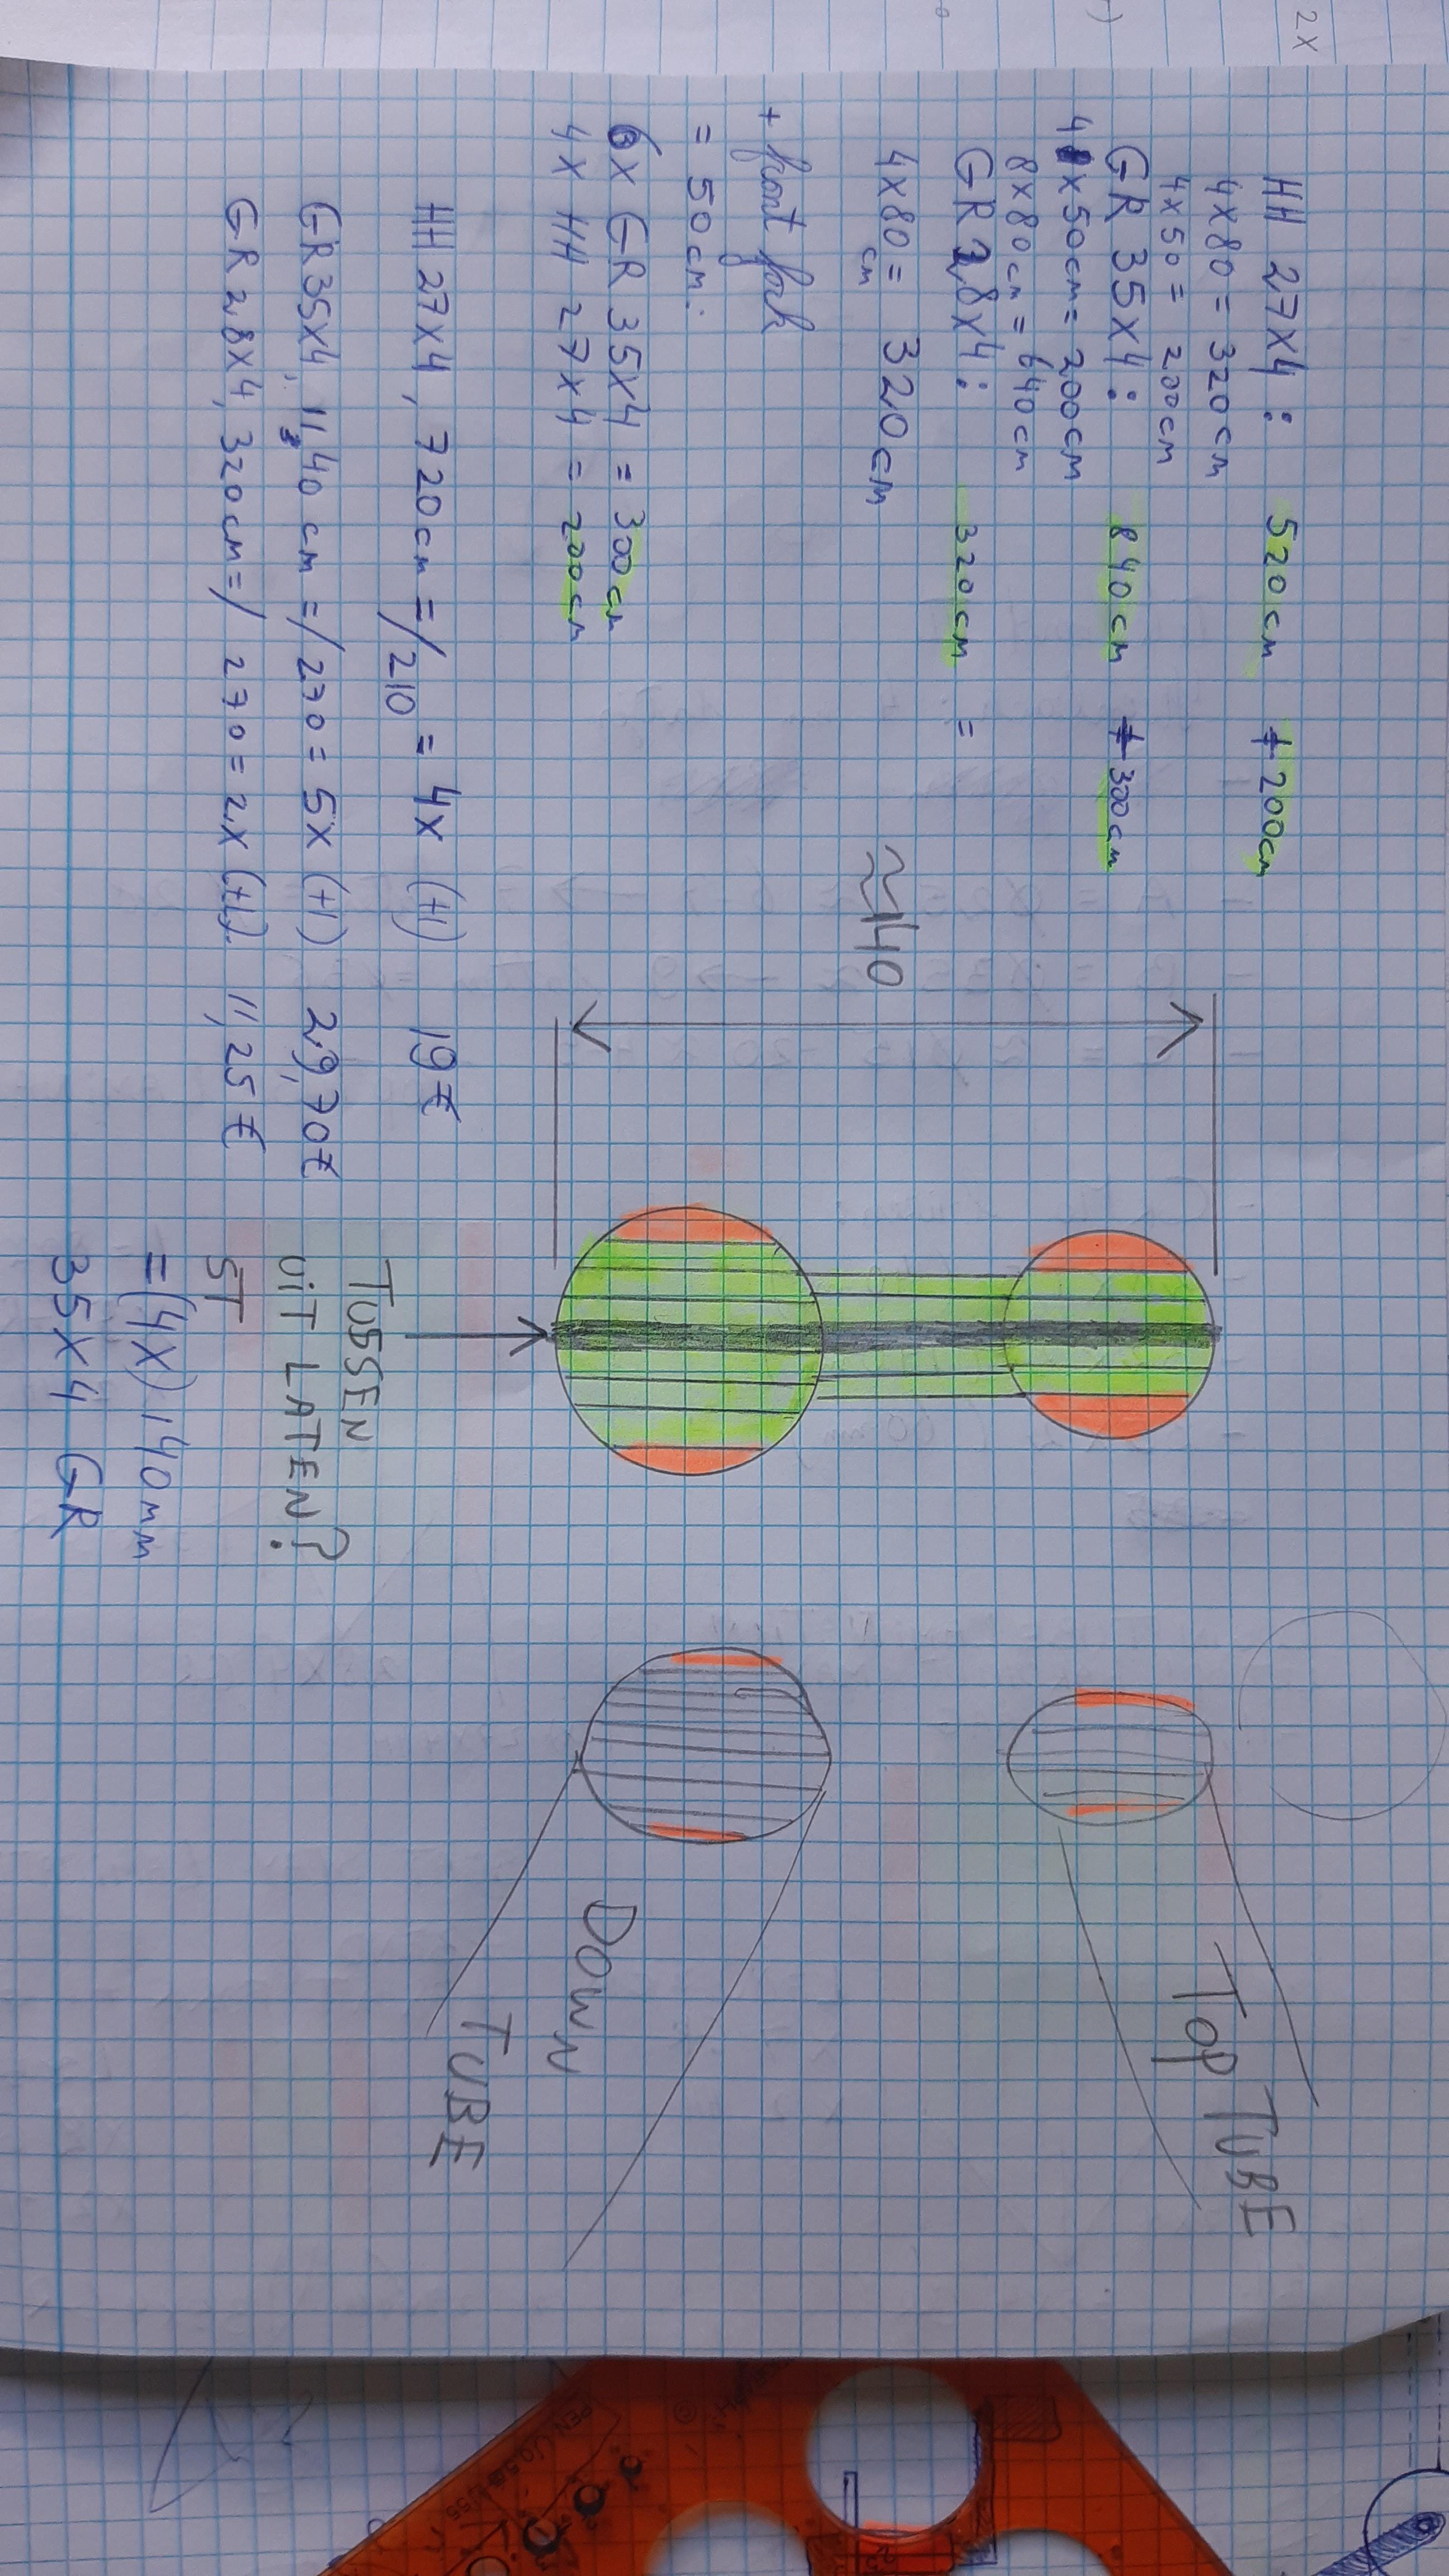
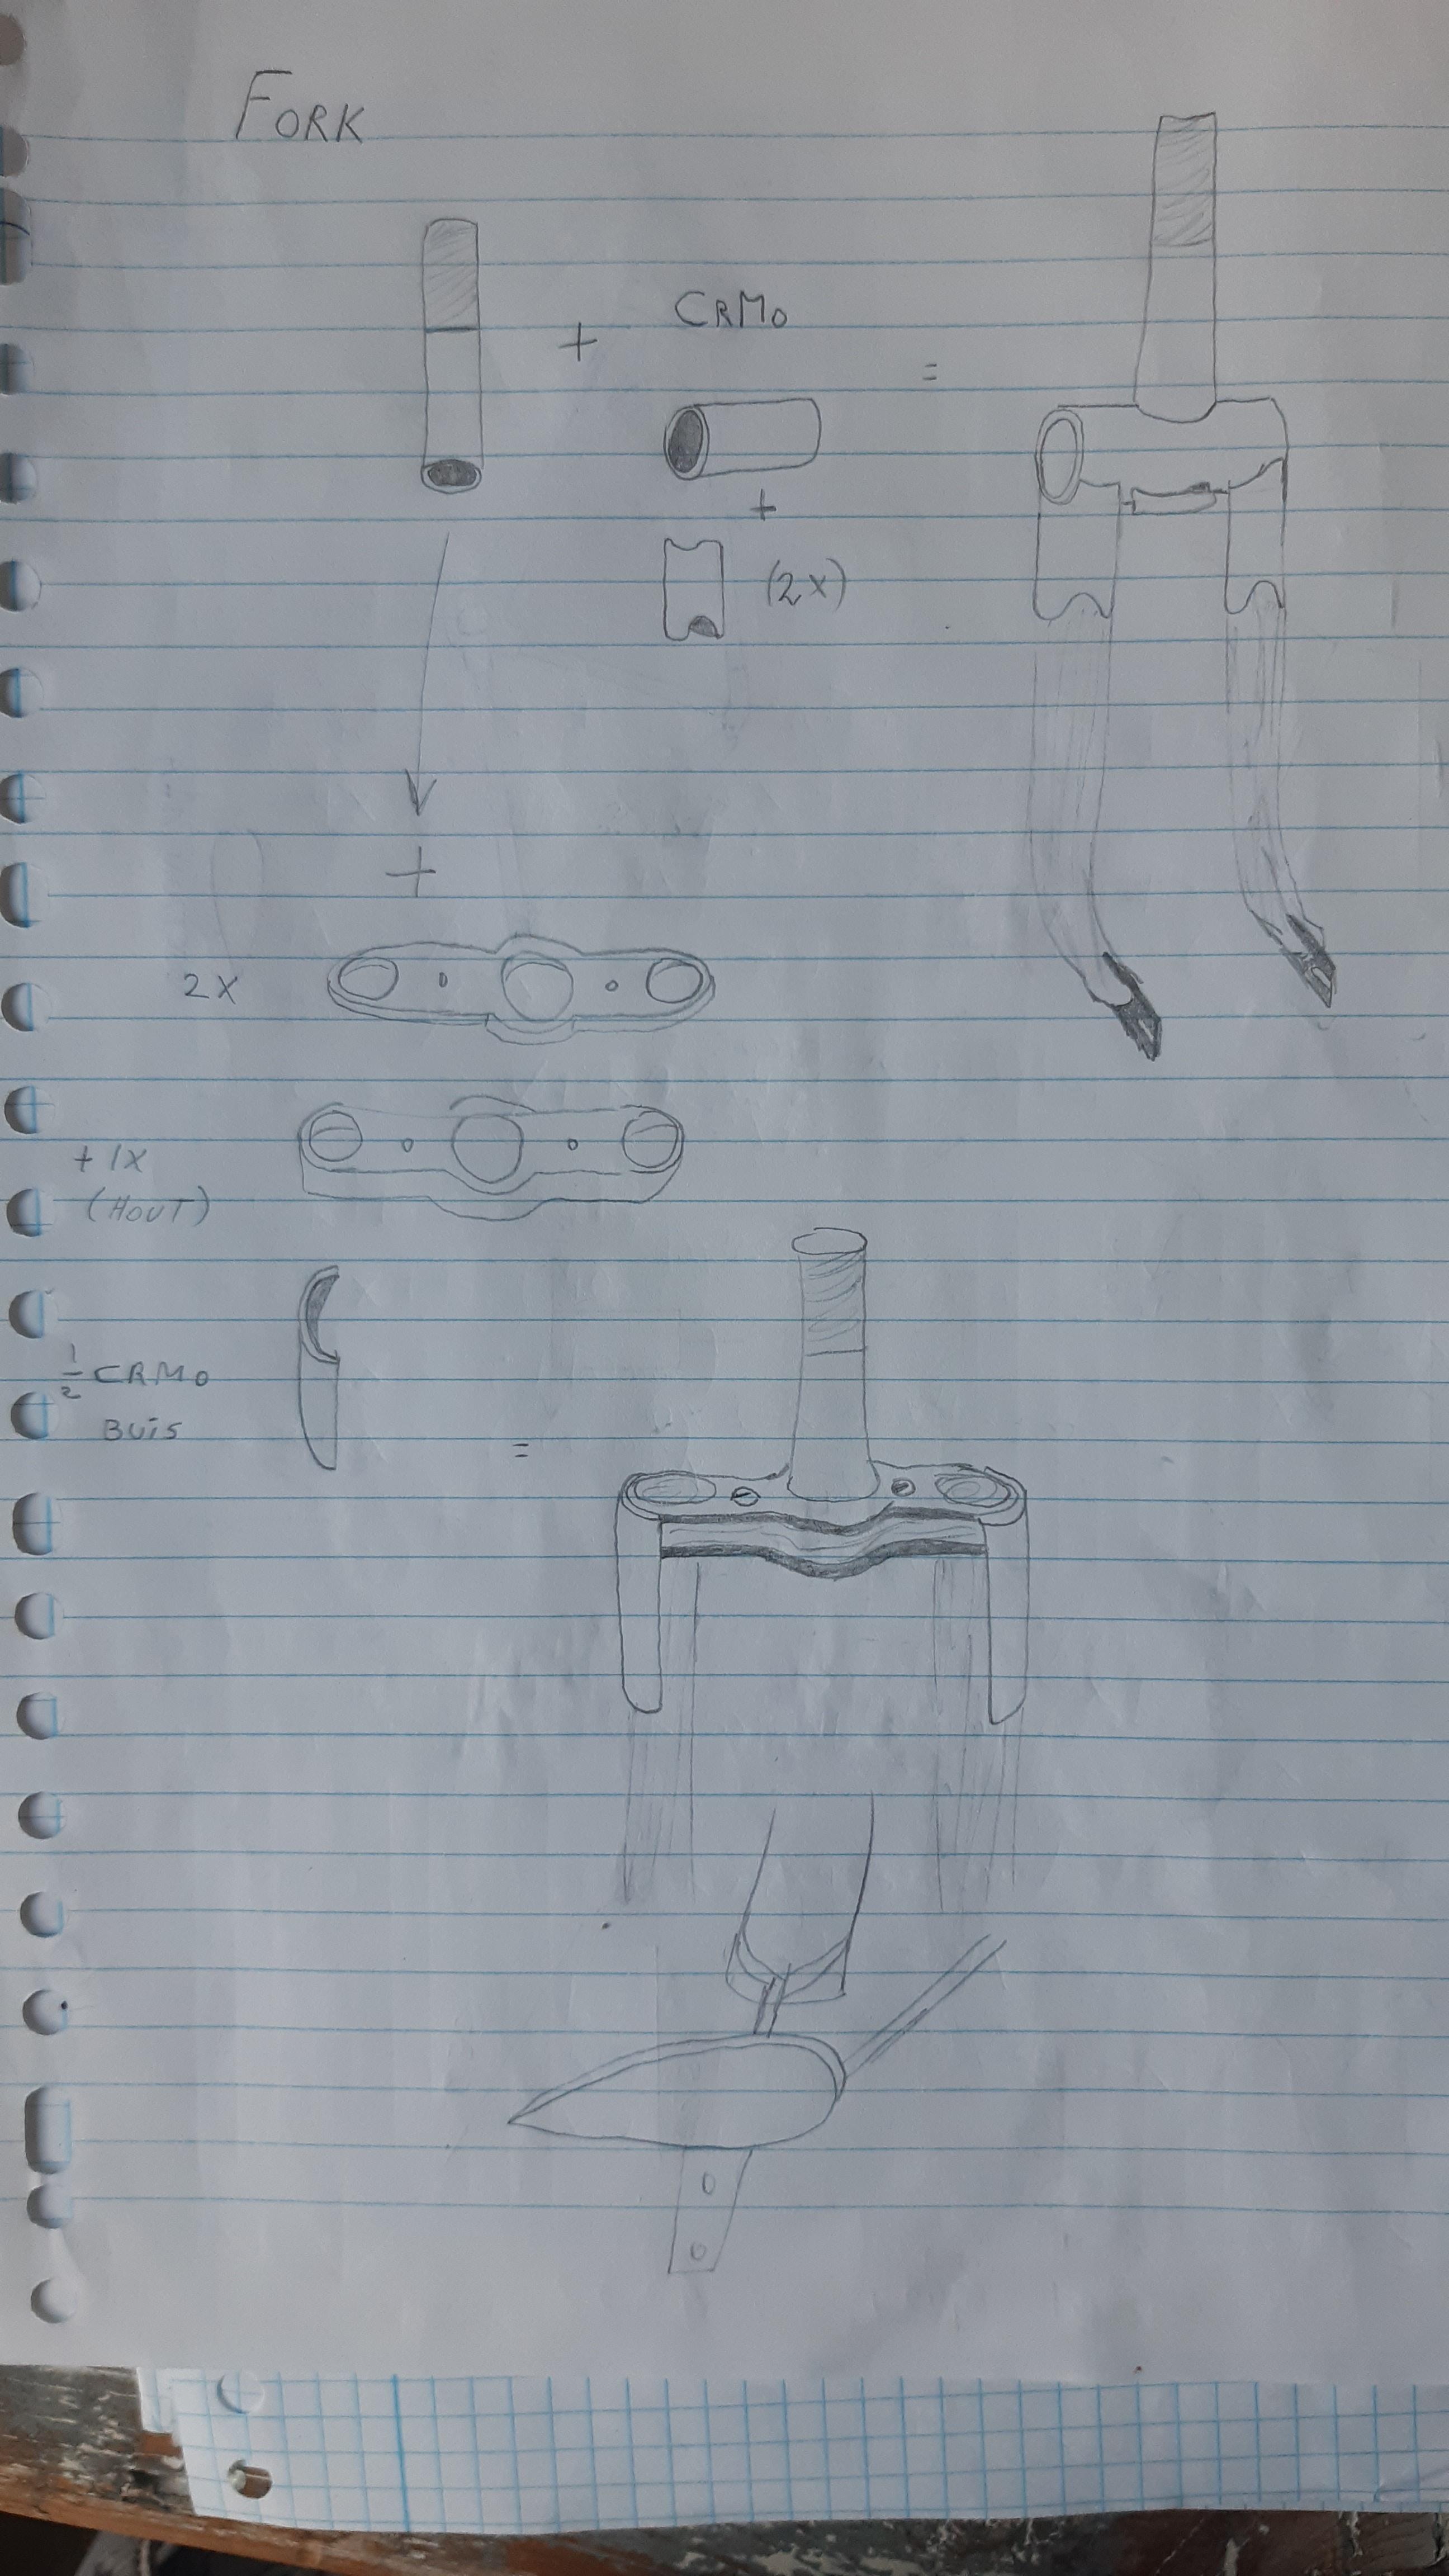
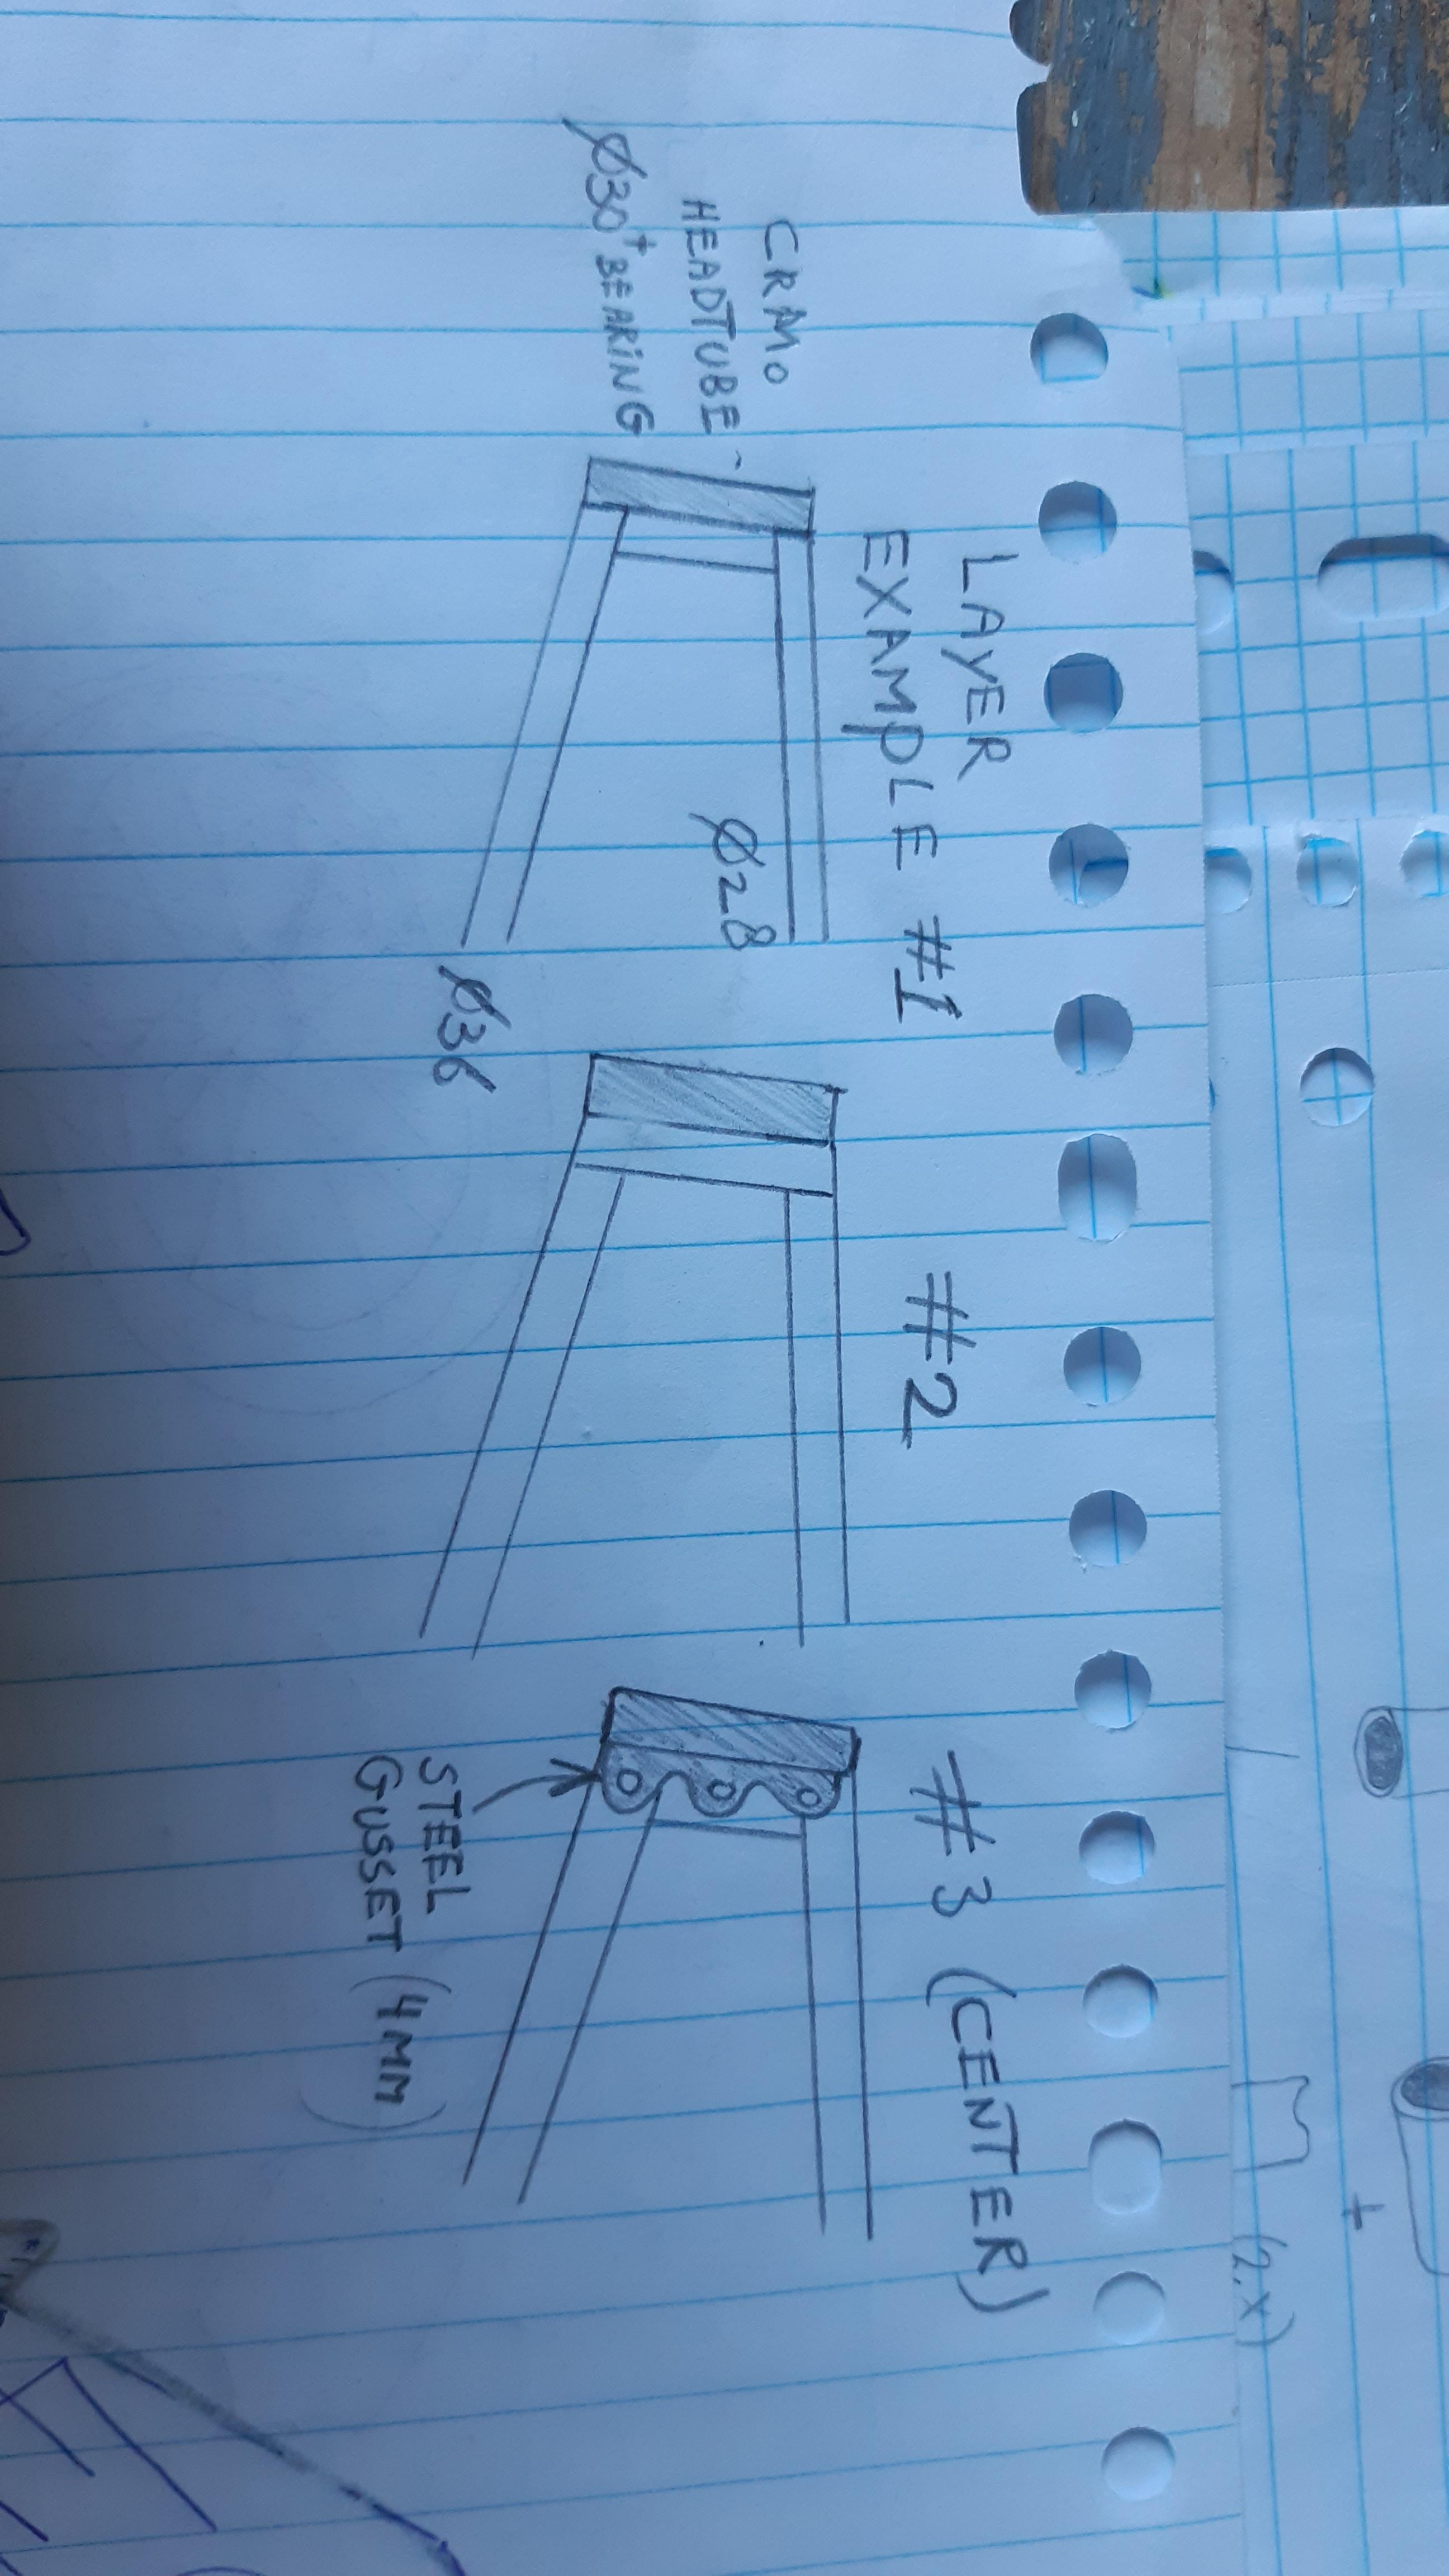
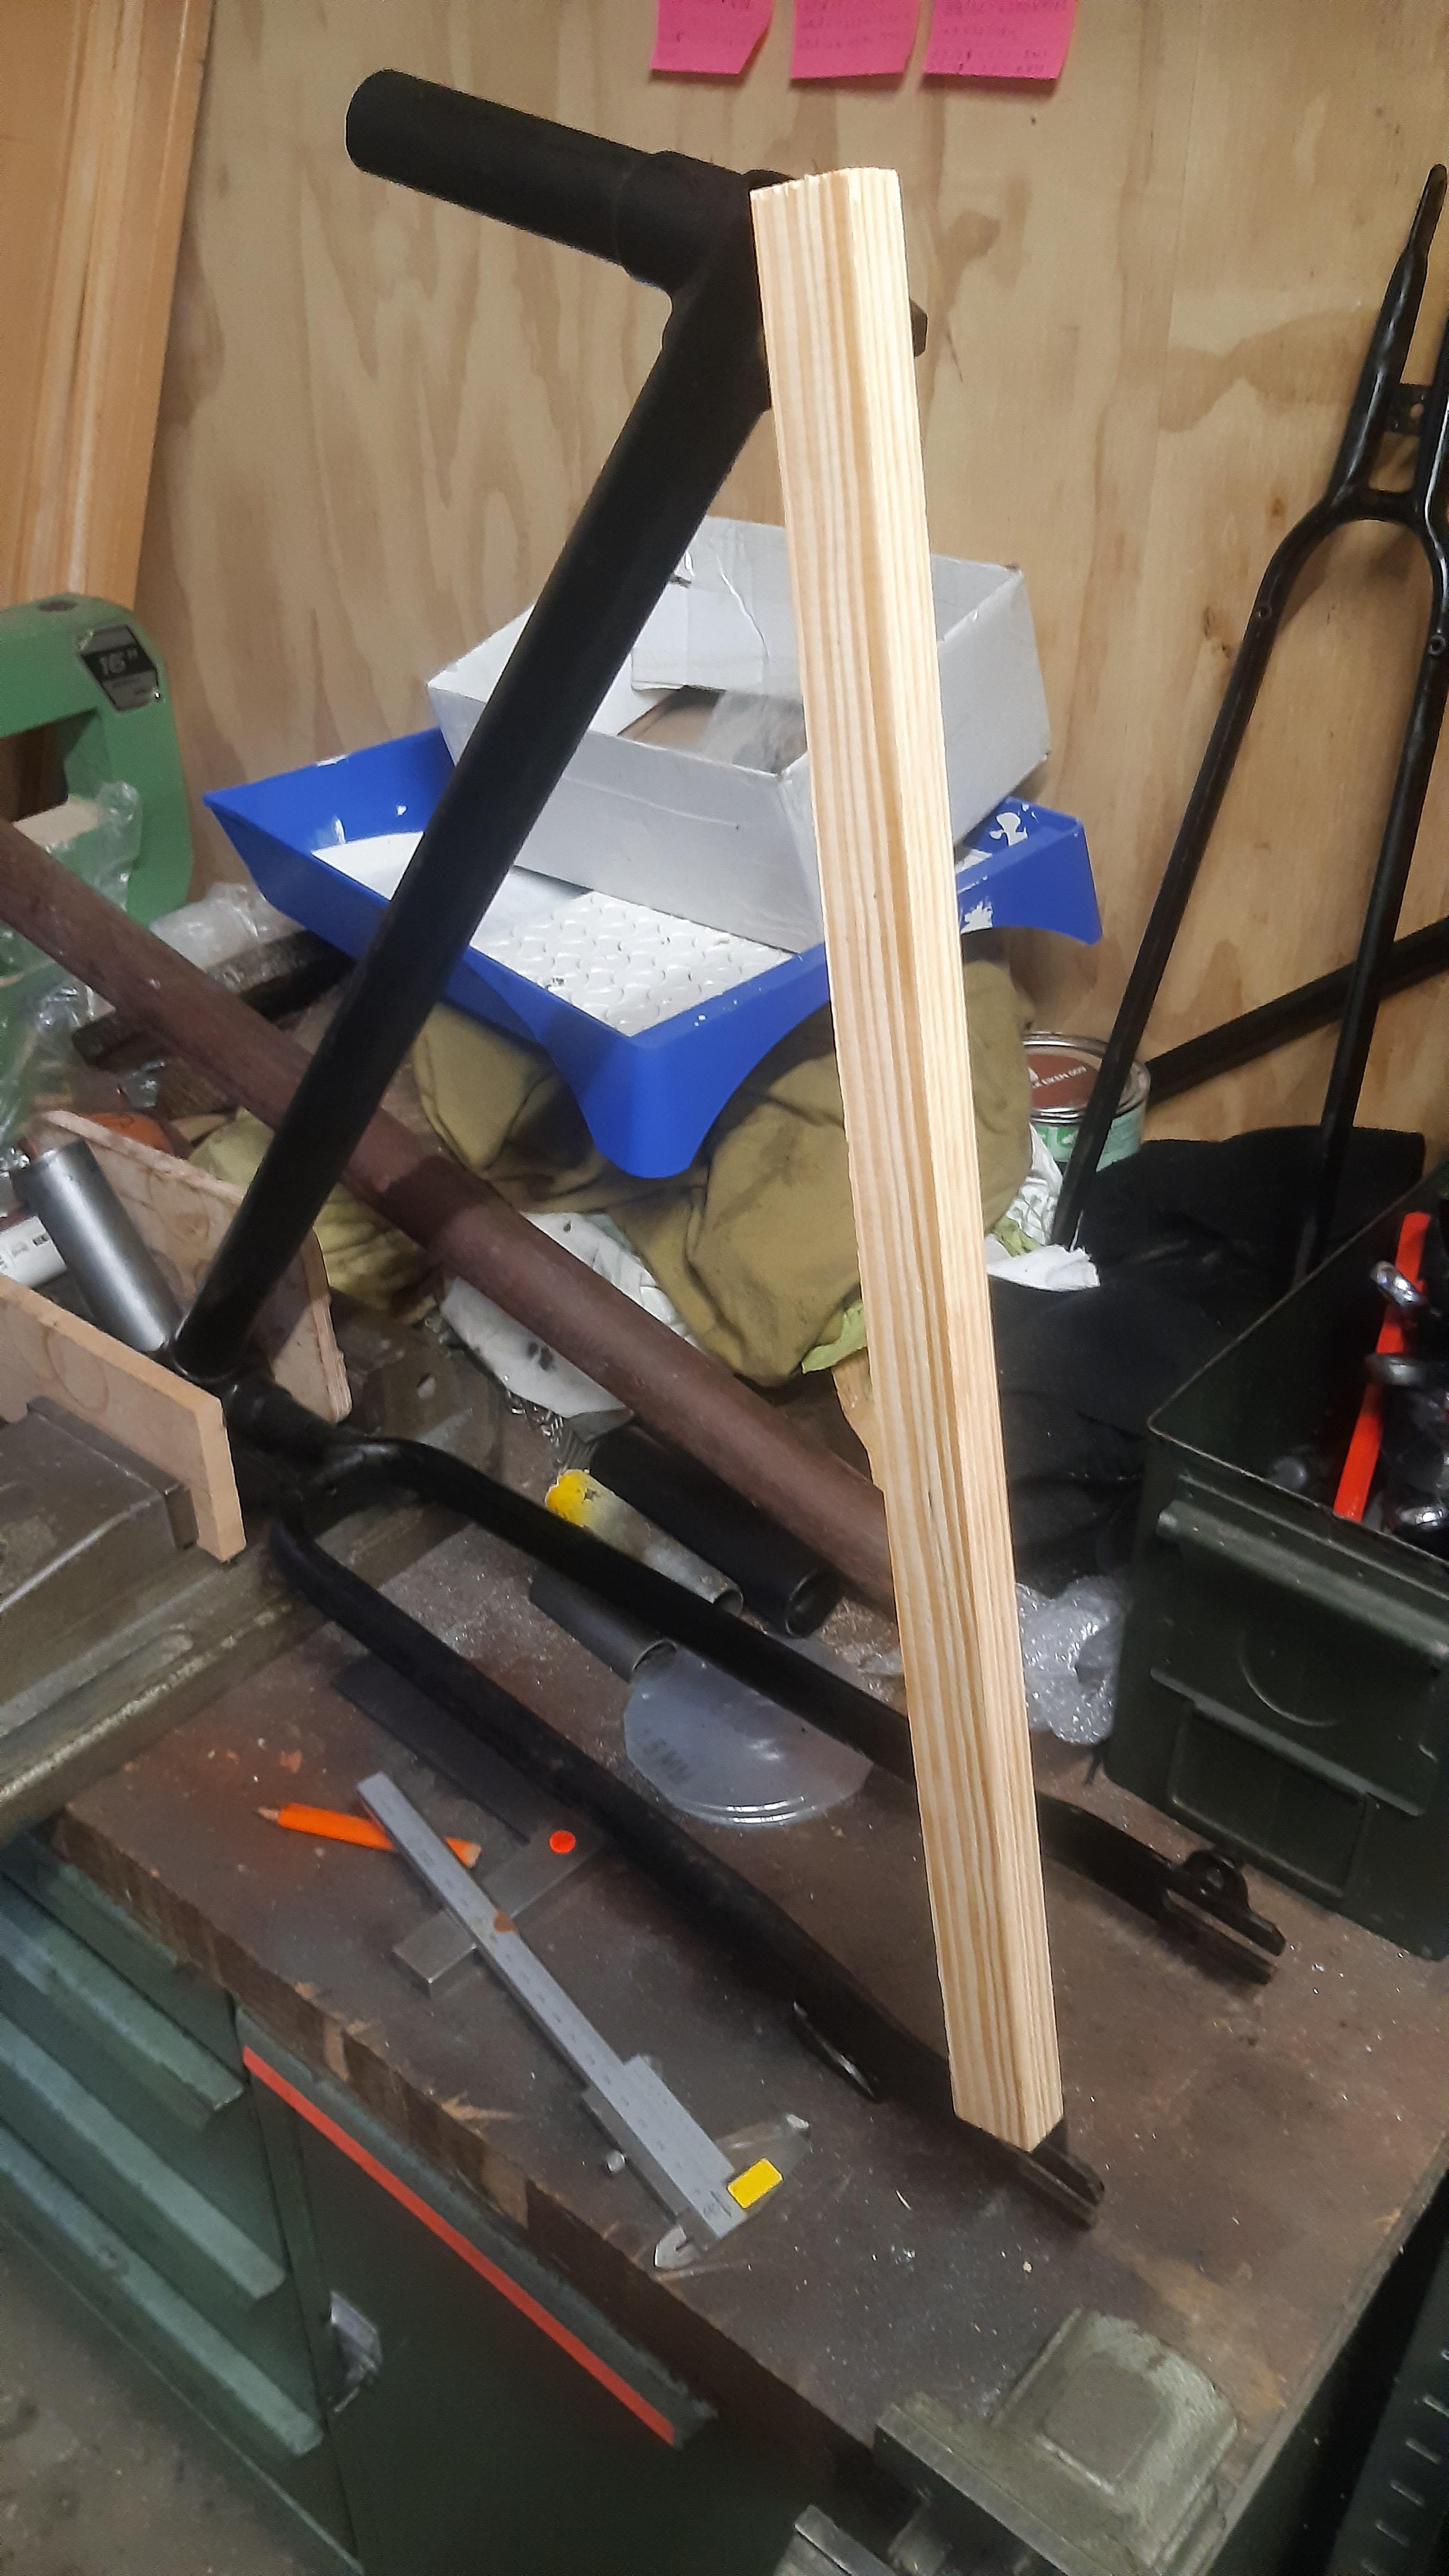
Wooden frame repair: Down tube, toptube and partially the headtube. Maybe I'll build a wooden seat stay too.
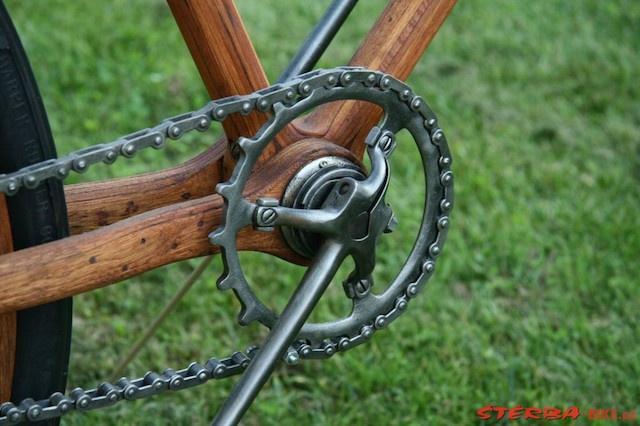
Use the original bottom bracket and cranks.
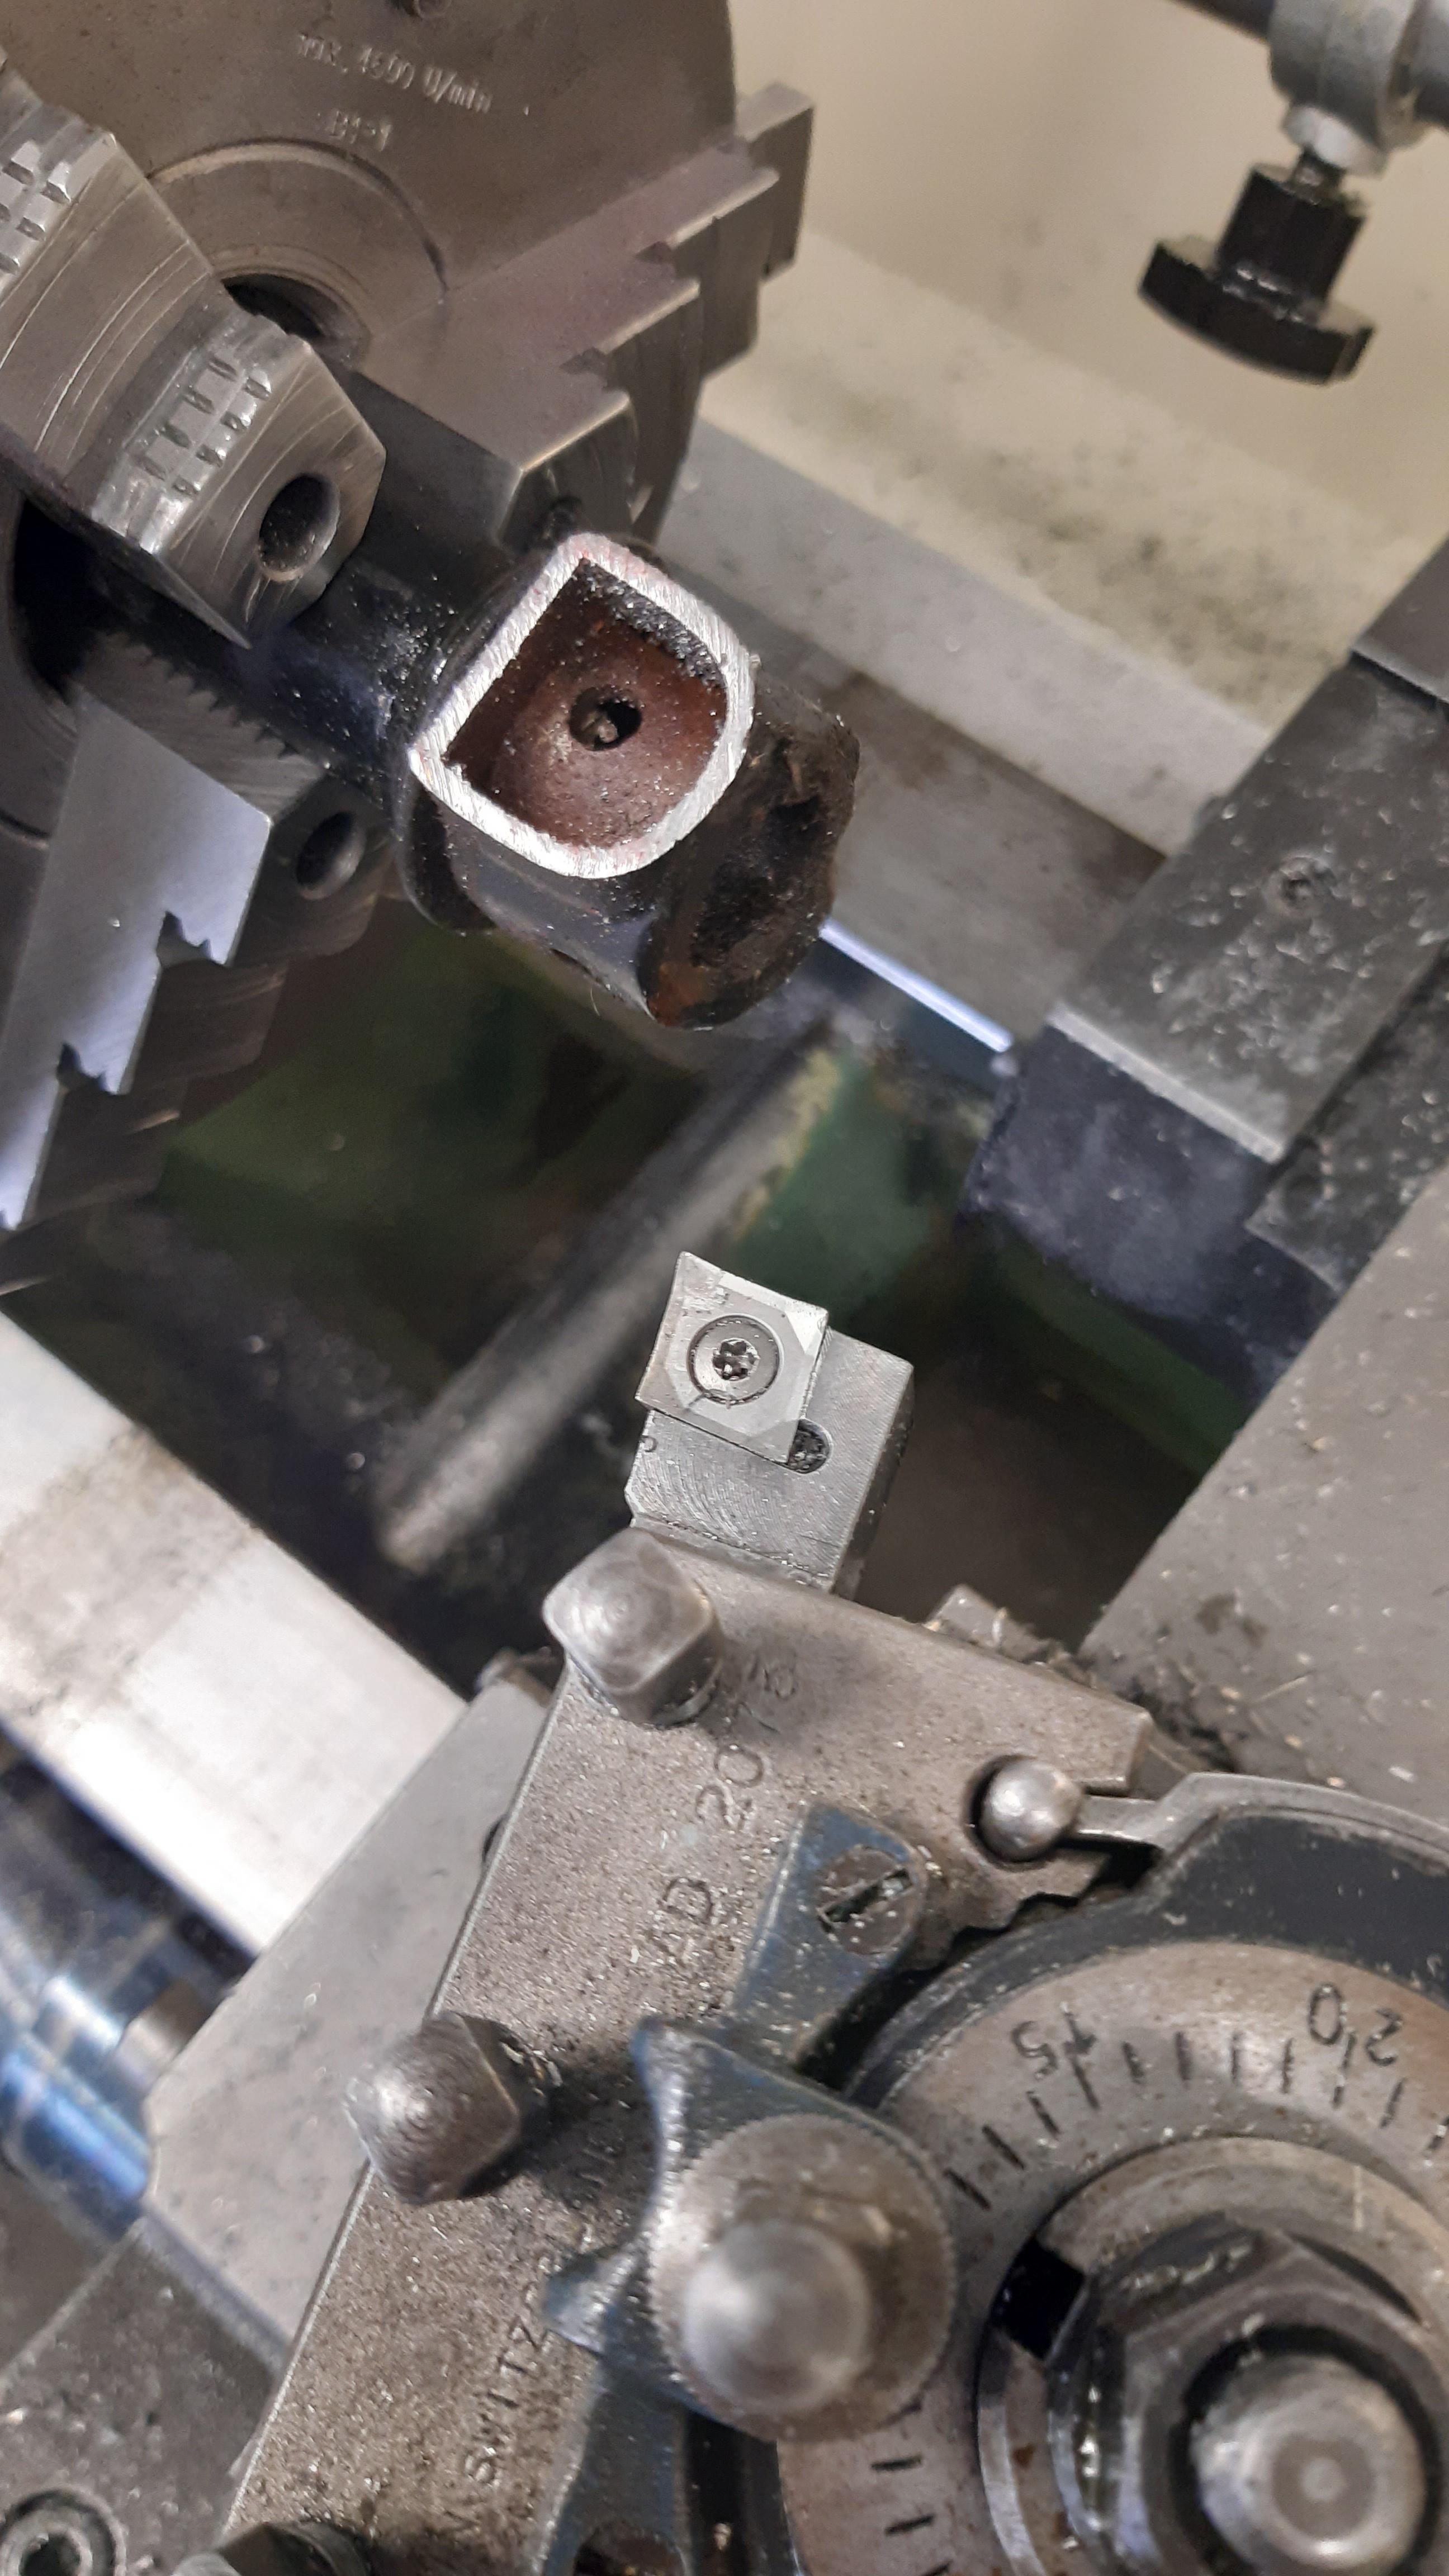
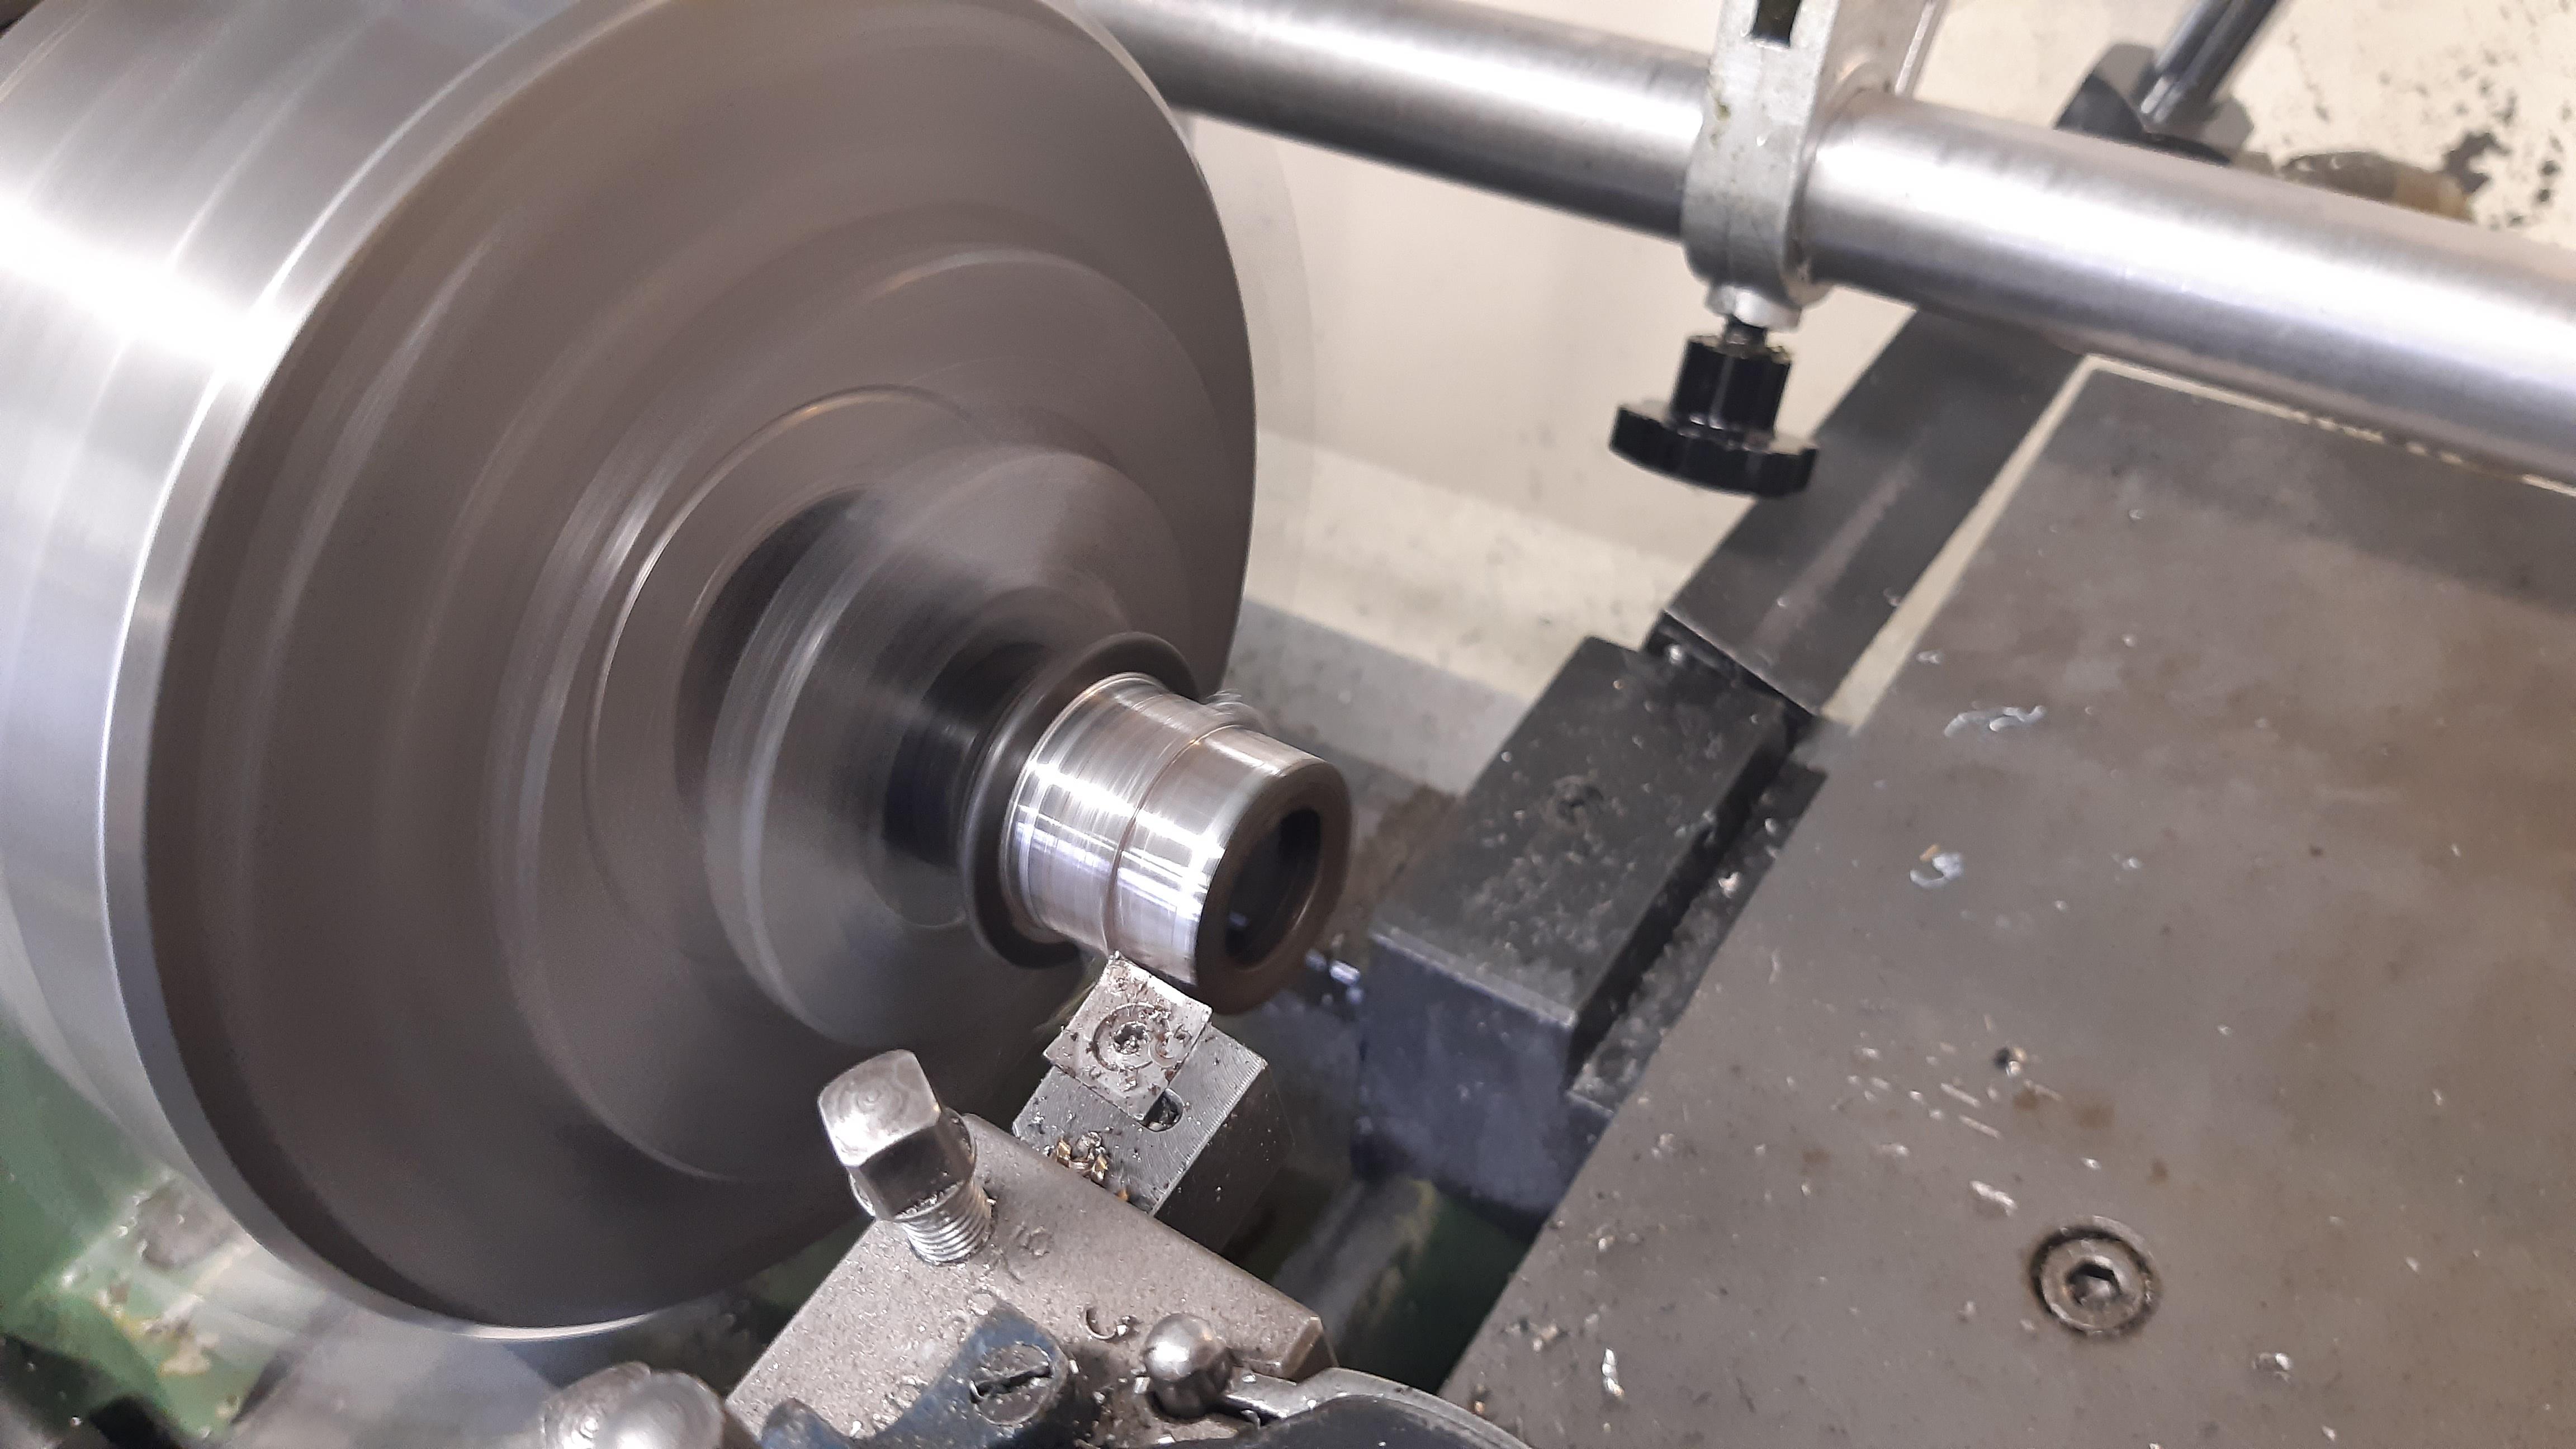
No welding, only filled brazing or working with lugs: Were going oldschool!
Lots of filing by hand.
I have some neat ideas go give it that WW1 plane structural vibe: Wood, metal and cables. I love that.
Overall: A wood working learning project!
FRAME NUMBER = 405020. Made by UNION.
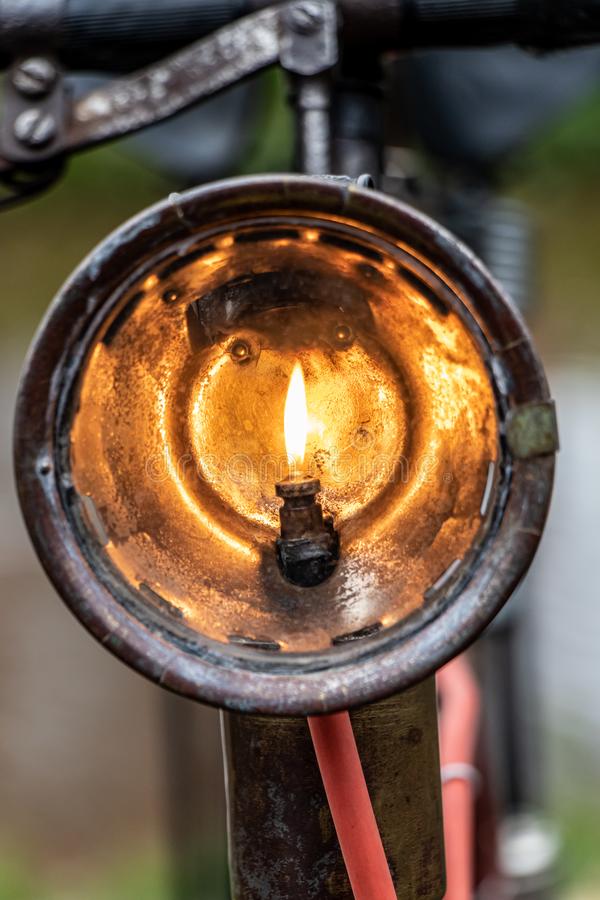
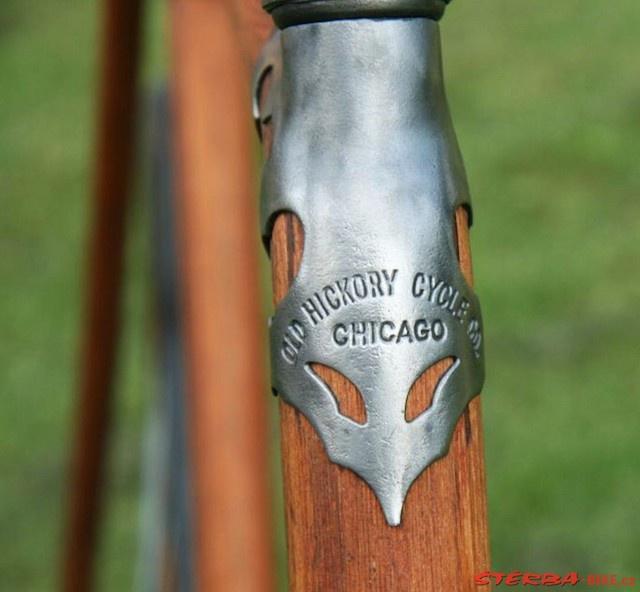
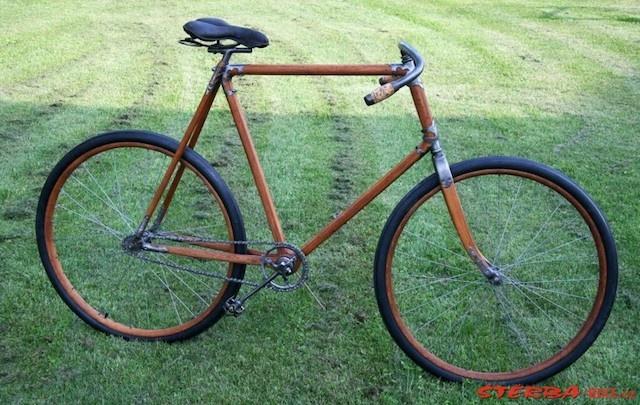
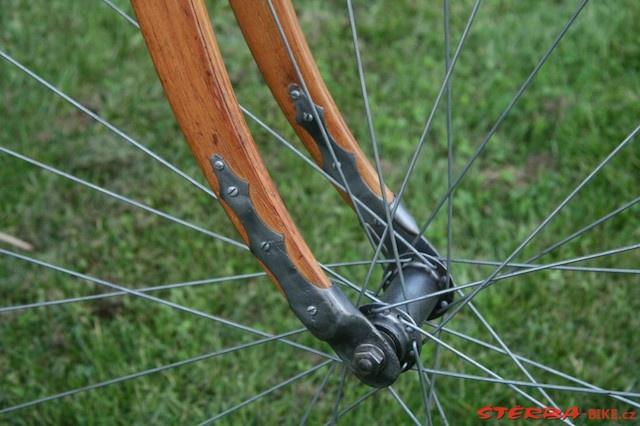
My inspiration bike:
I love this machine, the details, hand labor, just beautiful!
Thanks for reading/following etcetera!
I know I have been rambling about a Recumbent bike on another topic, but I'm getting more and more interested in wood working.
Reading some books now how old WW1 planes were built. Wood type, grain and how it is sawn etcetera. Really interesting stuff!
For quite some years there is a cut-in-half "Union" frame on my attic.
Some design features give away that is pretty old, but I don't know how old exactly.
There were a few times that I wanted to throw this frame with the garbage.
But my interest for wood work grows on me, and maybe on this bike aswell.
My ideas: (see inspiration pictures below)
No worries, I will not plant a tree in the bottom bracket hole, and fertilize by ........ in the seat tube... I do not have that patience
OK, sorry for that.
Wooden frame repair: Down tube, toptube and partially the headtube. Maybe I'll build a wooden seat stay too.
Use the original bottom bracket and cranks.
No welding, only filled brazing or working with lugs: Were going oldschool!
Lots of filing by hand.
I have some neat ideas go give it that WW1 plane structural vibe: Wood, metal and cables. I love that.
Overall: A wood working learning project!
FRAME NUMBER = 405020. Made by UNION.
My inspiration bike:
I love this machine, the details, hand labor, just beautiful!
Thanks for reading/following etcetera!

")