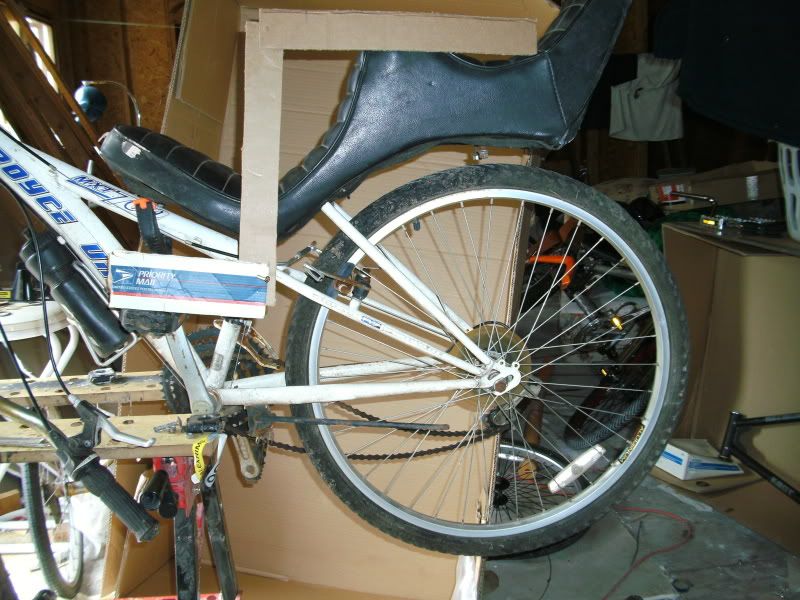
There seems to be a growing interest in people wanting to build their own frames. I have built several and here are a few things I have learned.
1. If you design a frame then you are wanting something custom and a little wild. Cad drawings are cool , but to me lack the ability to transfer them to real life. You can design something that will be impossible to build. I have found that on several occasions. Find some chalk and get a piece of plywood , brown paper or your garage floor and with the help of a couple 26'' tires you can design a frame that will work.
2. Keep in mind that some dimensions are finite. If you build a frame that looks cool and your knees are in your face when you pedal or you can't reach the bars , then you have wasted time and money on your build.
3.Think ahead on your build. The chain should have a straight shot from the crank to the rear sprocket. If you build the chain stays wrong then you have to stick a wheel in it to keep the chain from hitting and it always seems to knock the chain off. Plan where it wont hit before you start.
4. Use all the same size tubing. If your neck is made out of the same size tubing as the frame , then the need for an extensive jig is bypassed. Lay all the parts on something flat and spend some time making sure the fitment where each tube touches is almost perfect. That few extra minutes grinding will pay off when you weld it together. That big gap will only cause more problems in the end. You can tack a tube onto another tube in mid air , but its not easy and will most times be wrong.
5.Remember when welding its going to move when you weld it. Make sure to tack both side before you weld it together.
6. If you make a mistake...FIX IT. frames need to be straight and if you weld a tube crooked it will mess something else up along the way.
7. Buy some thick nylon line and pull a tight string on both sides to make sure its lined up. Front to back will tell you a lot.
8. Resist the urge to stick a bunch of rake in the neck. I will look cool , but having to ride with a death grip on the bars all the time makes for a terrible ride. Too much rake and the forks will want to flop to one side or the other.
These are just a few of my ideas. There are some outstanding design/builders on this site that are lots better than me. Do a search on their builds and learn from how they do it. Its not that hard , but you have to pay attention to what your doing, or you will get to the end and have a frame that will have problems.


