Gang Green

Rat Rod Bikes Bicycle Forum

Help Support Rat Rod Bikes Bicycle Forum:

This site may earn a commission from merchant affiliate links, including eBay, Amazon, and others.
iam stunned :13::43: this is epic! totally new! and well done! :nod::41::praise:
do you plan a lower toptube ? seems like it could create allot of friction/forces from the seatpost/sliding joint
 
Wow, just catching up here.
Mad fab and design skills.!
That hidden actuator is to freaking cool.
 
This build just made it firmly onto my radar. Only bummer is, I can't see any of your videos! Not sure why, but no matter what I do, even clicking them as links, I can hear them, but they're just black screens. Can't see the latest action.
Thanks for nod, As far as the videos not showing up,I have no clue why. I have checked them out on 2 different phones and 2 different computers with no issues. Are you having trouble seeing other peoples vid's or just mine? maybe contact one of the moderators:39:
-B.J.-
 
Thanks for nod, As far as the videos not showing up,I have no clue why. I have checked them out on 2 different phones and 2 different computers with no issues. Are you having trouble seeing other peoples vid's or just mine? maybe contact one of the moderators:39:
-B.J.-

Yep, turns out it's all videos on this site. Not sure why.
 
do you have a air tank hidden in there somewere ? just noticed , your ride will drop when the piston extend , but how will it rise again ? cause you will have to hit the switch and somehow force the piston back in no? or did i miss something:39:
 
Fantastic...now I'm looking at my office chair just a bit differently :)
Lol, I know. Just been sitting on that thing for years not knowing it's full potential!

Awesome--looking forward to the next step!
Thanks, at this point, so am I! Looking forward to being done honestly

The whole idea is pretty great but using the curved seat post is genius.
Thanks for the compliment. It was a real head scratcher fora few days. Started with an entirely different plan:doh:

-B.J.-
 
Wow, just catching up here.
Mad fab and design skills.!
That hidden actuator is to freaking cool.
Thanks for the compliment Kf. I like the re-purposed gaskill rack on your build.:cool2:
-B.J.-

iam stunned :13::43: this is epic! totally new! and well done! :nod::41::praise:
do you plan a lower toptube ? seems like it could create allot of friction/forces from the seatpost/sliding joint
The chrome tube is very stout and has a thick layer of chrome on it (super slippy). The small piece of tube that slides on it is an exact curve and fits snug. Additionally it will be rubber coated and greased. So it should have no friction issues.
do you have a air tank hidden in there somewere ? just noticed , your ride will drop when the piston extend , but how will it rise again ? cause you will have to hit the switch and somehow force the piston back in no? or did i miss something:39:

Glad you asked. Nope, no hidden air tank. That's one of the reasons I've not done this sooner. I have always HATED air assisted bikes because of all the tanks, air lines, cylinders ect... Just way to much visually and technically, There's no style or mystique.

In order to get the bike back to it's riding stance, Just press the lever and push the bike back together! Super simple!
-B.J-
 
...no hidden air tank. That's one of the reasons I've not done this sooner. I have always HATED air assisted bikes because of all the tanks, air lines, cylinders ect... Just way to much visually and technically, There's no style or mystique.
Totally agree. Your idea is perfect for bicycles. No fuss and no need for providing compressed air.:thumbsup:
 
Well I assume everyone wants a frame update but that will have to wait.
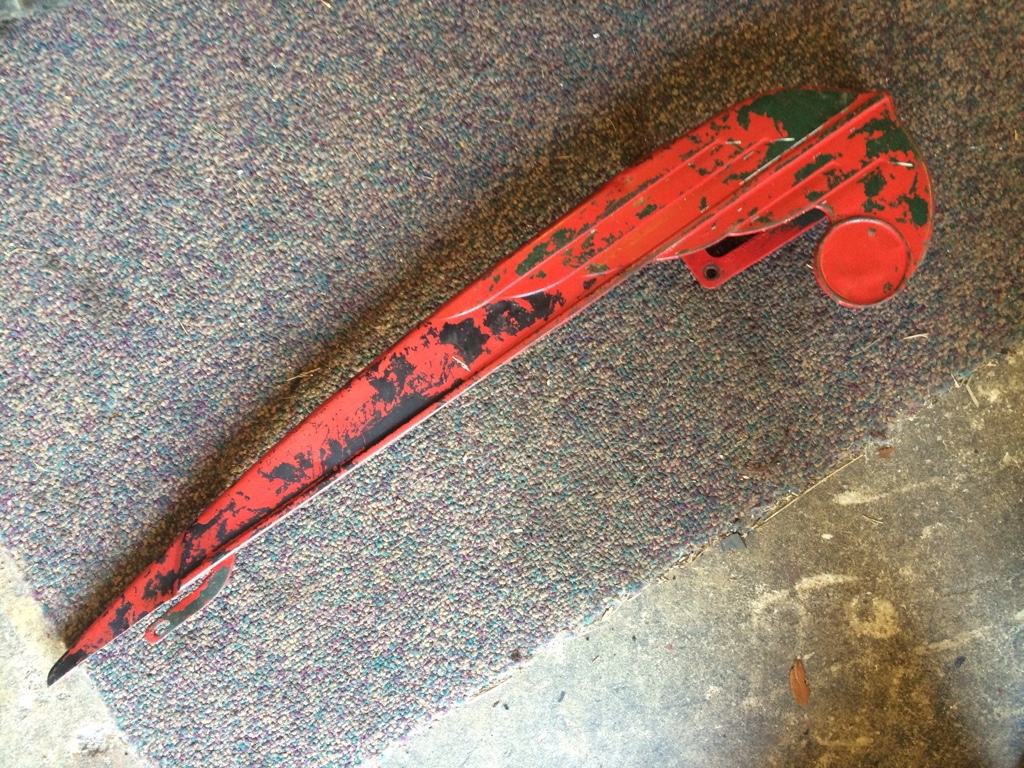
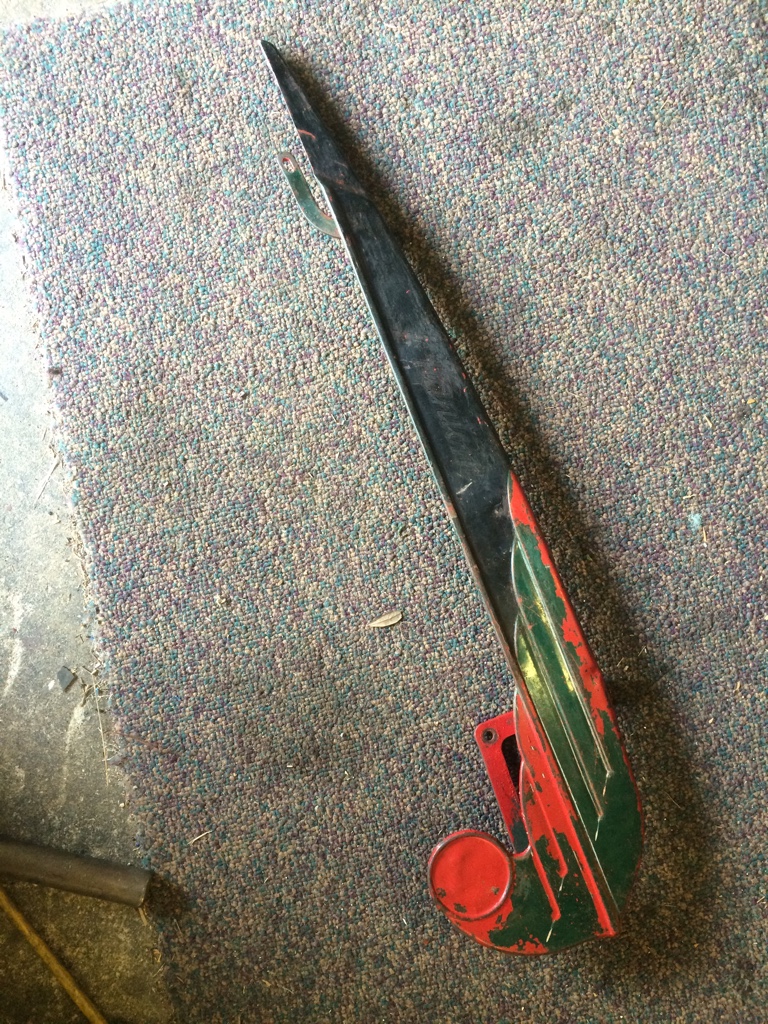
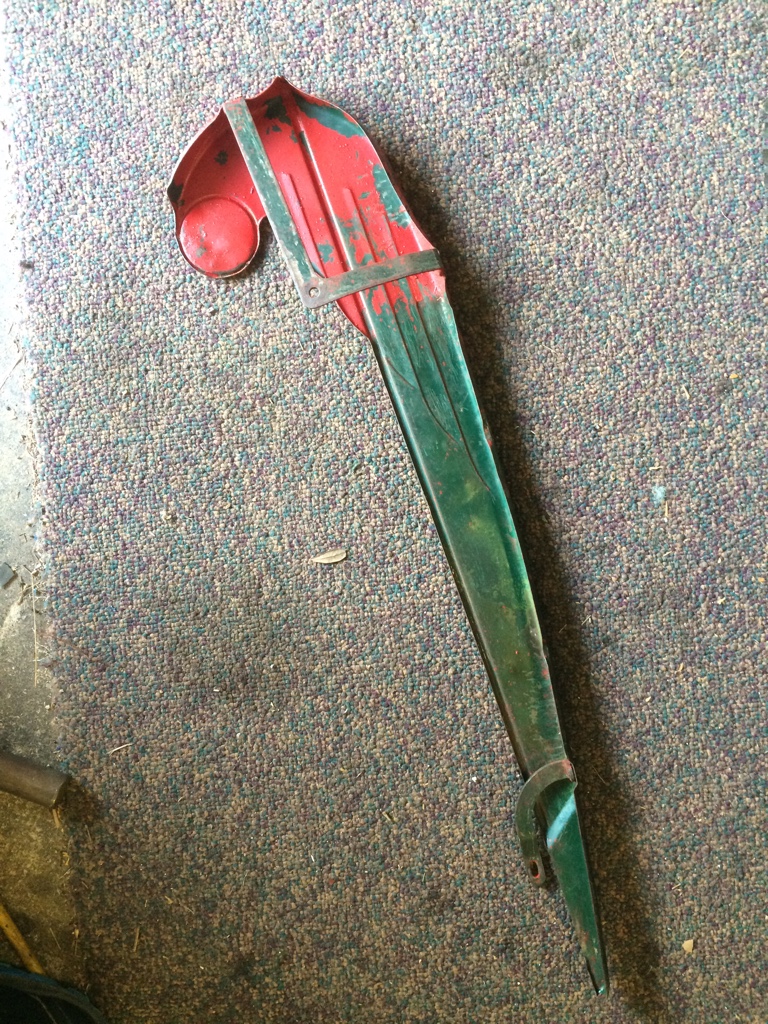
I dis however get some other things done. Including getting the green Phantom chainguard from @SimpleMan cleaned up. It came caked in red house paint and took quite awhile to chip away.
bc934ed325662d653478a93b086aa95f.jpg


50c256e7aa77cdee6d332a99f646d806.jpg


About 2 hours in...
e922d8507a11482be154a5dc7dc00405.jpg

a88e6b9d6f7f2e2b2338d53d9e28202b.jpg

Can even read the faint Phantom screen. Think I might keep a bit of the red just for fun.
7a241c4255569245711f61dc33f8255f.jpg


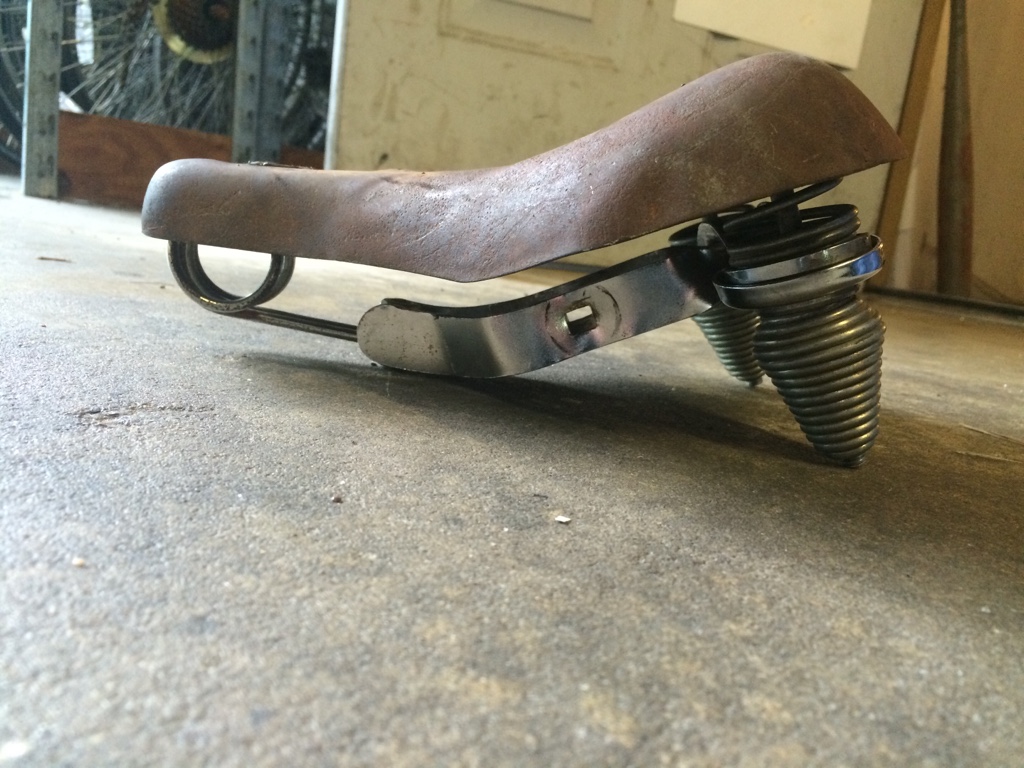
Also been working on gettig the seat chassis buttoned up and ready for padding and leather.
Changed directions on the spring cup retainers and decided to use some old Schwinn headset cups.
Cut them in half and welded them around the spring.

4024cd1251dc37ddc44c3c51347132a4.jpg


61749a9ea3daef838297aeb10cffb0a3.jpg


8c2e9ce7cabfa7a7b27f04ed8e69e829.jpg


4e7d0239cd6c7b074cb979d54fbf22f4.jpg


fb8dc9b80231bb15100190c6cbbfb0c7.jpg


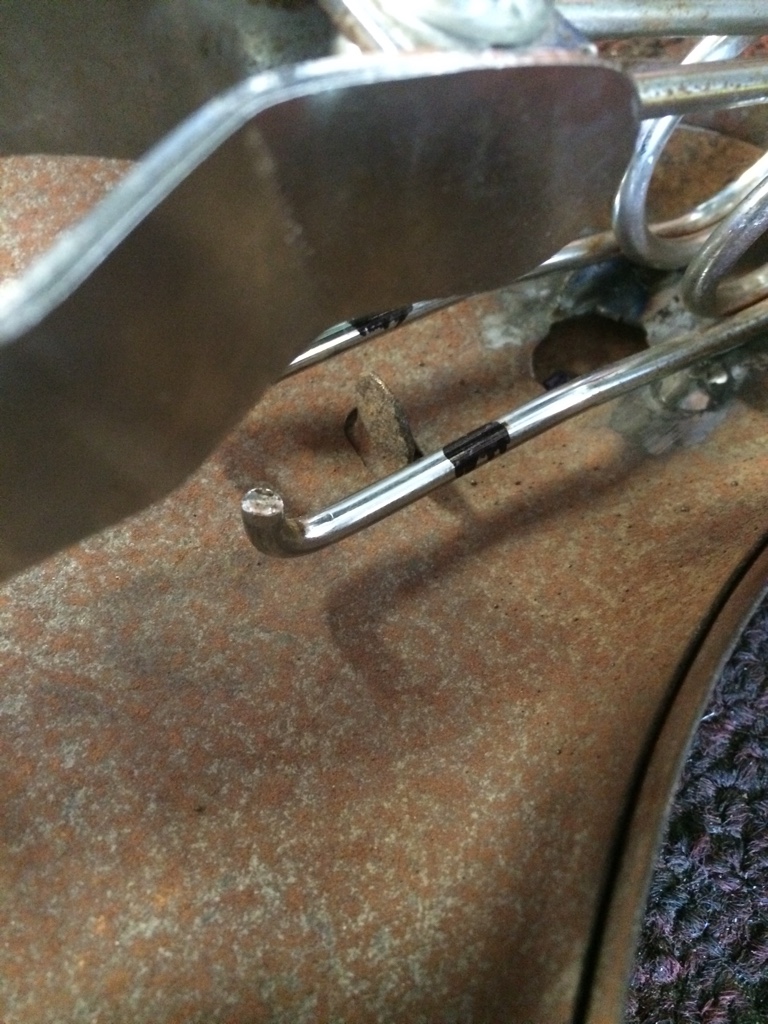
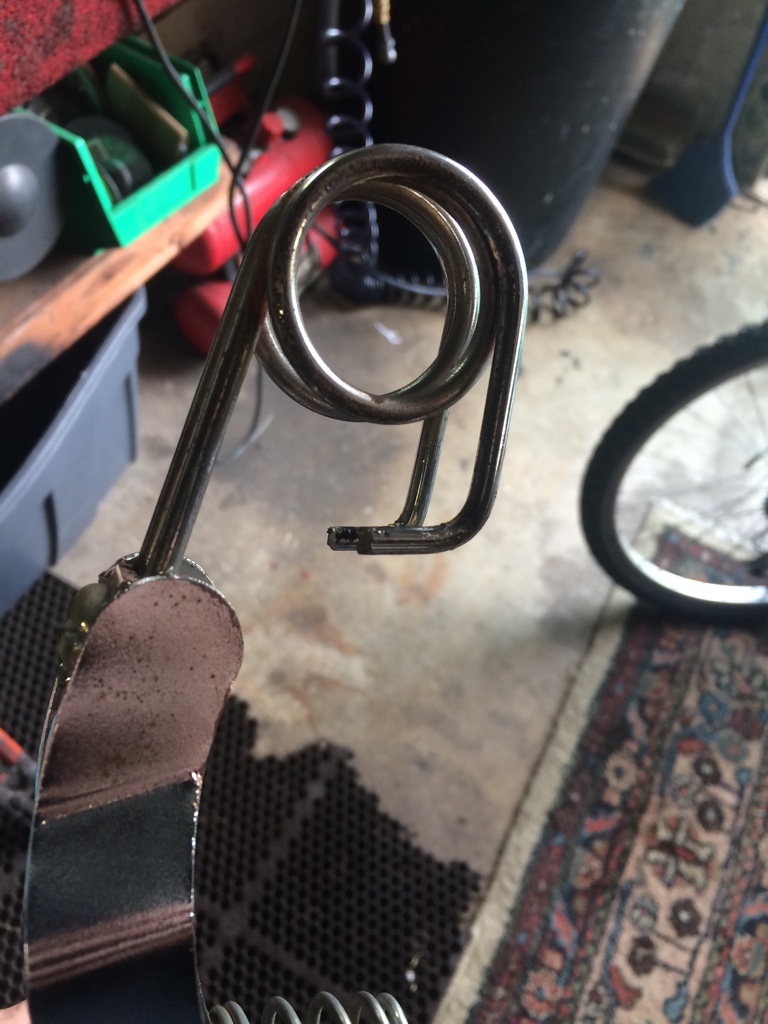
Had to cut the hairpin spring down and bend a new angle to accommodate the new pan.
28f96d22d203bd9995623fdc83869f4b.jpg


f21e4eec59975488ab8f4391367744a9.jpg


e1de13a99130e8472f678e9046735770.jpg


85db42b26996ea2e0f355c204f569c82.jpg


Welded in the new elevator bold and old spring posts. Everthing lined up well.
0f2d3beea7cfcc1b0931a9c881d78f9c.jpg


7c6679d981e53e7cf412c7fe92c85b25.jpg


Ready for wrapping!

c90b22c05951b954644e6fd02fe403c0.jpg


Glad that most everything on this build has been going fairly uncomplicated.

Finishing up the last bit of frame work tomorrow!
-B.J.-

Oh yeah. Found another piece for the puzzle.
34102f8d86cb3bb9330706240419f8d6.jpg

063f957b2a6085a8f5d5ee64639f6a6b.jpg


Sent from my iPhone using Tapatalk
 
Currently taking a few days away from work & projects. But stayed late yesterday and got the frame fully prepared for some mud and paint.
Found out that I had no ambition to cut and transfer the ends of some Schwinn canti tubes.
Soooo....
IMG_5199.JPG

The carrage bolts worked great after being welded in.
Still have to finish putting a few more additions to the frame over the weekend before paint and assembly.
But for now, here's a quick action shot on the ground!!

More to come. Hopefully make the deadline.....
-B.J.-


Sent from my iPhone using Tapatalk
 
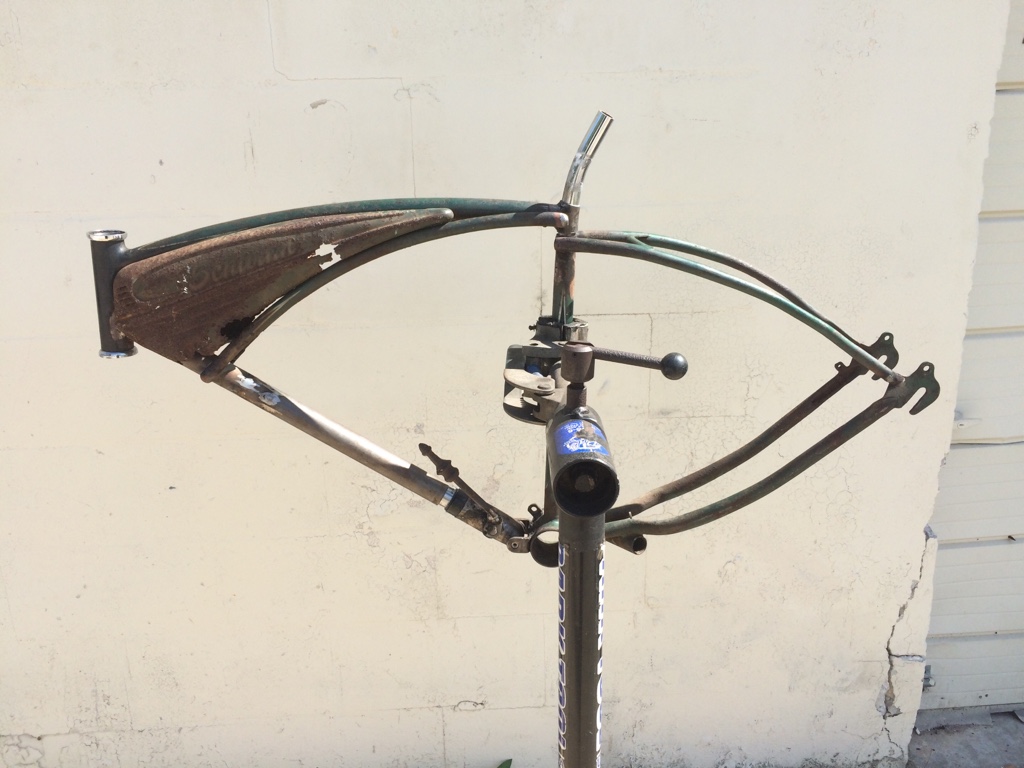
All the welding is done!!!
Got the derailleur hanger cut off the shock lever and added a piece from the old fence. I freaking love it !

Also finally put my "not so sure if this is gona work" plan into action.
I wanted to use the original cantilever tubes sooooo bad that nothing else would do.
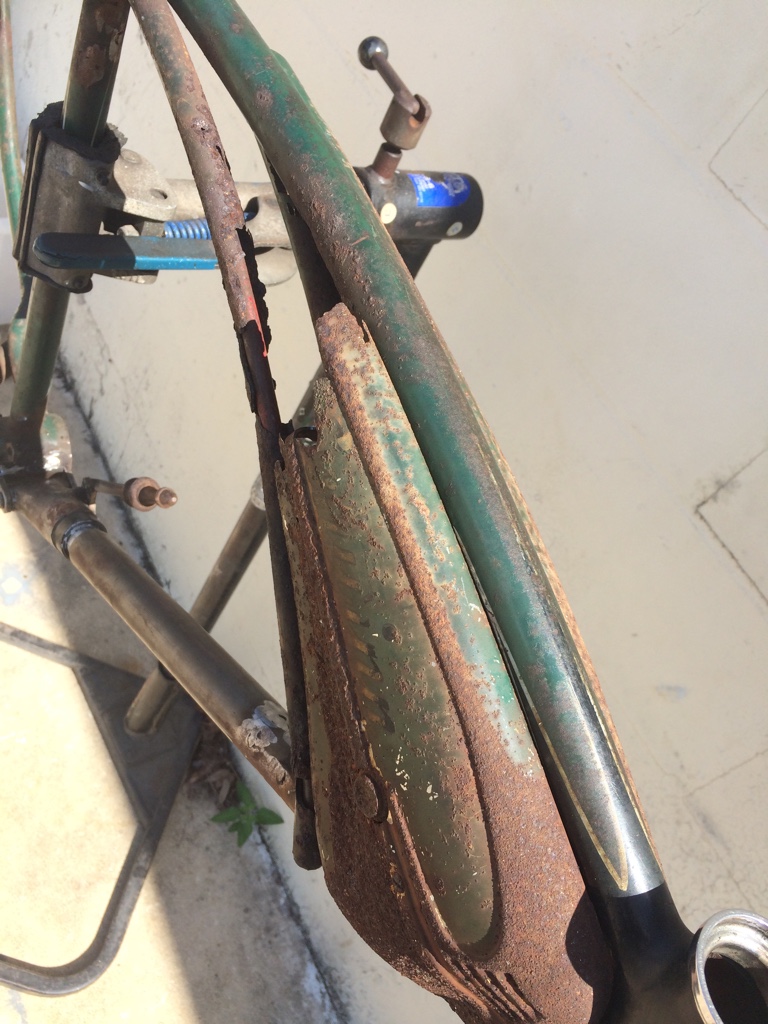
Unfortunately one of the tubes was so destroyed from rust and battery acid that it fell apart while removing it.

I took a piece of shift linkage from an old car I scraped and bent it to match the intact canti. tube.
Then sent an old window balance spring through the pieces to knock all the loose rust and garbage out.
Then just like magic... They slid right over!!
7bcadec953a11349d6eae768e7cbafa6.jpg


Then needed to figure out how to attach them to the smaller rod. Originally i planned to use clear lucite to fill the tubes but realized it wouldn't hold up to welding.
So I decided to drill some plug weld holes and slide it over the solid rod to make it look like it was still in the original position before it fell apart.

c75ddb02b6ccc73bc7ea0276386b6b44.jpg


Just because I loved the utter decrepitude of this bike!
Holes drilled
6d0b81633f47564adef5dba243d7fb77.jpg


Holes welded
81ca1c94435c4ce03a0b6e87a51726d7.jpg


Then almost went crazier than I already am trying to get these suckers welded back in place as close to original position as possible. While still having them hold up what's left of the tank!

So here I stand as of 6:15 est!
db02a3c32f76809f0e68b9bbc6299130.jpg


e8130726d4322054a3379dcdbd2537a2.jpg


Note new shock handle!

e65f45ed4c5220d258560221f043ef96.jpg


603626b3cf667c525eb6ba0775d97cdf.jpg


Thanks for keeping uo with my last minute rush to finish!
The hard parts are over now. Next is a little bit of mud and full patina paint match!!!
Stay tuned folks, I'm trying my darnedest!
-B.J. -


Sent from my iPhone using Tapatalk
 
Looking forward to seeing it complete.
 
cool how you make it structuraly sound while keeping the crusty old vibe of it looking like its about to fall apart :113:
 
Back
Top