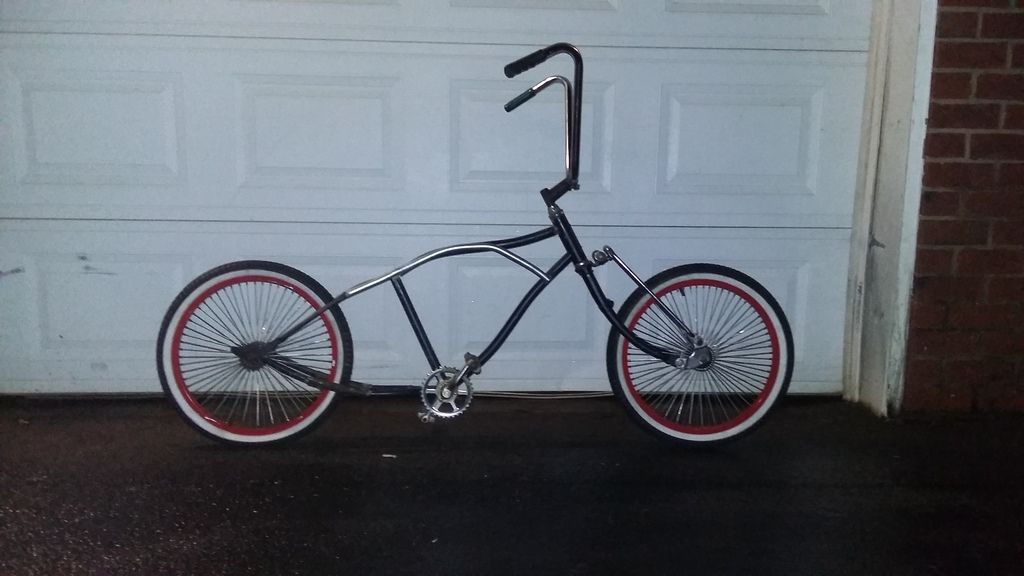
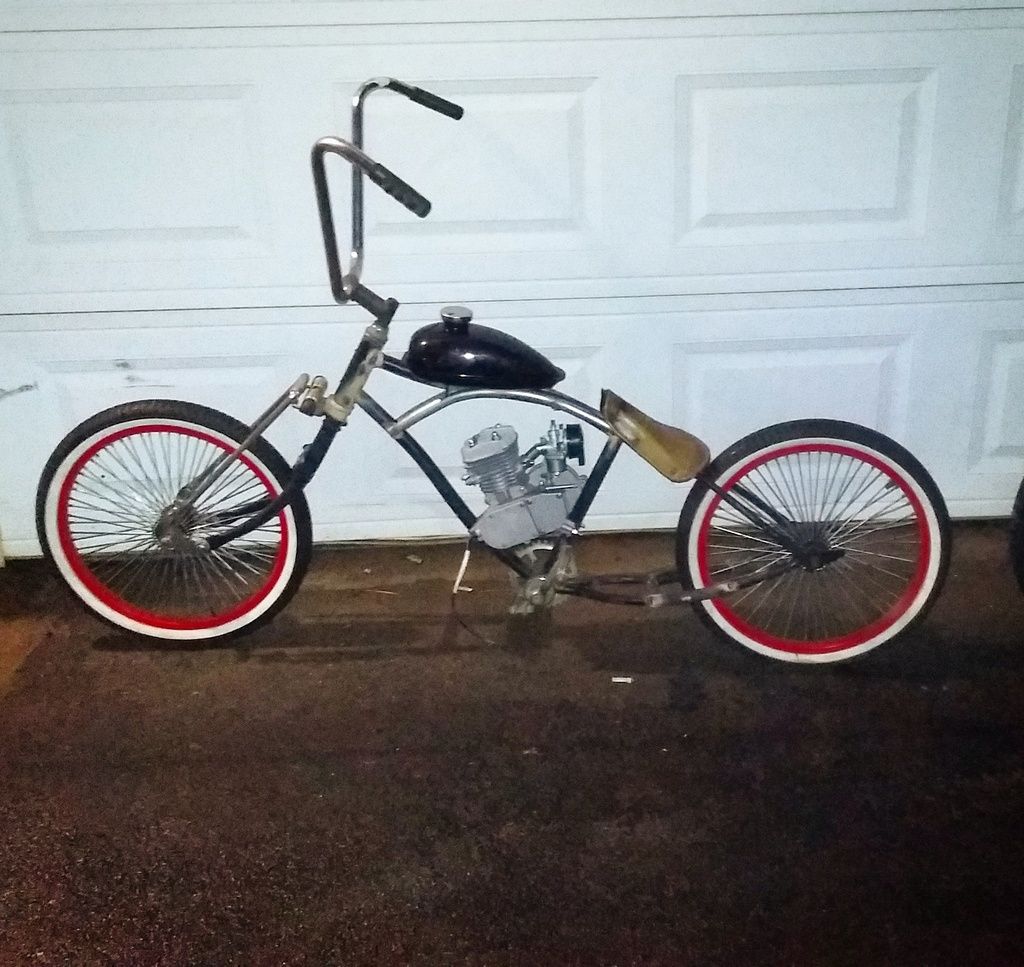
"Gender bending" 80cc 20" pedal bobber

Rat Rod Bikes Bicycle Forum

Help Support Rat Rod Bikes Bicycle Forum:

This site may earn a commission from merchant affiliate links, including eBay, Amazon, and others.
Joined
Jul 16, 2015
Messages
104
Reaction score
128
Rating - 0%
0   0   0
I ordered an 80cc kit for my other chopper build, and decided it was way too small. So while i wait on parts for it, i need something to keep me busy..

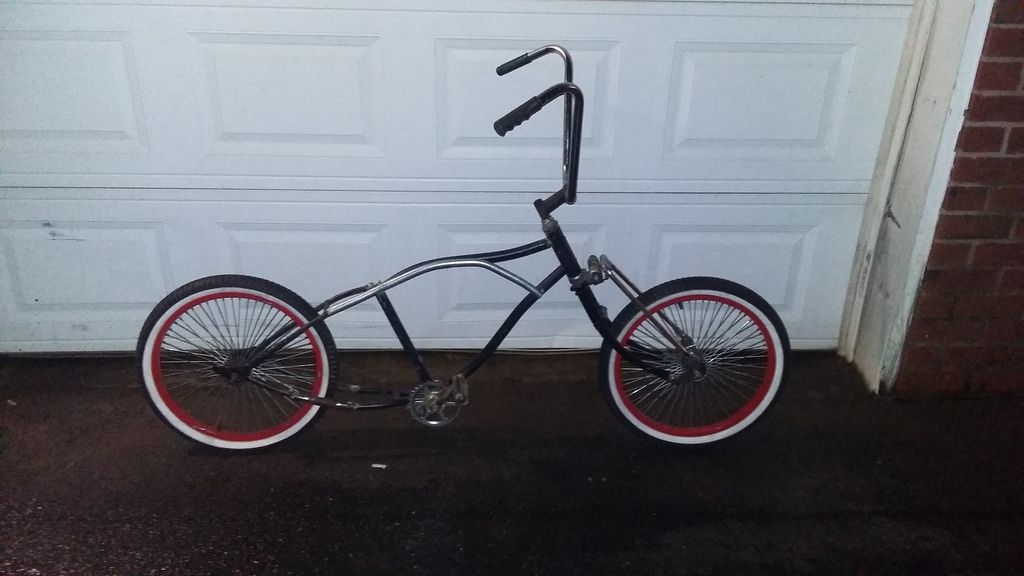
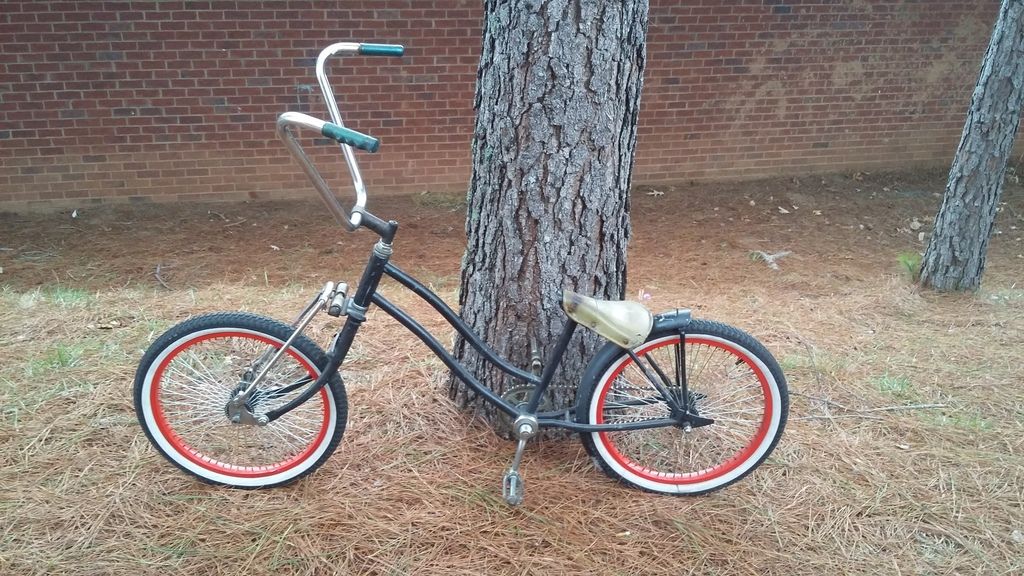
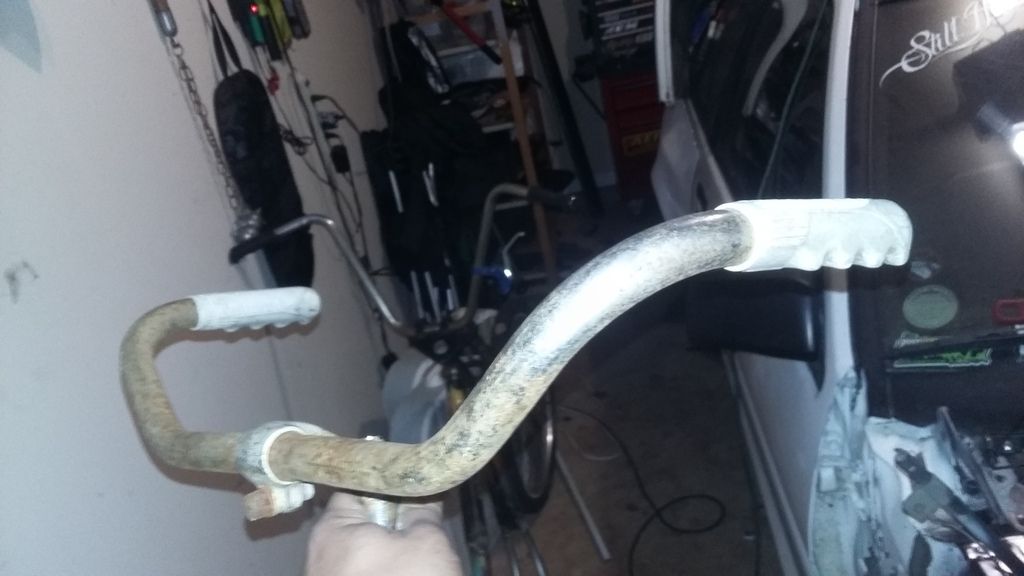
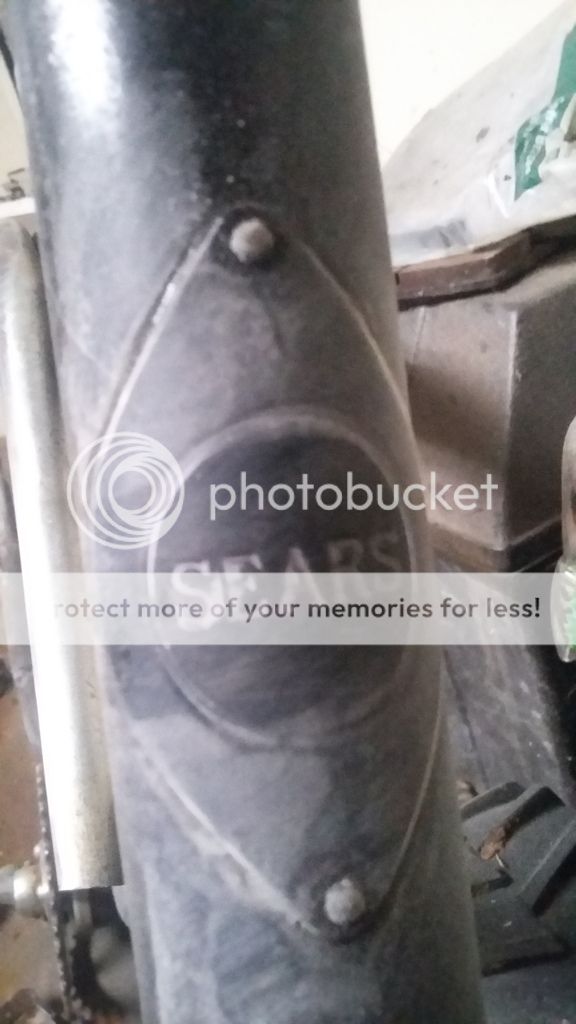
Sooo, i have this Sears 20" girls frame, that has a 26" starliner rat trap springer forks, with reversed knuckles.... 80 spoke straight laced wheels from freestyle bike, white walls from a donor girls bike, orginal sears handle bars, and space liner seat.

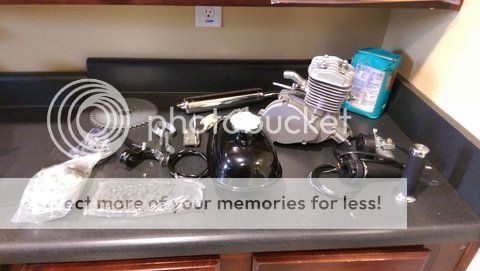
And this 80cc kit.

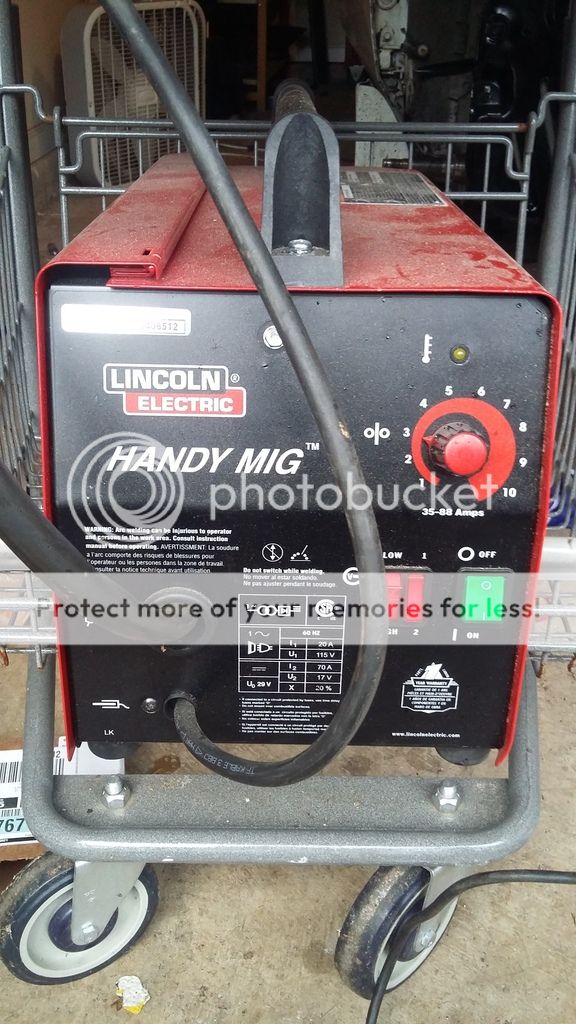
And a Lincoln mig welder.


So this:
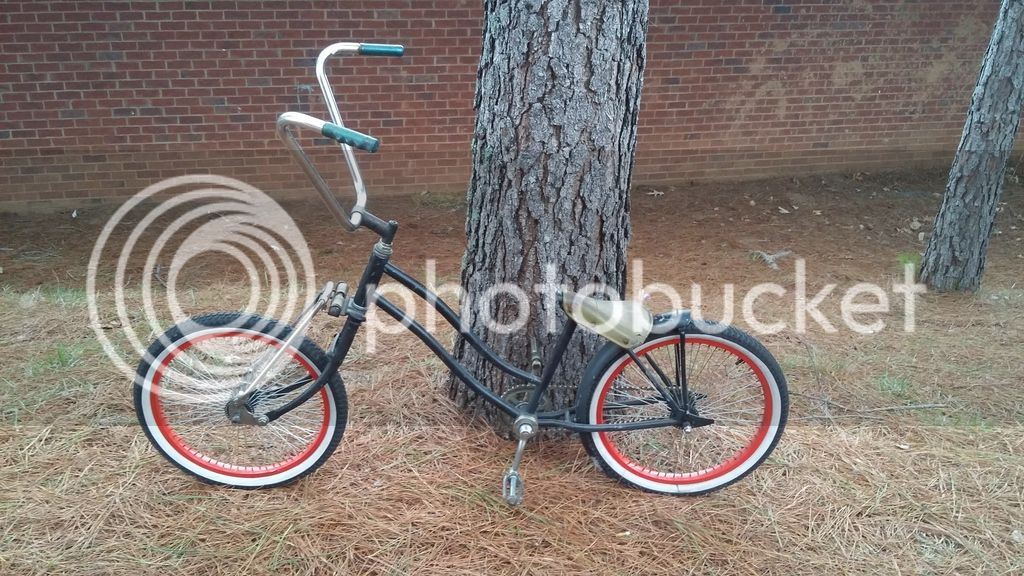
20170206_081917_zpssxkxpcda.jpg


Plus this:

IMAG1809_zpsahptvbxf.jpg


With a little bit of this:

20170206_082402_zpslgcnzwj9.jpg


Stay tuned for the venture and end result.
 
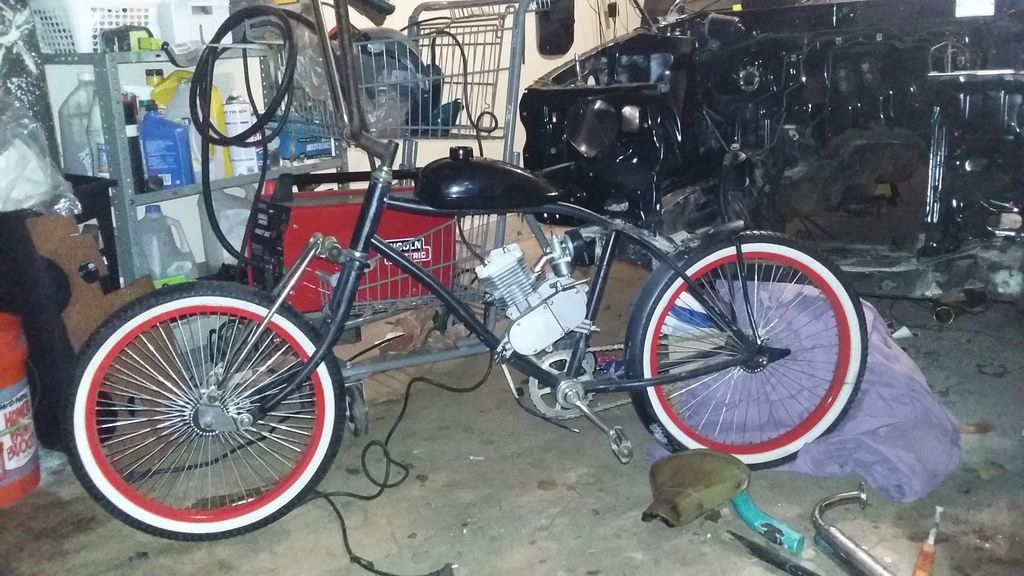
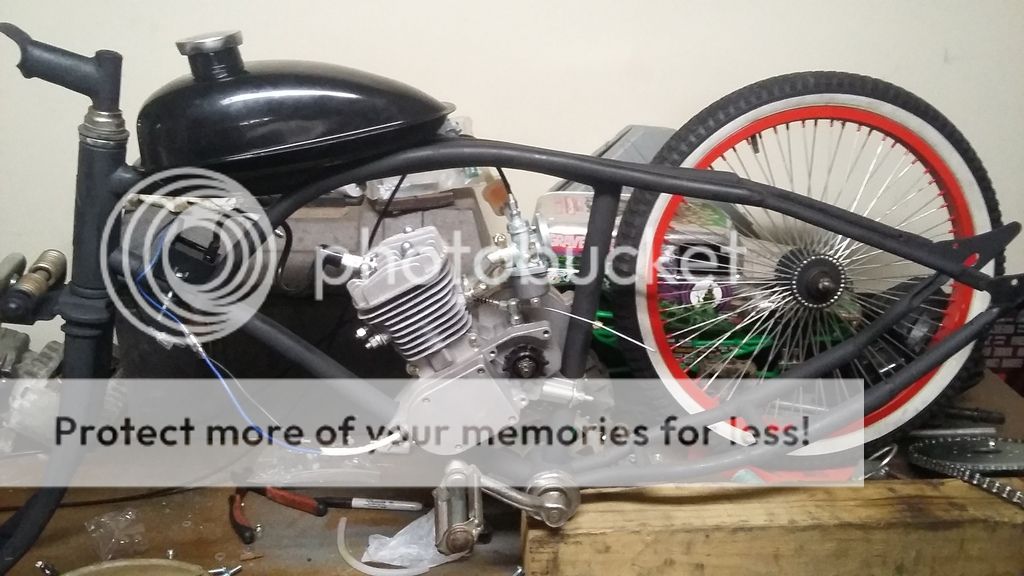
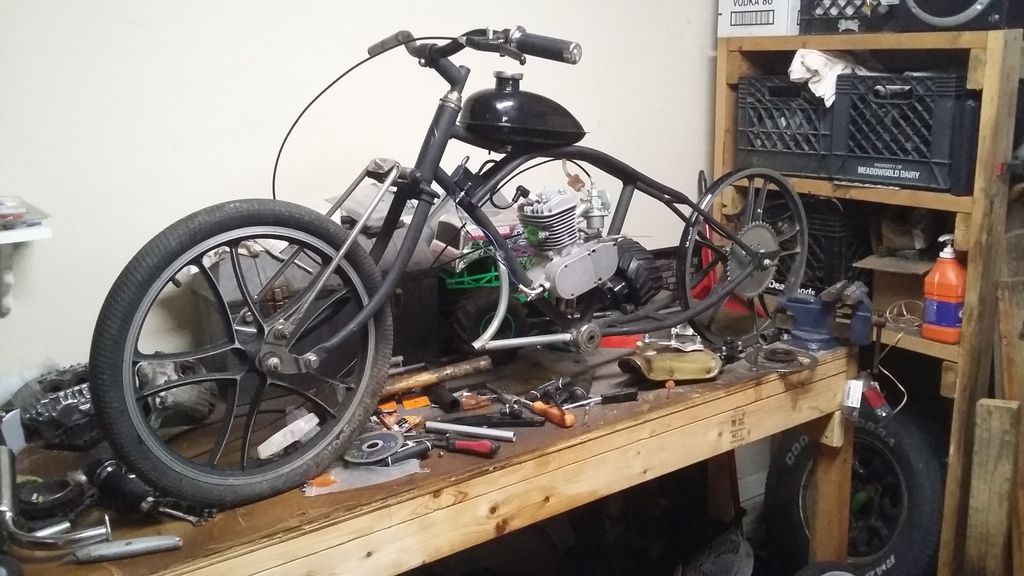
This is what i have mocked up so far:

20170206_194103_zpsjeceejta.jpg


Smh, ive gotta get at least 1 of my 86's out of a garage, so i have room to work.

Nothing is welded in yet, just mocked into place. Im seriously considering extending the rear 3-4" on the bottom, and extending the top tubes forward all the way like an old schwinn.

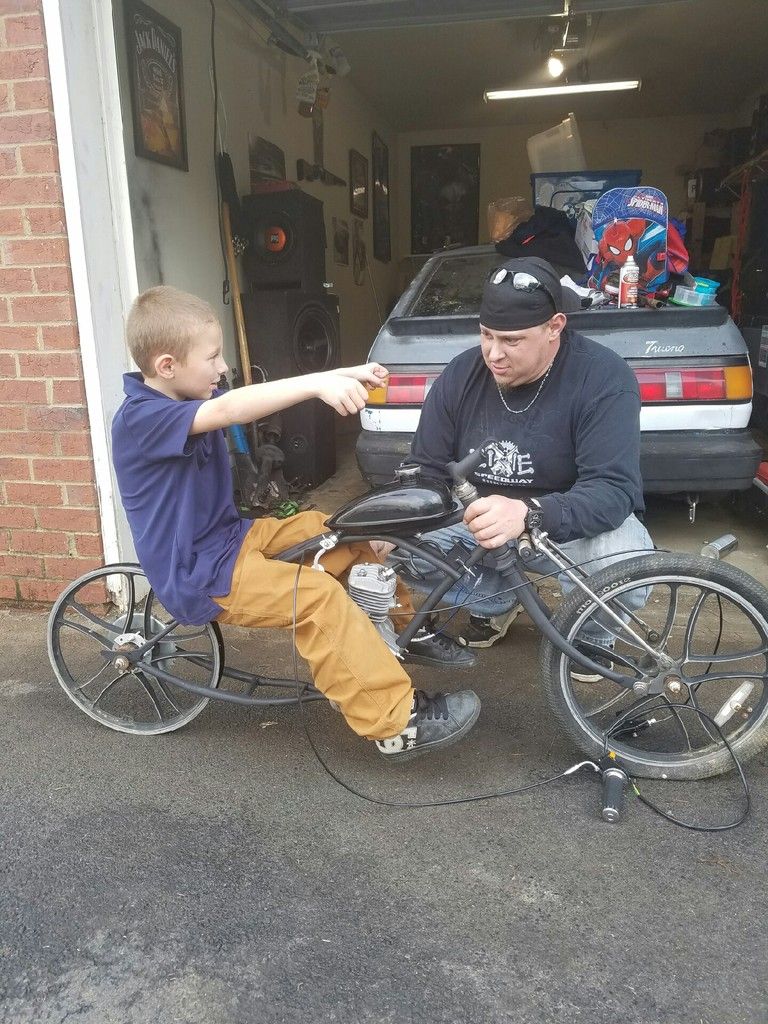
This is for my kids to ride, but i gotta be able to "test ride it" too, lol.

Sent from my SAMSUNG-SM-G530A using Tapatalk
 
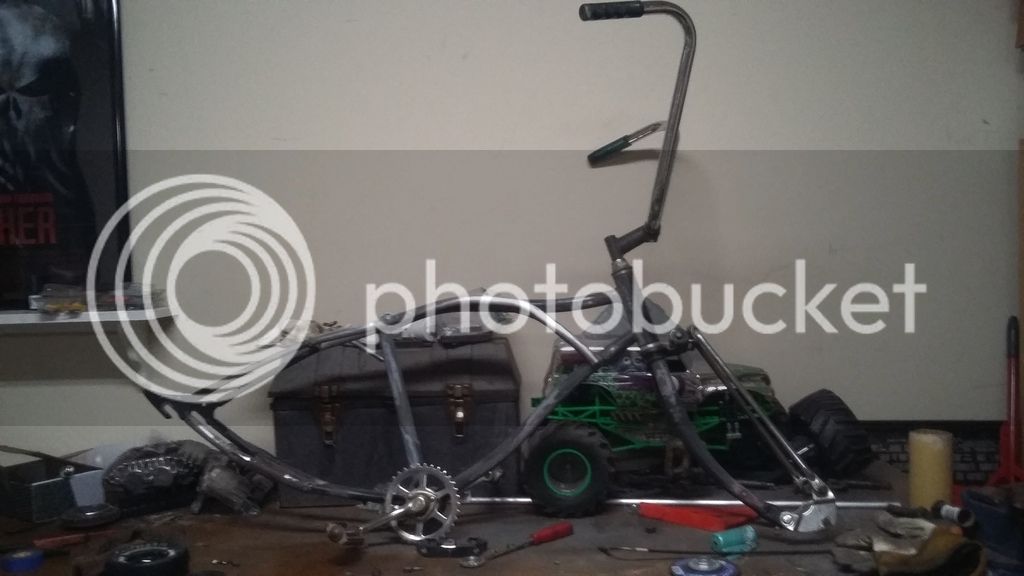
Got an hour or 2 in the garage tonight... managed to get the rear of the frame stretch mocked up. A total of 5" on the bottom chain stay, 3" on the top, with added scrambler style forward braces. Still have to make the other forward brace. Every thing tacked in place for now. When im happy with the shape, ill weld'er all up.

Current pedal clearance is 1-1/8" from the ground.

Im feelin good about exactly how it sits.


20170207_204404_zpsx4sur5jy.jpg
 
Another hour or 2 in the garage tonight.

Managed to get the other cantilever bent tonight, and all welded up. Tomorrow, ill grind any ugly spots, and strip it for paint.

Had to mock up the tank, engine, and seat just because, lol. Engine fits like a glove. Tank petcock thread hits the right cantilever, but i think i can get around it. Seating location is perfect, seating position.... needs work.

Considering my 7 year old son will be riding it, i may just add some padding to the fender for his lower back area. But also considering bending the back of the seat up to help "cup".

Hes used to riding the bike with the 14" ape hangers, but now that it sits a bit farther back, im gonna try some board trackers, and a low rise drag bar, to see which he is more comfortable with.

The big open space behind the seat post will recieve 2 rings, and be an area for a drink holder (only thing i can come up with for this area, lol. It looks so hollow)

IMG_20170208_191241_023_zpsjp7r7tnx.jpg
 
What you are able to accomplish in a couple hours is truly humbling. That bike looks awesome!
Thanks man!!! I have experience in metal work, so i might be a bit quicker in that area. Its actually frustrating to not have the things at home that im used to working with in a shop. (punch, press brake, nipper, water jet, drill press, horizontal belt sander, band saw, tig machine, aluminum mig machine, etc) just got this dainty little lincoln buzz box, with flux core. It does the job i guess.

I used to build fire trucks for a company called Southern Fire Apparatus, but they went bankrupt. Thats where 90% of my experience came from.
 
Went out to dinner with the family tonight. By the time we got back, it was too late to crank up the gringer.... so i started sanding some spots where the paint was chipped down to the original frame.

Then i realized, im not done welding, i still have to weld in a mount for the lower part of the rear fender, and the rings for the drink holder. I think i have just the thing for the rings.... more on that tomorrow.

As she/he/it, however it feels it needs to self identify, sits.


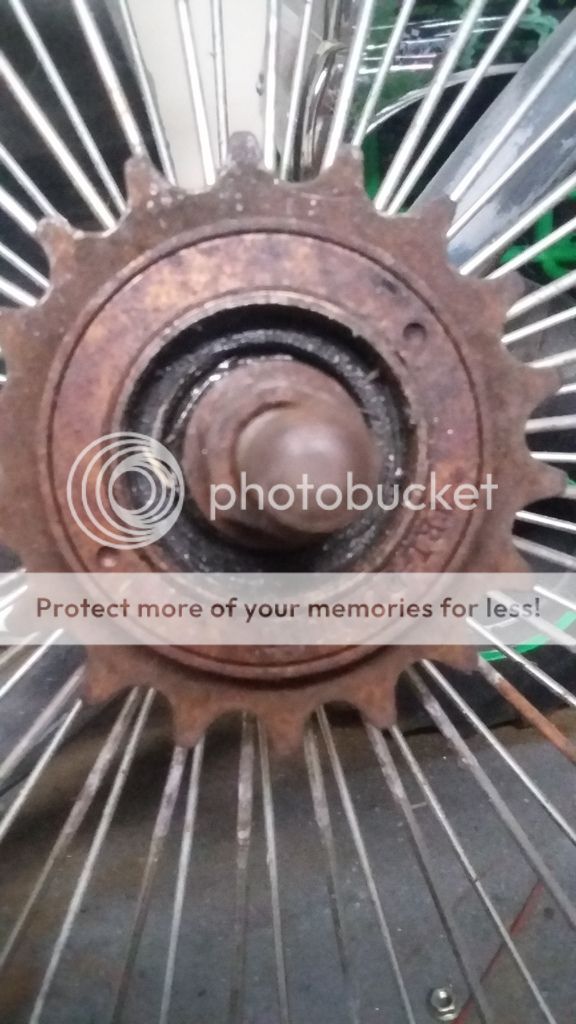
Any ideas on what tool is used to remove this free wheel? Says "tri-daimond" on it. Rims are "x-rays".


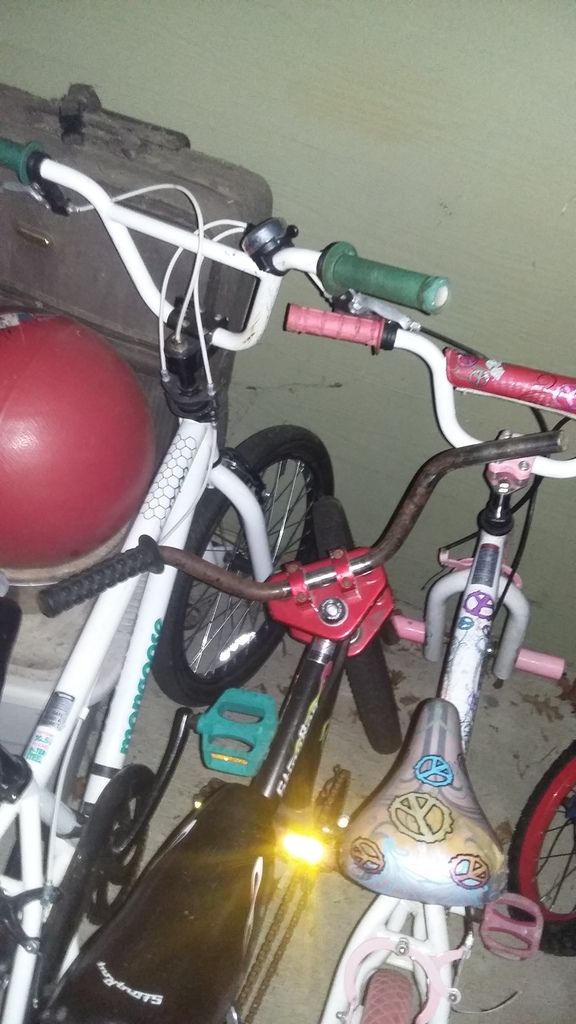
Heres the other 2 handle bar options ill be exploring:


I think the board tracker bars might put the throttle and levers at an awkward position though....

Sent from my SAMSUNG-SM-G530A using Tapatalk
 
Welp... this build presented its first hurdles this evening upon assembly.

Motor is mounted, throttle cable installed, clutch cable installed, fuel tank, carb, fuel line, coil, etc.....


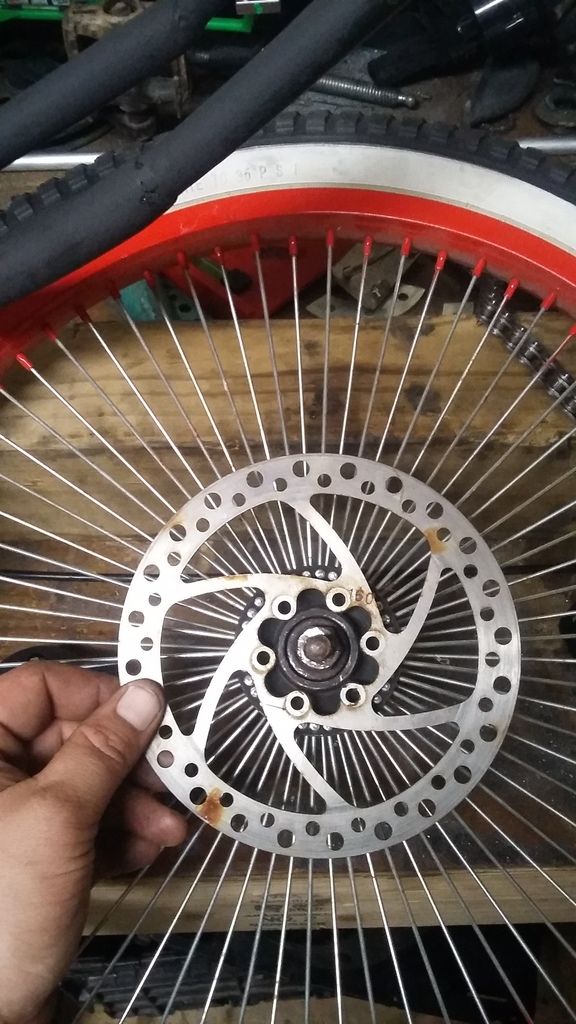
The original plan was to remove the freewheel, mark and drill the hub, install the brake disc behind it, and reinstall a different freewheel....

The freewheel is being a pain... but then i discovered this:


the hub is about 1.2mm larger than the brake disc opening. Out comes the files, dremel, and such and see if i can open this stainless disc opening up a bit.

IF i can get the freewheel OFF.

then....

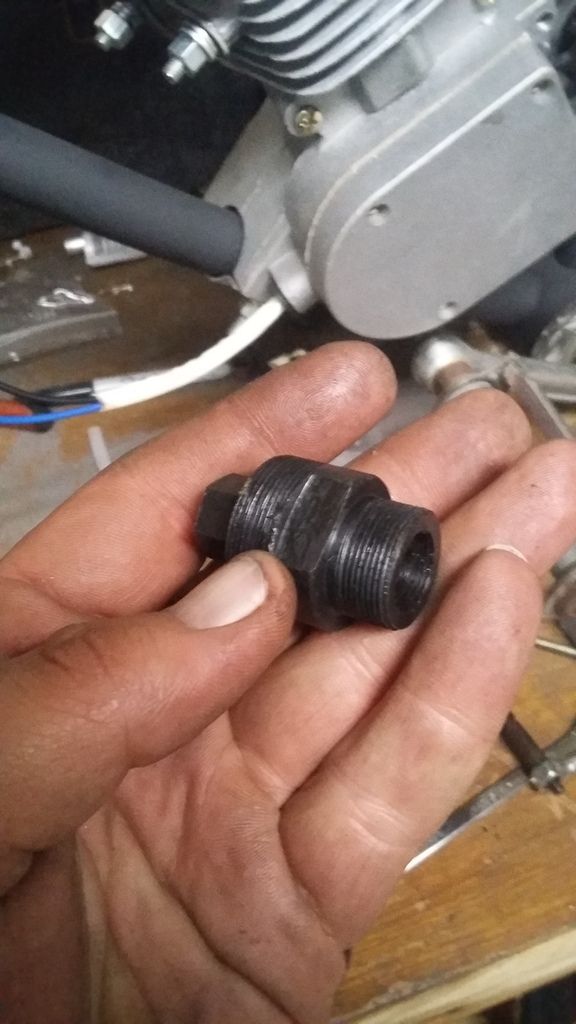
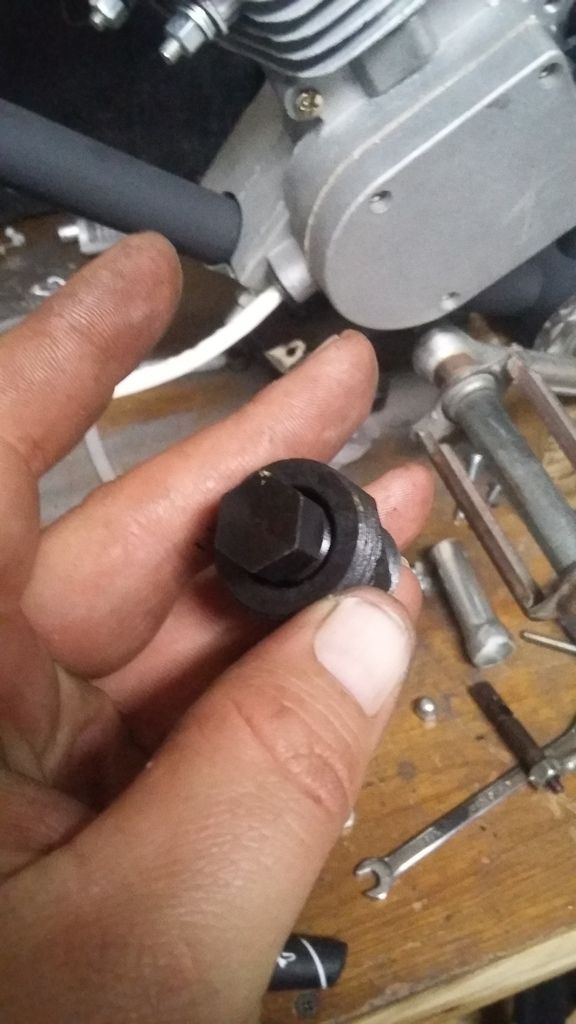
Whiskey Tango Foxtrot is this? Came with the motor kit.....


Spent quite some time on the bike today....

Learn alot, wasted alot of time figuring out what would and wouldnt work.

Thanks to the member that posted the freewheel removal link in my other post, mucho kudos!! :113:

1st, i cannot use my old school freshness wheels.... bummer. I simply cannot bolt the 44t sprocket onto them, spokes are too close. Also, i needed to rebuild the front axle/bearings of the old school wheels. Then, once i got the free wheel off the rear wheel, i then realized the brake disc idea wouldnt work..... after i spent 30min with a dremel opening up the center of the disc.

Sidenote: whenever using a carbide type cutter on stainless, gloves are a must, as i type this 6 hours later with a handful of stainless shards embeded in my hand. (Think of rubbing raw fiberglass all over your hand, yeah)

So, i hit my junkyard in search of some fitting wheels for the look of this thing, that i could bolt the 44t sproket to, with good axles and bearings.

I also found a suiting set of handlebars while i was in there.

Took the leap and decided to get rid of the pedals.... there were a few reasons, but it all boiled down to i could not get the crank seperated.

Then of course after i painted the frame, i have to weld in some stuff...


Tomorrow ill at least get some good tires on it, and get some better pics.
 
Some of those cheaper freewheels dont have the notches to remove them with a tool, you can take off that cover plate with the two holes, dump the guts out, clamp the hub in a vise and turn the wheel to break it loose, but this will of course destroy the freewheel. Your mystery part is a puller tool for the clutch or flywheel rotor.

Whiskey Tango Foxtrot is this? Came with the motor kit.....

 
Thanks for the tool clue!!

Yeah i got the freewheel off today then realized i cant even use the wheels it was on :(
 
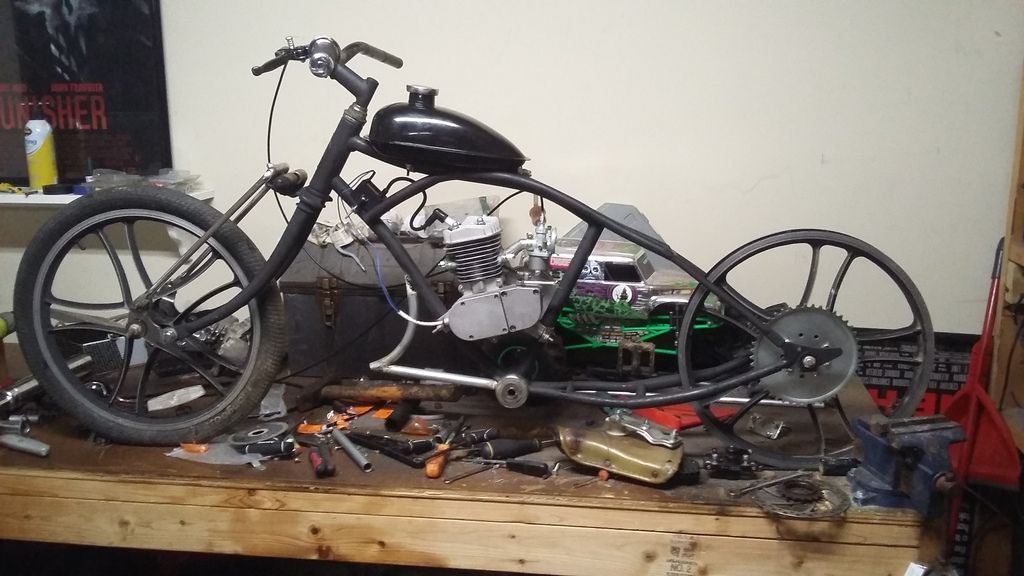
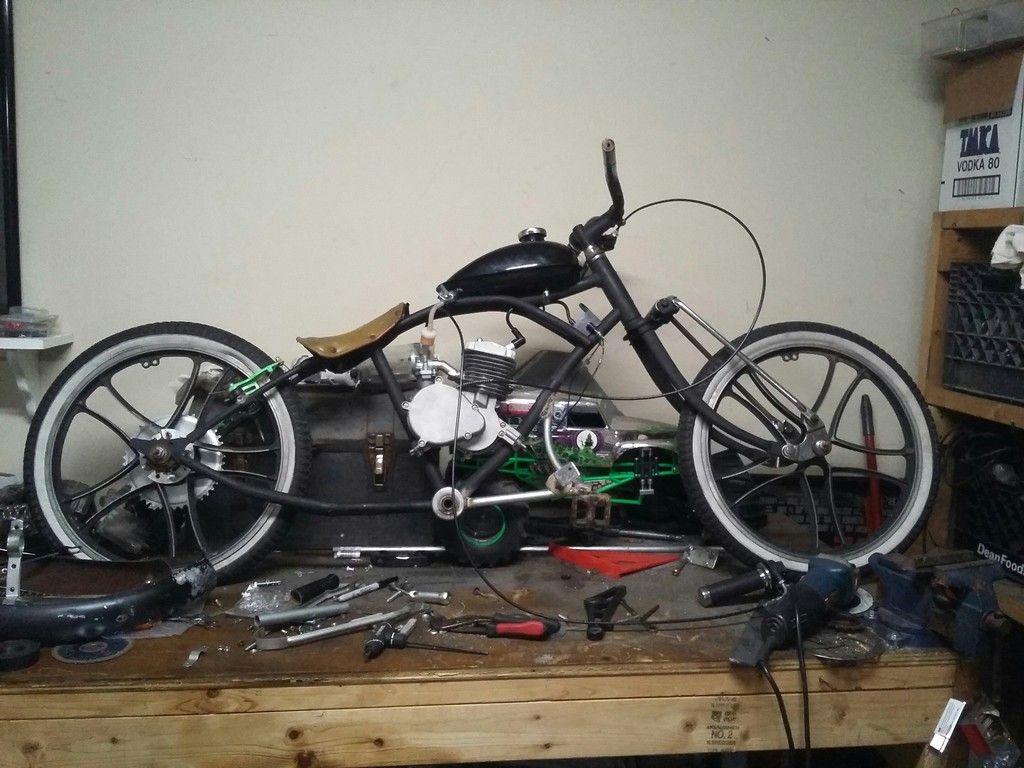
I know its hard to tell whats going on with this thing on my bench, but heres whats been done:

1. Pedals are gone, i absolutely could not get the old sears 3 piece cranks free'd up, penetrant, torch, even drilled the pin out, no cigar. Heck with it, pull start on the way. Im hoping..... that with my son and bike being a combined weight of maybe 100lbs, 20" wheel, and a 44t sprocket, which is a 4:40 ratio, will start my son from a dead stop with proper clutch actuation.

2. Foot peg perch, and peg mounts made/fabricated in. Ordered some actual motorcycle 80's style honda foot pegs.

3. Cantilever brake studs welded in, with cantilevers mounted, started working on the foot brake pedal mechanism.

4. White walls on the aluminum wheels.

5. Bent the seat tray, for more coccyx support. Working on a springer frame for it, using old toyota 22r valve springs.

6. Gathered an assortment of fenders for the rear, test fitting, and seeing which suits it.

I like to give my bike a one footed push before using the clutch to get it going but it will start me from a dead stop with the same gearing and a 20"wheel as you have. I weigh just under 170lbs. My brother who is about 230lbs got going fine also with minimal pushing. Your setup should work nicely.
 
I like to give my bike a one footed push before using the clutch to get it going but it will start me from a dead stop with the same gearing and a 20"wheel as you have. I weigh just under 170lbs. My brother who is about 230lbs got going fine also with minimal pushing. Your setup should work nicely.
Thanks for that confirmation, seems no where ive looked online can i find info on these on 20" wheeled bikes, for obvious reasons....

Whats your top speed like? 20ish mph?
 

Latest posts

Back
Top