INDIAN SUMMER

Rat Rod Bikes Bicycle Forum

Help Support Rat Rod Bikes Bicycle Forum:

This site may earn a commission from merchant affiliate links, including eBay, Amazon, and others.
Joined
May 27, 2010
Messages
29
Reaction score
0
Location
Queens, NY
So me and my brother have been building customs bikes for the last few years, and I do believe it's come time to compete in our first build off. We've built quite a few bikes and I do believe I own what may become my first rat rod build off entry.

This is going to be quite a massive undertaking, so I'll begin with how I found this bike.

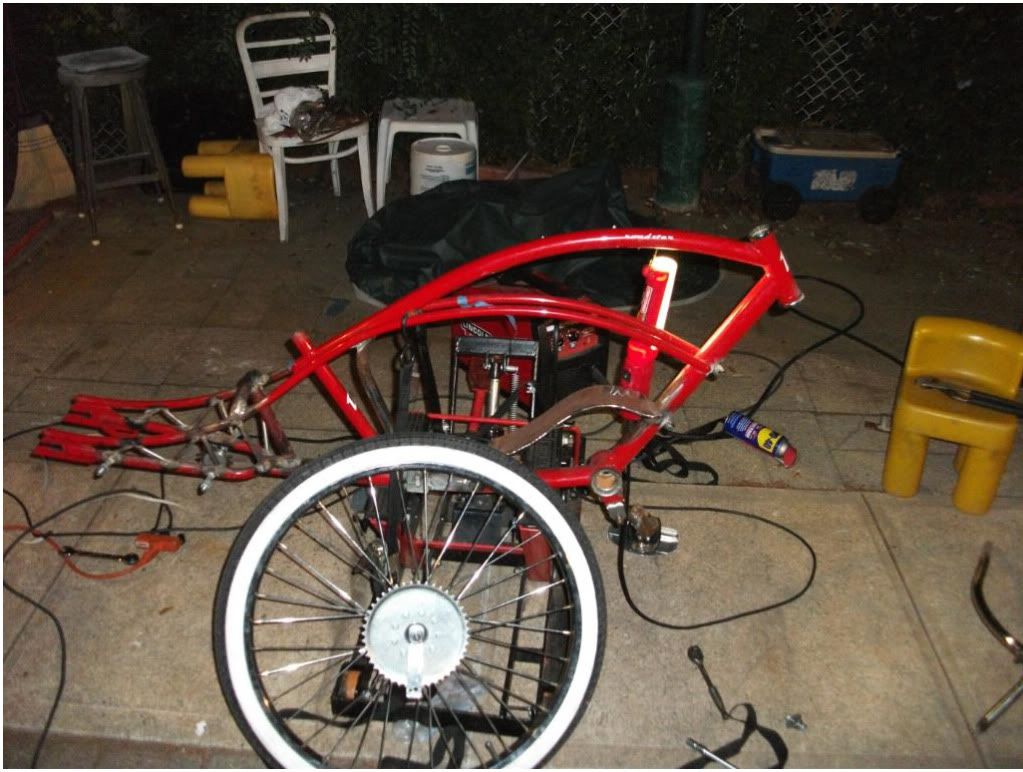
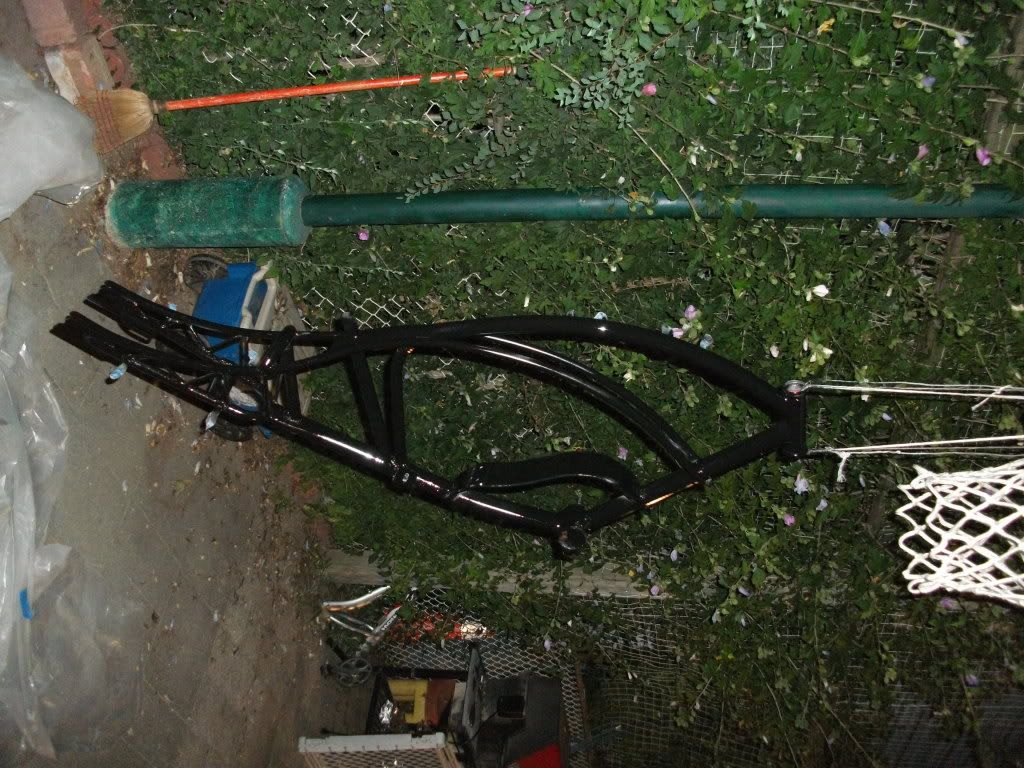
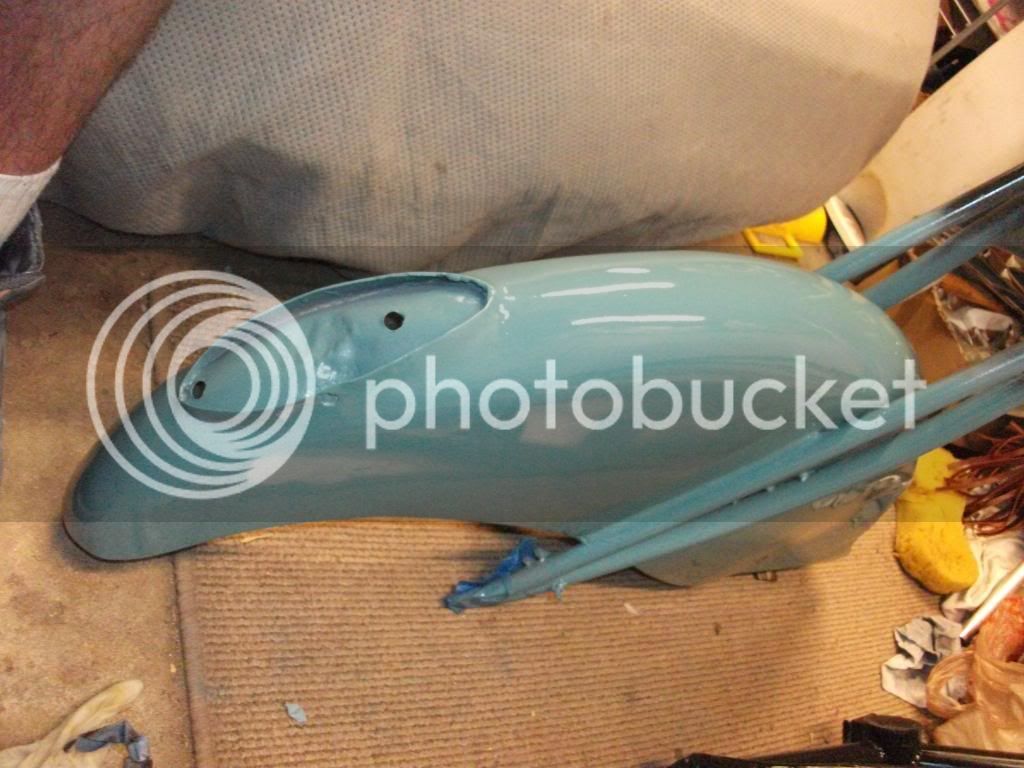
Couple of months back I found an early 2000-something Dyno roadster stashed behind someones garbage cans. I was riding by in my car and all I saw was a long red frame behind a few old garbage cans. I immediately pulled over and jumped out to go take a closer look. I've become a pro at spotting junky gold on the ride of the road. I knocked on the door of whoever it was who was living there and asked them about the bike. An old woman with curlers in her hair answered the door looking disgruntled. She said it was her sons and he doesn't ride it anymore so I could have it if I made an offer. Tires were completely flat and the fenders were thoroughly rusted. I told her 40 bucks and she let me have it. I gave her the $40 and told her I'd be back in a few hours to pick it up. I came that night and scooped it up in the back of my brothers vintage (aka beater) corolla and only when we pulled the bike out from behind the garbage cans with all the leaves on it did I realize that the bike was as cool as I had thought, with its huge swooping fenders and extremely stretched out frame we never saw anything like it.

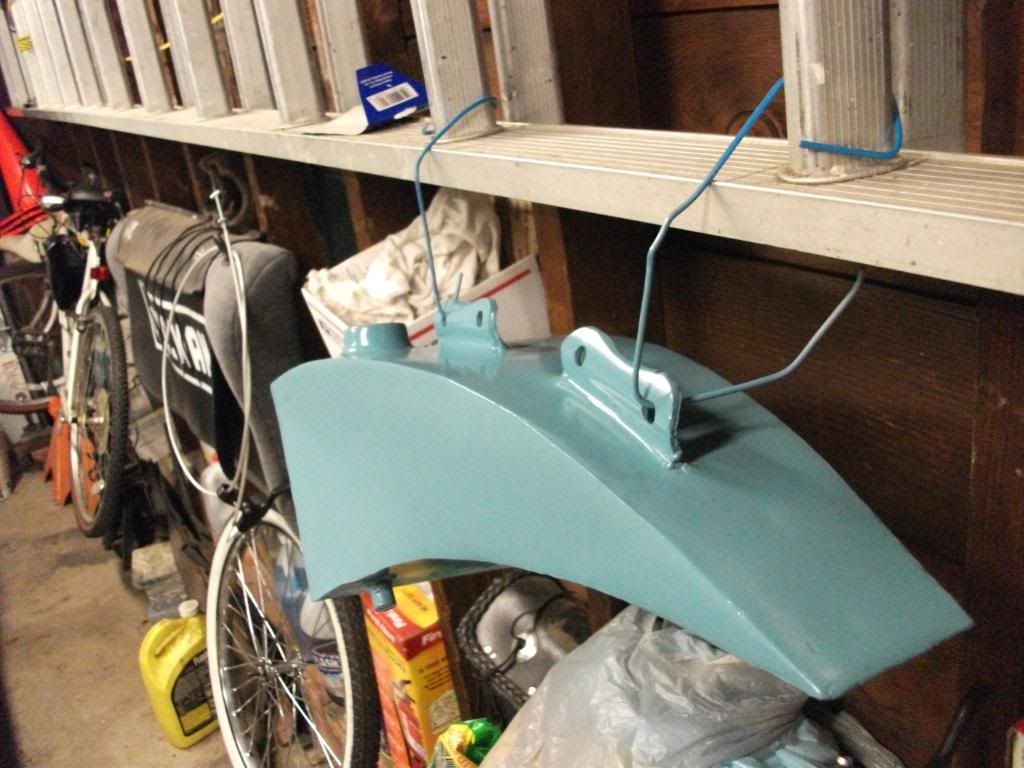
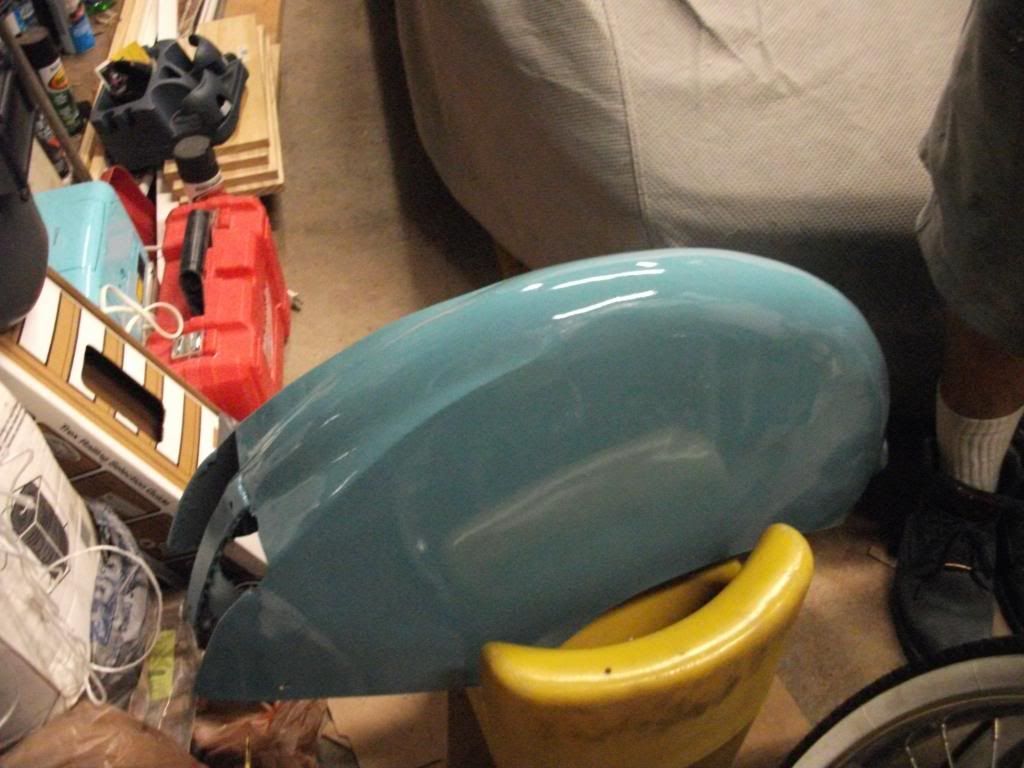
Ever since, the bike has been sitting in my basement and ideas have been swirling in my head about an Indian-style motored bicycle. I believe the idea will be to fabricate a steel gas tank in the frame with Indian style swooping fenders just like the classic Indians of the 30s and 40s. Im not sure of the color just yet but the red that the bike is now looks great. Im going to work on some mock up photos of what the bike will look like when it's done. As it is now I know we are going to be cutting it .... close with an August 1 deadline, but I do think if we dont run into any major issues, we can definitely get her on the road by mid-July and hopefully iron out all the wrinkles by the deadline.

I will post some photos when I'm home from work.


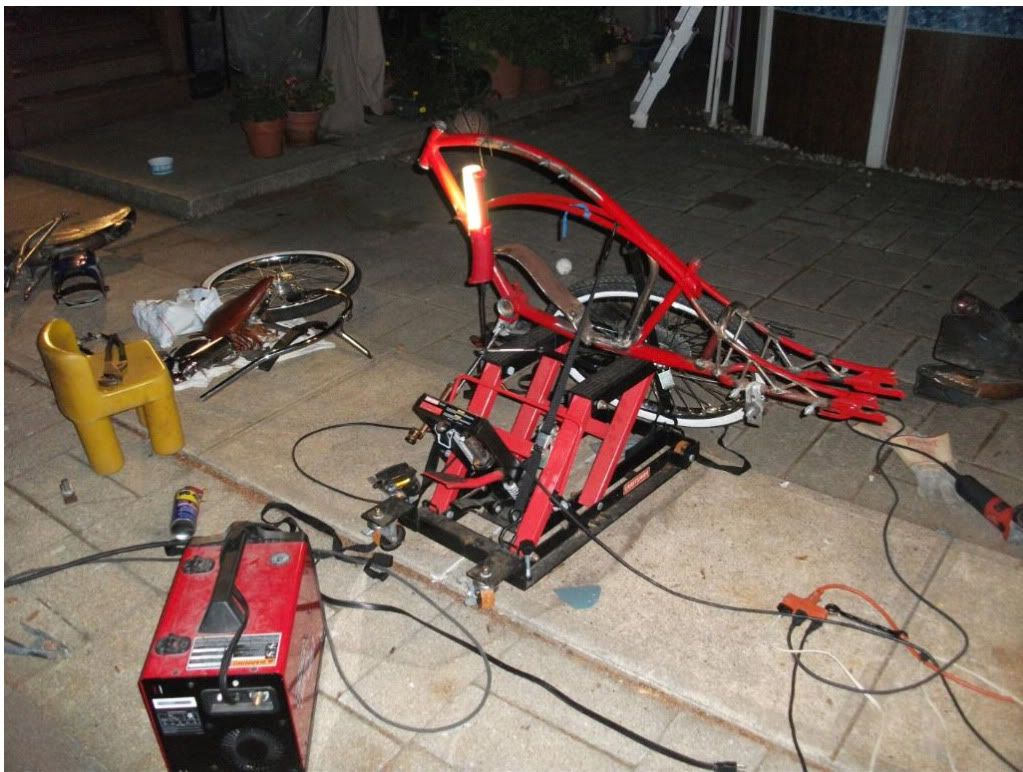
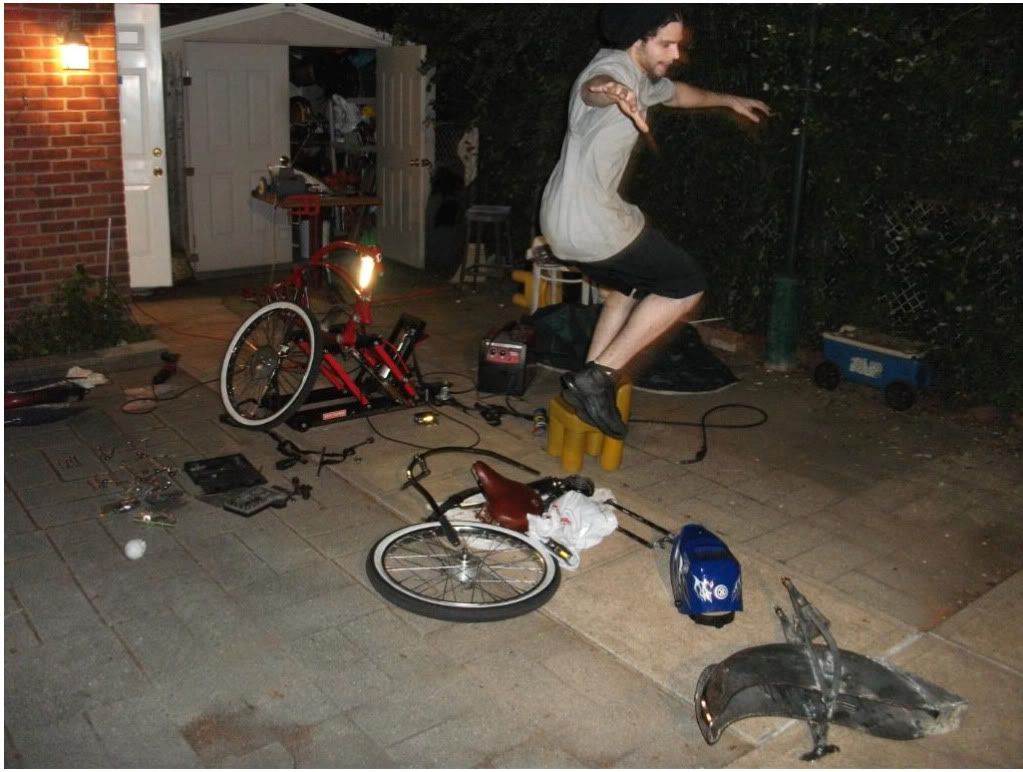
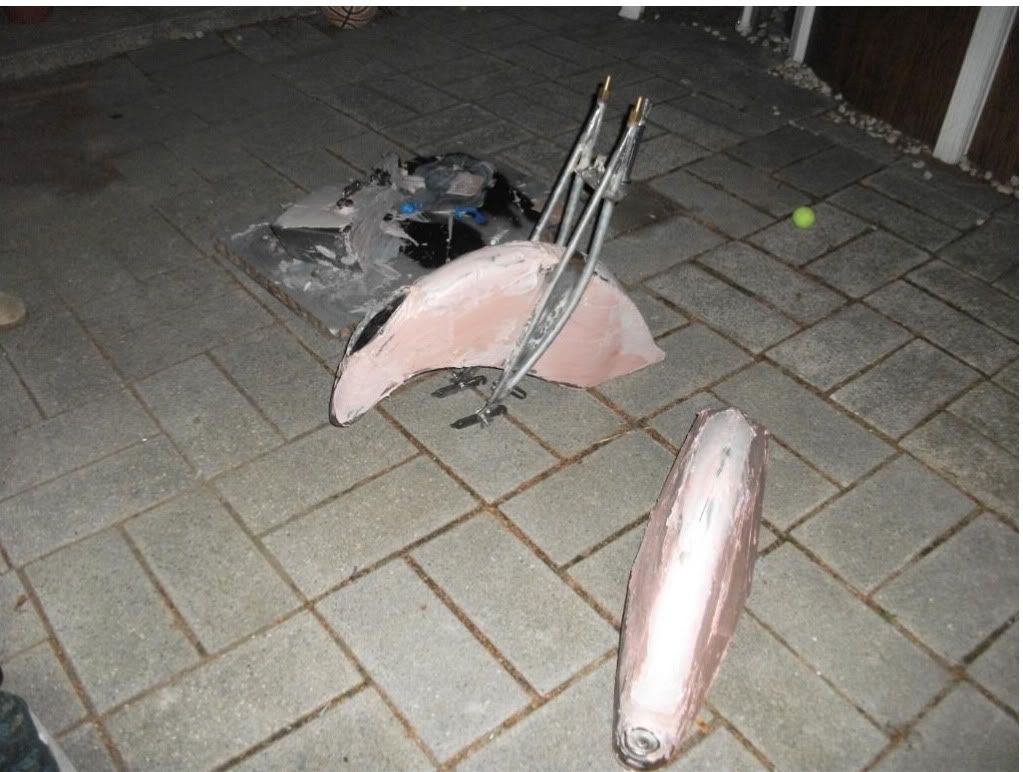
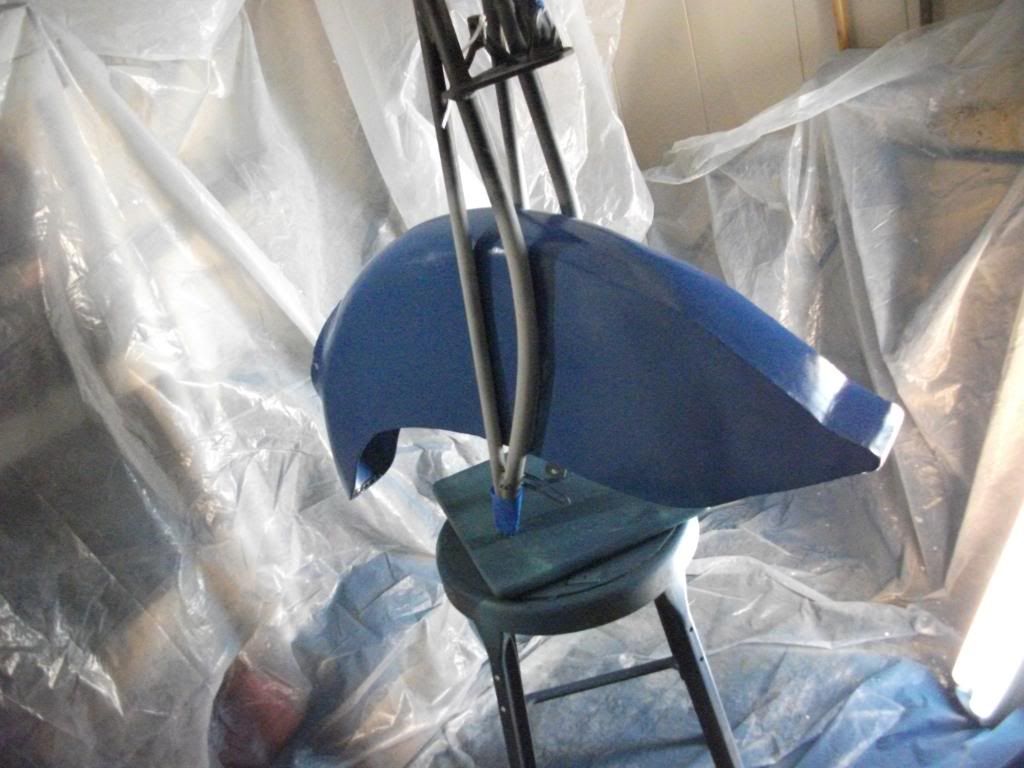
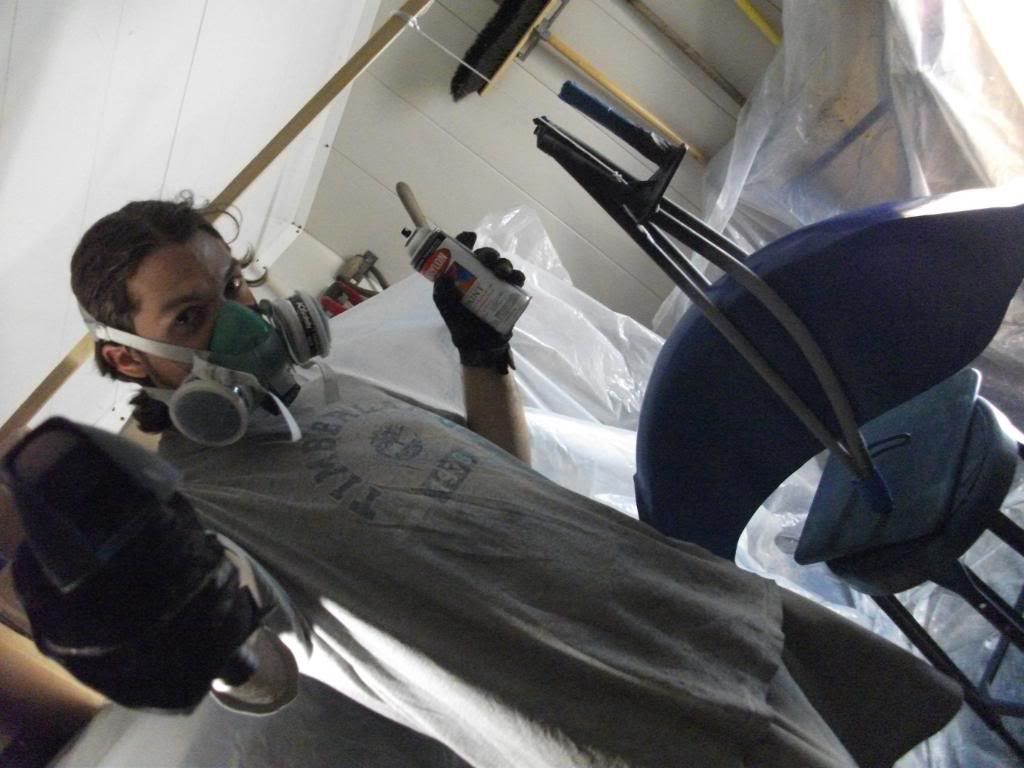
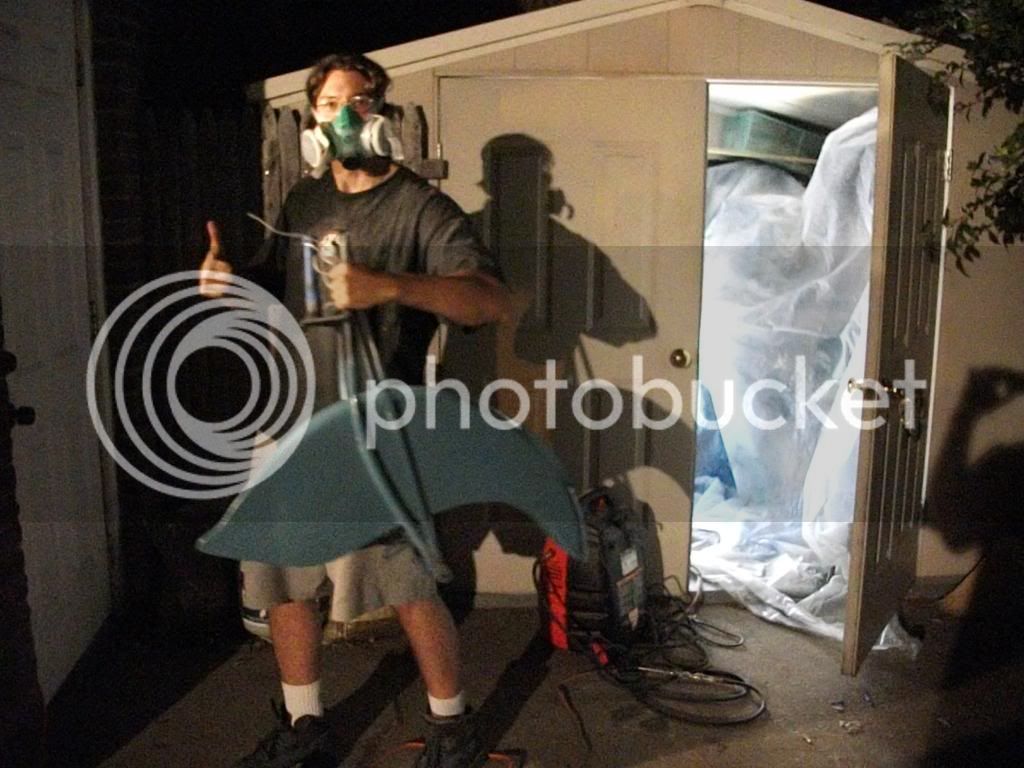
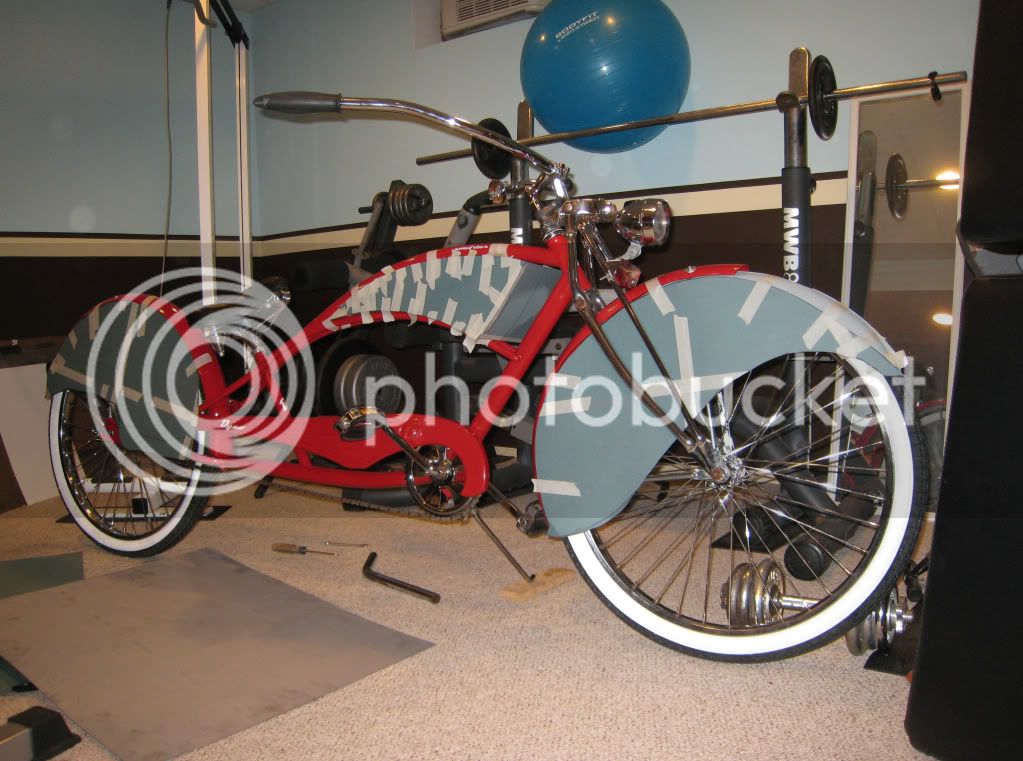
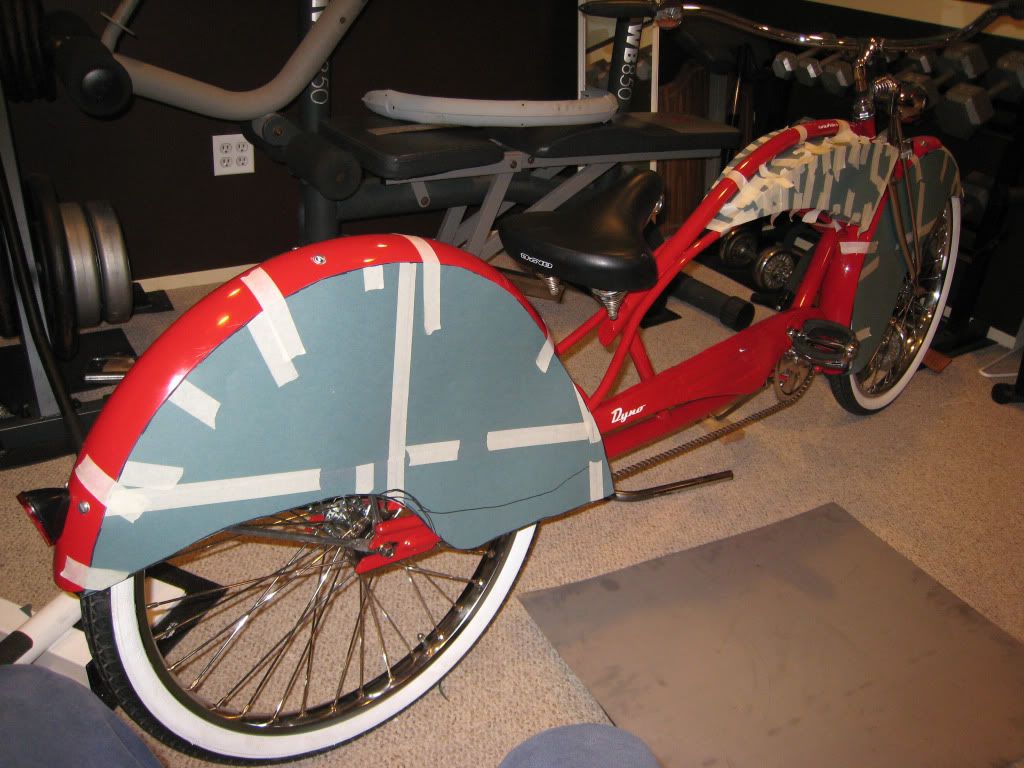
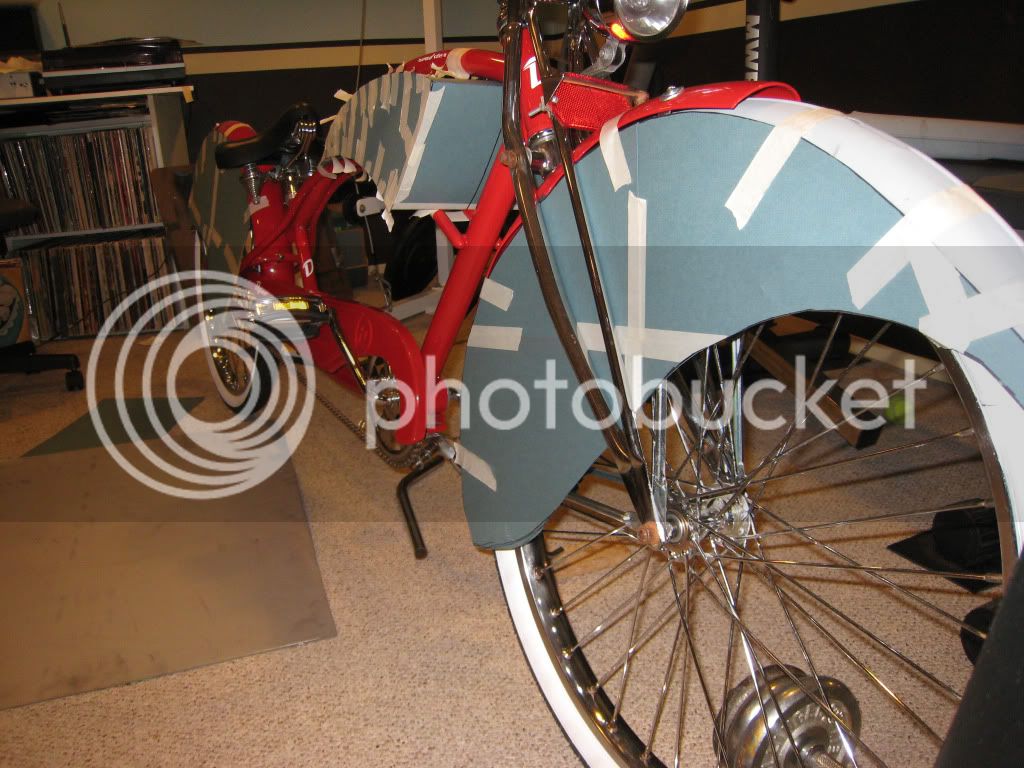
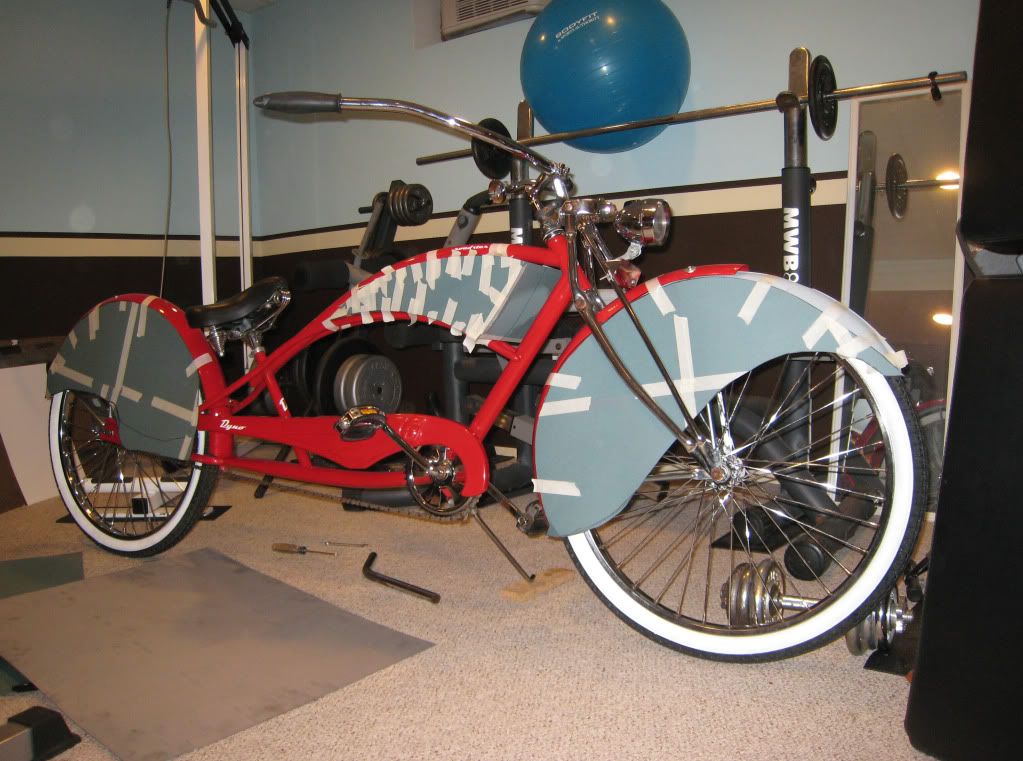
I got extra excited about the build tonight and just mocked up the fenders and tank with some thick paper stock. these will serve as my templates for cutting the sheet metal. Hopefully the sheetmetal fab will take no longer than two weeks. while we mock up the sheet metal I'll also have to be fitting the motor to make sure I have clearance for both drive chains and plumbing, exhaust, etc. tomorrow will begin disassembly and stripping the fenders to prep for welding.


indianmockup-1.jpg


indianmockup4.jpg


indianmockup3-1.jpg


indianmockup3.jpg


indianmockup.jpg
 
Have fun! Dyno Roadster, my favorite bike....I be watching!
 
Hey guys, It's the first week in July. How about an update? I can't believe you got that Dyno in that condition for $40.00. SCORE!
 
So it's been a crazy last few weeks for me and my brother between work and all the other stuff, its been tough to find time for building let alone posting my progress. This is as good a summary as I can give of the last few weeks of long weeknights and really long weekends just trying to get it all done so that I can ride!

Since my last post, there has been a ton of sheet metal work and prepping the frame, as well as building a front end from scratch.

The sheet metal work has been challenging to say the least. I used mild steel sheet metal to enclose the stock dyno fenders and give the streamlined look that we were going for. the front fender needed an extension in the front so we fabbed one up from an old fender we had from a worksman project. the rear fender was a bit easier, and we ended up using the housing from an old glass lens 12V motorcycle taillight which fits perfectly onto the rear fender. we used more sheet metal to blend the light seamlessly into the back of the fender. we also had to mount the indian head onto the fender with sheetmetal. Once we get all the paint done, I plan on integrating an LED flashlight into the housing.

After the fenders were finished, it was time to conquer the tank. I spend a good two days on the tank fab and had to re-use the filler neck and fuel cap from the stock peanut tank. one of the more challenging parts was figuring out how to mount the tank. I ended up using knuckle style mounts which hang the tank from the top of the frame using four space bolts welded to the frame and then the tank slides over them and bolts down.

The idea for the front end was based on the design of an early thirties Indian leaf spring. The forks were fabricated from standard 3/4" pipe which were bent into shape on a jig to the specs we laid out on cardboard to ensure accuracy. Once they were bent the two 1/4" thick triple trees were fabbed up using nothing more than my walker turner drill press, grinder, and welder. the rockers were a design also based off of a thirties Indian design with spurs on the end and vertical dropouts. The front leaf spring mount was bent up in a vice from a plant stand made from mild steel. The leaf spring was originally made to be used with a small buggy type off road vehicle. the thickness of each spring is roughly 7/32" and we are still doing some final tuning on how many leafs to use. Right now we have 2 in there, but it seems like we will end up adding another for a stiffer ride. I do expect this ride to be fast.

the frame was a royal pain, and mounting the motor seemed to be more of a challenge than we had anticipated. Once we decided where the motor would mount, I had a piece of 1/4" rusty plate laying around that I found in a schoolyard a while back. I figured if it's thick enough it shouldnt vibrate excessively and would be a great addition to the frame. I havent run the motor yet, so im just hoping it will be nice and smooth. after the front mount was done, we used some old handlebars to make the rear mount which really ads a nice touch to the frame. you should be able to see it in the photos of the red frame before it was painted.

While the front end sat in the rockers, the wheel was aligned by eye to sit perfectly vertical on the ground, everything was measured correctly, tacked into place and then we were able to take it apart to do some finish welding. Only once the front end was fabricated could we get to mounting the front fender.

as the bike sits now, yesterday I laid down a nice coat of black appliance epoxy on the frame (yes, its hanging from a basketball hoop). the front fender has been mounted to the front forks and rear fender is also finished with fabirication. the tank, front fender and rear fender all sit in a HEAVY, may I repeat, HEAVY coat of bondo. and more coats of bondo to come. keep in mind, we have not sanded yet. looking at this bondo is similar to looking at a really ugly woman who is wearing no makeup. you are correct, we dont want to do it either. ok, no more 'beer'.

Once the bodywork is done we can move onto paint.

color is still up in the air.

Anyone have any suggestions?

framered.jpg


redframelift.jpg


moesjump.jpg


steelfrontfender.jpg


morebondo.jpg


DSCF2503.jpg


DSCF2505.jpg


Our apologies for the spotty coverage. I'll try to take some more photos and put them up but we only have about 3 weeks left for finishing everything in time for the deadline. This one is going to come close.
 
That thing is going to be a beast!
 
It appears you are capturing the spirit & style of the Old Indian M/C. Keep up the good work.
 
IT CAME FROM THE SHED!!

So its been hot as heck here in NY and we've mostly been saving our work for the evenings. Its been really crazy trying tog et all the bodywork done and compiling all the small hardware for the front end, etc. thank g-d for sears hardware! This build has been one for the ages. I'm still waiting on the Indian badges that are going to be put on the tank and some of the detailed parts. last week we were able to button up the exhaust fab which was a pain and mounted it up good and solid.

before the weekend we finished up all the bondo and I was satisfied with the way it all turned out so we got some color on her over the weekend. I used a base of dark blue and then a top coat of a aqua-blue-green color which looks perfect for the bike. it was heck to find the cans in this color but I found an old paint shop with krylon cans in it that were 10+ years. they still worked great.

color came out really nice and I'm hoping to begin aasembly tonight and tomorrow if it doesnt rain. Assembly should go together pretty smooth given all the parts didnt move and shift through the finish welding process. I did get the motor on this morning before I left for work and began to run some of the wiring. this one is really gonna come down to the last few days.

my girlfriend hates me right about.....NOW. I threw some photos in there from a Kulana that I found in someones garbage...complete bike and will be good for a RAT.

this build is freakin SITCH!!!!!

DSCF2556.jpg


DSCF2560.jpg


DSCF2553.jpg


DSCF2555.jpg


DSCF2557.jpg


DSCF2552.jpg


DSCF2562.jpg


DSCF2563.jpg


DSCF2508.jpg


Enjoy!
 
BUILDERS LOG, JULY 25th 2011

THE INDIAN SUMMER IS

10 BEERS DOWN PLUS SOME MANGO.


COMPLETION IS NEAR


So this weekend was a long and strenuous one trying to get the paint right. Paint on the fenders and tank are complete although the first few coats went great,the rest fought us to the bitter end. the clear coat had a strange reaction with the base coat. not sure why, but ive had this happen a few times for me. different paint manufacturers use either laquer or enamel or exopy as a base and they dont all blend if sufficient time isnt given between applications.

While waiting for the fenders and tank to dry, We mounted up the front end and figured out we had to use another leaf in the spring pack for sufficient suspension firmnaity suspicious of sackreligious slandering. So we cut and added another spring to the pack. Just have to slop on some more thick & heavy rustoleum undercoat.

allow me to say something---this bike is massive. its by far the heaviest bike I've ever ridden. the sheet metal weighs the bike down a ton and the bodywork didnt seem to help her any. but boy does this bike glide nice. i took her for a neutral ride down the block with my bro pushing me and it just slid along foreverrrrrrrrrr. rides straight as an arrow down the road too.

So once the front and rear fenders were on we mounted the motor, and then mounted the tank on the frame (once we opened up the holes on the mounting tab). I got the tank emblems in the mail the other day (genuine indian) and we got those formed to the curve of the tank and mounted them in place. They look great and really dress up the bike and make her look official. I still have the pouch for the batteries in the rear taillight and the handlebar grips to go.

Buttoned up the leather skirt on the seat with some brass book-binding rivets and installed the seat. The seat really makes the ride nice and looks aweswome too with the super long fringes. very appropriate for this style of bike.

We also fabbed the pedals out of some aluminum foot pedals from a wheelchair and screwed them down onto the rubber in the pedals. In order to counterweight the top metal, I cut and zip-tied lead weights on the bottom of the pedals so that they always hang correctly. Im gonna make some leather fringes for the pedals also to hide the uglu,ugly weights on the bottom of the pedals. put the headlight on and make my brother work out the button tomorrow.

Tonight I'll hopefully mount up the chains, complete some of the wiring and try to start her up. the grips will go on smooth I hope without having the lengthen any wires. I also have a pull-start for the motor which ill install which makes starting so much easier.

I think we might actually finish this crazy build on time, as long as the motor runs well and the fuel tank doesnt leak!!

check out some photos....

DSCF2591.jpg


DSCF2593.jpg


DSCF2594.jpg


DSCF2595.jpg


DSCF2596.jpg


DSCF2597.jpg


DSCF2598.jpg


DSCF2599.jpg


DSCF2601.jpg


DSCF2600.jpg


DSCF2595.jpg
 
Holy cow!!!!!
That is a piece of art!
So many bad a.zz details.
I like the pedals.
 
This bike is SEXY!!!! haha :lol:
 
I have owned several Indian Chiefs in the past; would love to add this beauty to garage harum.
 
HOW MANY VOTES DO WE GET ?!? THIS BIKE IS CRAZY KOOL. I KNEW IT WAS GOING TO BE LIKE THIS . I JUST HAD A FEELING YOU WOULD PULL IT OFF. SWEET!!!!! I AIN'T GOT TO TELL YA TO ....GET TA BUILIN'!! PEACE
 
So after a grueling build schedule and way too many late nights, the bike we have dubbed 'Indian Summer' is complete.

Since last time, we've finished just about every piece of fab and I'm gonna try to get her out tomorrow to take some clear photos, but shes all done. Over the last few days we finished all the final assembly and wired her up through the frame and the bars. Got the front brake all settled in and also got a few issues with the speedo worked out. Fabricated some aluminum fender tips and got the fringes on the pedals just right. I also spend most of this morning hand lacing the leather handgrips with tooled end caps.

This bike has turned out amazing. it was just too late once we got the rear wheel back on to take her for her maiden voyage, but with the pull start on the motor, we seem to have the carb dialed in fairly well.


First, this is what we started with.

indianmockup.jpg


And for your viewing pleasure, here is our latest creation, INDIAN SUMMER. Dont mind the rear wheel being off. it was the last piece to go on. tomorrow will yield some killer photos and we will post in the finished bike section.

DSCF4444.jpg


DSCF4452.jpg


DSCF4445.jpg


DSCF4453.jpg


DSCF4447.jpg
 
so if this is what you do in say two weeks, what the heck would you have came up with if we gave you the whole build off?!
 
Back
Top