


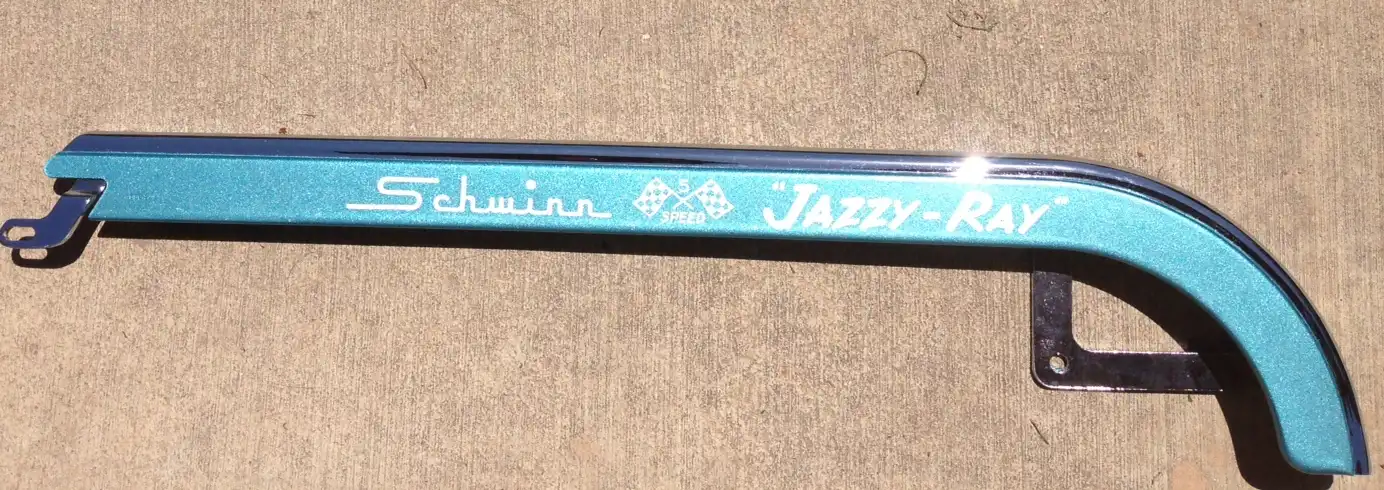
A friend's daughter, named Jazzlynn, loves bikes. Her birthday is coming up in August. Her Dad loves muscle bikes. I based my Monster Ray off his OG Manta Ray (Campus Green even). He likes my Monster so much that he wants one for his tall daughter. Hence Monster's little sister Jazzy.
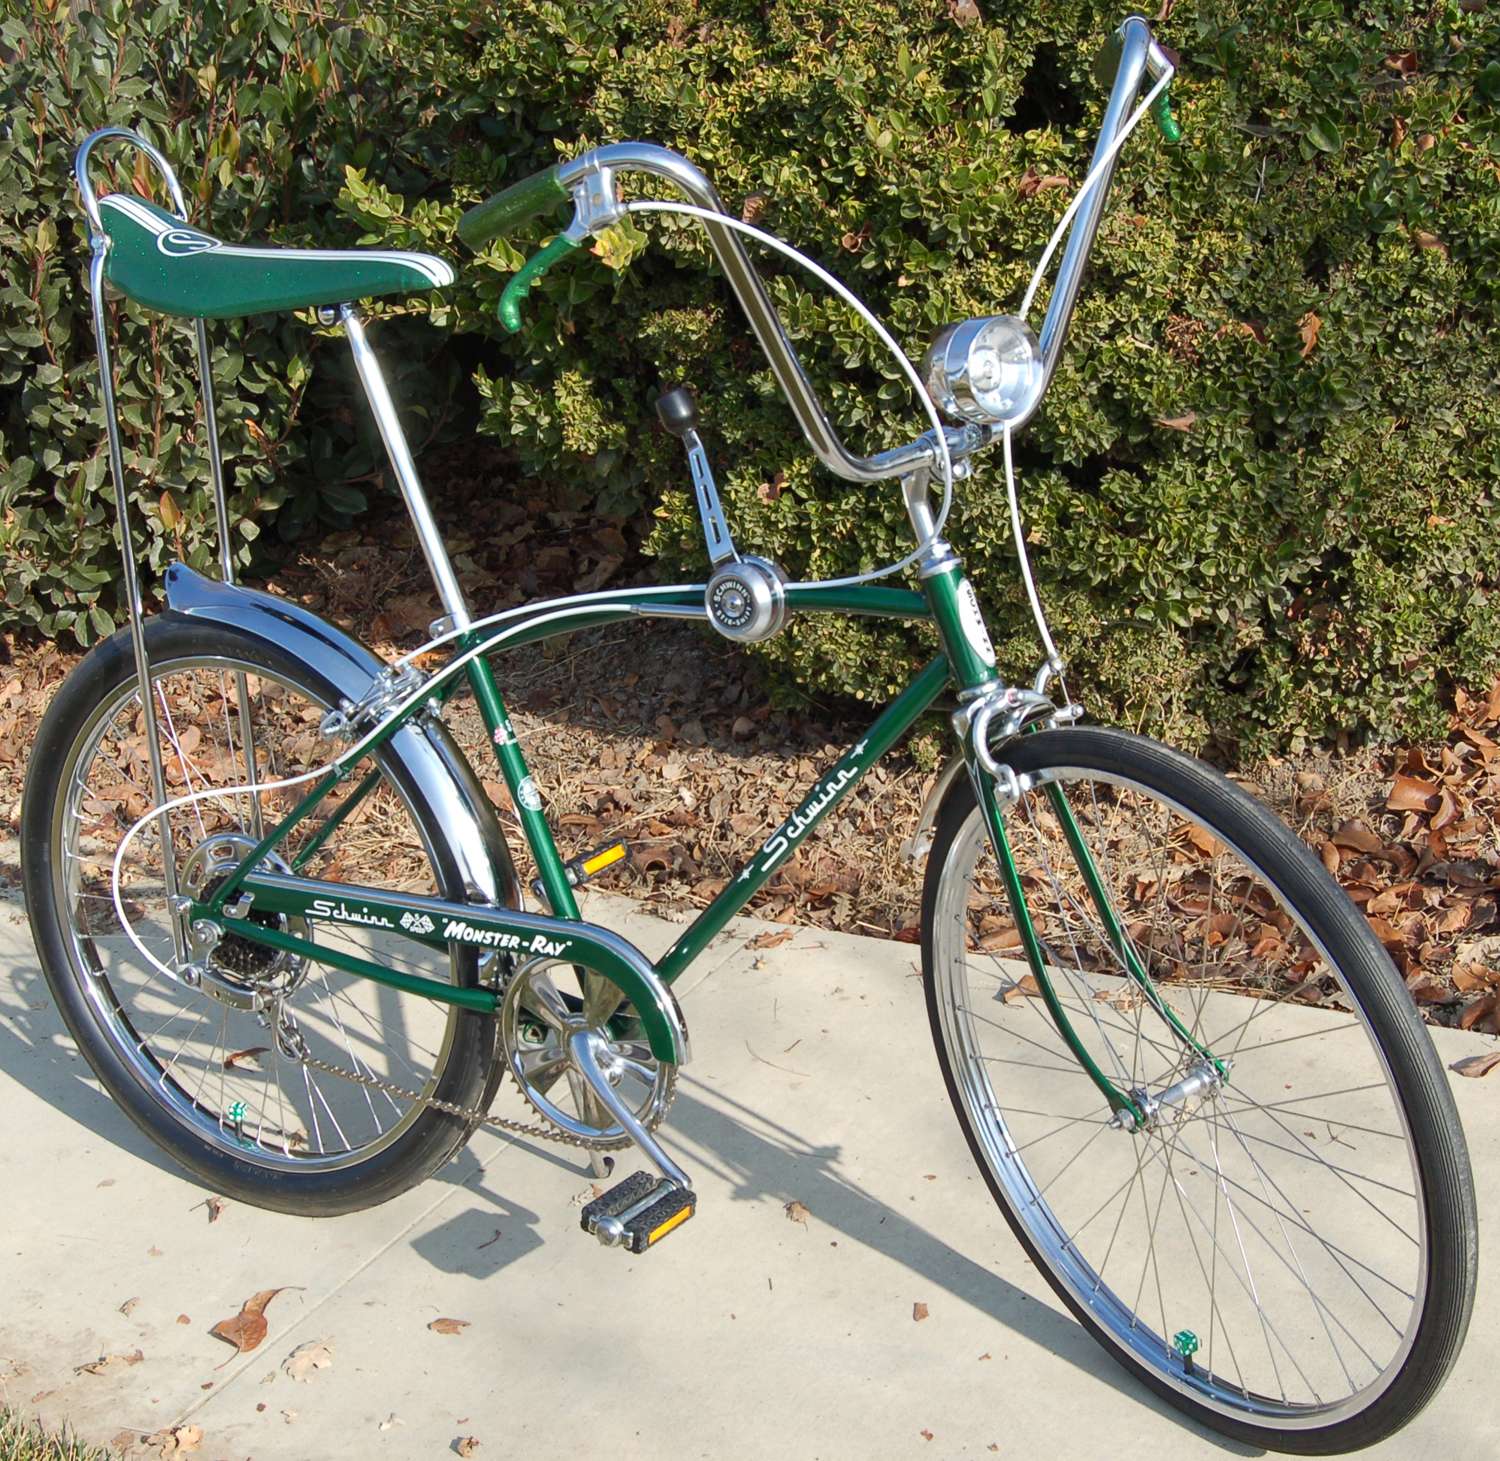
The Monster-Ray:
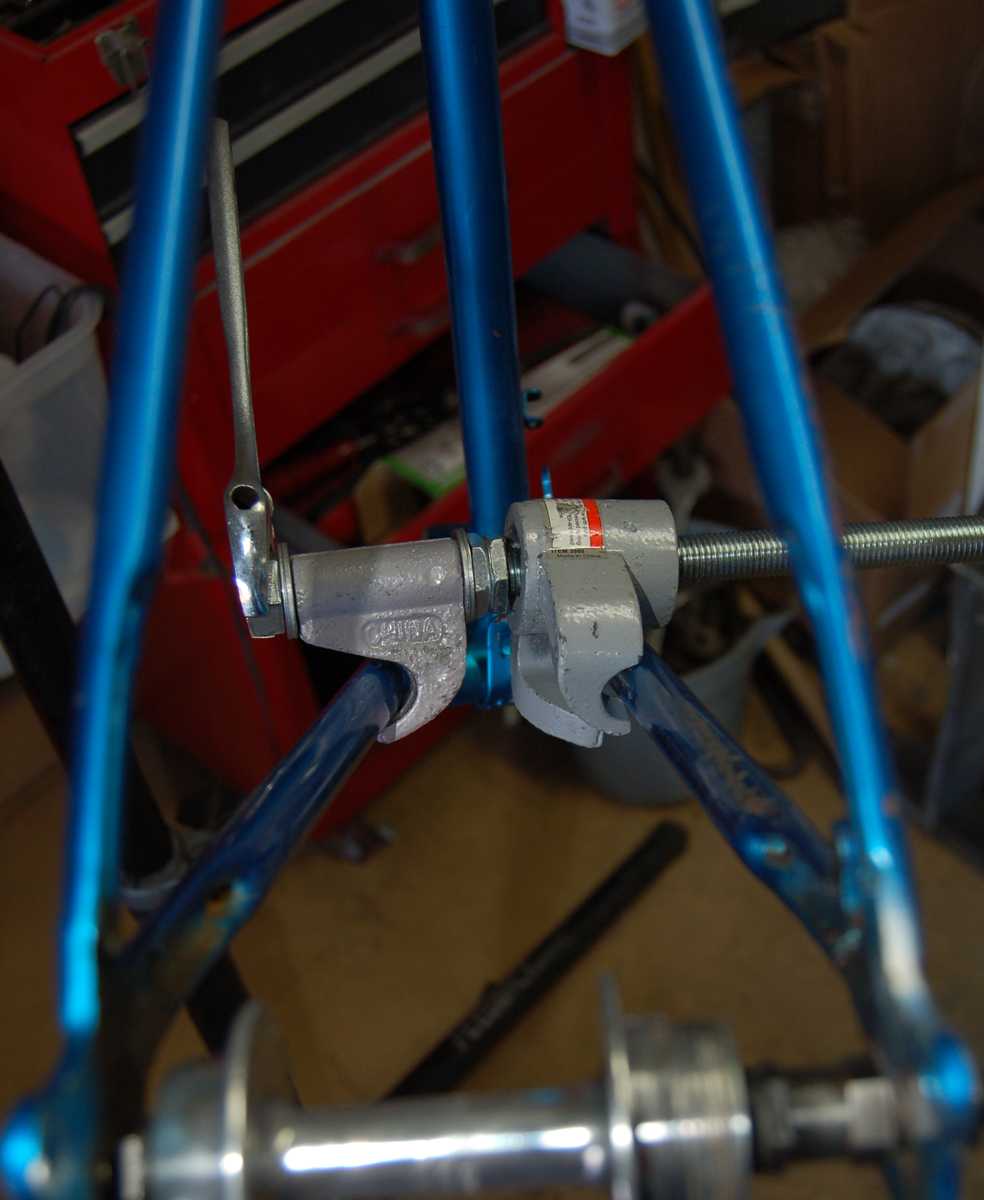
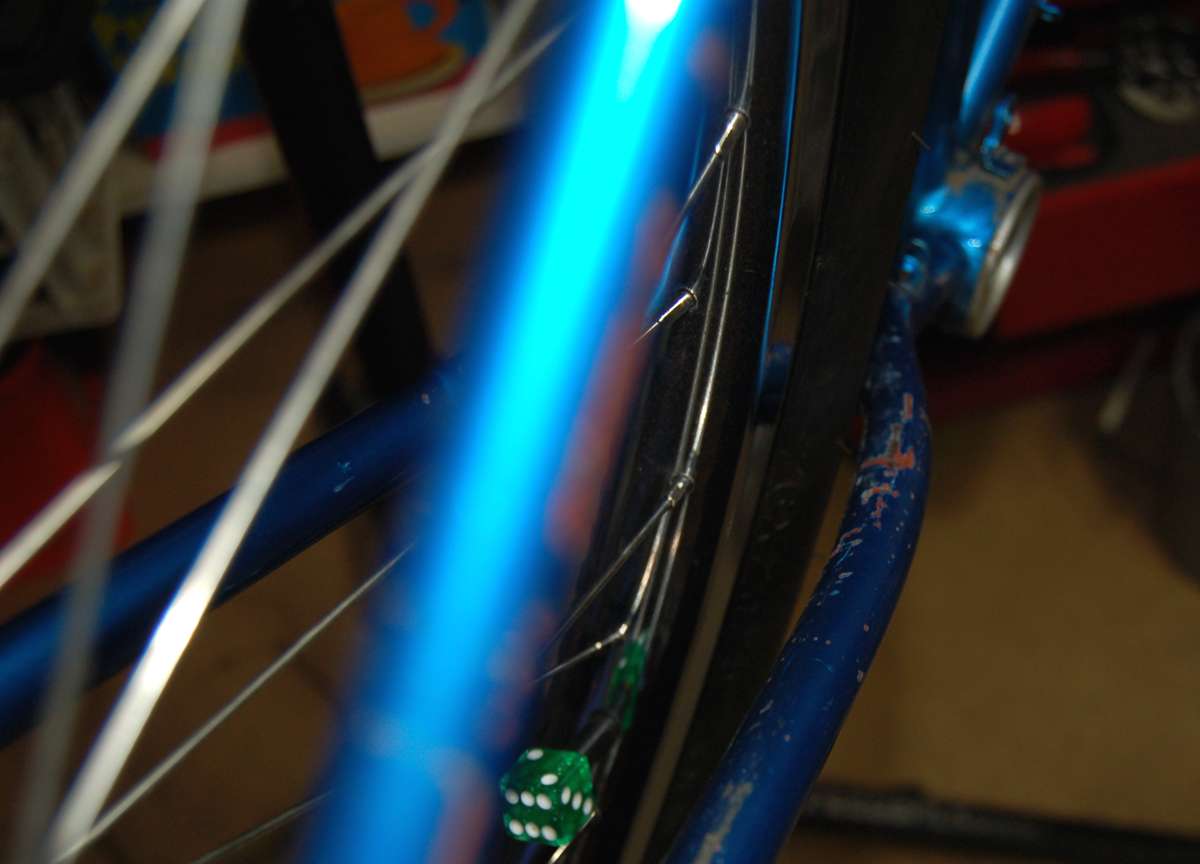
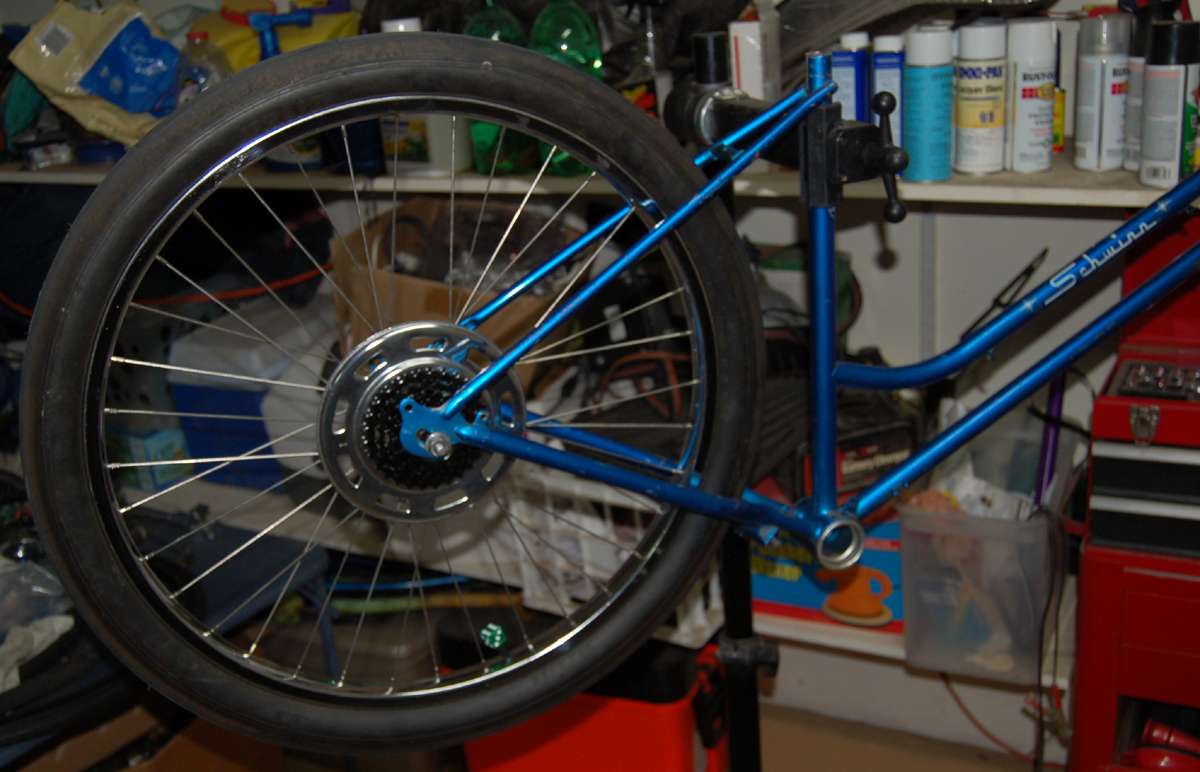
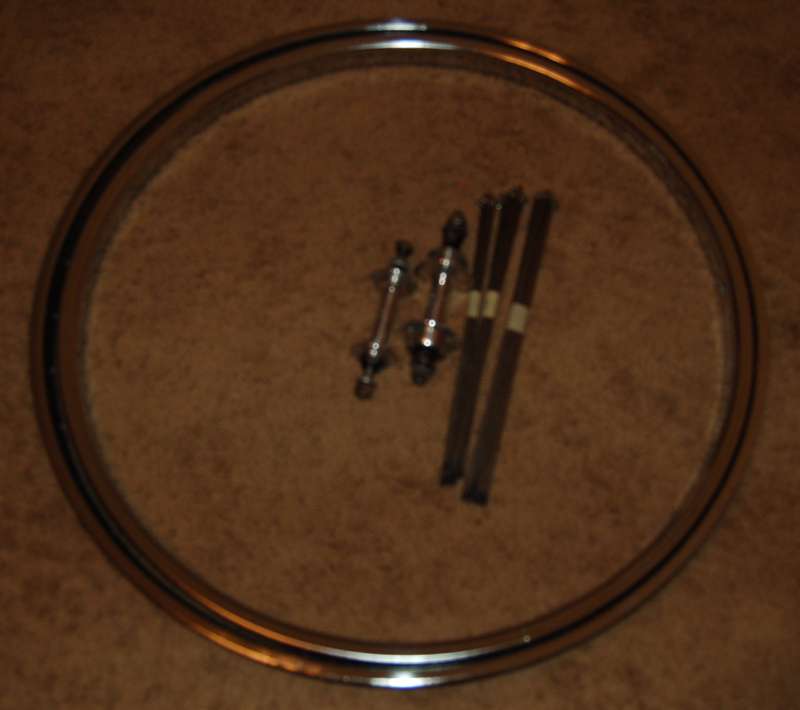
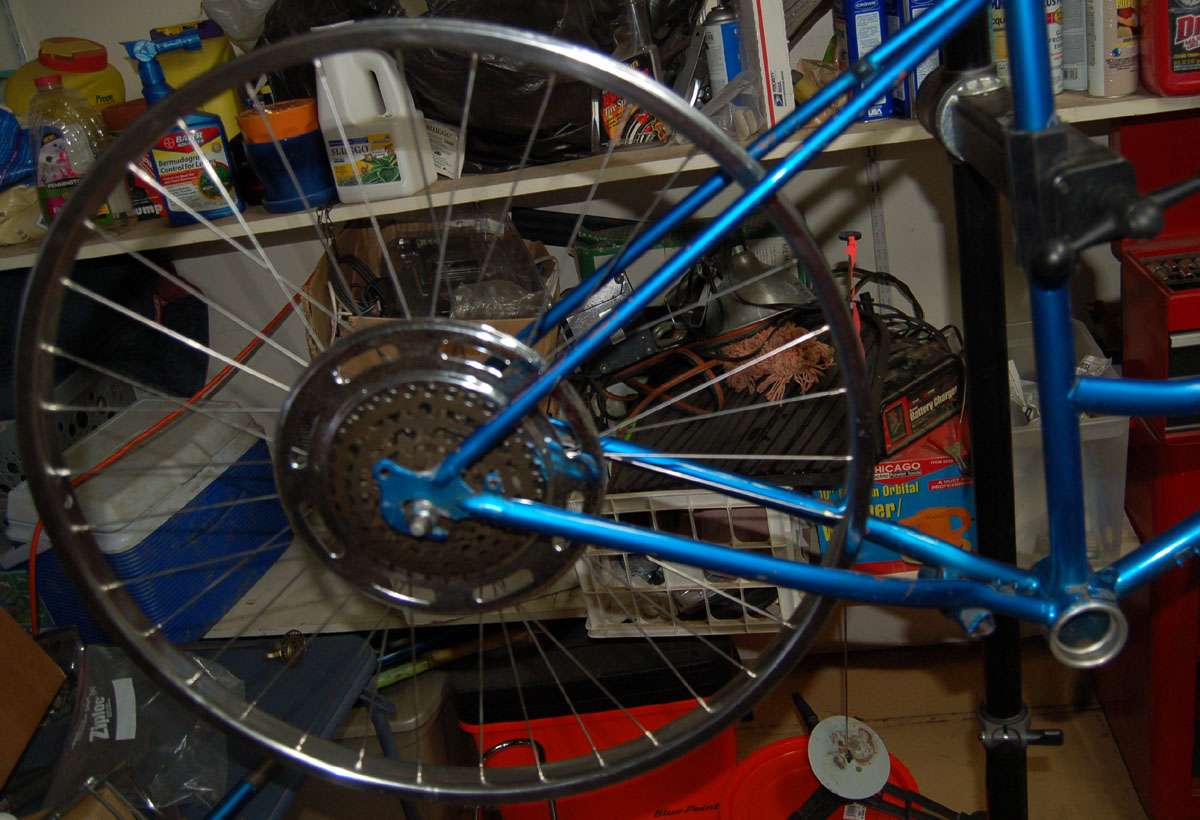
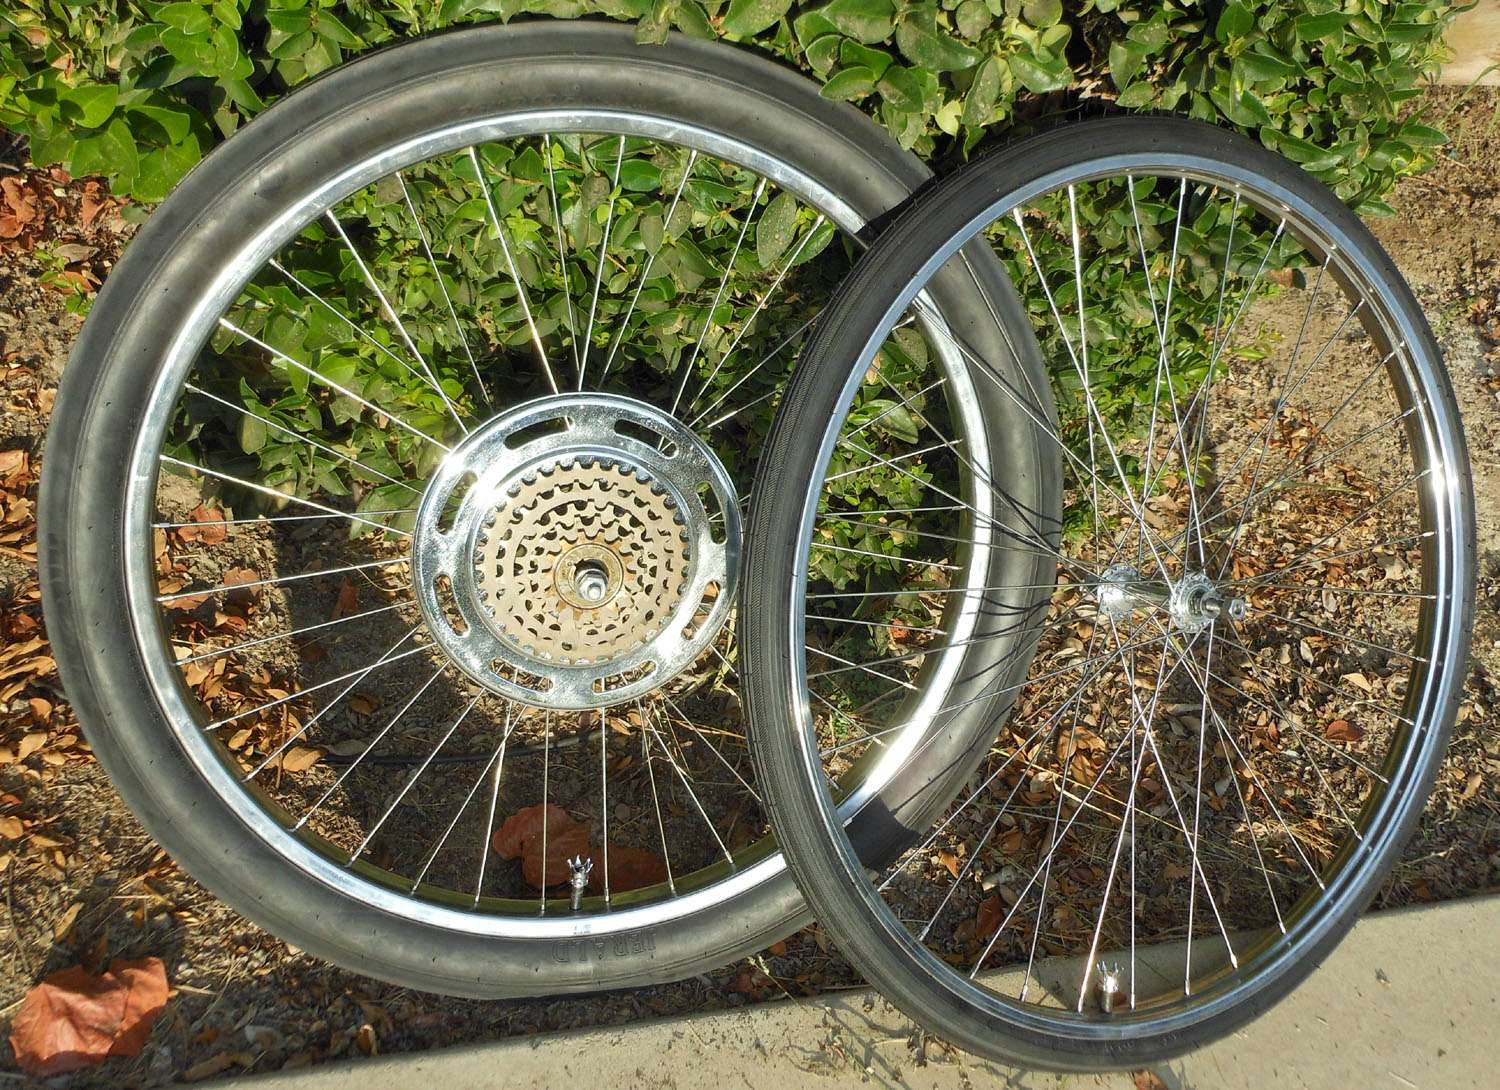
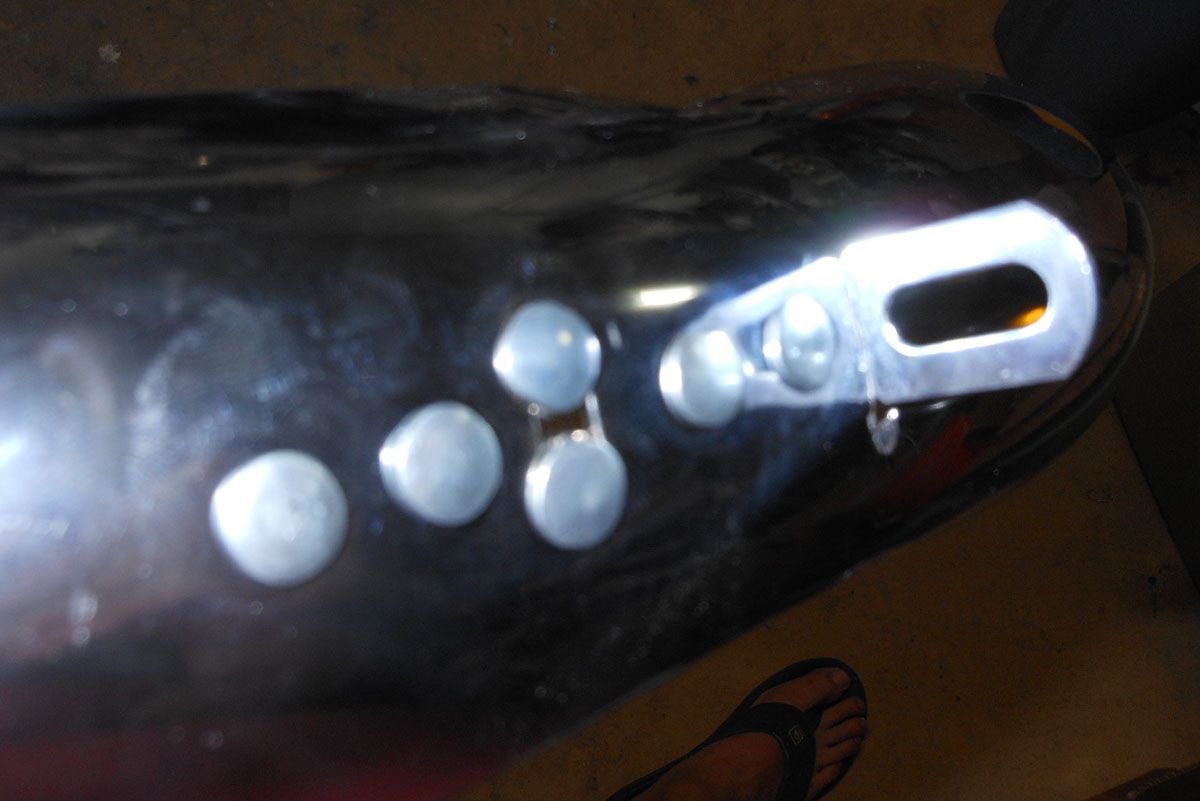
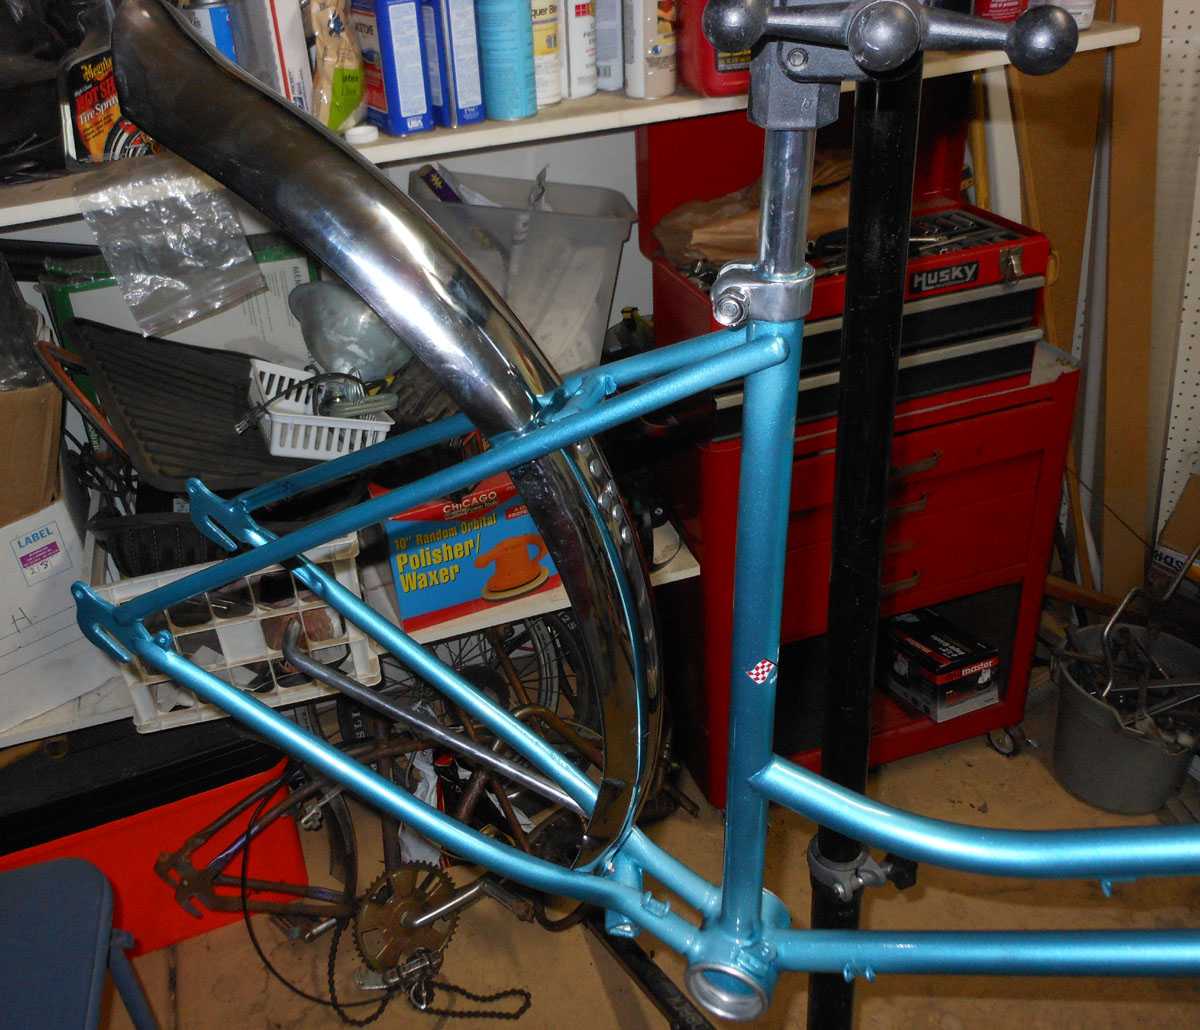
The starting point:

The Monster-Ray:
The starting point:


 COOL! Will we be seeing a rebuild some time soon?