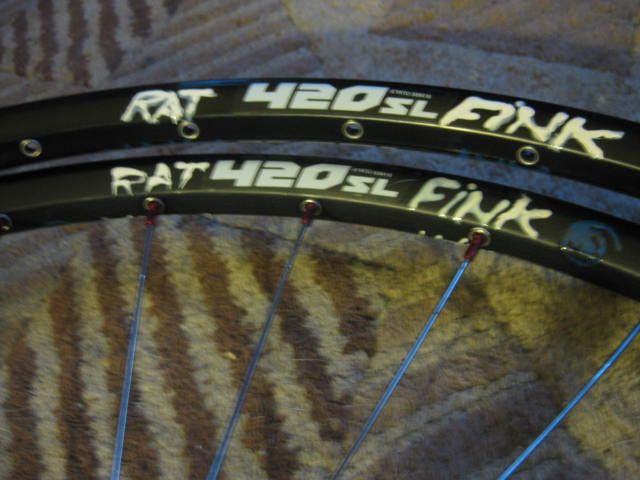
I am getting a coaster hub replacement started right now, stay tuned! ")
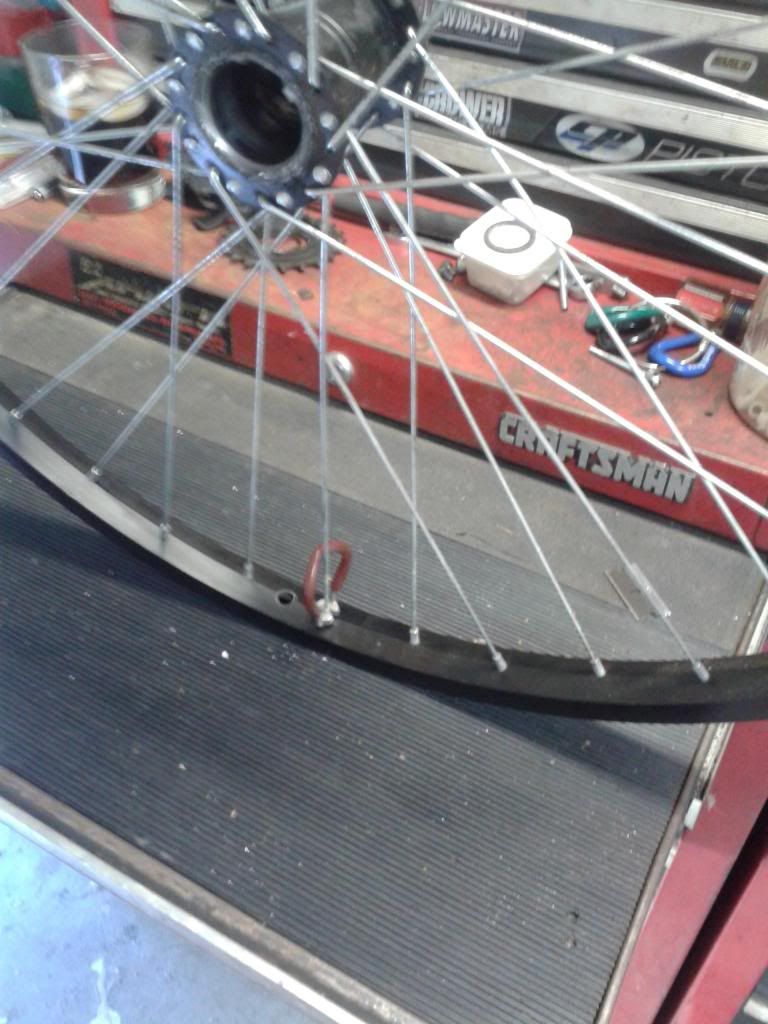
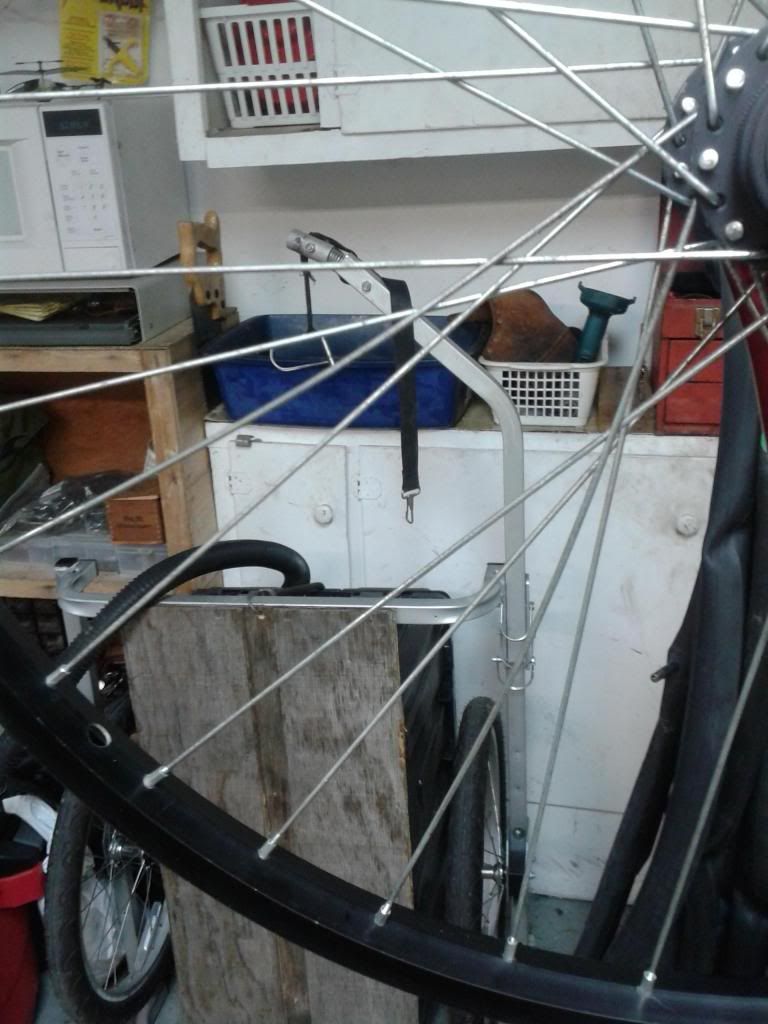
You will need to do a little prep work, remove the tire and rim strip. Spray the spoke nipples with some penetrating oil. Gather a proper sized spoke wrench, flat head screw driver, mixed drink, and some good tunes for mood.
Unbuilding a wheel:
Step 1) Starting at the valve stem hole loosen each nipple 1 turn, repeat until all spoke nipples turn freely.
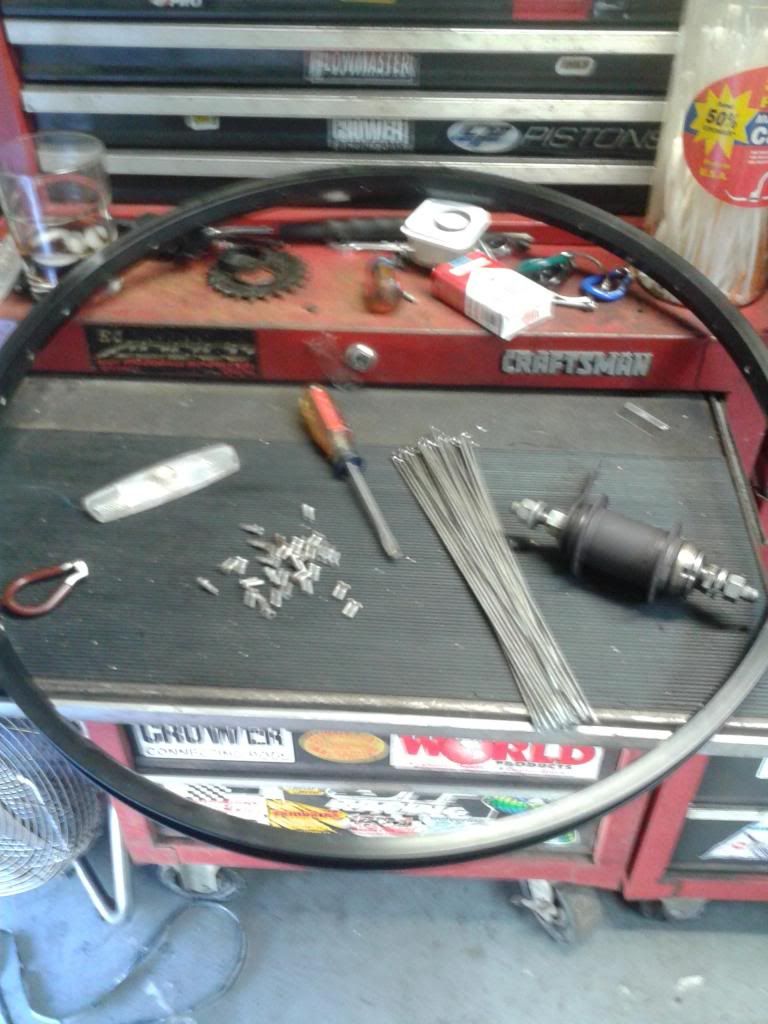
Step 1.5) Make a nice neat pile to work from. I suggest cleaning and polishing used spokes.
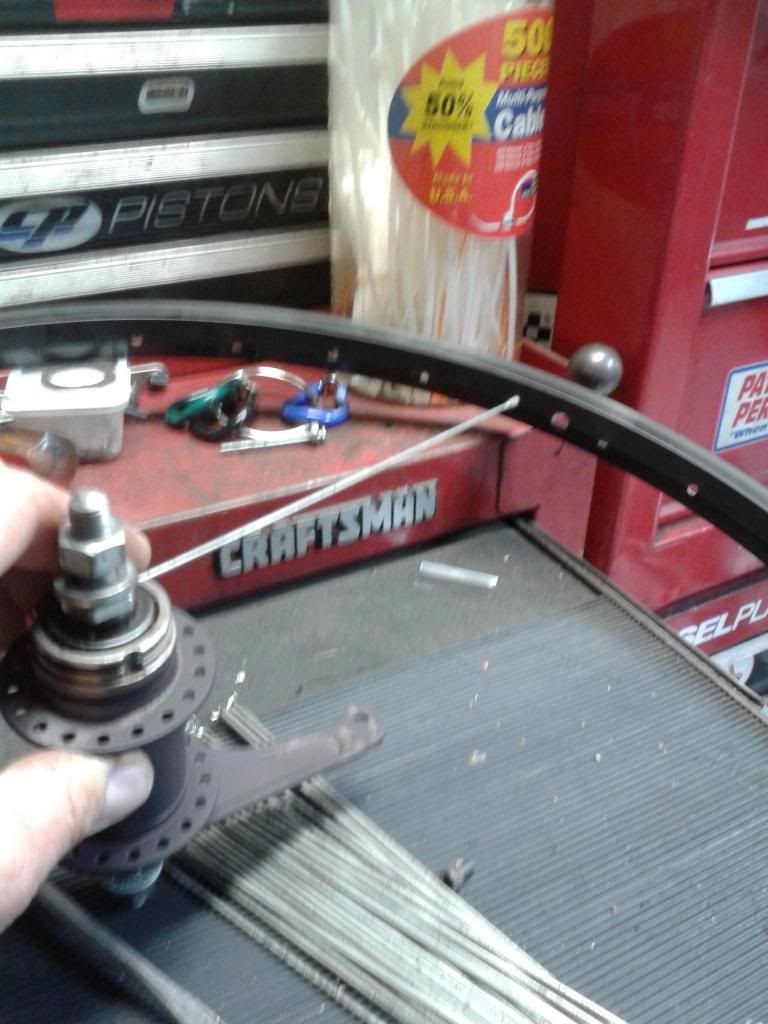
Step 2) Building a wheel. Starting on the drive side, insert 1 spoke thru the hub flange to the outside. Place the nipple at the nearest hole to the valve stem, with the correct offset. Only tighten nipples 2 - 3 turns. I like drive side spokes to eject the chain when pedaling should it come off.
Step 3) Skip 1 hole in the hub, install a spoke and skip4 holes on the rim, install a nipple. Repeat until number of crosses is reached.
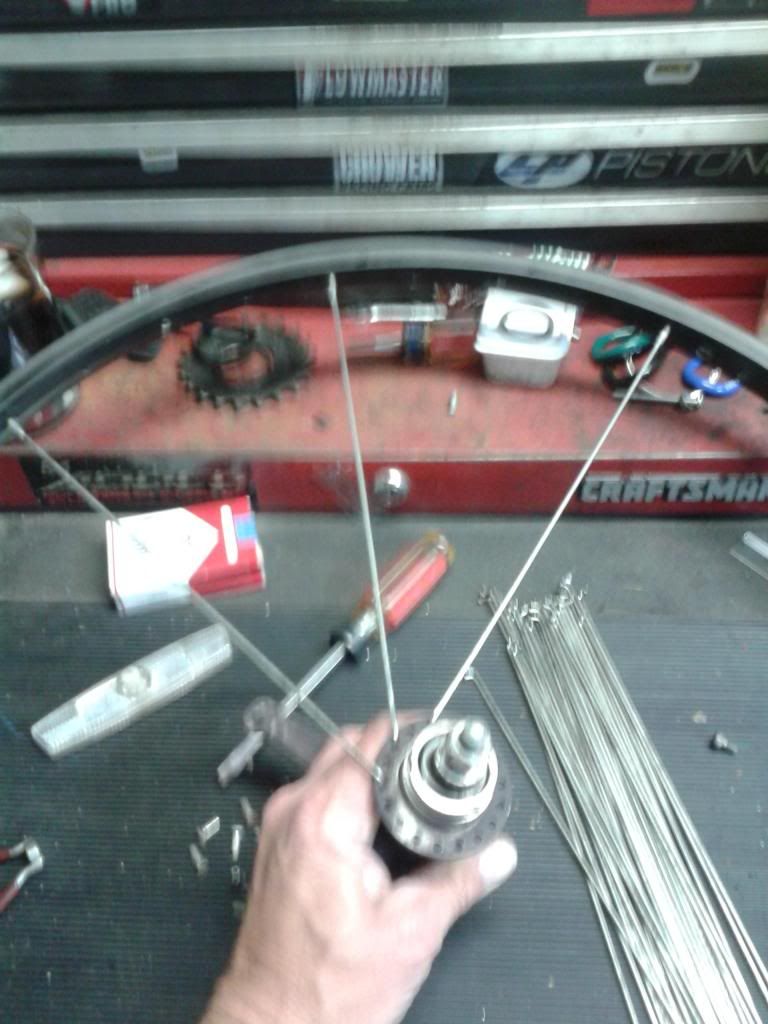
Install a spoke thru the flange the oppisite way, cross the other spokes. Do not forget to lace it over the last cross. It will only go 2 rim holes from the last spoke. This step is only to stabilize the assembly.
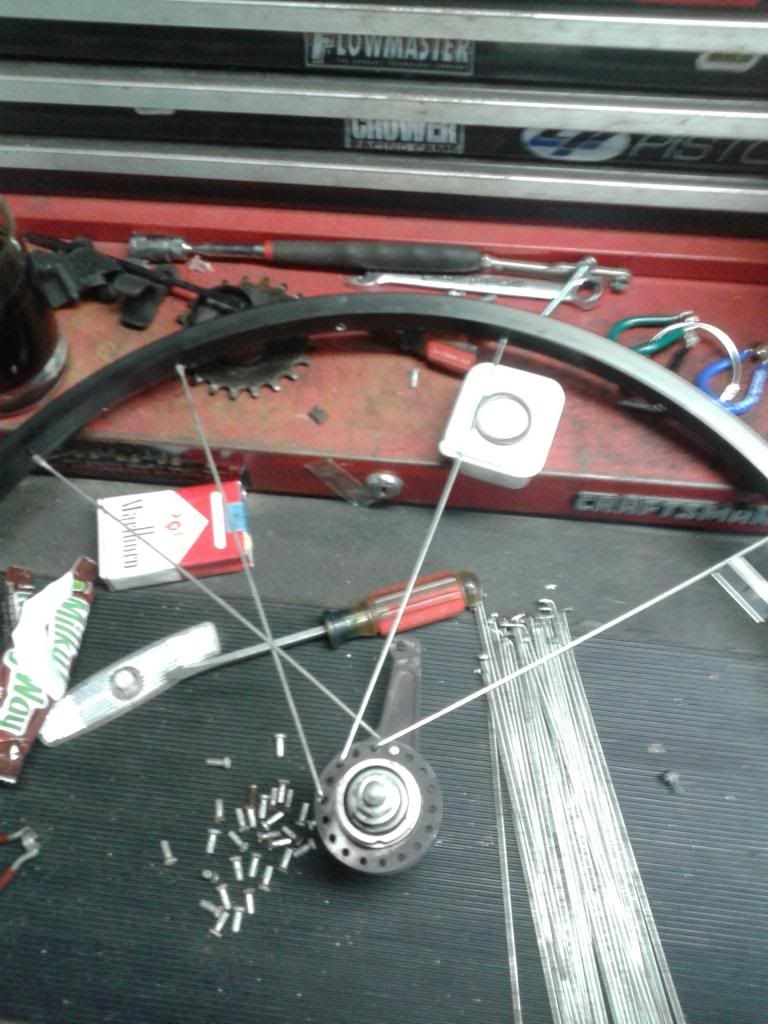
Step 4) After installing a spoke every other hub hole, and every 4th rim hole, we are ready to start lacing.
If you haven't, install a spoke the opposite way.

Here is what the drive side looks like all laced.
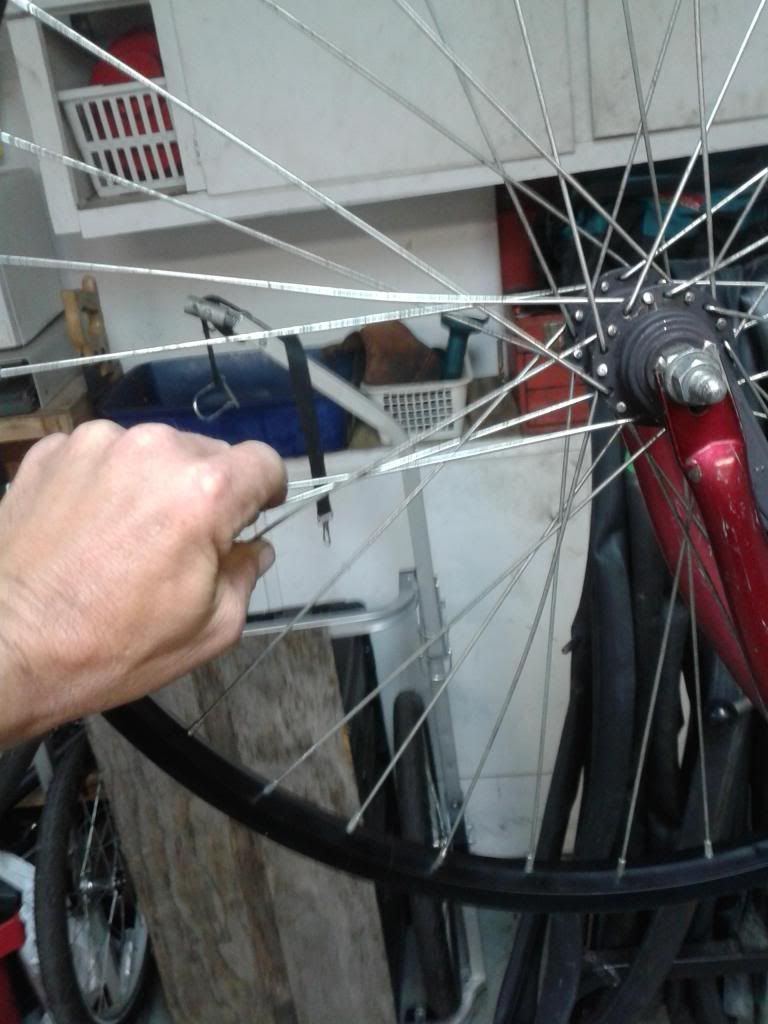
Step 5) Starting the second side. Ok I have heard every vodoo method for finding the starting point, my way works...
Locate the valve stem hole, you want a big opening for tire filling, propose a spoke position
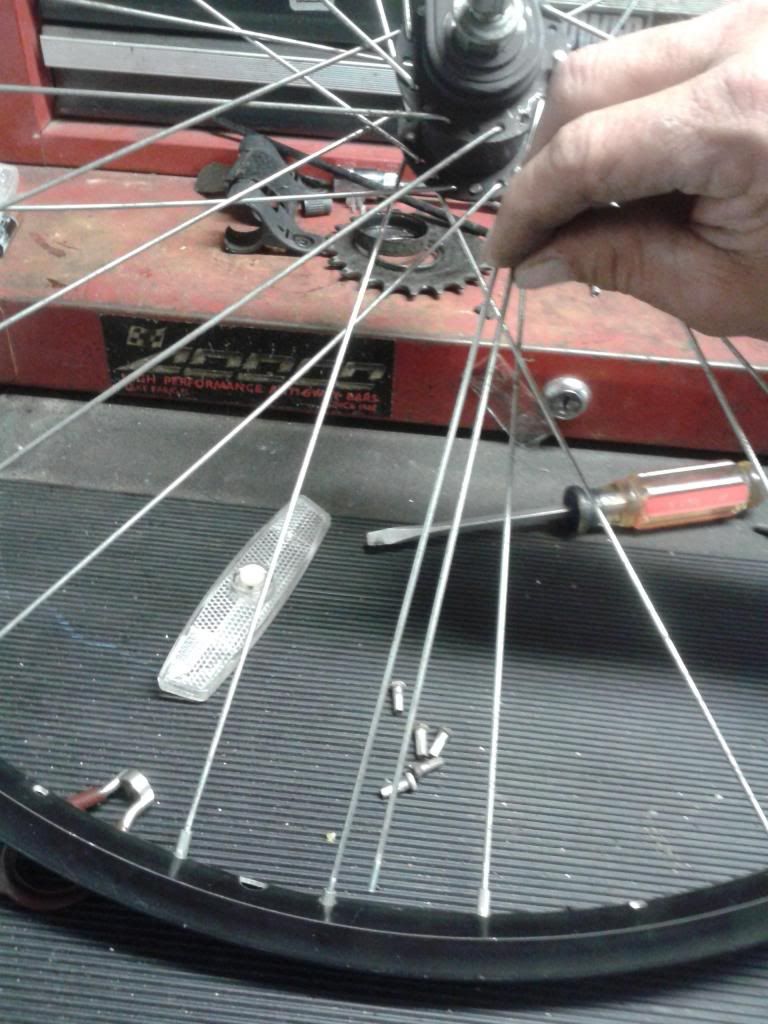
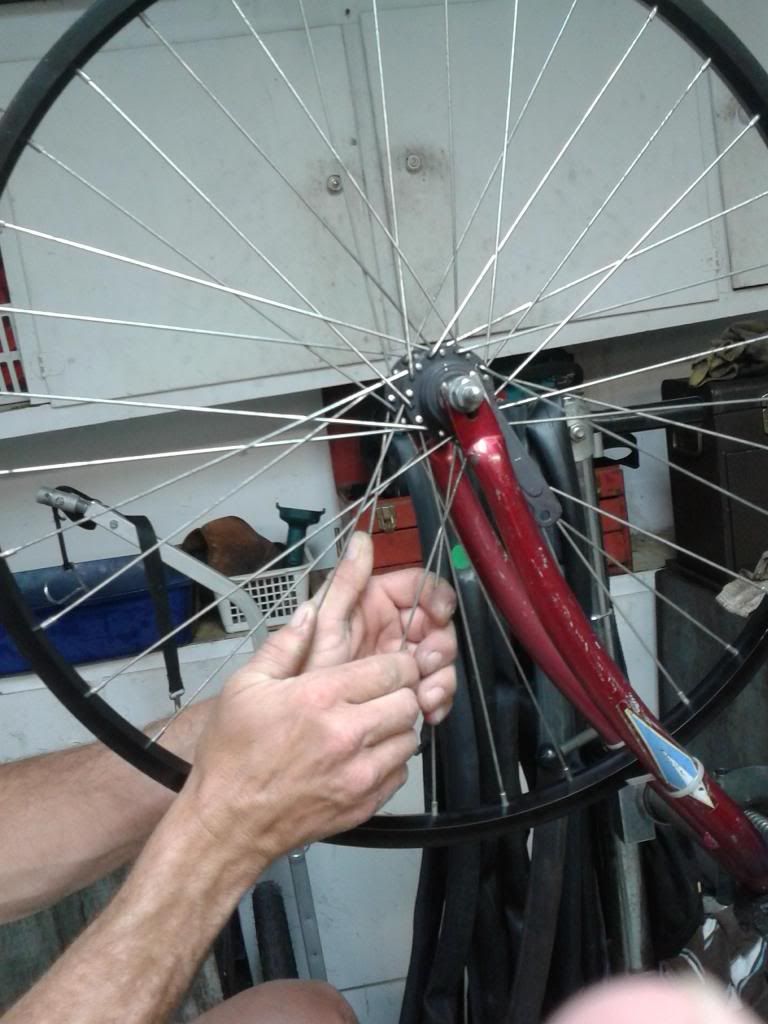
Obviously where I am holding the spoke is the wrong posistion. Notice, I dropped the spokes at the same angle, and direction thru the hub.
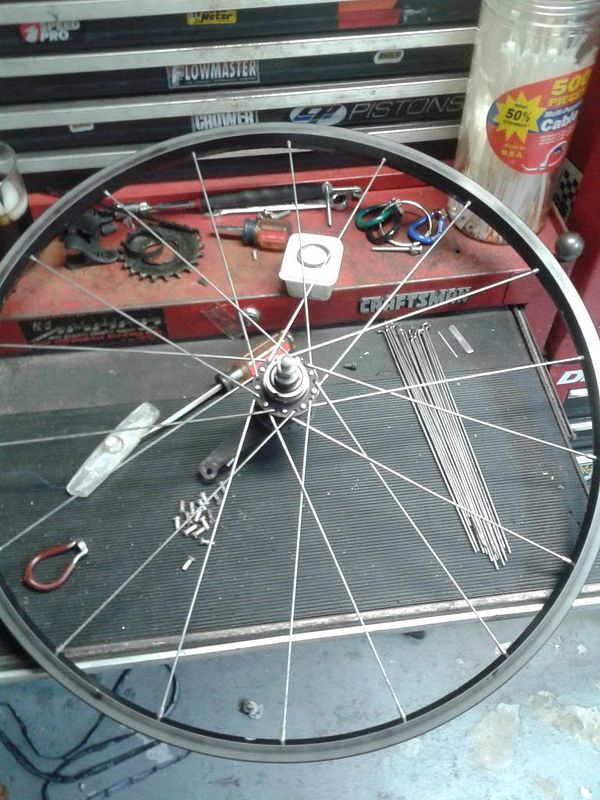
Step 6) Lacing side 2,
Drop in the rest of the spokes, of course the oppisite way thru the hub, lacing them at the cross.
Step 7) Trueing.
Working around the wheel tighten each spoke a little, keep repeating until a slight spoke tension is achieved.
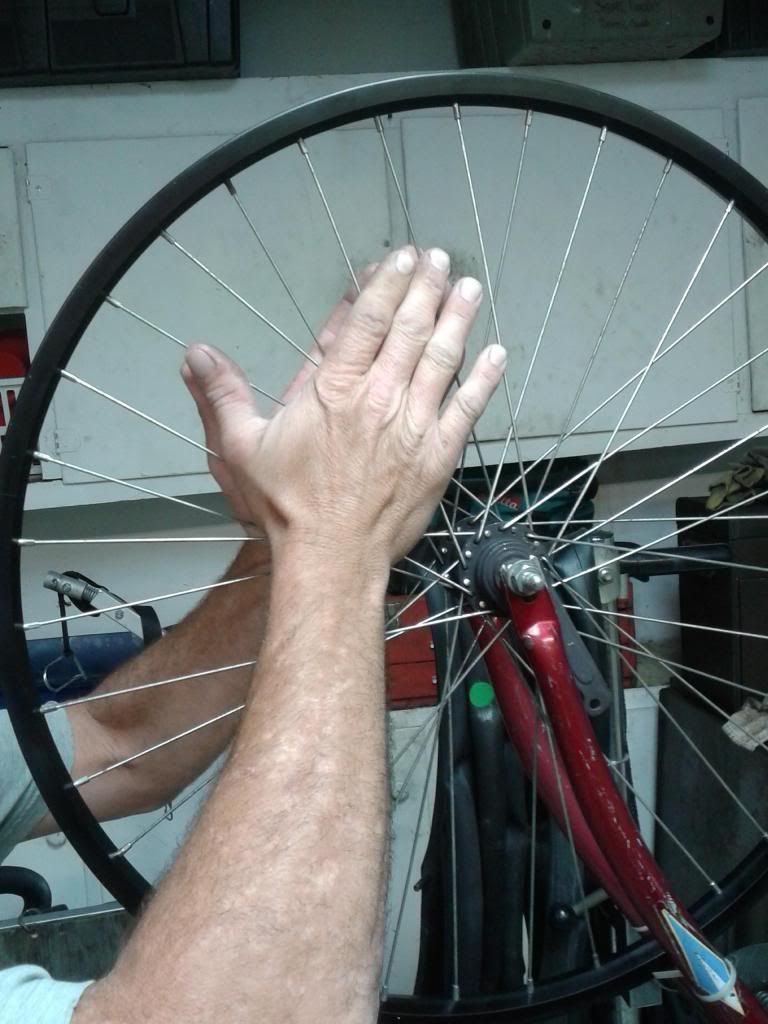
At this point I am already working on roundness and true. All by hand, no wrench, yet.
I am going to skip the happy trueing picture.. After hand tightening, work your way around the wheel, 1/2 turns of the nipples, tightening at the high spots evenly, one sided to true. Do not reef tight!
Once you are satisfied the spokes are sufficiently tight,you will need to stretch the spokes, like this;
And this;
Now true it again!
Words of caution, it is real easy to over tighten spokes in cheap, rusty, or super light weight rims.
I charge $30.00 to build and true 1 wheel, should you just want an expert to do it!
You will need to do a little prep work, remove the tire and rim strip. Spray the spoke nipples with some penetrating oil. Gather a proper sized spoke wrench, flat head screw driver, mixed drink, and some good tunes for mood.
Unbuilding a wheel:
Step 1) Starting at the valve stem hole loosen each nipple 1 turn, repeat until all spoke nipples turn freely.
Step 1.5) Make a nice neat pile to work from. I suggest cleaning and polishing used spokes.
Step 2) Building a wheel. Starting on the drive side, insert 1 spoke thru the hub flange to the outside. Place the nipple at the nearest hole to the valve stem, with the correct offset. Only tighten nipples 2 - 3 turns. I like drive side spokes to eject the chain when pedaling should it come off.
Step 3) Skip 1 hole in the hub, install a spoke and skip4 holes on the rim, install a nipple. Repeat until number of crosses is reached.
Install a spoke thru the flange the oppisite way, cross the other spokes. Do not forget to lace it over the last cross. It will only go 2 rim holes from the last spoke. This step is only to stabilize the assembly.
Step 4) After installing a spoke every other hub hole, and every 4th rim hole, we are ready to start lacing.
If you haven't, install a spoke the opposite way.
Here is what the drive side looks like all laced.
Step 5) Starting the second side. Ok I have heard every vodoo method for finding the starting point, my way works...
Locate the valve stem hole, you want a big opening for tire filling, propose a spoke position
Obviously where I am holding the spoke is the wrong posistion. Notice, I dropped the spokes at the same angle, and direction thru the hub.
Step 6) Lacing side 2,
Drop in the rest of the spokes, of course the oppisite way thru the hub, lacing them at the cross.
Step 7) Trueing.
Working around the wheel tighten each spoke a little, keep repeating until a slight spoke tension is achieved.
At this point I am already working on roundness and true. All by hand, no wrench, yet.
I am going to skip the happy trueing picture.. After hand tightening, work your way around the wheel, 1/2 turns of the nipples, tightening at the high spots evenly, one sided to true. Do not reef tight!
Once you are satisfied the spokes are sufficiently tight,you will need to stretch the spokes, like this;
And this;
Now true it again!
Words of caution, it is real easy to over tighten spokes in cheap, rusty, or super light weight rims.
I charge $30.00 to build and true 1 wheel, should you just want an expert to do it!
Last edited by a moderator:


 Thanks Mike!