light rebuilds

Rat Rod Bikes Bicycle Forum

Help Support Rat Rod Bikes Bicycle Forum:

This site may earn a commission from merchant affiliate links, including eBay, Amazon, and others.
Joined
Dec 30, 2012
Messages
110
Reaction score
2
Rating - 0%
0   0   0
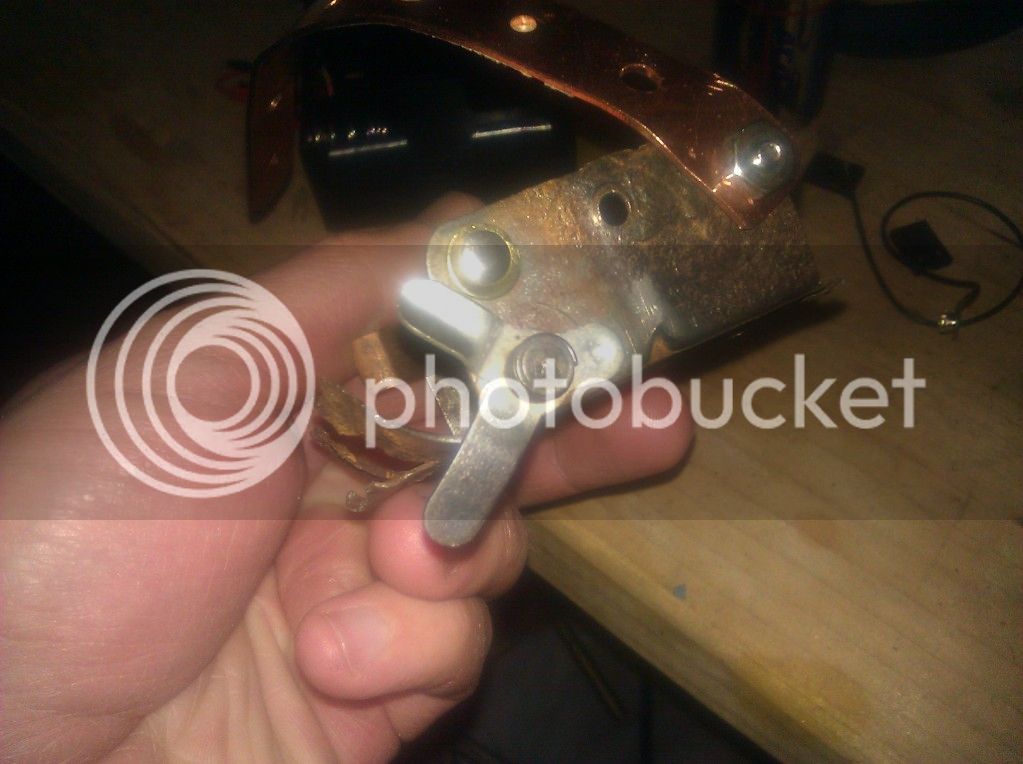
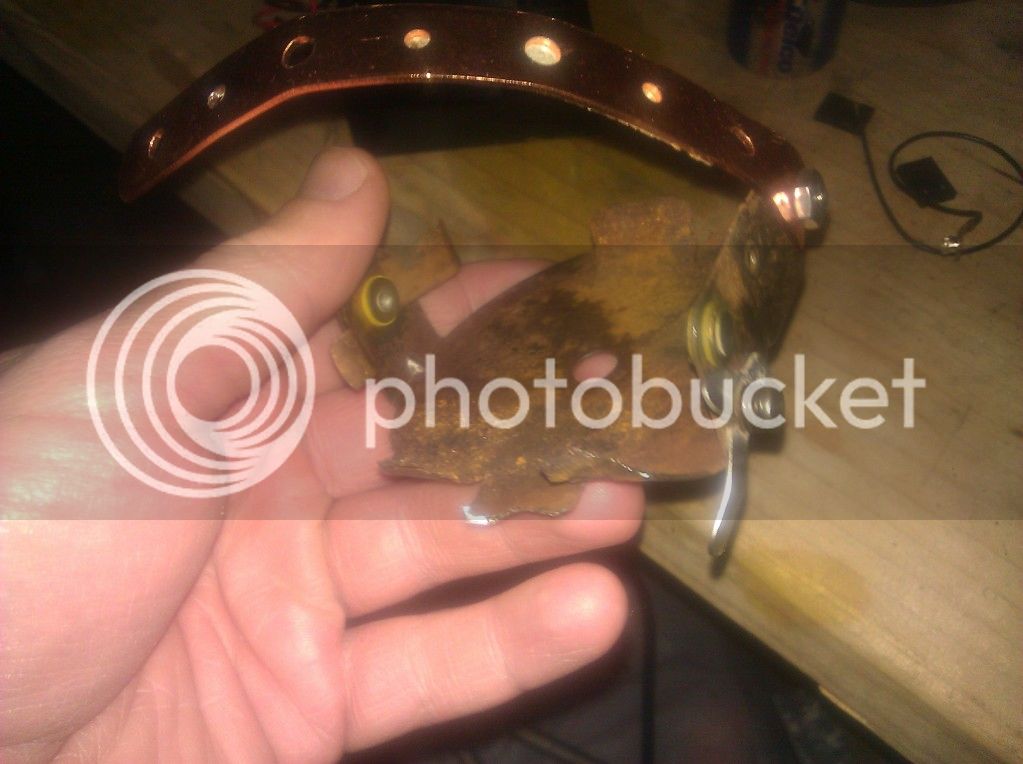
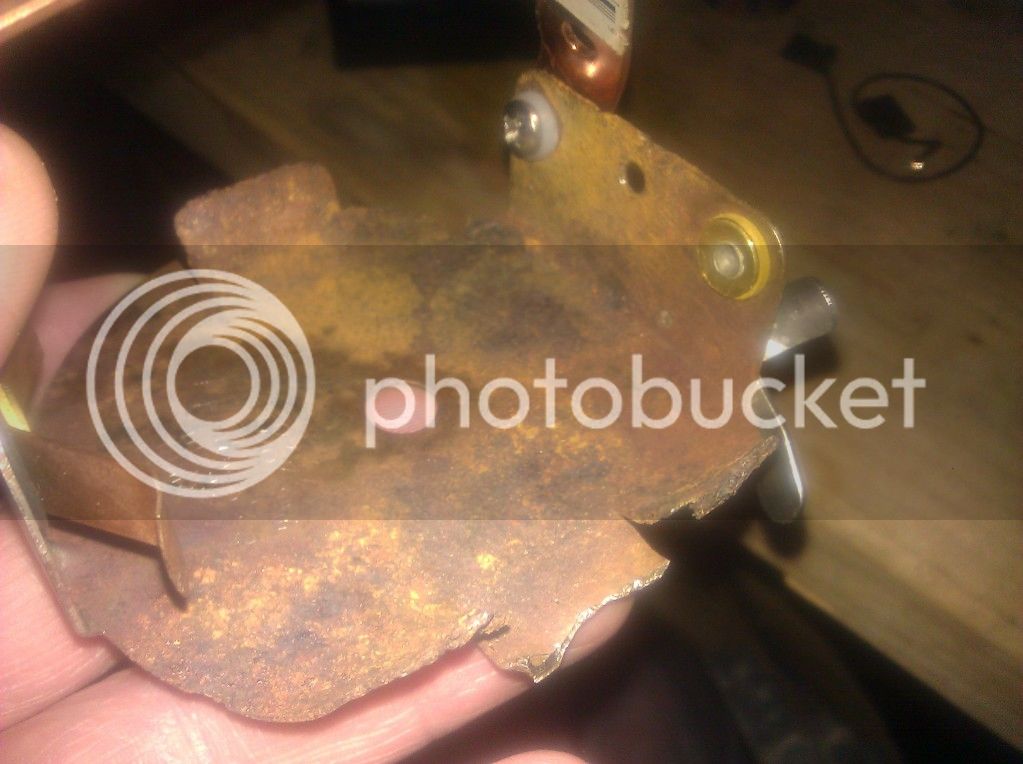
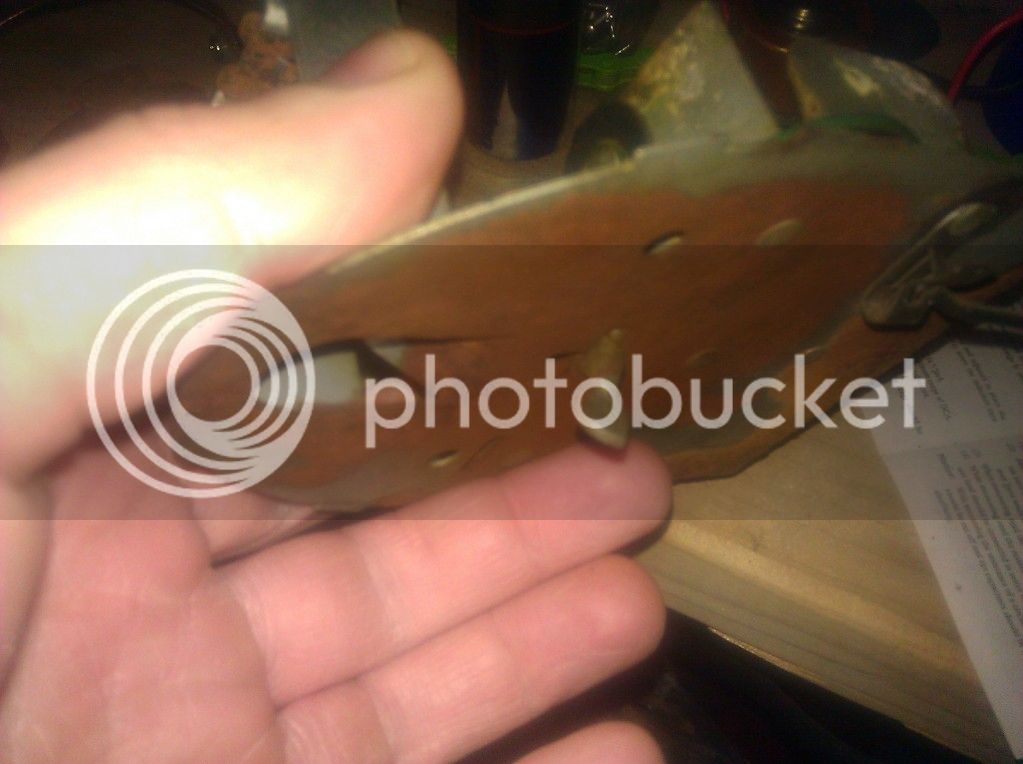
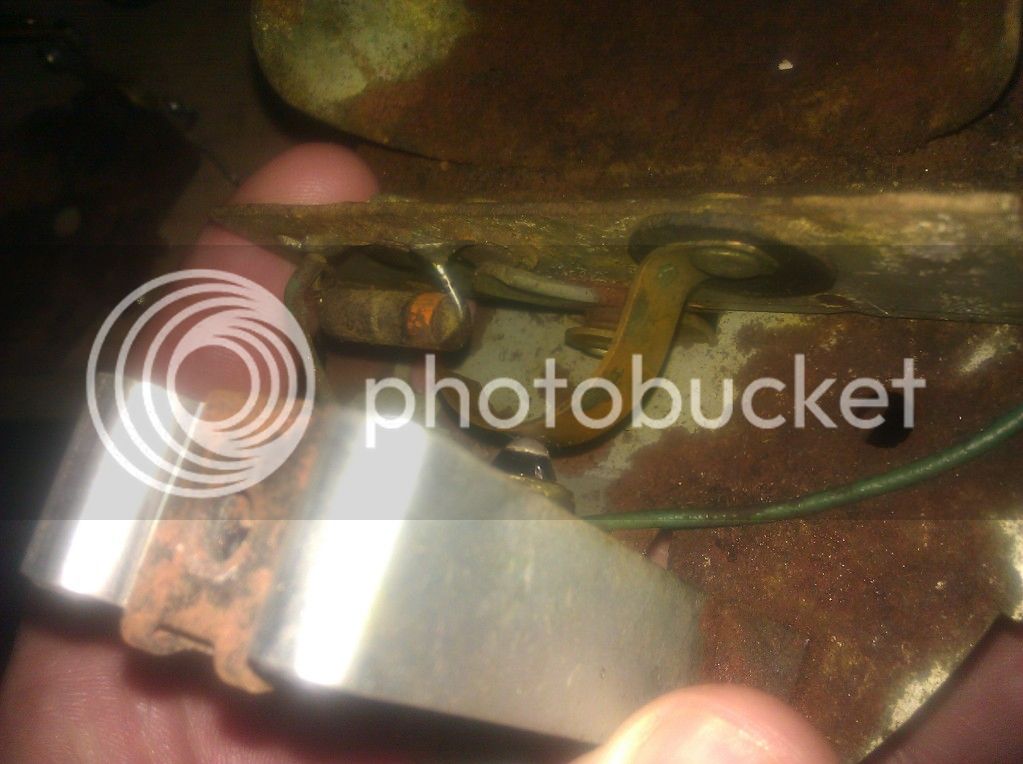
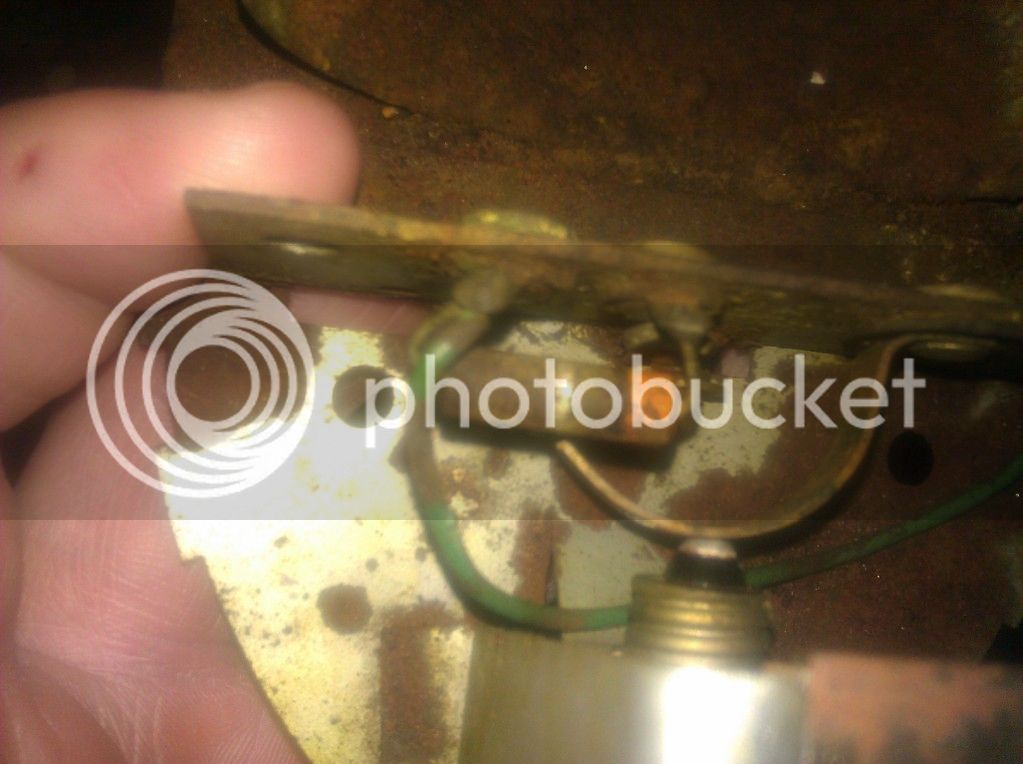
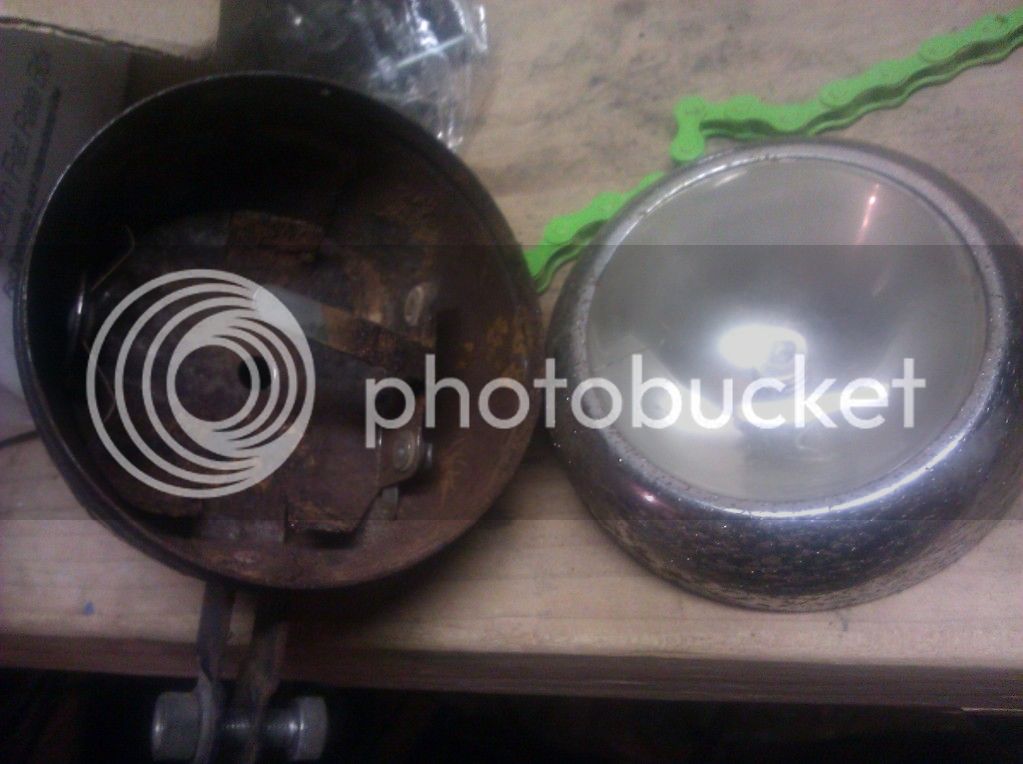
alright, so I have a Delta ball style headlight and a tail light unit that I need to restore to working order. I don't want to rebuild with LEDs, but just get the bulb functioning again with the original switches. That said, both of these run off of two D batteries and the wiring seems pretty straight forward, but can someone explain to me how these switches close the circuit? Are they grounding? Also, on the tail light unit, is the resistor necessary? Edumacate me please...

headlight
IMG_20130222_174810_zpsf80d7602.jpg

IMG_20130227_185459_zps648b8dcf.jpg

IMG_20130227_185506_zps4de0ebdc.jpg

IMG_20130227_185513_zpsb0de862e.jpg


tail light
IMG_20130227_185529_zpscb4a8495.jpg

IMG_20130227_185536_zpsab5c406d.jpg

IMG_20130227_185554_zpsdbb320b2.jpg
 
I got a rusted up billet light on my ray, I think since the chrome is so bad that it no longer works, I think since the chrome is toast I may the throw it in white vinegar then if it doesn't work I will probably just put leds in it like my first plan..

Maybe I could try it out this weekend..?
 
How do these original switches work? They aren't attached to anything (no wires, etc:) so when it touches a single contact in the "on" position, how does that close the circuit?
 
It looks like maybe the battery terminal is insulated (that yellow plastic) and when the switch is thrown it contacts the rear metal piece of the terminal completing the electrical circuit.
 
Yeah the first one is definitely using the frame to complete the circuit using that rocker switch. Probably similar for the second but pics aren't that clear as to where the switch is.
 
get the cheapest multi-meter you can find (maybe Radio Shack) and watch the first 59 seconds of this video.
You will easily figure out how your switch works.

http://www.youtube.com/watch?v=k6SqGcXYmLw

if it's rusted as badly as it looks, you may get a beep in all switch positions, which will mean that your switch will never turn OFF.

multi-meter = very handy tool.

That resister looks pretty funky too. If you have to replace it, get a new one at Radio Shack with the same color code bands.

This chart may help.

http://www.bcdxc.org/resistor_color_codes.htm

.
 
Hey Jerry, I have a multimeter and am pretty familiar with how to use it. I think the corossion is weakening the signal by the time it needs to light the bulb, so I will probably be swapping out some guts. That said, if I want to use the original switch, how could I incorporate that? Say, if I put in a plastic D battery holder and wanted to wire it up, I'm just trying to understand how the switch works. Seems weird that it would electrify the whole light body
 
corrosion/rust plays havoc with electrical connections.
I have done that before with a tank light. new plastic battery holder, wired into the original switch.
you just have to make sure the switch works.
trace down the switches' path with the multi-meter testing for continuity.
clean up all the contact points to bear metal.

that resister might be dropping the voltage more than it's supposed to. Just a guess.
 
mooseknuckle2000 said:
Seems weird that it would electrify the whole light body

not unusual to use the body of the light as a common ground in the circuit.
 

Latest posts

Back
Top