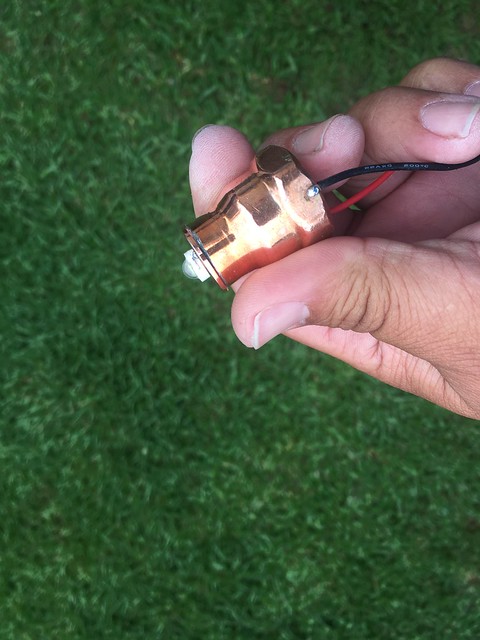
I have recently had good luck with using a drop-in LED replacement for a Maglite or other flashlight. These have their own voltage control circuitry built into them, so all you have to do is supply the proper power. If you use a LED rated for a 3 to 6 C or D cell flashlight - which would mean it can use 4.5 to 9 volts - you can power it off of the kind of spare battery bank you would use to charge cell phones and other items.
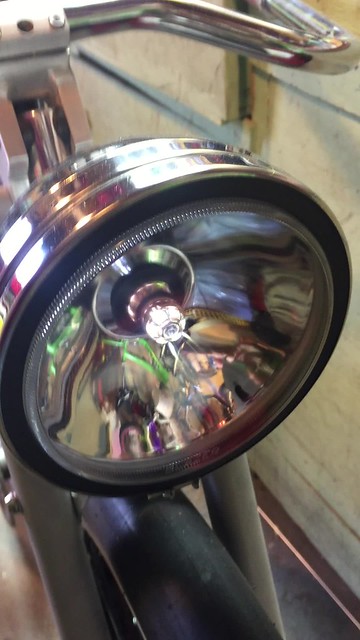
You can adapt this type of LED bulb into an existing light, like an old generator light head, or you can even use it by itself, without any traditional reflector and enclosure. While a reflector will gather some of the light that spills out the side of an LED like this, the great majority of the light shines forward from the emitter - it's not like an old fashioned bulb where the light shines in a nearly 360 degrees spread. The light spreads maybe 180 degrees, but concentrates forward from the bare LED emitter.
I'm going to stop here and go take some photos - I'll edit to add them.
SO, I'm back

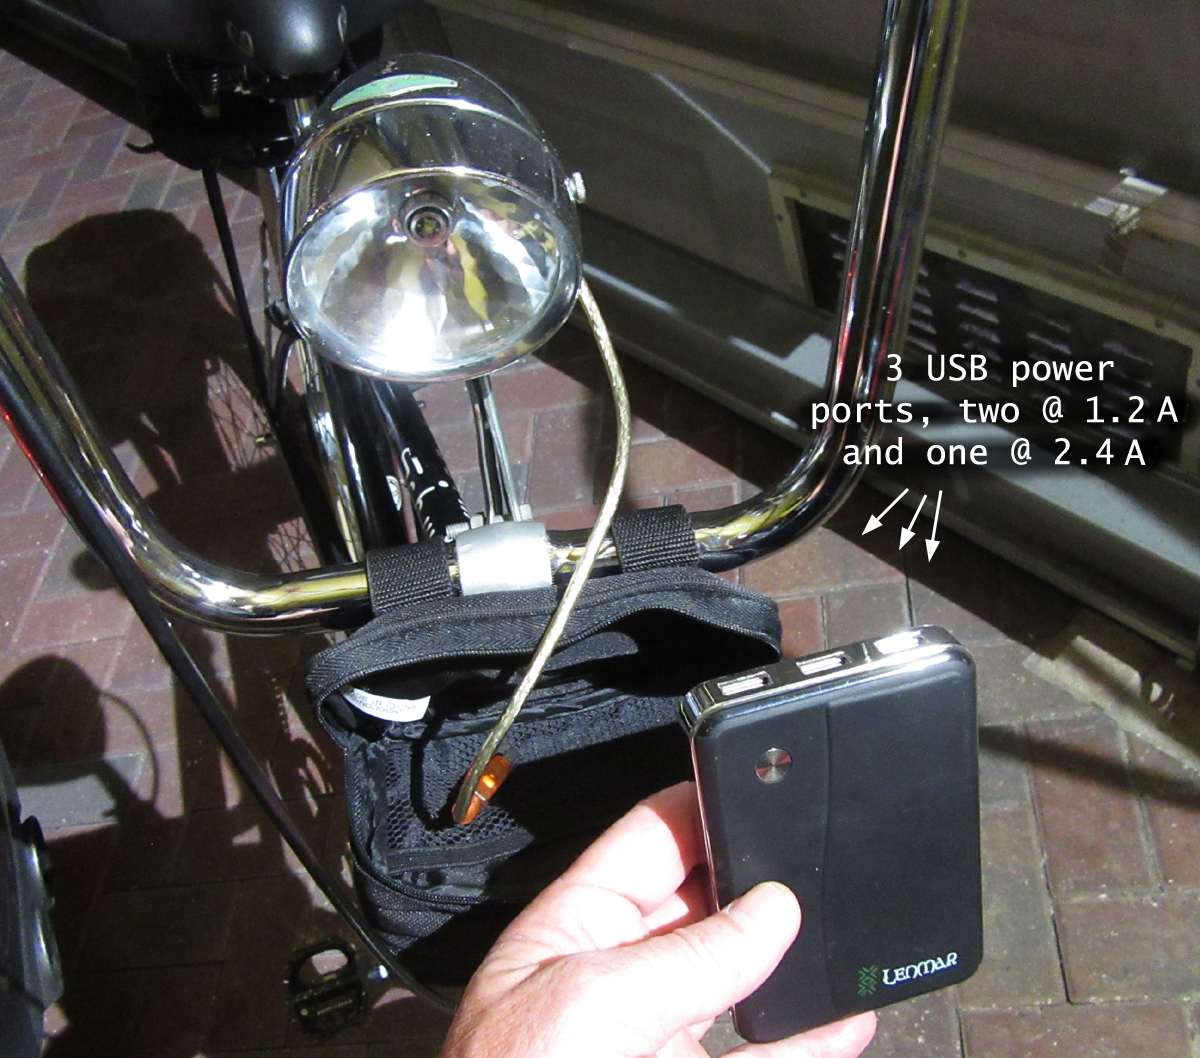
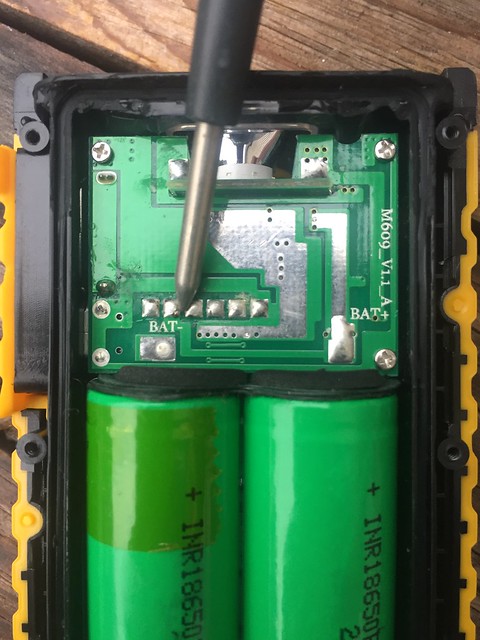
The battery pack, above
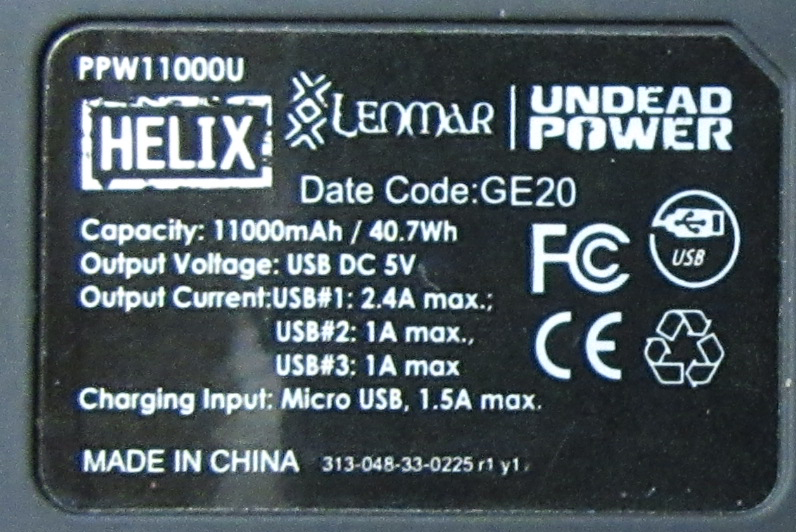
Specs on the battery pack, below
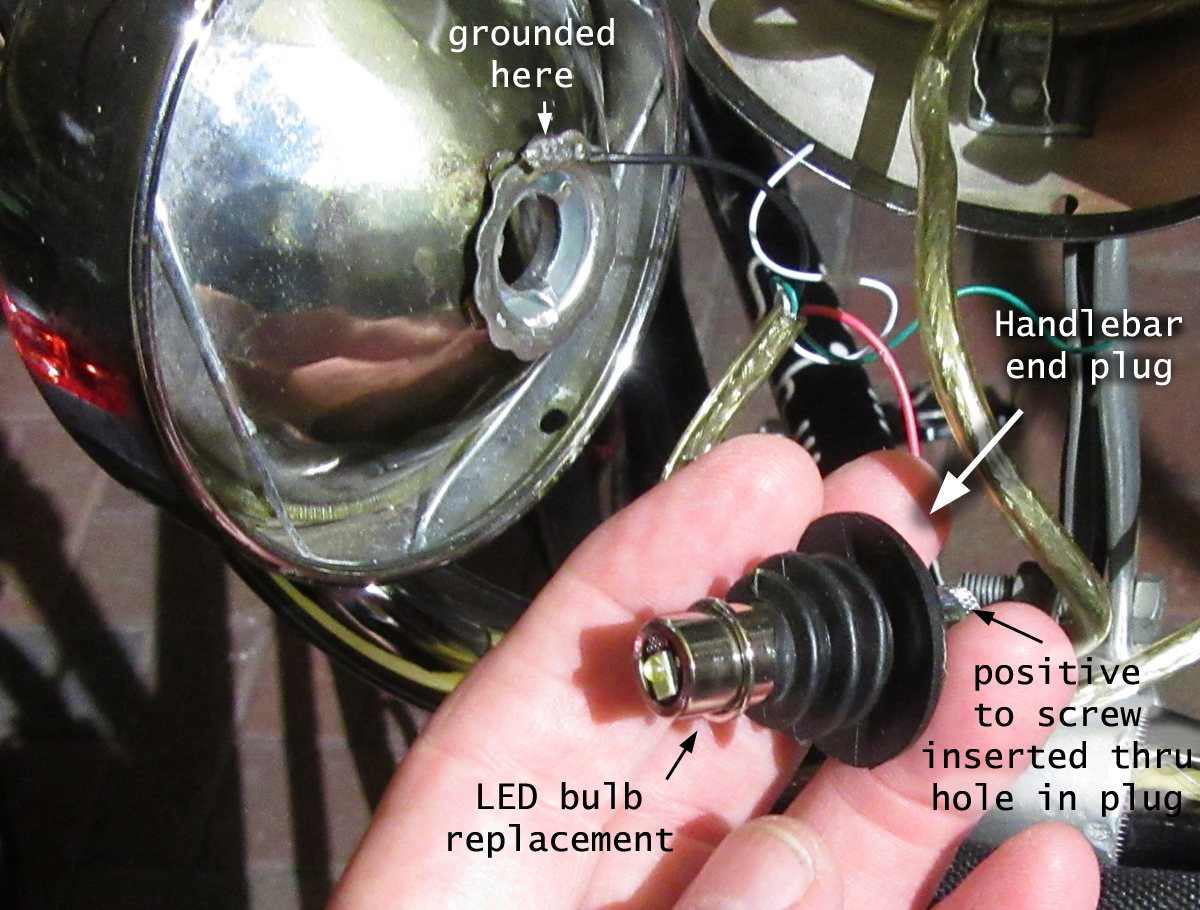
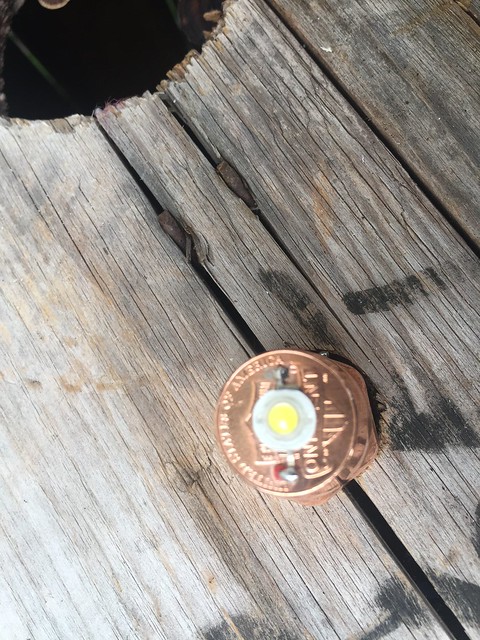
The bulb replacement taken out of the generator light head, below
As you can see, the bulb replacement is very small. You could cut and strip a USB cable, identify the positive and negative wires and attach them to this little bulb, and that would be the entire headlight if you wish. You'd just need to figure out a way of attaching it to the bike and running your cable to the battery pack.
If you use two of these and a battery pack with multiple ports, you could conceivably mount one LED on each side of your fork, and they would barely even be noticeable when not in use. You could hide one or two inside the crown of the fork if you have a little room there. All you'd notice are the cables. If you have a little room between tire and fender, this could even go under the front edge of the fender.
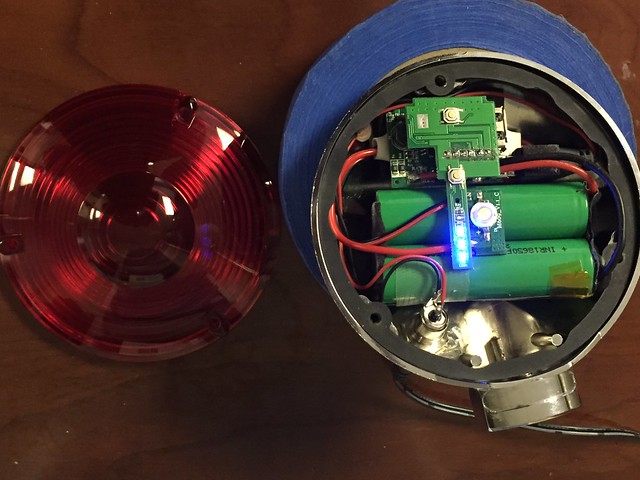
In my example, I made a hole in the center of a plastic bar end plug that was just big enough to fit the LED bulb very snugly. I put a screw through it so the screw head became the positive pole against which the tip of the bulb is inserted.
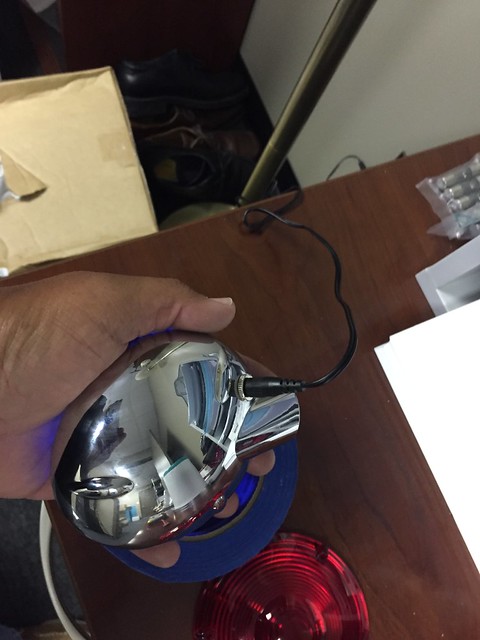
I grounded the housing of the light head so the circuit is complete when the bulb is inserted through the reflector. There's no switch. I just plug it into or unplug it from the battery pack, which on my bike is in a little bag on the handlebars.
The great things about this setup:
1 - It's a rechargeable battery pack
2 - It has multiple ports. I can charge a phone or run 1, 2, or 3 such lights off of it, which could include tail light(s.)
3 - I have used it for about 6 hours and it looks like it is still at half capacity.
4 - The battery pack charges off the same charger and micro usb cable as a phone.
5 - You could install this type LED in almost any kind of old headlight, a beer can, a 35 mm film canister, a cigar tube, in the eyes of a skull... whatever... it is very small. You could also use it with no housing at all - you'd just have to solder the wiring directly to the LED package and run the cable to a power source.
6 - There are tons of other devices you could run off the battery pack. I have a six foot length of electroluminescent wire, for example, that draws hardly any power at all. You could wrap that stuff all around the frame or other parts of the bike if you wanted.
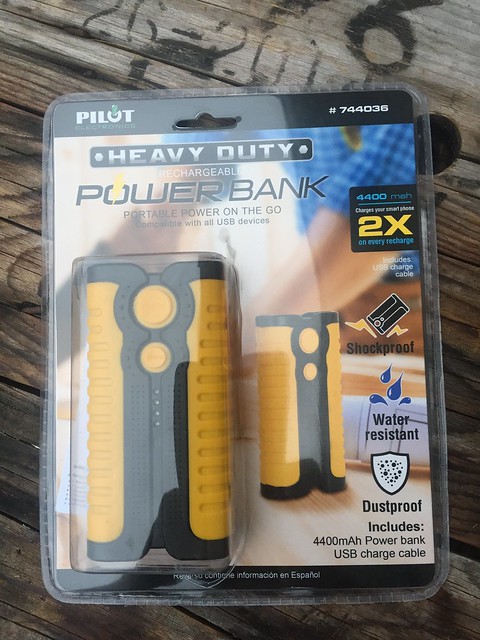
You could use a much cheaper battery pack, but a more expensive one gives you more capacity and more ports. You could spend as little as $10 or $20 on the battery pack. (This one might have been $40 or $50)
The LED replacement bulb I am using produces about 160 lumens. That's enough for my use in casual night riding. I would not want to do aggressive off road riding with it, but I think you could run three of these on the same battery pack and do that.
If you're using a battery pack like this it puts out about 5 vdc. If you use an LED package good for 3 to 6 C or D cells, it can handle 4.5 to 9 vdc, so you are in a very safe voltage range. The internal circuitry in the package means you don't need any other voltage regulating circuitry.
You don't have to do or know any electronics - all you need to know is how to cut and strip the USB cable and identify the right wires - typically red for positive and black for negative. And, you need to know how to attach the wires to the LED package - either a housing that holds them tight or solder them.
Hint: try to find a very stout, older USB cable for this purpose. Generally, one of the heavier USB cables that came with a printer years ago - clear insulation with visible braided shielding and a device-side tip (the more square type USB plug that goes to an old printer.) This will have heavier,more durable wires inside it. If you are cutting up a USB cable that came with a phone charger, it will have very thin copper conductors that will be easy to break or accidentally cut. The very light weight cables will have really wimpy copper strands that break off really easily.


