- Joined
- May 12, 2009
- Messages
- 1,547
- Reaction score
- 118
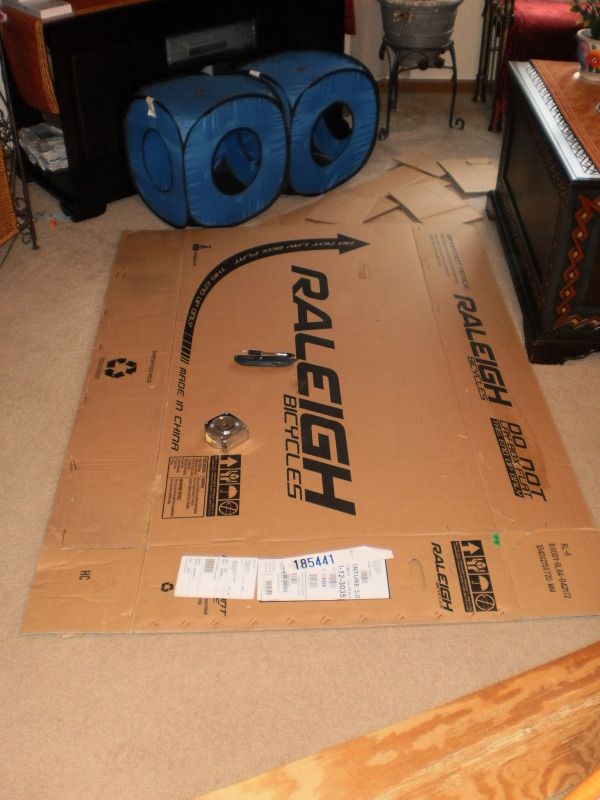
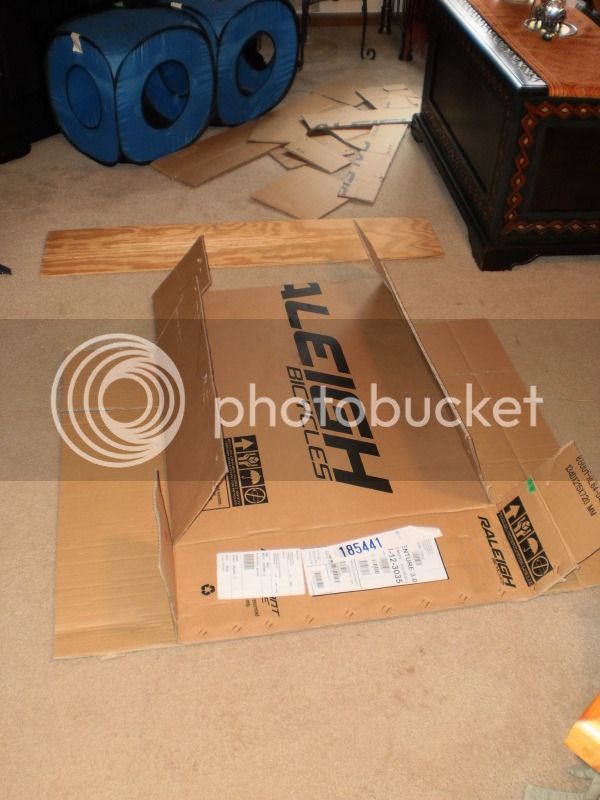
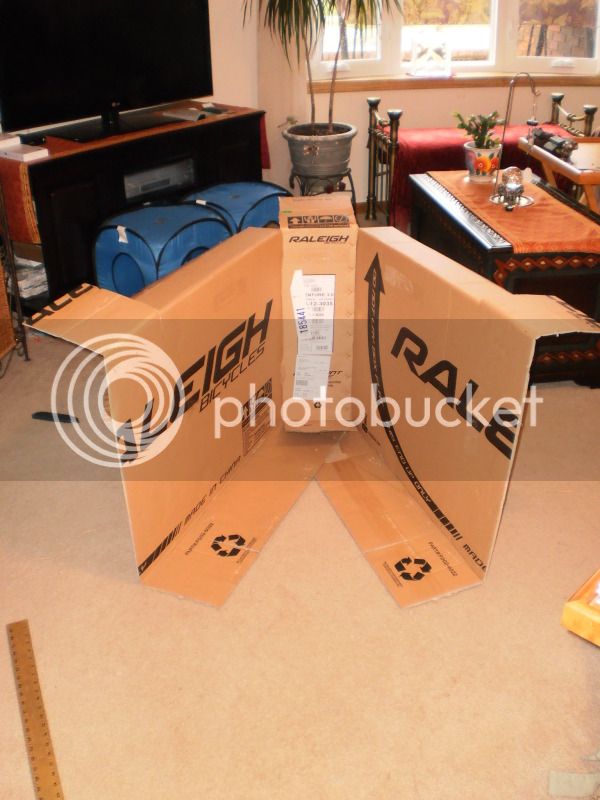
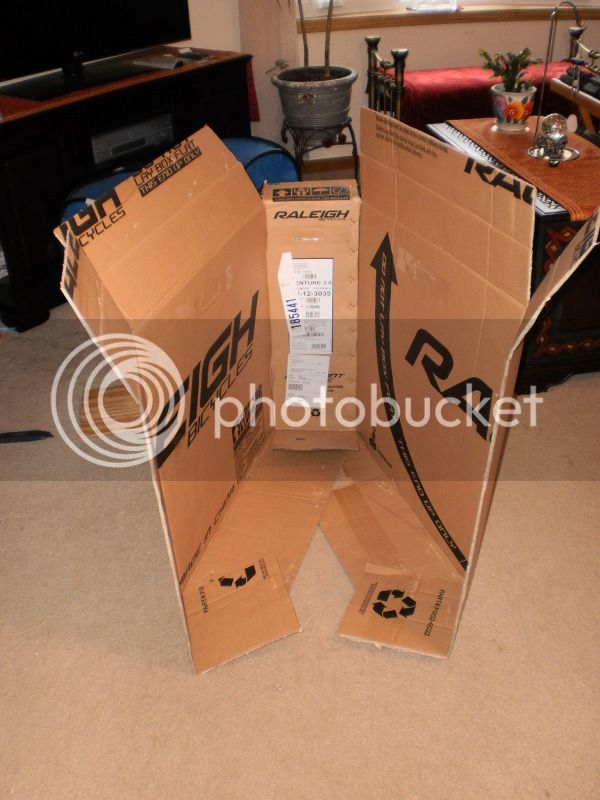
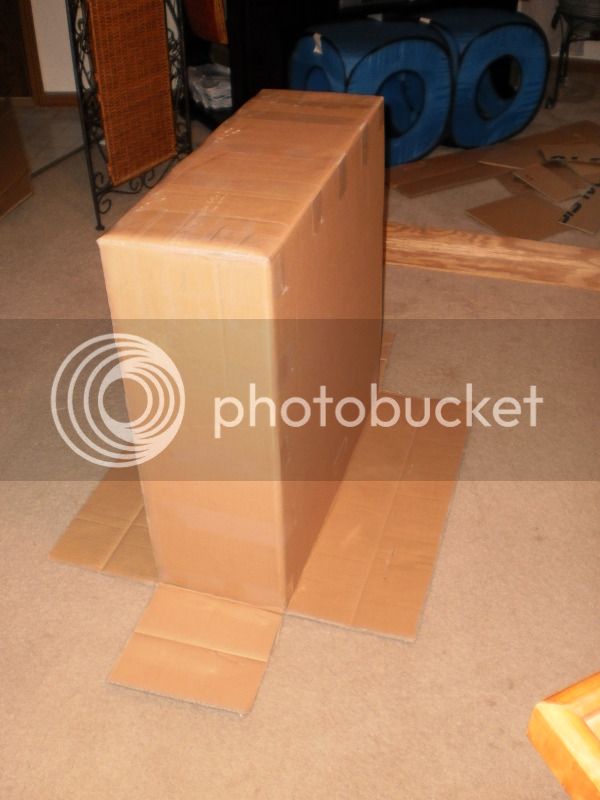
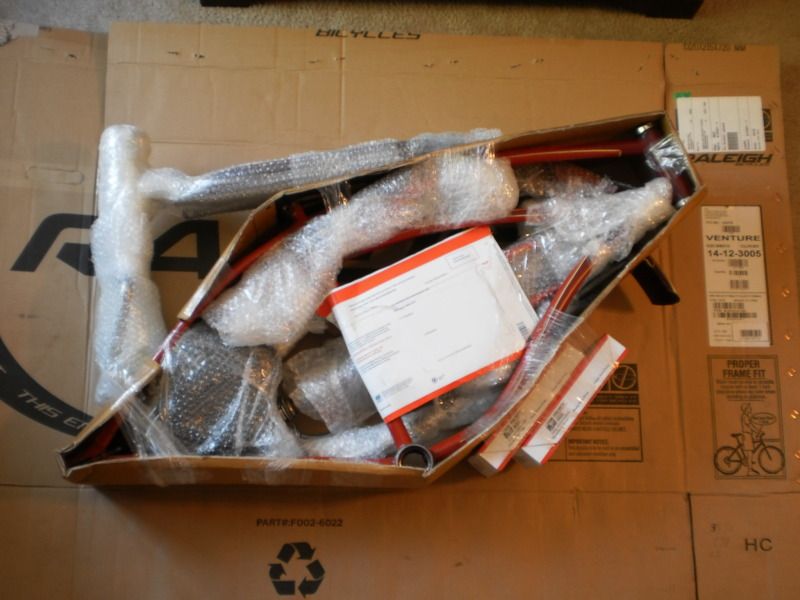
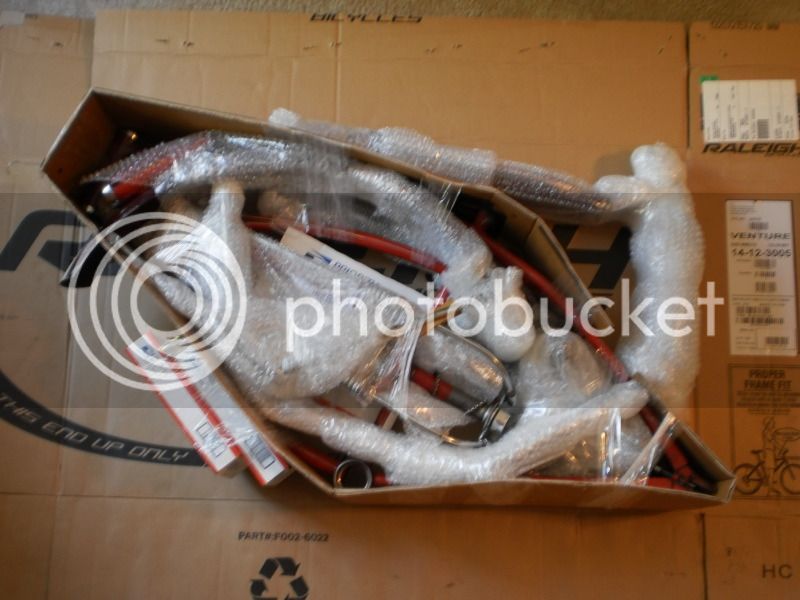
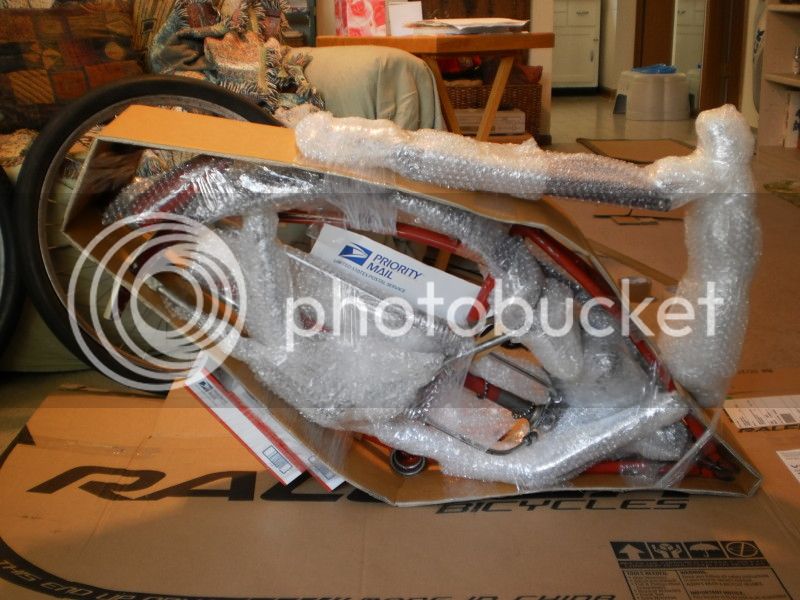
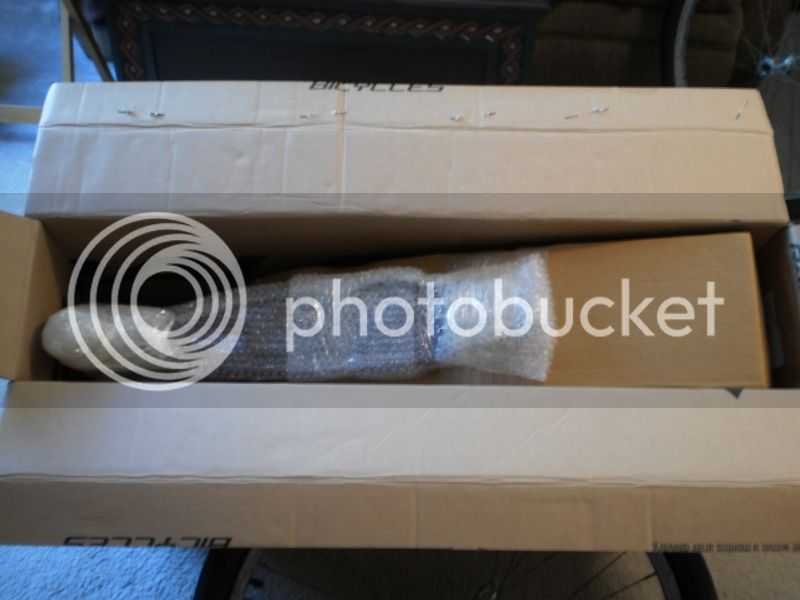
I heard once there actually is a course that teaches you how to pack STUFF so I always make a joke about it when the situation involves packing anything. In this case it's a bike. If you've ever shipped a complete dressed out bike - fenders, chain guard, rear carrier - and wanted the cheapest way - USPS - then you know it takes two boxes. USPS has a dimensional limit that consists of the following formula: Length + (2 x Width) + (2 x Height) = 108" or less. The one I did today comes in at 103". The frame can be twisted so the head tube reaches the top of a standard bike box but here's the thing - in the formula the multiplier is 2 x Width where as it's only one length. So instead of bringing the head tube up to the top of the box - which will usually put you over the 108" mark - I design it so the chain stays are parallel with the bottom of the box which lowers the head tube - that will bring you in under 108" everytime with a standard size frame. Then I build a box just big enough to pack the frame in it.
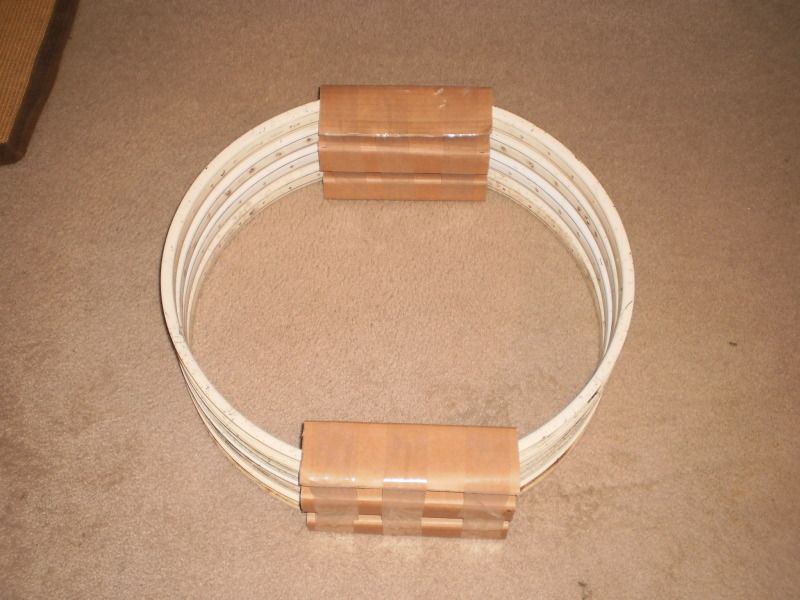
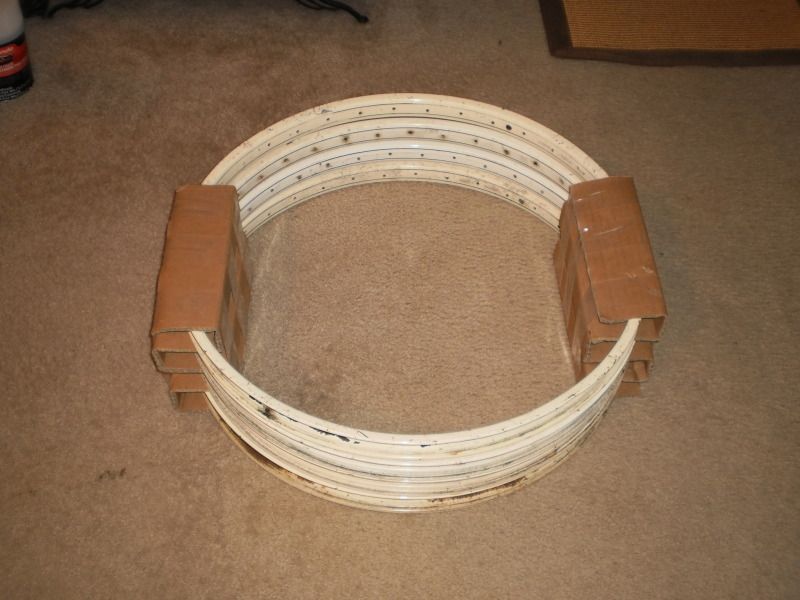
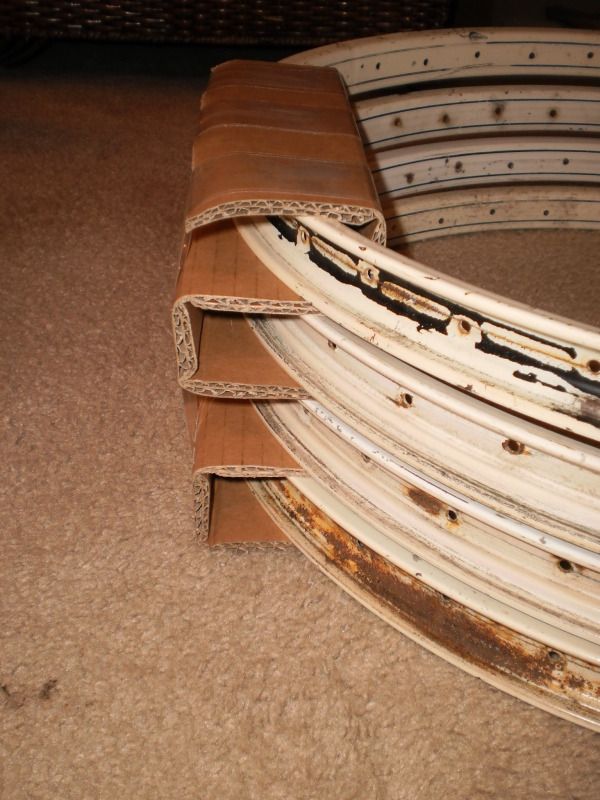
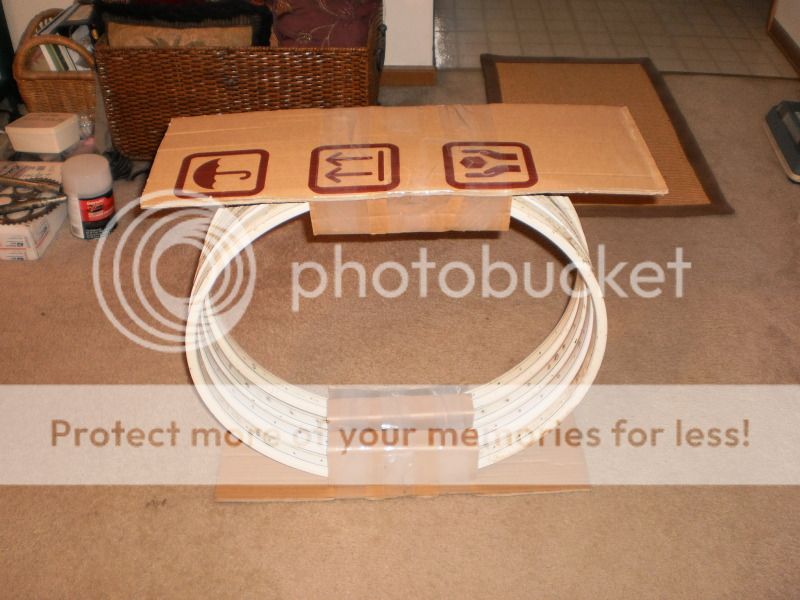
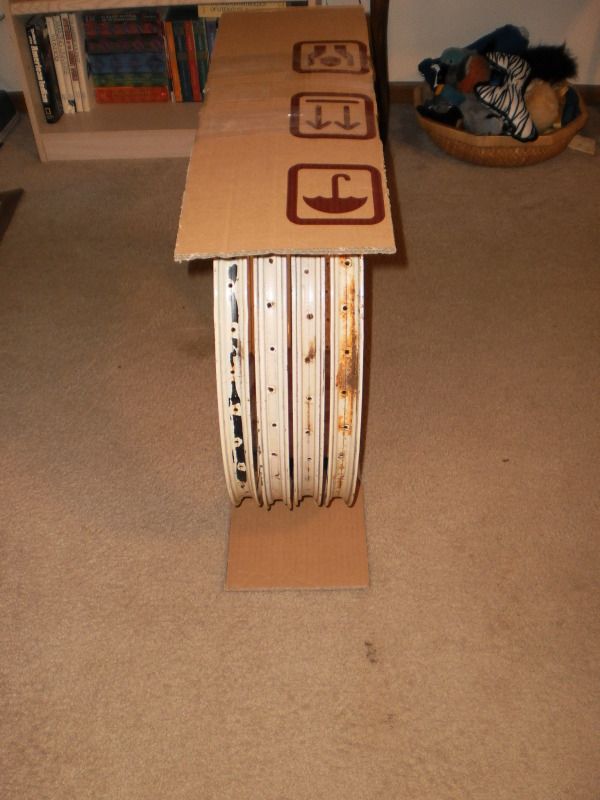
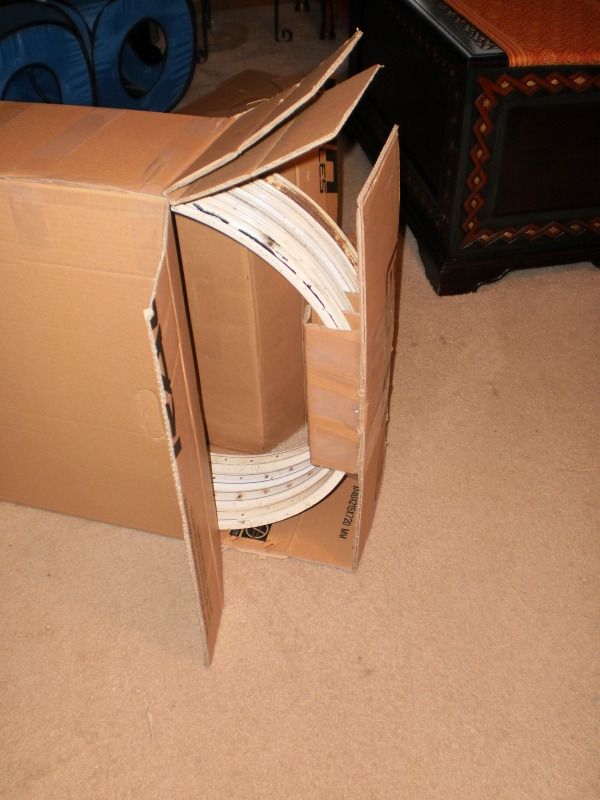
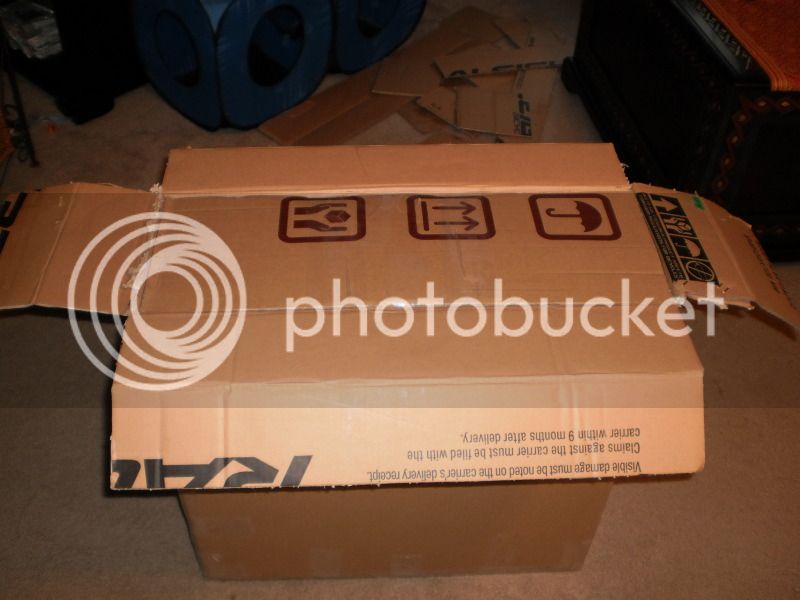
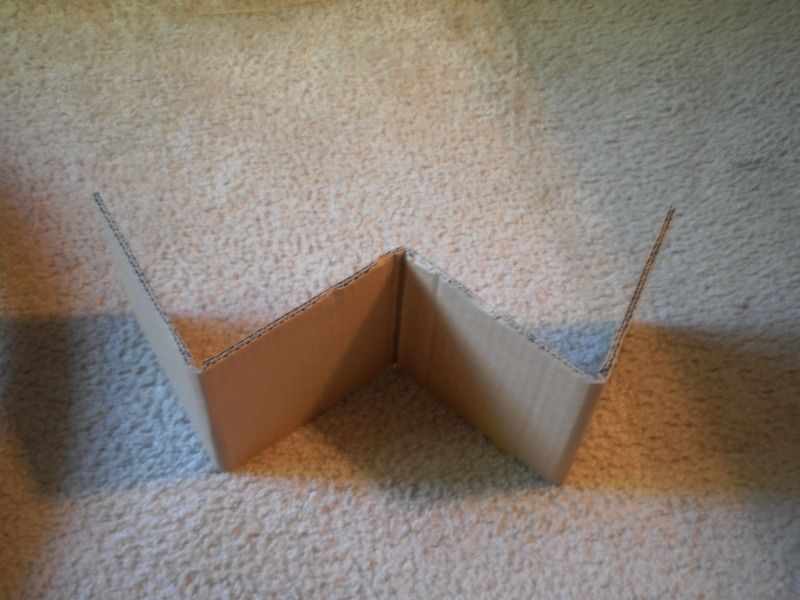
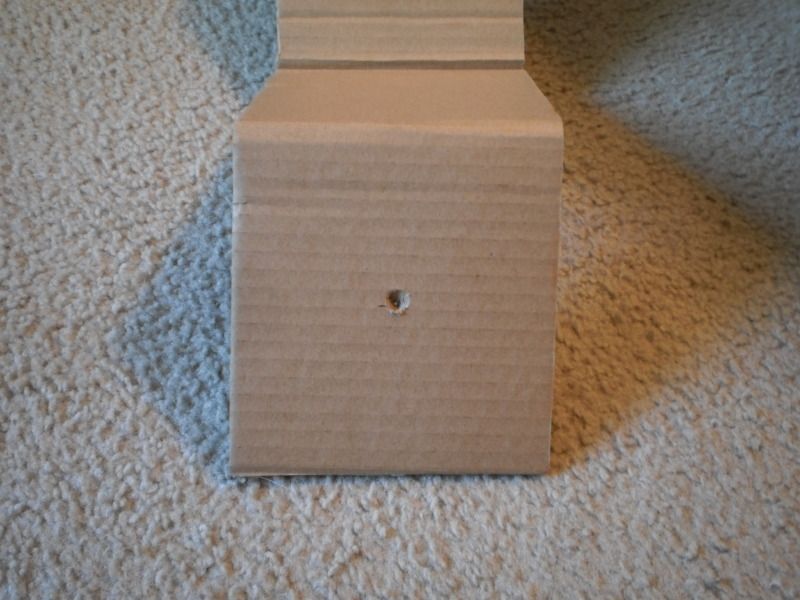
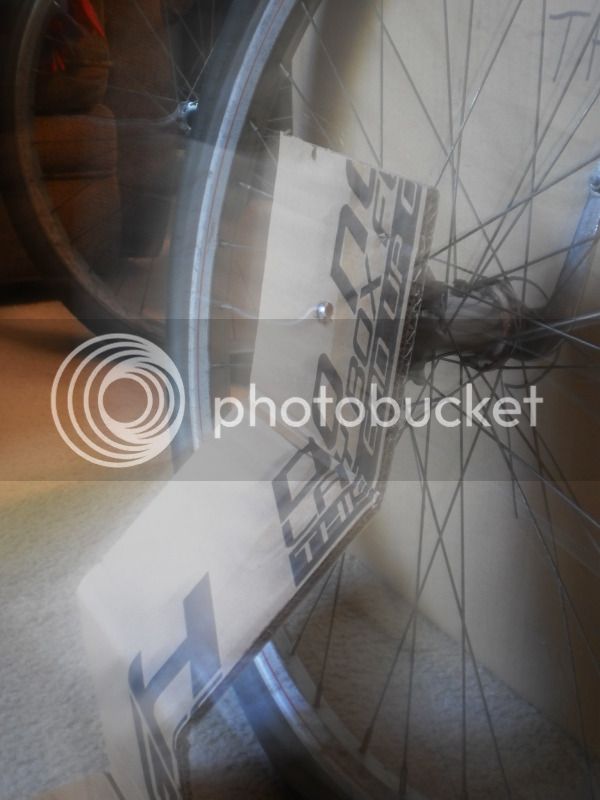
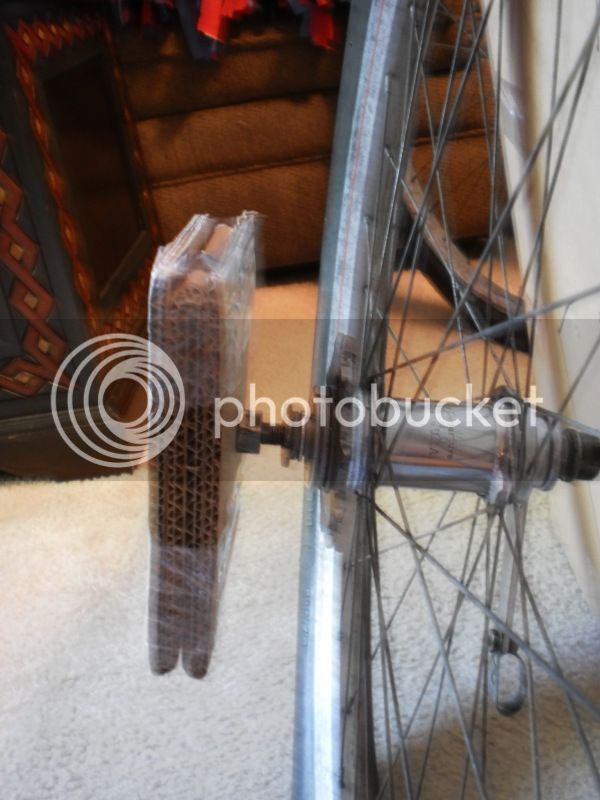
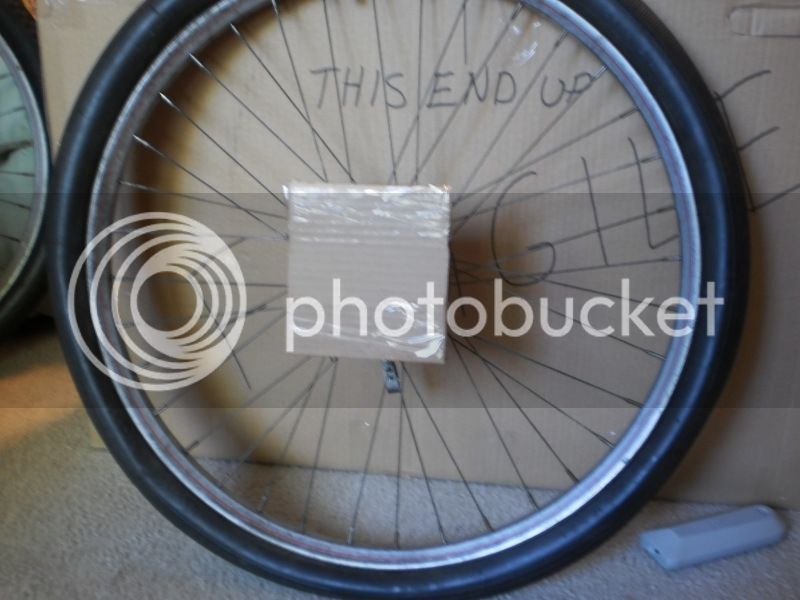
The second box which holds the wheels and whatever else didn't fit in the first box is nowhere near being oversized but I still try to make it as small as possible. In this case I got everything but the wheels and the rear fender in the first box. The fender fits over a wheel so it doesn't add hardly anything to the dimensions. Another thing I do with this box is find a sure fire way to protect the axle ends. Most every set of wheels I've ever received had holes where the axles popped out in transit. One guy fastened a shop rag over the axle ends - the axle still popped out but it was protected so there was no damage. The method I use is one I picked up from a guy that sent me a wheelset once. I take a strip of scrap cardboard and fold it back and forth on itself till I have four layers of coardboard approximately 6" in length. I bore a small hole in the last layer and then thread it onto the axle till the end is flush with the other side of that one layer of cardboard. Then I fold the other three layers back again and tape all 4 layers together still fastened to the axel. That's it - now you have 6" of cardboard to poke through the side of the box instead of a 3/8" axel - it's never happened yet.
The big drawback to these packing tips is that they take more time. A lot of people are scrambling everyday to try and get as much accomplished as possible. This retiree just happens to have a lot of extra time so coming up with new ways to pack parts is a challenge. The one trick I designed myself is to mount a frame for shipping on cardboard strips the width of the inside of a bike box - a standard bike box is approximately 8". I center the frame on these strips and then wrap some tape around both frame and cardboard. My object here is to add another layer of protection to frame contact points - head tube, bottom bracket, drop outs - and also center it inside the standard 8" box which gives the frame a lot of distance between it and the outside of the box. I have received frames where the head tube has punched out of the box. This method also keeps the frame from rattling around inside which can help cause punch outs.
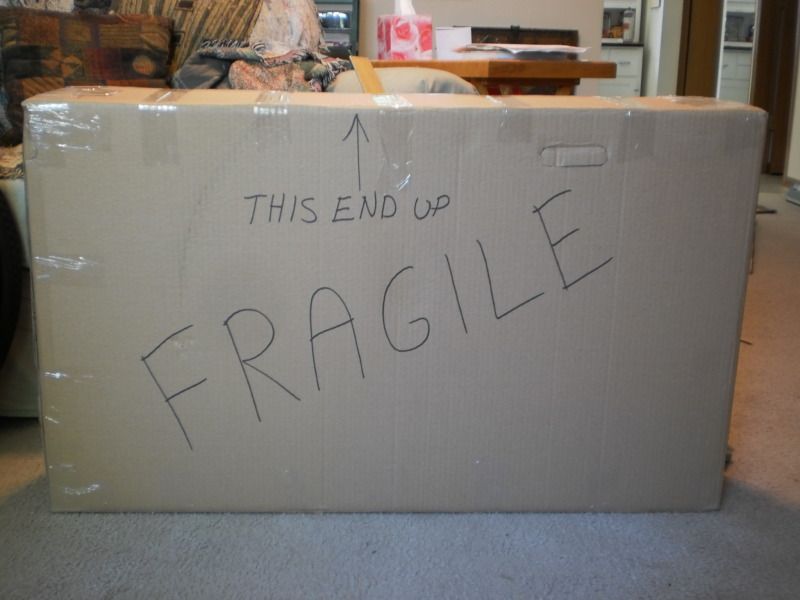
One more thing that I actually believe helps in the handling of the box is I always mark it FRAGILE. They go through the regular routine of asking if it's glass, liquid or perishable and I always say it's crushable. I insured and shipped a $300 item once in a box that consisted of perfectly shaped styrofoam half shells that fit and protected the item perfectly. When it arrived they had stacked so much weight on top of it it was bent and cracked - cast steel we're talking about. When I tried to get reimbursed there was no visible damage to the exterior of the box - styrofoam compressed and then went back to original shape - and they would not pay for the completely destroyed insured item. So - I mark EVERY box FRAGILE in hopes that they handle it better.
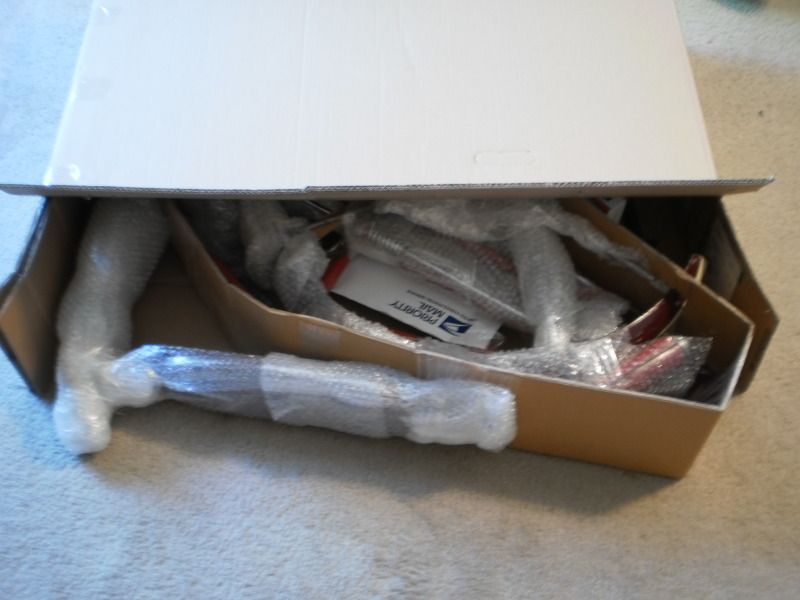
In the pics here I did not center the frame because I needed to get a fender in beside it so I angled the frame till the head tube was about 1" from the side of the box. Then my front fender had plenty of room beside it. After that it's a puzzle fitting as many parts in as you can. When I am done the parts become a modular unit that can simply be slid in and out of the box together. I still ended up with 1" space on all sides of every part and nowhere does metal come into contact with other metal. I strive to get the parts to the buyer in exactly the same condition they were in when I took pics of them for the listing. I've been meaning to pass along some of this to fellow members - I hope someone found something they could use to make their packing job easier. Thanks alot and Have Fun! Robert


